This is the 10th article in the series for SQL Server Always On Availability Groups.
Introduction
In this series, we configured the SQL Server Always On Availability Groups beginning from virtual server build. Always On provides a robust high availability and disaster recovery solution in SQL Server. It integrates the Windows failover clustering with the database mirroring concepts. For a traditional availability group, we should have the following configurations.
- You should have two or more nodes configured in a failover cluster
- All nodes should be a member of a domain. For example, in my earlier articles, all nodes were part of [MyDemoSQL.com] domain
Windows Server 2016 introduced a new concept known as domain-independent Windows failover clusters. In this article, we are going to explore this new concept and see how we can leverage this for SQL Server Always On Availability group configuration.
Prerequisites
- You should understand the concept of a traditional SQL Server Always On availability group. You can use the articles (see ToC at the bottom) to prepare your AG without having prior knowledge
- You should have a DNS controller to provide the static IP address to the participating nodes
- Create two virtual machines using Oracle VirtualBox and Install Windows Server 2016 on it
Overview of the Domain independent Windows failover clusters for SQL Server Always On Availability Groups
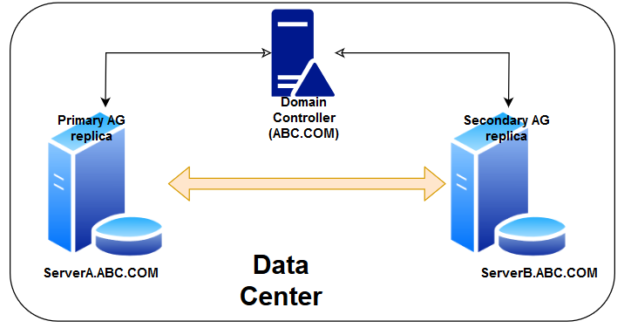
As explained above, in a traditional failover cluster for SQL Server Always On, all participating nodes must be a member of the Domain.
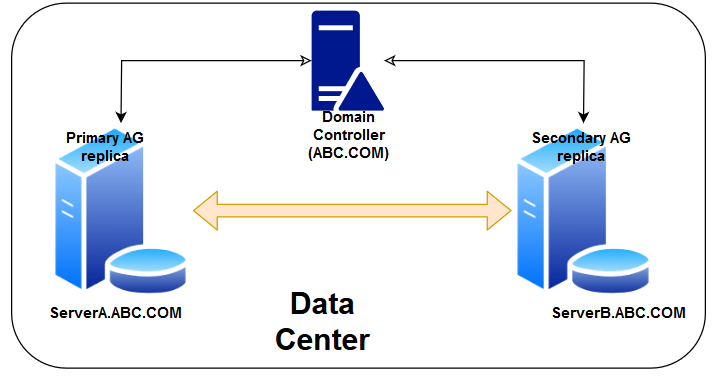
In the above image, we have two servers [ServerA] and [ServerB]. Both servers are a member of the ABC.COM domain. We have configured an availability group between these servers.
In the Windows Server 2016, we can create the domain-independent failover clusters as well. Let’s create the cluster in the subsequent section.
Note: In this article, we do not go in detail with each step. You can refer to previous articles for detailed steps.
Steps to configure domain-independent failover cluster for SQL Server Always On Availability Groups
As a part of the prerequisite, I have prepared two virtual machines, SQLAG1 and SQLAG2. Both virtual machines are not part of any domain.
Step 1: Enable failover cluster feature on the SQLAG1
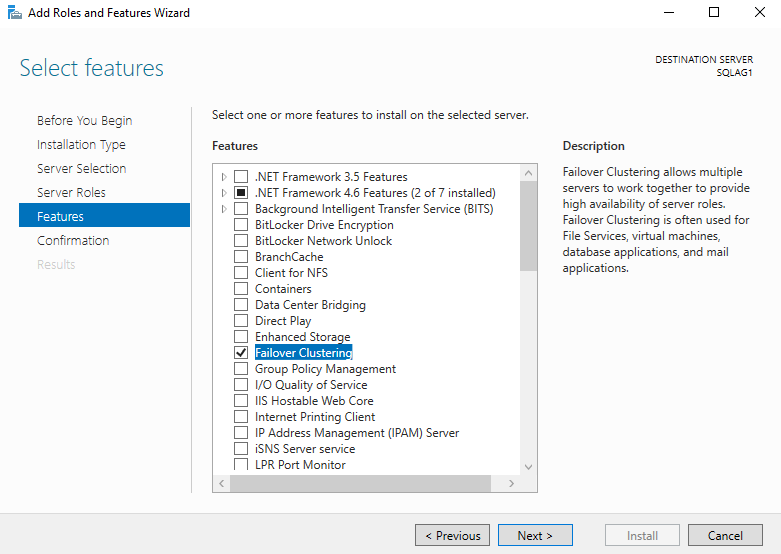
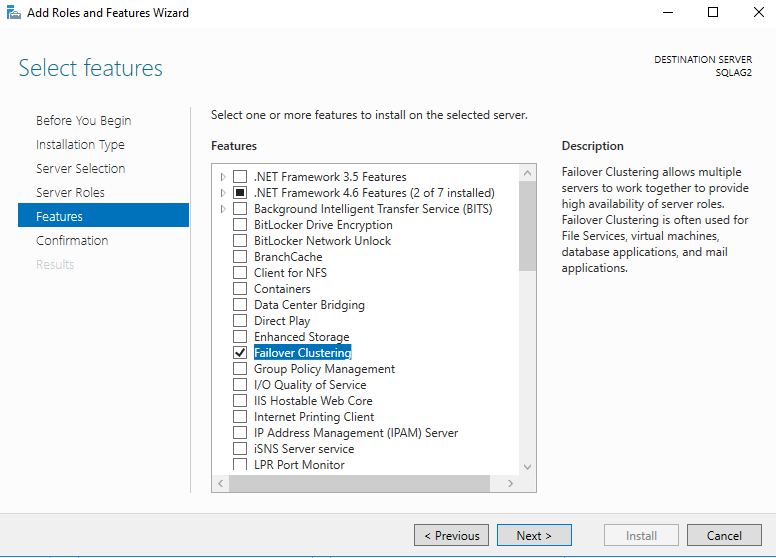
Navigate to the Add Roles and Feature Wizard in the server manager and enable the failover clustering feature, as shown below. It installs failover clustering along with its dependencies.
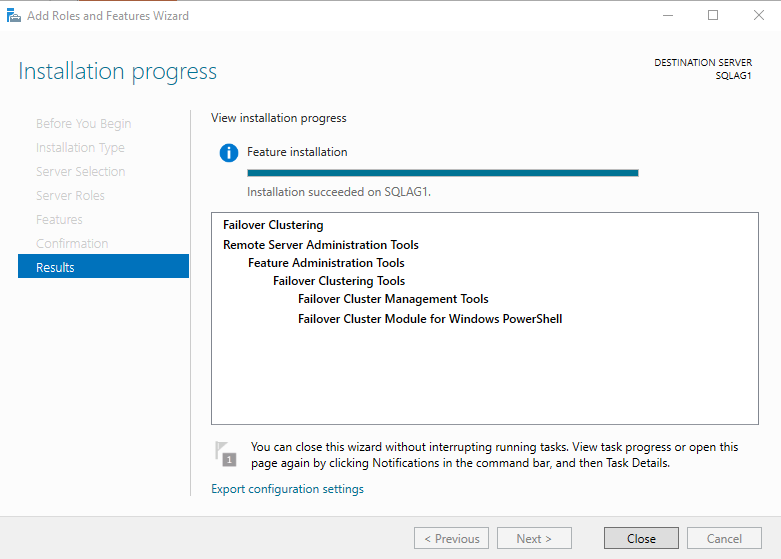
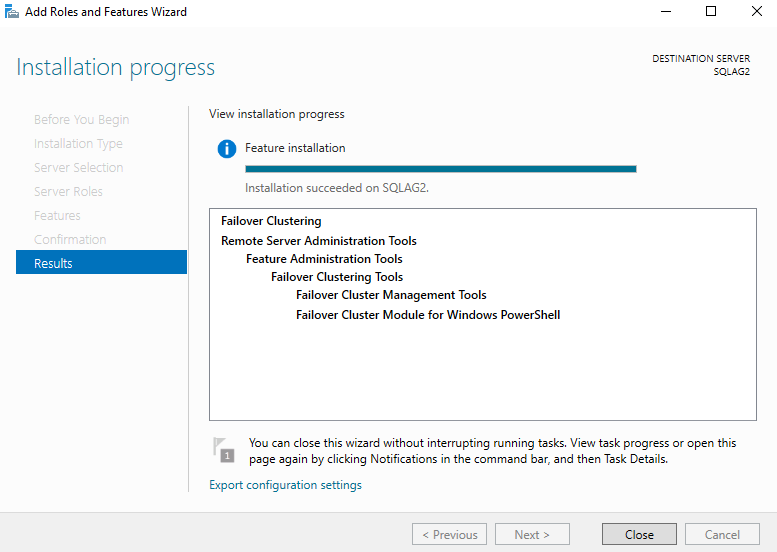
In the next screen, we can verify that the failover clustering feature is enabled on the node AG1.
Step 2: Enable failover cluster feature on the SQLAG2
Similarly, enable the failover cluster feature on the second virtual machine [SQLAG2].
Step 3: Assign a primary DNS suffix for SQLAG1 node
A traditional failover cluster creates a cluster name object ( CNO) in the active directory once we create a cluster. Similarly, it also creates a virtual computer object(VCO) for the listener in the SQL Server Always On.
We want to create a domain-independent cluster so it cannot create the CNO in the active directory. For this purpose, we need to configure the primary DNS suffix in all the participating nodes of the domain-independent failover cluster.
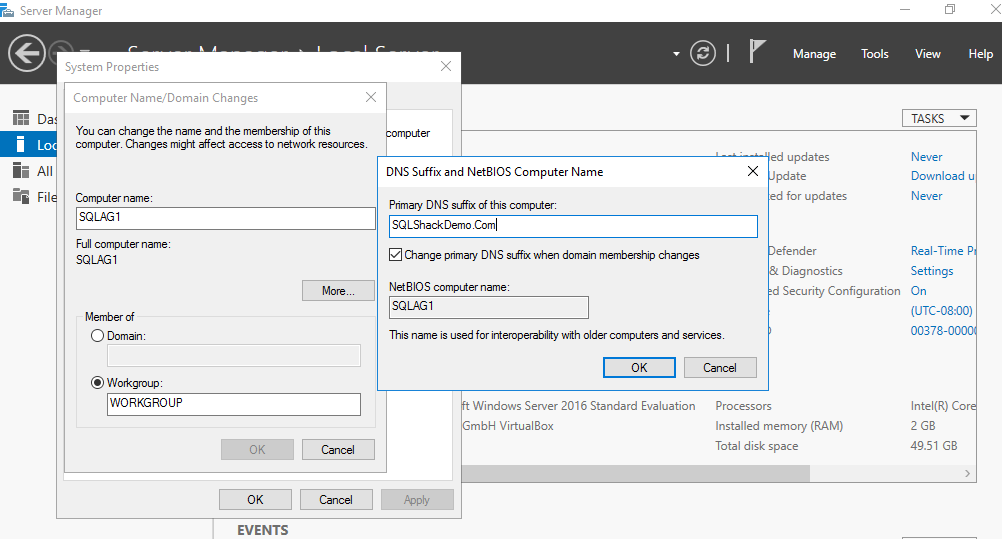
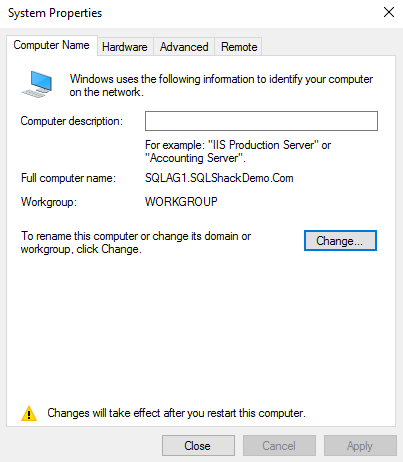
To configure a DNS suffix, open the system properties, and click on the Change on the computer page.
It opens the Computer Name/Domain Changes page. Here, you can see the computer name, domain, and workgroup.
Click on More. It opens the DNS suffix and NetBIOS Computer Name. Enter the primary DNS suffix of the computer. For this article, I use SQLShackDemo.com DNS suffix.
Click OK, and it shows the full computer name as SQLAG1.SQLShackDemo.com
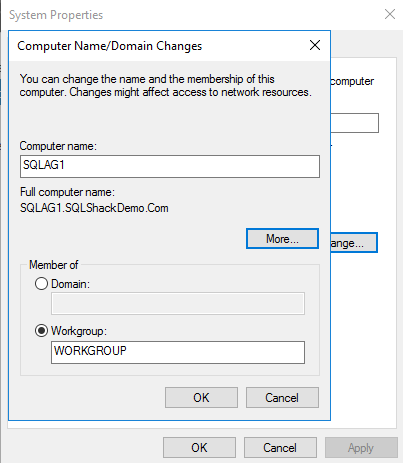
Click OK and restart the system to make these changes effective.
Step 4: Assign a primary DNS suffix for SQLAG2 Node
Similarly, assign the primary DNS suffix for the SQLAG2 node as well. You must enter the same DNS suffix that you use in the SQLAG1 node.
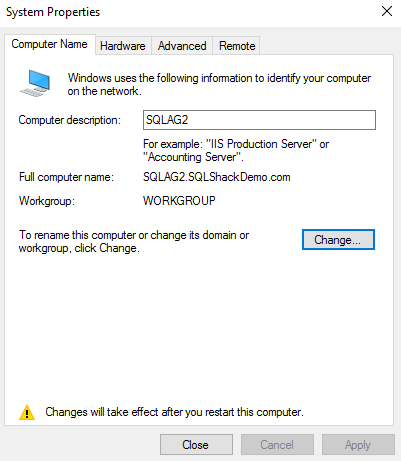
Step 5: Assign a static IP address for the SQLAG1 and SQLAG2 nodes
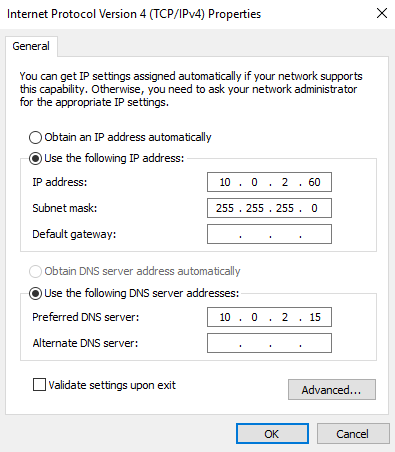
Open the Internet protocol version ( TCP IPv4) properties and assign the static IP address along with the. DNS IP address in both the SQLAG1 and SQLAG2 nodes in SQL Server Always On Availability Groups.
- SQLAG1 node:
- Static IP address: 10.0.2.60
- Subnet Mask: 255.255.255.0
- Preferred DNS Server: 10.0.2.15
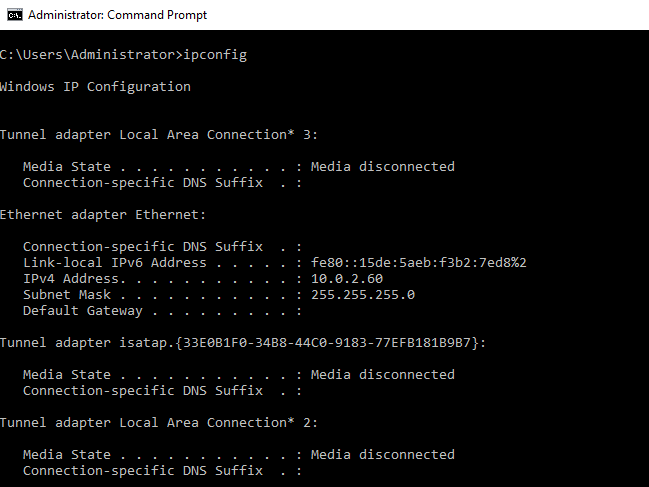
You can validate the IP address using the IPCONFIG command in the Windows command prompt.
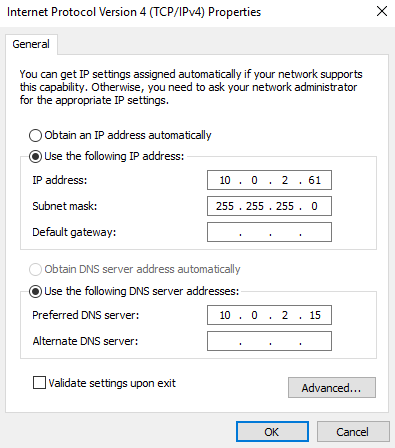
- SQLAG2 node:
- Static IP address: 10.0.2.61
- Subnet Mask: 255.255.255.0
- Preferred DNS Server: 10.0.2.15
Similarly, validate the IP address for the SQLAG2 node as well. It should reflect the static IP address we configured above.
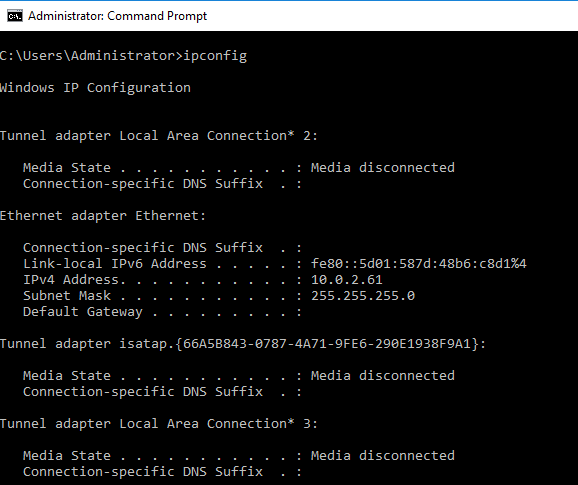
Step 6: Update the Host file on SQLAG1 and SQLAG2 nodes
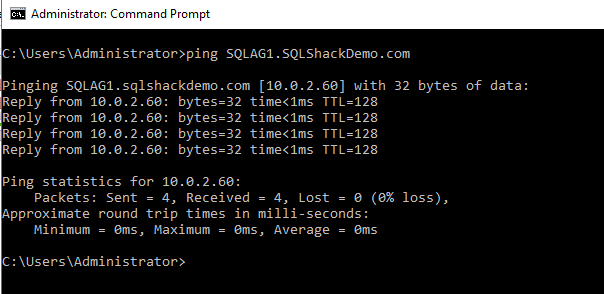
Once we have configured the primary DNS suffix, you should be able to ping the server using the FQDN. In the below screenshot, we see that it could not find the host using FQDN.

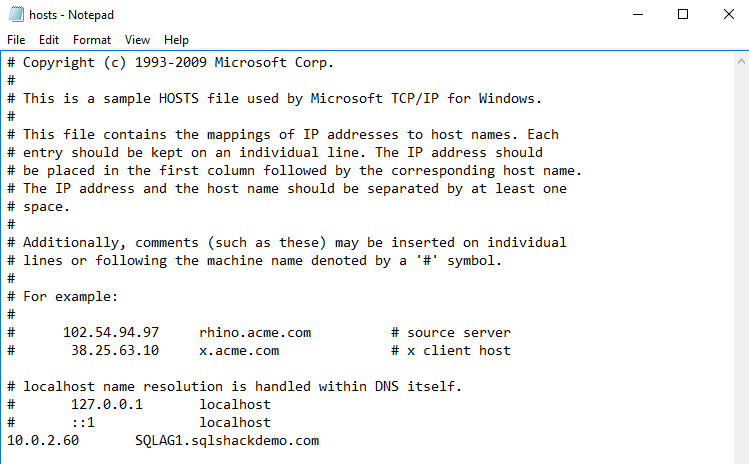
Open the host file by navigating to the C:\Windows\System32\Drives\etc\hosts.
Enter the server FQDN with its IP address, as shown below.
You get a ping response using the server FQDN.
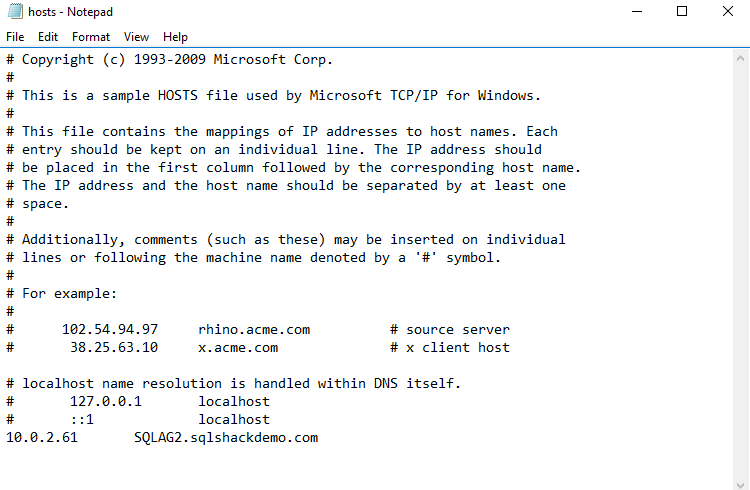
Similarly, update the FQDN and IP address for the SQLAG2.SQLShackDemo.com in the host file.
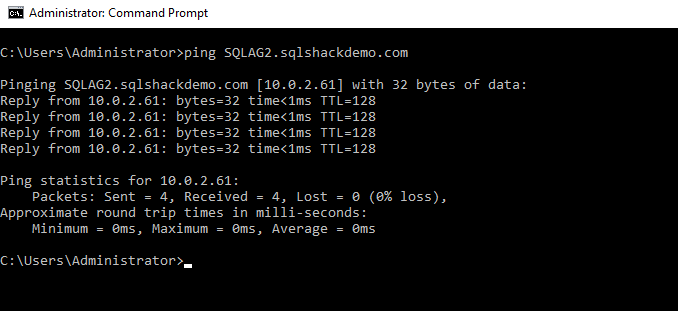
It can ping the SQLAG2.sqlshackdemo.com FQDN as well.
Step 7: Create a local user on both nodes to manage the failover cluster in SQL Server Always On Availability Groups
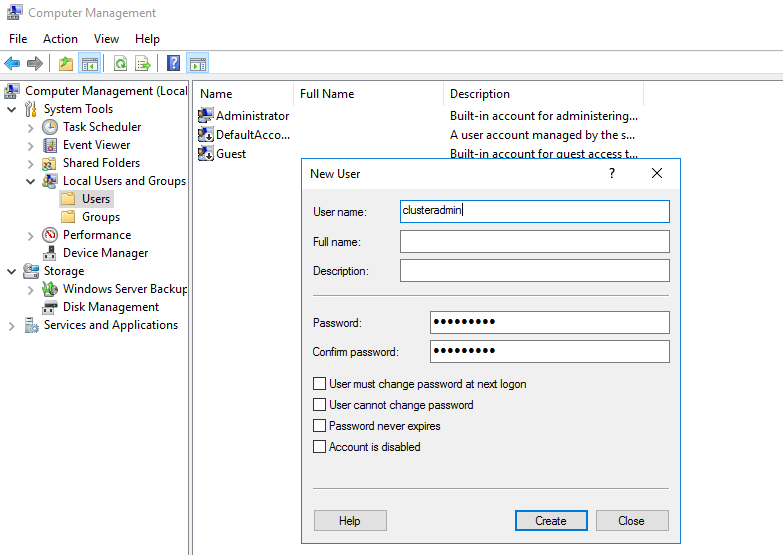
You should create a local user with a similar user name and password in both the cluster nodes. We can use this account to manage the failover cluster instead of using the default administrator account.
In computer management, right-click on users and create a new user, as shown below.
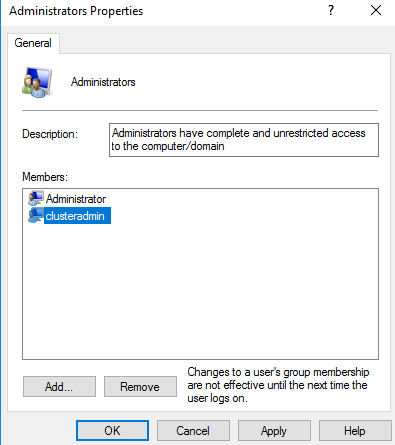
Add this account in the Administrator group on both SQLAG1 and SQLAG2 nodes.
Step 8: Configure the LocalAccountTokenFilterPolicy registry setting
We need to change the LocalAccountTokenFilterPolicy registry setting for the Remote User Account Control(UAC). This registry setting controls the administrator credentials for the remote administration of the server. This setting is required because we use a local user account in the failover cluster.
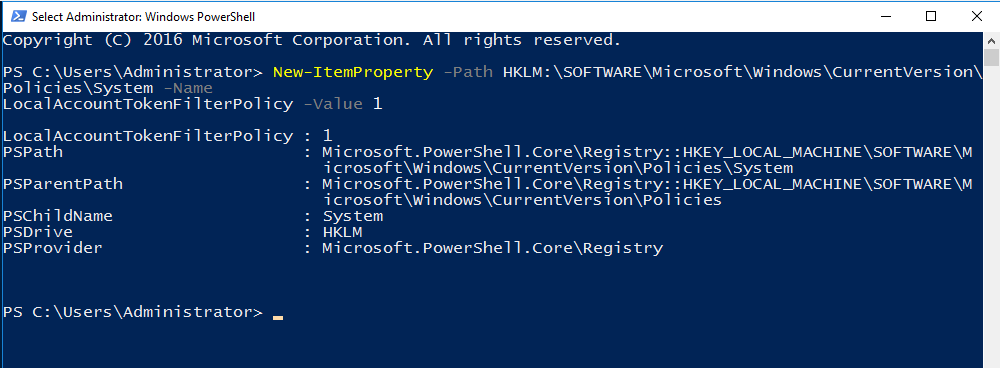
Open the Administrator Windows PowerShell and run the following command on both SQLAG1 and SQLAG2.
> New-ItemProperty -Path HKLM:\SOFTWARE\Microsoft\Windows\CurrentVersion\Policies\System -Name LocalAccountTokenFilterPolicy -Value 1
You get the following output once you execute this PowerShell command.
Step 9: Configure a domain-independent Windows failover cluster
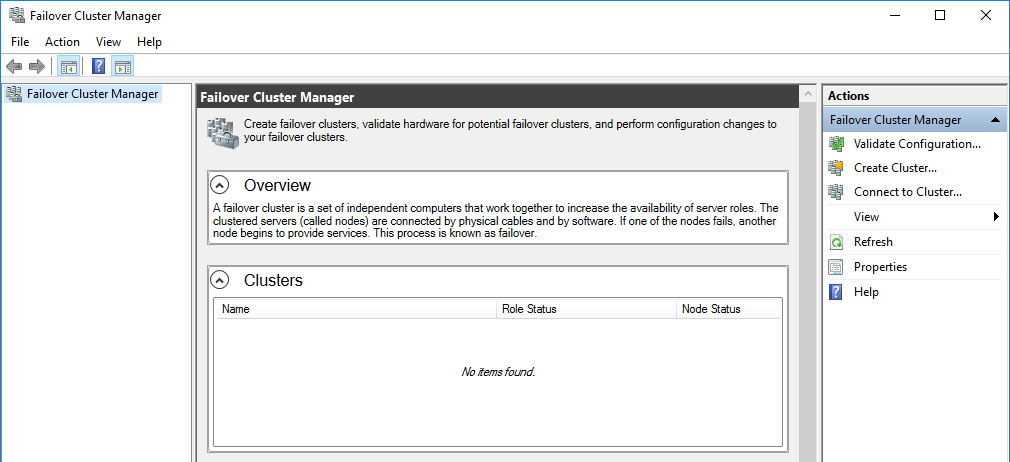
Open the failover cluster manager on SQLAG1. Currently, it does not shows any nodes because we have not configured it.
Click on Create Cluster and add both SQLAG1, SQLAG2 nodes in the server list.
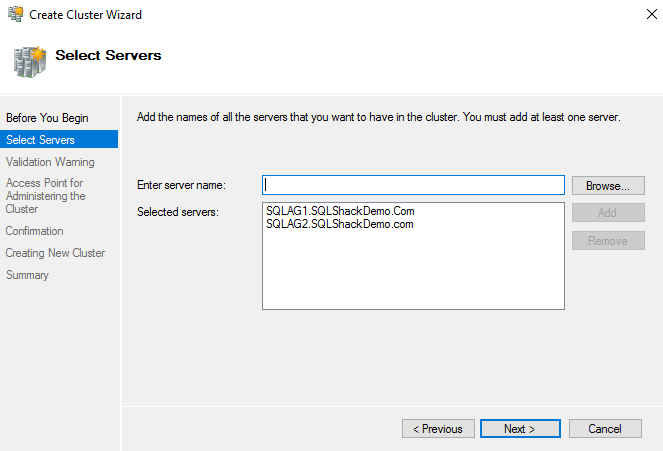
Click Next and click on Yes to configure the cluster validation tests.
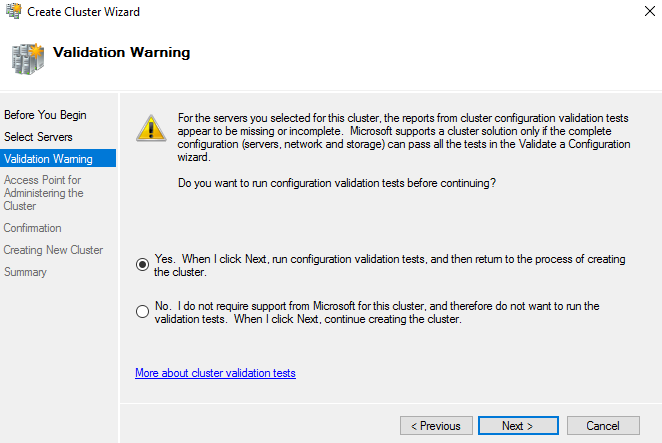
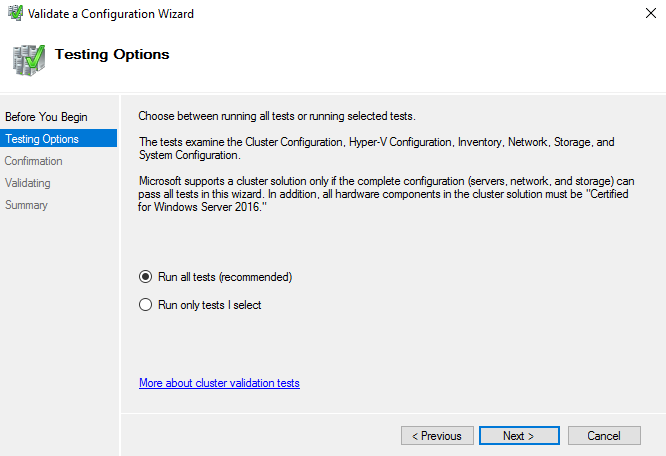
Click on Run all tests(recommended).
It shows you the list of cluster validation tests.
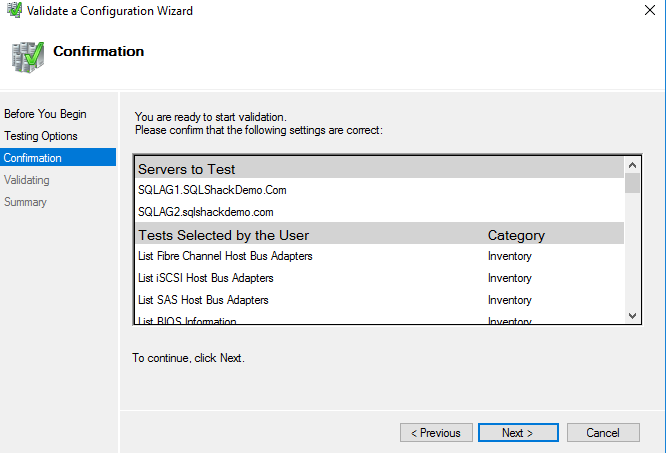
It performs the cluster validations. Open the report and view for any issues. You should fix these issues before creating the cluster. You can get a validation warning for the active directory because our servers are not a member of the active directory domain. It is OK to ignore these warnings.
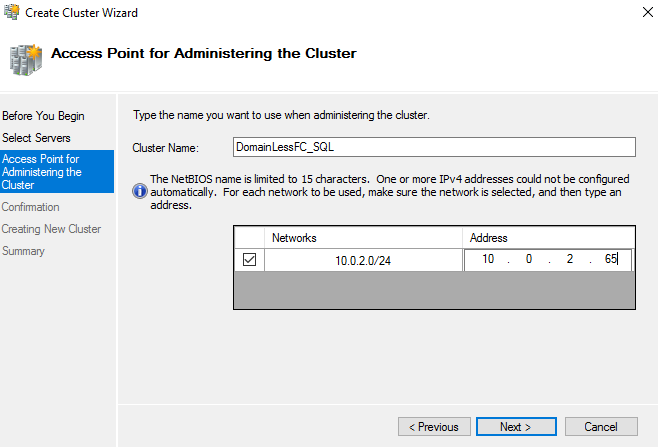
Once the validations finish, specify a virtual cluster name and IP address. For this article, I specify virtual cluster name as DomainlessFC_SQL and IP address 10.0.2.65
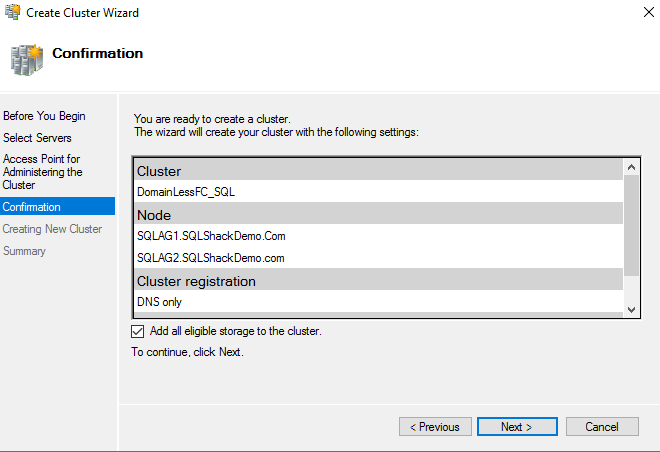
Review your configurations such as cluster nodes, cluster name, and IP address before proceeding further.
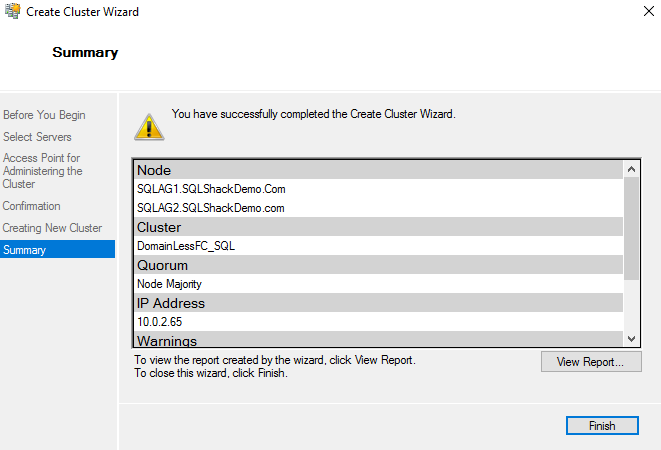
It quickly forms a failover cluster based on our configurations.
Step 10: Failover cluster validation
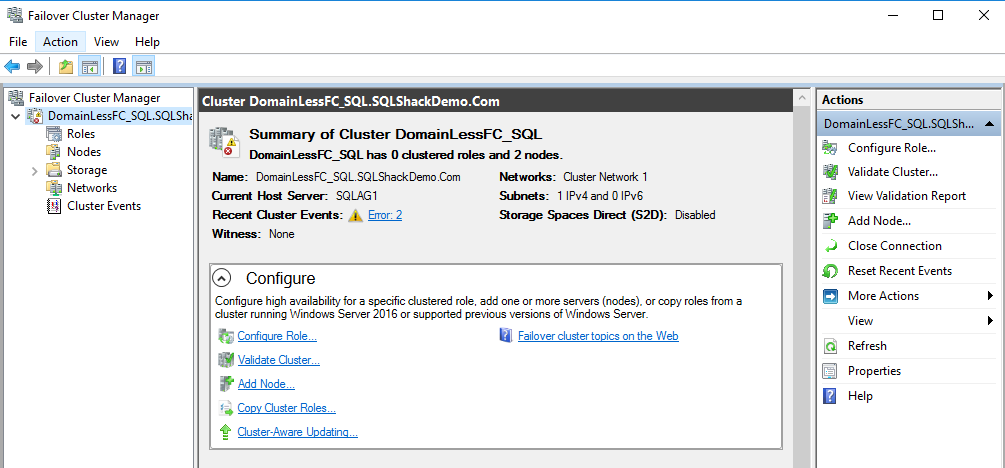
Open the failover cluster manager and note down the host server, network, subjects.
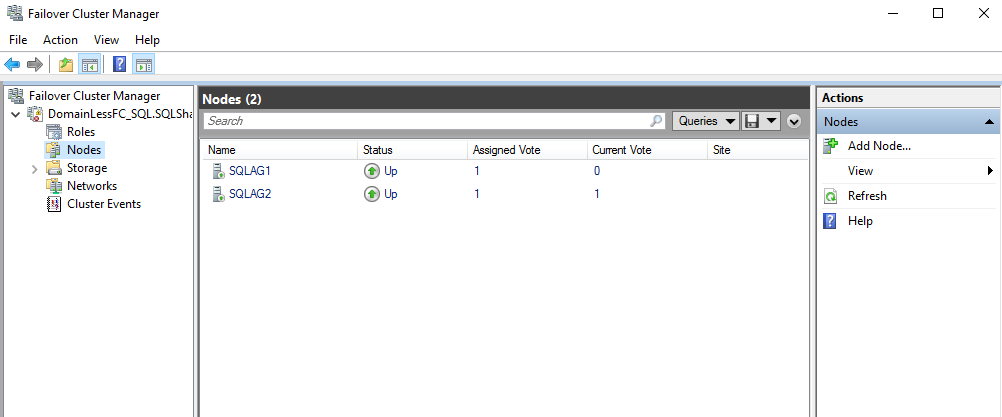
Click on the Nodes. You should be able to see both SQLAG1 and SQLAG2 nodes in the list.
Conclusion
In this article, we explore the concept of domain-independent Windows Failover Cluster. Later, we configured the failover cluster using the primary DNS suffix. In the next article, we will configure a SQL Server Always On availability group on top of this domain-independent Windows Failover Cluster.
Table of contents
- How to install PostgreSQL on Ubuntu - July 13, 2023
- How to use the CROSSTAB function in PostgreSQL - February 17, 2023
- Learn the PostgreSQL COALESCE command - January 19, 2023

