
We are excited to share that Notebook Views are available for SQL Notebooks in the Azure Data Studio (Currently Insiders release). This article will cover the following topics:
- What are Notebook Views?
- Where can you find Notebook Views?
- How do you create a new view?
- How do you modify an existing view?
- Where can you see database objects in the view?
- Where can you see table data in the view?
- Where can you see query results in the view?
Introduction
Most of us who work with SQL data sources are familiar with presenting our queries with SQL Server Management Studio (SSMS). While SSMS is a traditional tool for database professionals, ADS is a modern, cross-platform alternative for development efforts.
Both SSMS and ADS are potent tools, offering many features that can help a SQL developer develop databases and be more productive. ADS notebooks are a simple way to version control queries that contain code and results, and it allows developers to write code, validate it and present results in a single file.
This blog covers interesting enhancements called Notebook Views for Azure Data Studio SQL notebooks.
A quick introduction to SQL Notebooks
SQL Notebooks is a modern way for documenting the queries, their results, and texts. It enables live executable cells that can connect with the database for fetching query results. You can use a markup language for text formatting and code from various languages – Python, SQL, PowerShell, Scala in a single document. It is localized into 10 languages: French, Italian, German, Spanish, Simplified Chinese, Traditional Chinese, Japanese, Korean, Russian, and Portuguese (Brazil)
I would recommend you explore the following articles to be familiar with Notebooks in Azure Data Studio.
- SQL Notebook in SQL Notebooks introduction and overview
- A handy SQL Notebook for troubleshooting in Azure Data Studio
- Use Python SQL scripts in SQL Notebooks of Azure Data Studio
- Learn Jupyter Notebooks for SQL Server
Azure Data Studio insiders release
For this article, we are using Insiders build of Azure Data Studio that includes beta features. To download the release, use the link download the insiders build of Azure Data Studio.
Note: The insider release is for testing new features and enhancements in ADS, and you should use the GA version for working in the production environment.
Create a notebook view for SQL notebooks in Azure Data Studio
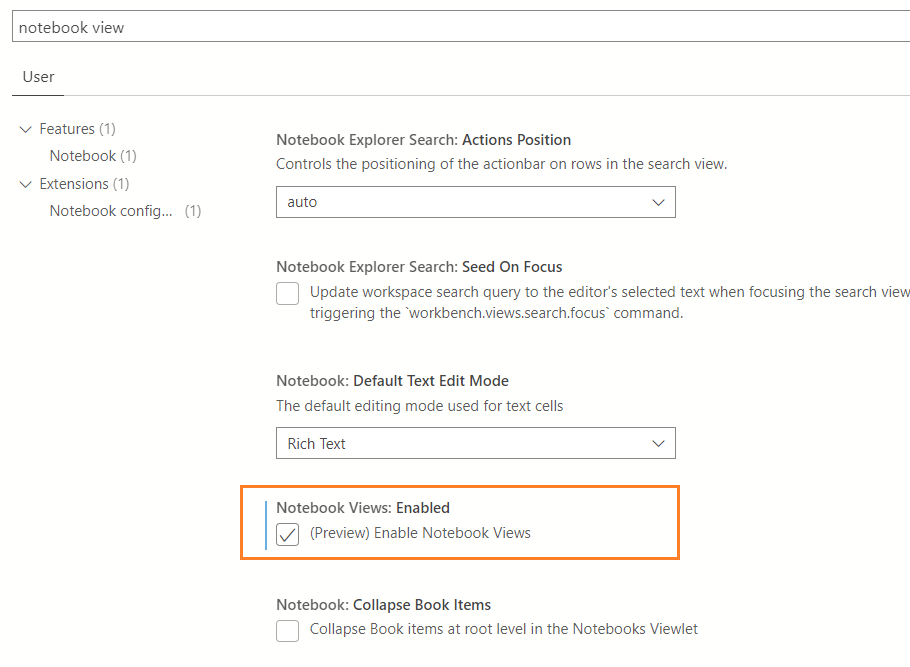
Launch ADS insider build and navigate to File -> Preferences -> Settings and enable the highlighted
Download a Microsoft document as a notebook from the GitHub repository
Microsoft documentations are a great source of information for SQL Server and related technologies. However, you need to copy the scripts, connect to SQL instance in the client tool and execute the queries. Instead, it provides a few Jupyter notebooks equivalent to the articles. Users can download these notebooks, integrate with SQL instances, and execute them.
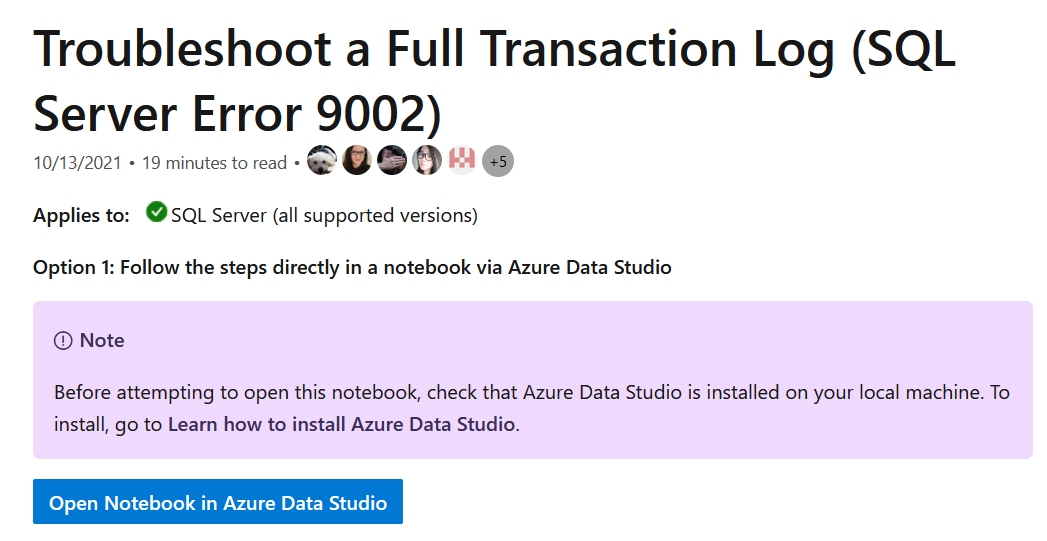
For example, click on Troubleshooting a Full Transaction Log (SQL Server Error 9002), and it navigates to the page to open Jupyter Notebook in Azure Data Studio.
It asks user permissions to open the URI in the ADS.
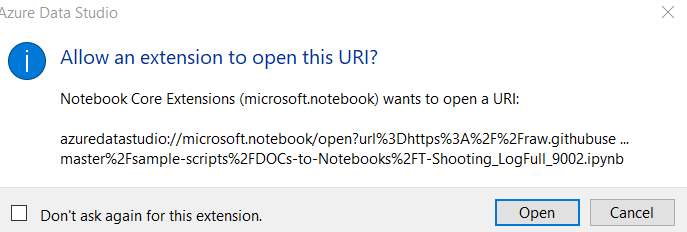
Click on Open and enter Yes to open the notebook from the GitHub repository.

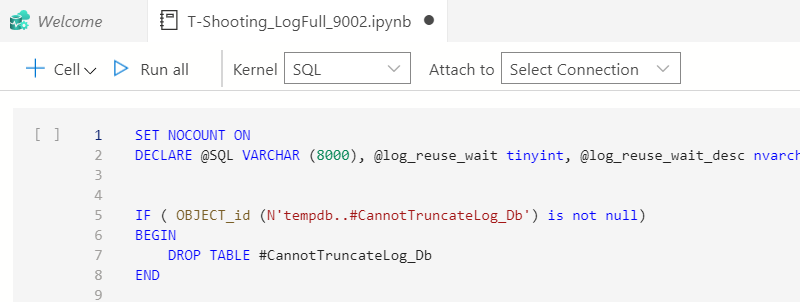
It launches the notebook that includes markup text and executable codes.
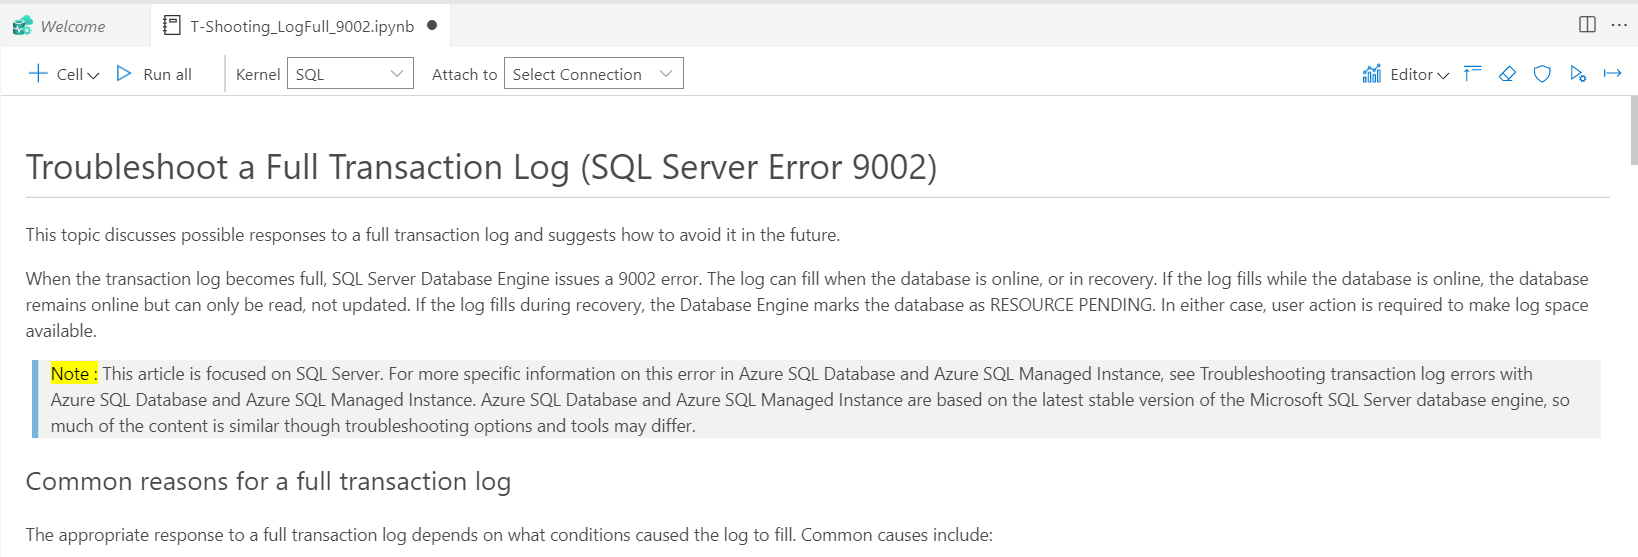
You can attach the notebook to your existing SQL connection and view query results embedded into the notebook.
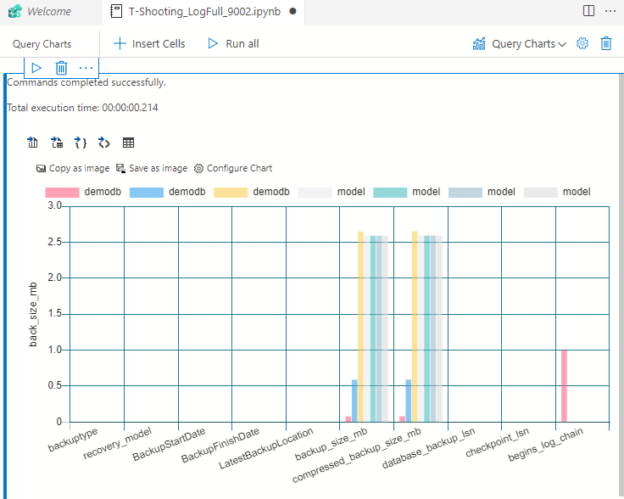
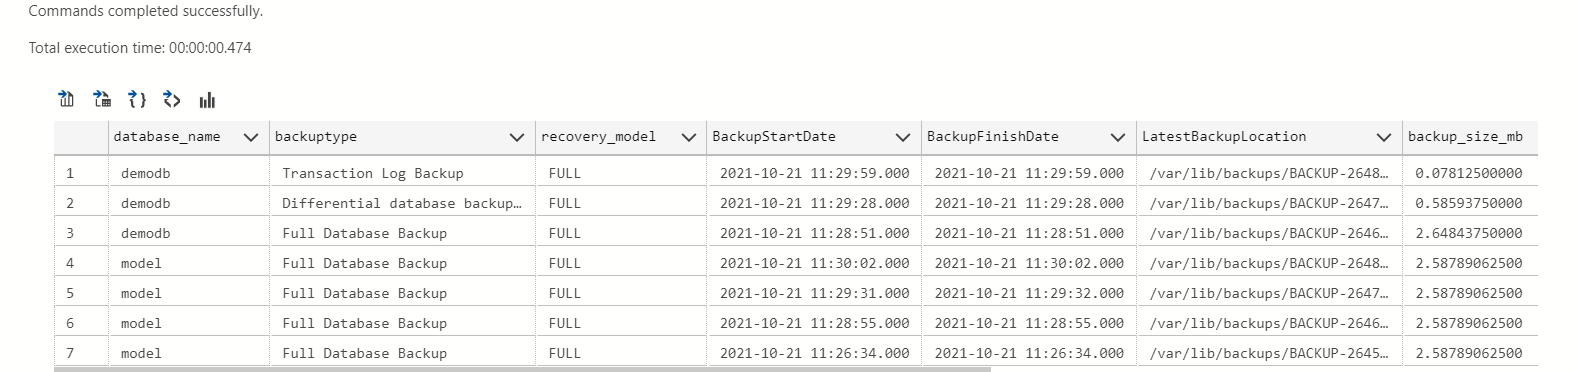
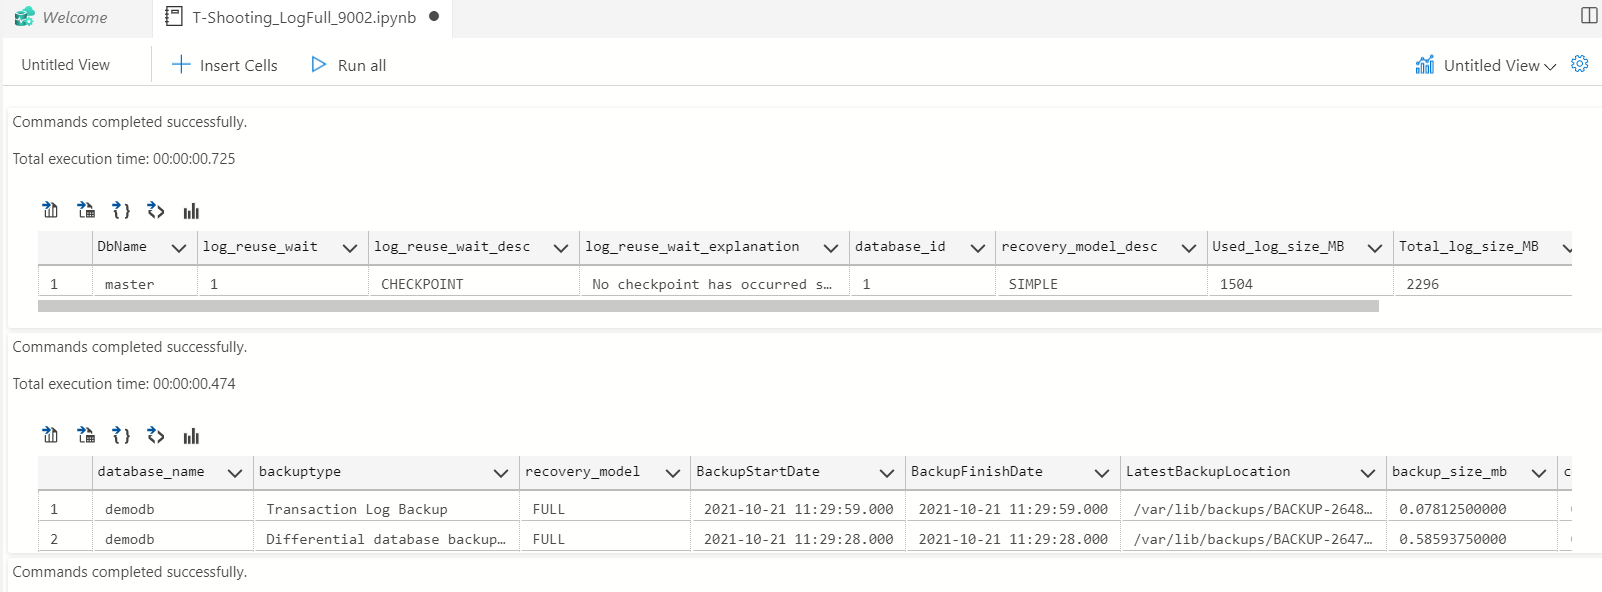
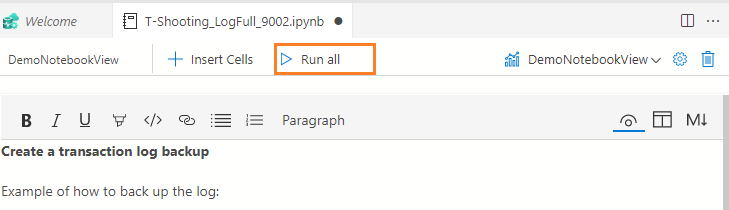
Click on Run all to execute all SQL queries and specify results in the integrated result grid. For example, the following screenshot shows the complete backup history of a database.
Suppose you need to share the specific queries output from the notebook with your manager. If you share the notebook, it will contain all theoretical parts as well as the T-SQL script. However, the management wants to view the results of specific requirements. In this case, the notebook views can be a helpful feature.
The term view is considered a virtual table set of the SQL query results in a SQL Server relational database. You can define views to change the output format without changing the underlying queries. Similarly, the notebook view creates a presentation layer on top of your existing notebook, and the original (source) notebook’s content does not change.
In the ADS insider build, you see a new option – Editor for the SQL notebook.

Click on the editor, and it gives the option to create a new view.
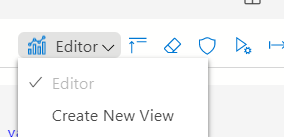
Click on Create New View, and it opens another notebook with query results of the original notebook.
By default, the ADS notebook displays the query results. You can customize the details that we want to display in the notebook view. Let’s explore the configurations for the notebook view.
- Title: By default, the ADS defines view as Untitled View. You can click on the setting button next to the untitled view and define a name for it.

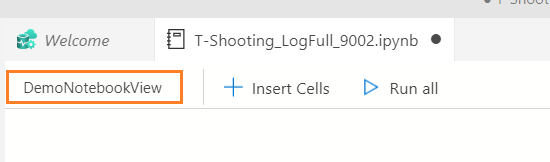
Give the view an appropriate name and save it. The notebook title changes from unknown cells to DemoNotebookView.
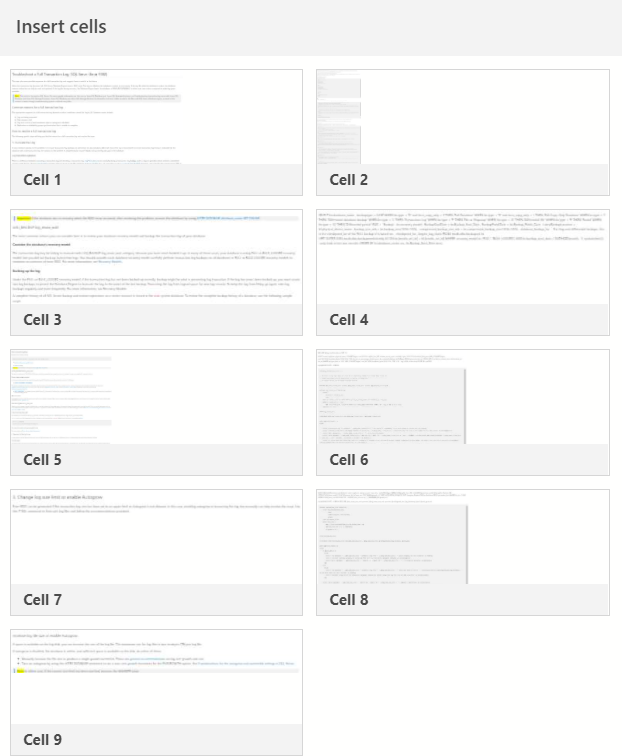
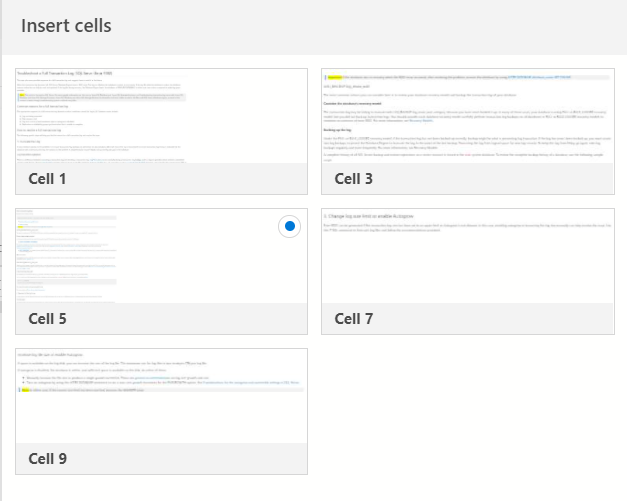
To customize the view, click on Insert Cells. It displays a list of cells from the source notebook.
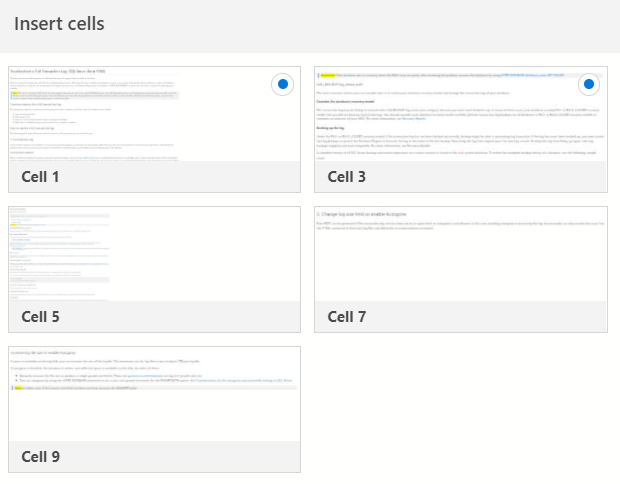
You can choose single or multiple cells that we want to display in the notebook view. For example, in the following image, we select cell 1 and cell 3 to add to the notebook view.
Similarly, in the following screenshot, we select only cell 5 in the notebook view.
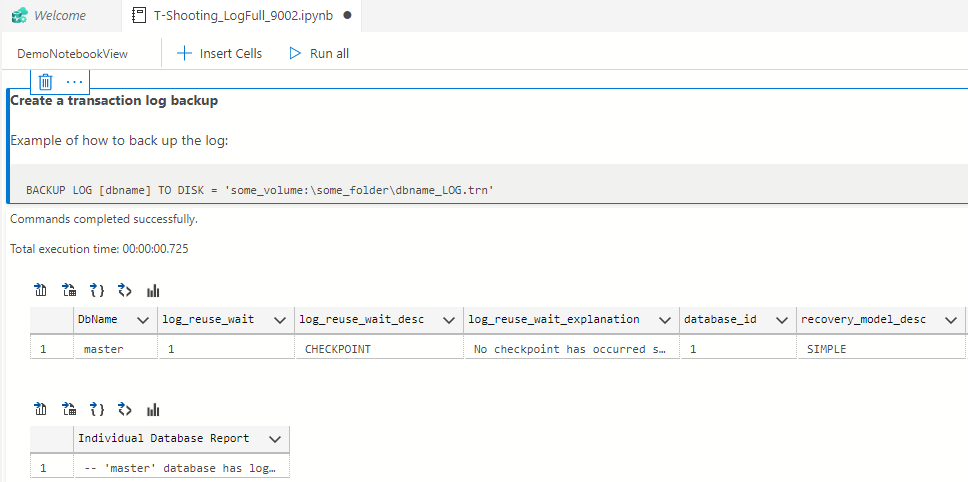
It adds the selected cell in the notebook, as shown below.
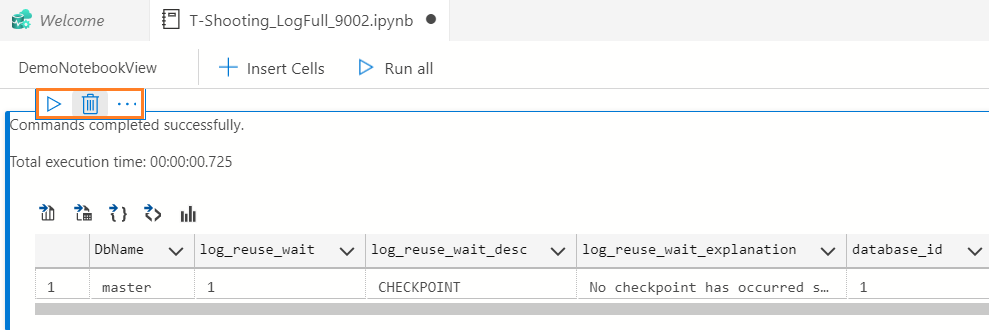
You can remove the cells that we do not want in the view. To remove a cell, click on the required cell and click on the delete button.
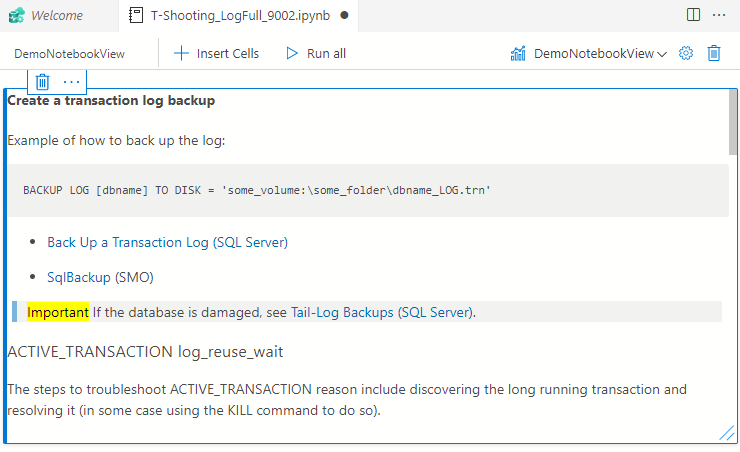
You can resize the cells for better formatting. For example, if the cell contains multiple line text, you can drag the cell size so that information is available to view clearly.
ADS allows running the cells available in notebook view separately as well. Click on the run all as highlighted below to display the output in the notebook view.
Code and text formatting in SQL notebook view
Azure Data Studio allows formatting the code, text in the notebook view as well. You can customize the text, data as you wish to display it to the user.
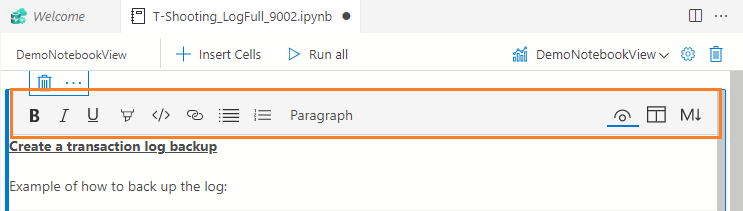
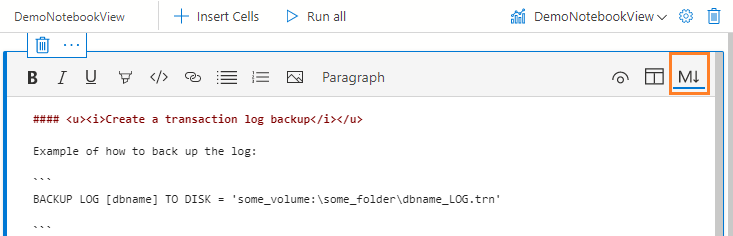
To format a cell, double-click on the required cell, and it displays the format menu bar. It gives the option to convert text into bold, italic, underline, highlight color, Insert link, create an ordered (numbers) or unordered(bullet) list, choose the heading fonts.
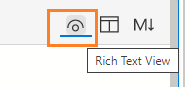
Apart from these formatting, you get excellent views – Rich text view, split view, markdown view.
- Rich text view: The rick text view displays how notebook cell looks. By default, it shows the rich text view.
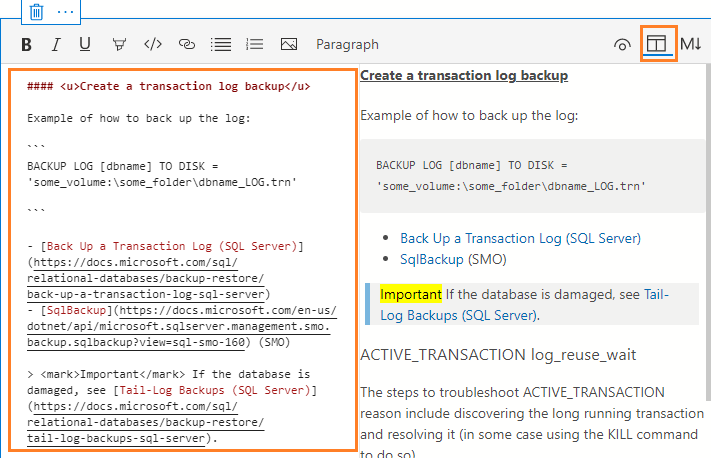
- Split view: The split view gives separate windows for markdown language (left window) and preview( right window). The split view is beneficial to preview changes you perform using markdown language.
- Markdown view: The markdown view removes the preview window. You get a markdown window for writing markdown language codes for the notebook.
Add multiple notebook views for SQL Notebook in Azure Data Studio
We might have different requirements for sharing data with different users. For example, let’s look at the two requirements.
- You want to share query data charts with your manager, and they should not contain table results or queries.
- In another view, you require sharing technical details such as T-SQL script and results for team members.
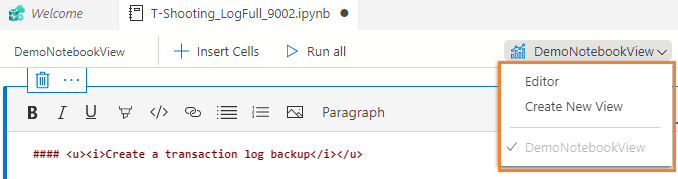
The ADS notebook allows you to configure multiple views of a notebook. Click on the drop-down menu for notebook view, and it gives the option to create a new view or click on an editor to return to the original notebook.
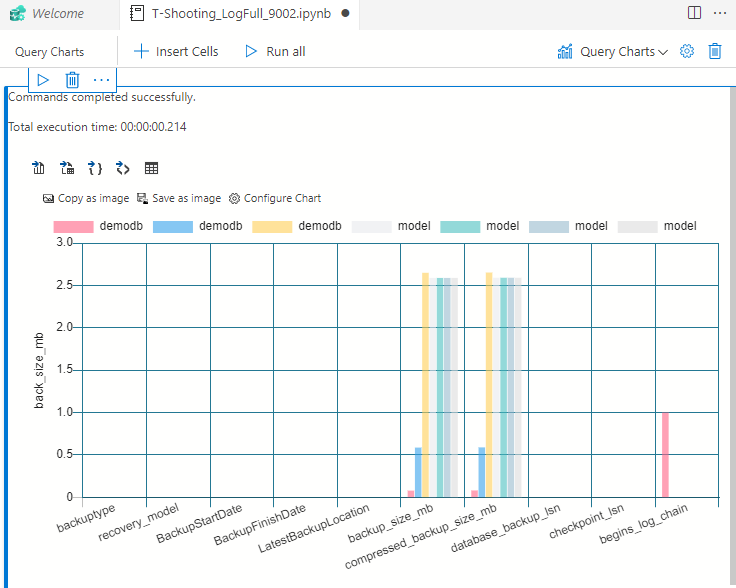
Let’s create a new view for displaying the query charts. Select the required cell to view required data in the notebook view.
Delete a notebook view
You can delete the notebook view for the notebook, and it does not remove the content of cells from the original notebook. To delete a notebook view, click on the delete option as shown below.
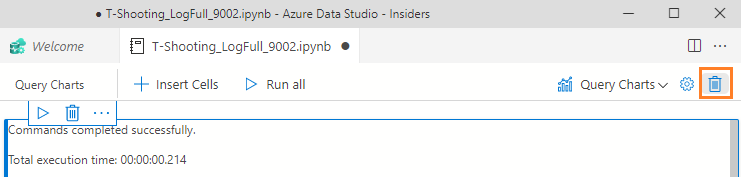
Click on delete as a confirmation to delete the view.
Conclusion
We have seen the new ADS notebook view feature. You can configure the notebook view according to the user’s need, and you can also add a custom table and chart views to the notebook. We hope you enjoyed this article. Stay tuned for more updates on Azure Data Studio.
Note: The notebook view is a preview feature and is available in the insides release of ADS. It might go significant changes before it is released as general availability (GA).

I am the author of the book "DP-300 Administering Relational Database on Microsoft Azure". I published more than 650 technical articles on MSSQLTips, SQLShack, Quest, CodingSight, and SeveralNines.
I am the creator of one of the biggest free online collections of articles on a single topic, with his 50-part series on SQL Server Always On Availability Groups.
Based on my contribution to the SQL Server community, I have been recognized as the prestigious Best Author of the Year continuously in 2019, 2020, and 2021 (2nd Rank) at SQLShack and the MSSQLTIPS champions award in 2020.
Personal Blog: https://www.dbblogger.com
I am always interested in new challenges so if you need consulting help, reach me at rajendra.gupta16@gmail.com
View all posts by Rajendra Gupta
- Understanding PostgreSQL SUBSTRING function - September 21, 2024
- How to install PostgreSQL on Ubuntu - July 13, 2023
- How to use the CROSSTAB function in PostgreSQL - February 17, 2023