
In this guide, we’ll discuss more about migrating a SQL Server database to Azure SQL Database using SQL Server Transactional Replication.
With Azure SQL database, it is possible to replicate your on-premise database(s) with database(s) on the cloud in order to ensure application availability. In this article, we will see how we set up SQL Server transactional replication between an on-premise database and a database on Azure. We will deal with setting up SQL Server transactional replication—only supported feature of Azure SQL database.
Database Migration
In this case, we are performing a database migration with a very short downtime using SQL Server transactional replication. I’ll discuss more in detail to setup and configure replication.
- Note:
- Only transactional replication is supported on Azure SQL Database. Other types such as Peer-to-peer or Merge Replication topology aren’t supported
- Azure SQL database can only be used as a subscriber. Setting up publications is not allowed on Azure
Prerequisites
To be able to set up SQL Server transactional replication on Azure, you need to have some familiarity with Microsoft SQL Server Transactional Replication as well as the Azure SQL database cloud services.
Versions
It is mandatory that you meet the following requirements in order to set up SQL Server transactional replication on Microsoft Azure SQL Database.
-
The publisher and distributor must at least be among the following version of SQL Server:
- SQL Server 2017
- SQL Server 2016
- SQL Server 2014 SP1 CU3
- SQL Server 2014 RTM CU10
- SQL Server 2012 SP2 CU8 or SP3
- Use the latest versions of SQL Server Management Studio as well as SQL Server Data Tools in order to be able to use all the features of Azure SQL Database
- You can use SQL Server Management Studio to configure replication, or execute T-SQL statements on the publisher. Azure Portal cannot be used to configure replication
- The only way you can authenticate on Azure for replication is use SQL Server authentication logins
- Tables that are being replicated must have a primary key
- Of course, you should already have an Azure subscription
- The Azure SQL database subscriber is region-agnostic
- You can use a single publication on SQL Server, to support both, Azure as well as SQL Server (on-premises and SQL Server in an Azure virtual machine) subscriptions
- The on-premise SQL Server must be used to manage, monitor and troubleshoot replication
- Only push subscriptions to Azure are supported
- Only @subscriber_type = 0 is supported in the stored procedure, sp_addsubscription
- Bi-directional, immediate, updatable, or peer to peer replication are not supported by Azure SQL Database
Database Migration Scenario
- Use SQL Server transactional replication to replicate data from your on-premise SQL Server database to Azure
- Redirect the client applications to update the Azure SQL database copy
- Stop updating the SQL Server version of the table after the redirection by removing the publication
Setting up SQL Server Transactional Replication
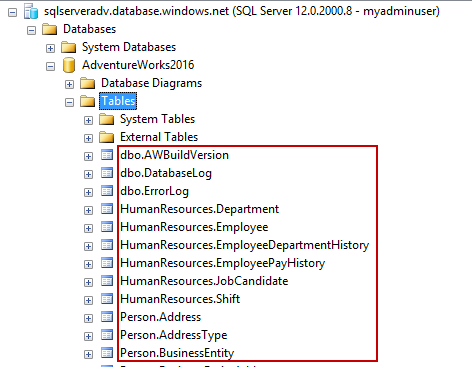
Let’s set up SQL Server transactional replication to Azure. In this guide, I will use the Adventure Works database for setting up the replication from SQL Server to Azure SQL Database. You can download the adventureworks2016 sample database.
In this article, I am going set up a SQL Server transactional replication by selecting a SQL Server 2016 as the publisher and distributor, and an Azure SQL Database as the subscriber. You can refer to the Prerequisites section for more details.
First, let’s configure publisher and distributor on the SQL Server 2016 server. In the next section, you’ll see the steps to configure distributor.
Setup Distribution
The steps are no different than setting up a normal replication. You can refer to a previous article of mine to see the details about the distributor configuration.
Note: The default values are used in all pages. This way, it will be very easy and straight-forward to understand how to configure distribution database. You can then make changes according to your requirements, based on the understanding you gather this way.
-
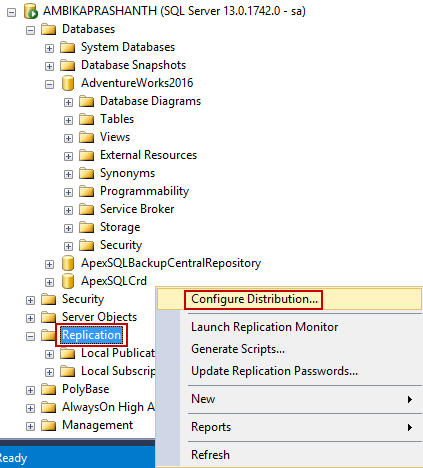
Browse Object Explorer and locate the Replication folder. Right-click and select Configure Distribution

- Now, it displays the Configure Distribution Wizard page. Click Next to proceed to the next window
-
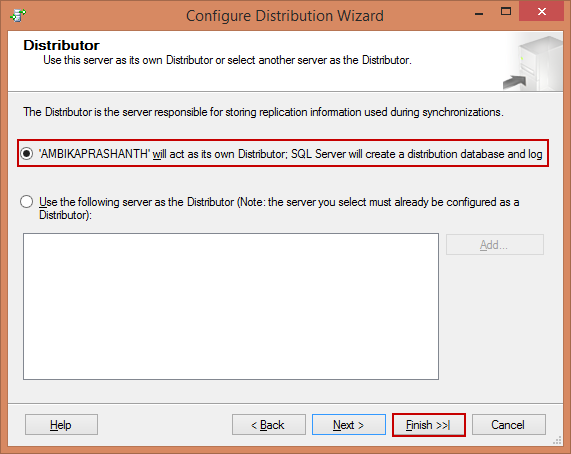
Next, as the setup is configured with local distributor, choose the default setting “AmbikaPrashanth will act as its own Distributor; SQL Server will create a distribution database and log” and Click Next
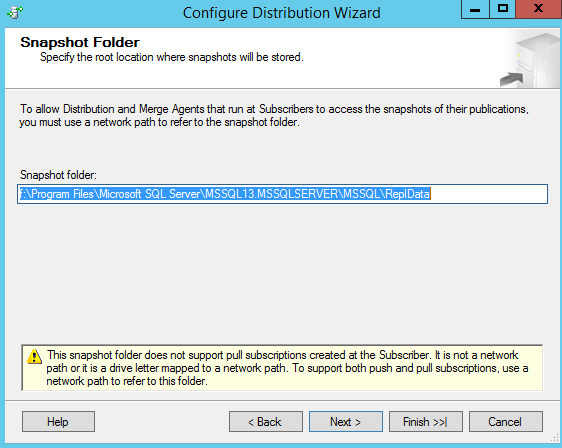
Configure the Snapshot Folder. As this is a demo setup, I’ll go with the default values and click Next
-
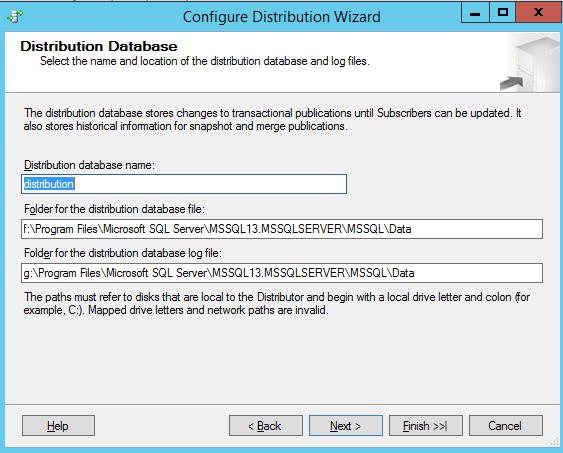
In the Configure distribution database page, select the defaults and proceed by clicking Finish button
-
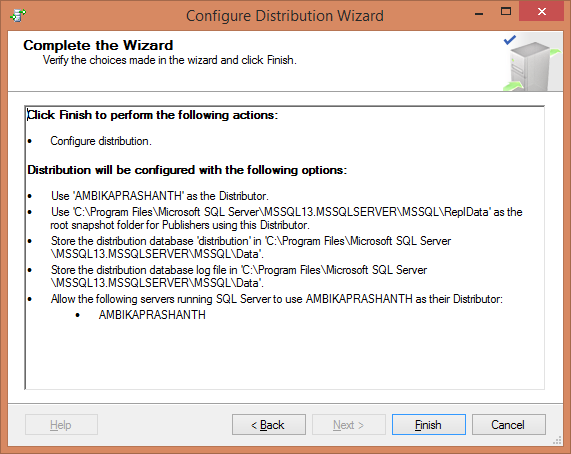
In the Complete the wizard page, review the summary and then click Finish to complete the configuration of the distribution database
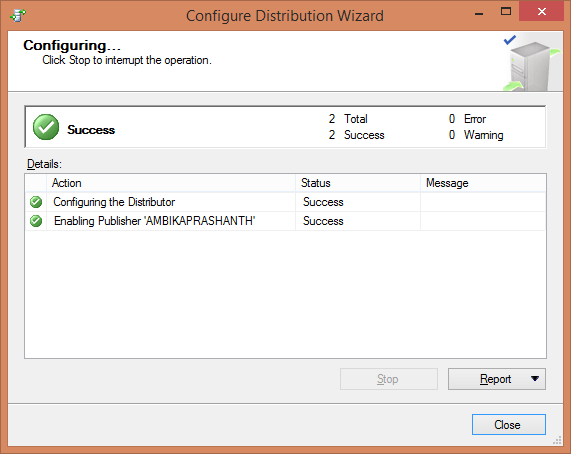
Next, in the confirmation page, you would see the progress of the entire distributor setup
Configure Publisher
In this section, we discuss setting up a publisher. As we know that during the setup, we can see a different type of replication that we can enable through the wizard.
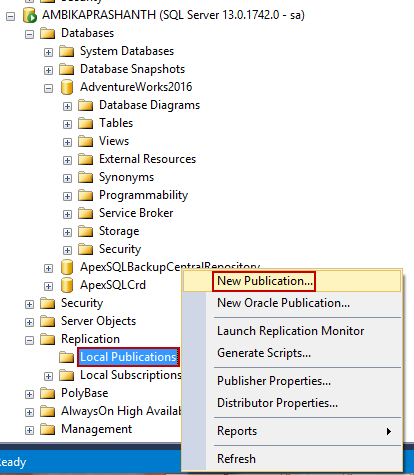
Browse Object Explorer, locate the Replication folder, right-click Local Publication, and then click New Publication
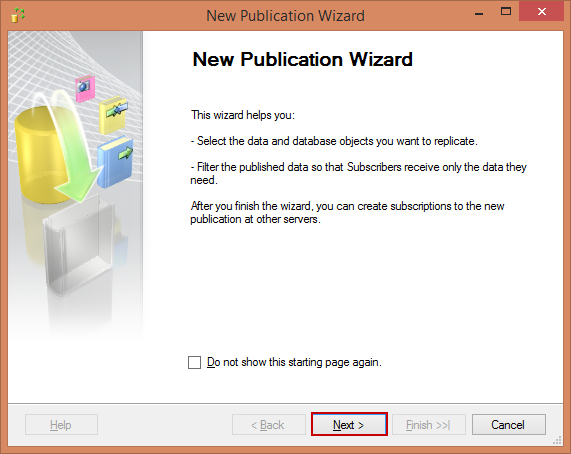
In the Publication Wizard, click Next
On the publication database page, select the Adventureworks2016 database and click Next
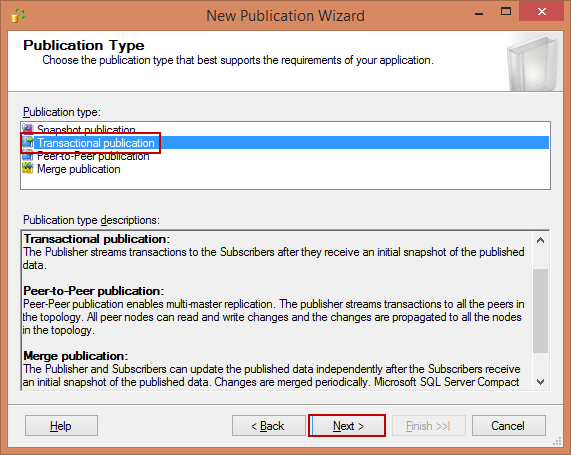
Next, select Transactional publication as the Publication Type, and click Next
-
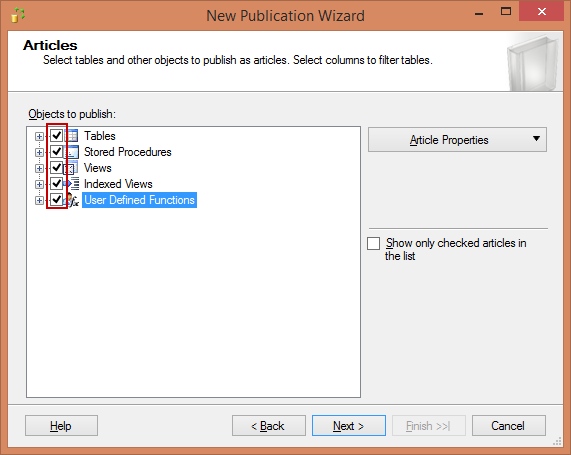
In the Articles page, choose all the objects that are part of the publication. In the case of this tutorial, it’s a full database migration hence, I select all the objects
Note: Since we are doing a full database migration, we are not going to set up any type of table row filtering.
In the Snapshot Agent page select Create a snapshot immediately. We need to specify when we are going to run the snapshot agent that will create that first snapshot, which will then be applied to Azure SQL Database. In this case, we set it to create the snapshot immediately because we are going to initialize replication right away
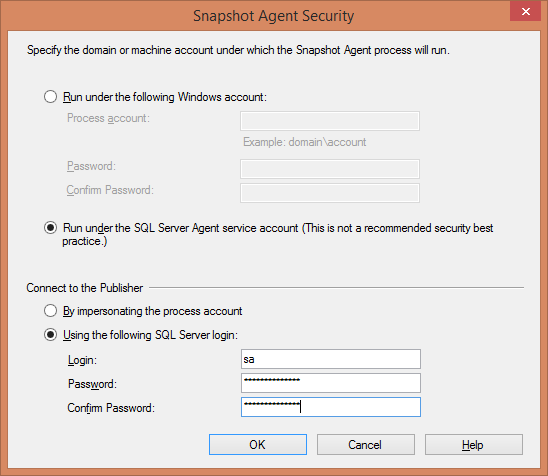
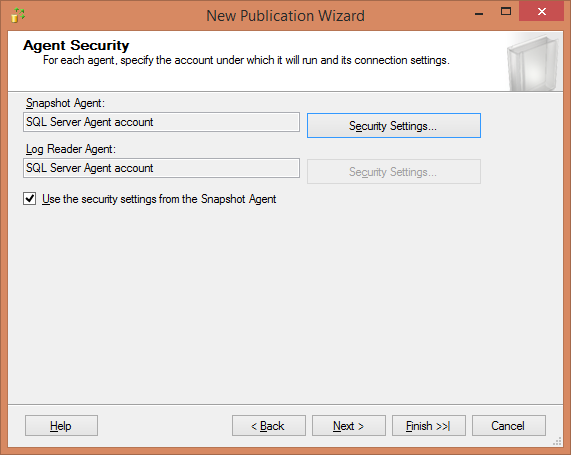
On the Agent Security page, configure the Snapshot Agent using Security settings
In this case, we use the SQL Server Agent service. In this step, the recommended setting is to use a domain account. But for demo purposes, I am just going to use the SQL Server agent service account
- To complete the setup, click Finish
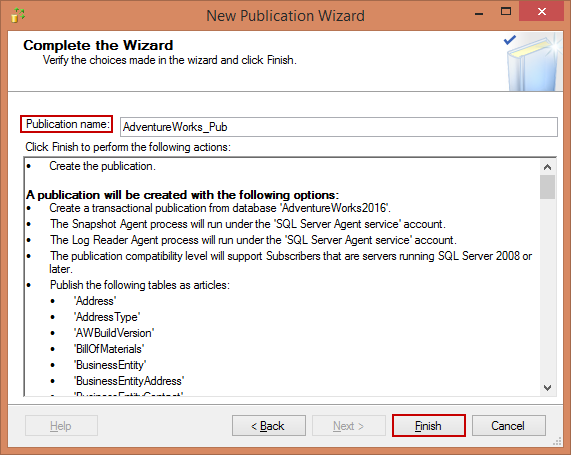
In the next page, type in the publication name and click Finish
The publication setup progress appears. It summarizes the progress of the publication setup and configuration. In case of this tutorial, you would see that the Adventureworks_Pub is successfully created. The wizard will take care of creating the publication, adding the articles, and then starting the snapshot agent to take that initial snapshot of the AdventureWorks2016 database
- Browse the Publication folder to view the newly-created publication


Configure Subscriber
Creating the subscription is the last step in setting up transaction replication.
-
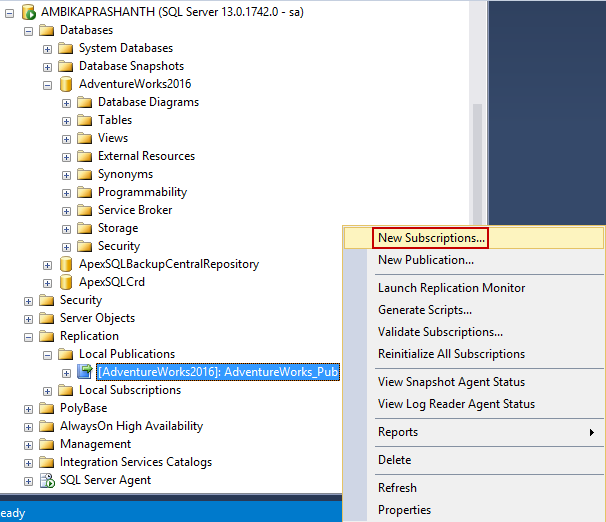
In Object Explorer, expand the Replication folder, right-click Local Subscriptions, and then select New Subscriptions
Select the publication database. In case of this tutorial, it will be AdventureWorks2016
As we only have one publication (the one that I just created), we’ll select it and click Next
In a normal setup, we have the option of selecting where to run the distribution agent. But for Azure SQL Database, the first option will be it. Only push subscription works for Azure
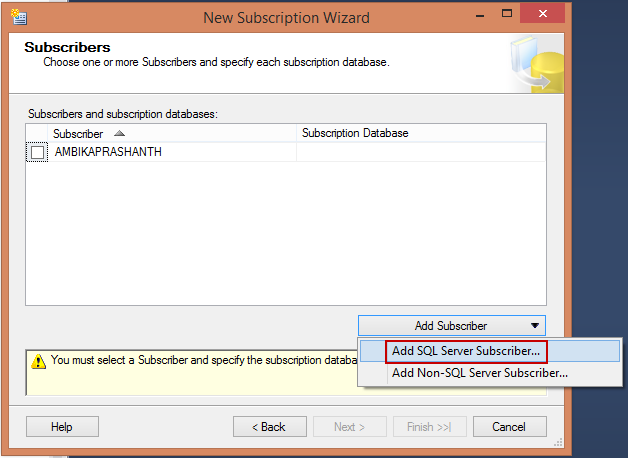
Note: Select pull subscription would not work. And for subscribers, I’m going to add a new subscriber, and this is going to be the Azure server.
In the wizard, I have to select a SQL Server subscriber to add the Azure SQL Server
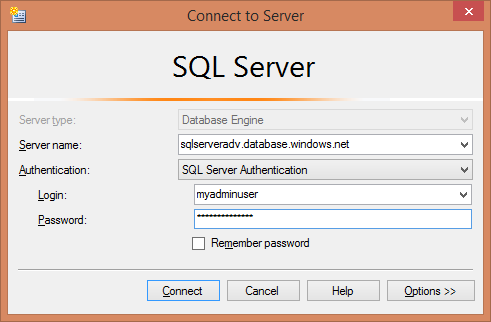
In the next step, we create an empty subscriber. Use SQL Server Management Studio or Azure Portal to create an empty database. The database creation is part of the configuration; we need to look at the available service tier offerings (S0, S1, S2, S3, S4 and S5). Once this is done, go back to the wizard, back to the drop down, and click on Refresh database list to get the name of the database you just created
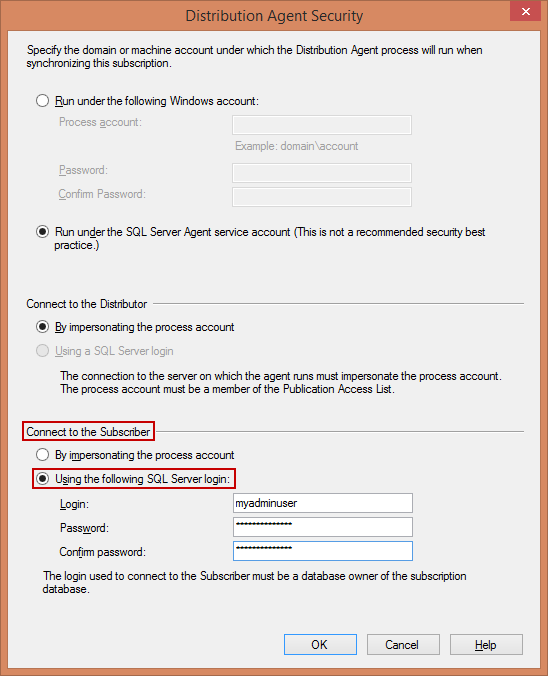
Next, to connect to the distributer, we’re just going to use the SQL Server Agent account, though normally you would use a separate domain account. Finally, to connect to the subscriber, we’re going to use a SQL login. In this case, I use a SQL account myadminuser and its password, to push the commands from the distributor
Note: You can also try an alternative account that has the database owner permission set for the subscription database AdventureWorks2016
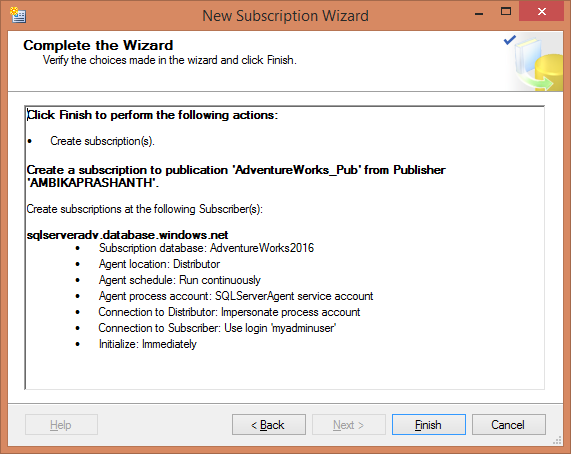
- Click Finish.
We can either run the replication continuously, run it only on demand when we actually execute the job, or we can also define a schedule for it. As it is part of the database migration, it is recommended to set it to run continuously, so both, the publisher and subscriber databases, will be in sync. Next, we’re going to initialize the subscription, immediately, as soon as we are done with the wizard. These are the default configurations that are used for the demo
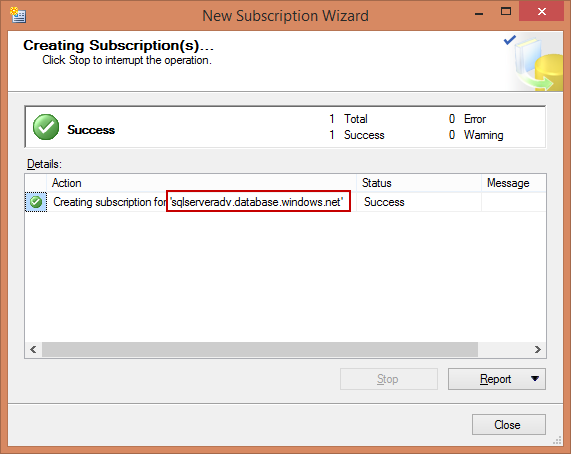
At this point, the Create subscription wizard will create the subscription to the Azure SQL Database
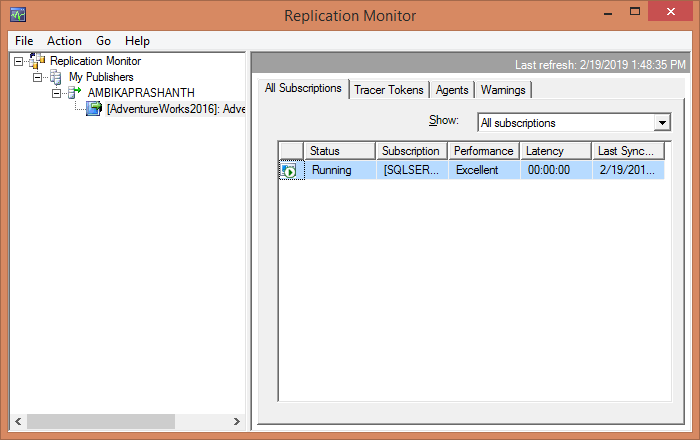
- Next, let’s go back to the SQL Server Management Studio and verify that there is a new subscription that points to the Azure SQL Server. To verify this, launch Replication Monitor
-
In the Replication Monitor, we can expand the publisher and click on the publication and get the status of the subscription that’s happening over the cloud
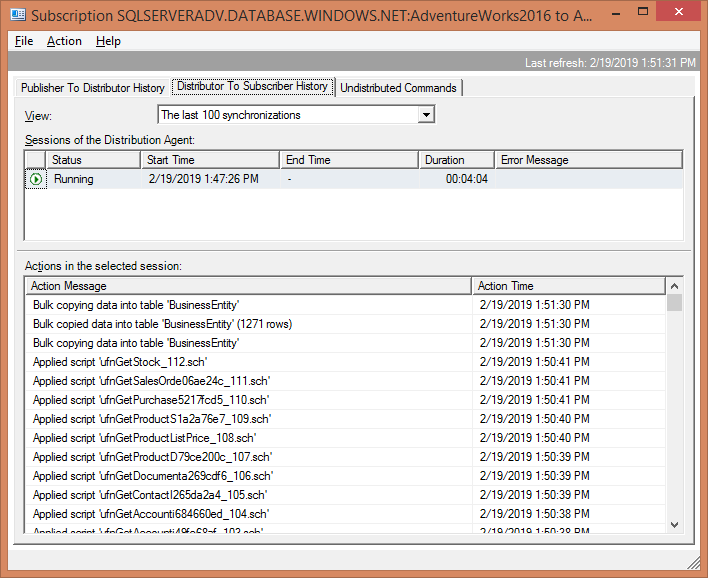
In the case of this article, we can see the status as running, it has no errors, and the performance is excellent. We can double click on that particular subscription if we want to and we would get a detailed history of the data that has been uploaded to the cloud
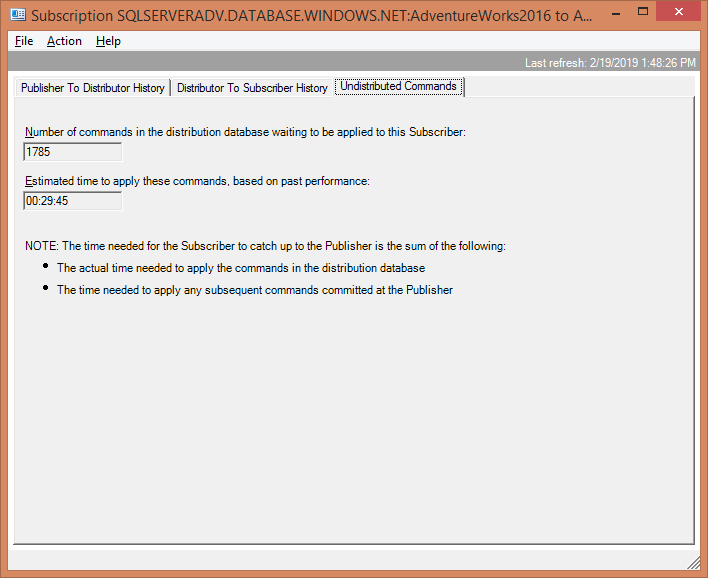
We can check the Undistributed Commands tab to see the status; a value of 0 means that both databases are in sync. In case of the demo, it is 1785, which means that the database is synchronizing at the moment
-
Connect to the Azure SQL database and verify the data


Summary
In this article, we discussed how to perform a full database migration to Azure SQL Database using Transaction Replication. In this guide, I have selected all the objects in the database. In most cases it depends on the complexity of your schema. You might use SQL Server transactional replication along with other combination of data transfer methods for non-primary key tables. I hope this article gave you an idea how to perform database migrations. I hope you liked this article. Please leave your feedback in the comments section.

My specialty lies in designing & implementing High availability solutions and cross-platform DB Migration. The technologies currently working on are SQL Server, PowerShell, Oracle and MongoDB.
View all posts by Prashanth Jayaram
- Stairway to SQL essentials - April 7, 2021
- A quick overview of database audit in SQL - January 28, 2021
- How to set up Azure Data Sync between Azure SQL databases and on-premises SQL Server - January 20, 2021