
In this article, we will explain how to install MongoDB on the Windows operating system, how to install and configure the ODBC driver and connector that allows us to import data from MongoDB to SQL Server using SSIS.
MongoDB Installation
Before explaining how to import data from MongoDB to SQL Server using SSIS, we will first explain how to install the MongoDB community server (free edition) on Windows.
First, we should open a web browser and navigate to the MongoDB website. Click on “Community server” under the “Software” button in the menu bar.
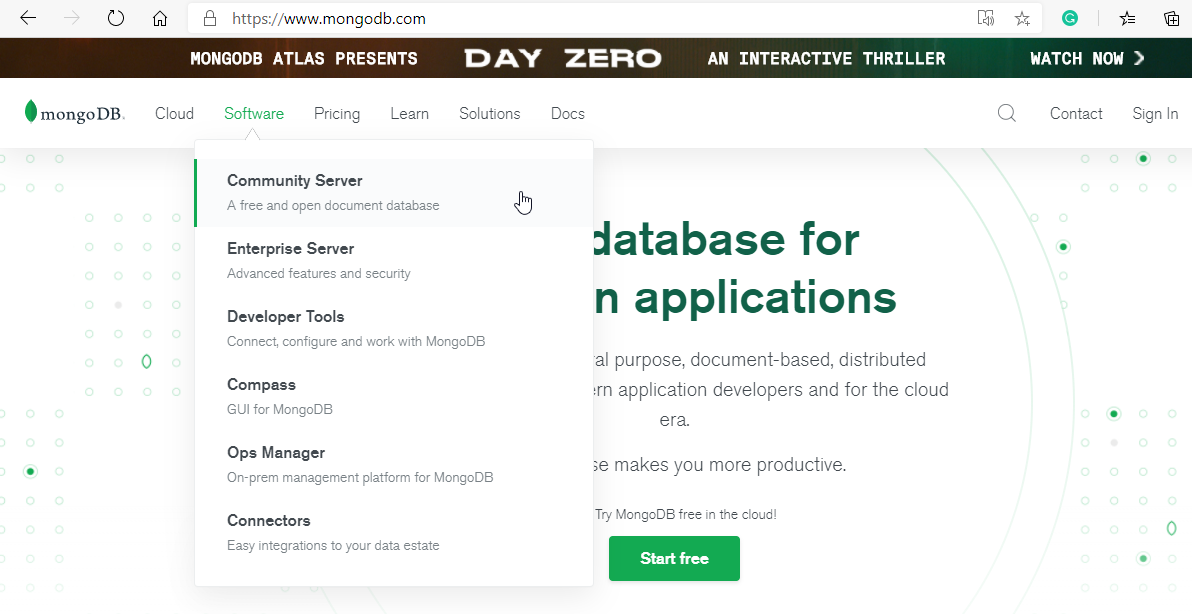
Figure 1 – Navigating to community server page
On the MongoDB community server page, select the MongoDB version you are looking to download and the operating system you are using (We are using Windows in this tutorial). Then click the “Download” button to download the installer.
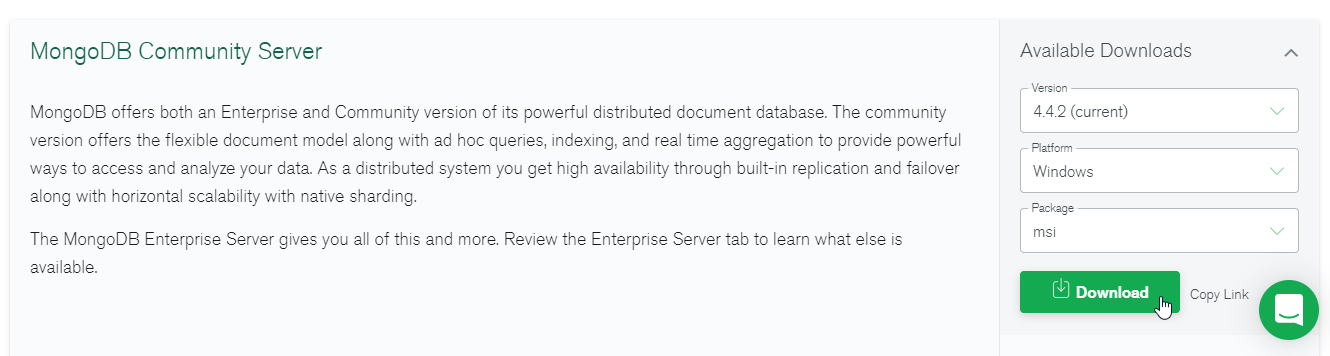
Figure 2 – Downloading the community server installer
After the download is complete, open the MongoDB community server installer. The installation wizard will show up. On the first form, click the “Next” button.
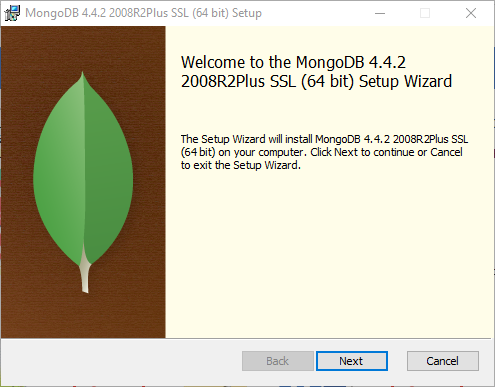
Figure 3 – Installation welcome form
The next form is the end-user license agreement form. You should check the “I accept the terms in License Agreement” check box and click the “Next” button.

Figure 4 – End-user license agreement form
The third form is where we should select the installation type that best suits your needs. If we don’t have previous knowledge in MongoDB or are a standard user, it is recommended to select the “Complete” installation.
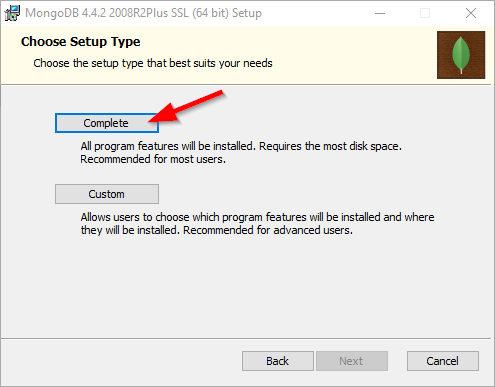
Figure 5 – Installation type form
Next, we should select if we need to install MongoDB as a Windows service and set up the necessary configurations such as (1) the user to run the service, (2) data and log directories, (3) service name.
Note that this option is available starting MongoDB 4.0 and that the Windows service is started once the installation is done successfully.
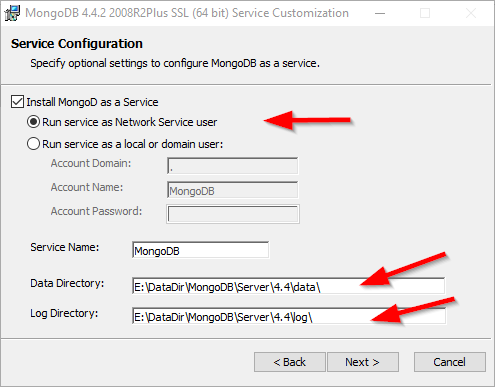
Figure 6 – MongoDB Windows service configuration
Next, we should select if we want to install the MongoDB compass the graphical user interface for MongoDB. All we have to do is to check the “Install MongoDB Compass” option.

Figure 7 – MongoDB Compass installation form
Now, we must click on the “Install” button to start the installation.
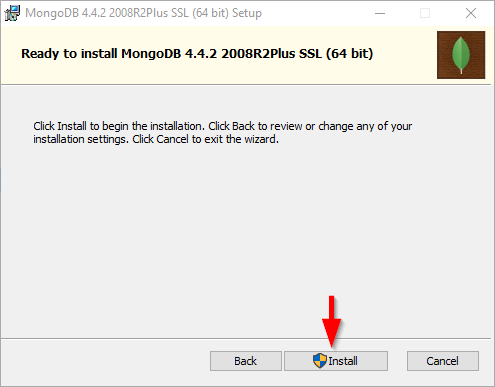
Figure 8 – Installation form
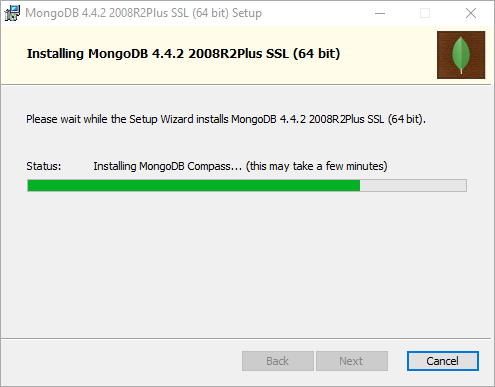
Figure 9 – Installation progress
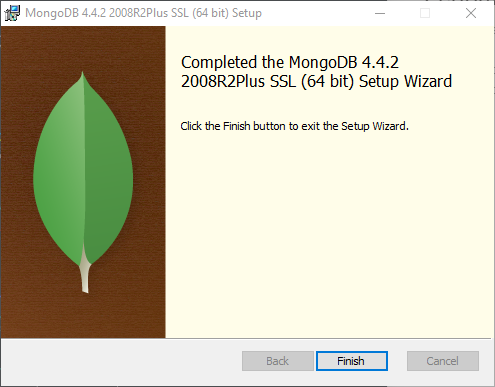
Figure 10 – MongoDB installed successfully
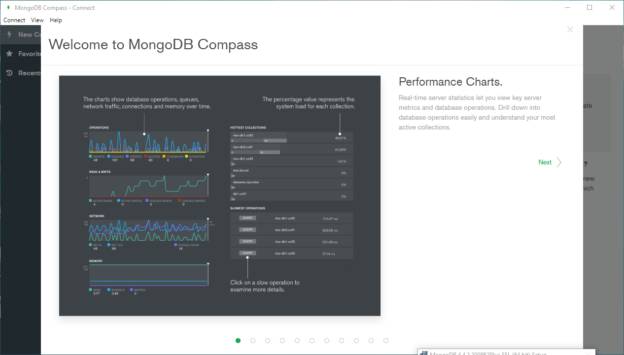
After the installation is completed, the MongoDB Compass user interface is opened automatically.
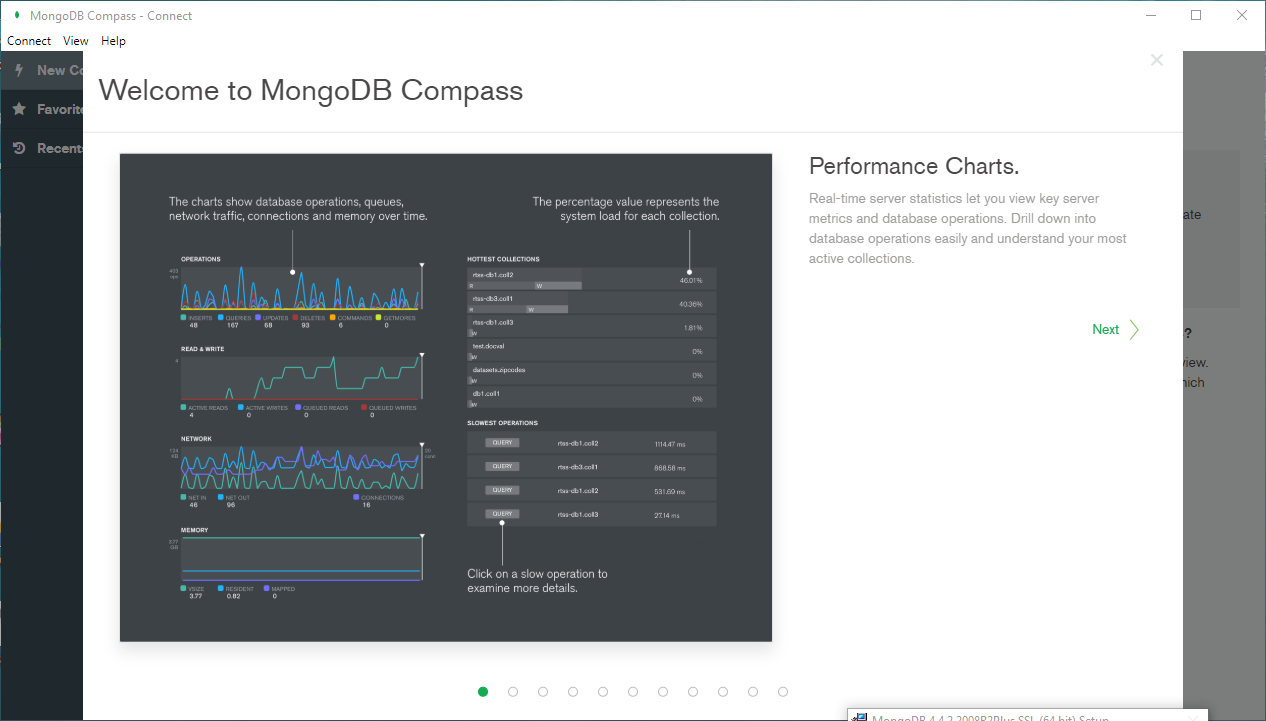
Figure 11 – MongoDB Compass welcome screen
If you need more information about MongoDB installation on Windows operating system, you can refer to the official documentation.
Getting things ready
After installing MongoDB, we must initialize our tutorial environment before importing data from MongoDB to SQL Server using SSIS. We have two steps to do:
- Connecting to MongoDB server and create a new database
- Importing sample data into the database
Connecting to MongoDB server and create a new database
Since we installed the MongoDB Compass, we will not use the command prompt. Suppose you are looking to create a new database and insert data. In that case, you can refer to the following previously published article on SQL Shack, Enhanced PolyBase SQL 2019 – MongoDB and external table.
First, we should open the MongoDB Compass interface. Then, in the “New Connection” tab, you should enter the connection parameters; You can enter the whole connection string or choose to enter the connection parts individually.

Figure 12 – MongoDB Compass new connection form
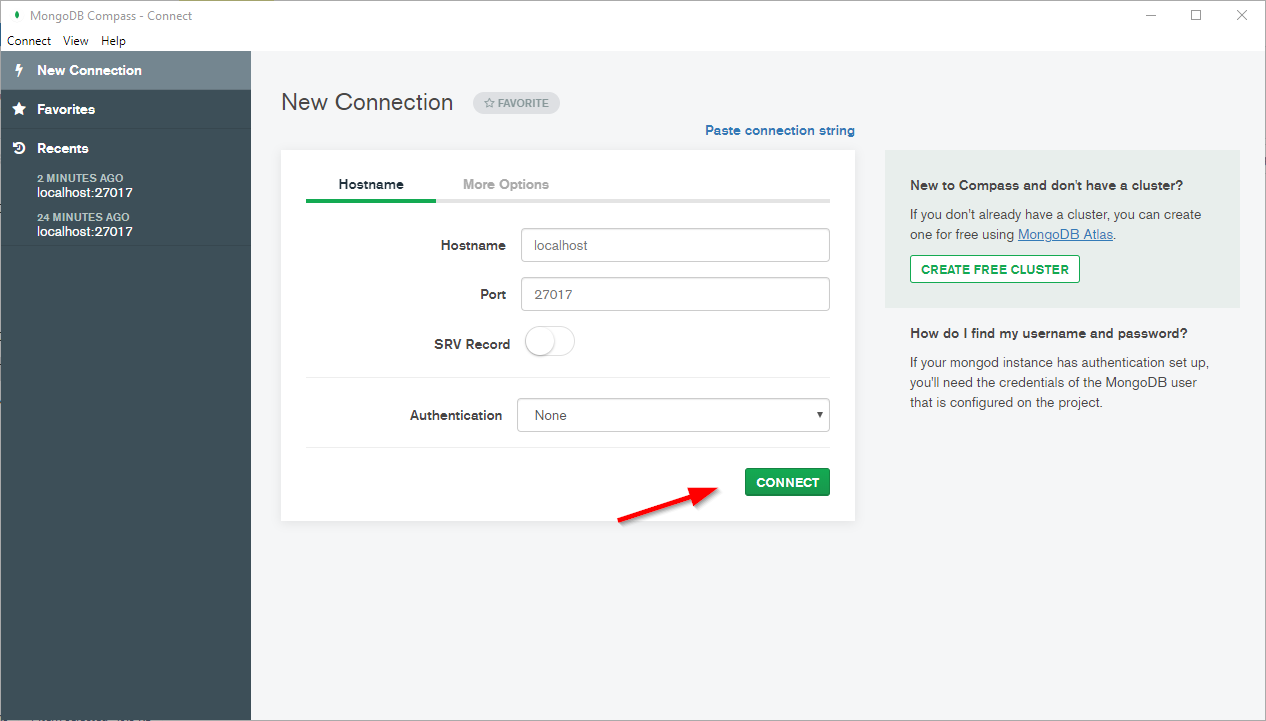
Figure 13 – Passing connection parts individually
Since we need to connect to the local server (default parameters), we can click on the “Connect” button without modifying anything.
After the connection is established, all existing databases appear in a list (By default: admin, config, and local databases are found). To create a new database, we should click on the “Create database” green button located on the list’s top.
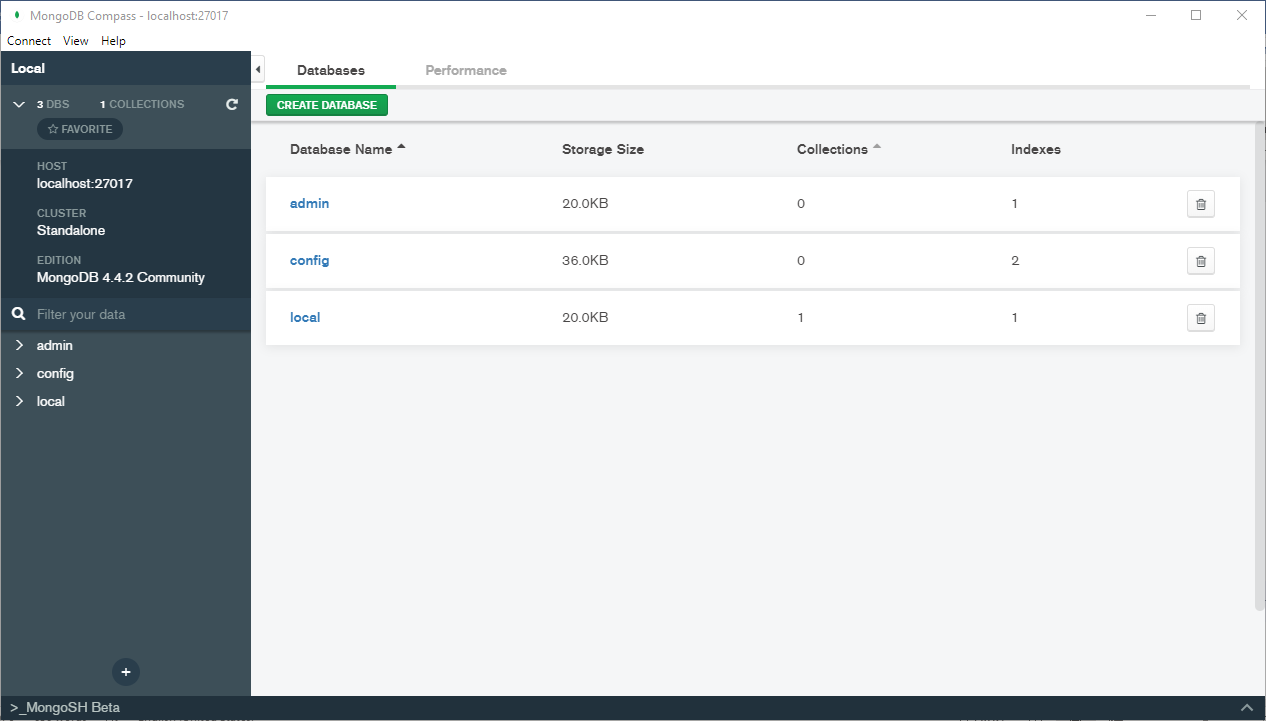
Figure 14 – Existing databases
Before creating a new database, it is worth mentioning that MongoDB stores data records as documents gathered in collections. A database stores one or more collections of documents.
To create a new database, we should enter its name and the name of the default collection.
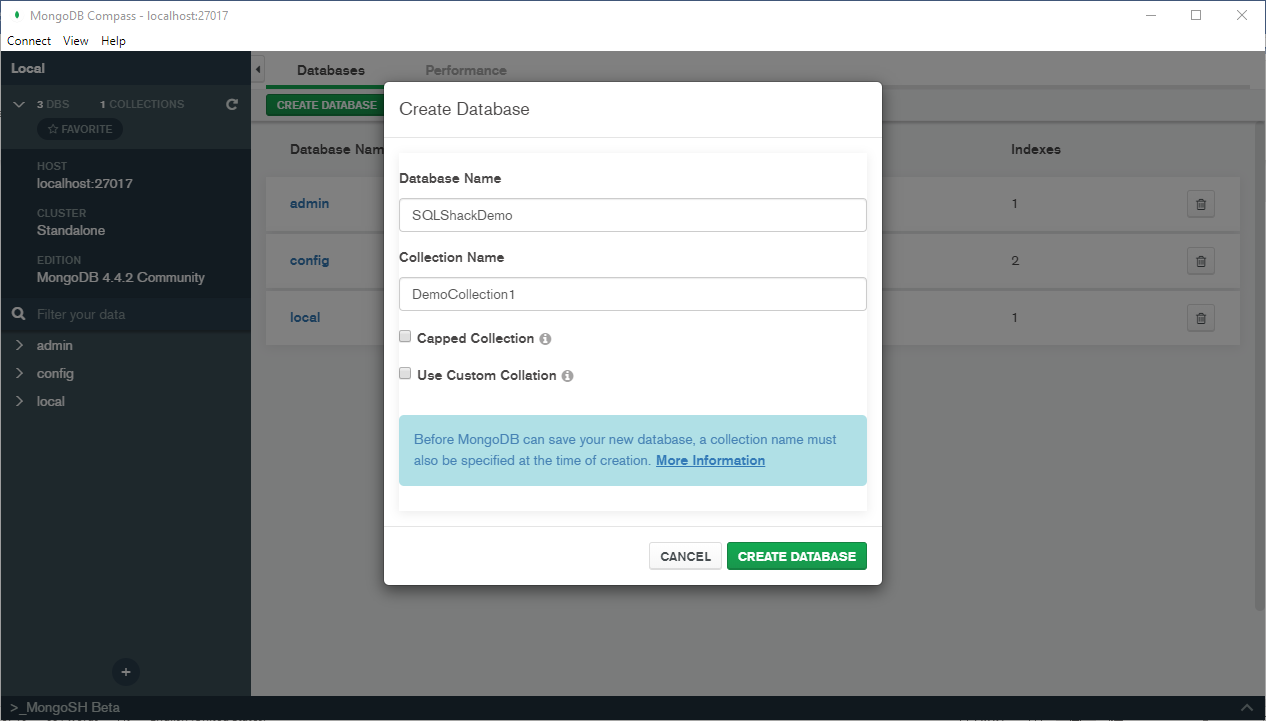
Figure 15 – Create new database dialog
Also, there are two options that we can select:
- Using Capped collection: As mentioned in the official documentation, Capped collections are fixed-size collections that support high-throughput operations that insert and retrieve documents based on insertion order. Capped collections work like circular buffers: once a collection fills its allocated space, it makes room for new documents by overwriting the oldest documents in the collection
- Using custom collation: Collation allows users to specify language-specific rules for string comparison, such as rules for letter case and accent marks. Note that collation is specified at the collection level (not the whole database)
Now, the created database is added to the database list.
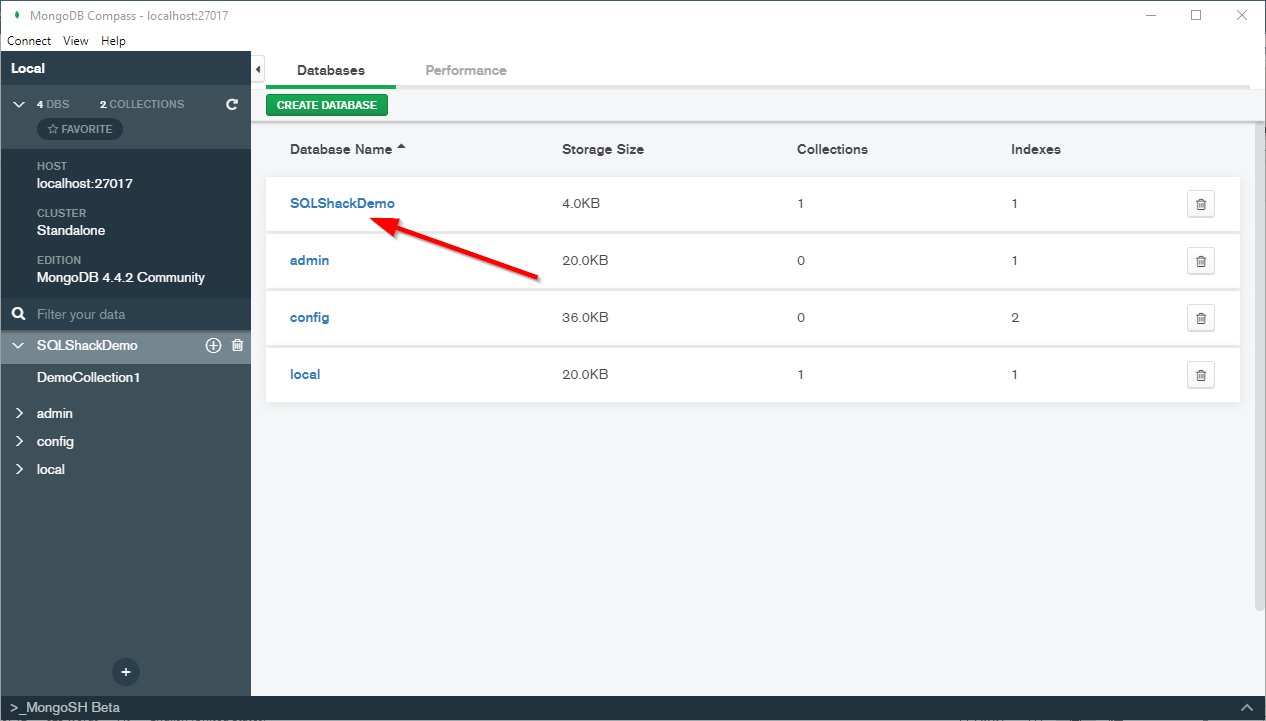
Figure 16 – Database created successfully
To explore the database content, we can click on the database name within the list.
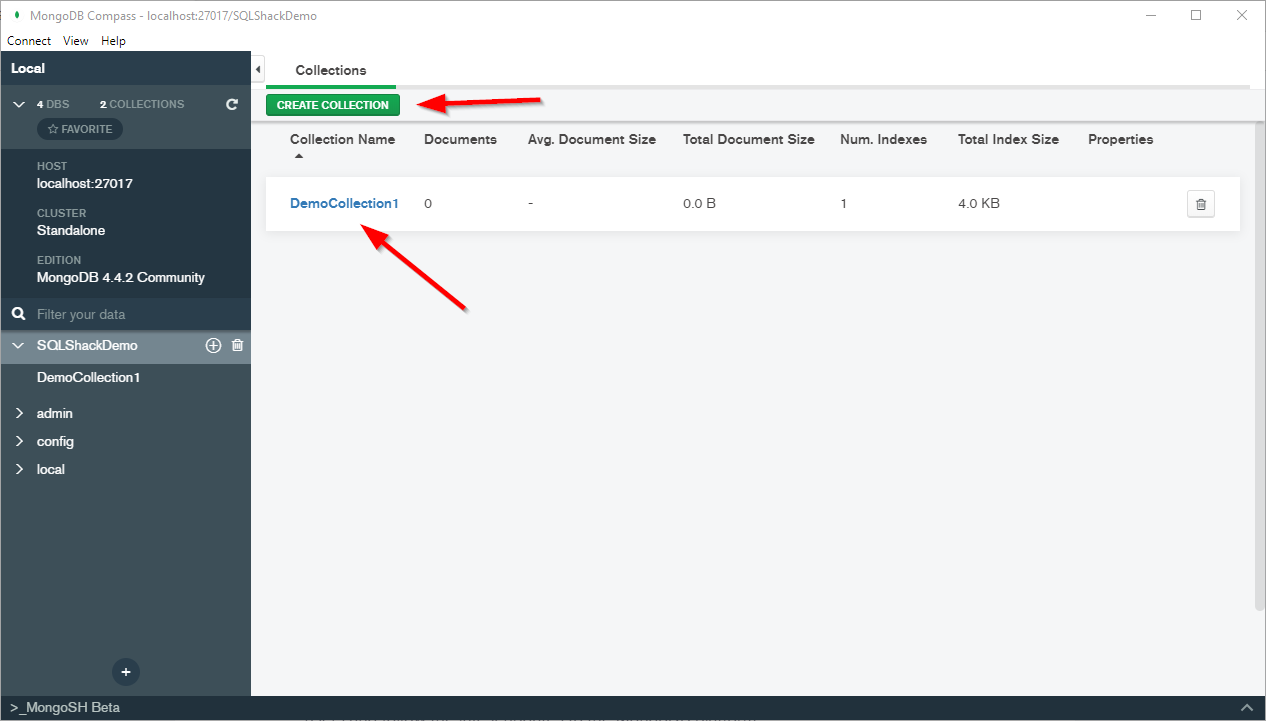
Figure 17 – Database Collections list
Once we choose a specific database, the interface shows the collections created in this database (you can see the default collection we created in the image above). We can also add other collections by clicking on the “Create Collection” green button located at the top of the collections list. If we click on a collection, we can read the data and objects stored within it.
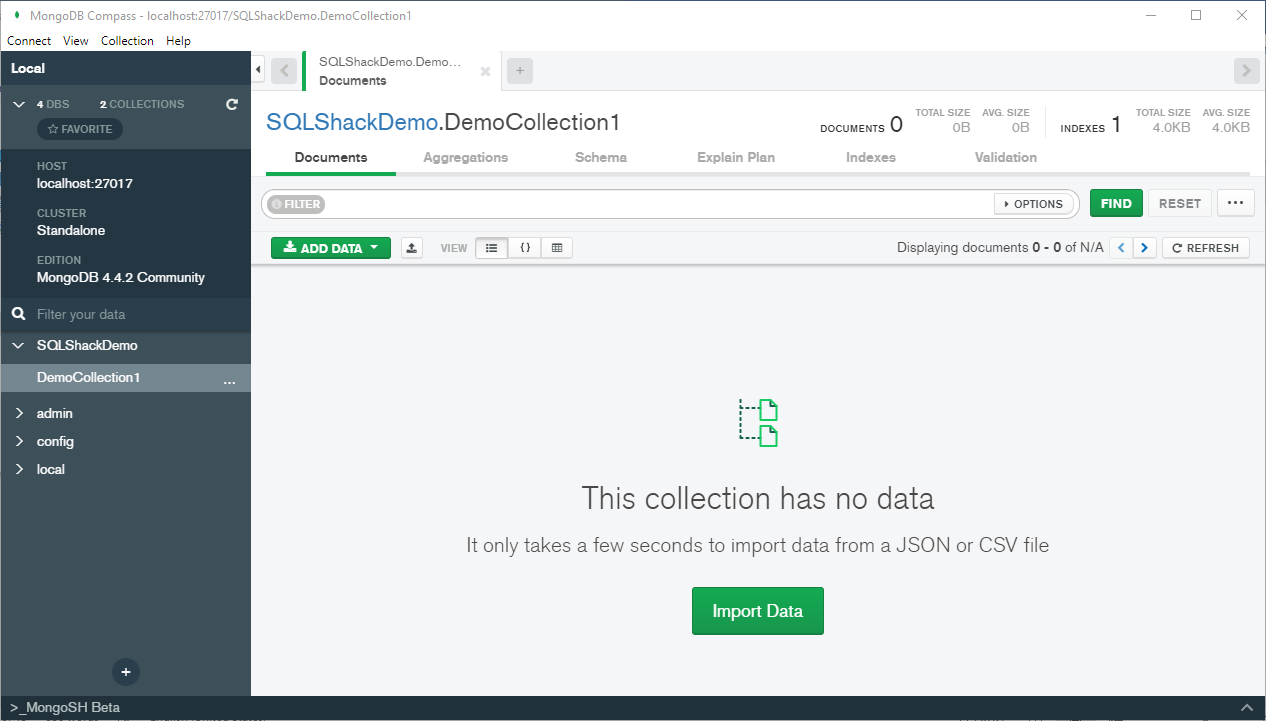
Figure 18 – Collection content
Importing sample data into the database
Using MongoDB Compass, it is easy to import data to collections. You can insert documents manually or import them from a file. Just click on the “Add data” button located on the top left of the collections form. This tutorial will import data from a CSV file containing yearly statistics and forecasts of life expectancy at birth for both sexes combined from 1955 to 2100 downloaded from the opendatalebanon.org website.
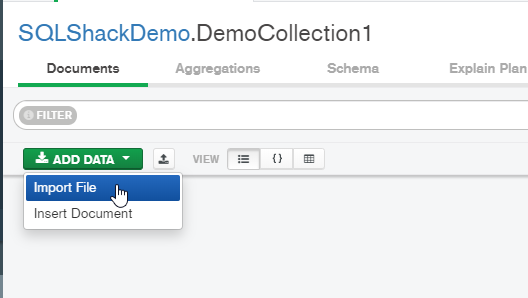
Figure 19 – Importing data from a file
Now, we should select the file (JSON or CSV files are supported). We can change the metadata retrieved automatically by the import wizard. Then we should click on “Import” to start the import operation.
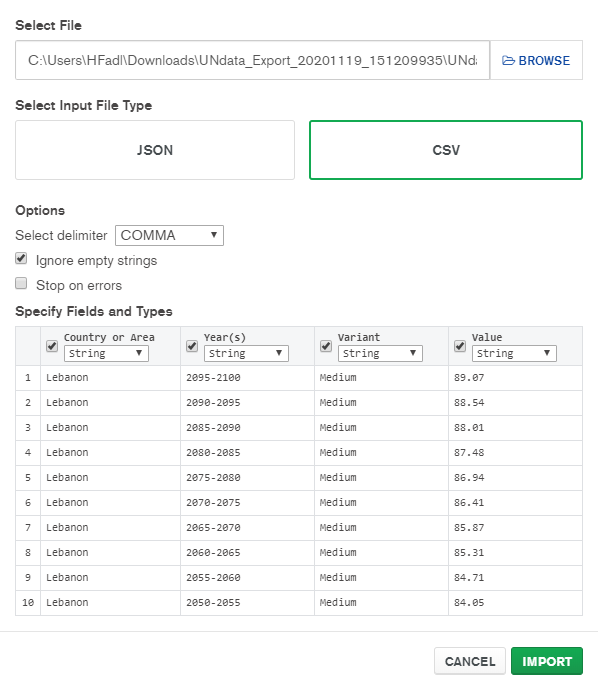
Figure 20 – CSV file metadata
After data is imported, it will be shown in the collection grid.
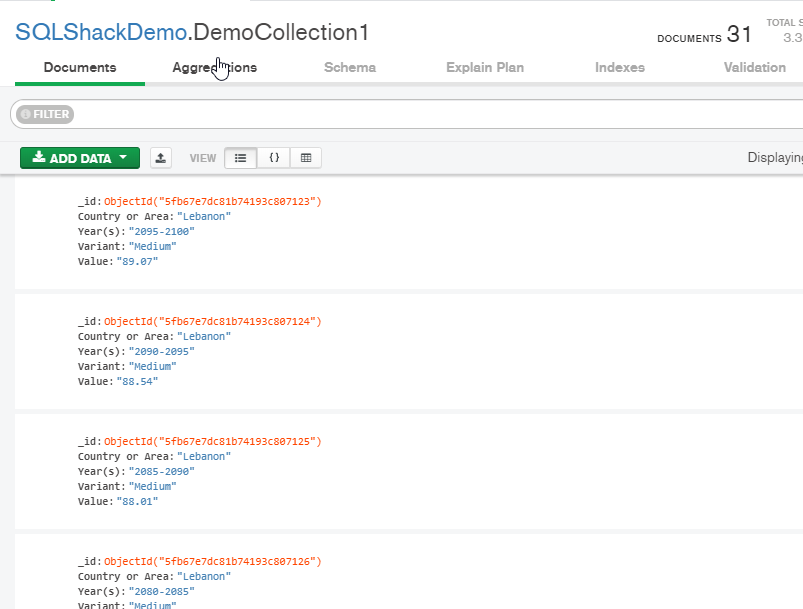
Figure 21 – Imported data
Importing data to SQL Server using SSIS
There are three options to import data from MongoDB to SQL Server using SSIS:
- Using third-party connectors: There are different commercial source components provided by companies such as CDATA and ZappySYS
- Using a Script Component: The users without coding experience may not prefer this solution
- Using the ODBC connection: This is the approach that we will be covering in the rest of this article
There are four prerequisites to create a MongoDB ODBC data source:
- Install Microsoft Visual C++ 2015 Redistributable
- Install MongoDB BI connector
- Install MongoDB ODBC Driver
- Generating drdl schema file
- Start MongoDB BI connector service
- Define an ODBC data source
Install Microsoft Visual C++ 2015 redistributable
First of all, we need to install the Microsoft Visual C++ 2015 redistributable since it is a prerequisite for the MongoDB BI Connector.
Install MongoDB BI connector
To import data from MongoDB to SQL Server using SSIS, we should first download and install the MongoDB ODBC BI Connector for Windows.
Connecting to MongoDB via ODBC is not established on the database engine service. It requires a service called MongoSQL that is installed within the BI connector.
MongoDB ODBC driver
The third step needed to import data from MongoDB to SQL Server using SSIS is to install the MongoDB BI connector ODBC Driver. The installation executable is a simple wizard where no advanced options should be specified.
Since we are using SSIS and since Visual studio only reads connections for the 32-bit platform, if you are using 64-bit installation, you must install the 32-bit drivers also.
Generating drdl schema file
To import data from MongoDB to SQL Server using SSIS, since MongoDB is a NoSQL database, we should define a relational schema file that allows the ODBC driver to read documents data relational.
Within the BI connector, there is a tool called mongodrdl.exe. We can generate a .drdl file from an existing connection within your database using the following command:
mongodrdl -d <databasename> -c <collection name> -o <output name>
We didn’t specify the host address since this tool takes by default “localhost:27017”.
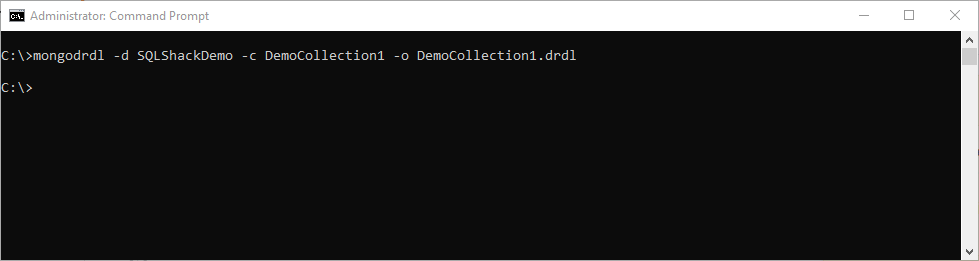
Figure 22 – Generating drdl schema from DemoCollection1
If we open the generated file using a text editor, it looks like the following:
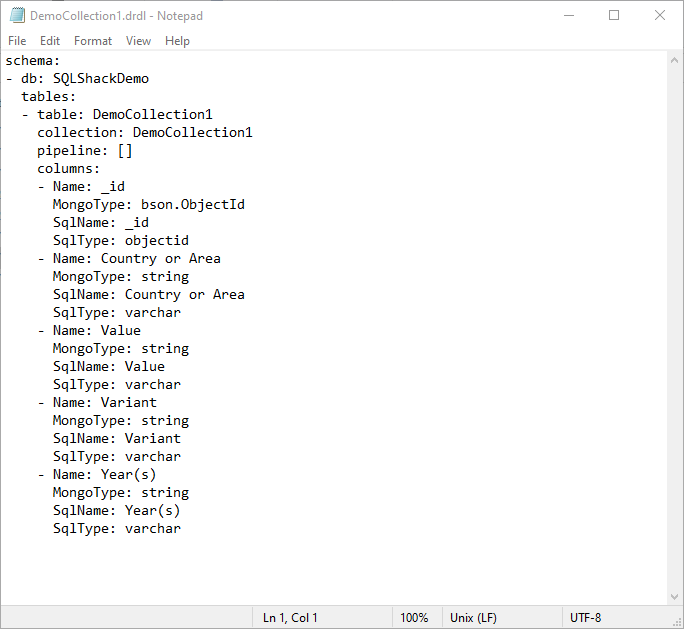
Figure 23 – Generated drdl schema content
Starting the BI Connector service
After the BI connector is installed, go to the installation directory and create a new file called “mongosqld.config”. We must open this file using a text editor and copy the following lines:
net:
bindIp: “127.0.0.1”
port: 3307
systemLog:
path: ‘C:\Program Files\MongoDB\Connector for BI\2.14\logs\mongosqld.log’
quiet: false
verbosity: 1
logRotate: “rename”
processManagement:
service:
name: “mongosql”
displayName: “MongoSQL Service”
description: “MongoSQL accesses MongoDB data with SQL”
schema:
path: ‘C:\DemoCollection1.drdl’
- Note: Specified directories must exist
Now to install and start this service open a command prompt as administrator and run the following commands after changing the current directory to the BI connector binaries folder:
mongosqld install –config “<BI connector installation directory>\mongosqld.config”
net start mongosql
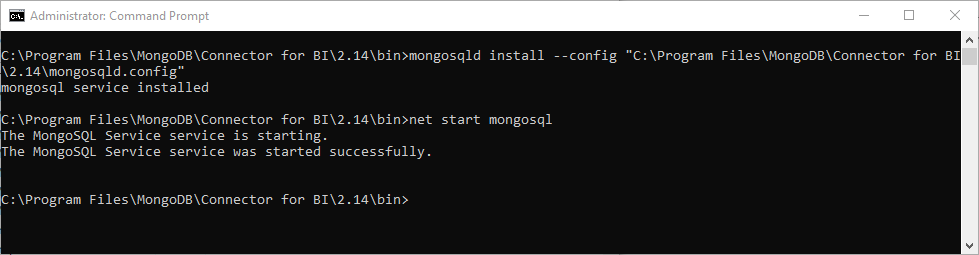
Figure 24 – Creating mongosql service
Defining an ODBC data source
After installing the ODBC driver, the next step to import data from MongoDB to SQL Server using SSIS is to define a system DSN within Windows. To do that, we should navigate to “Control Panel > Administrative Tasks > ODBC data sources administration.”
In the System DSN tab, click on the “Add” button.

Figure 25 – Adding a System DSN
Select the MongoDB Unicode driver.
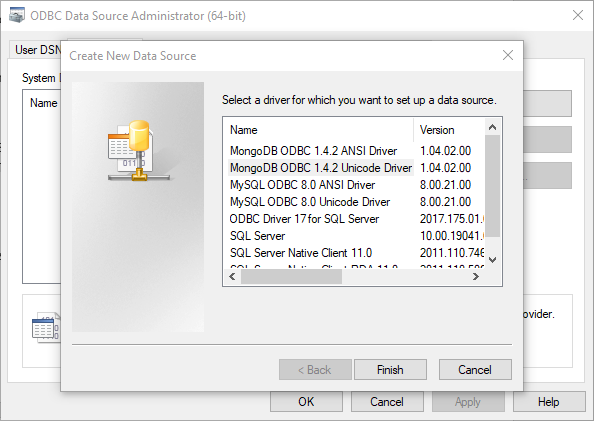
Figure 26 – Selecting the MongoDB Unicode driver
We should specify a data source name, enter the mongosql service address (the port specified in the configuration file, not the database engine address), and the database name as shown in the image below:
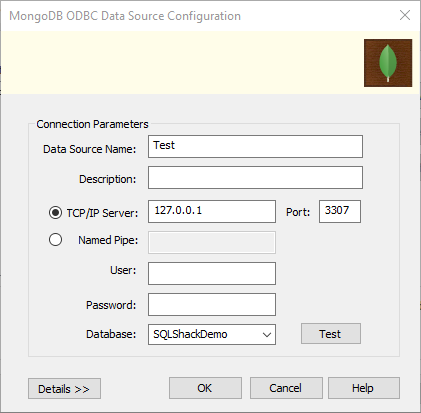
Figure 27 – Specifying the ODBC connection parameters
Now, we should receive a “Connection successful” message after clicking on the “Test” button.
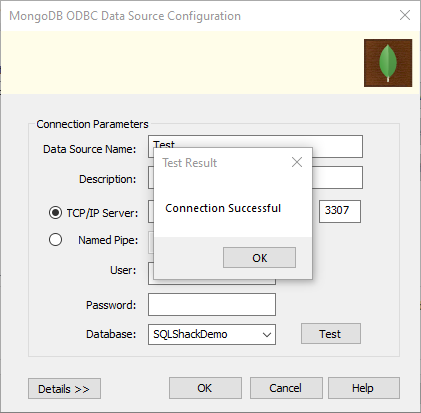
Figure 28 – Testing connection
If you are using a 64-bit installation, the same steps must be repeated within the 32-bit ODBC data sources since Visual Studio only reads 32-bit ODBC data sources.
Reading data using ODBC Source
Now, let’s open Visual Studio and create a new Integration Services project. In the Connection managers tab, add a new connection, and select ODBC connection from the connection managers list.
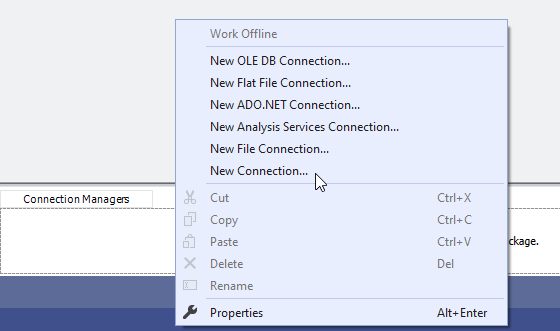
Figure 29 – Adding a new connection
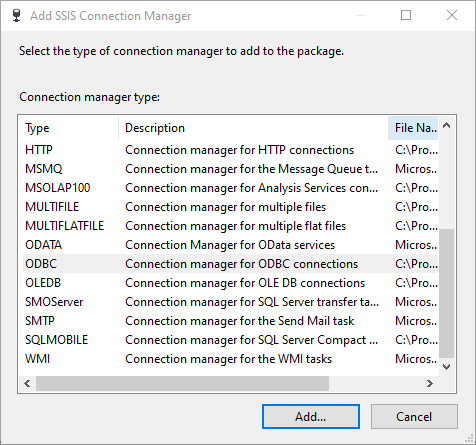
Figure 30 – selecting ODBC connection manager
Next, we should add an OLE DB connection manager for the SQL Server destination to specify the destination database name.
Next, we should add a Data Flow Task within the Control flow. And within the Data Flow Task, we should add an ODBC Source to read from MongoDB and an OLE DB destination to select (or create) the destination table.
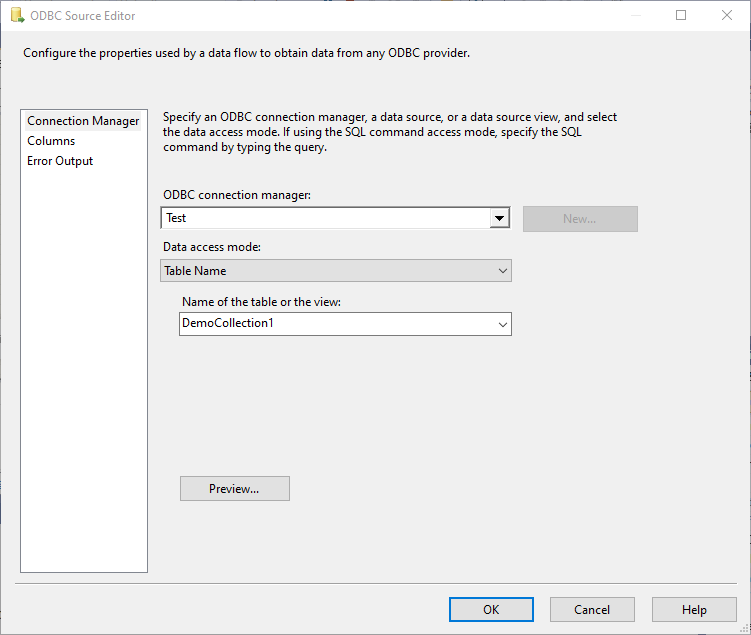
Figure 31 – Selecting the MongoDB collection within the ODBC Source
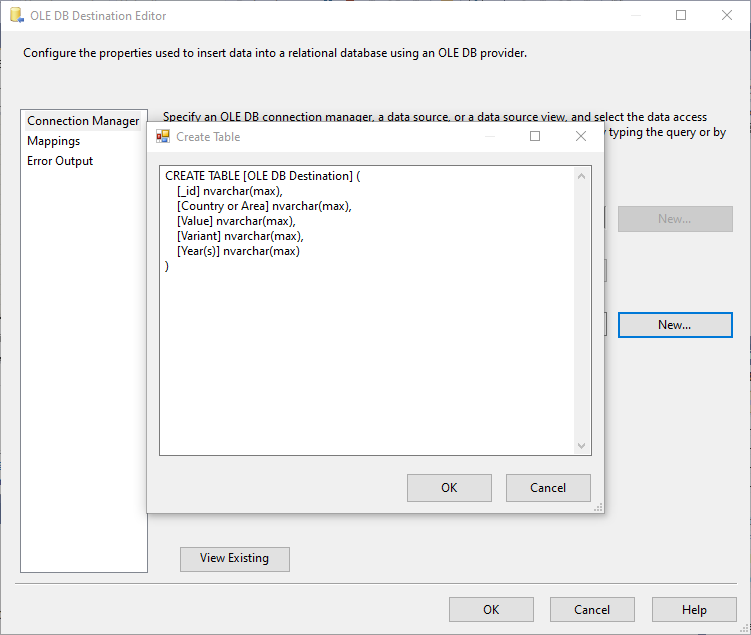
Figure 32 – Creating a destination table from the OLE DB destination component
If we run the package, 31 rows must be exported, as shown in the image below.
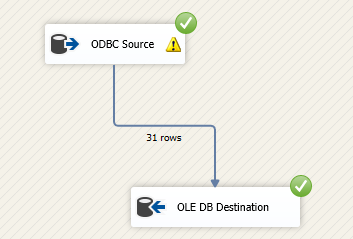
Figure 33 – Rows imported to SQL Server successfully

Figure 34 – Imported rows
Conclusion
This article explains how to download and install the MongoDB community server and how to create databases and collections. We also explained how to import data into MongoDB collections. Next, we talked about installing and confining the MongoDB ODBC driver and connectors, and finally, we explained how to import data from MongoDB to SQL Server using SSIS.
The last thing worth mentioning is that if you are using SQL Server 2019. We may not need to import data from MongoDB to SQL Server using SSIS since using Polybase is preferable.
Table of contents
| Import data from MongoDB to SQL Server using SSIS |
| Getting started with the Neo4j graph database |
| Migrating SQL Server graph databases to Neo4j |
| Export indexes and constraints from SQL Server graph databases to Neo4j |
| Migrating SQL Server graph databases to ArangoDB |

Besides working with SQL Server, he worked with different data technologies such as NoSQL databases, Hadoop, Apache Spark. He is a MongoDB, Neo4j, and ArangoDB certified professional.
On the academic level, Hadi holds two master's degrees in computer science and business computing. Currently, he is a Ph.D. candidate in data science focusing on Big Data quality assessment techniques.
Hadi really enjoys learning new things everyday and sharing his knowledge. You can reach him on his personal website.
View all posts by Hadi Fadlallah
- An overview of SQL Server monitoring tools - December 12, 2023
- Different methods for monitoring MongoDB databases - June 14, 2023
- Learn SQL: Insert multiple rows commands - March 6, 2023