

This article will guide you with all the necessary steps to successfully create a linked server in SSMS to connect to the MySQL database.
This article is divided in three sections:
- Installing ODBC driver for MySQL
- Configure ODBC driver to connect to MySQL database
- Create and configure a Linked Server using ODBC driver
Installing ODBC driver for MySQL
ODBC stands for Open Database Connectivity (Connector). It’s developed by Microsoft in the 1990s. Generally, that is API (Application Programming Interface) for accessing database systems.
For non-Windows OS, JDBC (Java Database Connectivity) is used.
Before installing the ODBC driver for MySQL on Windows, make sure that Microsoft Data Access Components (MDAC) are up to date and the Microsoft Visual C++ 2013 Redistributable Package is installed on your system.
Under this link, the MySQL ODBC drivers for Windows can be downloaded and installed. There are two versions of MySQL ODBC drivers for Windows that can be installed, depending on which application will be used with:
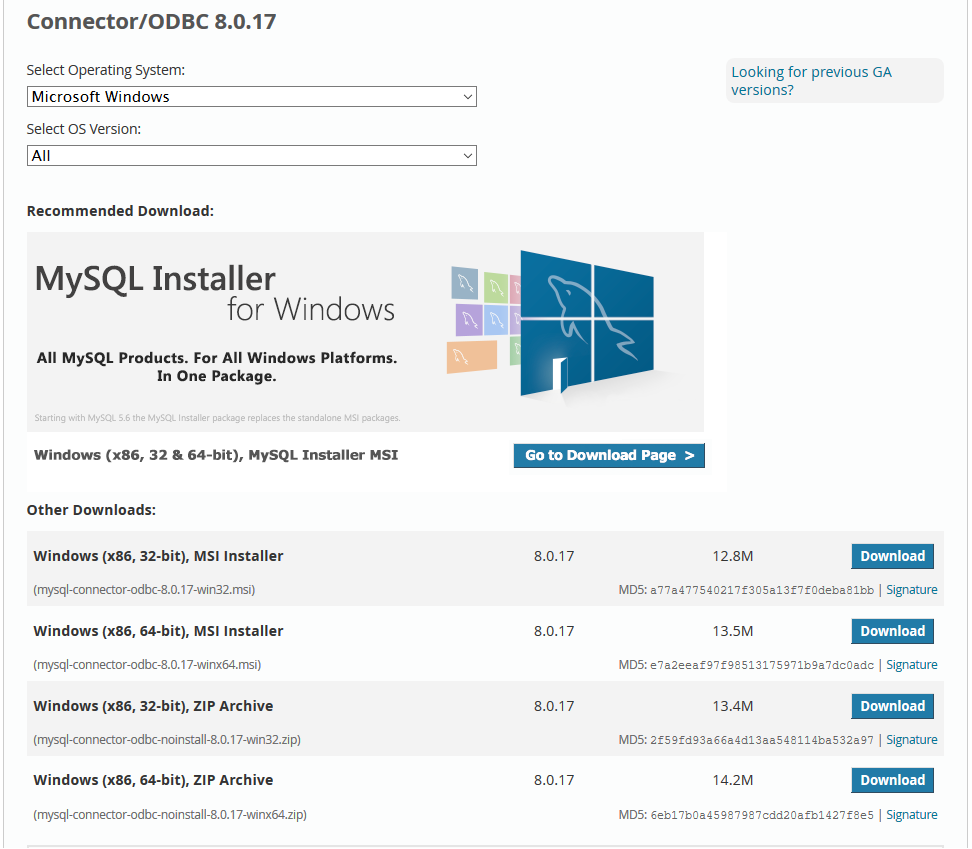
- mysql-connector-odbc-8.0.17-win32.msi for 32-bit application
- mysql-connector-odbc-8.0.17-winx64.msi for 64-bit application
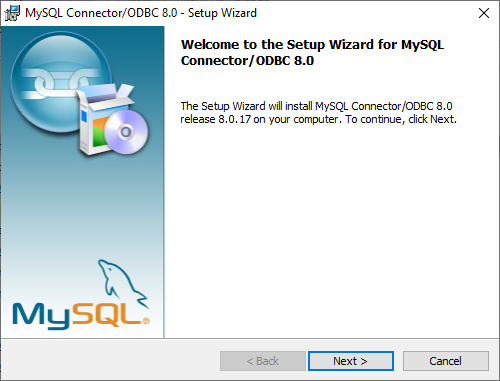
Installation of MySQL ODBC driver for Windows is straightforward. Double-click on the downloaded file, the Welcome dialog will appear:
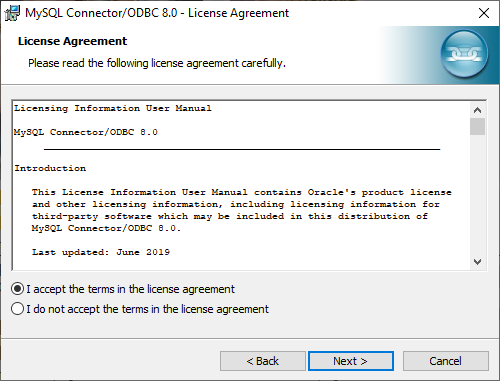
After pressing the Next button, the License Agreement dialog appears. If you agree with the license agreement, press the I accept the terms in the license agreement radio button and click the Next button:
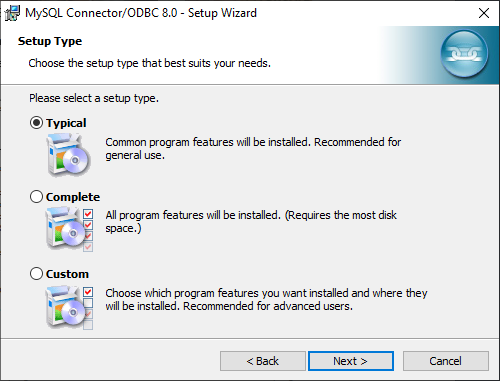
Under the Setup Type dialog, choose the Typical radio button and press the Next button:
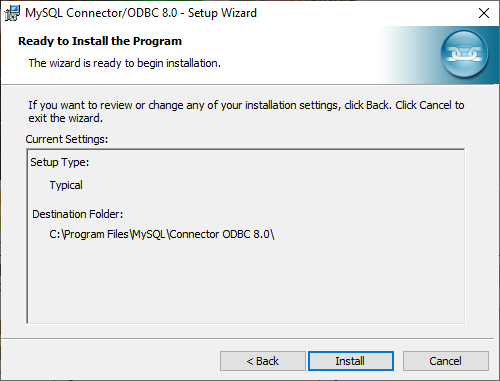
The Ready to Install the Program dialog shows what and where will be installed. Press the Install button to install ODBC driver:
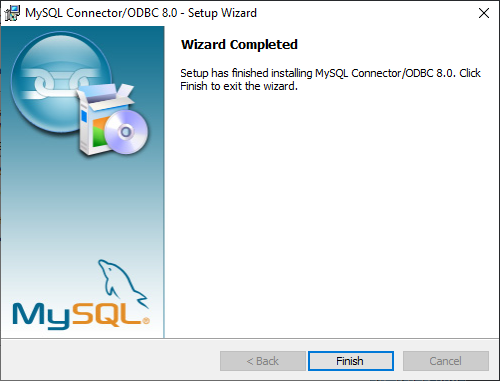
After a couple of seconds, installation of ODBC driver for MySQL is finished:
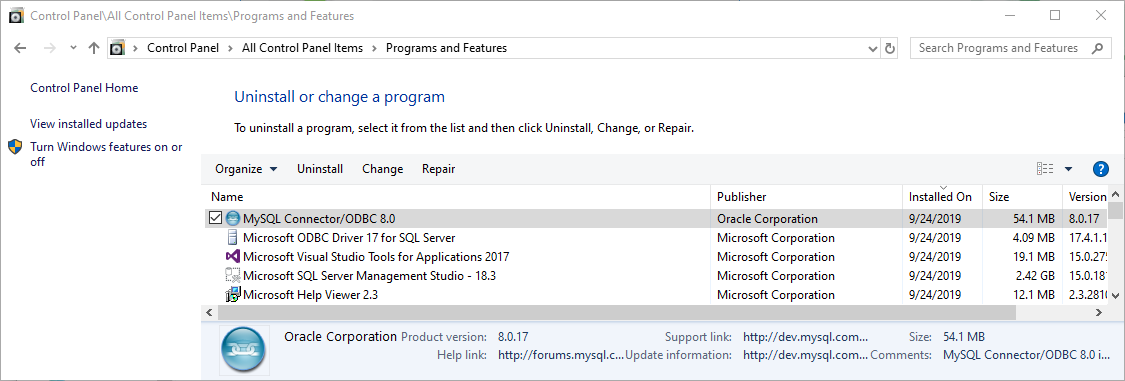
To confirm that ODBC driver for MySQL is installed on machine can be checked from Control Panel:
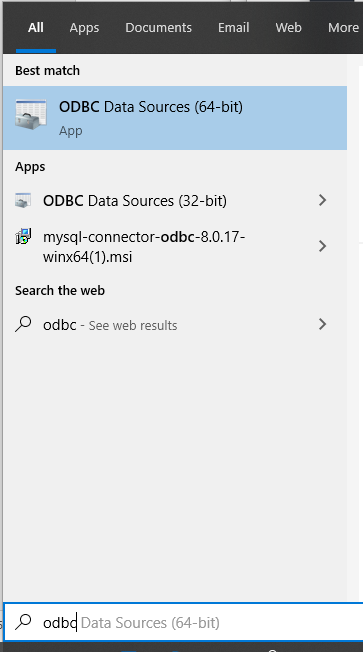
Another way to check is via the ODBC Data Source Administrator dialog box:
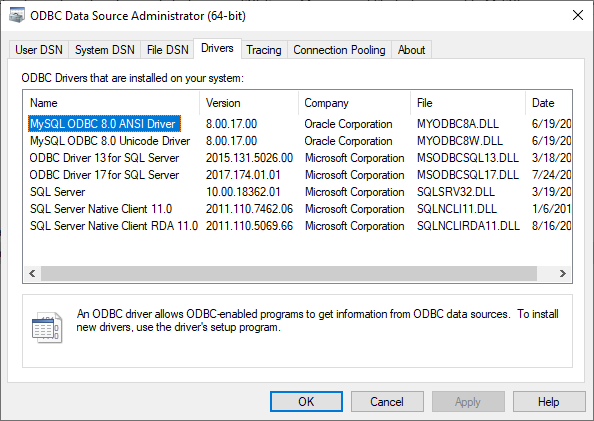
Under the Drivers tab of the ODBC Data Source Administrator dialog box, check if the MySQL ODBC Drivers exist:
Configure ODBC driver to connect to MySQL database
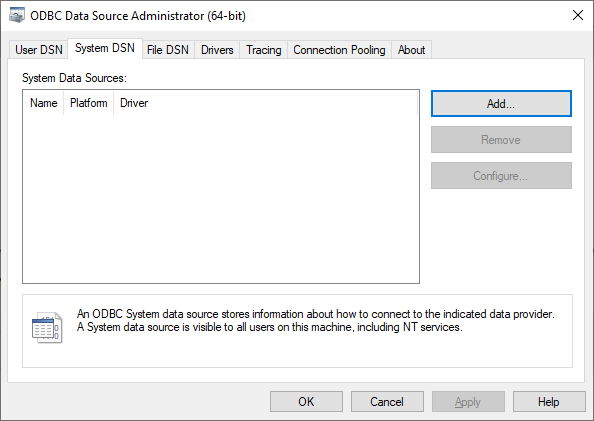
To connect to MySQL database using ODBC drivers, in the ODBC Data Source Administrator dialog, under the System DSN tab, press the Add button:
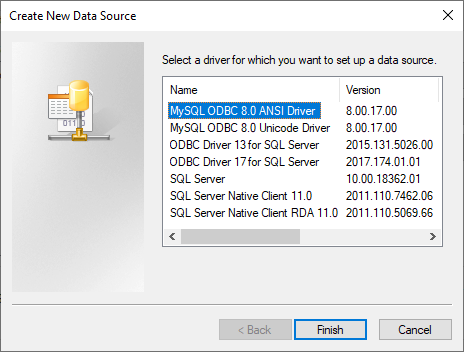
In the Create New Data Source dialog, select the MySQL ODBC Driver and press the Finish button:
In the MySQL Connector/ODBC Data Source Configuration dialog:
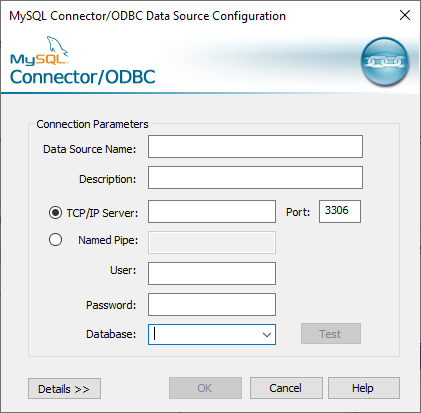
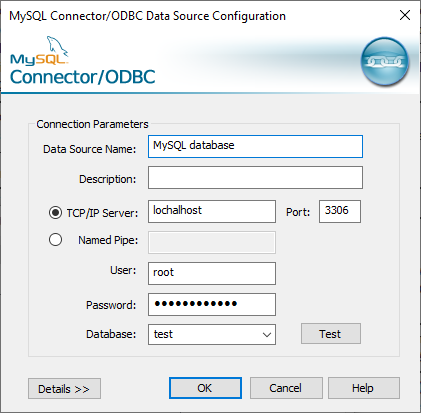
For the Data Source Name text box, enter the data source name by choice. In the Description text box, enter the description of the data source if needed.
Use the TCP/IP Server or Named Pipe connection method to connect to MySQL by selecting appropriate radio button.
In this example, the TCP/IP Server radio button is selected. In the text box, type a host name or IP address of the MySQL server. By default, the host name is localhost and IP address is 127.0.0.1. In the Port box, enter the TCP/IP port on which the MySQL server is listed. By default, it is 3306 port.
In the User box, type the name of the user needed to connect to the MySQL database and, in the Password box, type a user password. Under the Database combo box, choose the database for which want to establish connection:
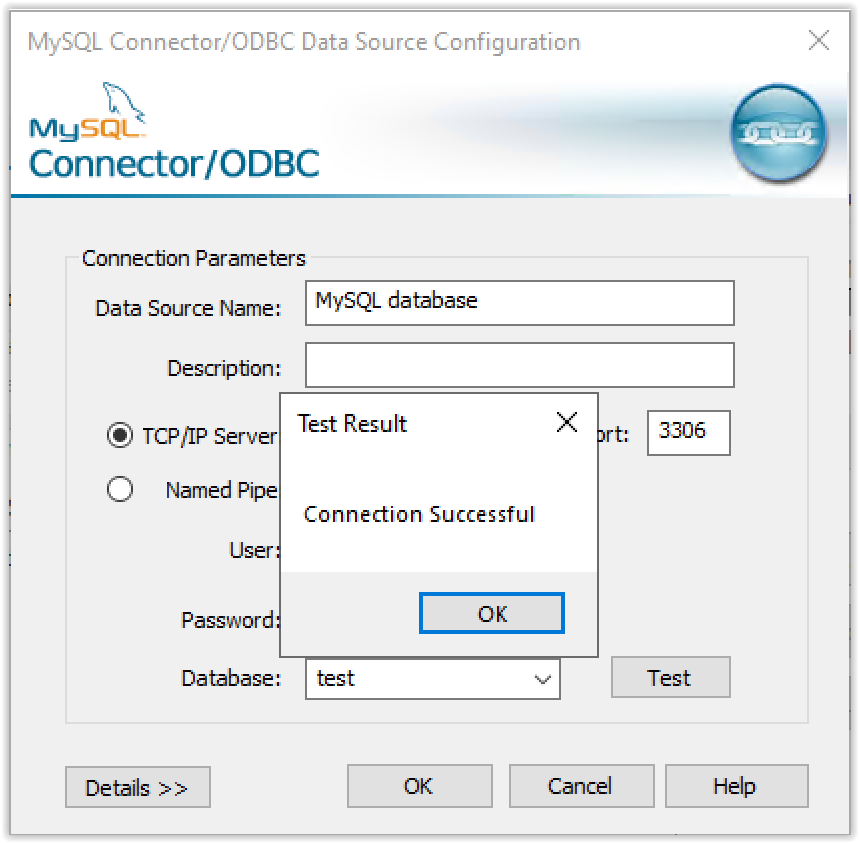
To test if it is connected to MySQL database configured correctly, press the Test button. The following message will appear if the connection is established successfully:
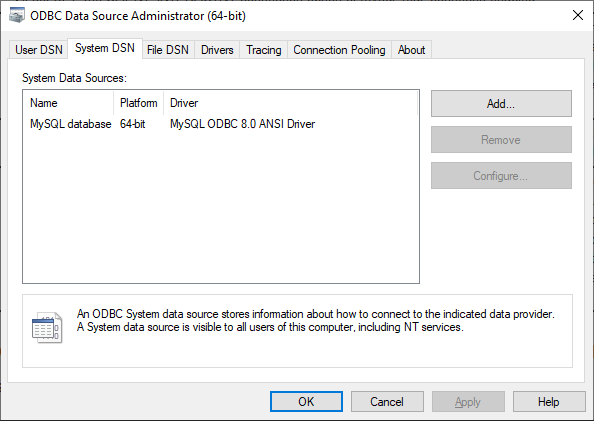
Also, the data source name will appear in the System DSN tab of the ODBC Data Source Administrator dialog:
Create and configure a Linked Server using ODBC driver
Now, when the ODBC driver for MySQL has been installed and ODBC driver to connect to MySQL database has been configured, configuring Linked Server in SSMS to connect to MySQL can begin.
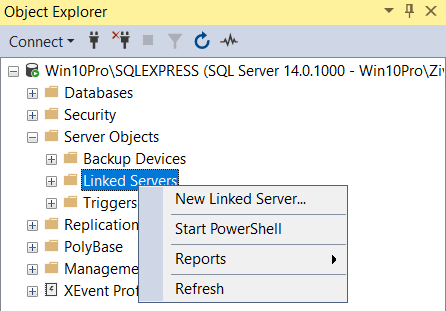
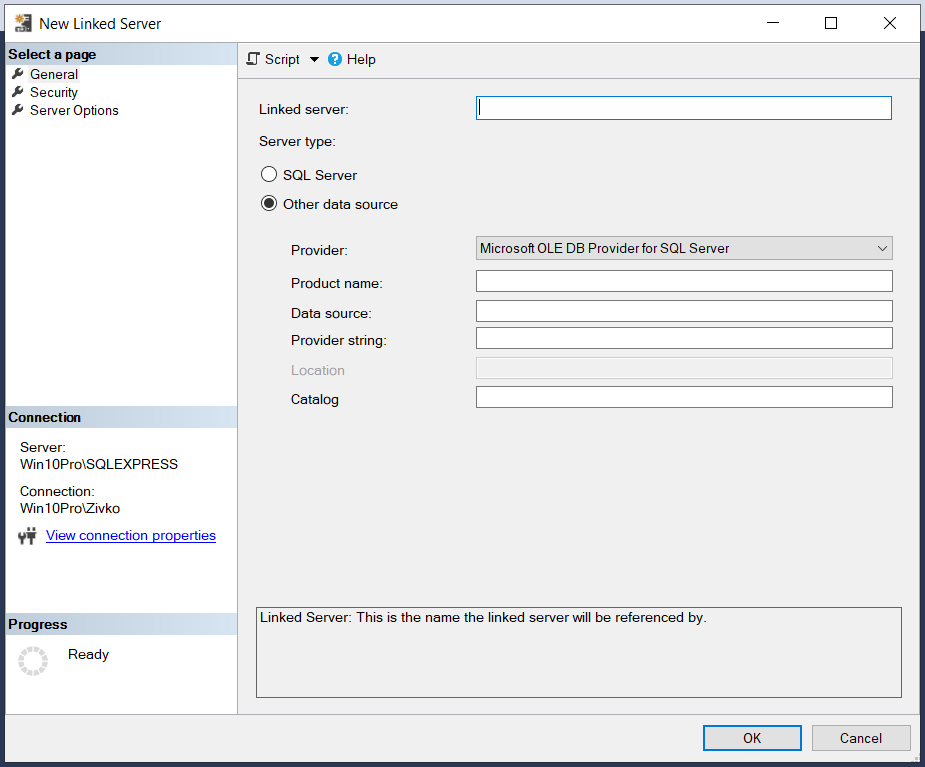
Go to SSMS, in Object Explorer, under the Server Objects folder, right-click on the Linked Servers folder and, from the menu, select the New Linked Server option:
The New Linked Server dialog will appear. Here will be entered configuration to connect to MySQL server:
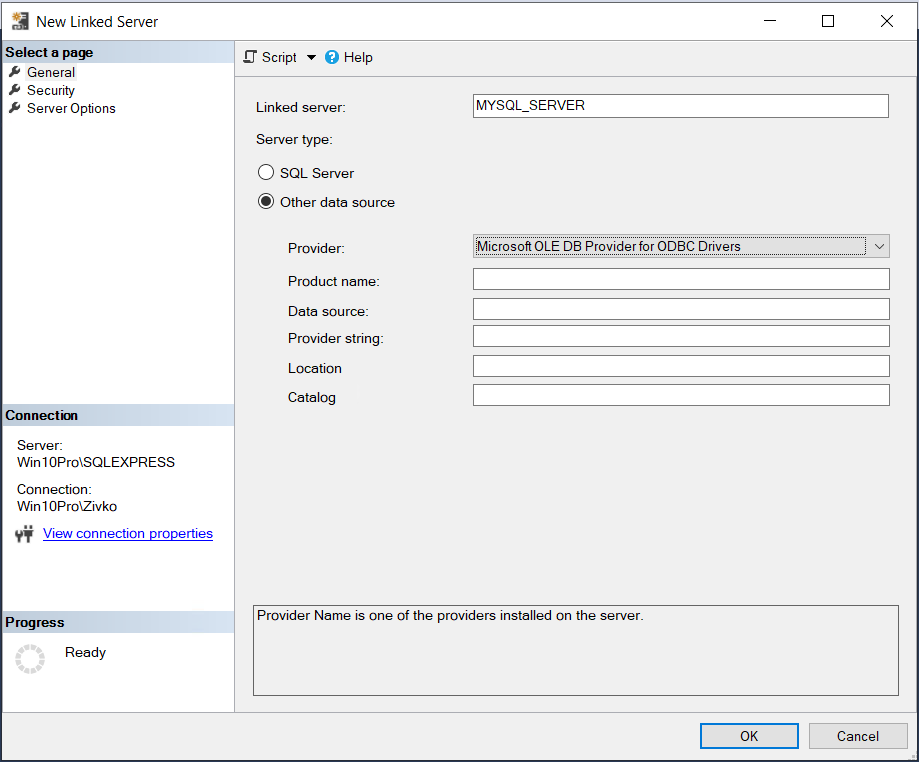
In the Linked server text box of the General tab, enter the name of how the linked server will be called (e.g. MYSQL_SERVER).
Choose the Other data source radio button and from the Provider list, choose the Microsoft OLE DB Provider for ODBC Drivers item:
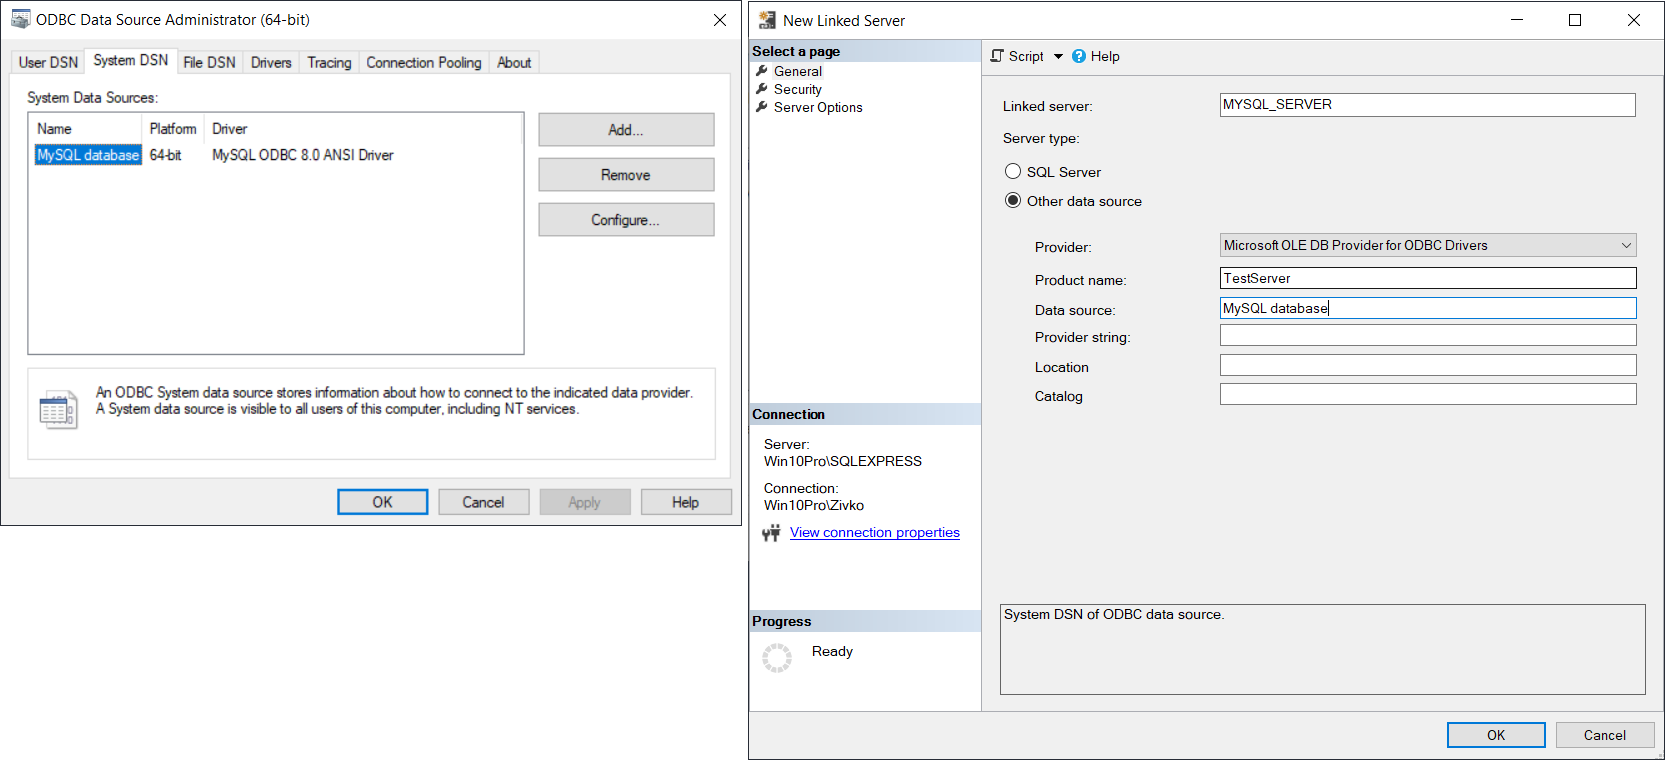
Under the Product name box, enter any appropriate (valid) name. For the Data source, it should be entered the name of ODBC data source:
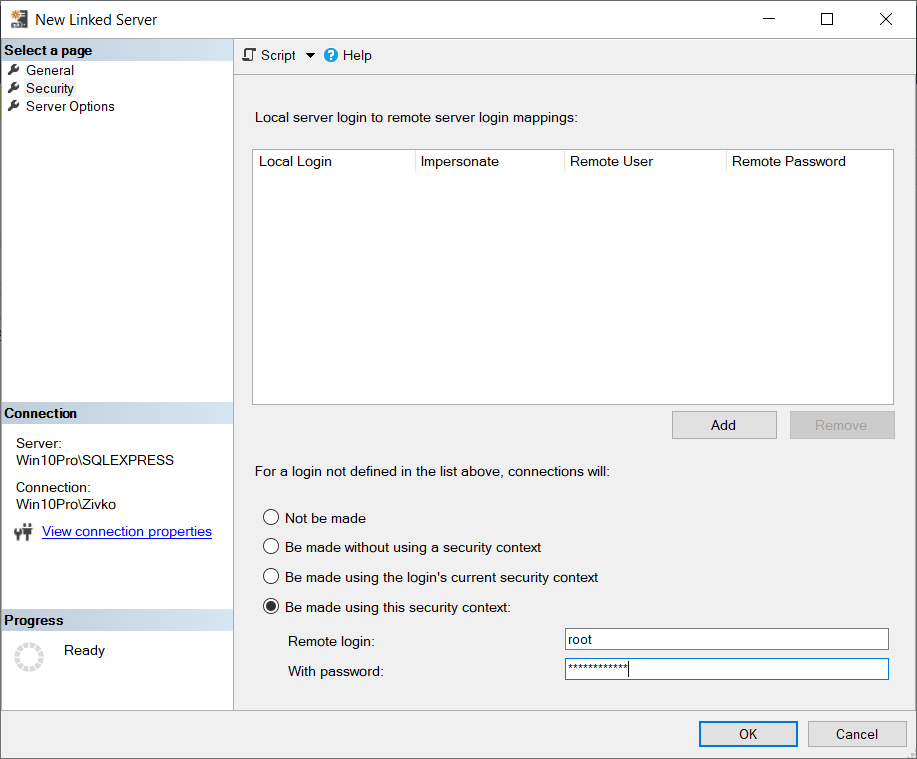
In the Security tab, click the Be made using this security context radio button and in the Remote login and With password boxes, enter the user name and password that exist in the MySQL server instance, that is chosen as data source:
Under the Server Options tab, set the RPC and RPC Out fields to True:
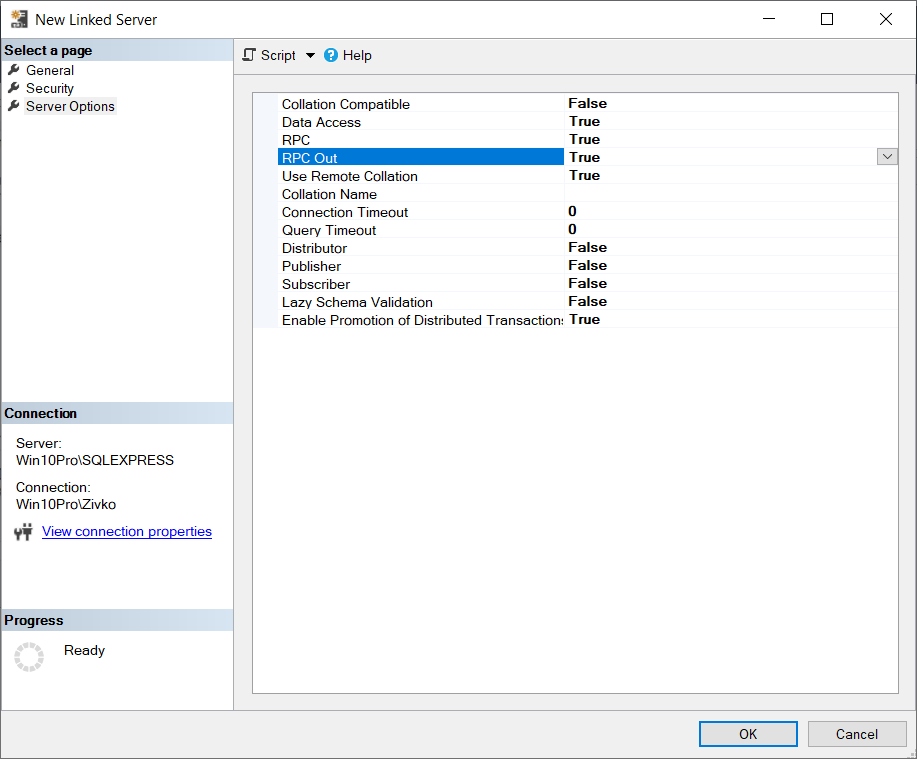
In case when these two options are not set to true and execute a code like this:
|
1 |
EXEC ('SELECT * FROM test.table1') AT MYSQL_SERVER |
The following error may appear:
Msg 7411, Level 16, State 1, Line 1
Server ‘MYSQL_SERVER’ is not configured for RPC.
More about options under the Security and Server Options tabs can be found on the How to create and configure a linked server in SQL Server Management Studio page.
After all options under the New Linked Server dialog are set, press the OK button. Newly created linked server should appear in the Linked Servers folder:
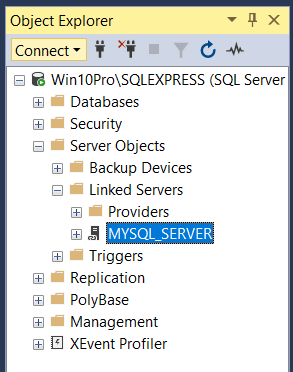
Before start to querying data from MySQL database, go to the Providers folder under the Linked Server folder, right-click on the MSDASQL provider and, from the context menu, choose the Properties command:

In the Provider Options dialog, check the Nested queries, Level zero only, Allow in process, Support ‘Like’ operator check boxes:
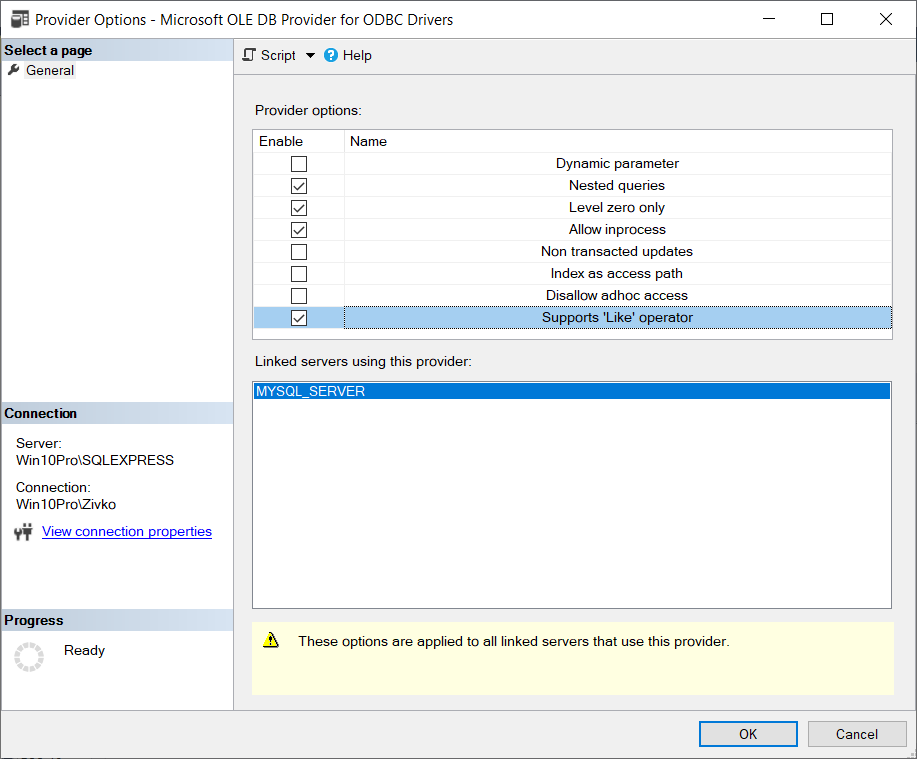
For example, if the Allow in process check box is not checked, when executing code like this:
|
1 2 |
SELECT * FROM OPENQUERY(MYSQL_SERVER, 'SELECT * FROM test.table1') |
The following error message may appear:
Msg 7399, Level 16, State 1, Line 1
The OLE DB provider “MSDASQL” for linked server “MYSQL_SERVER” reported an error. Access denied.
Msg 7350, Level 16, State 2, Line 1
Cannot get the column information from OLE DB provider “MSDASQL” for linked server “MYSQL_SERVER”.
More useful articles about linked server can be found under these links:
- How to query Excel data using SQL Server linked servers
- How to create and configure a linked server in SQL Server Management Studio
- How to create, configure and drop a SQL Server linked server using Transact-SQL
- How to create a linked server to an Azure SQL database
- How to configure a Linked Server using the ODBC driver

He is a prolific author of authoritative content related to SQL Server including a number of “platinum” articles (top 1% in terms of popularity and engagement). His writing covers a range of topics on MySQL and SQL Server including remote/linked servers, import/export, LocalDB, SSMS, and more.
In his part-time, Zivko likes basketball, foosball (table-soccer), and rock music.
See more about Marko at LinkedIn
View all posts by Marko Zivkovic
- How to connect to a remote MySQL server using SSL on Ubuntu - April 28, 2020
- How to install MySQL on Ubuntu - March 10, 2020
- Using SSH keys to connect to a remote MySQL Server - November 28, 2019