

In this article, it will be described how to connect to remote MySQL Server on Linux OS using SSH key pairs. Windows OS will be used as a host from which will be established a connection using PuTTY as a client. Besides using PuTTY as a client for establishing the connection to remote machines, it will be used to generate and use secure shell – SSH keys as well.
Before starting, some prerequisites must be fulfilled. On the host machine from which a remote machine will be accessed, the Windows 10 OS should be installed and on the remote machine the Linux Ubuntu 18.04 OS.
Also, on a remote machine MySQL Server needs to be installed, too. For more information about how to install MySQL on Linux refer to How To Install MySQL on Ubuntu 18.04 page.
To create SSH keys, the PuTTYgen key generator needs to be installed first. Normally, PuTTYgen is installed as a part of the PuTTY.msi installation package.
Installation of PuTTY client
Installation of the PuTTY is straightforward, double-click on the executable installer, the welcome screen appears:
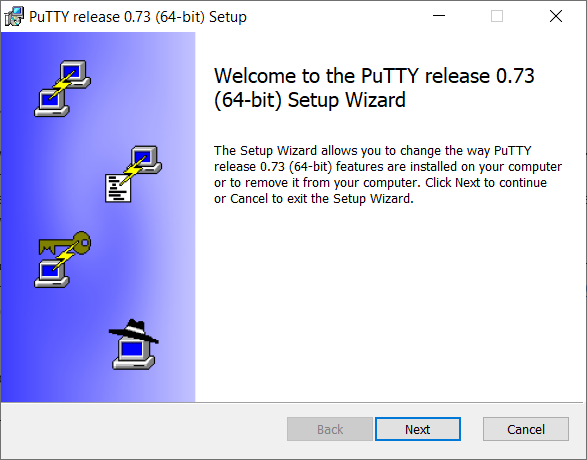
Click the Next button to continue with the installation. Details about the installation of the PuTTY client can be found on the How to Connect to a Remote MySQL Server Using SSH page.
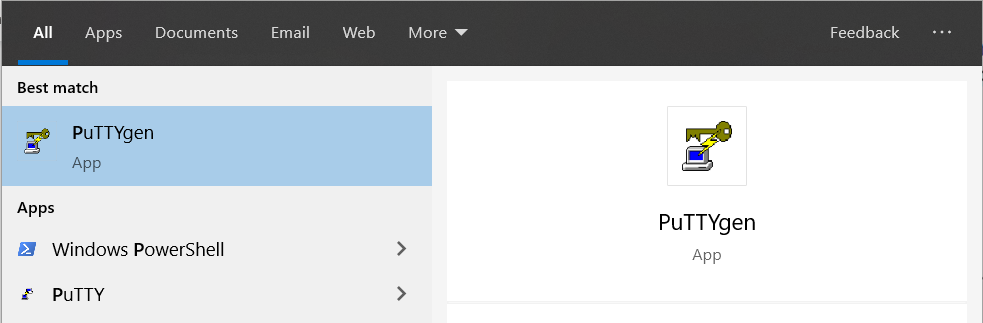
After installation, in the start menu, find and start PuTTYgen:
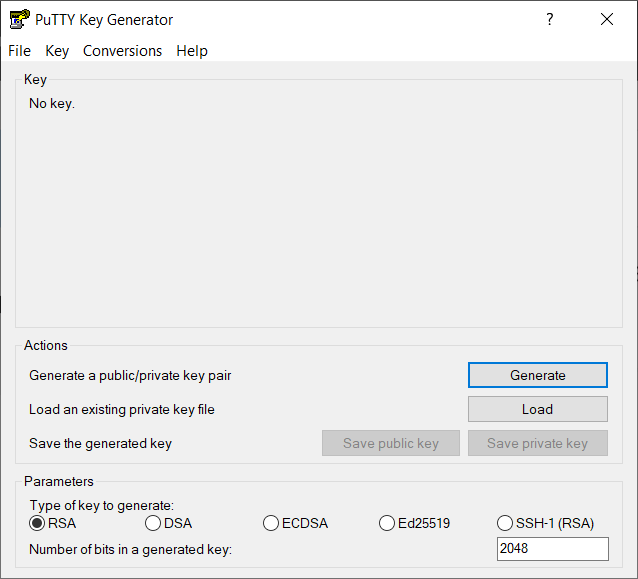
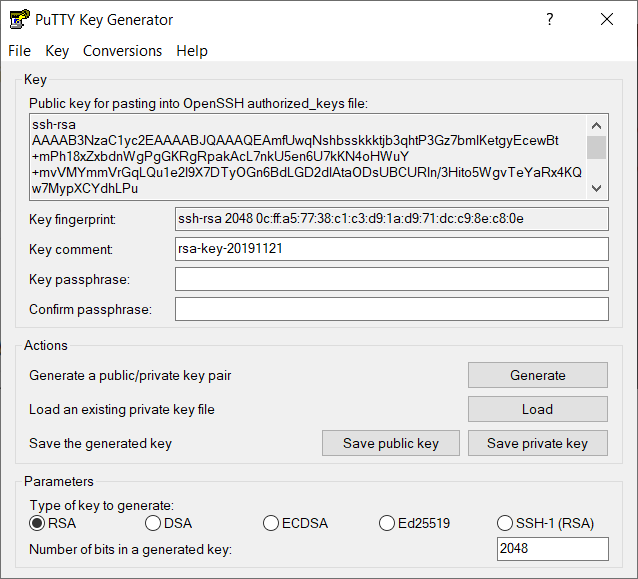
When the PuTTY Key Generator window appears, click the Generate button:
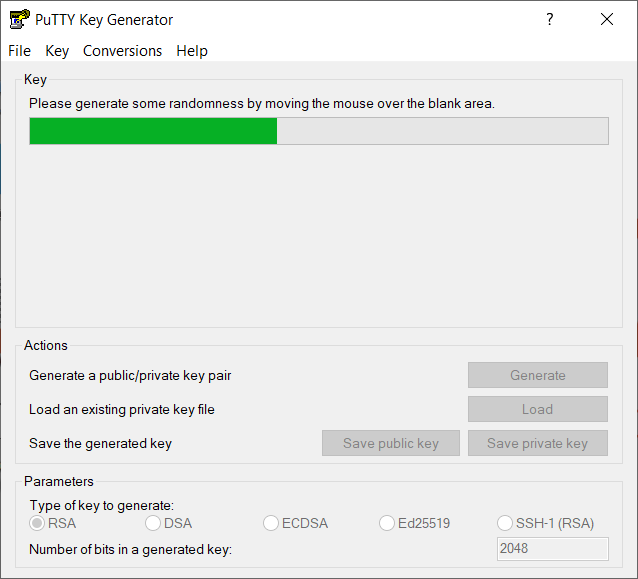
After you click the Generate button, in the blank area of the Key section, move the mouse around to provide randomness for the key:
By default, a 2048-bit SSH-2 RSA key will be generated. If you want, an additional security layer can be provided by entering the passphrase in the Key passphrase and Confirm passphrase box. When authenticating to remote machines with a private SSH key, you’ll be prompted for the passphrase. This is good in situations when someone obtains your private key and try to connect to the remote machine. Without a passphrase, they will be prevented, but in case of forgetting the passphrase, there is no way to recover/reset it. In this example, we will go without the passphrase:
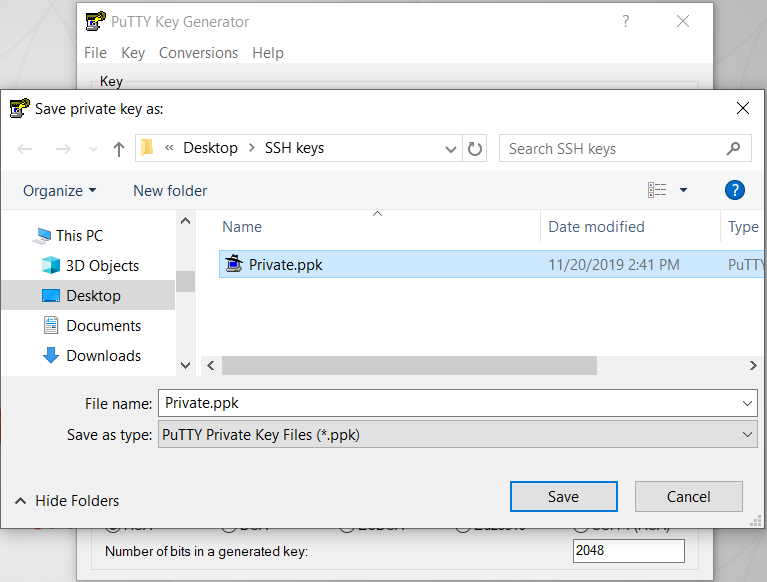
To save SSH keys to your computer, for later usage, click Save private key to save the private key as .ppk file:
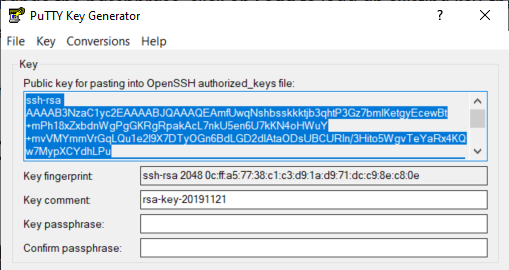
As for public SSH key, just select all and copy from the Public key section:
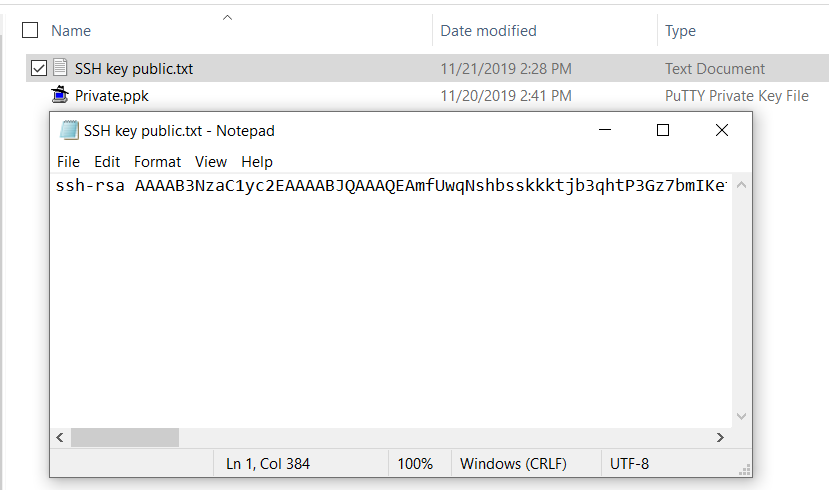
Open a text editor, paste copied code and save it:
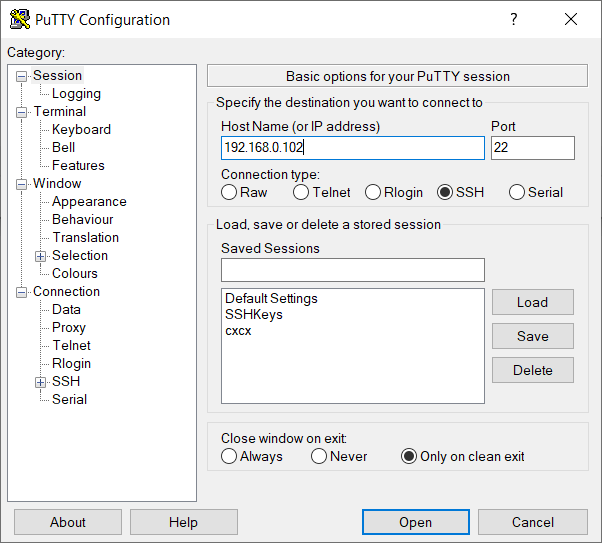
Now, when SSH keys are saved, start PuTTY client to connect to the remote machine. In the Host Name (or IP address) box, enter a name or IP address of the remote machine.
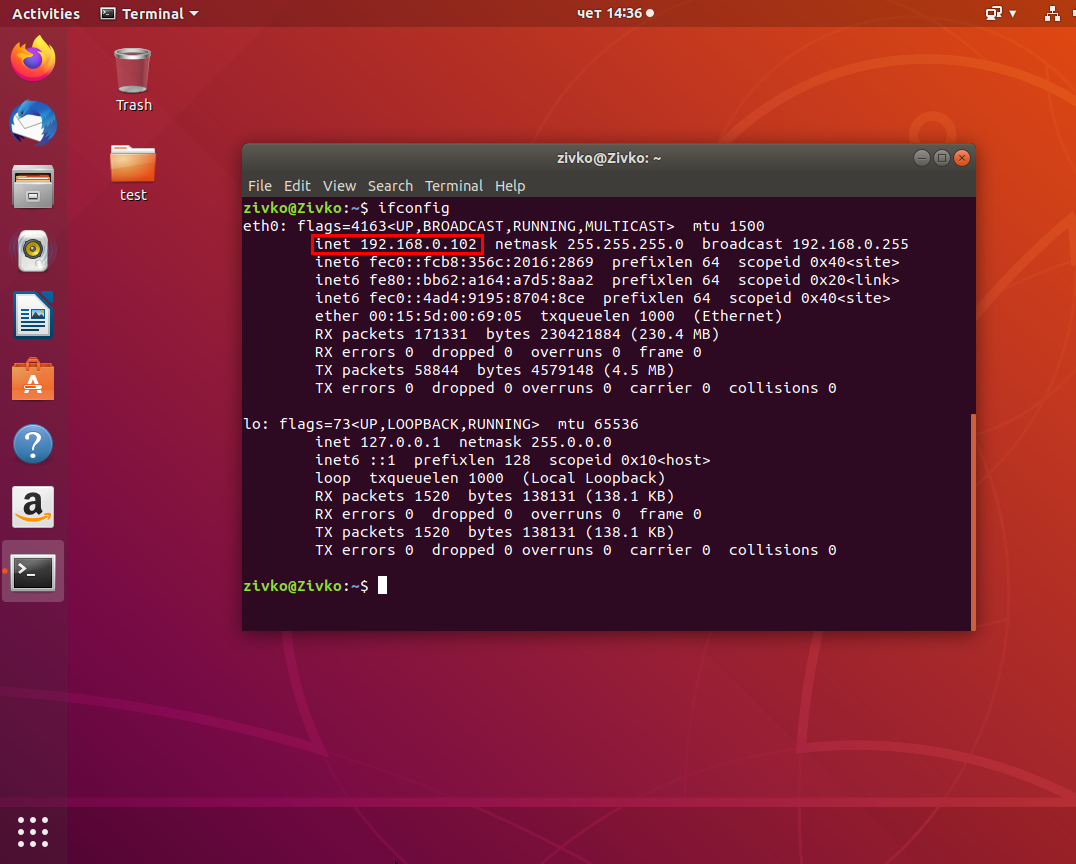
To find the address of a remote machine, go to the remote machine; in our case, that is Linux Ubuntu 18.04, in the Terminal type ifconfig command and press the Enter key. Under the inet information about IP address will be shown:
Now type that IP address in the Host Name (or IP address) box of PuTTY Configuration window and click the Open button:
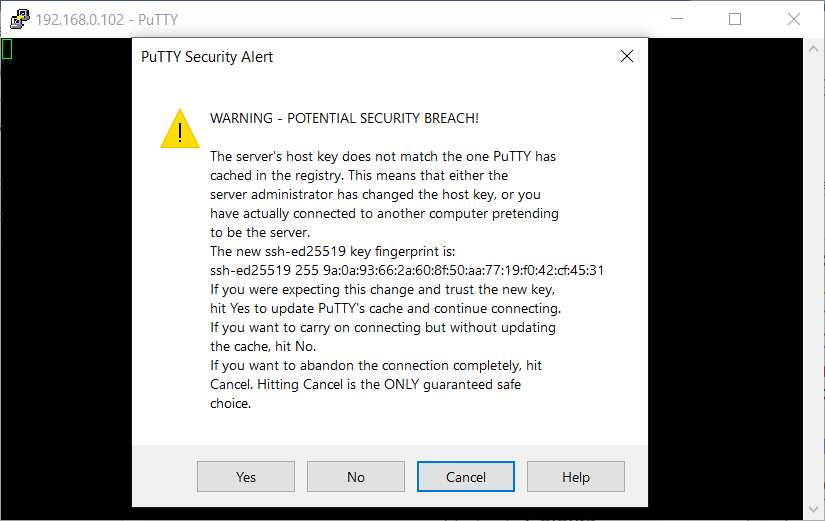
On the PuTTY Security Alert window, click the No button to continue:
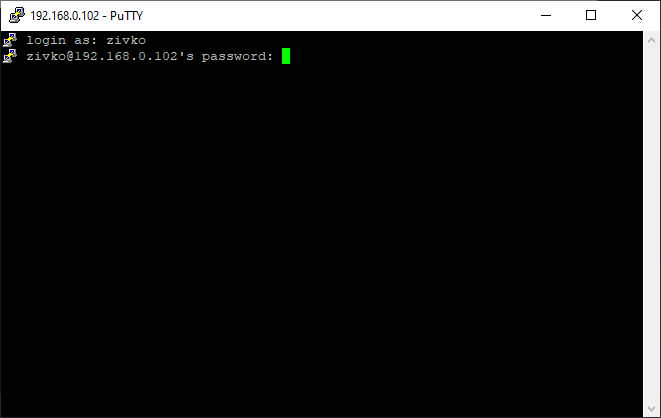
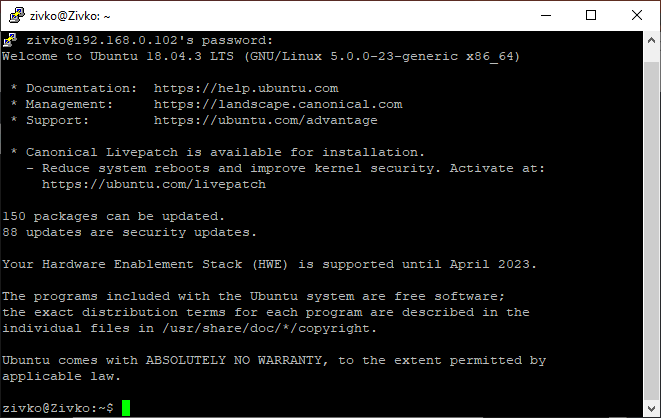
In the PuTTY terminal, enter the credentials that are used to connect to the remote machine:
When the connection is successfully established, the PuTTY terminal will look like this:
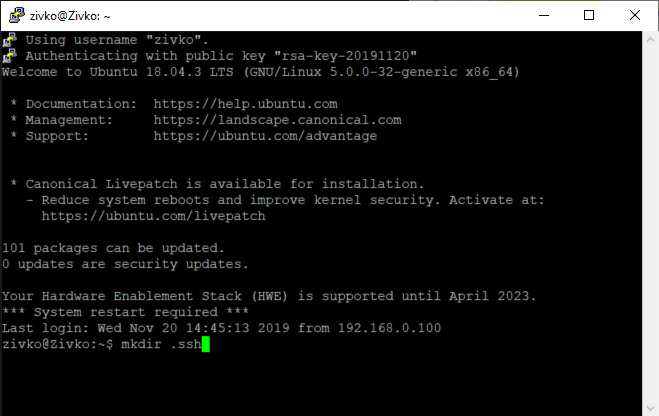
Now, when we are connected, the first thing that needs to be done is to create a .ssh directory in which will be placed public SSH key that was generated by the PuTTY Key Generator.
To do that, in the terminal, type the mkdir .ssh command and press the Enter key:
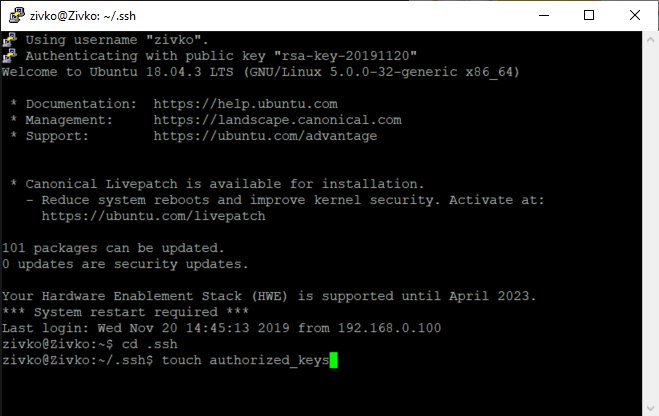
Navigate to the .ssh directory and, in it, create the authorized_keys file. In the terminal type cd .ssh to navigate to the directory and to create a file type the touch authorized_keys command and press the Enter key:
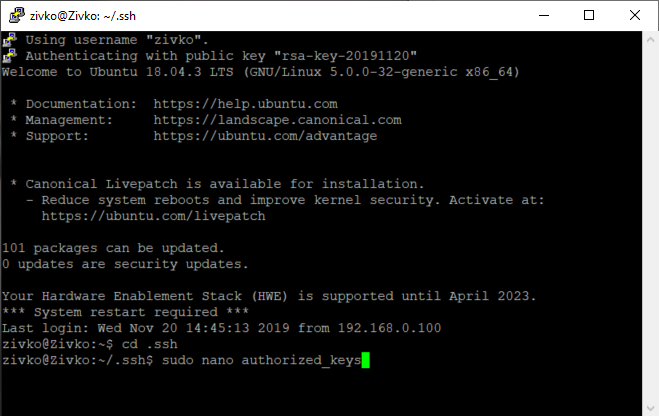
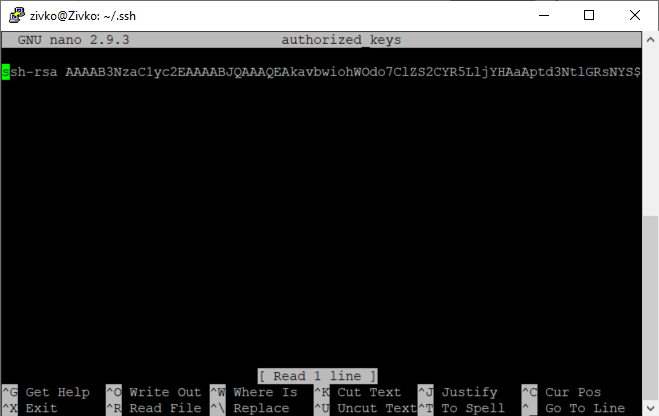
In the authorized_keys file that is created, the public SSH key will be pasted. Open the authorized_keys file by executing the sudo nano authorized_keys command:
Now when the authorized_keys file is opened, paste public SSH key in it and save the document:
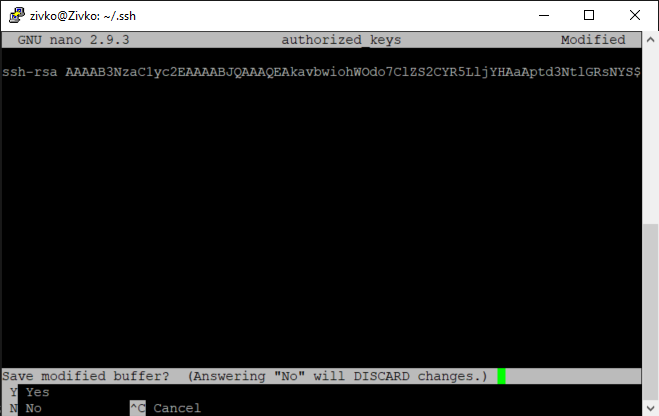
To save the changes, press the Ctrl+X and in the prompted dialog type Yes or Y and hit the Enter key:
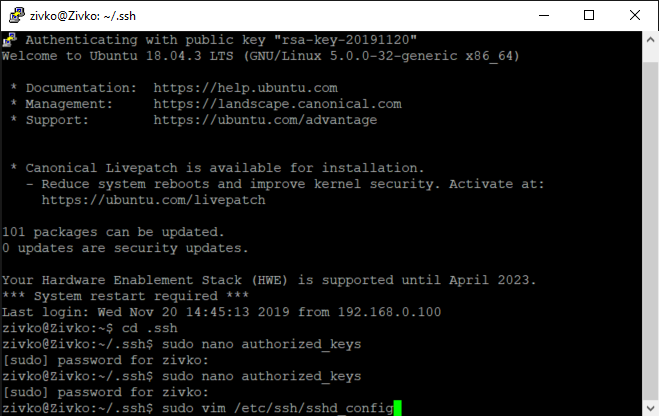
Next thing that needs to be done is to edit SSH Server configuration file. To do that, type the sudo vim /etc/ssh/sshd_config command:
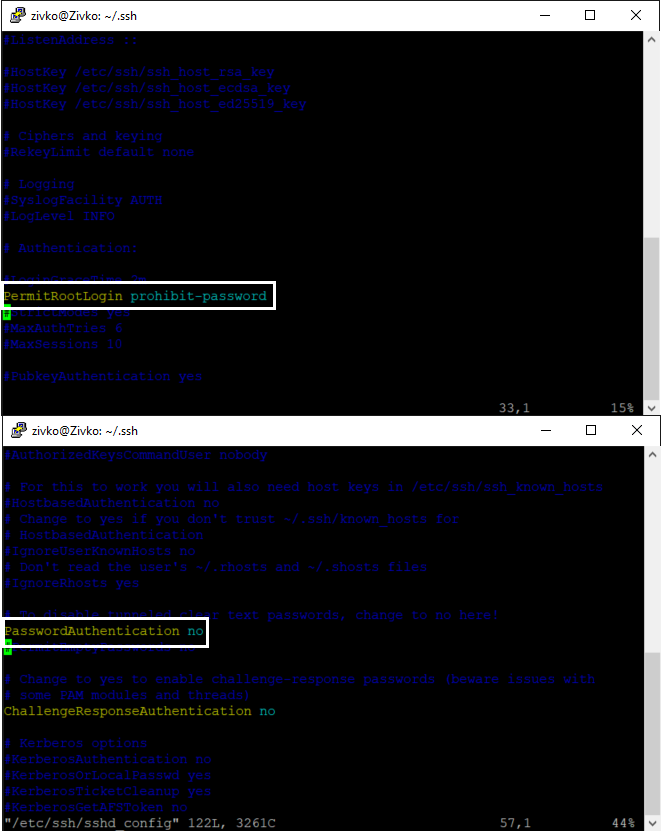
In this file, set the PermitRootLogin value to prohibit-password and for the PasswordAuthentication set the value to no:
Type :wq to save changes and exit from the file:

In order for changes to take effect, the SSH Server needs to be restarted. To do this, type the sudo systemctl restart sshd.service command and press Enter:

Exit from the current session, by executing the logout command:

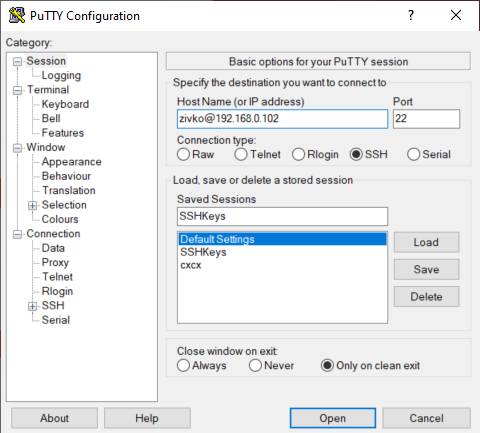
Now, as the SSH public is set on the remote machine, start PuTTY client and in the Host Name (or IP address) box, type the username followed by the at (@) symbol and the IP address of the remote machine:
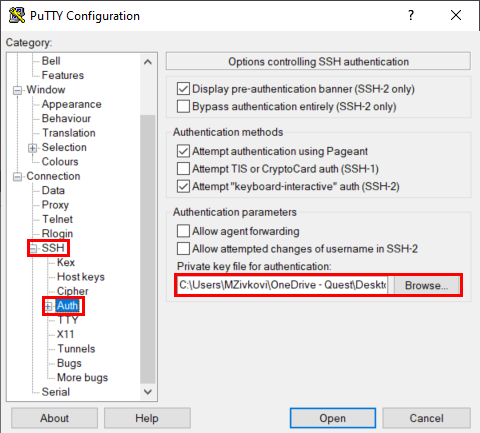
One more thing that needs to be set before we hit the Open button is to load the private SSH key for authentication. To do that, in the Category tree, find and expand the SSH tab and select the Auth tab. On the right side, click the Browser button and find the previously saved private SSH key, that is generated by PuTTY Key Generator and click the Open button:
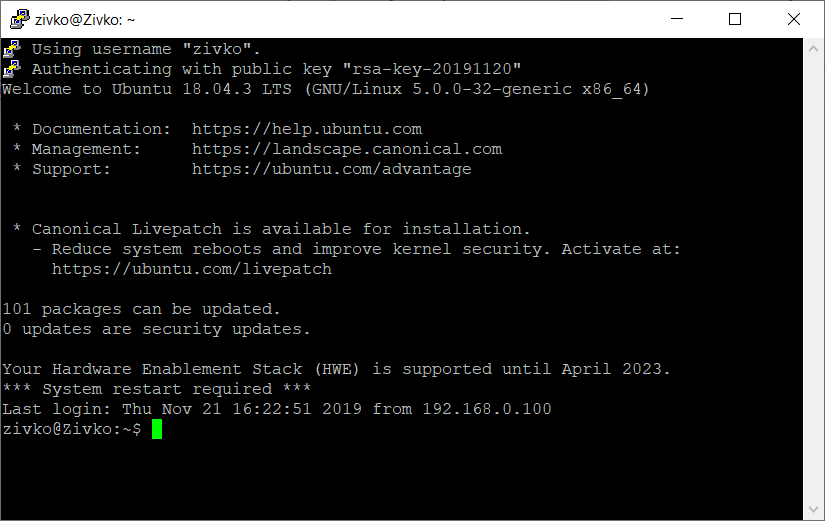
As can be seen, the user will not be prompted for login credentials and we are automatically connected to the remote machine:
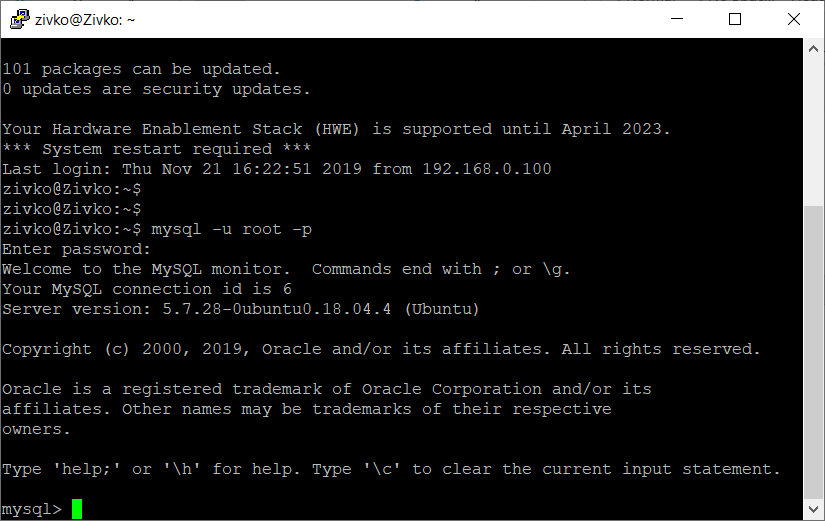
Now, all that needs to be done in order to connect to remote MySQL server is to type the MySQL user credentials after executing the mysql -u root -p command:
More useful information about the connection to remote MySQL Server can be found on the How to Connect to a Remote MySQL Server Using SSH page.

He is a prolific author of authoritative content related to SQL Server including a number of “platinum” articles (top 1% in terms of popularity and engagement). His writing covers a range of topics on MySQL and SQL Server including remote/linked servers, import/export, LocalDB, SSMS, and more.
In his part-time, Zivko likes basketball, foosball (table-soccer), and rock music.
See more about Marko at LinkedIn
View all posts by Marko Zivkovic
- How to connect to a remote MySQL server using SSL on Ubuntu - April 28, 2020
- How to install MySQL on Ubuntu - March 10, 2020
- Using SSH keys to connect to a remote MySQL Server - November 28, 2019