

Intended audience
This document is intended for application developers and database administrators who plan to migrate an Oracle Database to Microsoft SQL Server.
Context
Nowadays, most IT professionals are aware that Oracle Database is a very good database solution, but it’s not inexpensive, to say the least. If you want to partition a table in Oracle, it’s an option that you must pay for, which is the same for advanced security options like Database Encryption or Dynamic Data Masking. In contrast, SQL Server comes with these options out of the box when you use the Enterprise Edition.
Hence, we can observe that a significant number of applications are moving from Oracle Database to Microsoft SQL Server and that’s probably the reason why Microsoft helps its customers by providing tools to assist them in their migration process. This tool is called SQL Server Migration Assistant a.k.a. SSMA and is available in different versions in order to migrate from:
- Oracle MySQL
- Oracle Database
- Microsoft Access
- as well as others …
At the moment of writing this article, the SSMA for Oracle solution is in version 7.7 and we can migrate an Oracle Database 9i (or higher) to an on-premises SQL Server 2008+ or in the Azure cloud.
In this article, we will review the installation of the tool in order to prepare a migration.
Conceptual overview of SSMA
The tool is divided into two parts:
- A client application that will actually perform the migration
- An extension pack that will allow you to migrate data from your Oracle instance.
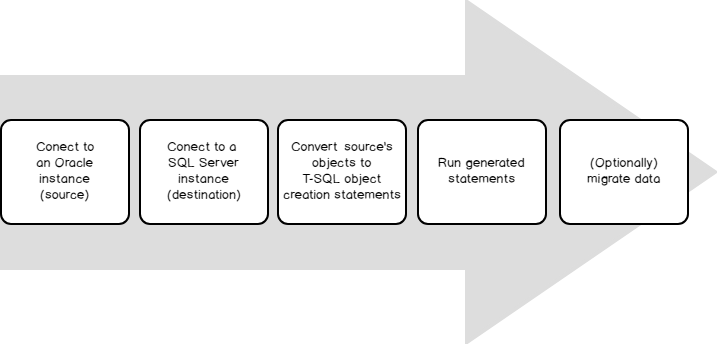
The former is installed on a client computer, not necessarily the source or destination for migration and will assist you in migration steps which are the following ones:
The latter must be installed on the destination server and enables data migration options for SSMA client. The installation of this extension pack will add two databases on destination instance, which are:
- [sysdb] – contains not only the database objects (tables, procedures) needed to migrate data but also functions that emulate the Oracle system functions.
- [ssmatesterdb] – contains database objects used by a validation component (called “Tester component”).
As you will see in following, this client actually uses CLR capabilities of SQL Server.
Downloading and installing SSMA for Oracle
Go to Microsoft’s download page and download the tool (client and extension pack).
Analyzing prerequisites
Once it’s done and you know which computer will be the client, we will first have to compare the specifications of this computer with SSMA prerequisites, which are:
- A least Windows 7 or Windows Server 2008
- At least Windows Installer 3.1 and .NET Framework 4.0 are installed
- An Oracle Database Client must be installed, at least in the same version as a source or higher.
-
Permissions and access to destination computer:
- Conversion from Oracle objects to T-SQL statements: CONNECT to SQL Server
- Load database objects into SQL Server: mandatory sysadmin membership
- Migrate data to SQL Server: same as above
- Running of code generated by SSMA granted EXECUTE permission on all user-defined functions in ssma_oracle schema of target database
- The computer must have at least 4 Gb RAM installed
Installing and configuration an Oracle Client for SSMA Client application
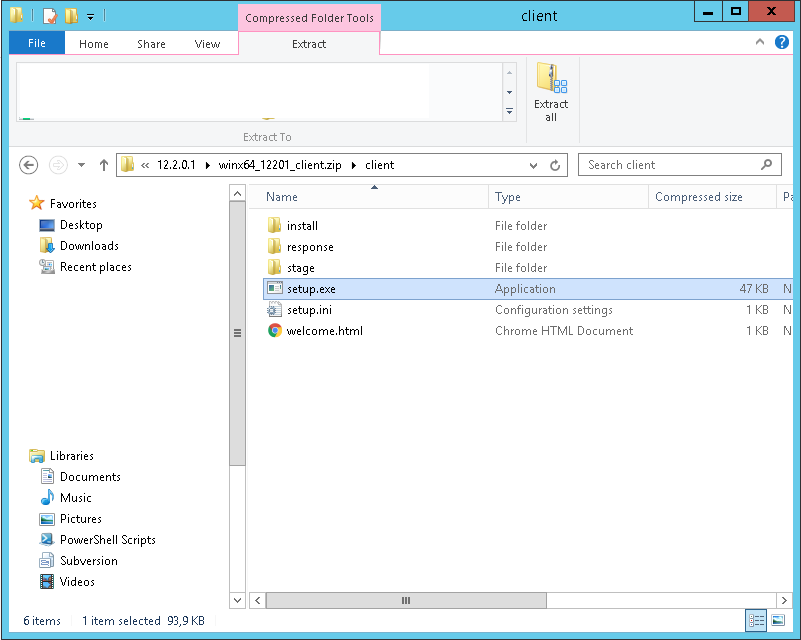
Let’s consider the client computer does not have an Oracle client and first install it in its latest available version (12.2.0.1).
Here is the content of the folder for that version. Run “setup.exe”.

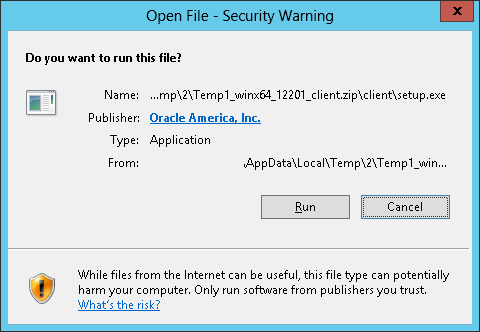
We could get the following message:

If so, click on “Run”.
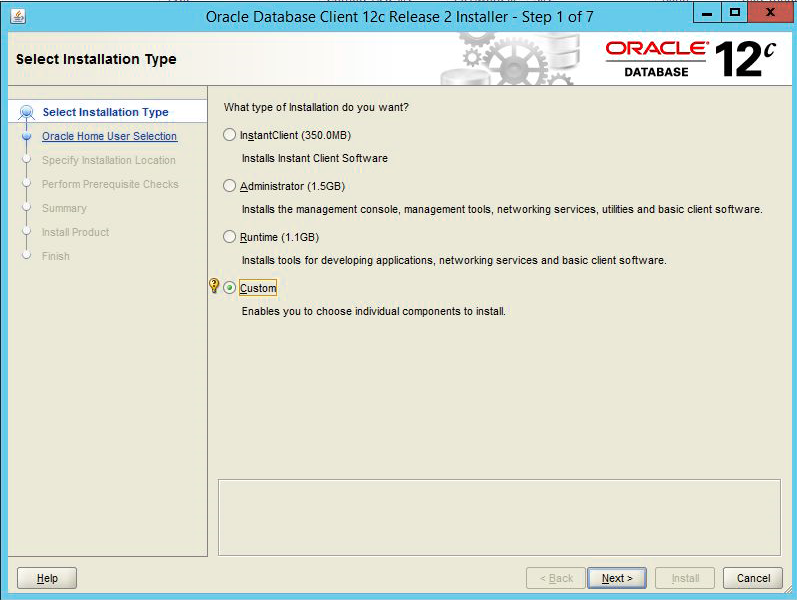
Now, you will get in touch with the “OUI”, Oracle Universal Installer. Here is the first view we’ll get.
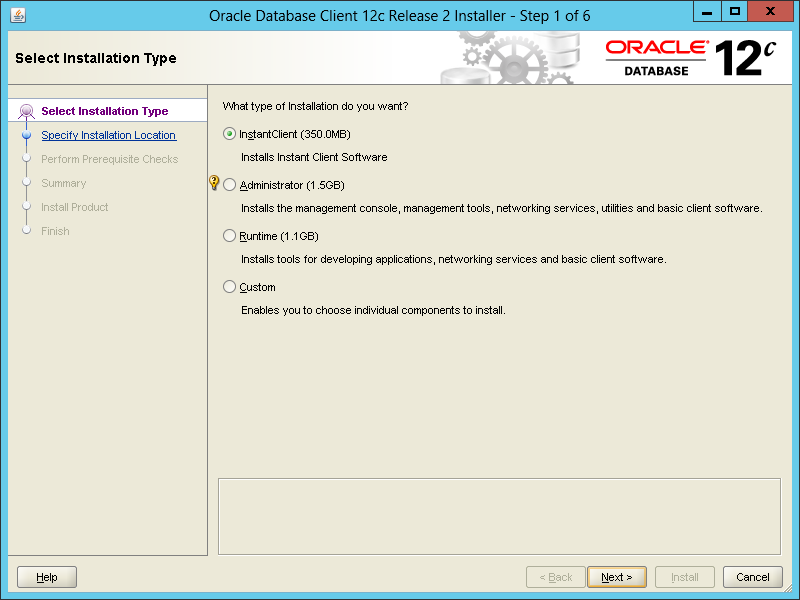
Select “Instant Client” installation type.
Specify the location where you will install the Oracle Client software. It’s referred to as the Oracle Home.
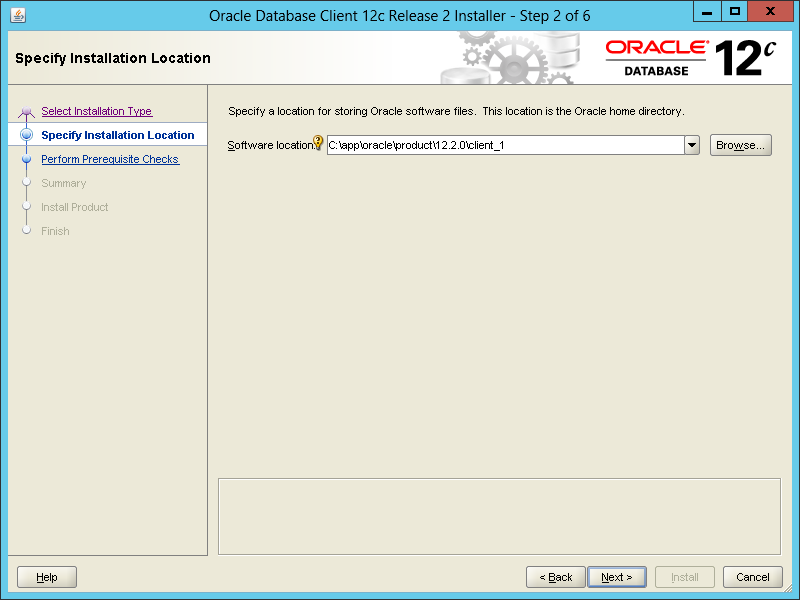
Then, click on “Next”.
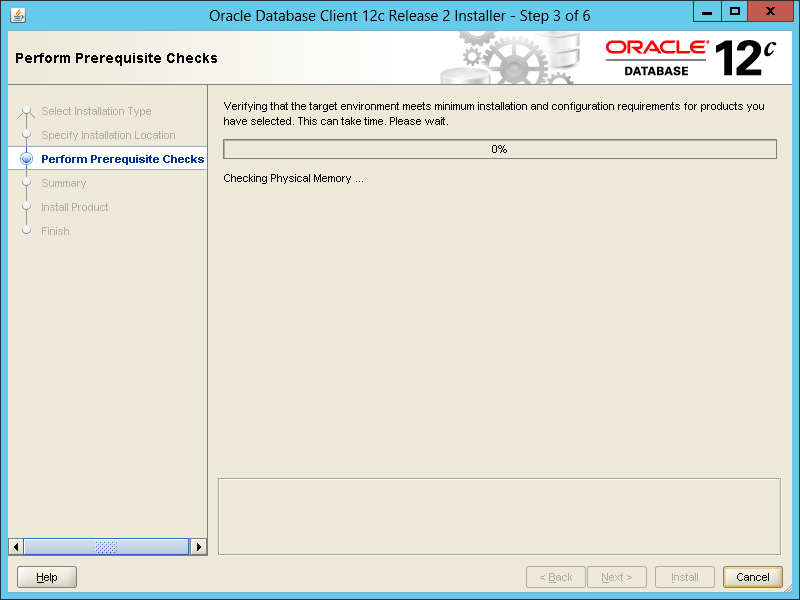
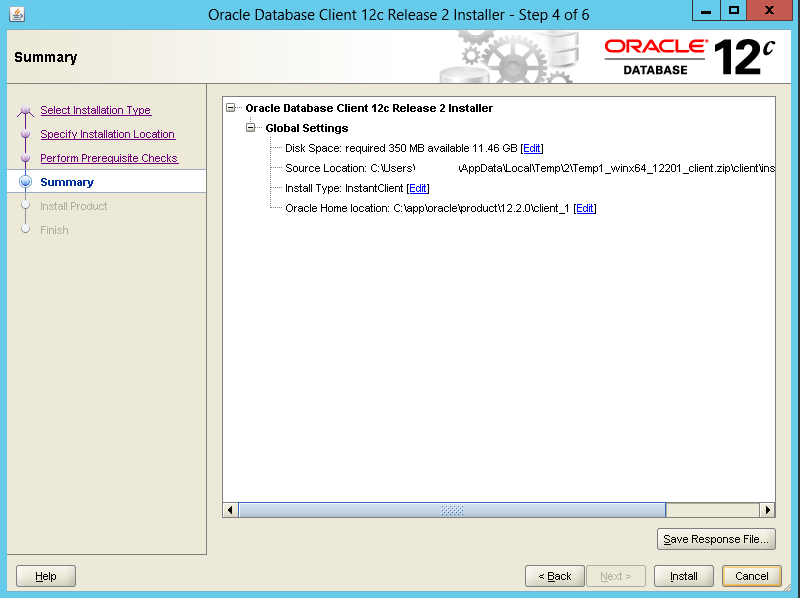
You get a summary of what it will do. Click on “Install” to start the installation.
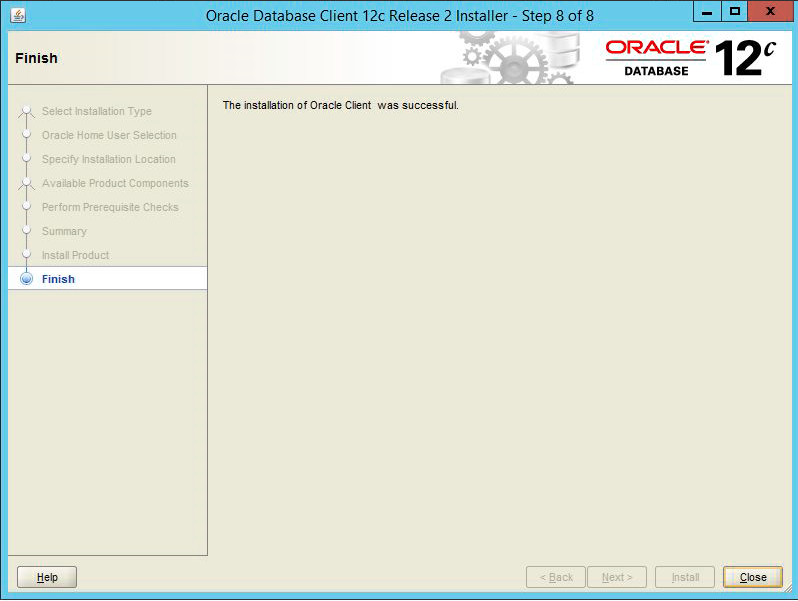
Once the installation is done, you will get a pane with a “Done” button on which you can click to close the Oracle Universal Installer (OUI).
Installing SSMA Client
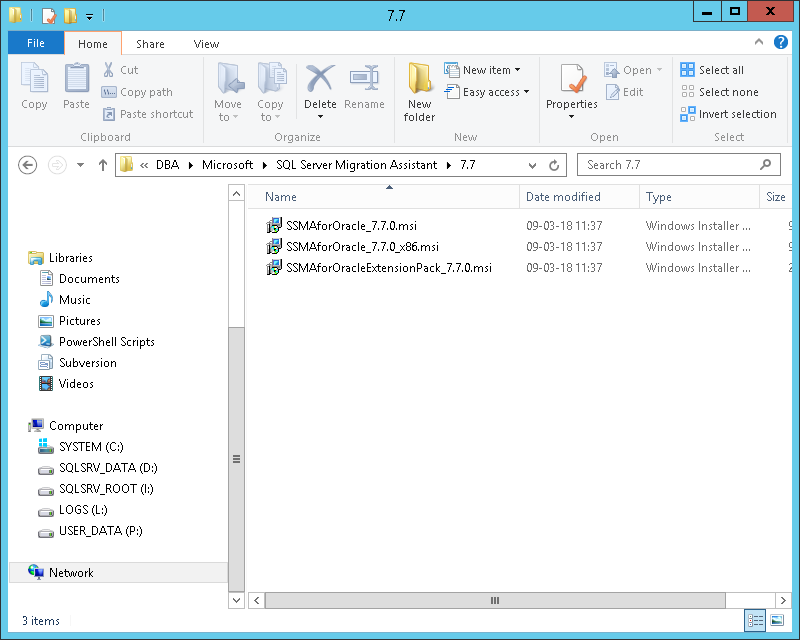
Go to the folder in which you downloaded the SSMA tool installers and open the msi file corresponding to your environment (x86 or 64 bits).
You could eventually get following warning message. Click on “Run”.
And the installer is ready for us to play with it.
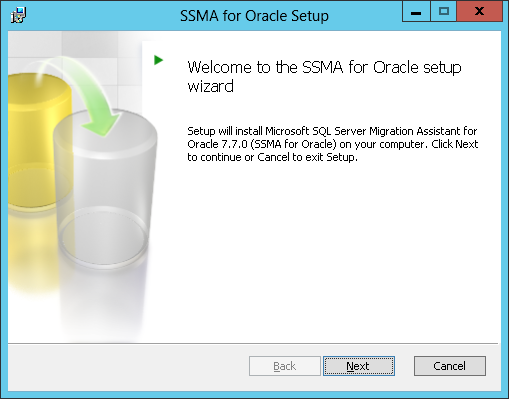
Click on “Next” button.
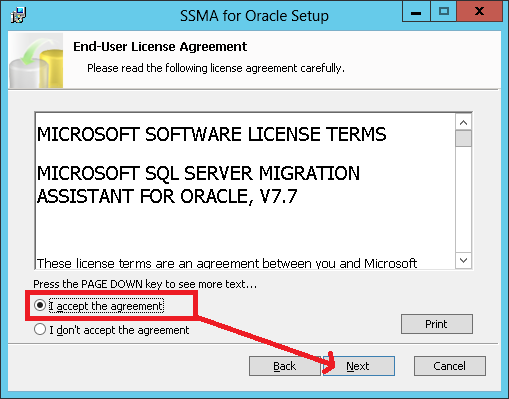
Accept the agreement and click on “Next” button.
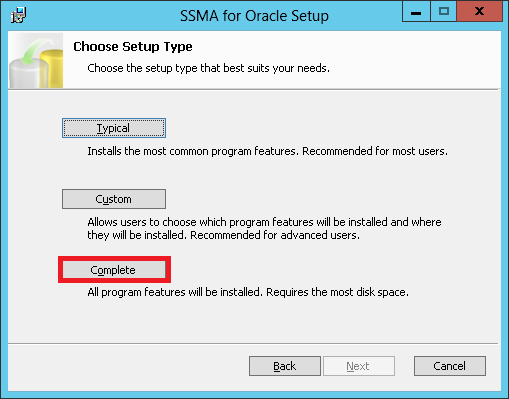
Choose the setup type you want. I personally prefer getting the whole program.
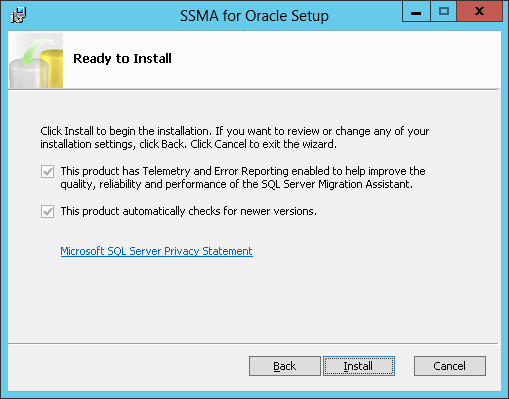
Here is what I think as unfortunate: you can’t disable telemetry and error reporting… Click on “Install”.
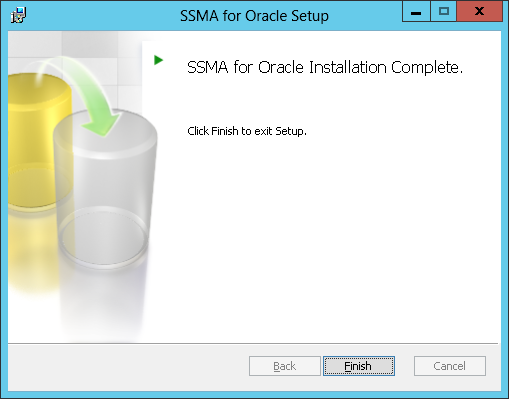
Once SSMA is installed, you’ll get the following pane:
If you go back to your desktop, you’ll see a new icon appeared:
Installing and configuration an Oracle Client for SSMA Client application
Let’s still install Oracle client in its latest available version (12.2.0.1).
Here is the content of the folder for that version. Run “setup.exe”.
We could get the following message:
If so, click on “Run”.
“OUI”, Oracle Universal Installer will fire up and you’ll get following selection dialog:
Select “Custom” installation type and click on “Next” button.
Some of the components of the Oracle Client can run as a Windows Service. You are asked to provide the name and password for this account or choose a Windows Built-in account, which is the option we will take.
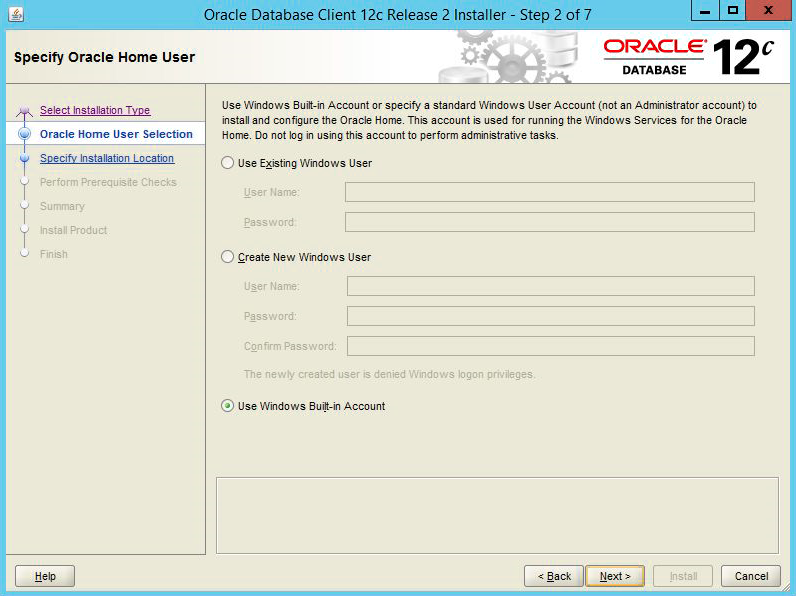
Then click on “Next” button.
Now, it’s time to specify the location of the installation, the famous ORACLE_HOME. Here is a suggested configuration.
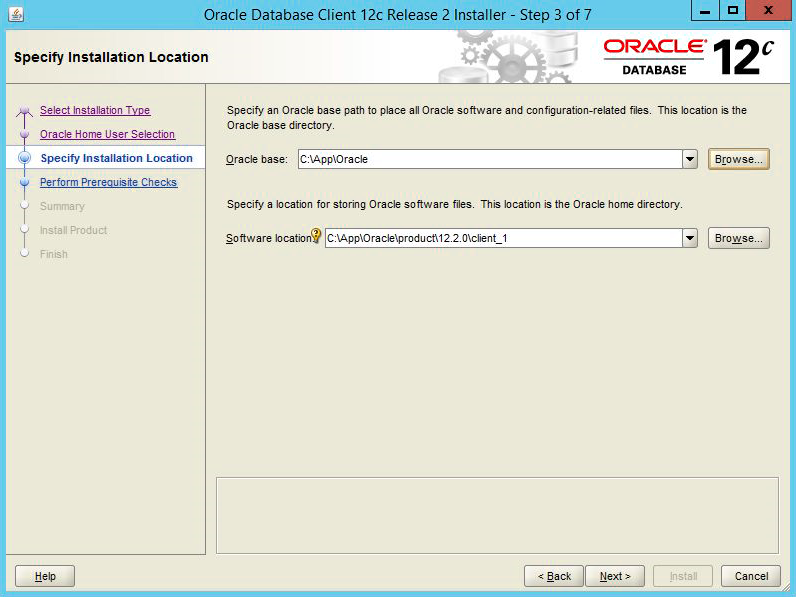
Once you are ready, click on “Next” button.
You arrive to the components selection list. Make sure to select the OLEDB provider as it’s mandatory for SSMA Extension Pack. You can also add other components like SQL*Plus and Oracle Net (the network layer of Oracle Database product) for convenience.
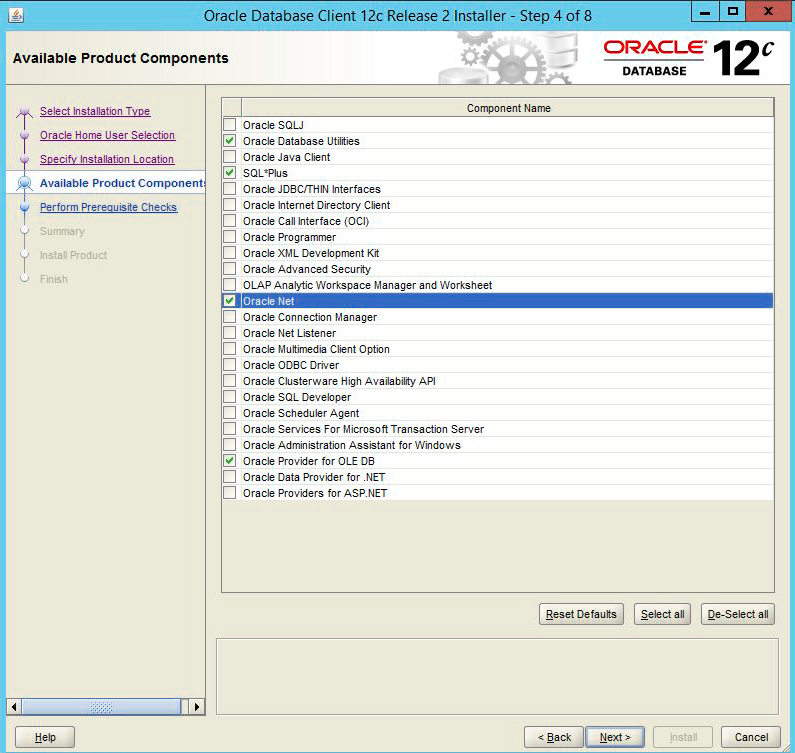
As soon as you selected all the features you want, click on “Next” to go to the summary view.

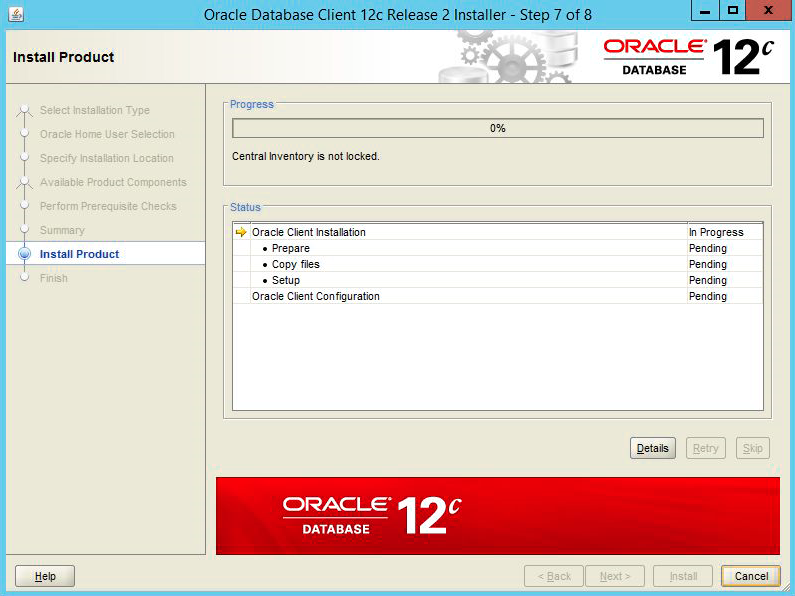
Before hitting the “Install” button, just take the time to close the SQL Server instance located on the destination host. It won’t break the installation if it’s still up and running but to be able to use the OLEDB provider, the destination instance will have to be restarted.
Once it’s done, click on the “Install” button and wait for the installer to complete its job.
Once the installation is done, you will get a pane with a “Close” button on which you can click to close the Oracle Universal Installer (OUI).
We can restart SQL Server services, open SQL Server Management Studio (SSMS) and connect to the destination host.
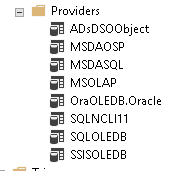
If we go down to Server Objects/Linked Servers/Providers, we should be able to see a provider called “OraOLEDB.Oracle” as follows:
Installing SSMA Extension Pack on destination instance
You will find below the process for installing the Extension Pack on a Windows Server 2012R2. But, before that, let’s review its prerequisites.
Prerequisites
The prerequisites are almost the same as for the client application. You will find them listed out below:
- Windows Installer 3.1 or higher
- The Oracle Client Provider or the OLEDB provider for Oracle (See procedure in the previous section)
- Connectivity from destination server to source server
- SQL Server Browser Service must be running during installation.
Note
- SQL Server 2008 Express Edition is not supported
- A temporary rule in your local firewall that allows traffic to UDP port 1434 could be necessary if a problem occurs while SQL Server Browser Service is running.
Installation process
First, open Services and start “SQL Server Service Browser” service.
Then, go to the folder where the Extension Pack installer is located and run this installer.
The following dialog will open.
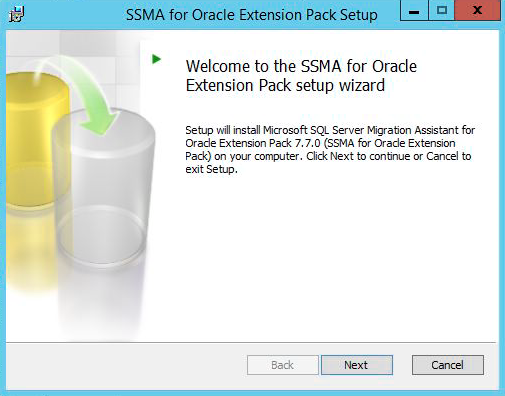
Click on “Next” button.
Note
If you skipped the prerequisites part of this section, you could get the following message:
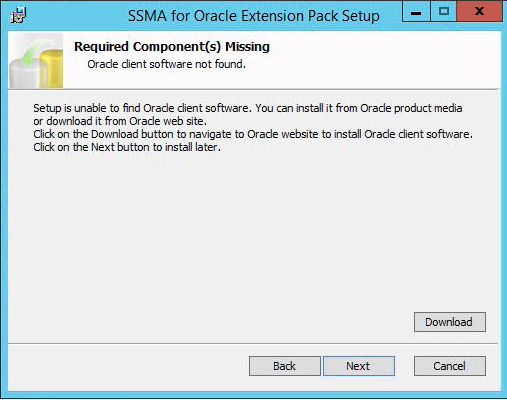
If so, go back to prerequisites sub-section and make sure to do the appropriate action to meet them.
You will then be proposed to accept or reject license agreement.
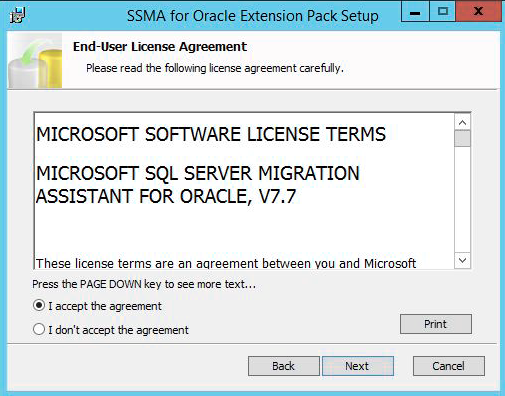
If you accept, check the option and click on “Next” button.
Like the client application, you will be asked to choose the installation type.
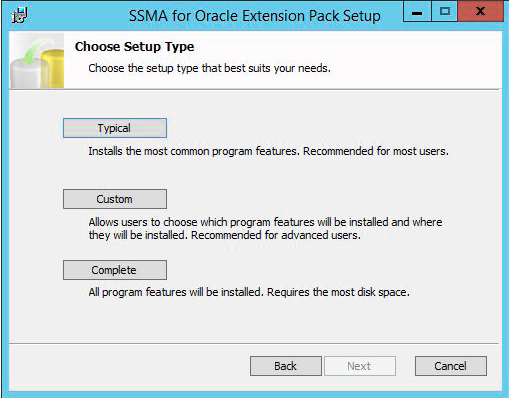
We will choose the “Complete” to be sure we can take the most out of this tool.
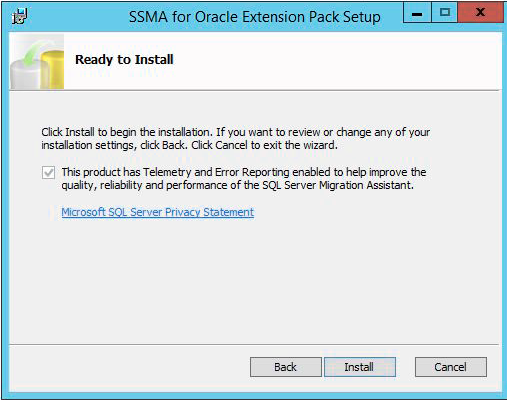
This will lead us to a panel where, unfortunately, no user interaction is allowed except hitting the “Install” button (if you really want to install the tool):
Surprisingly, the installation is not complete at the end of the process:
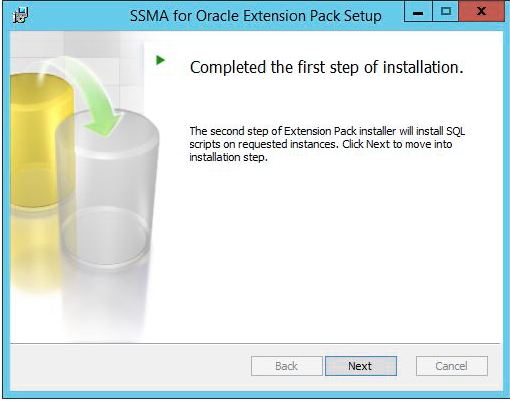
So, let’s click on the “Next button”.
A new dialog will pop up to provide information on the destination platform.
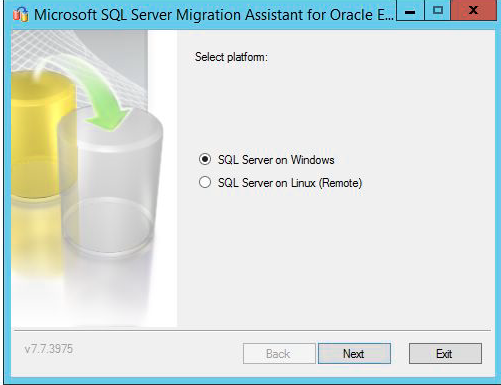
Here, as we are on Windows, we can just click on “Next” button. It will display a selection list with SQL Server instances available on the current computer.
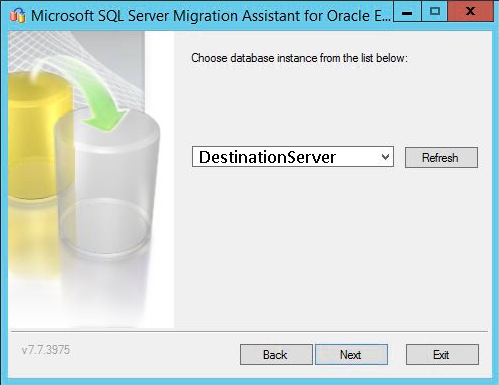
Select the appropriate one and click on “Next” button.
You are asked to provide credentials (if Windows Authentication is not used).
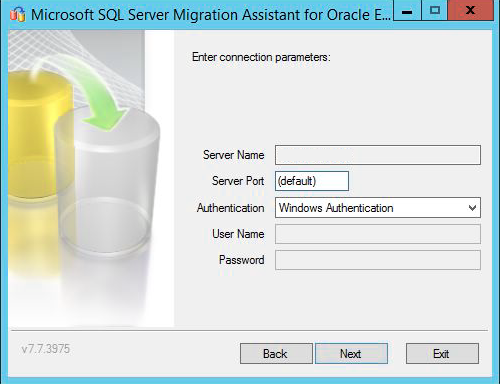
Once done, click “Next”.
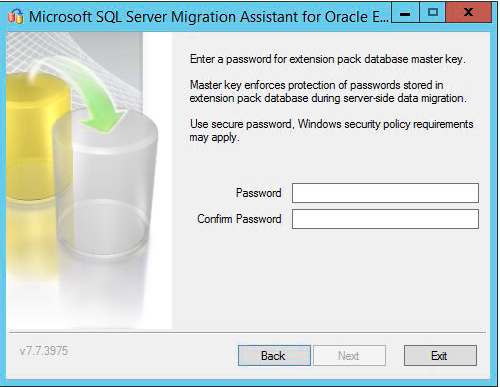
Next step consists in providing a password that will be used as database master key for the databases the installer will create. Once it’s done, click on “Next”.
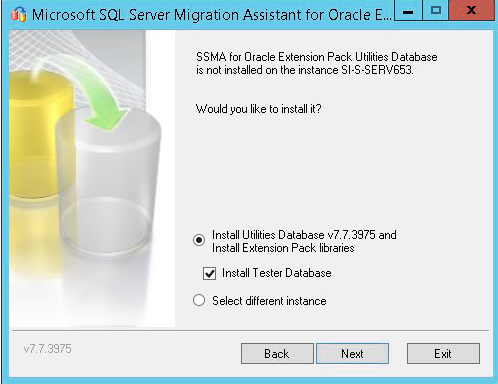
For next step, just hit next, it will tell the installer to create two databases: sysdb and ssmatesterdb. As you can see the second database is optional, but it’s worth spending additional time testing than being confronted to a problem after the migration.
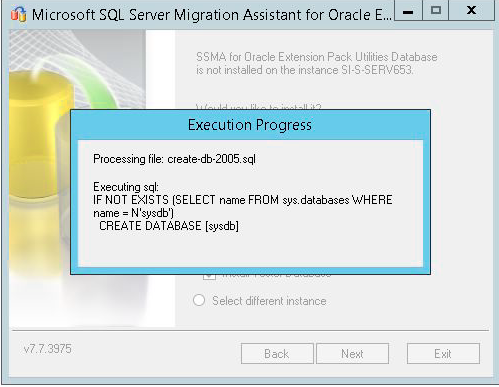
Hit “Next” button and the installation process will start.
Once the process ends, it will ask you whether to run against another instance or not (on the same server or on Linux).
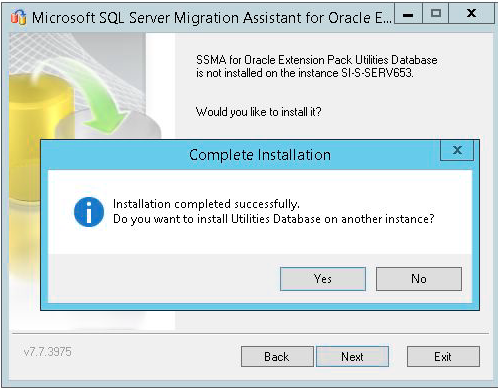
If you installed the Extension Pack on all the instances you had to, just click on “No” then “Exit” buttons.
Last but not least, open a new connection on SSMS and run following T-SQL code that will enable CLR.
|
1 2 3 4 |
sp_configure 'clr enabled', 1 ; GO RECONFIGURE ; GO |
Post-installation checks
The SSMA Extension Pack is now installed. Let’s now check what has changed on the destination server.
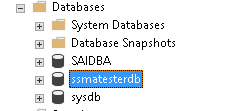
First, the two databases sysdb and ssmatesterdb have been created.
Then, we can notice that, in sysdb, there are following objects that could be interesting:
- ssma_oracle.bcp_migration_packages table,
- Procedures and functions defined in ssma_oracle schema.
Preparing SSMA execution
We now have everything for the tool to run, except that we should create a user/login on both source and destination that meets prerequisites. It’s what we will do in following part.
Source configuration
TNS Configuration
The Oracle TNS is the network layer of the Oracle Client. We can create kind of a directory file in which we will map a network name to a network descriptor.
To do so, we’ll go to the Oracle Home directory, which is the folder in which we installed the Oracle Client software and:
- Create a folder network (if not exists)
- Go into that folder
- Create a folder admin (if not exists)
- Create a file called “tnsnames.ora”
- Edit the file and add following descriptor, replacing values in red by the one corresponding to yours.
|
1 2 3 4 5 6 7 8 |
MIGSOURCE = (DESCRIPTION = (ADDRESS_LIST = (ADDRESS = (PROTOCOL = TCP)(HOST = myoraclehost)(PORT = 1521))) (CONNECT_DATA = (SERVICE_NAME = ORCL) ) ) |
NB: some of you may be using SID instead of SERVICE_NAME.
Connection user account
According to documentation, the account to be used for migration has to be granted following permissions:
- CONNECT
- CREATE ANY PROCEDURE
- EXECUTE ANY PROCEDURE
- SELECT ANY TABLE
- SELECT ANY SEQUENCE
- CREATE ANY TYPE
- CREATE ANY TRIGGER
- SELECT ANY DICTIONARY (query any table or view in any schema)
The easy way to do it is to use the SYSTEM account on the source server, but it’s not the most secure way… Let’s create an account with those permissions.
|
1 2 3 4 5 6 7 8 9 10 11 12 13 14 |
-- user creation CREATE USER SSMAUsr IDENTIFIED BY "123456a." DEFAULT TABLESPACE USERS TEMPORARY TABLESPACE TEMP ACCOUNT UNLOCK; -- permissions GRANT CONNECT to SSMAUsr ; GRANT CREATE ANY PROCEDURE to SSMAUsr ; GRANT EXECUTE ANY PROCEDURE to SSMAUsr ; GRANT SELECT ANY TABLE to SSMAUsr ; GRANT SELECT ANY SEQUENCE to SSMAUsr ; GRANT CREATE ANY TYPE to SSMAUsr ; GRANT CREATE ANY TRIGGER to SSMAUsr ; GRANT SELECT ANY DICTIONARY to SSMAUsr ; |
Let’s open up a command prompt and check the results of the following command:
|
1 2 3 |
Sqlplus SSMAUsr/'123456a.'@MIGSOURCE SQL>Select sysdate from dual; SQL>Exit |
Destination Configuration
SSMA prerequisites are pretty clear about what has to be done here: you must define a sysadmin account that will be used for actual migration.
Running SSMA for the first time
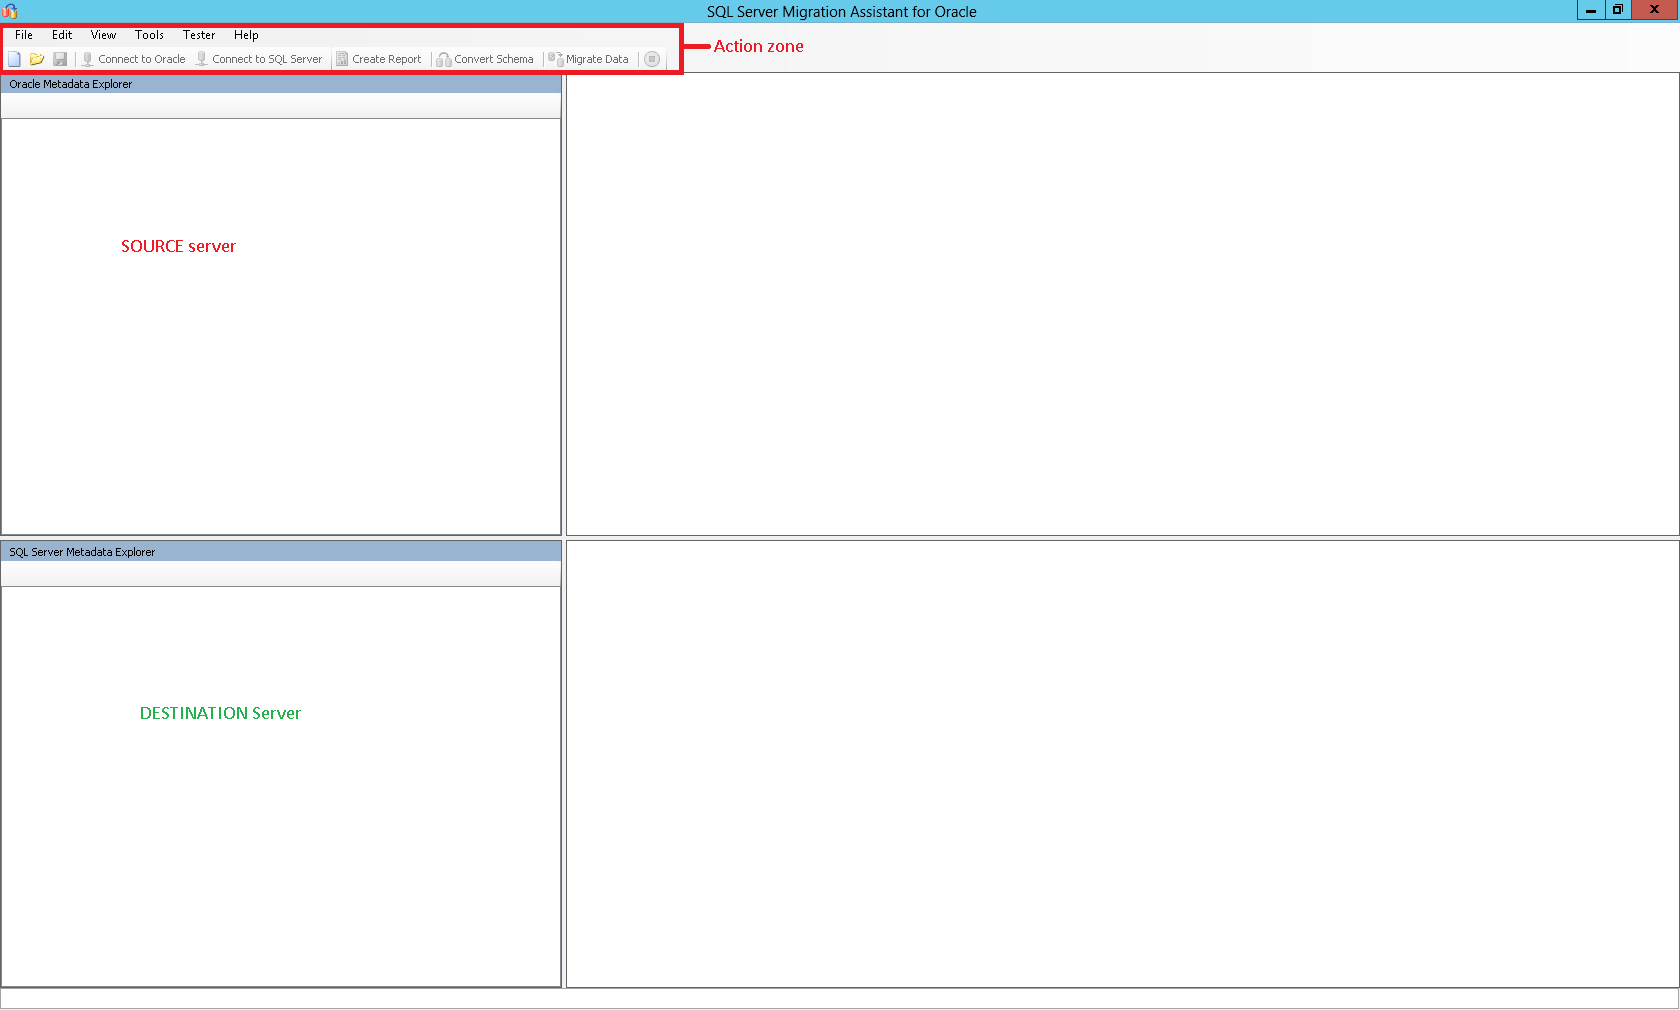
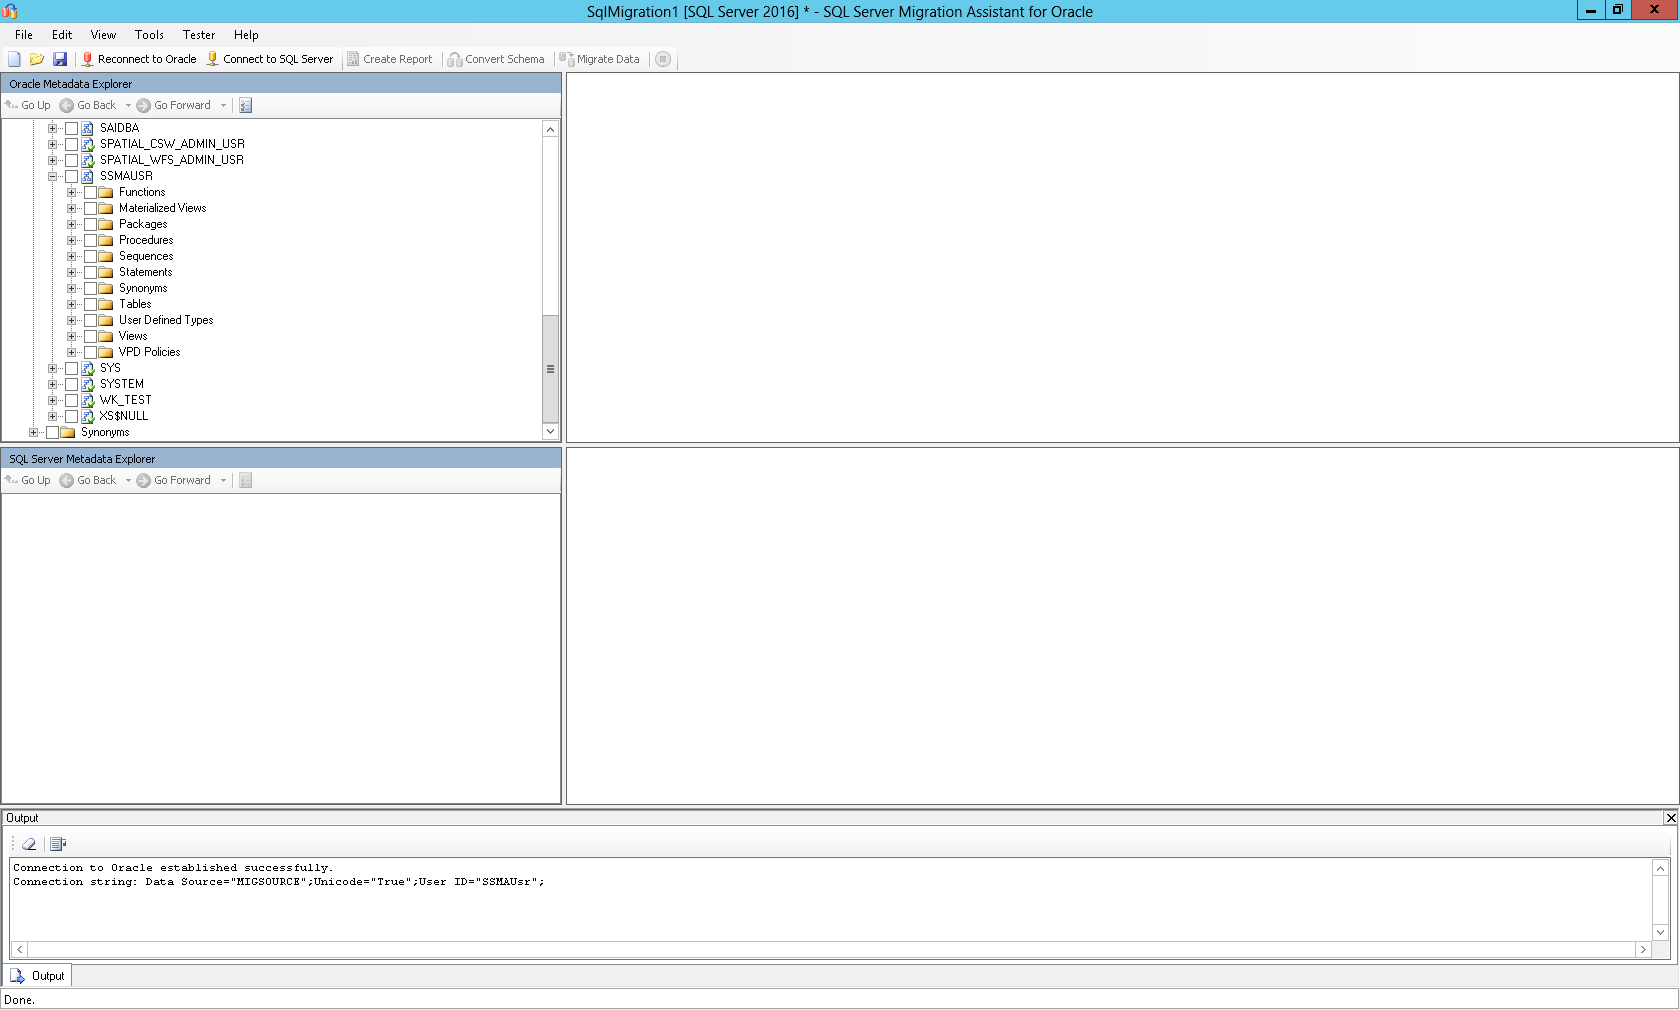
The interface is pretty simple to understand. It’s divided into mainly four parts:
- The action zone (above) comprising menu and tool bars
- The source examination zone
- The destination examination zone
- A detailed view zone
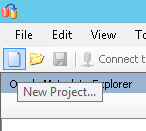
To be able to run a migration test, we will first need to create a new project. It’s done by either clicking on the new project icon or clicking on “File” menu then “New Project”.
|
|

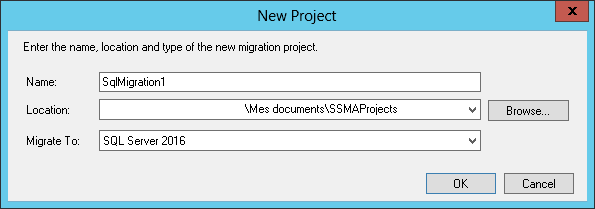
No matter the way to do it, you’ll be asked to enter a name to the project and a path where details about the project will be kept and target SQL Server version:
As soon as you clicked the “Ok” button, some actions become active and we’ll first connect to the source server by hitting the “Connect to Oracle button”.
A dialog will show up and you’ll need to enter details about the connection.
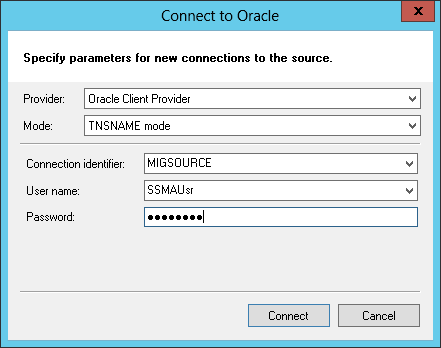
You will have to wait some time before getting a view like this:
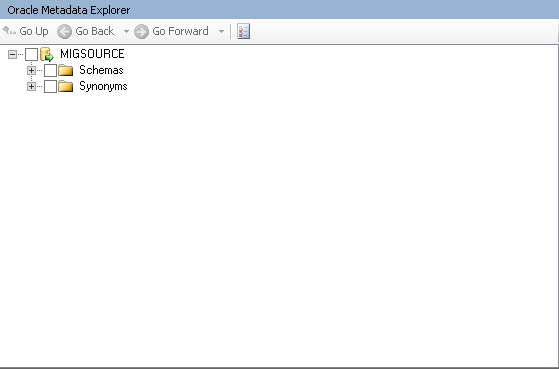
If we go deeper in the “schema” hierarchy, all the schemas existing in source database instance will be listed out. For each schema, we will have the following list of objects that we can check:
Going further
In this article, we’ve seen how to install SQL Server Migration Assistant for Oracle. We also ran it to check that it can connect to an Oracle database based on the steps we followed.
In the next article, in this series, we will discuss how to use SSMA by migrating an example schema from an open source application designed to connect to both SQL Server and Oracle. Stay tuned!
Previous article in this series:
Next article in this series:

I'm one of the rare guys out there who started to work as a DBA immediately after his graduation. So, I work at the university hospital of Liege since 2011. Initially involved in Oracle Database administration (which are still under my charge), I had the opportunity to learn and manage SQL Server instances in 2013. Since 2013, I've learned a lot about SQL Server in administration and development.
I like the job of DBA because you need to have a general knowledge in every field of IT. That's the reason why I won't stop learning (and share) the products of my learnings.
View all posts by Jefferson Elias
- How to perform a performance test against a SQL Server instance - September 14, 2018
- Concurrency problems – theory and experimentation in SQL Server - July 24, 2018
- How to link two SQL Server instances with Kerberos - July 5, 2018