

Introduction
SQL Server Migration Assistant (SSMA) is a free supported tool from Microsoft that simplifies and automates database migration processes (assessment analysis, necessary conversions, data migration and tests) from Microsoft Access, MySQL, Oracle, Sybase and DB2 to SQL Server, Azure SQL DB and SQL Server vNext (at the time I’m writing this article, SQL Server vNext stills in CTP1 version, so being a technical preview version it should not be used for production migrations).
In this article I will focus only on SSMA v7.1 for Oracle that converts Oracle database objects to SQL Server database objects by creating those objects in SQL Server and then migrates the data from Oracle to SQL Server.
SSMA v7.1 for Oracle is designed to support migration from Oracle 9.07.3 or later version to all edition of SQL Server 2008, SQL Server 2008 R2, and SQL Server 2012, SQL Server 2014, SQL Server 2016 and Azure SQL DB and SQL Server vNext CTP1.
SSMA for Oracle consists of a GUI client application, which must be installed on the computer from which you will perform the migration steps. That GUI is used to manage and perform the migration process from Oracle to SQL Server, Azure SQL DB and SQL Server vNext CTP1.
It also contains an extension pack to be installed on the target SQL Server machine. SSMA extension pack includes functionalities that support Oracle data migration and emulates Oracle features not natively supported in SQL server, a tester database to support SSMA Testing features and an application to facilitate direct server-to-server data migration.
Let see now how to install SSMA v7.1 for Oracle necessary for migrating to a SQL Server instance. The below instructions may differ for Azure SQL DB and SQL Server vNext since they are not in the scope of this article.
As referred previously, SSMA v7.1 for Oracle consists of two packages, the SSMA for Oracle Client and the SSMA for Oracle Extension Pack. Both can be installed in the target SQL Server machine or have SSMA for Oracle Extension Pack installed in the target server and SSMA for Oracle Client installed in any other machine. I will let the system requirements for separated computers and in case of installation in a single server you will need to merge both requirements to assure that the installation won’t fail.
System Requirements
Requirements for the SSMA for Oracle client:
- Windows 7 or superior, Windows Server 2008R2 or superior
- Microsoft Windows Installer 3.1 or a later version.
- The Microsoft .NET Framework version 4.0 or a later version.
- Oracle Client 9.0 or a later version, and connectivity to the Oracle databases that you want to migrate. The Oracle client version must be the same version as, or a later version than, the Oracle database version.
- Access to and sufficient permissions on the computer that hosts the target instance of SQL Server.
- 4 GB RAM.
Requirements for the SSMA for Oracle Extension Pack:
- Windows 7 or superior, Windows Server 2008R2 or superior
- SQL Server 2008 or higher (it does not support Express Edition).
- Microsoft Windows Installer 3.1 or a later version.
- Oracle Client 9.0 or a later version, and connectivity to the Oracle databases that you want to migrate. The Oracle client version must be the same version as, or a later version than, the Oracle database version.
- The SQL Server Browser service must be running during installation. This is used to populate a list of the instances of SQL Server in the Setup wizard. You can disable the SQL Server Browser service after installation
Install Instructions
If the computers have all the required then you can move for the installation of SSMA v7.1 for Oracle.
First thing to do is to download the necessary files to be installed and then run each one to perform the install. Follow the below step-by-step instructions:
- Download the following files from https://www.microsoft.com/en-us/download/details.aspx?id=54258
- SSMA for Oracle.7.1.0.msi (8.8MB)
- SSMA for Oracle Extension Pack.7.1.0.msi
Installing SSMA for Oracle Client
- Copy the SSMA for Oracle 7.1.0.msi downloaded file to the computer which you will perform the migration steps (can be your desktop computer and not necessarily the target server).
- Double-click on the SSMA for Oracle 7.1.0.msi file.
-
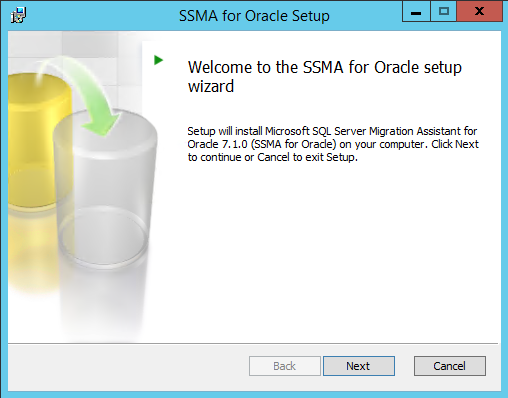
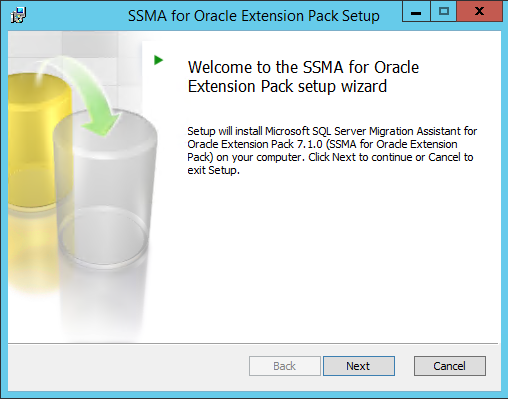
Click Next in the Welcome page.

-
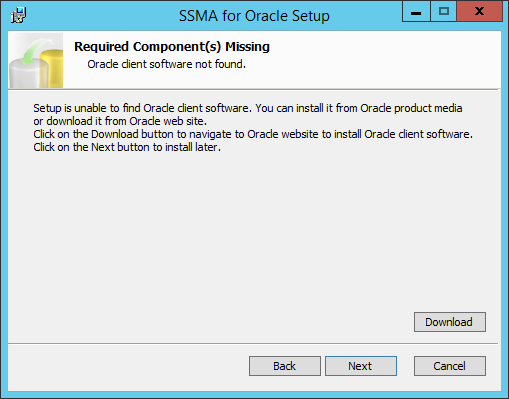
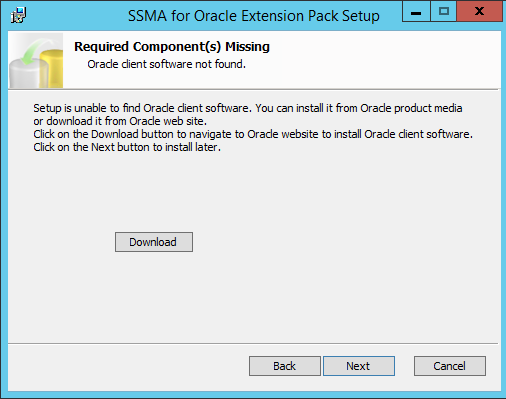
If you do not have an Oracle client software installed a message will appear that indicates that you must first install it. Assure to have the Oracle client software installed and then run the SSMA for Oracle 7.1.0.msi file again. The download button takes you to the Oracle website where you can download the necessary software:
-
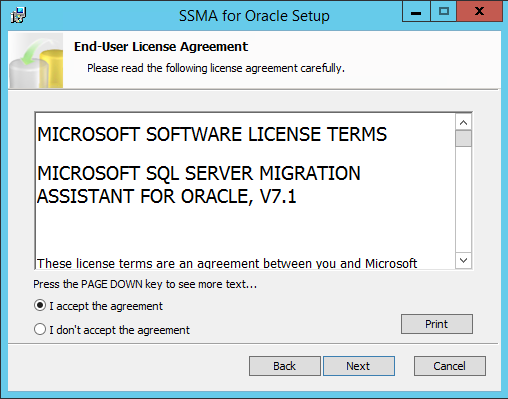
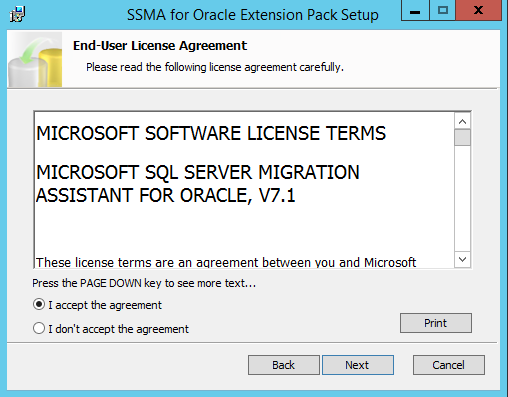
In the ‘End User License Agreement’ page select “I accept the agreement” option and click Next.
-
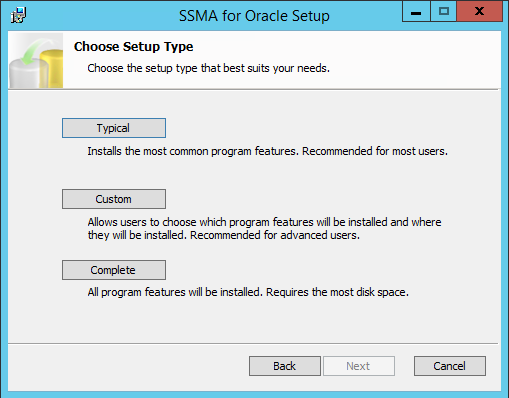
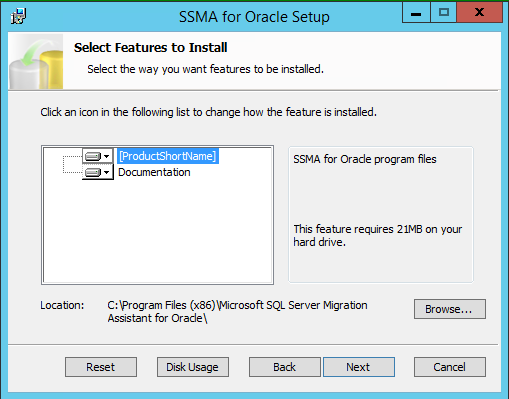
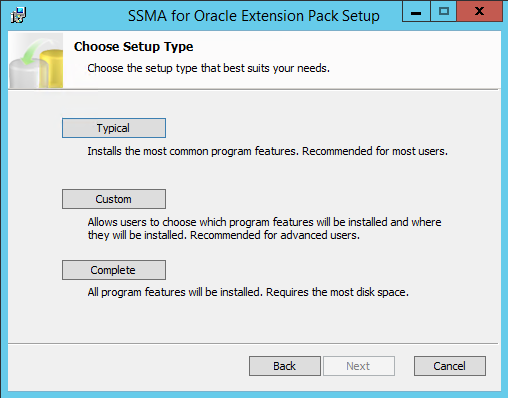
In the ‘Choose Setup Type’ page, click Custom if you do not to want to install all or for changing the installation path. Otherwise choose Typical or Complete since they do the same (install all in the default location path).
-
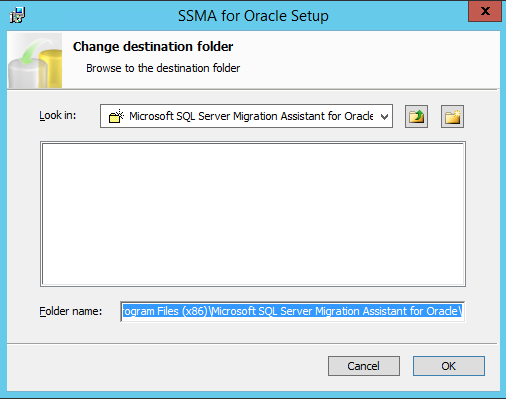
For change the location path for the SSMA client, click on Custom and then in Browse…
and Provide the new location:
Click OK to return to the previous screen and then Next for proceed with the installation
-
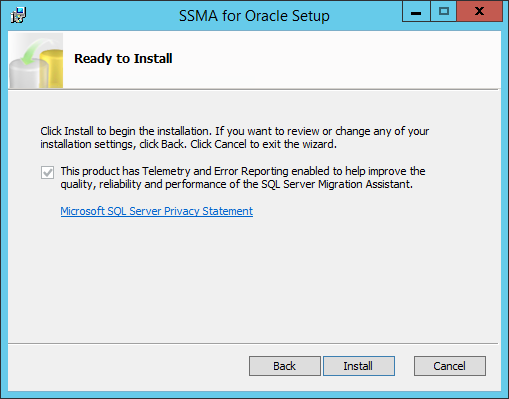
Click Install.
-
And in the last screen click Finish to exit from the installation wizard.
-
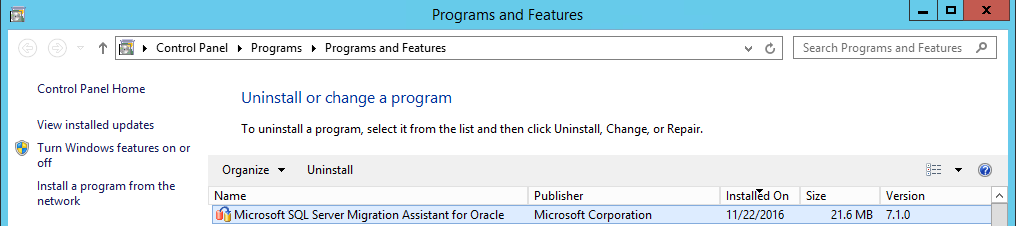
You can now confirm in Control Panel / Programs and Features that SSMA v7.1 for Oracle is installed

Installing SSMA for Oracle Extension Pack
In addition to the SSMA program files, you must also install the SSMA for Oracle Extension Pack on the computer where the migrated databases will be hosted. That computer must be running SQL Server.
NOTE: Extension pack and its functionality is not supported for SQL vNext CTP1 on Linux.
- Copy the SSMA for Oracle Extension Pack.7.1.0.msi downloaded file to the target MS SQL Server.
- Double-click SSMA for Oracle Extension Pack.exe file.
-
Click Next in the Welcome page
-
If you do not have an Oracle client software installed a message will appear that indicates that you must first install it. Assure to have the Oracle client software installed and then run the SSMA for Oracle 7.1.0.msi file again. The download button takes you to the Oracle website where you can download the necessary software:
-
In the ‘End User License Agreement’ page select “I accept the agreement” option and click Next.
-
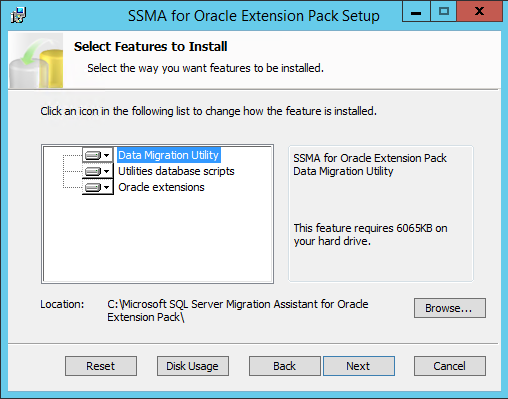
In the ‘Choose Setup Type’ page, click Custom if you do not to want to install all or for changing the installation path. Otherwise choose Typical or Complete since they do the same (install all in the default location path).
-
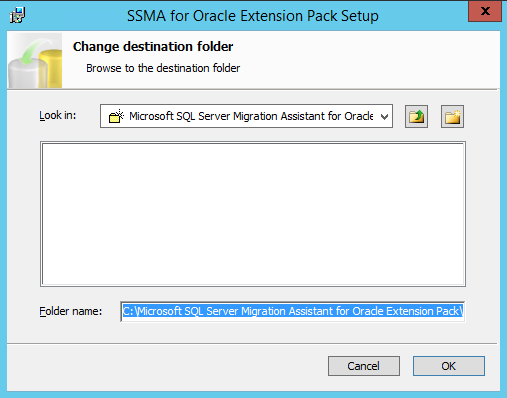
For change the location path for Extension Pack then choose Custom and then click on Browse…
and provide the new location
Click OK to return to the previous screen and then Next for proceed with the installation
-
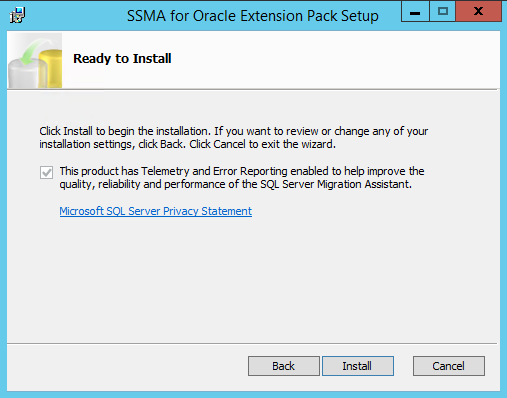
Click Install in the ‘Ready to Install’ page.
-
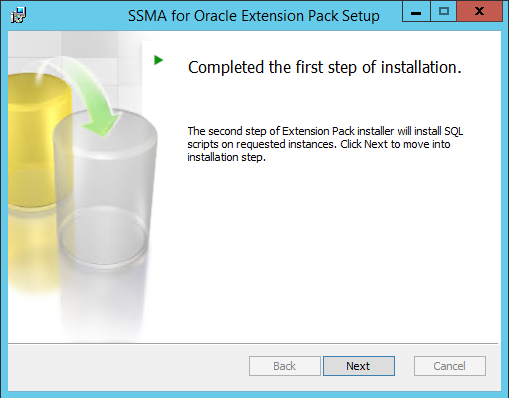
With this you have completed the first step of the installation. To continue for the second step of the installation click Next in the ‘Completed the First Step of Installation’ page.
-
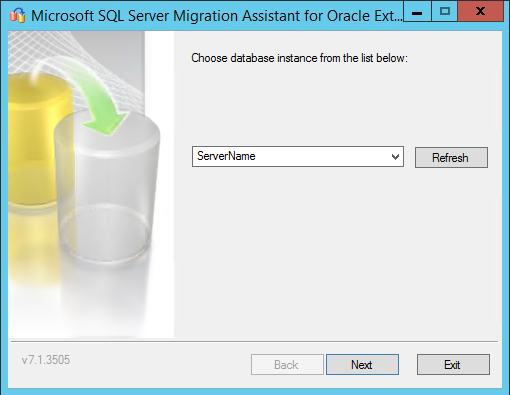
A pop-up window will appear in which you must provide the instance name of the SQL Server (in this article exemplified by ServerName) where the Oracle schemas will be migrating to. Click Next after providing the SQL Server instance name.
-
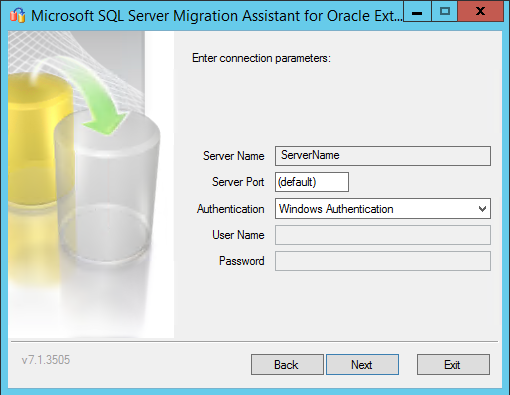
In the connection page check if all the default information provided are correct and then click Next. You can only change the Server Port and the Authentication method.
-
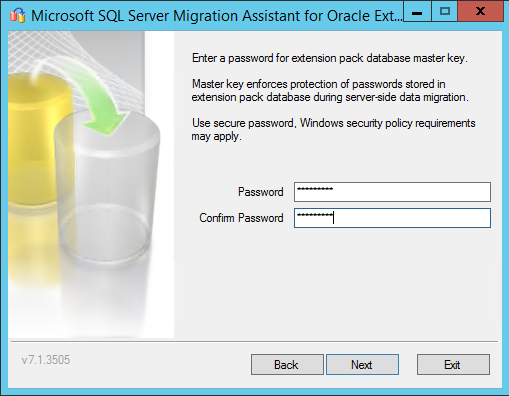
A password must be provided for the extension pack database master key.
-
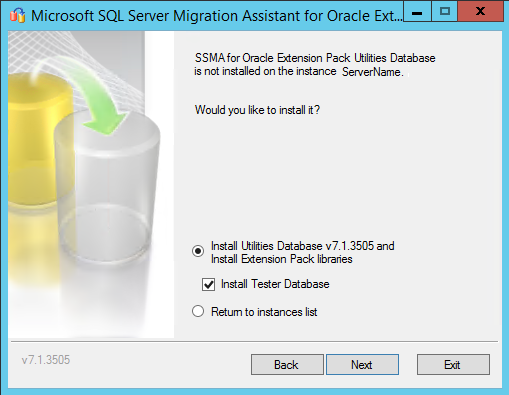
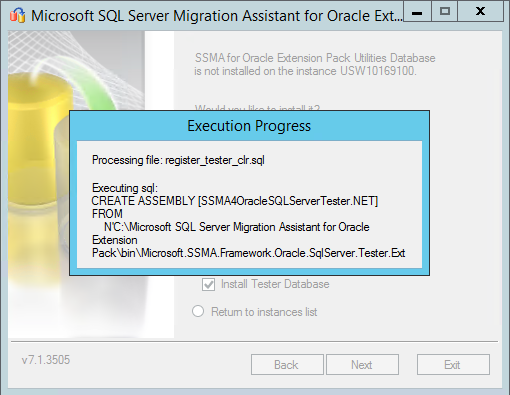
On the next page, select Install Utilities Database v7.1.3505 and then click Next. The sysdb database is created and if the Install Tester Database option is checked the tester ssmatesterdb database will also be created.
Let the scripts being executed by the installation wizard.
-
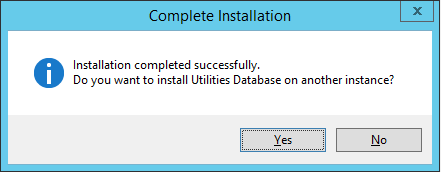
To install the utilities to another instance of SQL Server, click Yes and then click Next. To exit the wizard, click No and the Exit.
-
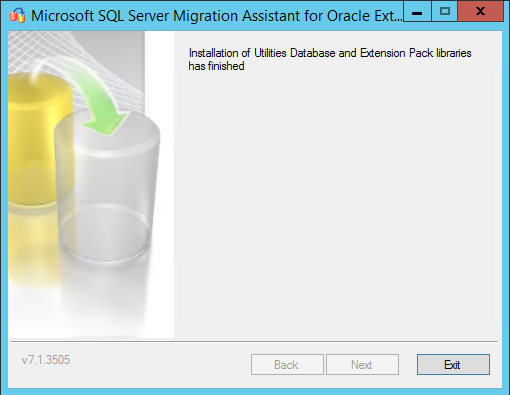
In this article we won’t install it in another instance so we are exiting from the installation by clicking on the Exit button.
-
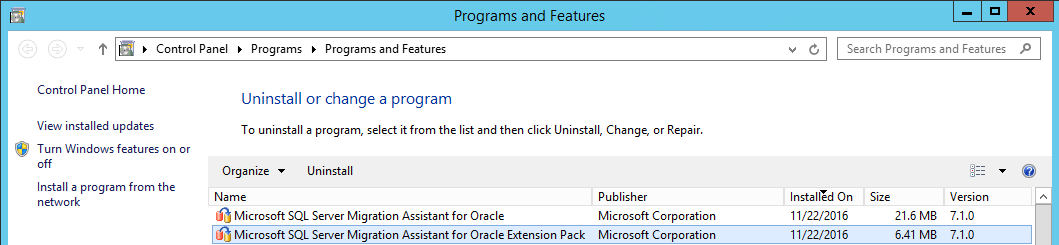
You can confirm now confirm in Control Panel / Programs and Features that SSMA v7.1 for Oracle Extensio Pack is installed.
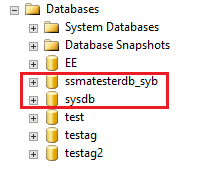
The SSMA extension pack adds the databases sysdb and ssmatesterdb to the instance of SQL Server specified during the installation. The database sysdb contains the tables and stored procedures that are required to migrate data and the user-defined functions that emulate Oracle system functions. The ssmatesterdb database contains the tables and procedures that are required by the Tester component. You can confirm their existences in SSMS. They should be listed in the middle of your user databases.
With these we have done with the installation.
Following section shows how to uninstall SSMA v7.1 for Oracle.
Removing SSMA for Oracle Components
After finishing migrating databases from Oracle to SQL Server and if not needed anymore you can uninstall the SSMA v7.1 for Oracle and the respective Extension Pack components. The SSMA v7.1 for Oracle Extension Pack should only be removed if any of the migrated databases does not use or does no longer use functions in the sysdb .ssma_oracle database schema.
Uninstalling the SSMA for Oracle Client
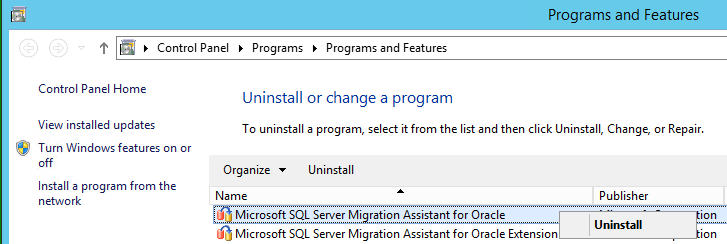
SSMA can be uninstalled by using Add or Remove Programs feature following these steps:
- Go to Control Panel and open Add or Remove Programs.
-
Find the Microsoft SQL Server Migration Assistant for Oracle, right-click on it and then click Uninstall.
-
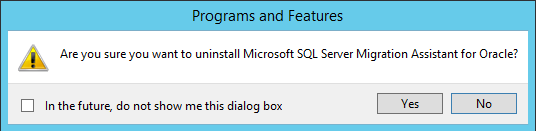
Click Yes to confirm and proceed with the uninstall.
Uninstalling the Extension Pack
Remember that the SSMA v7.1 for Oracle Extension Pack should only be removed if any of the migrated databases does not use or does no longer use functions in the sysdb .ssma_oracle database schema. With that confirmed follow these steps:
- Go to Control Panel and open Add or Remove Programs.
-
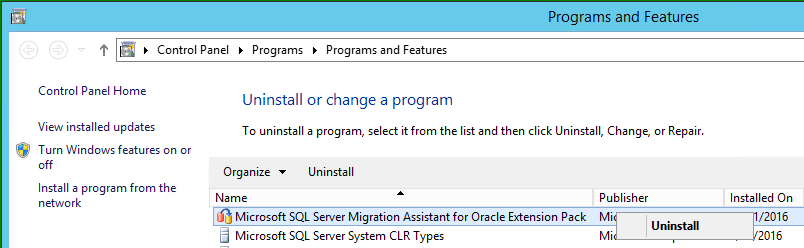
Find Microsoft SQL Server Migration Assistant for Oracle Extension Pack, right-click on it and then click Uninstall.
-
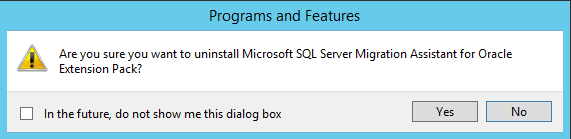
Click Yes to confirm and proceed with the uninstall.
-
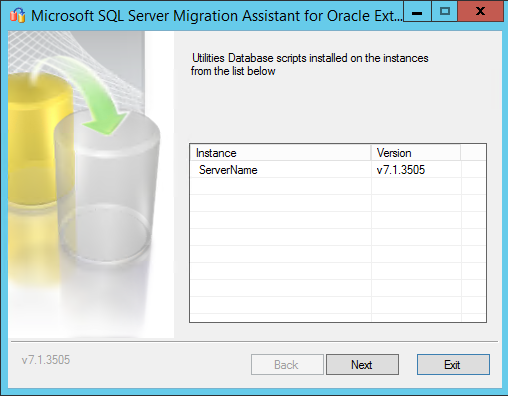
It will be presented a window with all the SQL Server Instances that have the Utilities Database Scripts installed, select the instance or instances where you want those scripts to be removed from and then click Next.
-
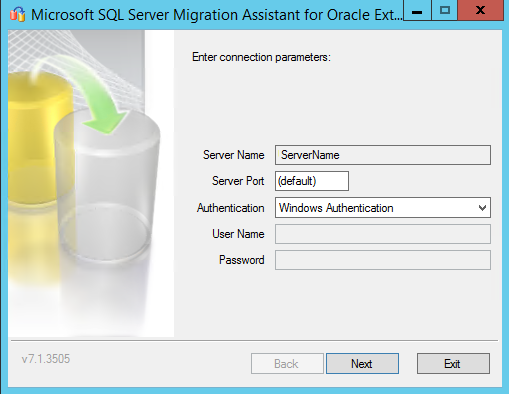
In the connection page check if all the default information provided are correct and then click Next. You can only change the Server Port and the Authentication method.
-
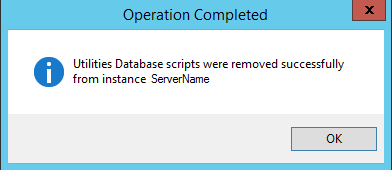
When the Utilities Database Scripts were removed the ‘Operation Completed’ window will pop-up informing about the success of the uninstall. Click OK to continue.
-
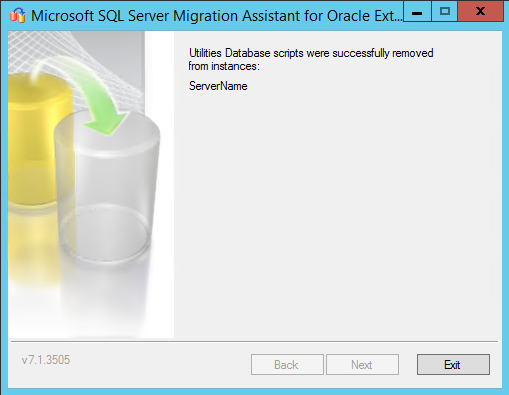
The Wizard Finish page will confirm the success of the uninstall in the listed SQL Server instances. Click Exit to exit from the Uninstall Wizard.
After the uninstall you can use SSMS to confirm that the databases sysdb and ssmatesterdb were been removed in the specified SQL Server instance. Those databases shouldn’t be listed no more in the SQL Server instance.
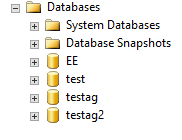
NOTE: If you use other SSMA products (for example for Sybase, MySQL, MS Access or DB2) in the same SQL Server instance, they also use sysdb database and then the database won’t be dropped but only sysdb.ssma_oracle schema will removed instead.

He participates in some SQL Server forums, helping other professionals solving SQL Server issues and acting as their mentor whenever is possible.
Vitor also has a website with some useful information about SQL Server: https://f1-sqlserver.wixsite.com/f1-sqlserver
View all posts by Vitor Montalvão
- An introduction to sp_MSforeachtable; run commands iteratively through all tables in a database - August 18, 2017
- SQL Server system databases – the model database - August 9, 2017
- SQL Server system databases – the msdb database - July 14, 2017