

Introduction
Intended audience
This document is intended for application developers and database administrators who plan to migrate an Oracle Database to Microsoft SQL Server.
Context
In the previous article, we saw how to install and prepare to migrate one or more Oracle Schema(s) and their objects to SQL Server. Now it’s time to go through the migration process…
Agenda
In its documentation, Microsoft takes the official Oracle HR schema. It seems to work like a charm and with no conversion work. What would it be with a more concrete example?
For this test, we will use a free and open source load testing tool called “HammerDB”. It can connect to both Oracle Database and SQL Server.
In short, this tool is a benchmarking tool that creates and uses a database schema and a set of databases objects to do its job.
As, we previously created a user called SSMAUsr and its associated schema in our source instance (in contrast to SQL Server, in Oracle Database, there is only one schema associated to one database user), we will take and use it as a destination for HammerDB objects.
We will then run SSMA against the SSMAUsr’schema and try to migrate it to our destination SQL Server instance.
Once the migration process is complete, we will run HammerDB against that migrated schema and check if the application works.
Installing HammerDB
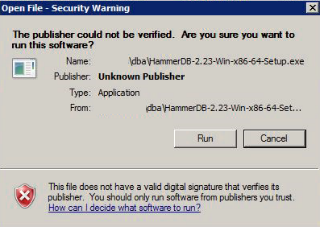
Go to HammerDB website and download the installer. Once the download is completed, go to the computer on which SSMA has been installed and run the executable file. You could get following warning message. If so, click on “Run”.
Note: For HammerDB to be able to connect to an Oracle Database instance, it needs the Oracle client to be installed.
Once HammerDB installer is started, you will provide the language in which the tool will be installed.
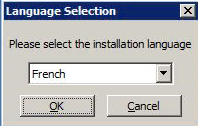
Select the appropriate language and click on the “OK” button.
Let’s choose “English”. A dialog will appear and ensure you are really willing to continue…
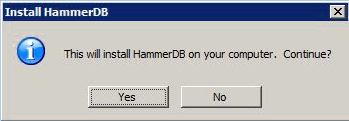
Click on “Yes” button and the installation wizard will be displayed.
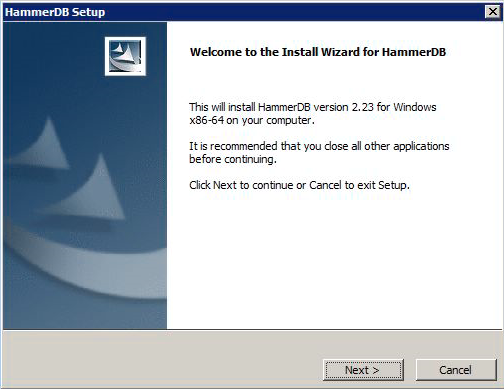
Click on “Next”
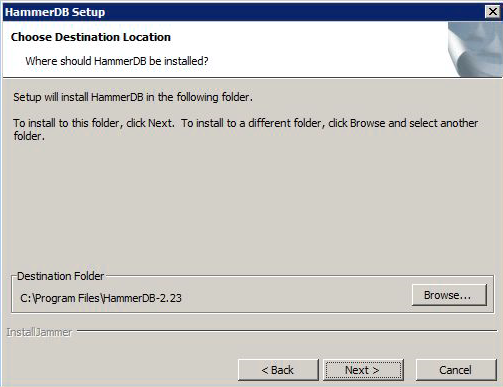
Select the appropriate destination folder and click on “Next” button.
Click on “Next” button and the installation begins.
And, finally, HammerDB is installed.
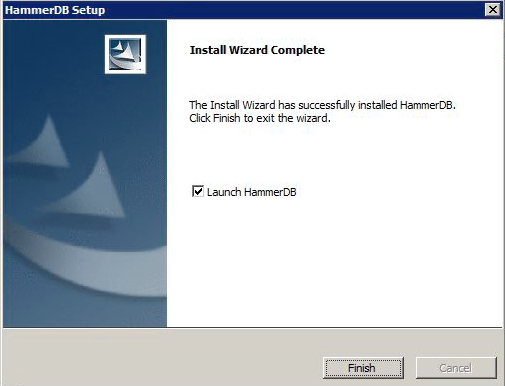
Click on “Finish” button and HammerDB will start.
Note: If anything went wrong during the installation or the remaining of this procedure, please, refer to HammerDB documentation. It’s the best resource for getting support.
Creating source schema using HammerDB
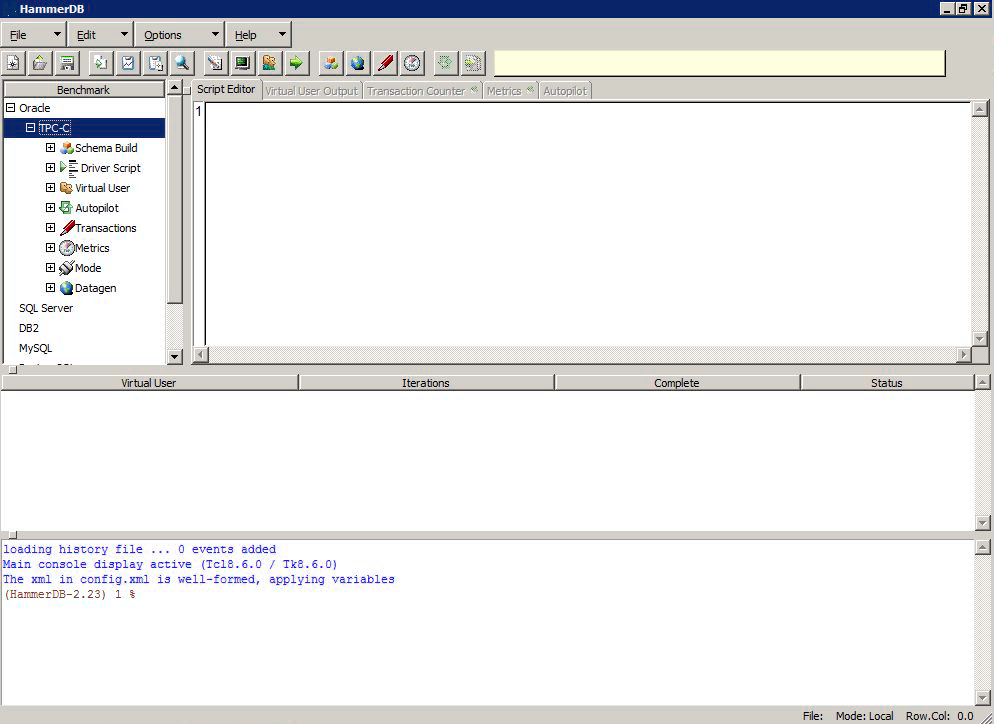
Here is what HammerDB user interface looks like:
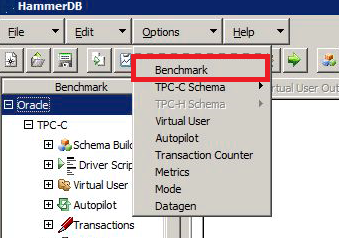
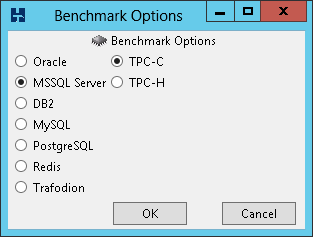
For those who are interested in the kind of benchmarks HammerDB can perform, you can go to Options menu and click on “Benchmark”.
You will get an overview of its benchmarking capabilities:
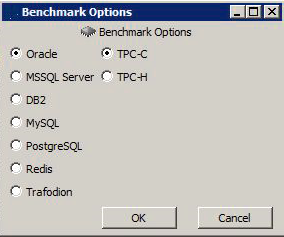
For the purpose of this test, we will keep the default, which is Oracle and TPC-C option.
Adapting SSMAUsr on the source database instance
Let’s now adapt the SSMAUsr database user on source instance so that it can be used for this test.
First, let’s grant it the permission to create objects and data.
|
1 2 3 |
GRANT RESOURCE, CREATE VIEW to SSMAUsr; GRANT UNLIMITED TABLESPACE to SSMAUsr; GRANT EXECUTE ON SYS.DBMS_RANDOM TO SSMAUsr; -- Used in NEWORD procedure |
Now, let’s create a dedicated tablespace:
|
1 2 3 4 5 6 7 8 |
CREATE TABLESPACE SSMA_DATA DATAFILE '/u02/oradata/TEST01/data/SSMA_DATA.DBF' SIZE 2048M AUTOEXTEND ON NEXT 128M MAXSIZE 16384M LOGGING EXTENT MANAGEMENT LOCAL SEGMENT SPACE MANAGEMENT AUTO ; |
The previous command creates a tablespace called SSMA_DATA with one datafile with an initial size of 2 Gb and extensible by step of 128Mb to 16 Gb.
Now, let’s assign this tablespace as the default one for SSMAUsr:
|
1 |
ALTER USER SSMAUsr DEFAULT TABLESPACE SSMA_DATA; |
For testing purpose, let’s create a simple table and check that the object is located in the SSMA_DATA tablespace.
|
1 2 3 4 5 6 7 8 9 10 |
CREATE TABLE SSMAUsr.TestTbl( ColName VARCHAR2(256) ); SELECT TABLESPACE_NAME FROM all_tables WHERE OWNER = 'SSMAUSR' AND TABLE_NAME = 'TESTTBL' ; |
You should get SSMA_DATA as a result.
Now, we can drop the table we just created.
|
1 |
DROP TABLE SSMAUSR.TESTTBL; |
Creating HammerDB objects
In this subsection, we will create the schema objects using HammerDB.
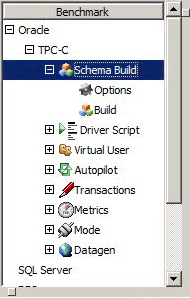
We will start by editing HammerDB configuration by double-clicking on “Option” item in the “Schema Build” tree item.
This will result in the display of a dialog where we can change connection settings as well as other aspects.
Here is the expected configuration:

Once the configuration is done, you can hit the “OK” button and click on the “build” item, just under the “Options” on which you just clicked before. You will be prompted to accept the actual building of the HammerDB schema.
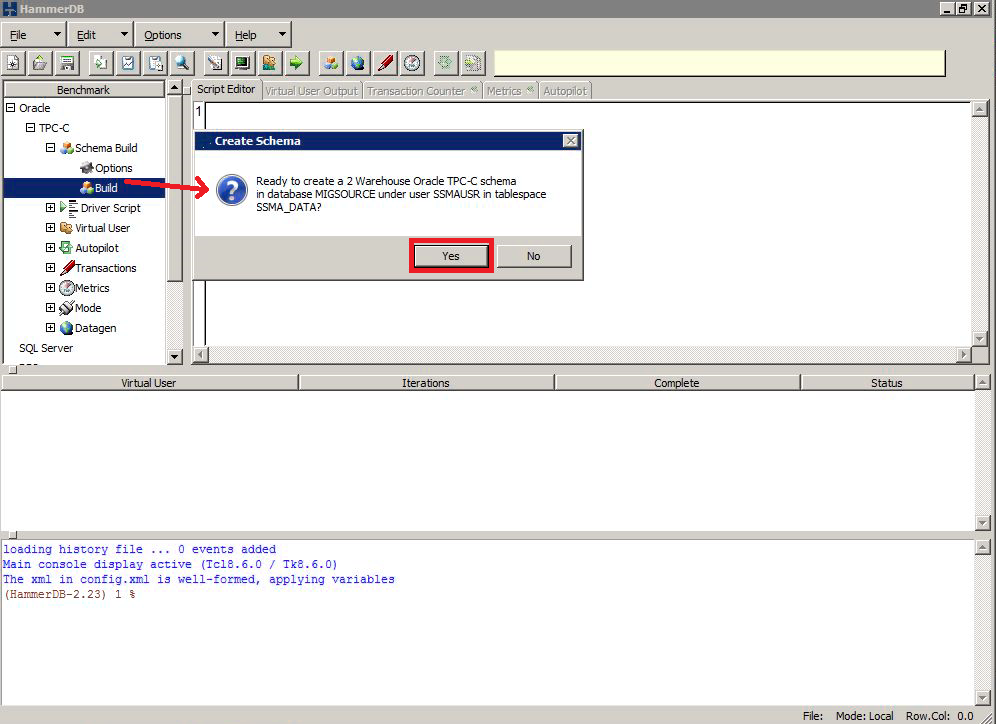
You could notice messages about the failure of user creation or tablespace creation, but you can ignore it as we prepared all the work before the execution.
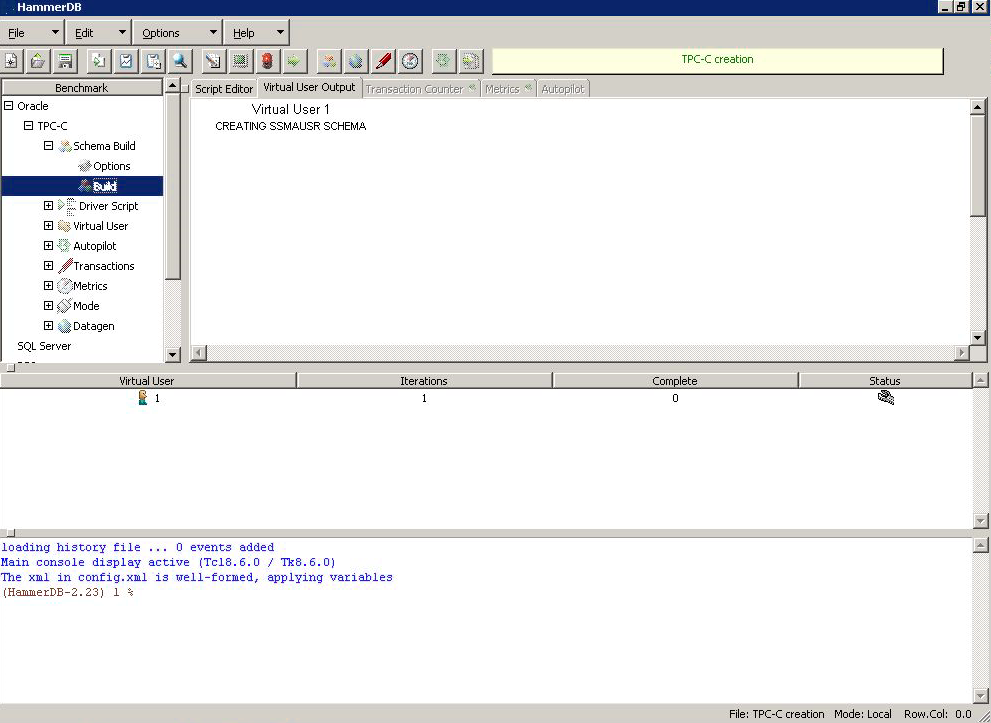
Normally, after a while, you should get a view similar to the following one.

And if we run following query, we should get a list of all the objects HammerDB has created.
|
1 |
select * From all_objects where owner= 'SSMAUSR'; |
Now, we can close HammerDB as we won’t use it anymore.
Running SSMA for reporting
In this section, we will focus on the preparation for actual migration and check what objects can be migrated directly and which one requires code conversion.
First of all, we will start SSMA and create a new project with the options specific to this step, as explained in a previous section.
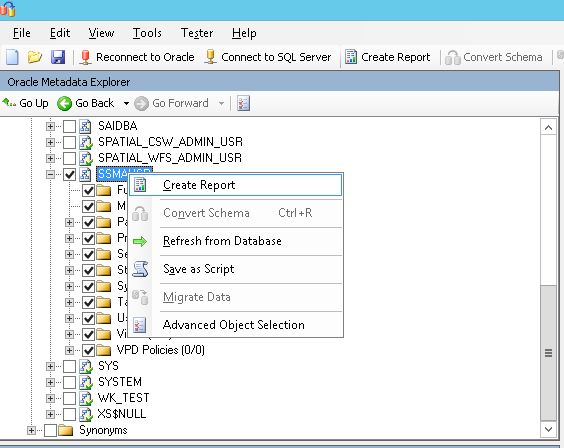
The first step when preparing a migration is getting an overview of the work that has to be done. We can do it thanks to a “Create Report” menu item in the contextual menu that appears when clicking on the source schema SSMAReport.
It will actually build an HTML report and propose to open it up with Internet Explorer or your default web browser.
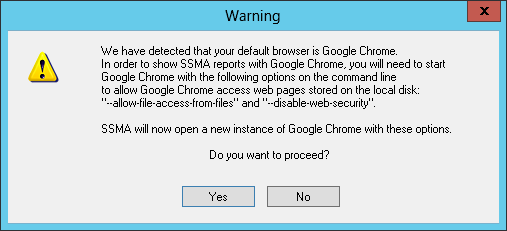
Note: If the path in which the report is stored contains a space character, it will result in the opening of two different navigation tabs. You will have then to consolidate the URL…
If we display the report, we can see that, unfortunately, or expectedly, we can’t migrate the schema directly to SQL Server.
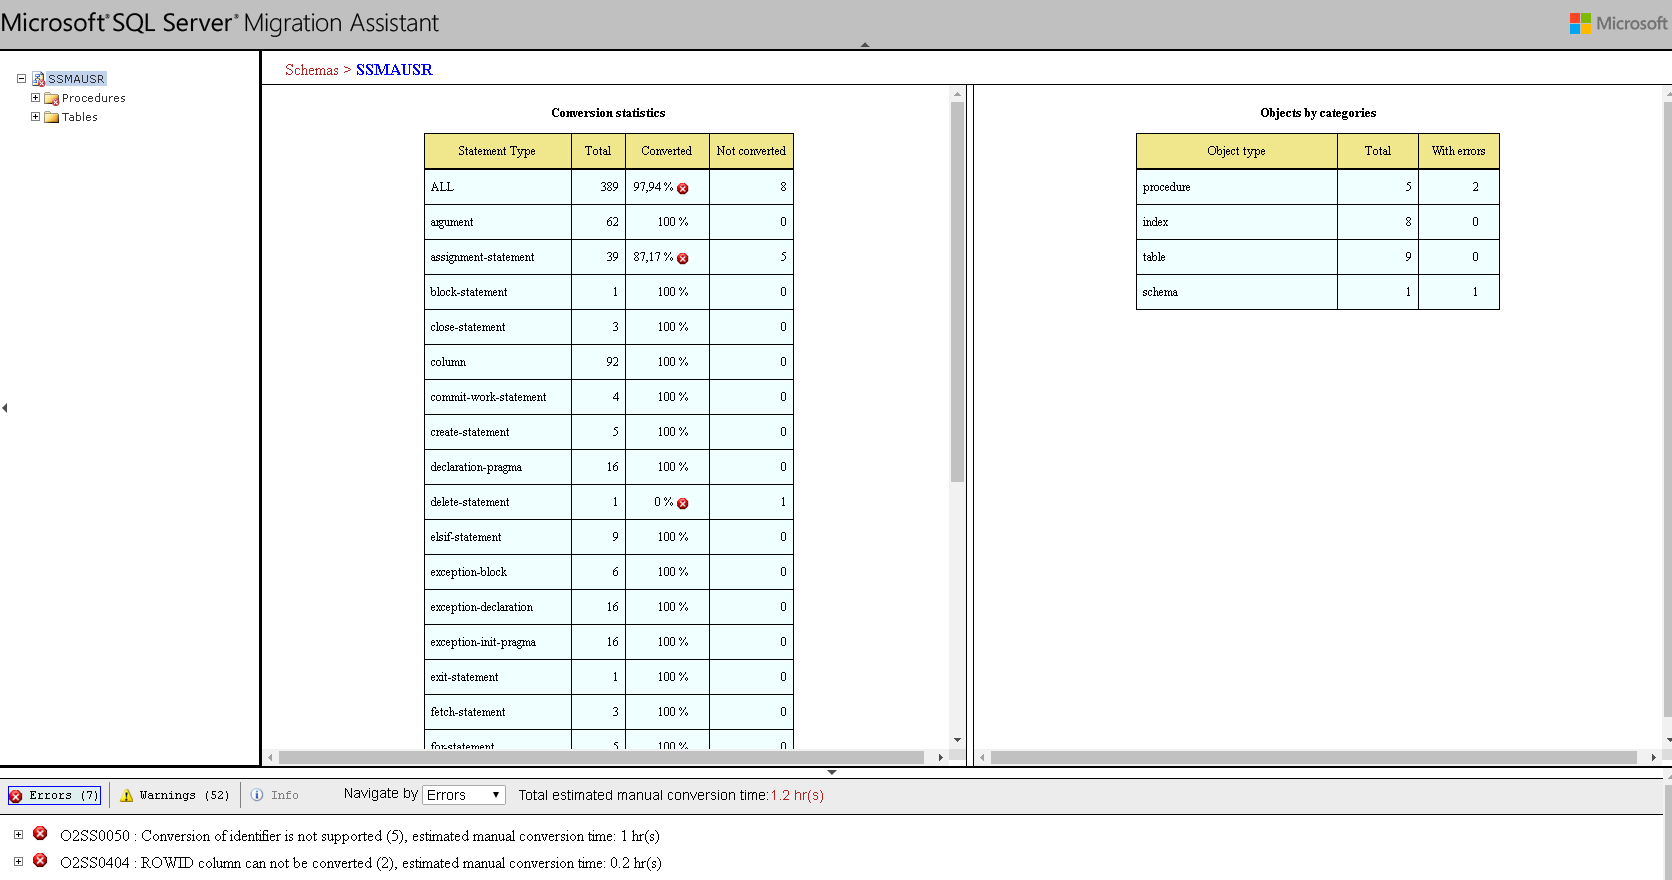
But, good news though, almost 98% of the schema is directly transferable.
If we look at the right of the screen, we can see that:
- Tables and indexes are transferred without any work to do
- Schema and procedures are the objects that require some roll up our sleeves.
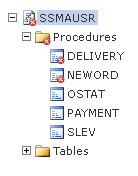
Now, if we look at the left-hand tree, we can expand the “Procedures” node and learn that problematic procedures are DELIVERY and NEWORD.
Converting Oracle schema to SQL Server
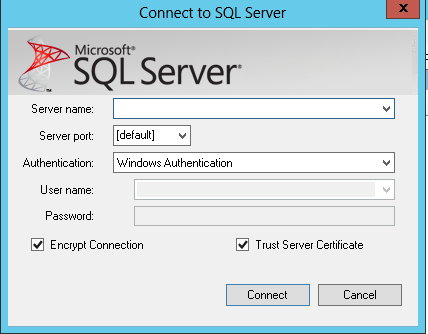
Now, let’s connect to SQL Server destination instance by clicking the “Connect to SQL Server” button. You will be asked to provide connection information to destination SQL Server instance:
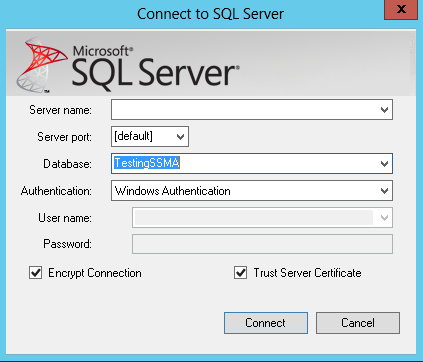
Once it’s done, click on “Connect” button.
Note:
- Don’t forget to use a SQL Server login that is a member of sysadmin role.
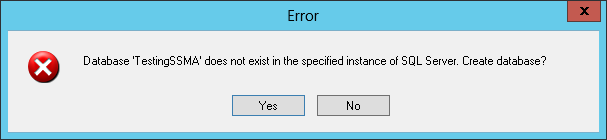
- if destination database does not exist, SSMA will automatically ask you to create it for you
Now, if we selected the SSMAUsr schema in Oracle Database Metadata Explorer and if we right-click on it, the “Convert Schema” button in the contextual menu will be enabled and ready to use.
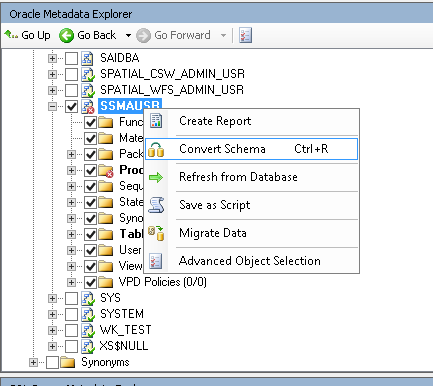
The conversion will directly start and we can monitor the evolution of the conversion via the Output window at the bottom of SSMA.
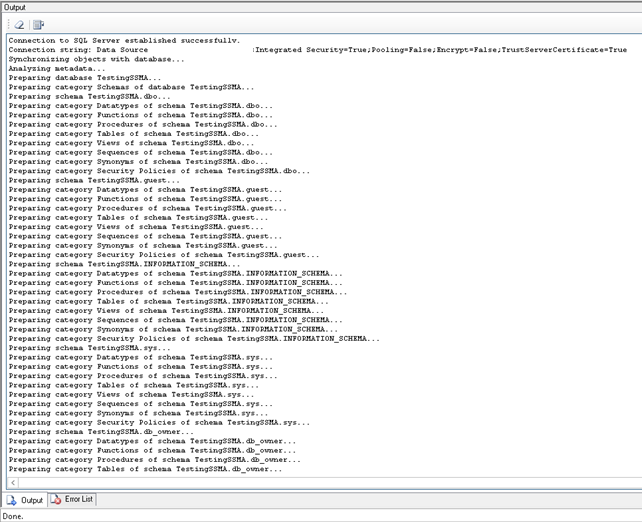
Obviously, we will get as a final word following message:
Synchronization operation is complete.
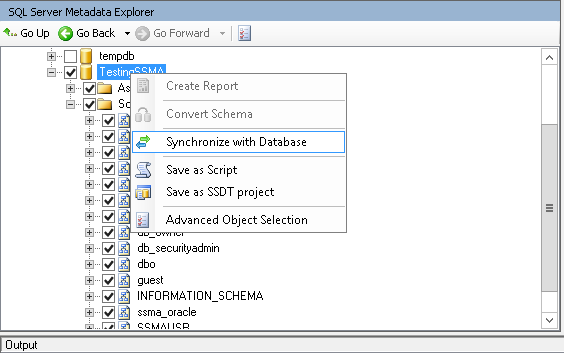
If we go to SQL Server Metadata Explorer, and right-click on the TestingSSMA database, a contextual menu will appear. We should click on “Synchronize with Database”.
A summary of changes will be displayed. Here is the view when the “Hide Equal Objects” button is selected:
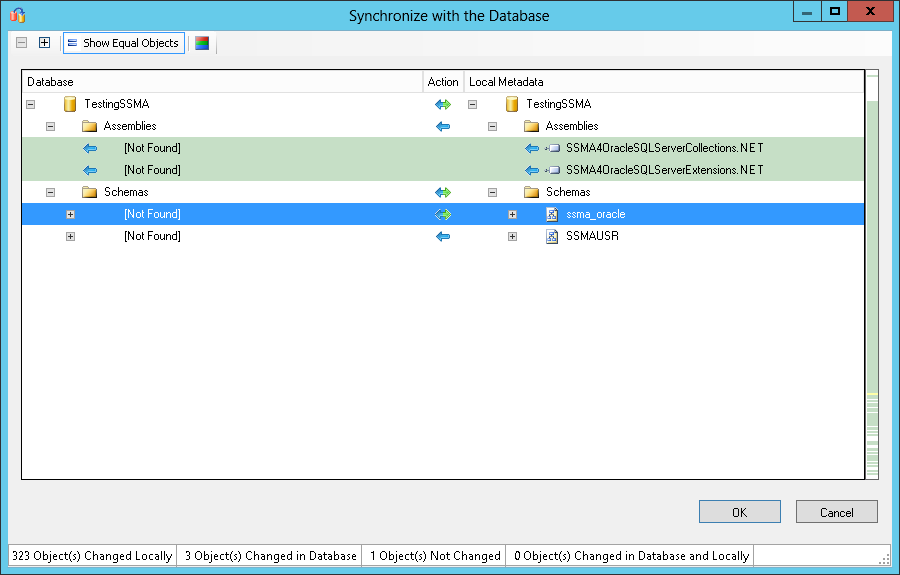
We can see that the conversion created two .NET Assemblies, the ssma_oracle schema we talked previously and the SSMAUsr schema we are trying to migrate.
If we hit “OK”, the metadata explorer will be updated with the data displayed in the screen capture above.
A quick look at the stored procedures of the SSMAUsr schema in SQL Server metadata explorer will highlight the fact that the conversion also imported the two problematic stored procedures.
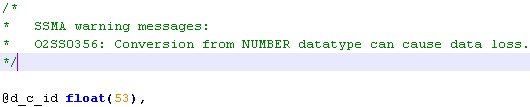
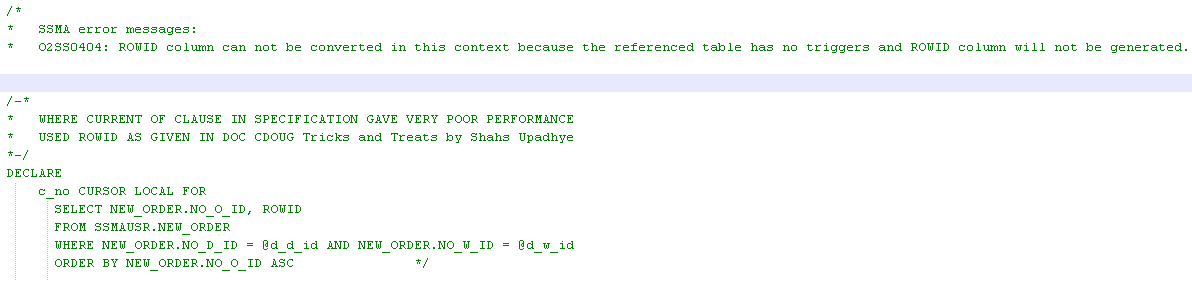
If we export let’s say the DELIVERY stored procedure as a script, which is done by right-clicking and hitting the “Save as Script” of the contextual menu, we will notice that the SSMA added some comments during the conversion.
Here are some examples:

Or
Or
Other noticeable facts:
- The generated code does not have any “;” at the end of the T-SQL instructions.
- The generated code is indented using a 3 spaces basis.
In order to be able to actually migrate the application, we have to fix the code for DELIVERY and NEWORD stored procedures and keep a close look at the source stored procedure. In some cases, it could be simple changes, in other cases, a complete code rewrite should be made.
We won’t go any further in the SP code conversion because it won’t give any additional value to the content of this article.
Data migration
While stored procedures need to be reviewed, tables have been converted successfully. As we installed the SSMA Extension Pack on a destination server, we are able to migrate data. It’s simply performed using the “Migrate Data” button of the contextual menu that appears when right-clicking on the source schema:

It will open a dialog asking for credentials to create a second connection to the source database

And it will do the same for destination server:
And the process starts:

Once the data migration is complete, a report dialog is displayed with the ability to store the report to disk.
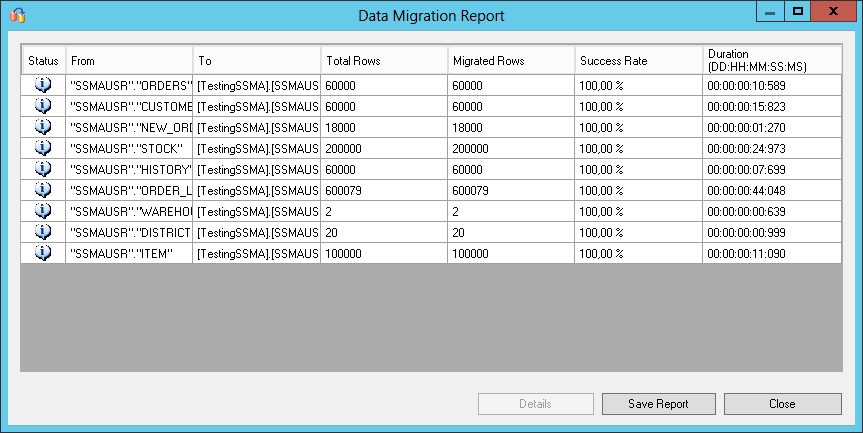
We can check the content if we want to ensure that the no bad conversion occurred in text or dates columns and some other tests for consistency.
Testing HammerDB on converted schema
You will find attached the converted stored procedures that I have modified and were highlighted by SSMA and the PAYMENT stored procedure where I had to change every OUTPUT parameter definition with a “= NULL”.
I finally got the following message which tends to tell me that SSMA is not yet well designed for code conversion.
Error in Virtual User 1: Payment : 25000 266 {[Microsoft][SQL Server Native Client 11.0][SQL Server]Transaction count after EXECUTE indicates a mismatching number of BEGIN and COMMIT statements. Previous count = 1, current count = 0.}
I stopped the conversion process at this point because it does not fit any real-life need and would be a waste of time for me.
In case of some readers would want to go till the end of the conversion, here are the steps to follow in order make HammerDb run against a SQL Server database:
First, create a HammerDb SQL Login on destination SQL Server instance, which has access to all objects in SSMAUsr schema so as ssma_oracle schema. For simplicity, you can add the database user mapped with HammerDb login as a member of the db_owner database role.
This can be performed using following script:
|
1 2 3 4 5 6 7 8 9 10 11 12 13 14 15 16 |
USE [master] GO CREATE LOGIN [HammerDb] WITH PASSWORD=N'123456a.', DEFAULT_DATABASE=[TestingSSMA], CHECK_EXPIRATION=OFF, CHECK_POLICY=OFF GO USE [TestingSSMA] GO CREATE USER [HammerDb] FOR LOGIN [HammerDb] GO USE [TestingSSMA] GO ALTER USER [HammerDb] WITH DEFAULT_SCHEMA=[SSMAUSR] GO USE [TestingSSMA] GO ALTER ROLE [db_owner] ADD MEMBER [HammerDb] GO |
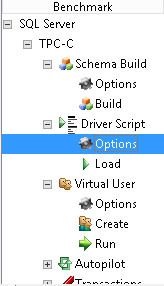
Once the HammerDb user is created, in HammerDB application, create a new project and set the benchmark option to “SQL Server” with “TPC-C”.
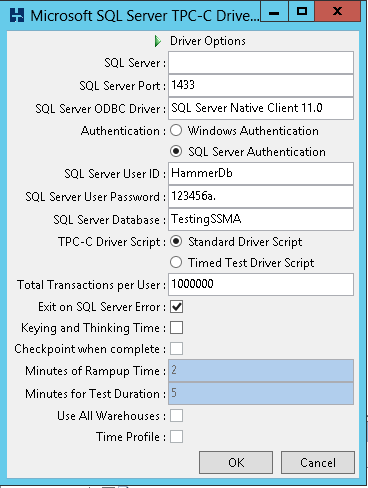
Once done, go down to “Driver Script node in treeview on the left-hand pane and double-click on “Options”.
This will open a connection description dialog. Edit the information in that dialog and click “OK”.
Then, click on “Load”. It will load a script that will be executed by virtual users.
The last step is to create virtual users and make them run.
Note: I used a case-sensitive database and failed to run HammerDB, so if there is one advice to give, it’s to use a case-insensitive database or to adapt the object and column names according to the code.
Cleanups
To clean up your testing environment, here are the steps to follow:
- Remove HammerDb SQL login and dependencies on destination instance
- Remove TestingSSMA database
- Remove SSMAUsr on source database
- Uninstall SSMA Extension Pack from destination server
- Uninstall SSMA client
- Uninstall Oracle Database Client from both client and destination hosts
Conclusion and going further
The SSMA tool is pretty handy when it comes to converting Oracle databases tables and transfer data easily. It has advanced customizations that we did not cover in this article like schema mapping.
However, you cannot use it blindly and imagine the migration will be fine. A complete code review and advanced testing of client applications are mandatory as it’s quite a complex change.
Another interesting point would be to compare performances between a migrated schema using SSMA and the same schema but specifically designed for SQL Server.
Anyway, I would suggest investigating the tool in depth to see all its capabilities and to stay tuned for new versions.
Previous articles in this series:
- An overview of SQL Server database migration tools provided by Microsoft
- Migrating an Oracle Database to SQL Server with Microsoft Data Migration Assistant – Installation Process and Short Overview

I'm one of the rare guys out there who started to work as a DBA immediately after his graduation. So, I work at the university hospital of Liege since 2011. Initially involved in Oracle Database administration (which are still under my charge), I had the opportunity to learn and manage SQL Server instances in 2013. Since 2013, I've learned a lot about SQL Server in administration and development.
I like the job of DBA because you need to have a general knowledge in every field of IT. That's the reason why I won't stop learning (and share) the products of my learnings.
View all posts by Jefferson Elias
- How to perform a performance test against a SQL Server instance - September 14, 2018
- Concurrency problems – theory and experimentation in SQL Server - July 24, 2018
- How to link two SQL Server instances with Kerberos - July 5, 2018