
Azure Data Studio (ADS) is a popular cross-platform (Windows, Linux) tool for database professionals. It provides various useful features such as T-SQL editor, Visualizations, insights, Peek definitions, Notebooks, Git integration, extensions and more. Extensions add new functionality in the ADS. Microsoft provides several useful extensions. We have already covered few useful extensions in the Azure Data Studio category on SQLShack.
ADS also supports custom extensions. You can develop your extension and publish it in the community so that others can take benefit from it.
In this article, we will create a custom extension and deploy it in the Azure Data Studio.
Develop a custom extension in Azure Data Studio
ADS supports the dashboard at the server and database levels. To launch the server dashboard, connect to a SQL instance in ADS and Click on Manage. It shows the default server dashboard, as shown below.

Similarly, if you launch the dashboard from a specific database, it launches the database dashboard.
You can refer to the article Server and Database dashboards in Azure Data Studio for detailed knowledge. In this article, we will create a new database extension to execute a SQL query and return output in a chart format.
Prerequisites
For this article, we will require the following tools to develop an extension for ADS:
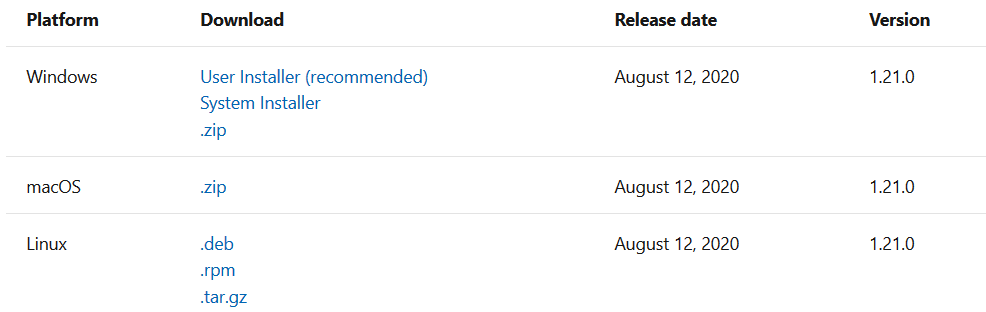
Azure Data Studio: Install the latest version of the ADS. Currently, the latest version is 1.21.0

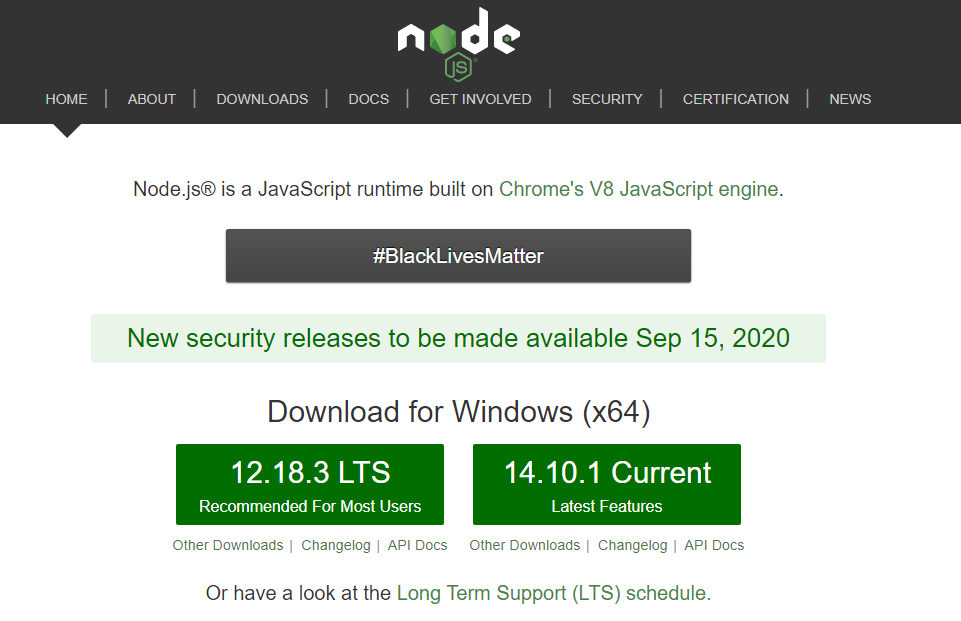
Node.js
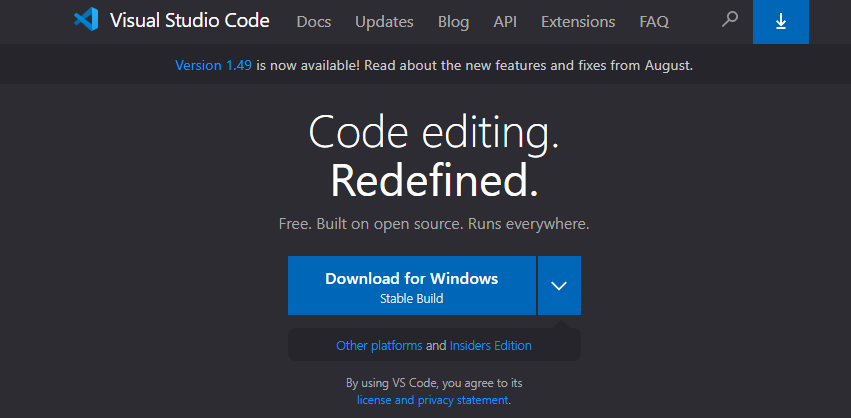
We require JavaScript runtime Node.js as an extension generator and VSIX package creator. To install Node.js, browse the URL and download the latest stable version.
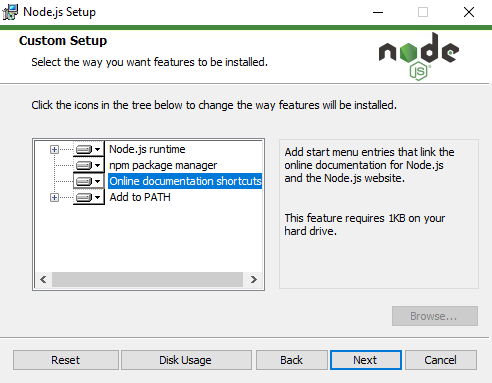
Launch the setup and in the feature, make sure all features are enabled as shown below. The set up also adds the installation path in the Windows environment variables
Visual Studio Code: Download and install the open-source editor that acts as a script editor for various such as Node.js, Python, SQL, PHP, PowerShell, AWS and Azure CLI
You can also browse existing articles on the Visual Studio Code in SQLShack
Azure Studio Debug extension in Visual Studio Code
Launch the VS Code and in the extension, look for the Azure Data Studio Debug extension as shown below. We will use this extension to debug the extension after configuring it

Steps to create an extension for Azure Data Studio
- Install Yeoman extension generator
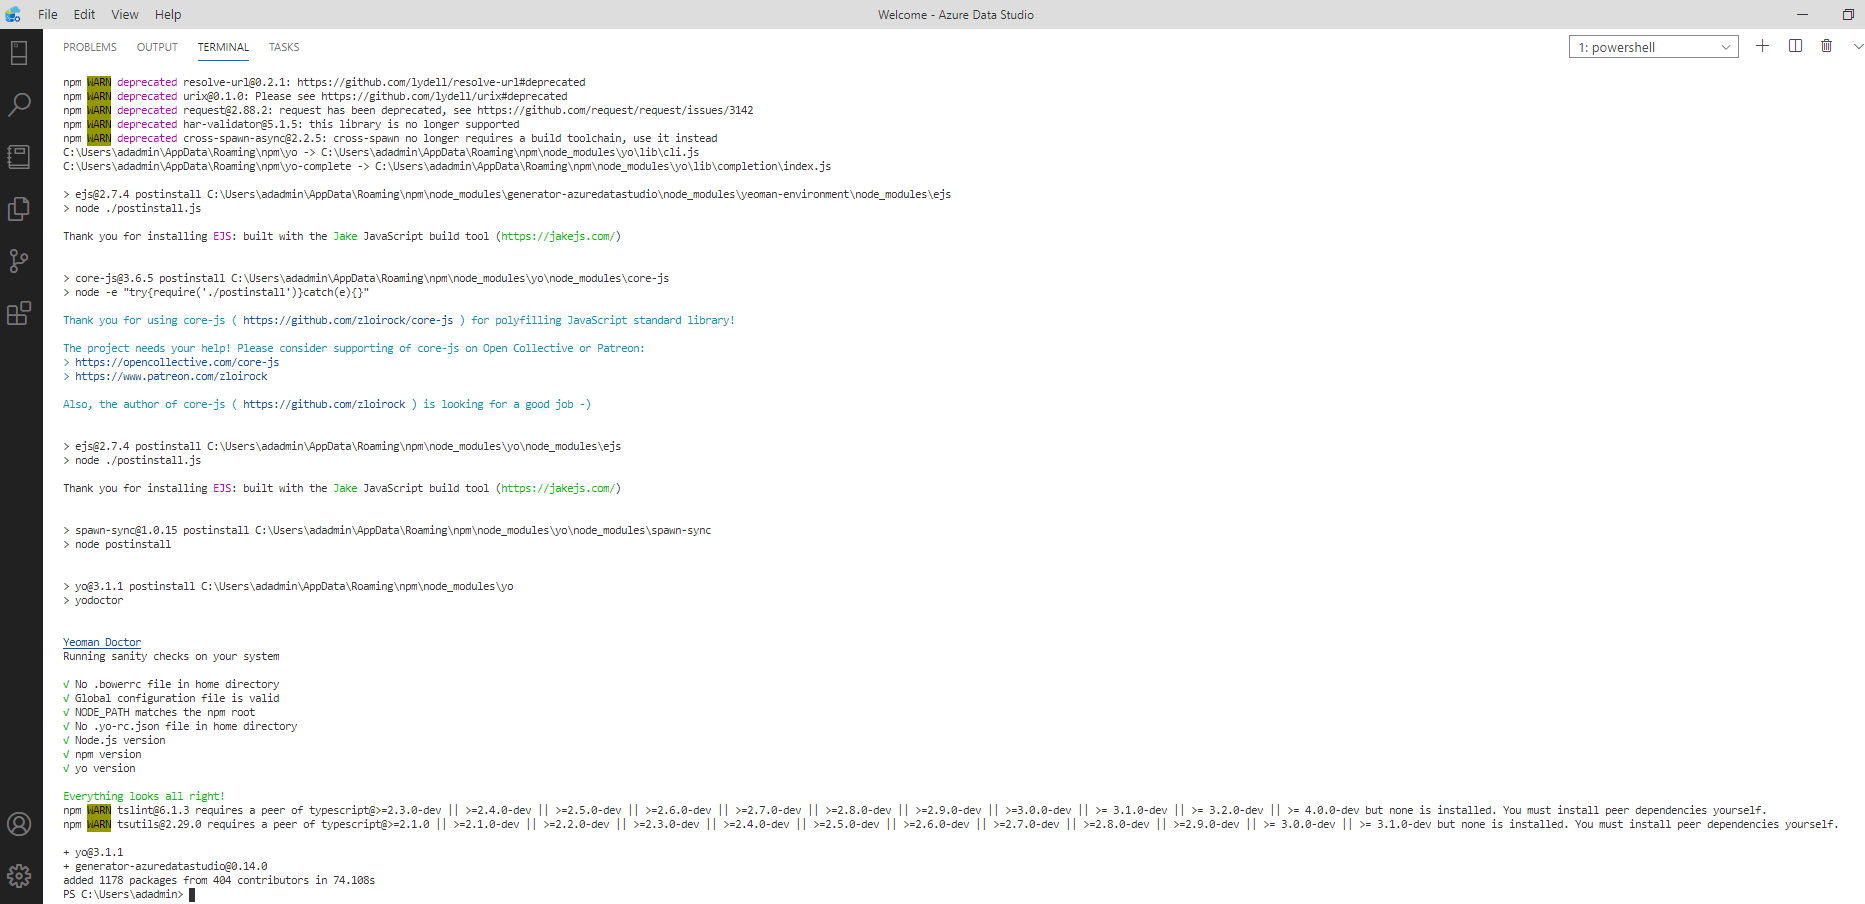
Launch the ADS and navigate to View-> Terminal. It launches the integrated terminal in the ADS. In this terminal, run the following command to install the yeoman extension generator.
>npm install -g yo generator-azuredatastudio
Create the extension
Once we have installed the Yeoman extension generator, we can create the extension for ADS. Run the following command to create an extension.
> yo azuredatastudio
It launches the following ADS Extension Generator. This extension generator asks you various questions:
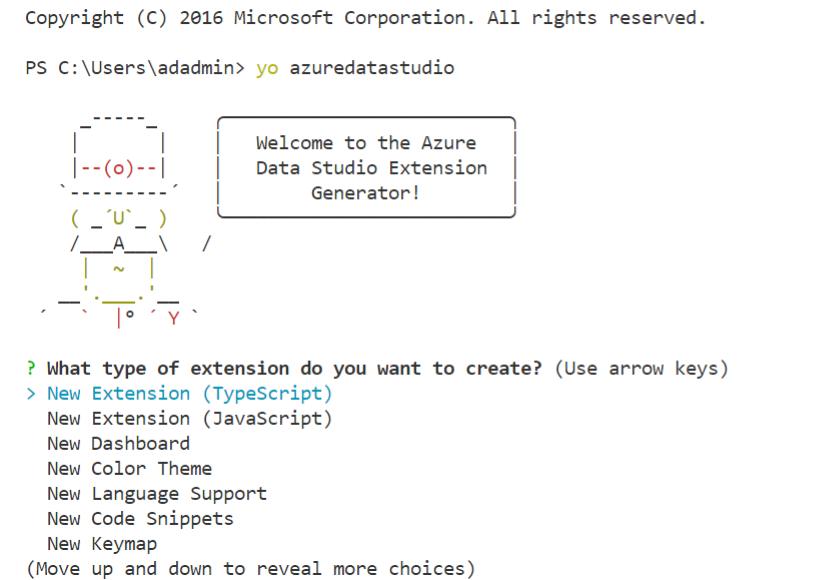
Extension type?
We can create the TypeScript, JavaScript, New database dashboard, New color theme, New Language support, New Code snippets, New Keymap
Add homepage actions?
Enter yes to create an ADS homepage action
Add a full dashboard tab?
Specify yes to create a full dashboard tab for the extension
Add the database tab on the database?
Specify Yes to create a database tab on the database in ADS
What’s the display name of your extension?
Specify any proper name for the extension
What’s the publisher’s name for your extension?
Specify the publisher’s name as Microsoft
What’s the unique identifier for your extension?
You can specify a unique identifier for your extension. If you want to publish the extension in the marketplace, it should have a unique identification
What’s the description of your extension?
Describe your extension so that extension uses can be familiar with it
What package manager to use?
In this article, we use the npm package manager for the extension
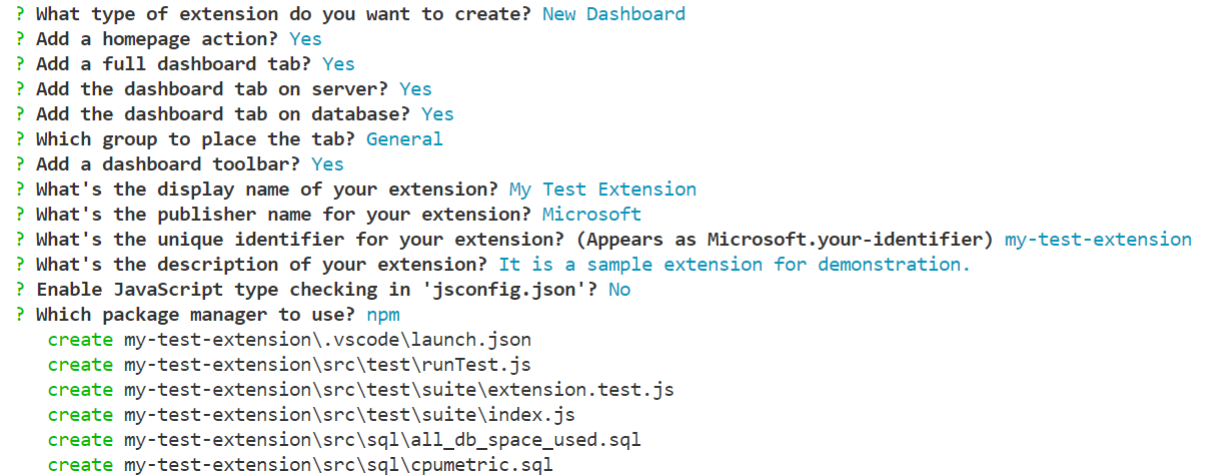
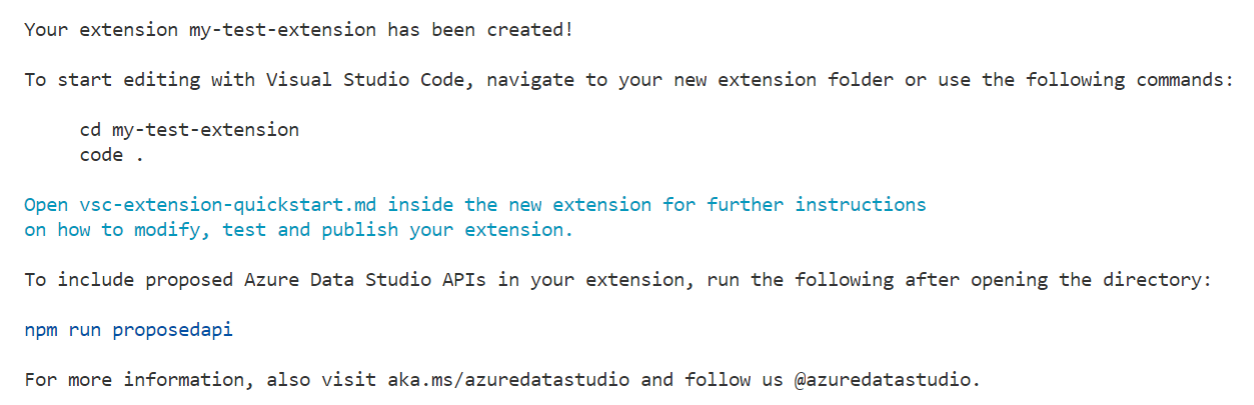
Once we answer all questions, ADS starts building the extension. In the end, you get a message that the extension has been created.
Before we move forward, we need insight on JSON for our visualization.
Build an insight JSON visualization in ADS
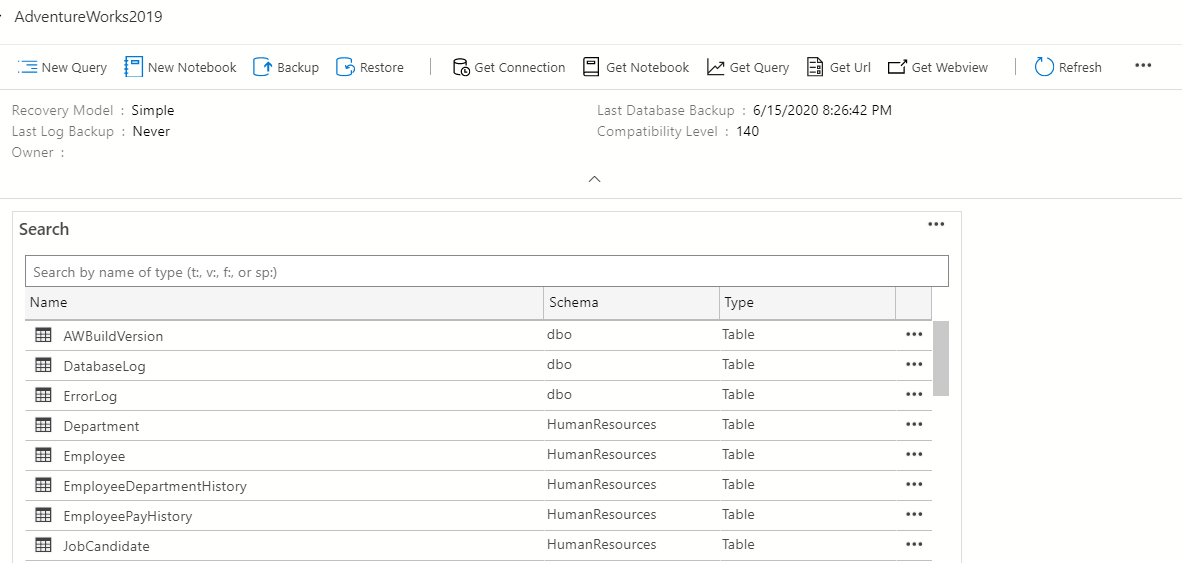
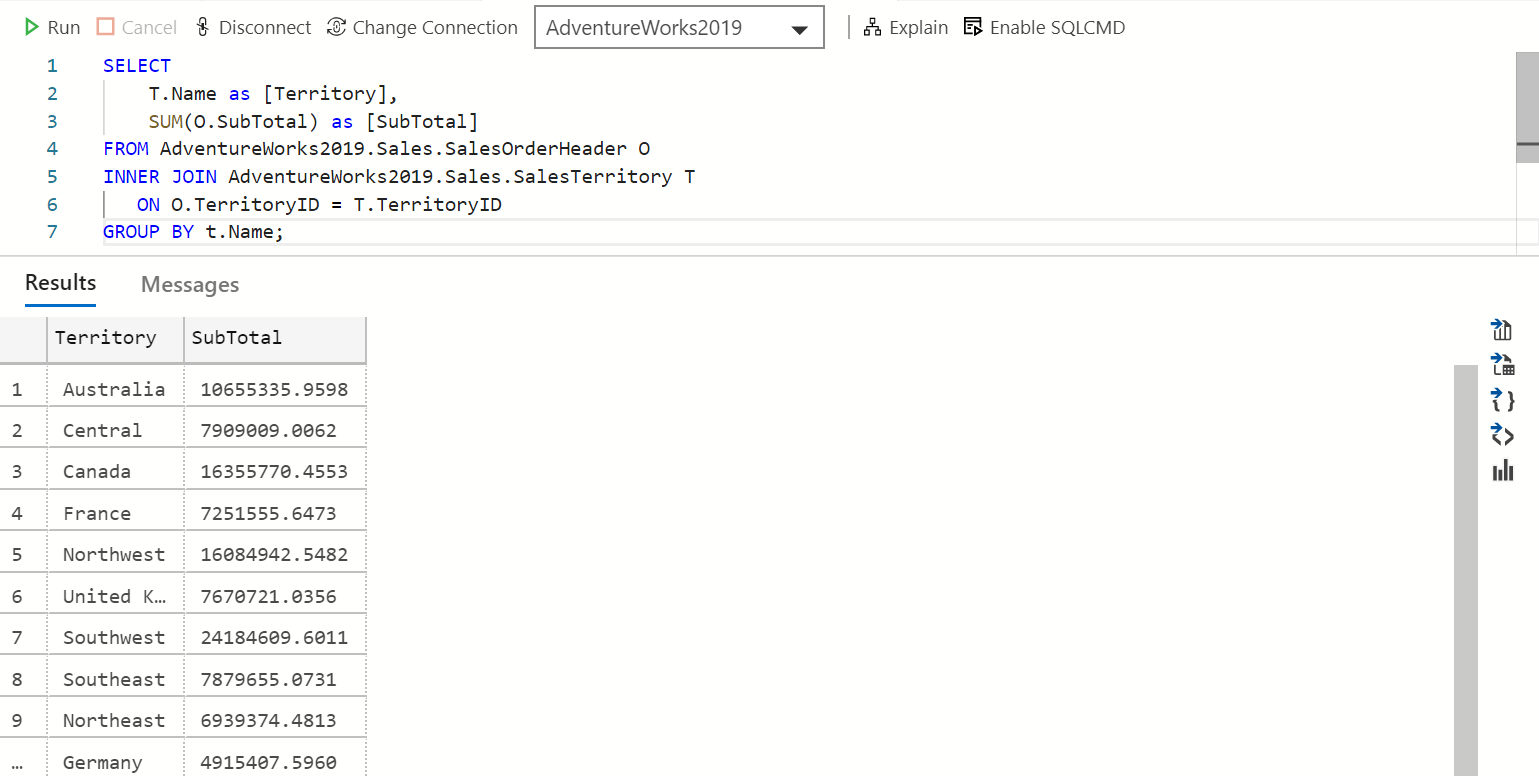
Connect to your SQL instance in ADS and execute your SQL query that we want to execute in the backend of a visual. In this article, I use the [AdventureWorks2019] database for the demonstration purpose.
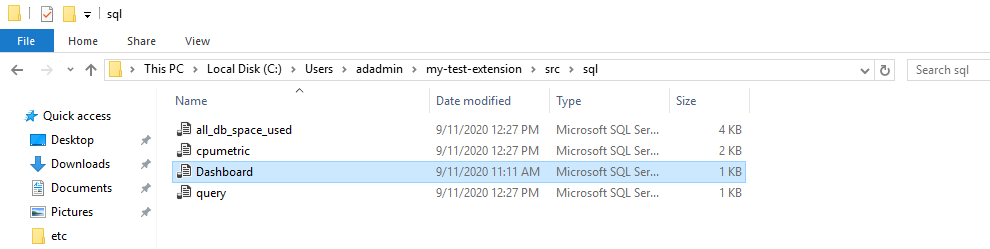
First, save the SQL query in the extension directory, as shown below. You can browse the directory in the current logged-in user and save the script in the SQL folder.
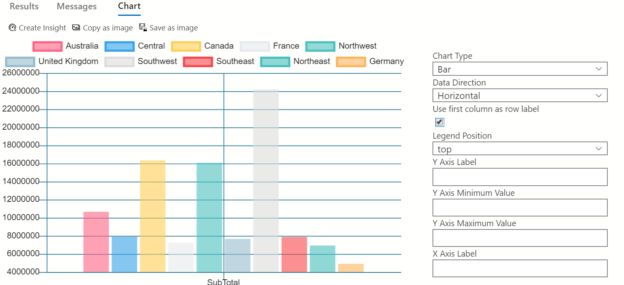
Execute the query in ADS, and In the query output, we get an option to view the result as a chart. It immediately creates a chart from our data set.
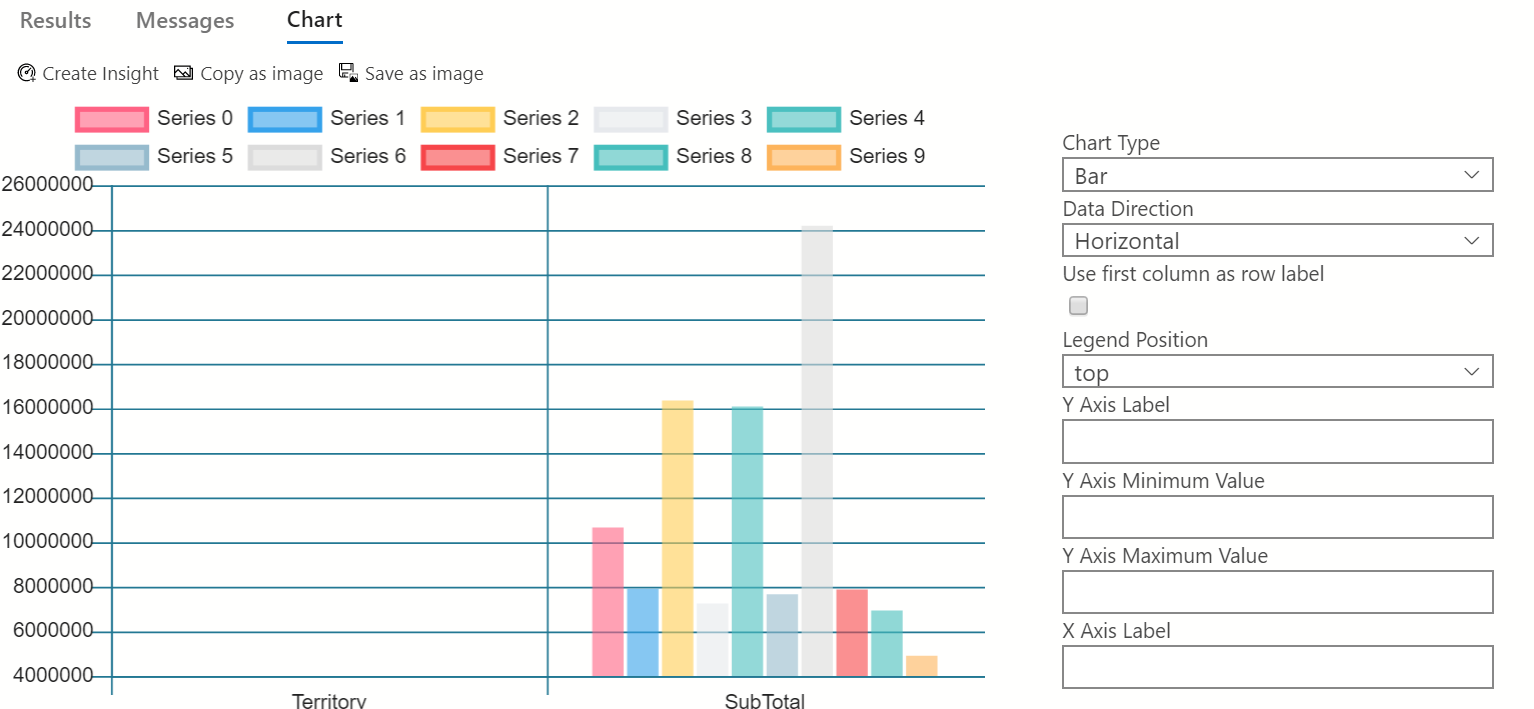
Put a tick on the Use first column as row label to show the chart in the below format with the series names.

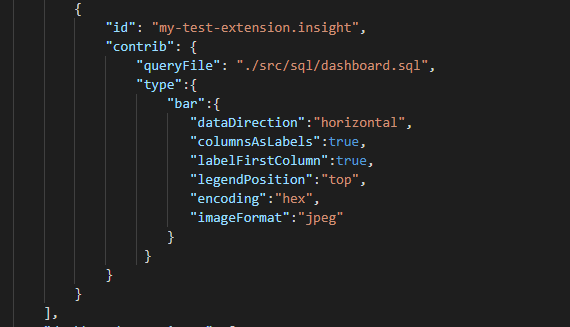
Now, click on Create Insight. Click on it, it opens a new query window and gives you JSON code for the insight. I use the JSON formatter to show it in a proper format. In the below JSON, copy the highlighted portion.
Modify extension code in the Visual Studio Code
Now, go back to your ADS terminal and run the following commands.

It opens the extension files in the VS Code, as shown below.
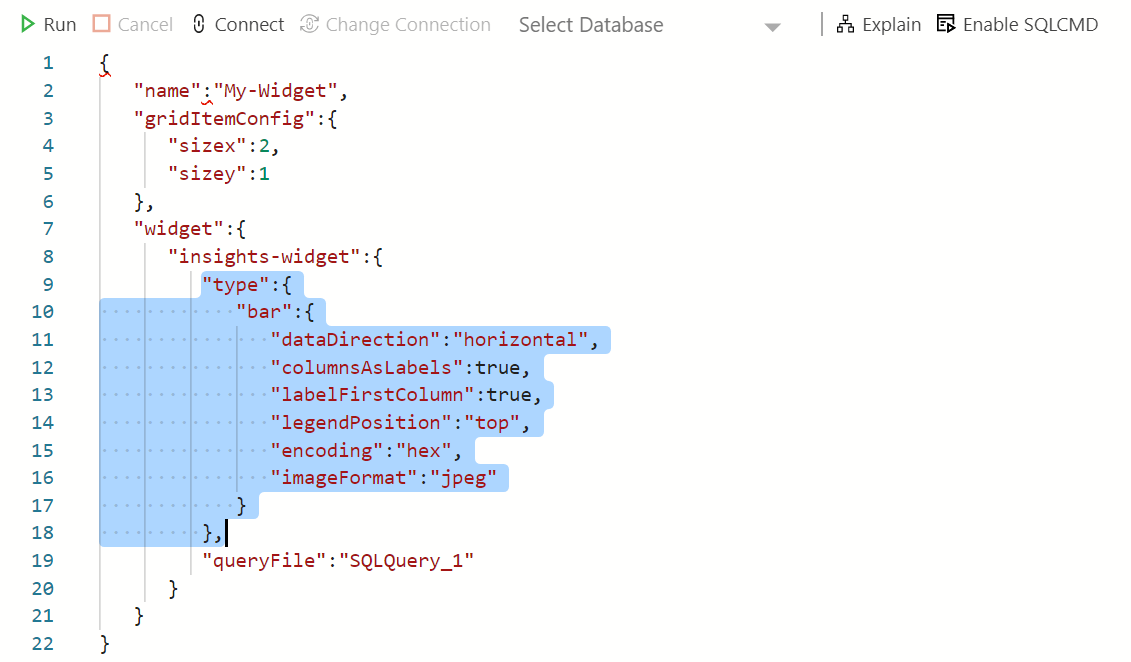
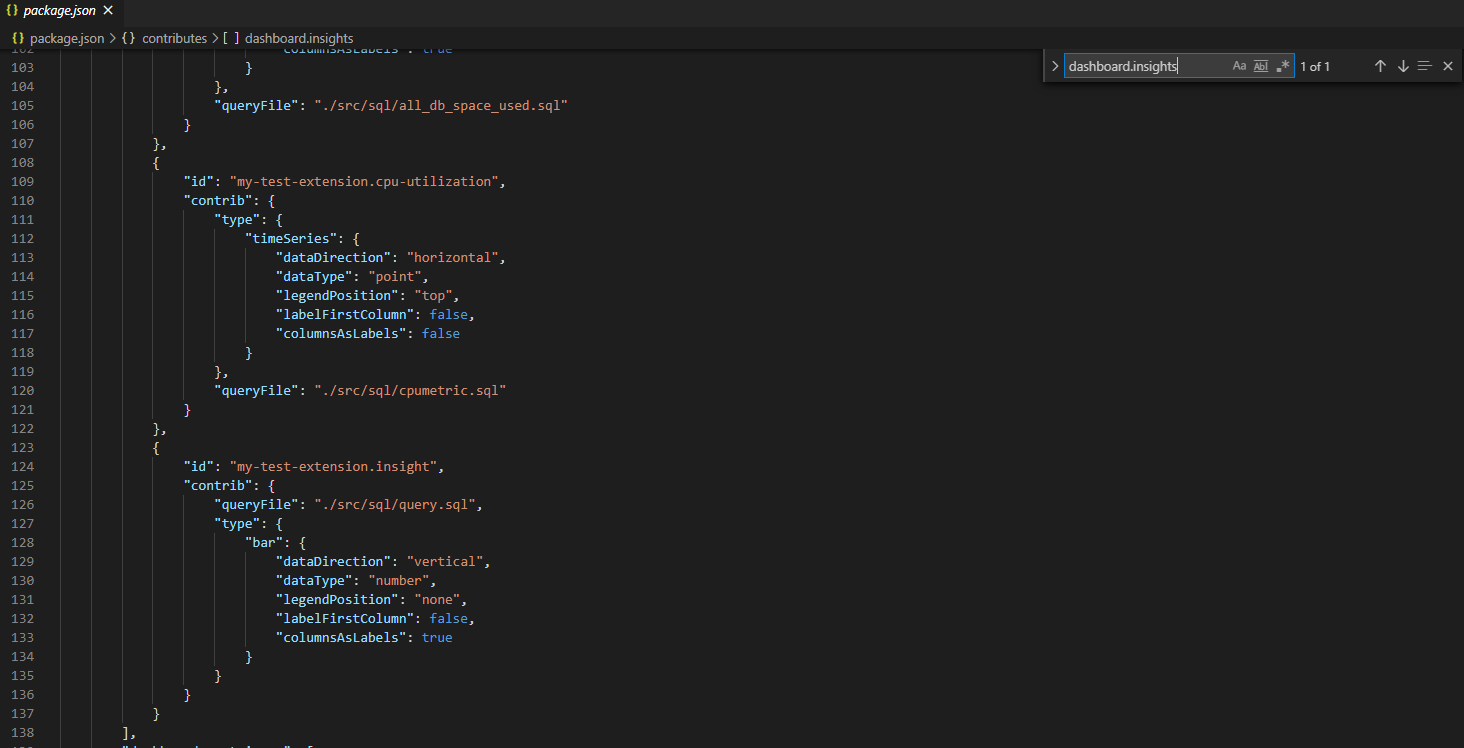
Click in the Package.json file and search for the dashboard.insights keyword. In the dashboard.insights, you see JSON code for the existing database dashboard and the newly created my-test-extension.insight.
Replace the type section from the JSON code we copied earlier in ADS. Also, modify the SQL script location, as shown below.
Save this package.JSON file.
Debug the extension in VS Code
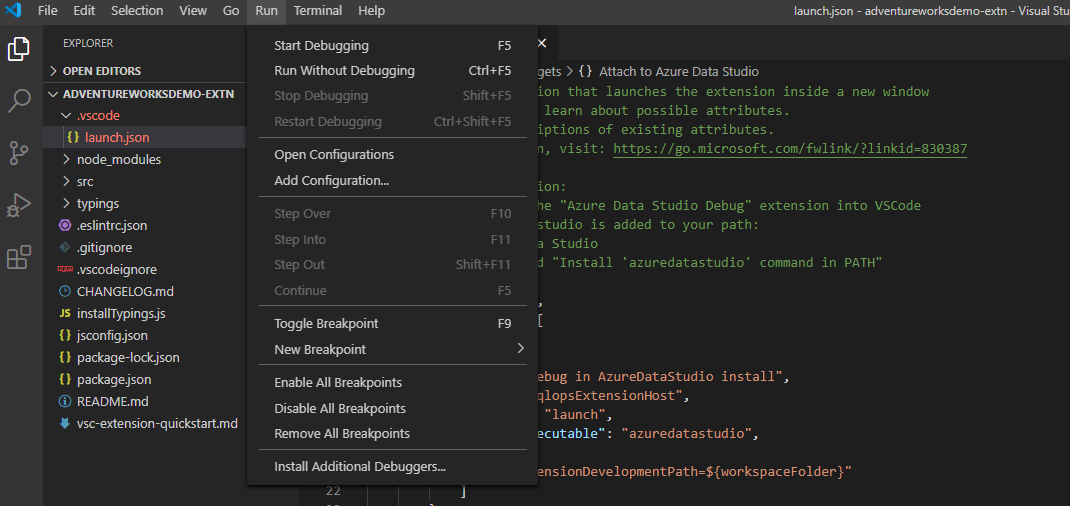
Now, we have done all configuration for an extension in the ADS. To test the extension, we can debug it using Run -> Start Debugging.
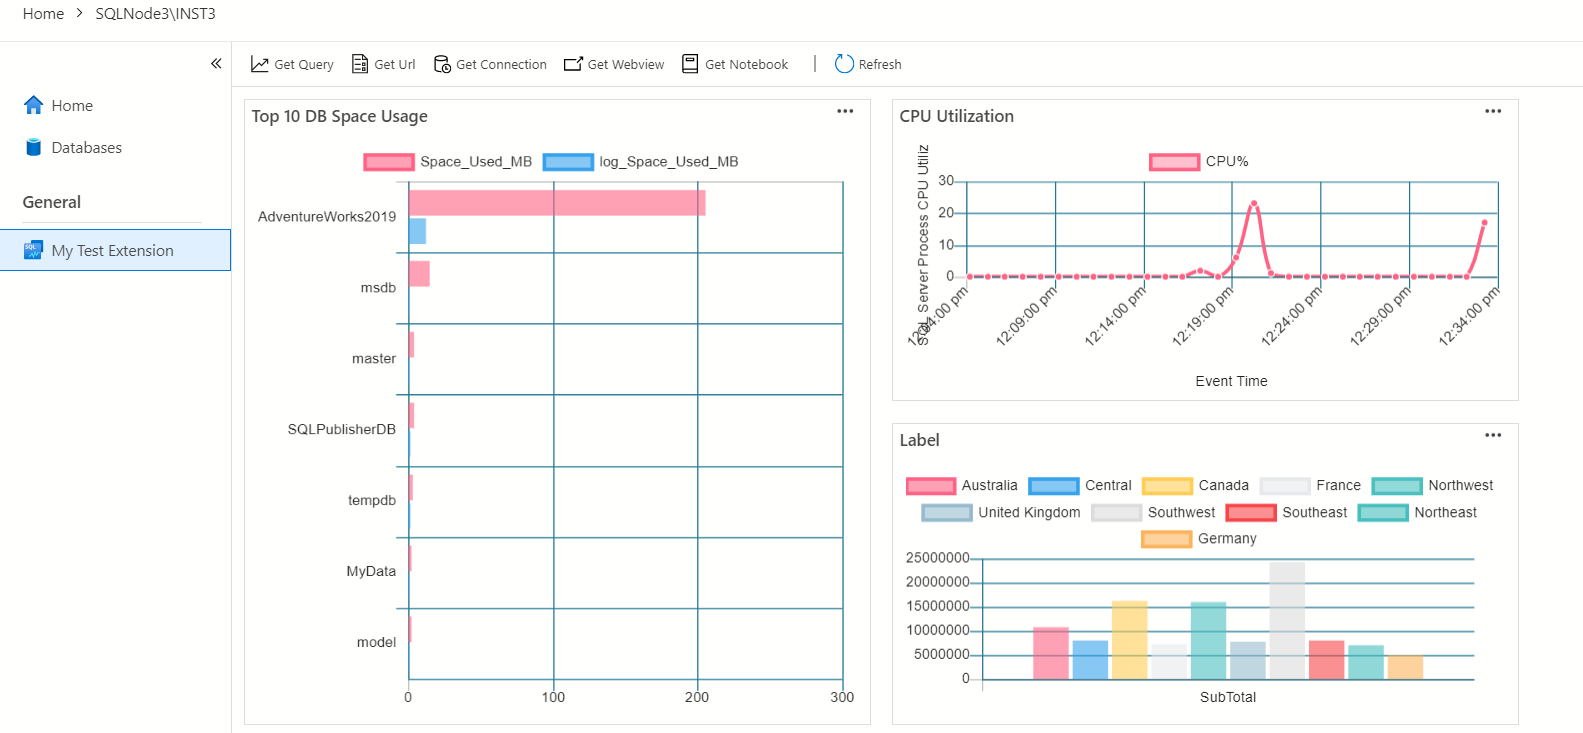
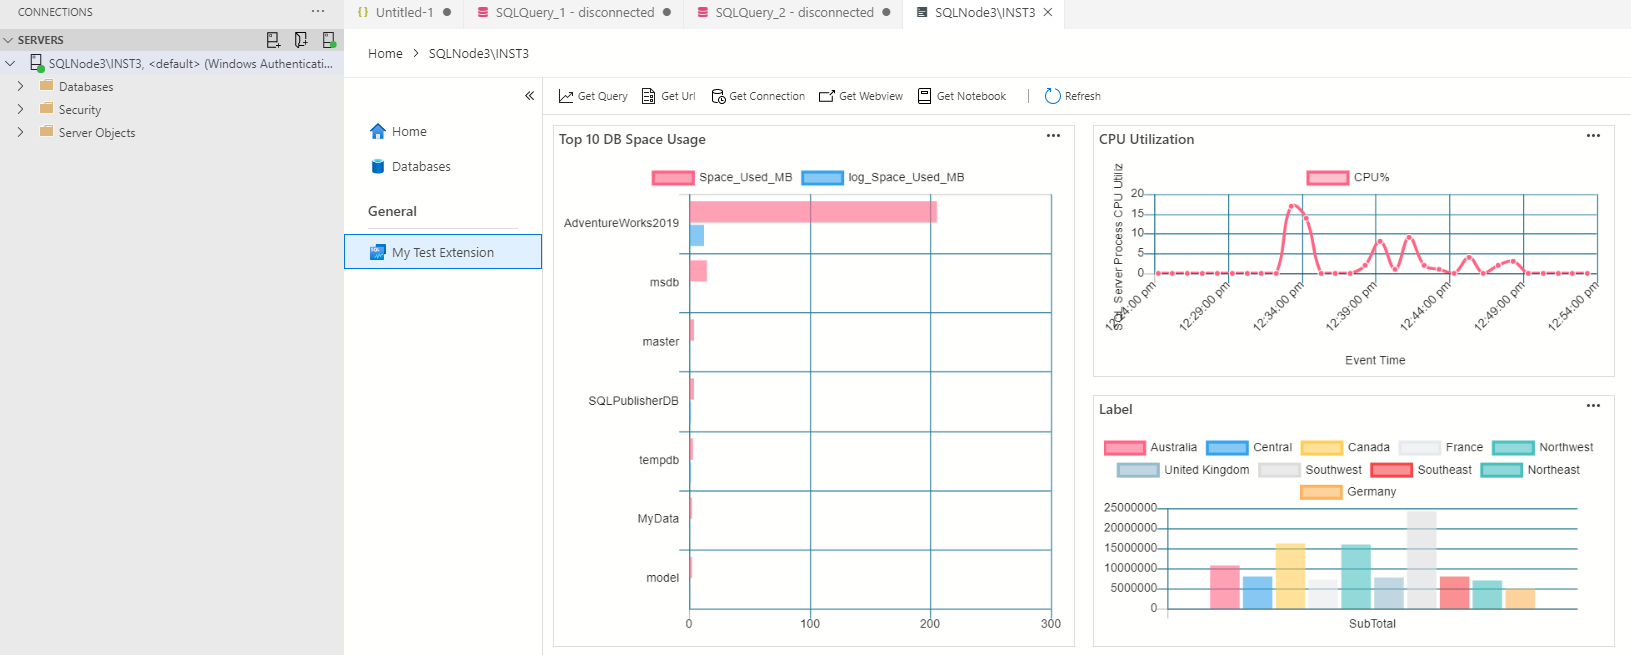
It opens a new console of ADS, and you can see the extension ( My Test Extension) in the general tab.
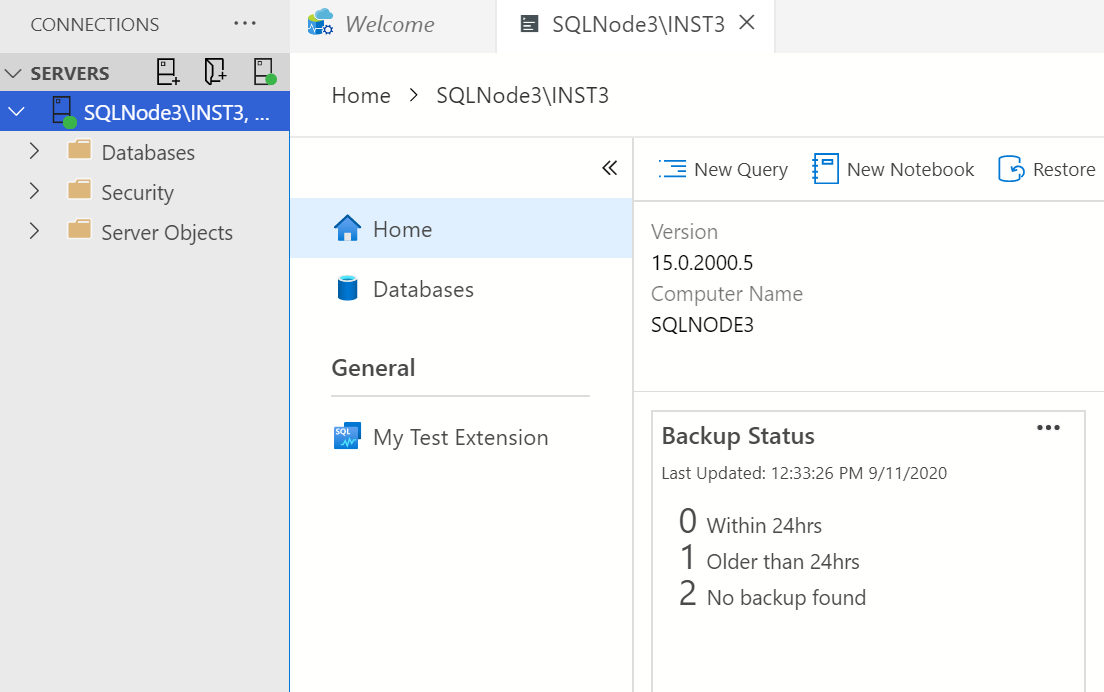
Click on your extension name, and you can see that extension with the default and your custom visualization.
In the VS Code, go to Run -> Stop debugging.
Create a VSIX file to deploy the extension
To this point, we have created a custom extension and debug it to see if it is working fine or not. Now, we need to create a VSIX file for the extension deployment. You might have used the VSIX file to deploy earlier extensions available in the ADS.
To build the VSIX file, we use the vsce package in ADS. Execute the following command in the ADS terminal to install it.
>npm install -g vsce

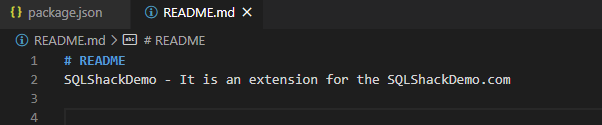
Execute the vsce package command to build a VSIX package file for your extension. Here, it gives an error message. It asks us to edit the Read.md file before publishing the extension.

In the VS code file, open the README.md and modify its content. It uses the markdown language. If you are not aware of the markdown language, refer to the article – Learn Markdown language for SQL Notebooks in Azure Data Studio.
After modifying the Readme.md file, rerun the vsce package file. Here, you get a warning message about the missing repository field in the package.json. We can store the extension files in the GitHub repository. In this article, we do not want any GitHub repository for our extension scripts. Therefore, press Y to ignore the message and continue building the extension.

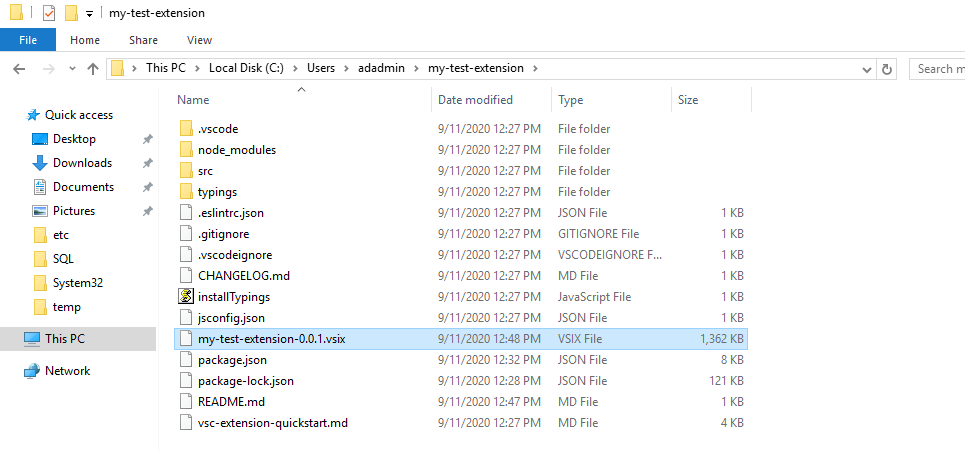
The extension build is completed. In the output, you can see the VSIX file path as well.

You can browse to the directory to view the VSIX file.
Deploy extension using VSIX file in Azure Data Studio
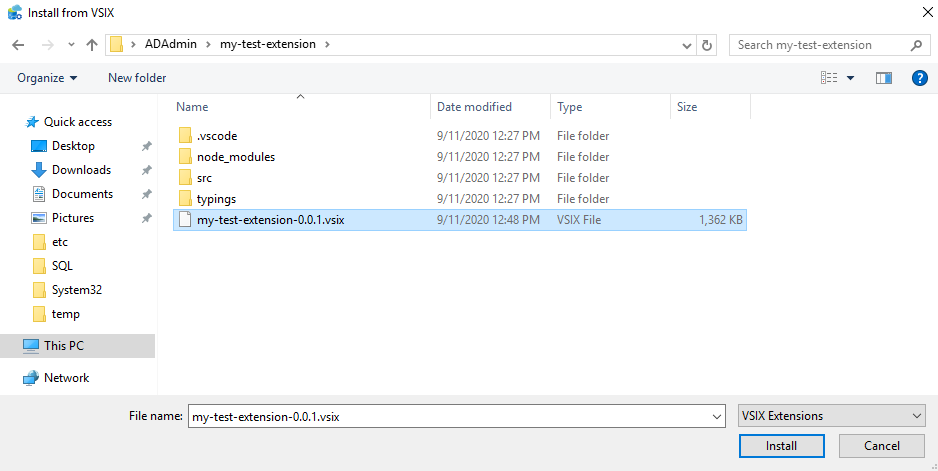
To deploy the extension in the ADS, go to file -> Install Extension from the VSIX package. Browse to your extension directory, and open the extension as shown below.
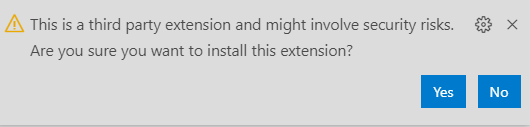
As it is a third-party extension, ADS asks your confirmation before deploying this extension. Click on Yes to install your extension in ADS.
It installs the extension, and you can see the extension details page.

We are done with implementing the extension in Azure Data Studio. You can click on the extension name and launch it as shown below.
Conclusion
In this article, we created and deployed a database extension in the Azure Data Studio. It is a nice feature, and you can create an extension based on your requirements.

I am the author of the book "DP-300 Administering Relational Database on Microsoft Azure". I published more than 650 technical articles on MSSQLTips, SQLShack, Quest, CodingSight, and SeveralNines.
I am the creator of one of the biggest free online collections of articles on a single topic, with his 50-part series on SQL Server Always On Availability Groups.
Based on my contribution to the SQL Server community, I have been recognized as the prestigious Best Author of the Year continuously in 2019, 2020, and 2021 (2nd Rank) at SQLShack and the MSSQLTIPS champions award in 2020.
Personal Blog: https://www.dbblogger.com
I am always interested in new challenges so if you need consulting help, reach me at rajendra.gupta16@gmail.com
View all posts by Rajendra Gupta
- Understanding PostgreSQL SUBSTRING function - September 21, 2024
- How to install PostgreSQL on Ubuntu - July 13, 2023
- How to use the CROSSTAB function in PostgreSQL - February 17, 2023