
Introduction
A few days back I was looking at ways to access raw data from within Microsoft Dynamics CRM in an effort to extract the raw data and to place it in our data warehouse. I started to explore utilizing OData and SSIS to pull the necessary data from the cloud to our local warehouse.
Whilst there are known authentication issues between Dynamics CRM and the Microsoft OData SSIS data source (and thus we could not utilize this access method), I thought it to be so very powerful, that I began looking for other constructive manners in which to utilize the OData Source.
By now you may be asking what is OData?
David Chappell describes the concept quite well in an article that may be found at the following link.
https://msdn.microsoft.com/en-us/data/hh237663.aspx
In the article he states:
The Solution: What OData Provides
OData defines an abstract data model and a protocol that let any client access information exposed by any data source. Figure 1 shows some of the most important examples of clients and data sources, illustrating where OData fits in the picture.
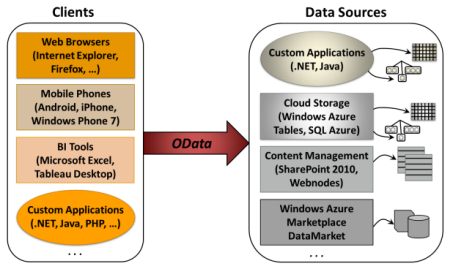
Courtesy of David Chappell
In today’s “get together” we shall be looking at obtaining web service based data and loading this data into SQL Server.
In the following “get together”, we shall see how a similar implementation may be utilized to obtain valuable data from your enterprise SharePoint Servers.
Without further ado, let’s get started.
Getting Started
Prior to jumping into any development, it is necessary to download the Microsoft OData source adapter from the Microsoft website. Should you have already downloaded the adapter, please feel free to jump forward.
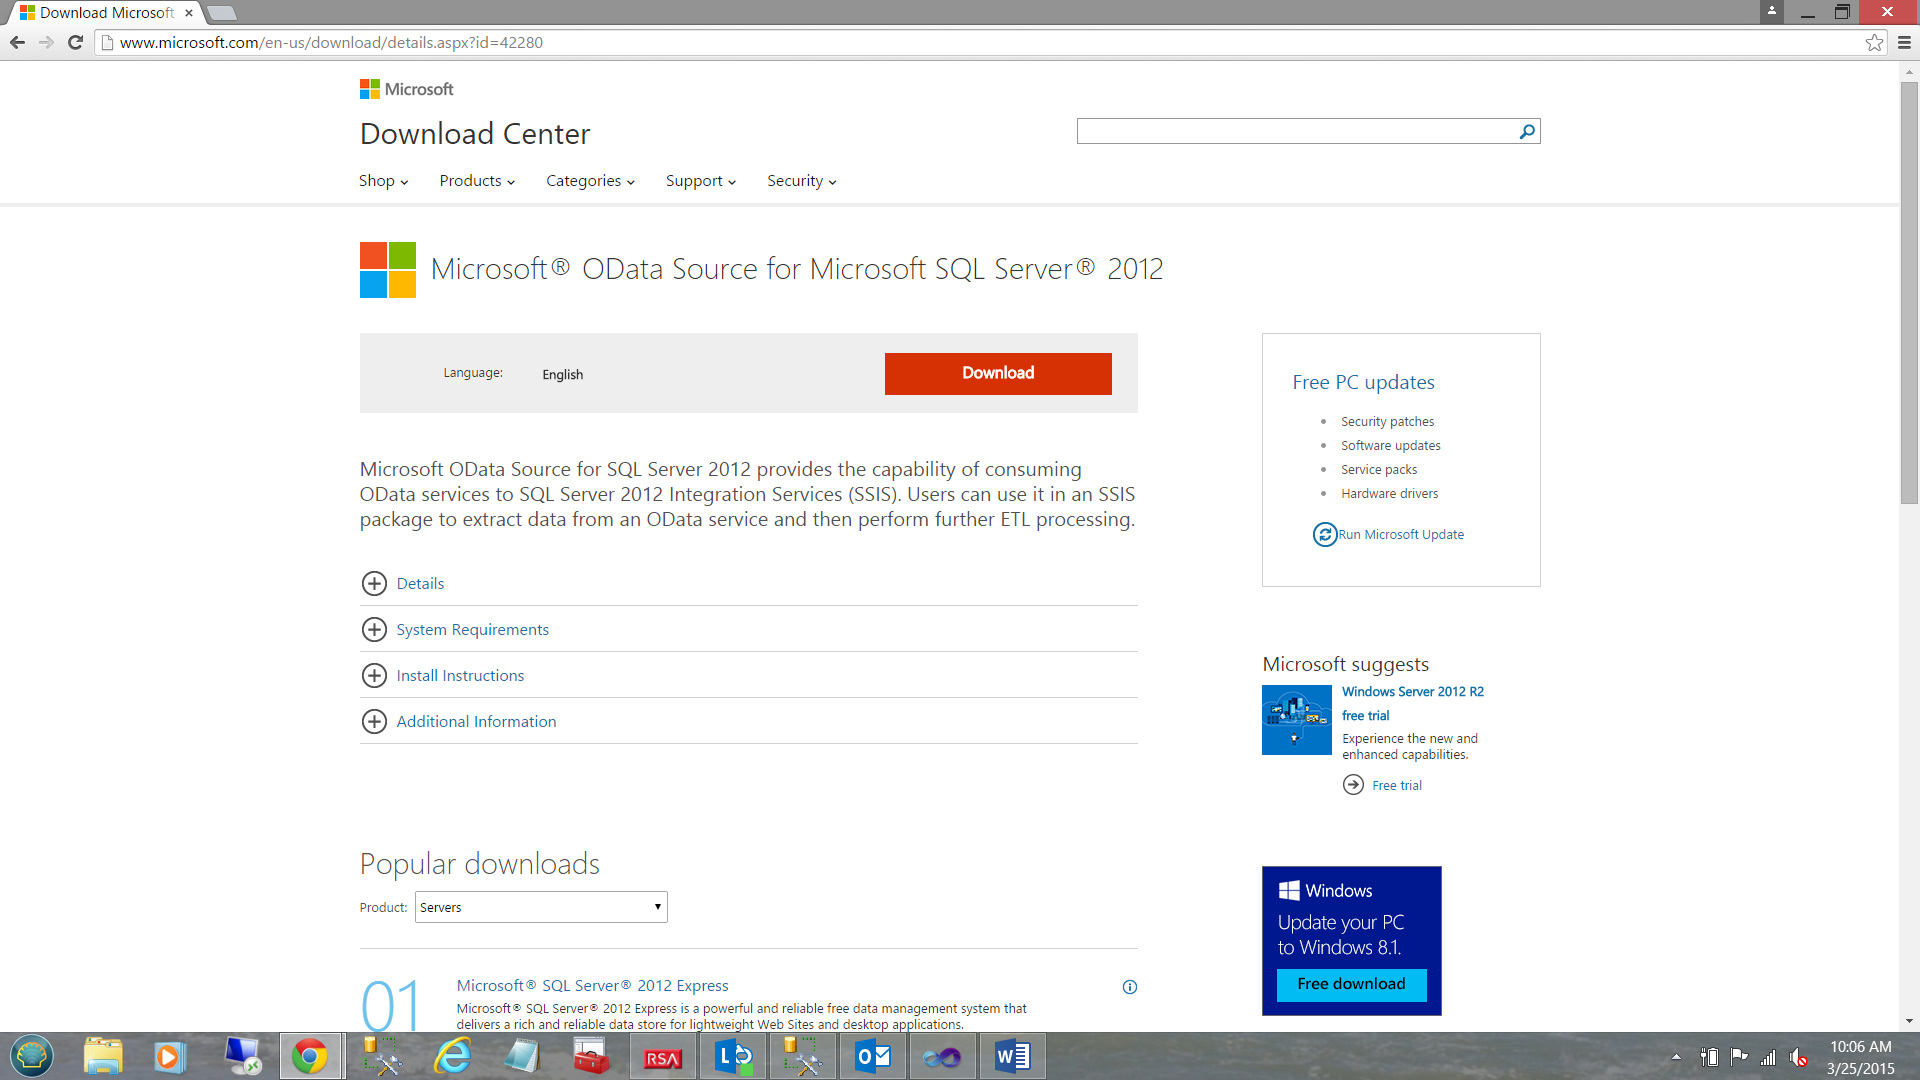
The link to download the control is
http://www.microsoft.com/en-us/download/details.aspx?id=42280
When installing the adapter we choose the 32 Bit version as SSIS often has a problem dealing with 64-bit processing and yields the ugliest error messages.
Once installed, then we are ready to proceed.
In today’s exercise, we shall be looking at data that originates from the Adventure Works web service. In order to access web based services, we must obtain the URL of the “web service document”.
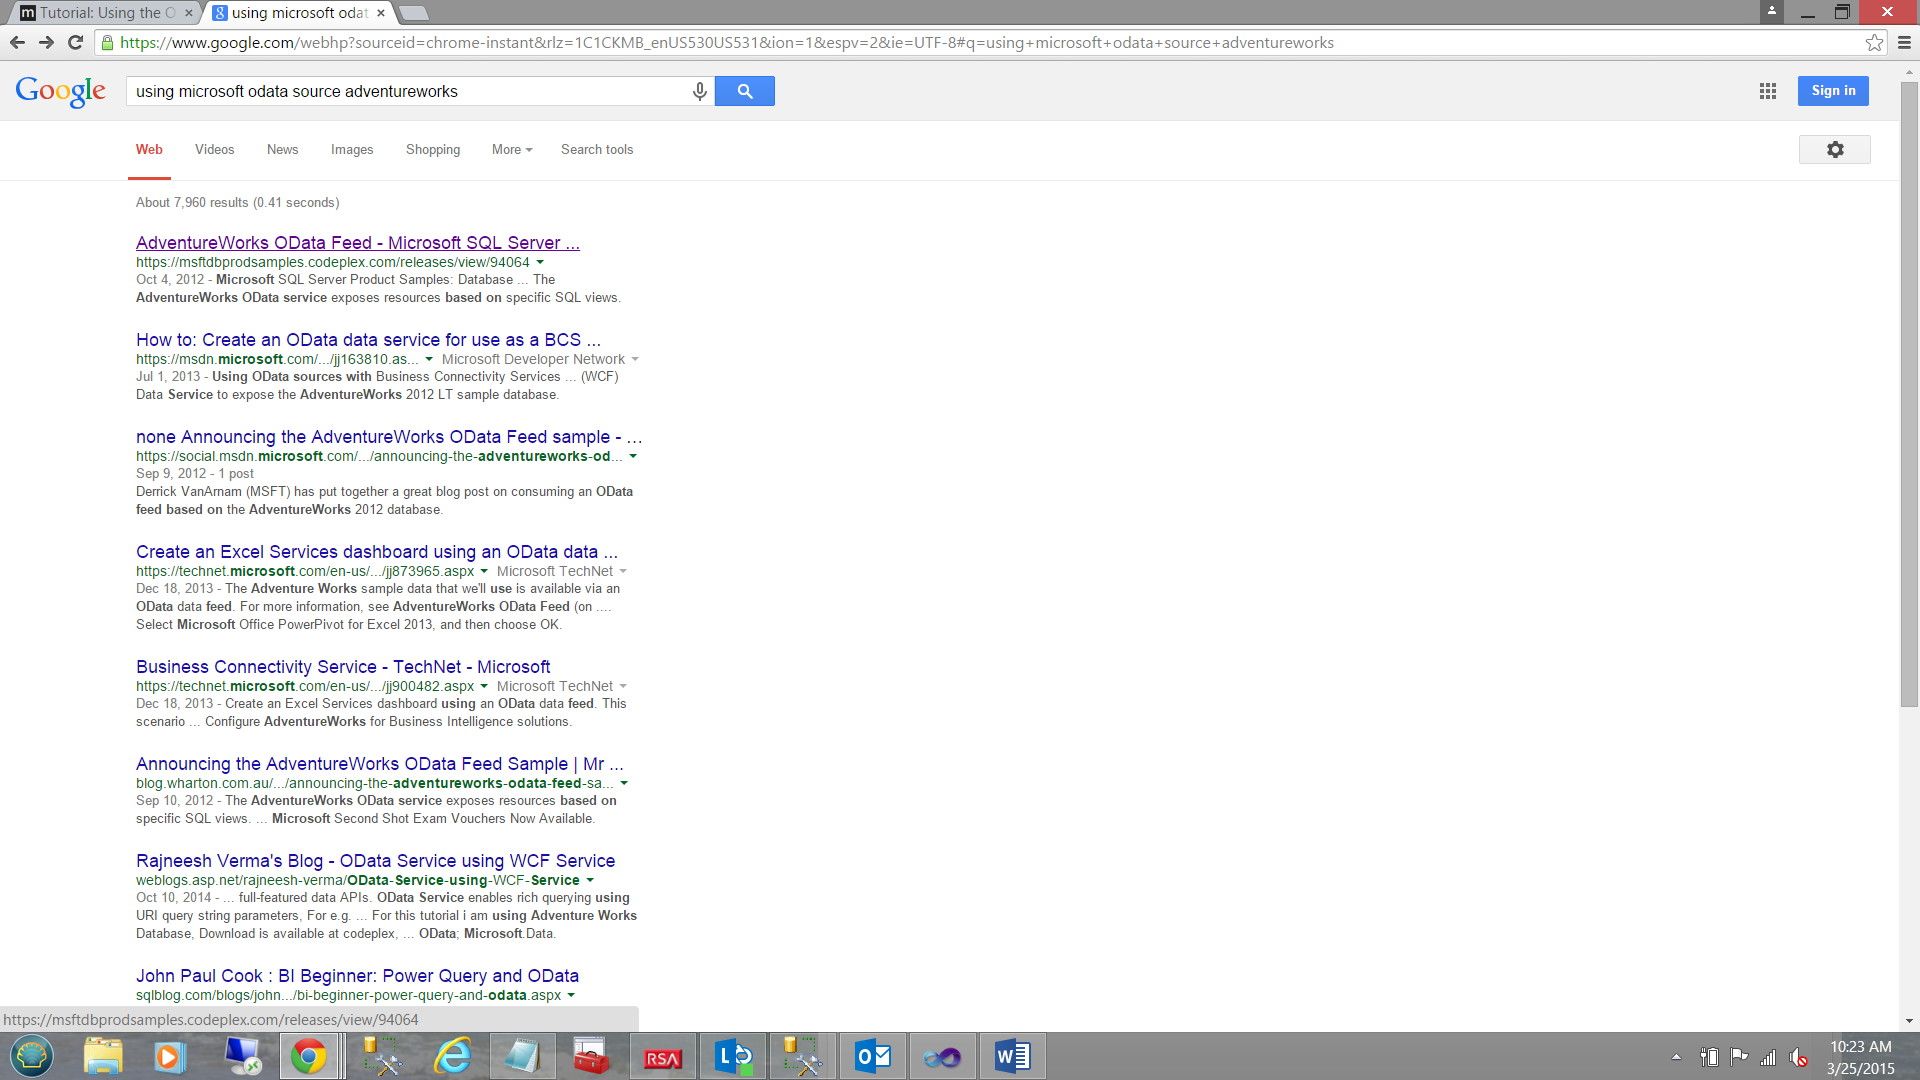
Performing a quick Google search, we locate the “AdventureWorks” OData Feed at the following link.
https://msftdbprodsamples.codeplex.com/releases/view/94064
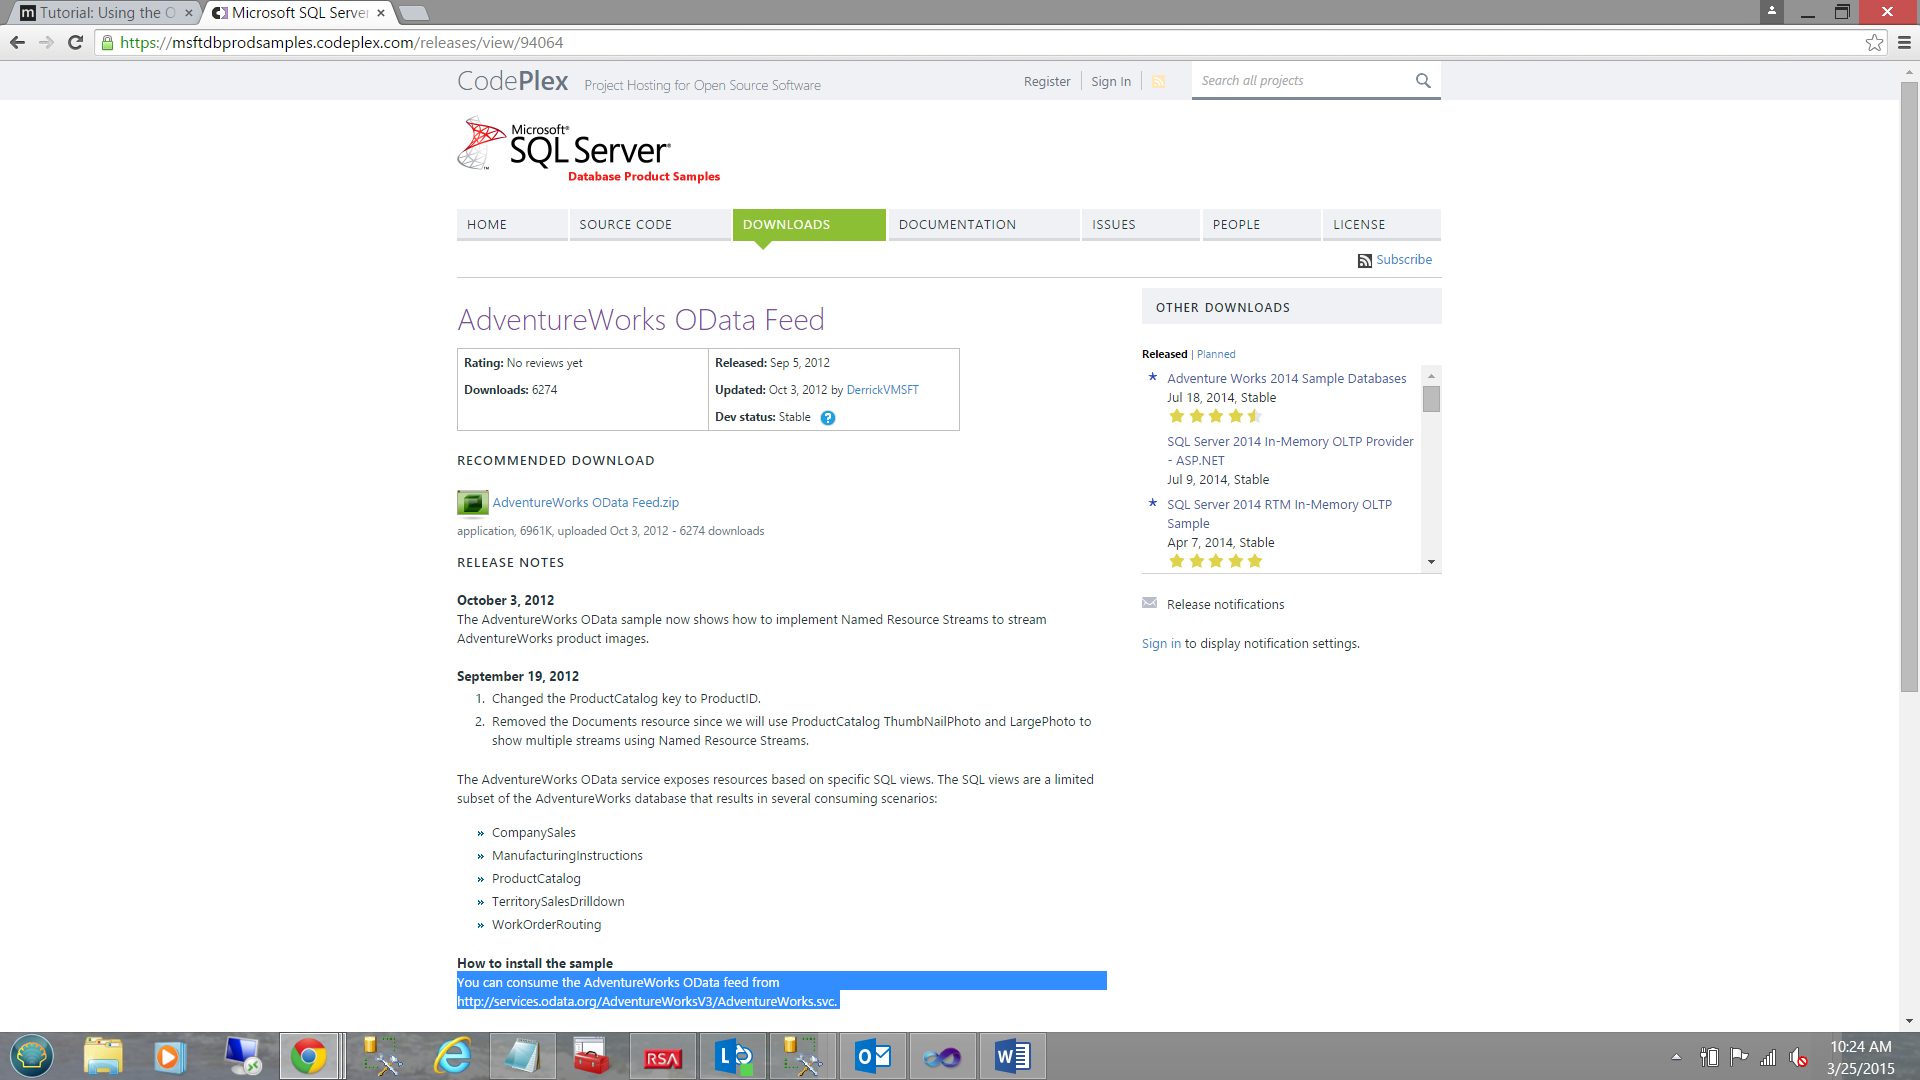
We are brought to the “code complex” and find the “AdventureWorks” service link highlighted in blue (see above).
Climbing in
Opening SQL Server Management Studio we begin by creating a new Integration Service Project.
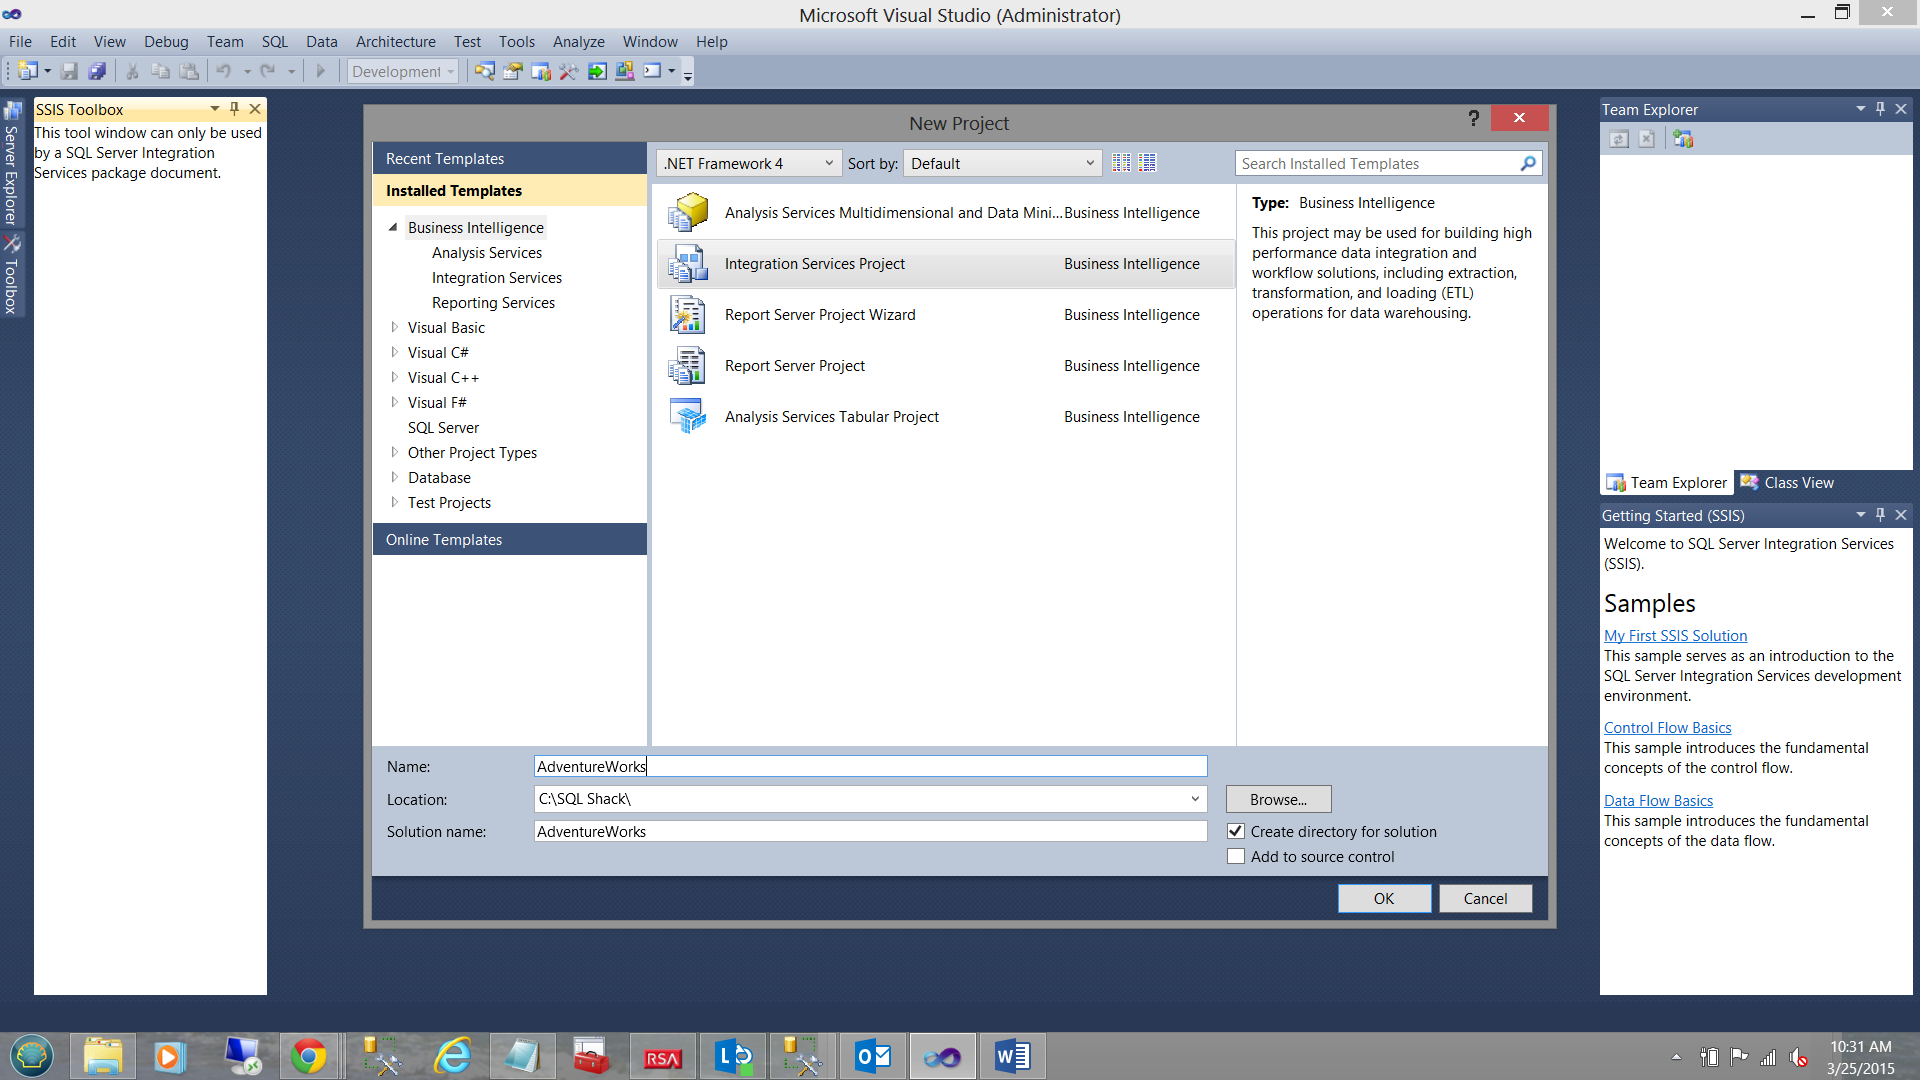
We give our project the name “AdventureWorks” and click OK to continue.
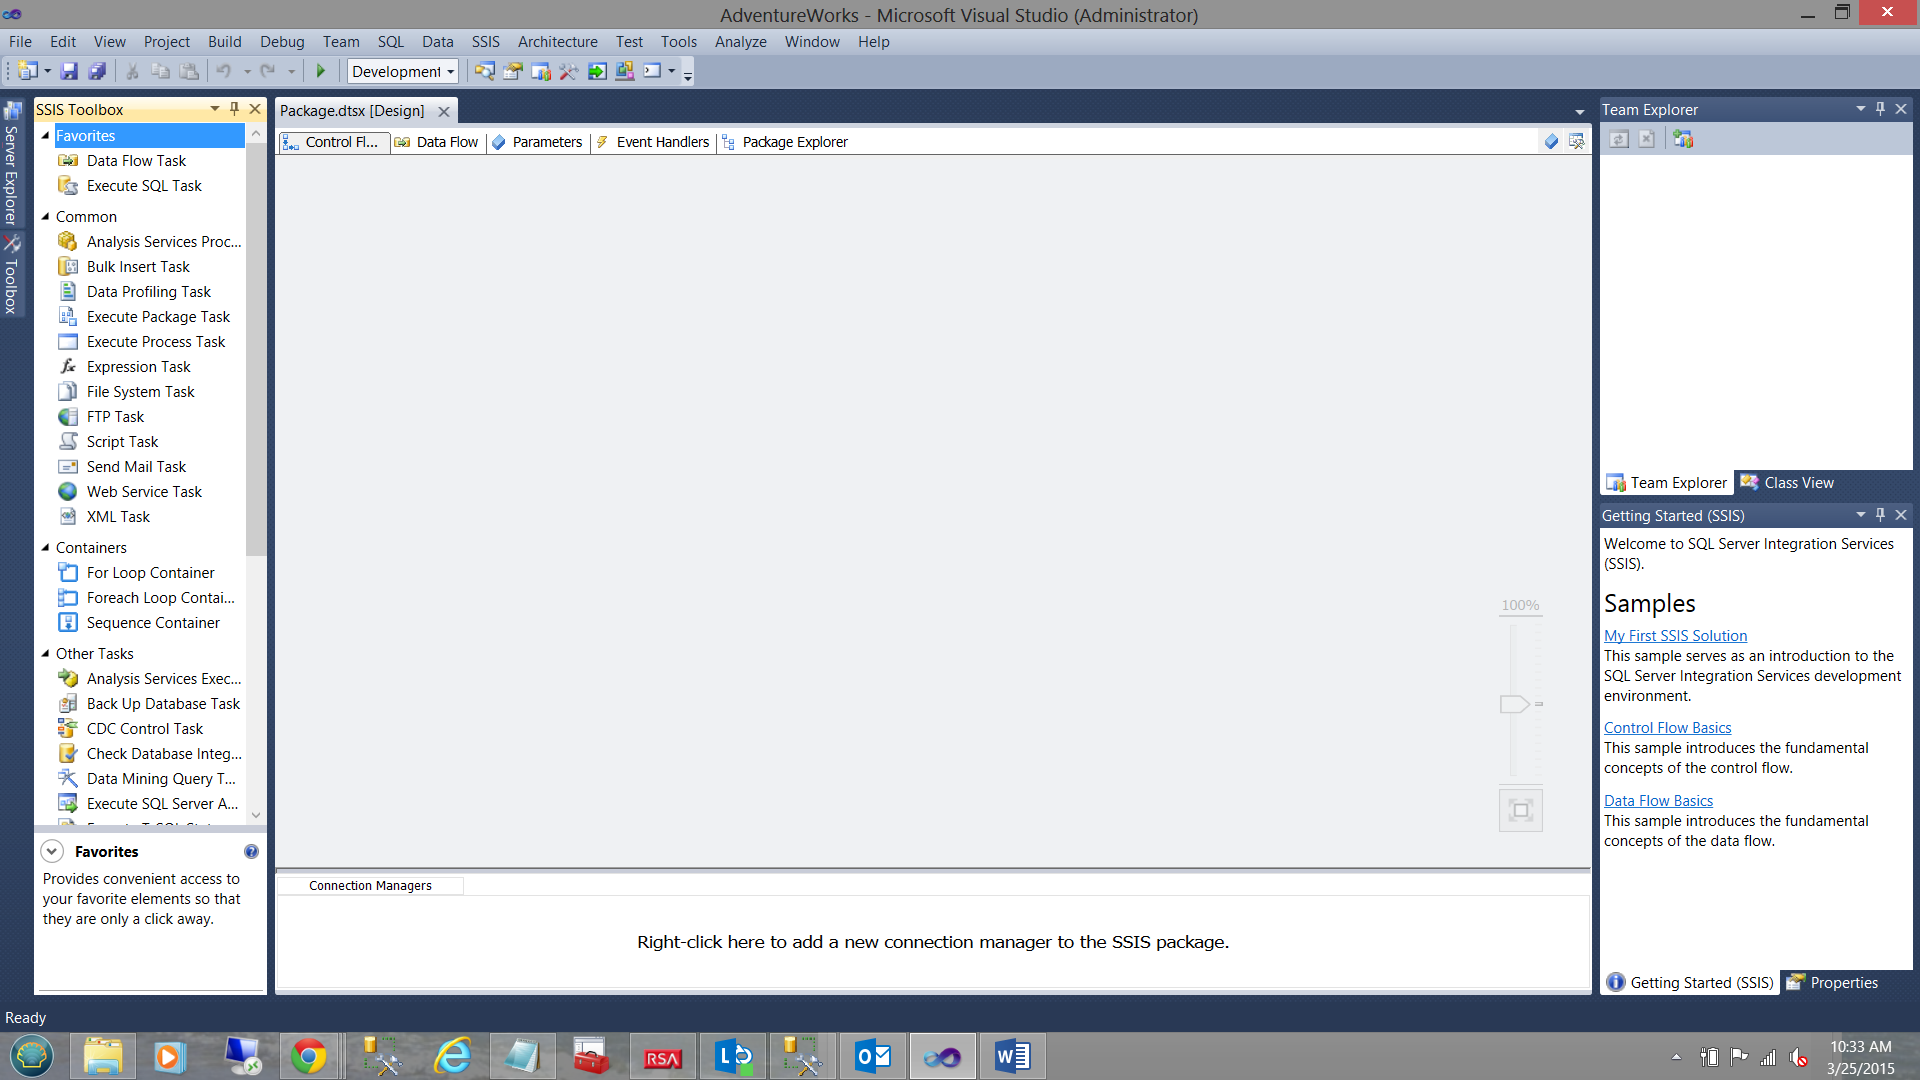
We find ourselves on our normal Integration Services work surface.
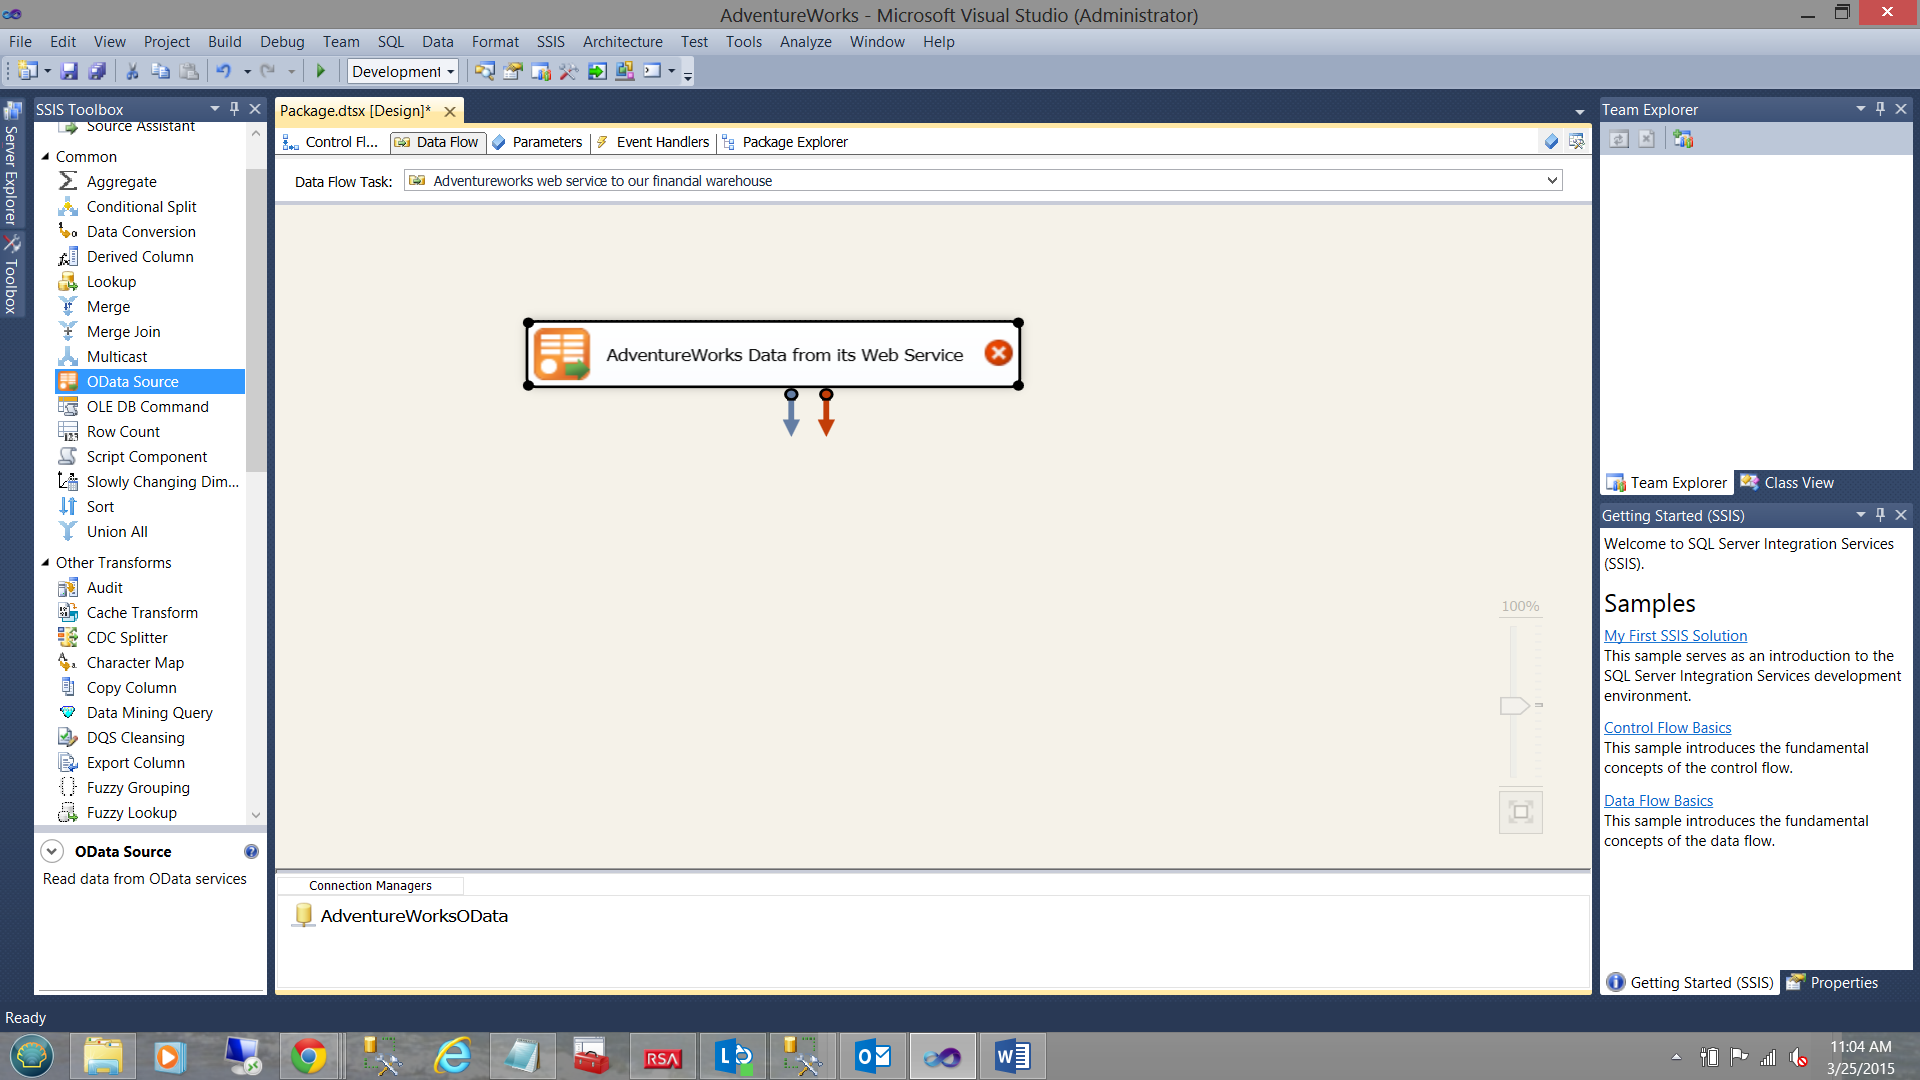
We begin by dragging a “Data Flow Task” to our working surface (see below).
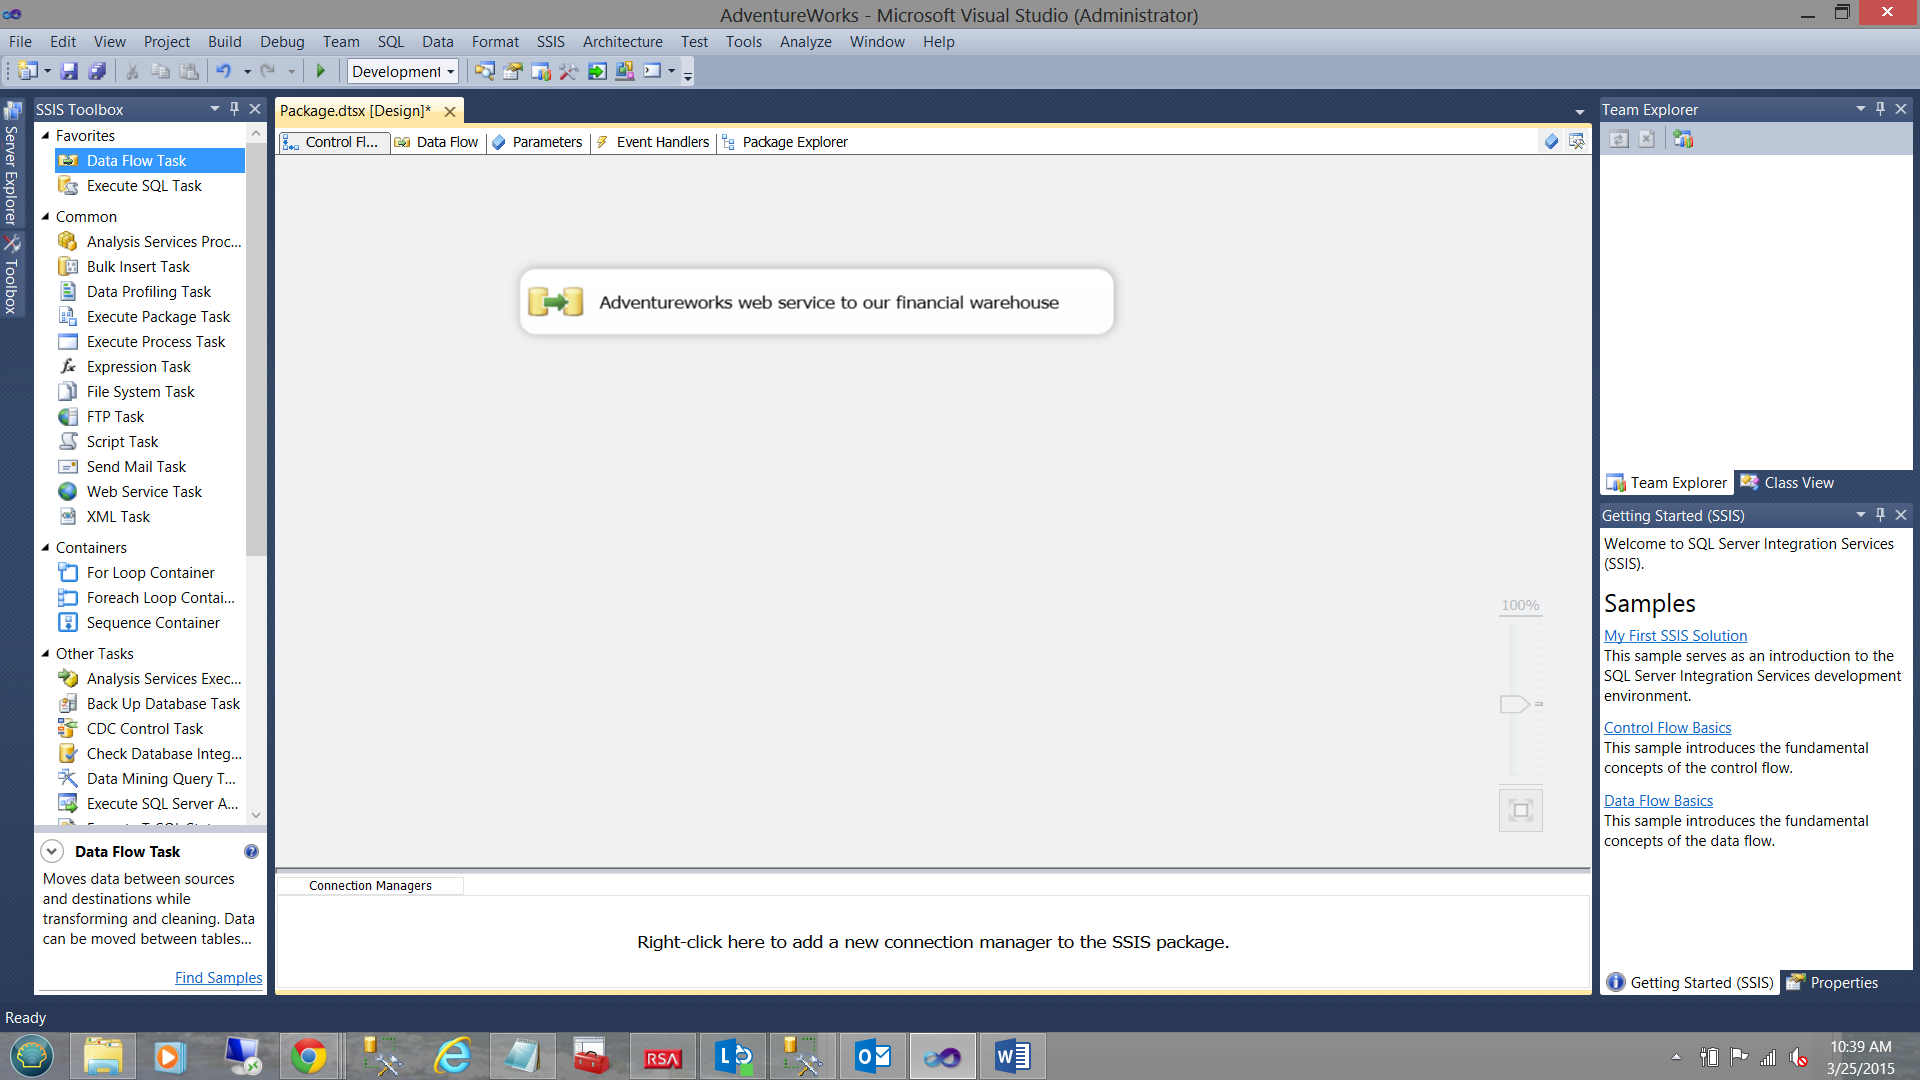
We now click on the “Data Flow” tab to bring up the “Data Flow” work surface (see below).
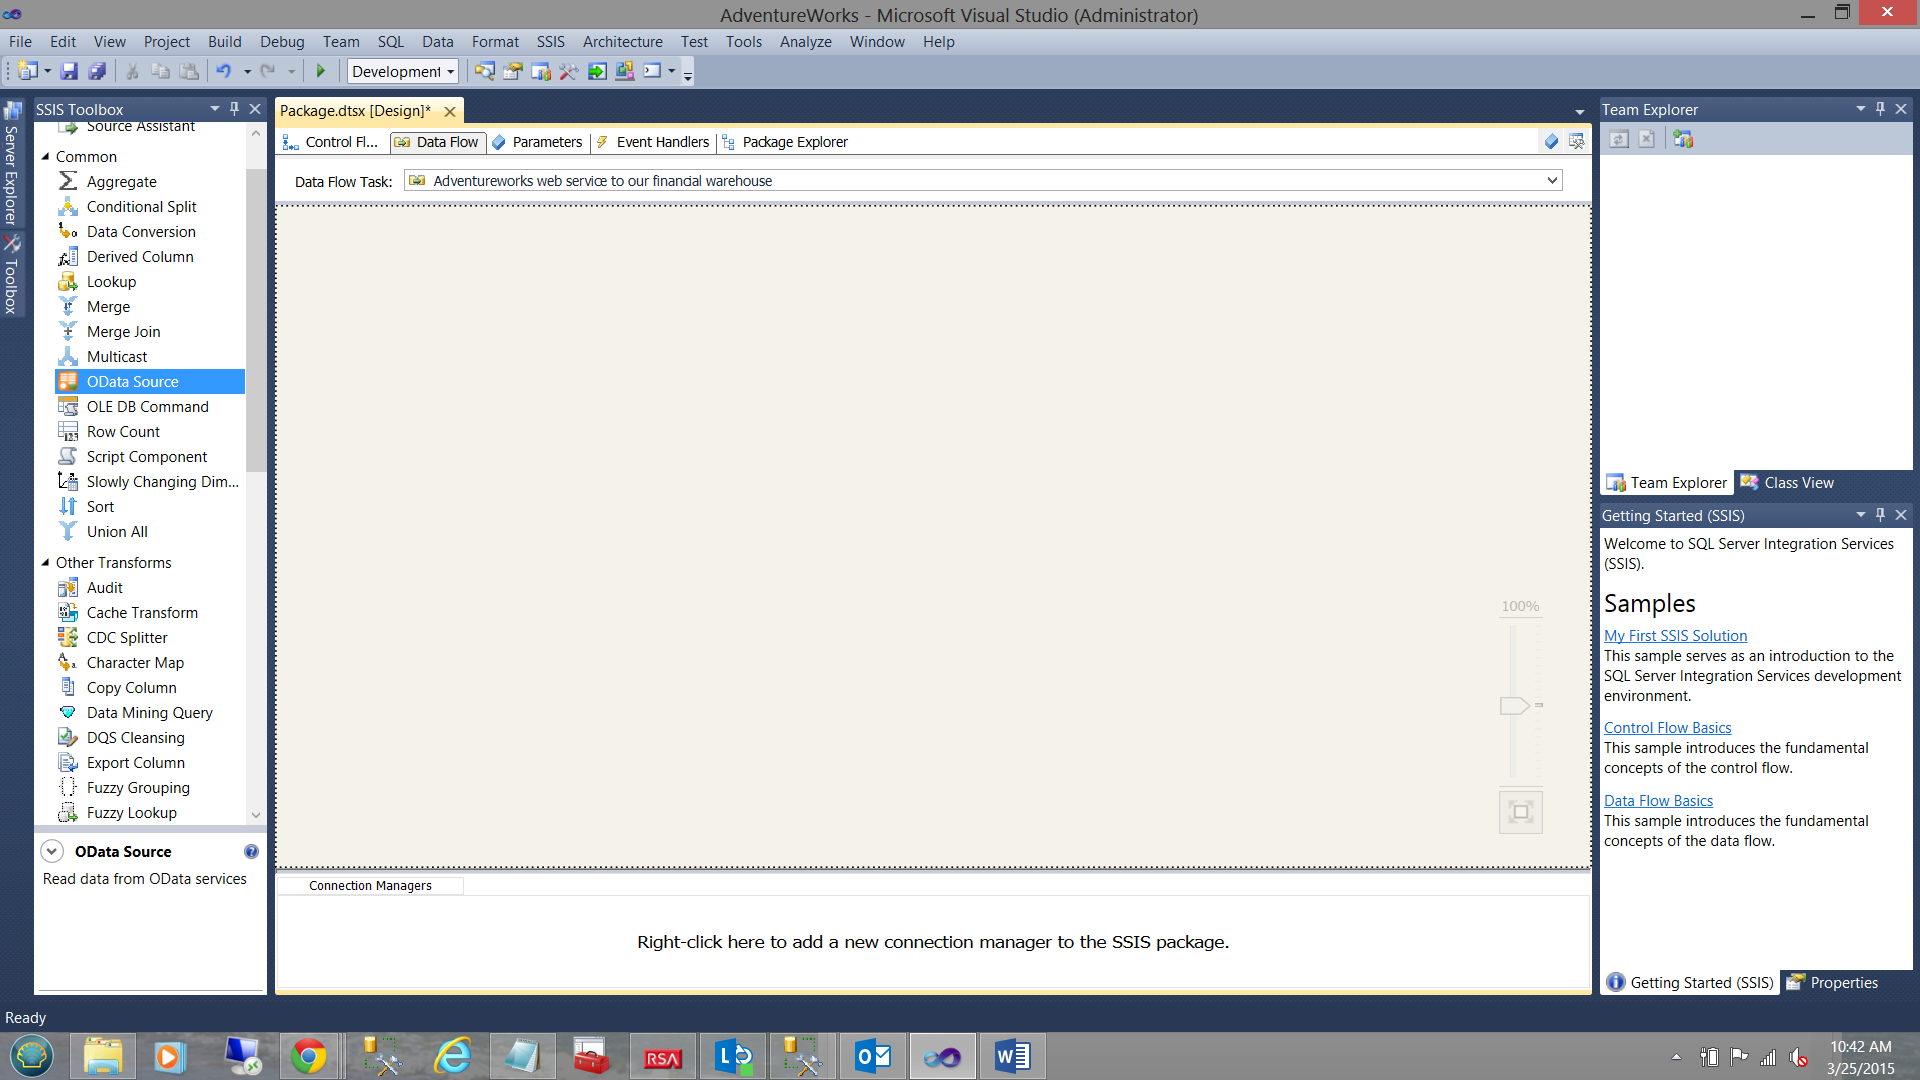
Looking at the screenshot (immediately above) AND assuming that your installation of the OData Source was successful, you will note an OData source “connection” in the “Common” portion of the SSIS toolbox (see above and to the left).
By right-clicking in the “Connection Manager” portion of the work surface and by selecting the “Connections” option, we select the OData Option from the drop down (see below).
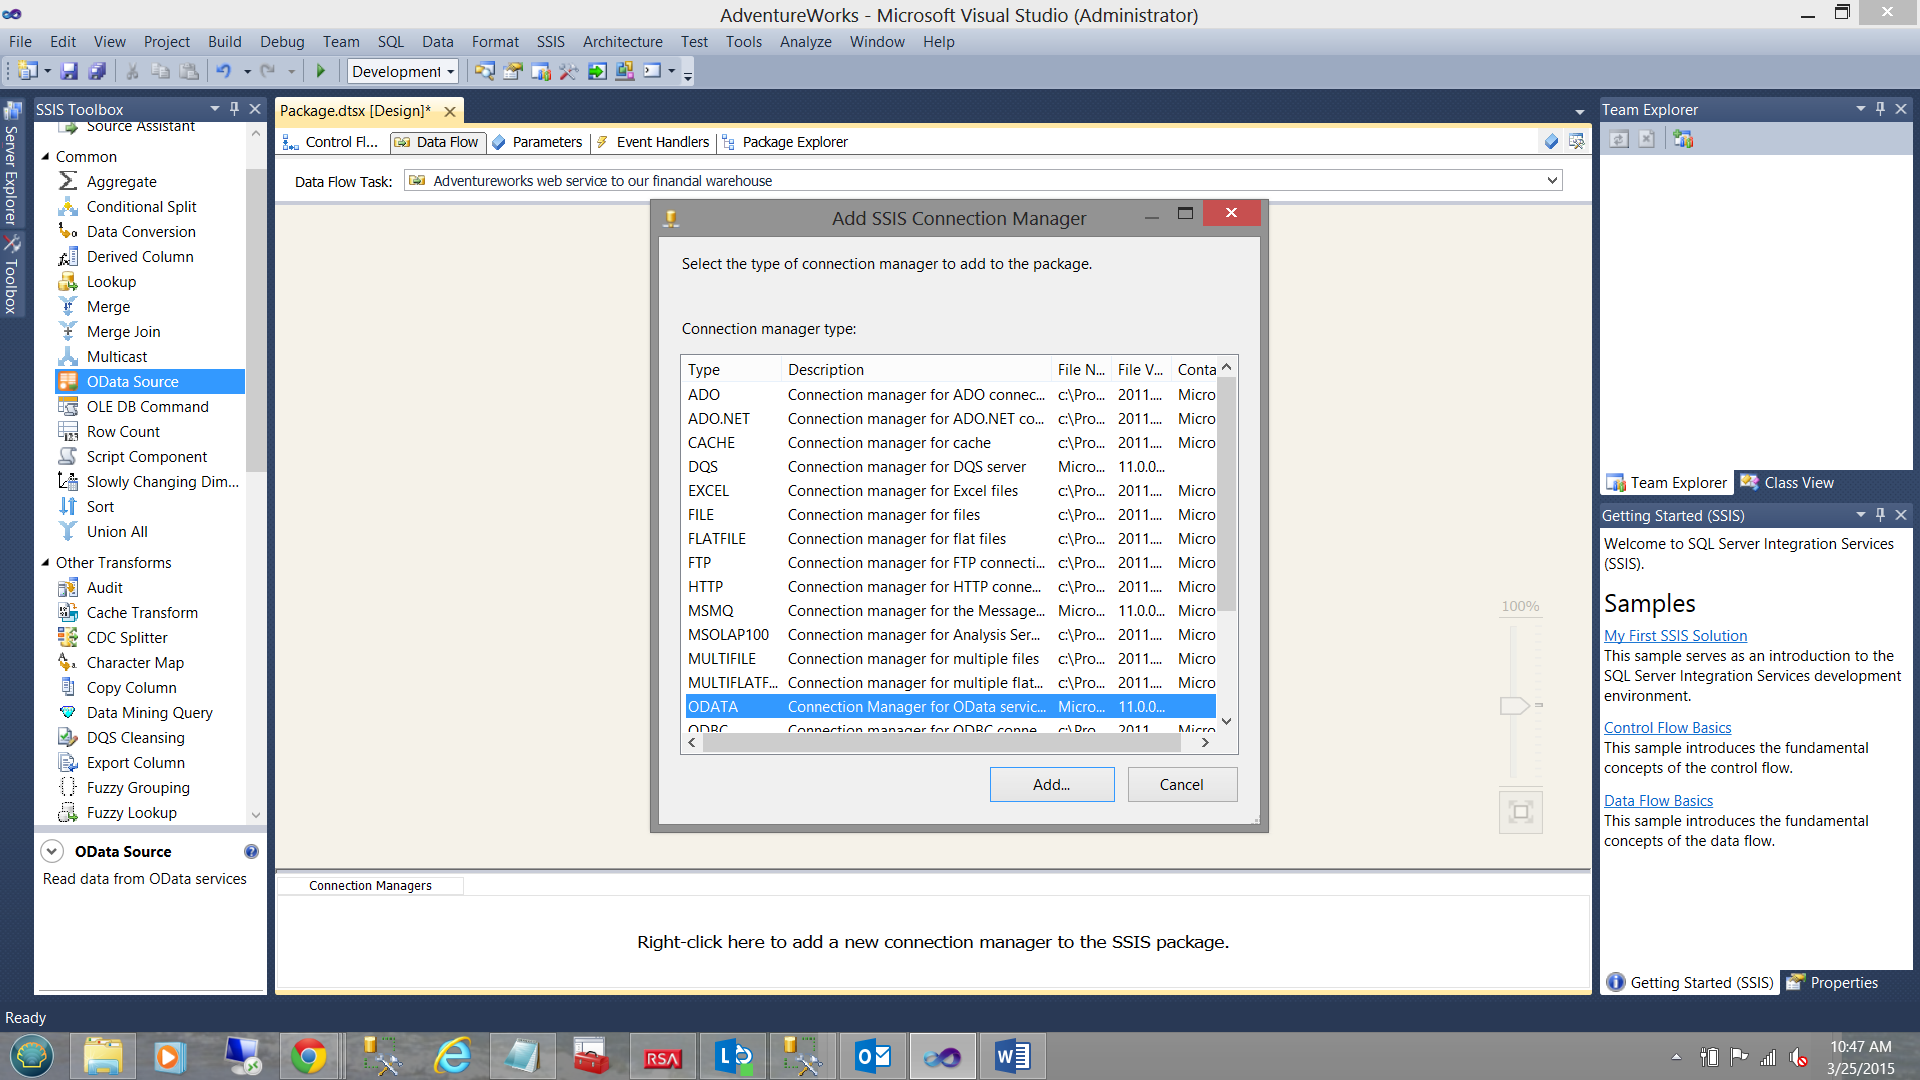
We click “Add” (see above).
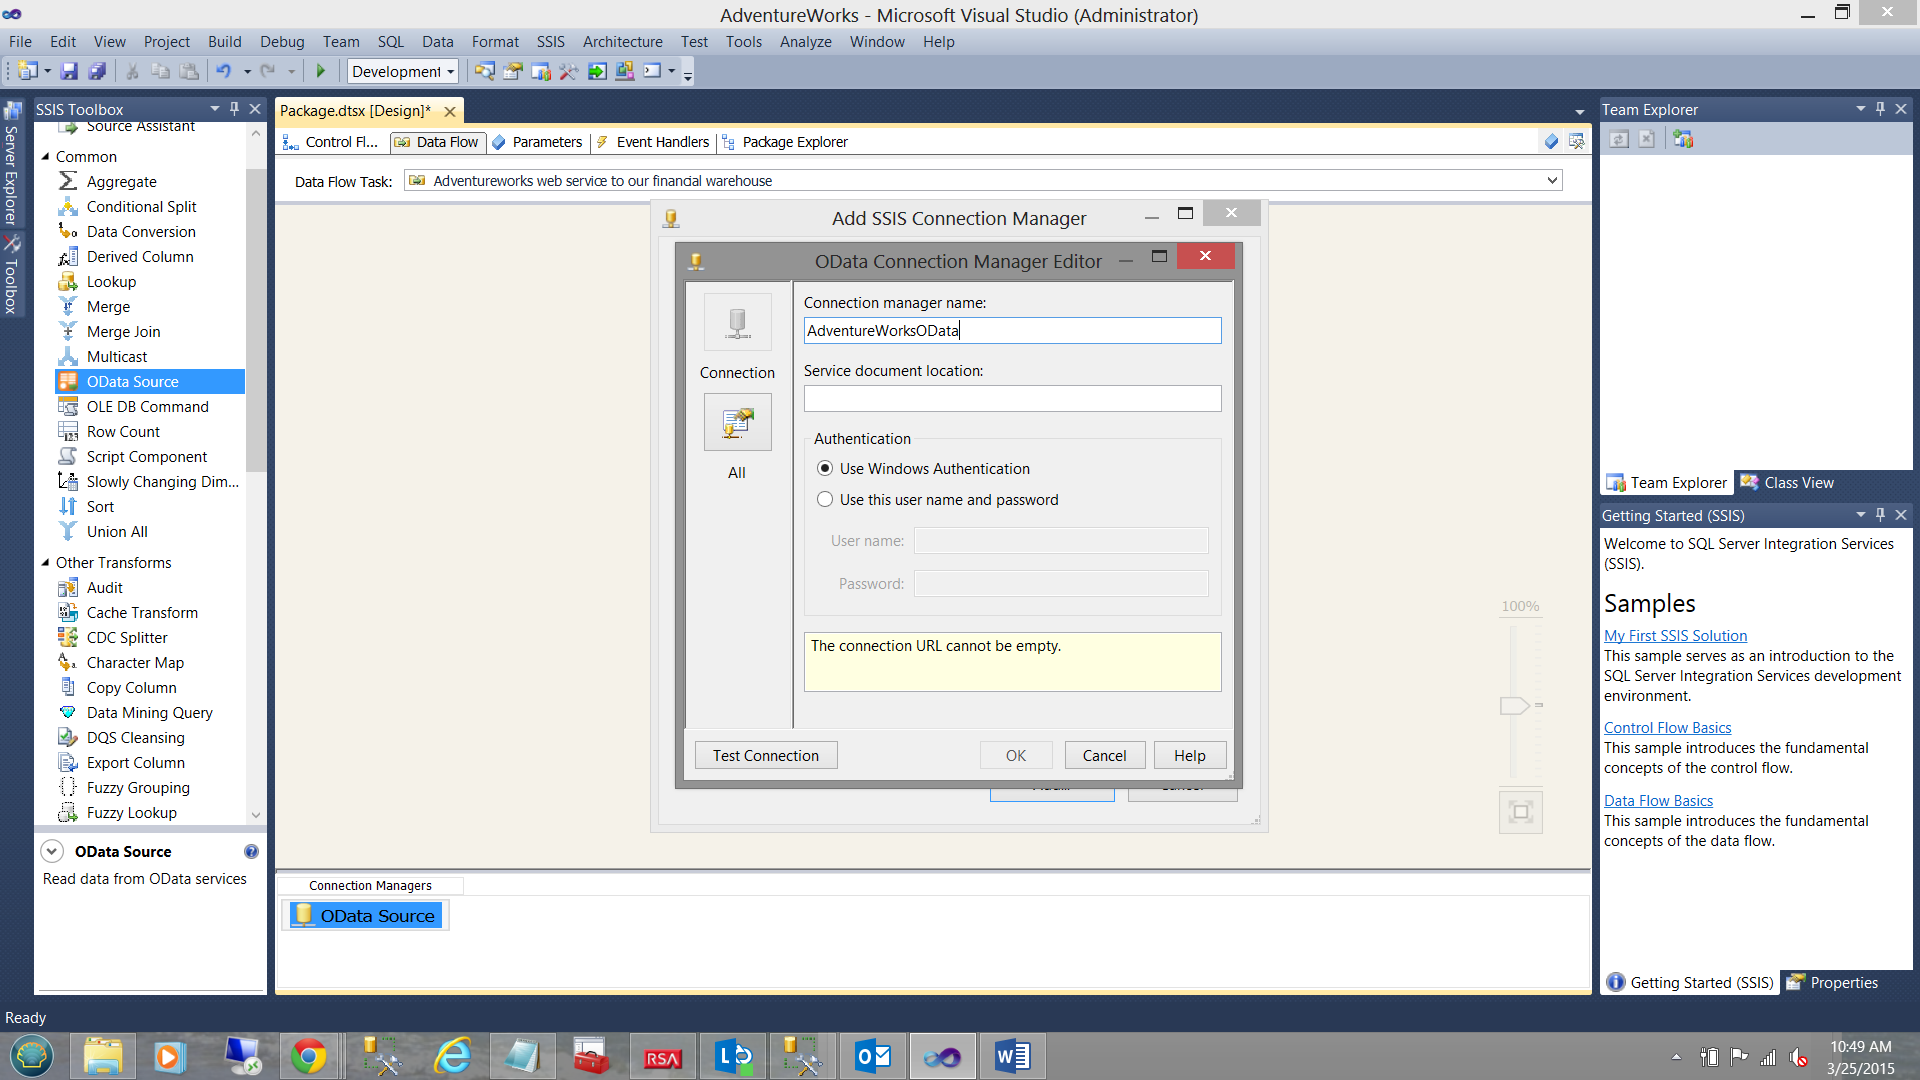
The “OData Connection Manager Editor” dialog box is brought into view (see above).
We set the “Service Document location”.
http://services.odata.org/AdventureWorksV3/AdventureWorks.svc
This “Service Document” for all intents and purposes acts as a gateway/portal to the underlying data. The “Service Document” is in XML format and “tells the OData data source” what data is available and the document acts as an interface between the “OData source” (itself) and the underlying data (see Chappell’s sketch above).
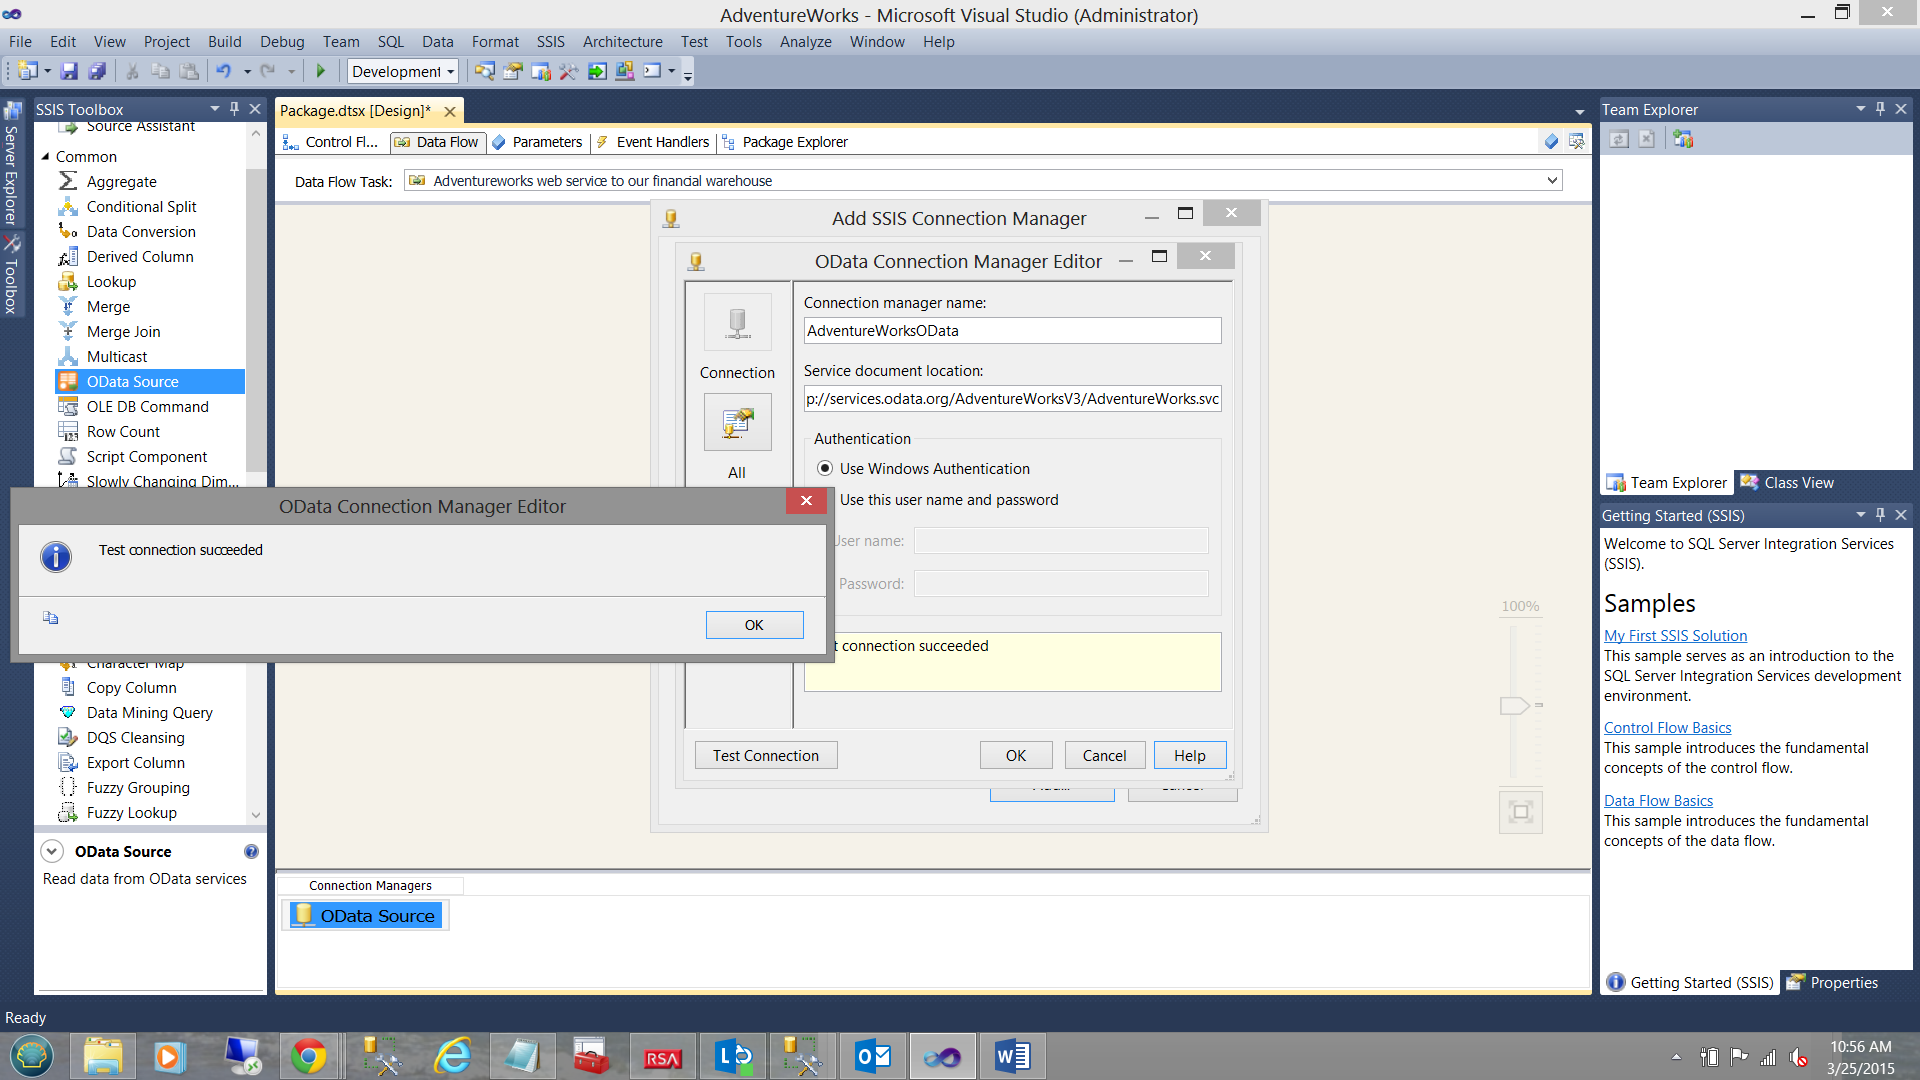
In the screenshot above we have entered the location of the Service Document and have successfully tested the connection. We click “OK” to accept and are returned to our work surface (see below).
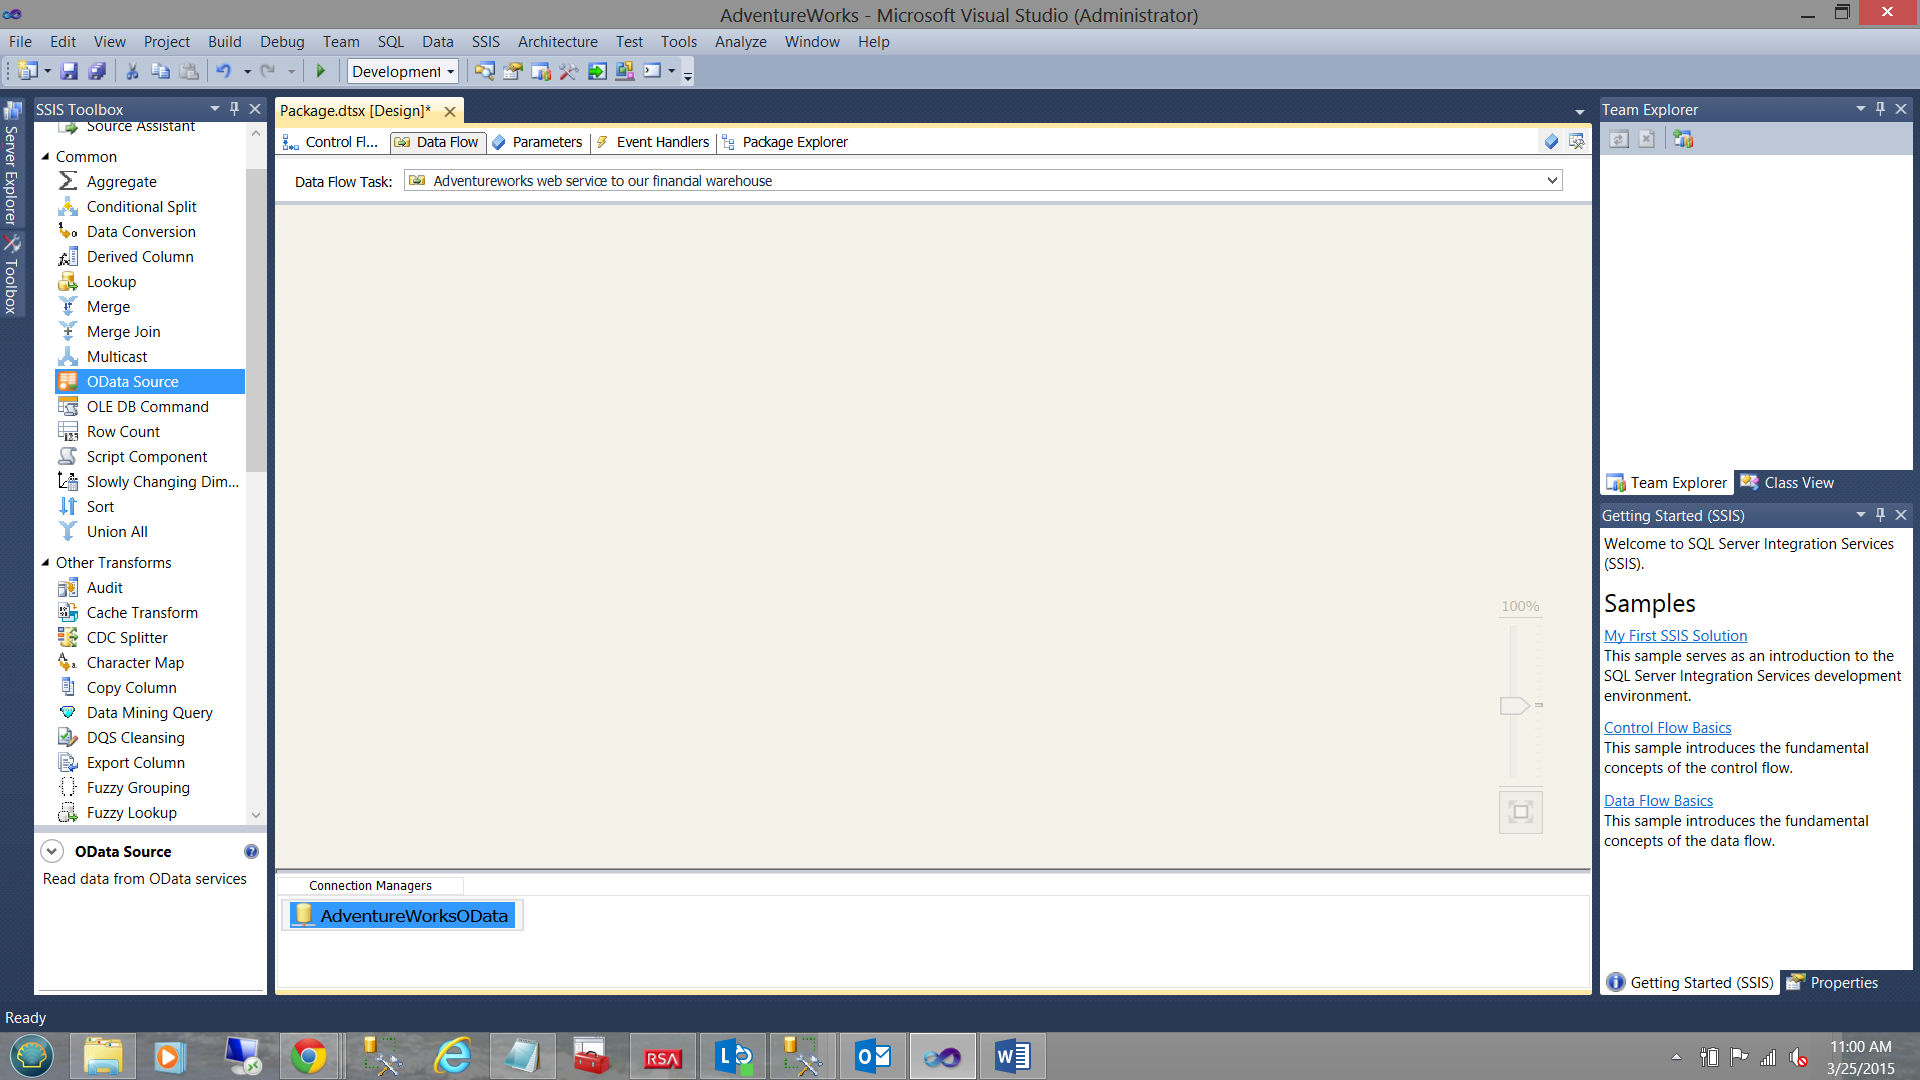
Having our connection created, we are now in a position to drag an “OData source” onto our working surface (see below).
Opening the “OData” source we find ourselves in the “OData Source Editor” (see below).
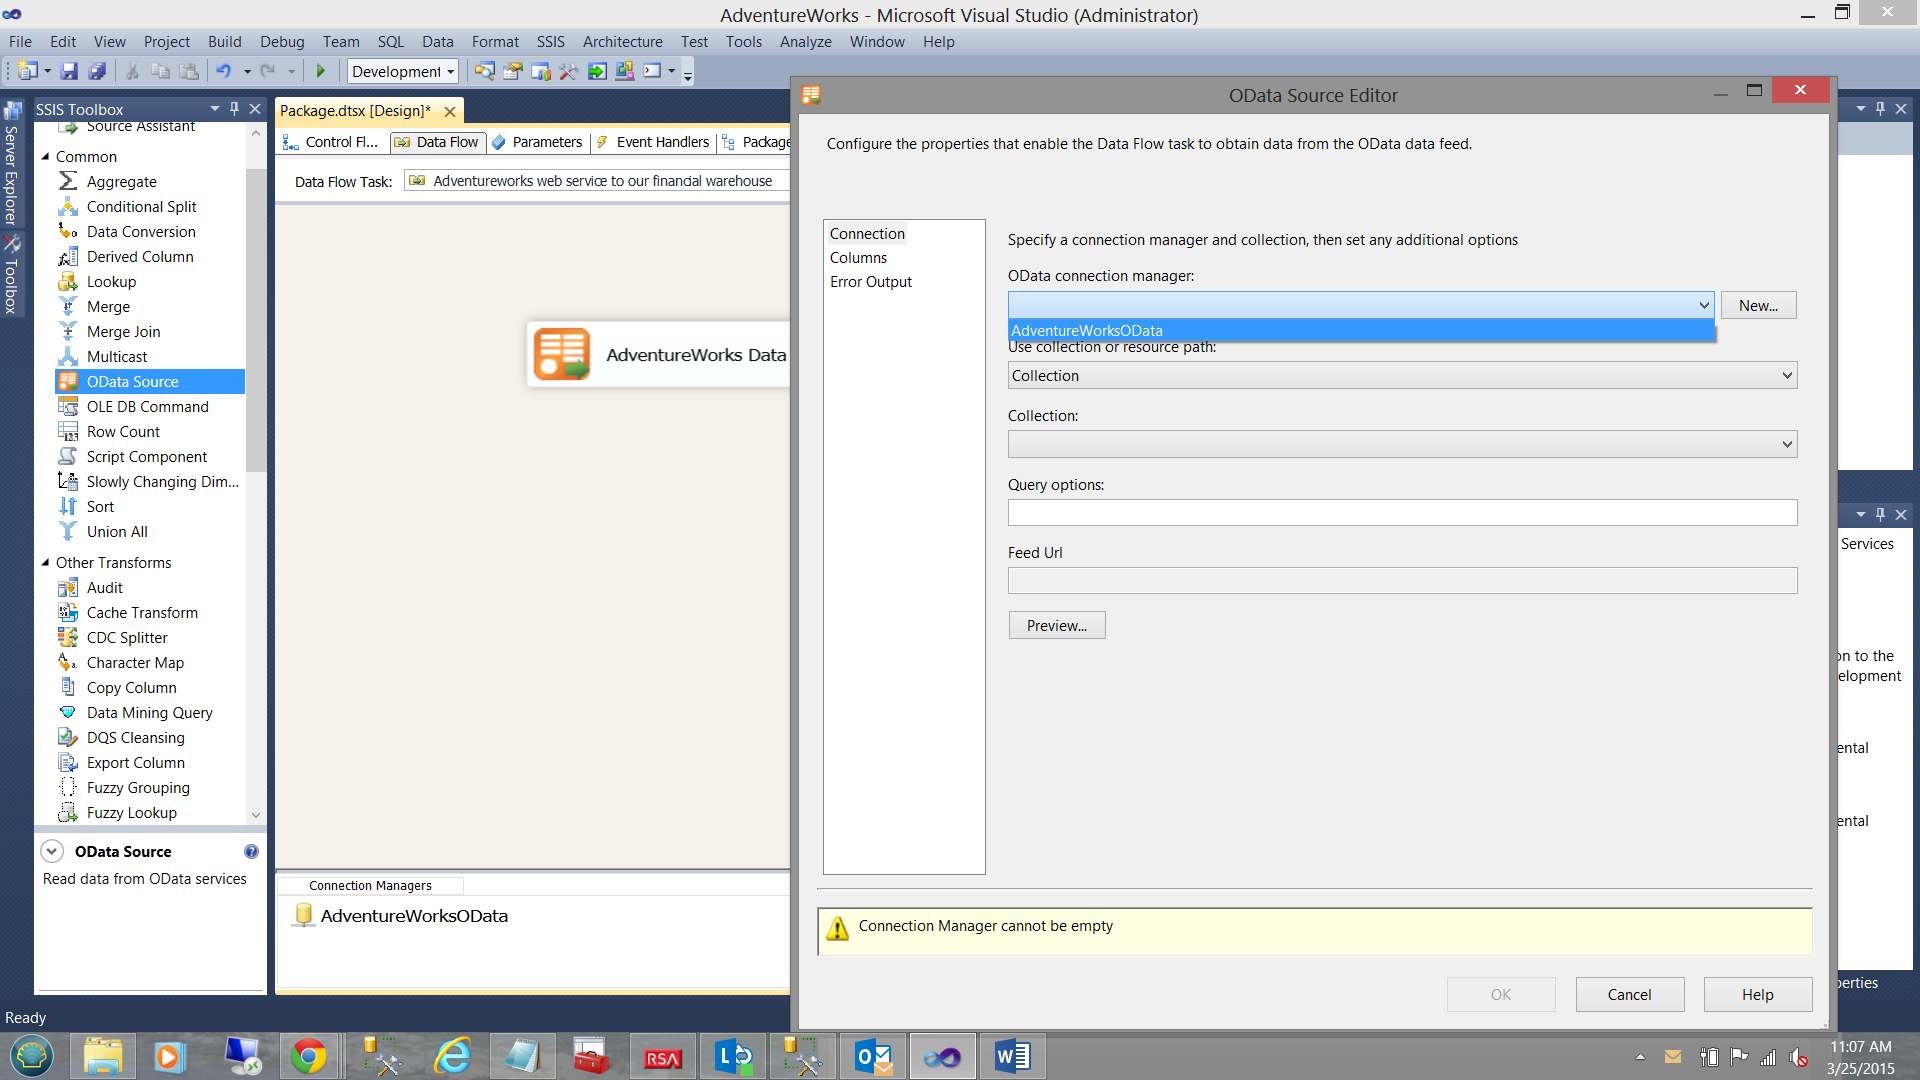
We select the “AdventureWorksOData” connection as seen above.

Having accepted this connection, the astute reader will note that the “Collection’ drop down box contains a list of all the “tables” and “views” available to our data source.
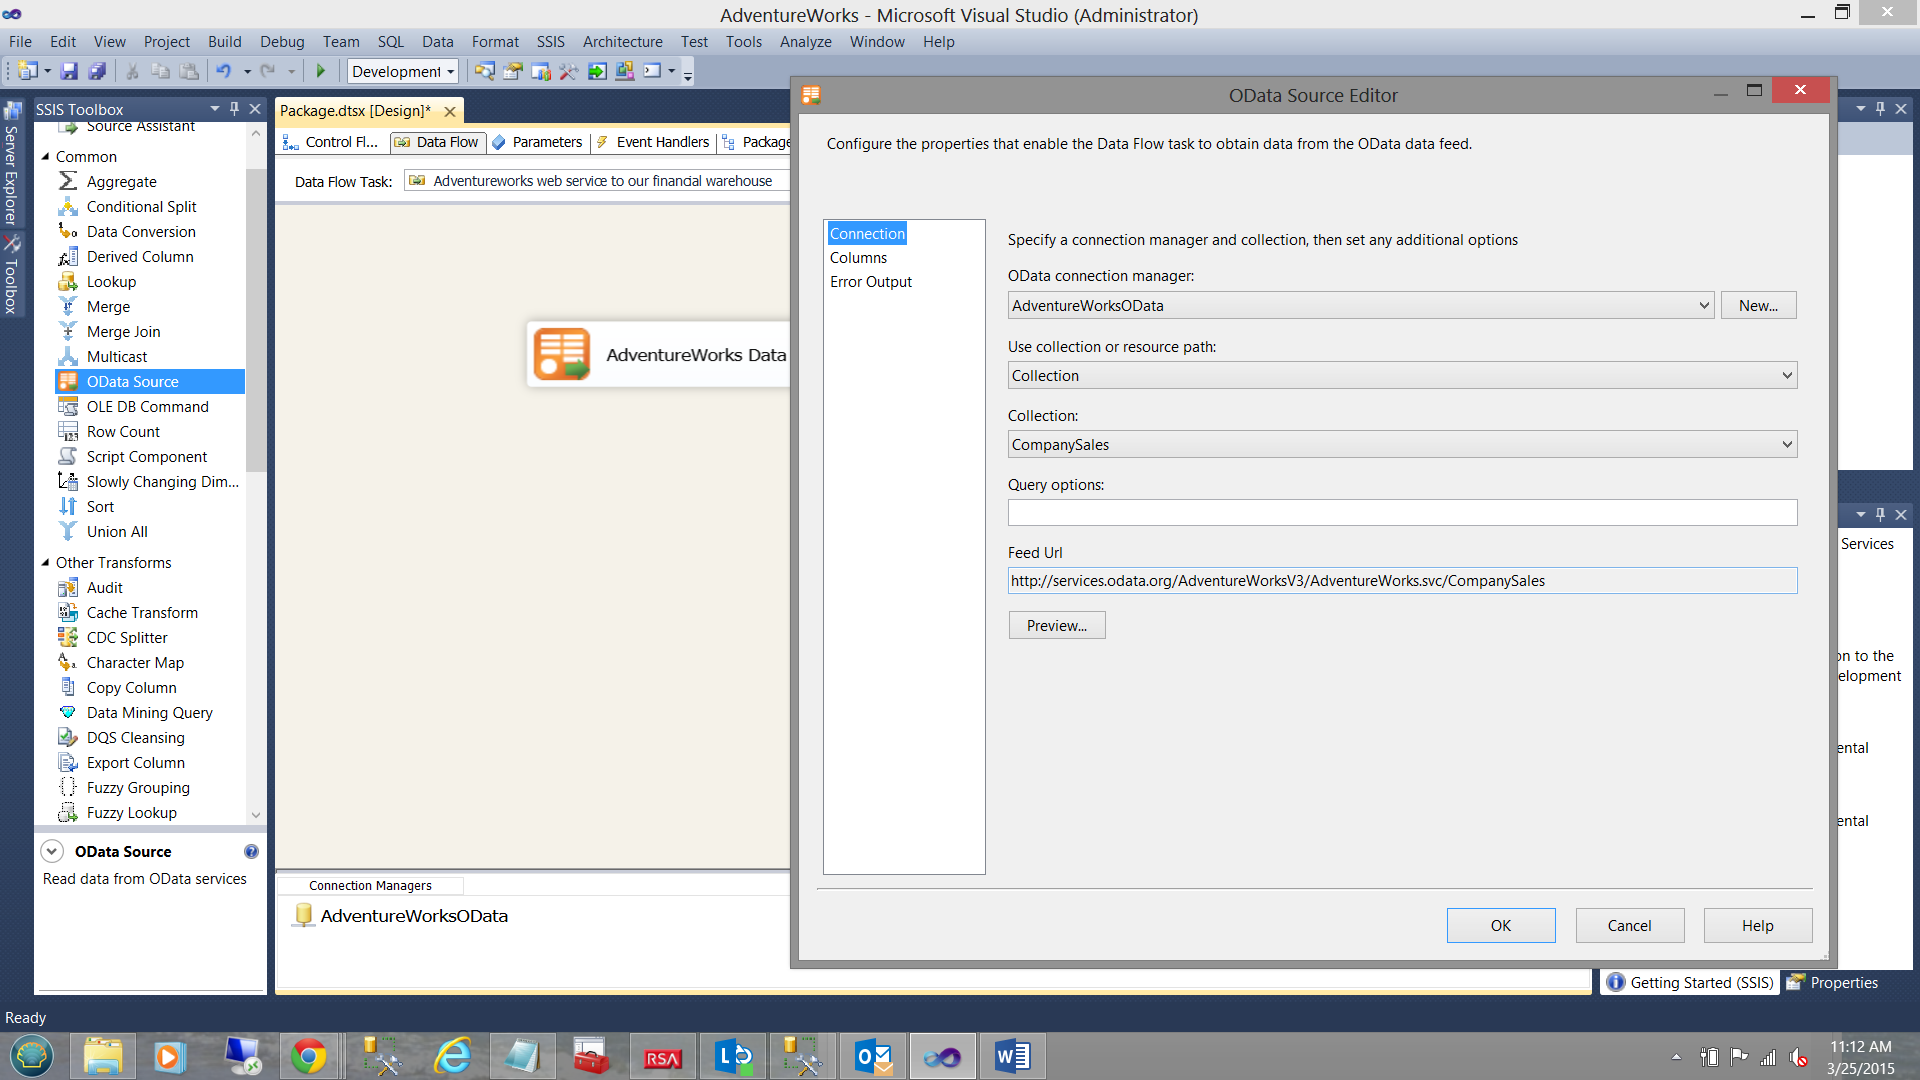
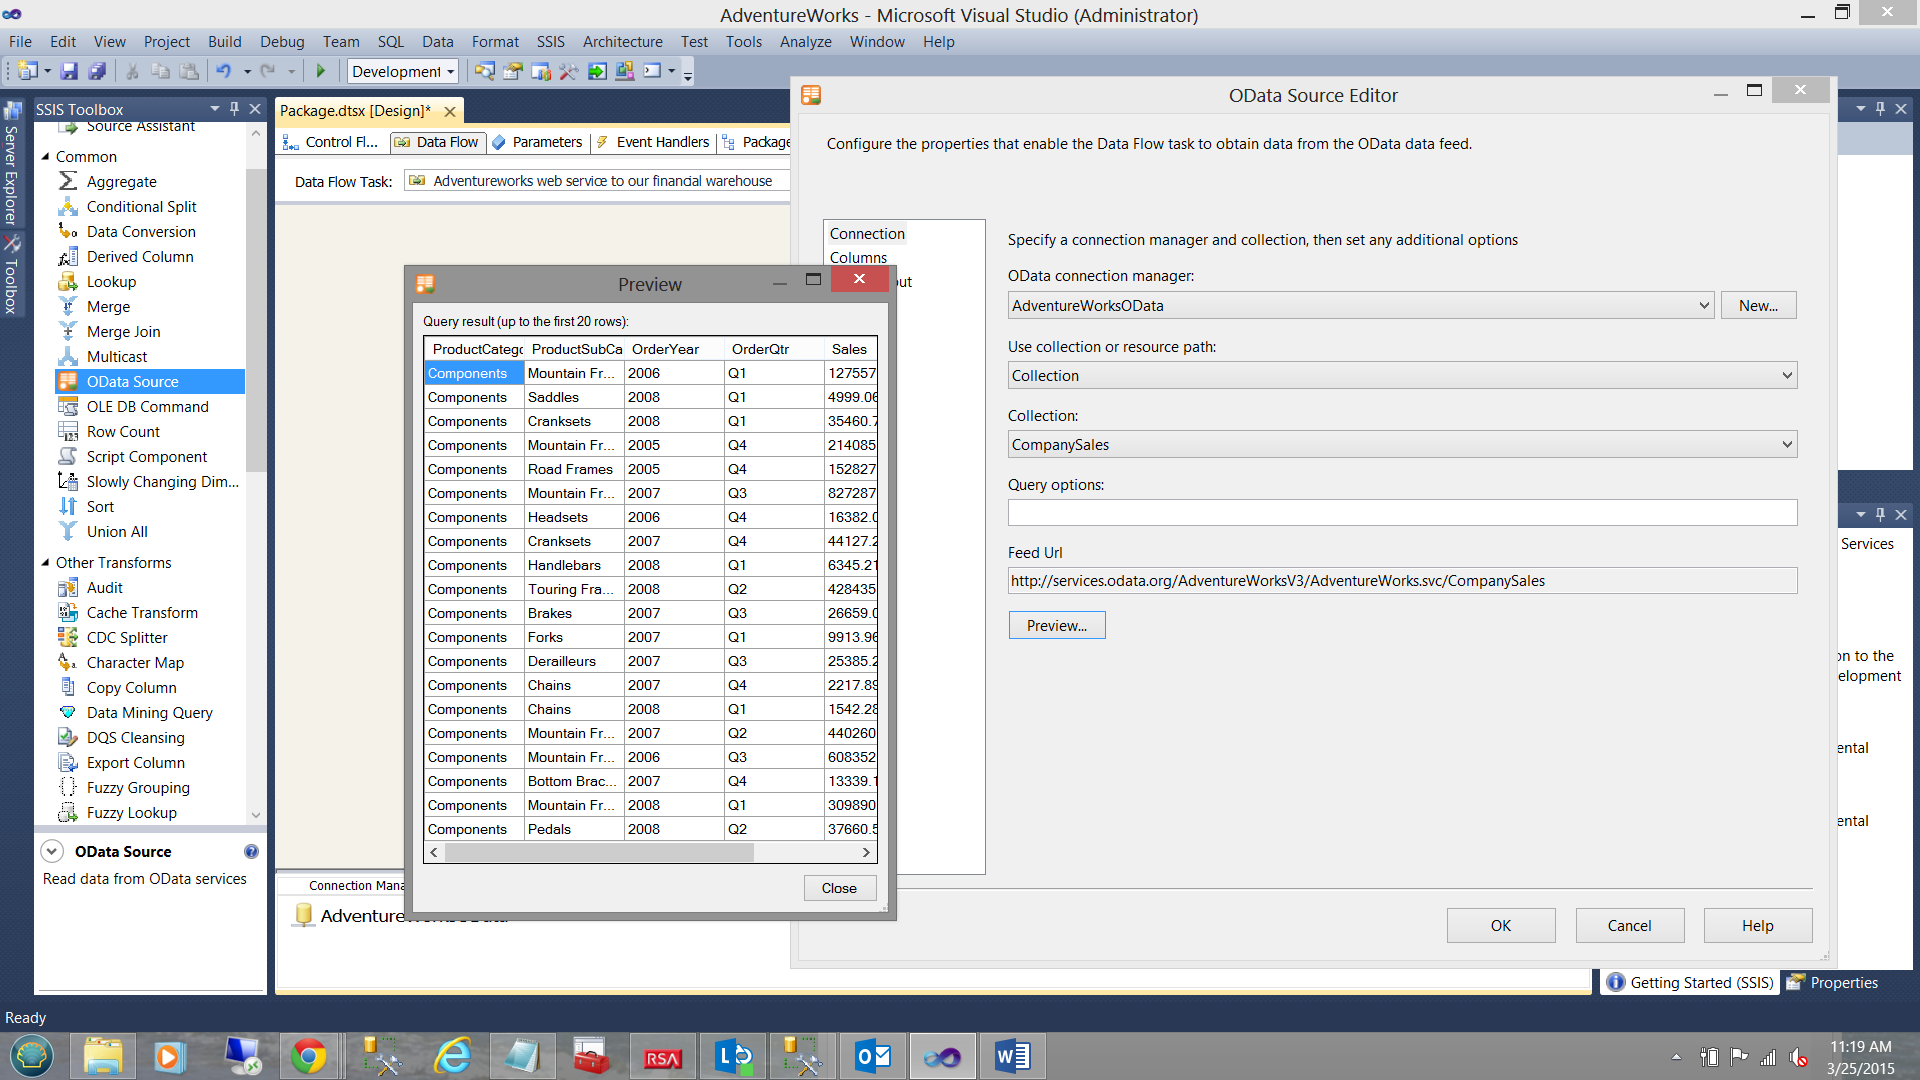
We shall select the “CompanySales” table (see above).
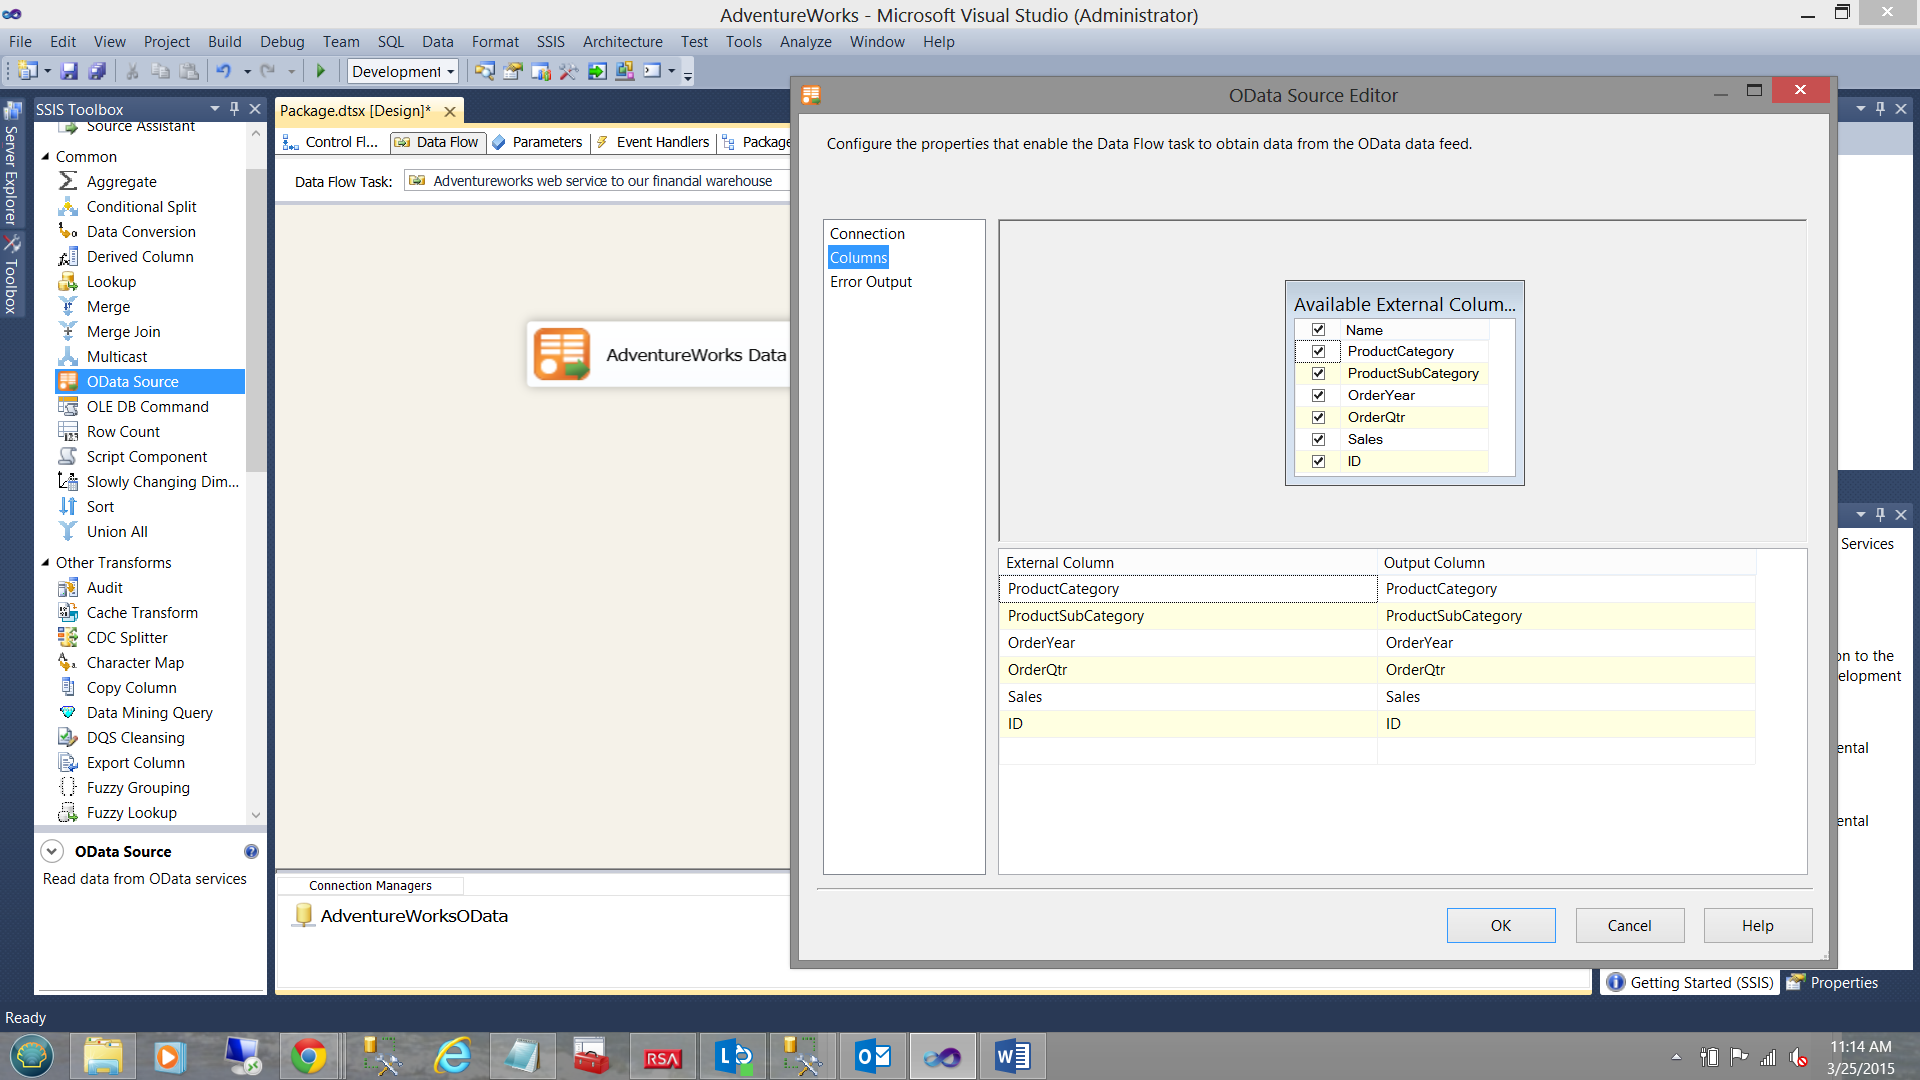
Clicking on the “Columns” tab (see above) we are able to see which fields we may pull. Further, by clicking on the preview button we are able to preview some of the data returned by the service (see below).
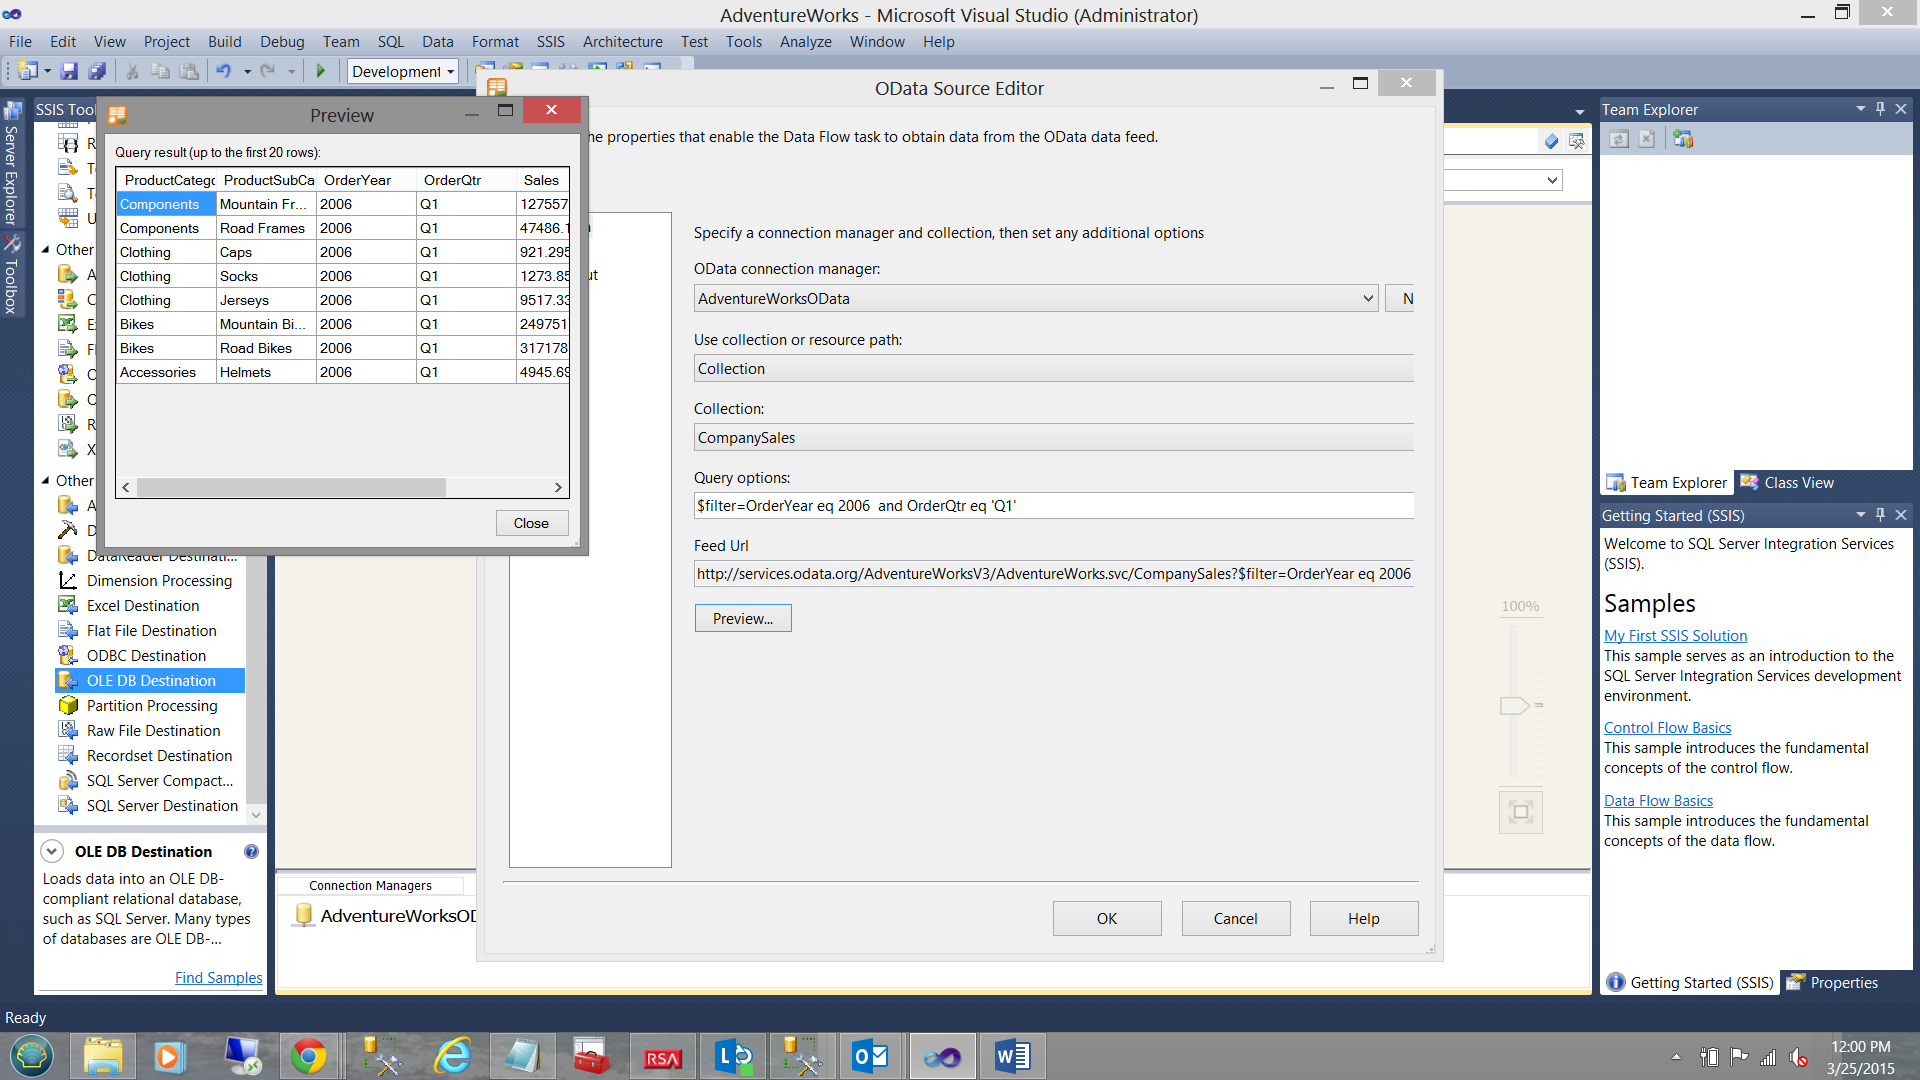
Now, the folks at SQLShackFinancial (who have asked us to obtain this data) are only interested in having the 2006 data and ONLY for Q1. We set the “Query Options” to
$filter=OrderYear eq 2006 and OrderQtr eq ‘Q1’ (see below).
We click OK to accept and begin to configure the “OLE DB destination”.
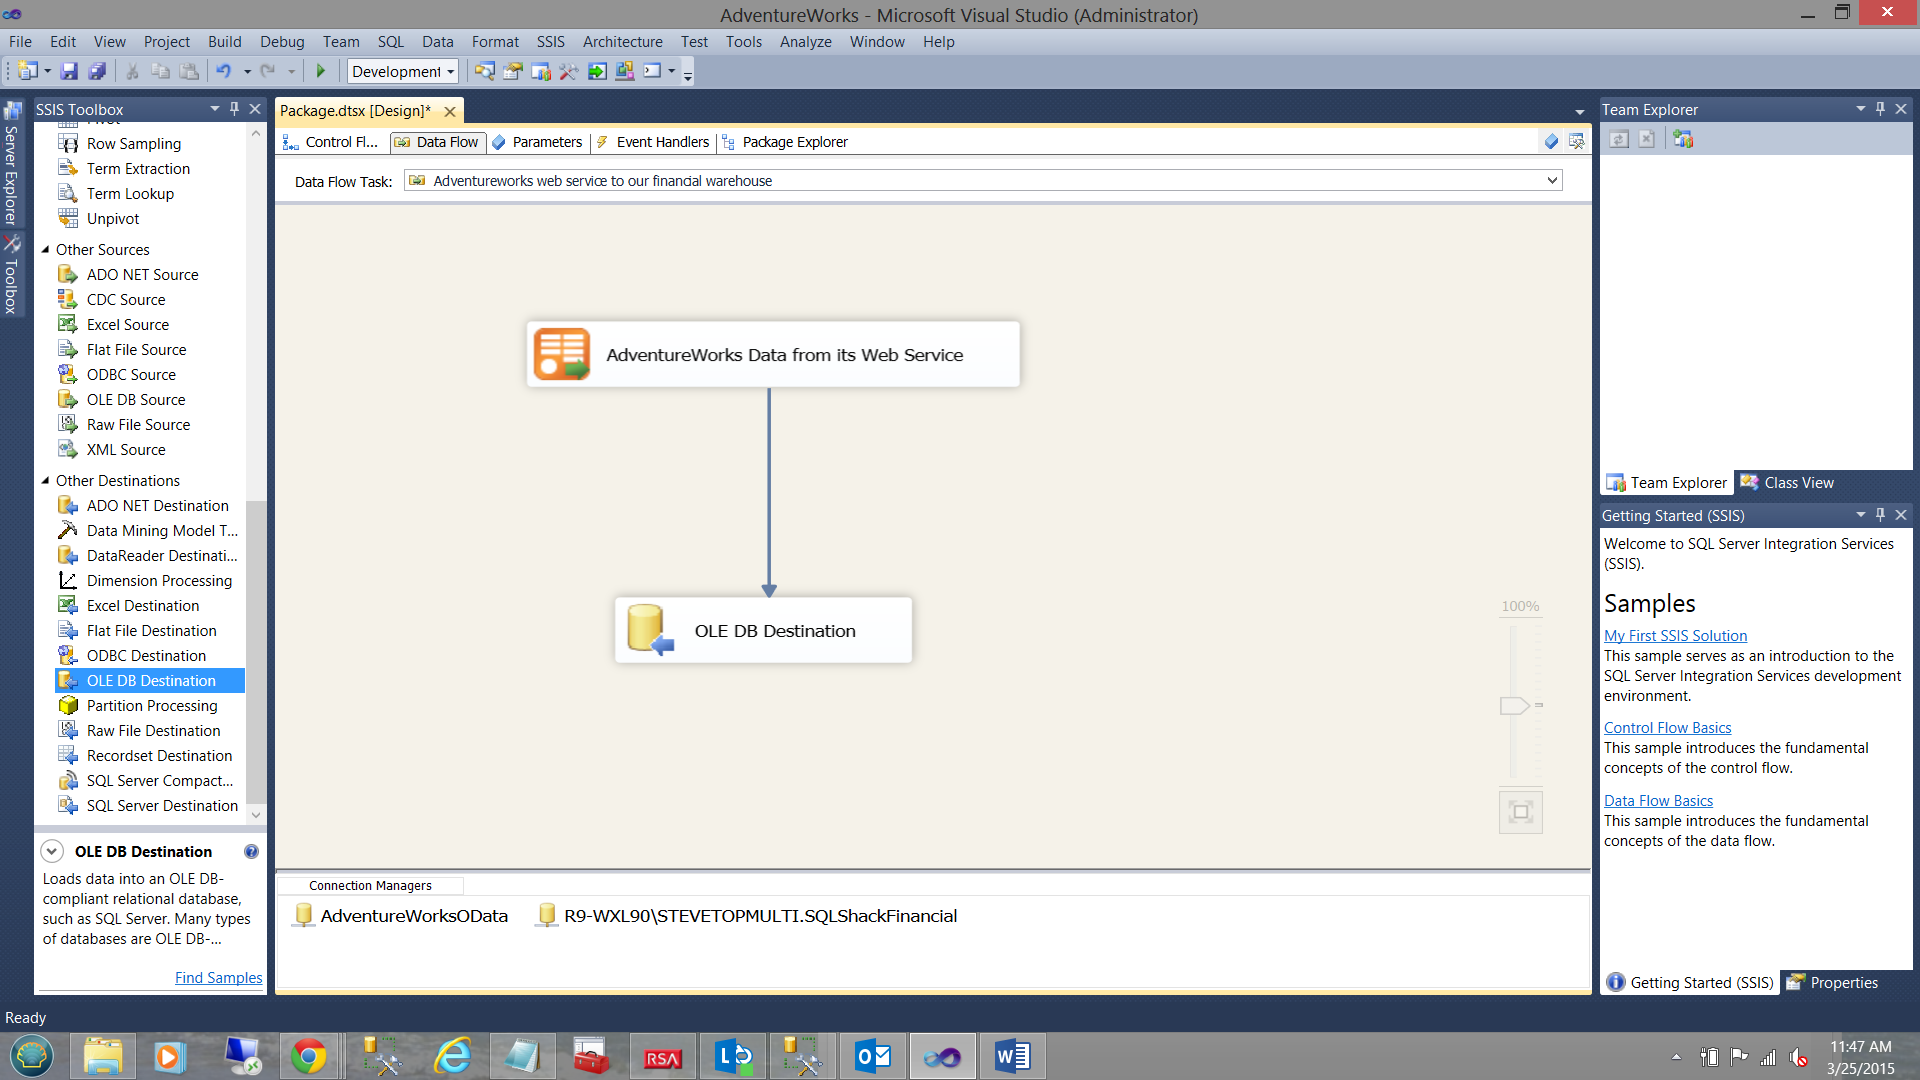
We now drag an “OLE DB destination” control to the work surface (see below).

Opening the “OLE DB Destination” we configure the component to place the data (from the web service) into a new table within the SQLShackFinancial” database (see below).
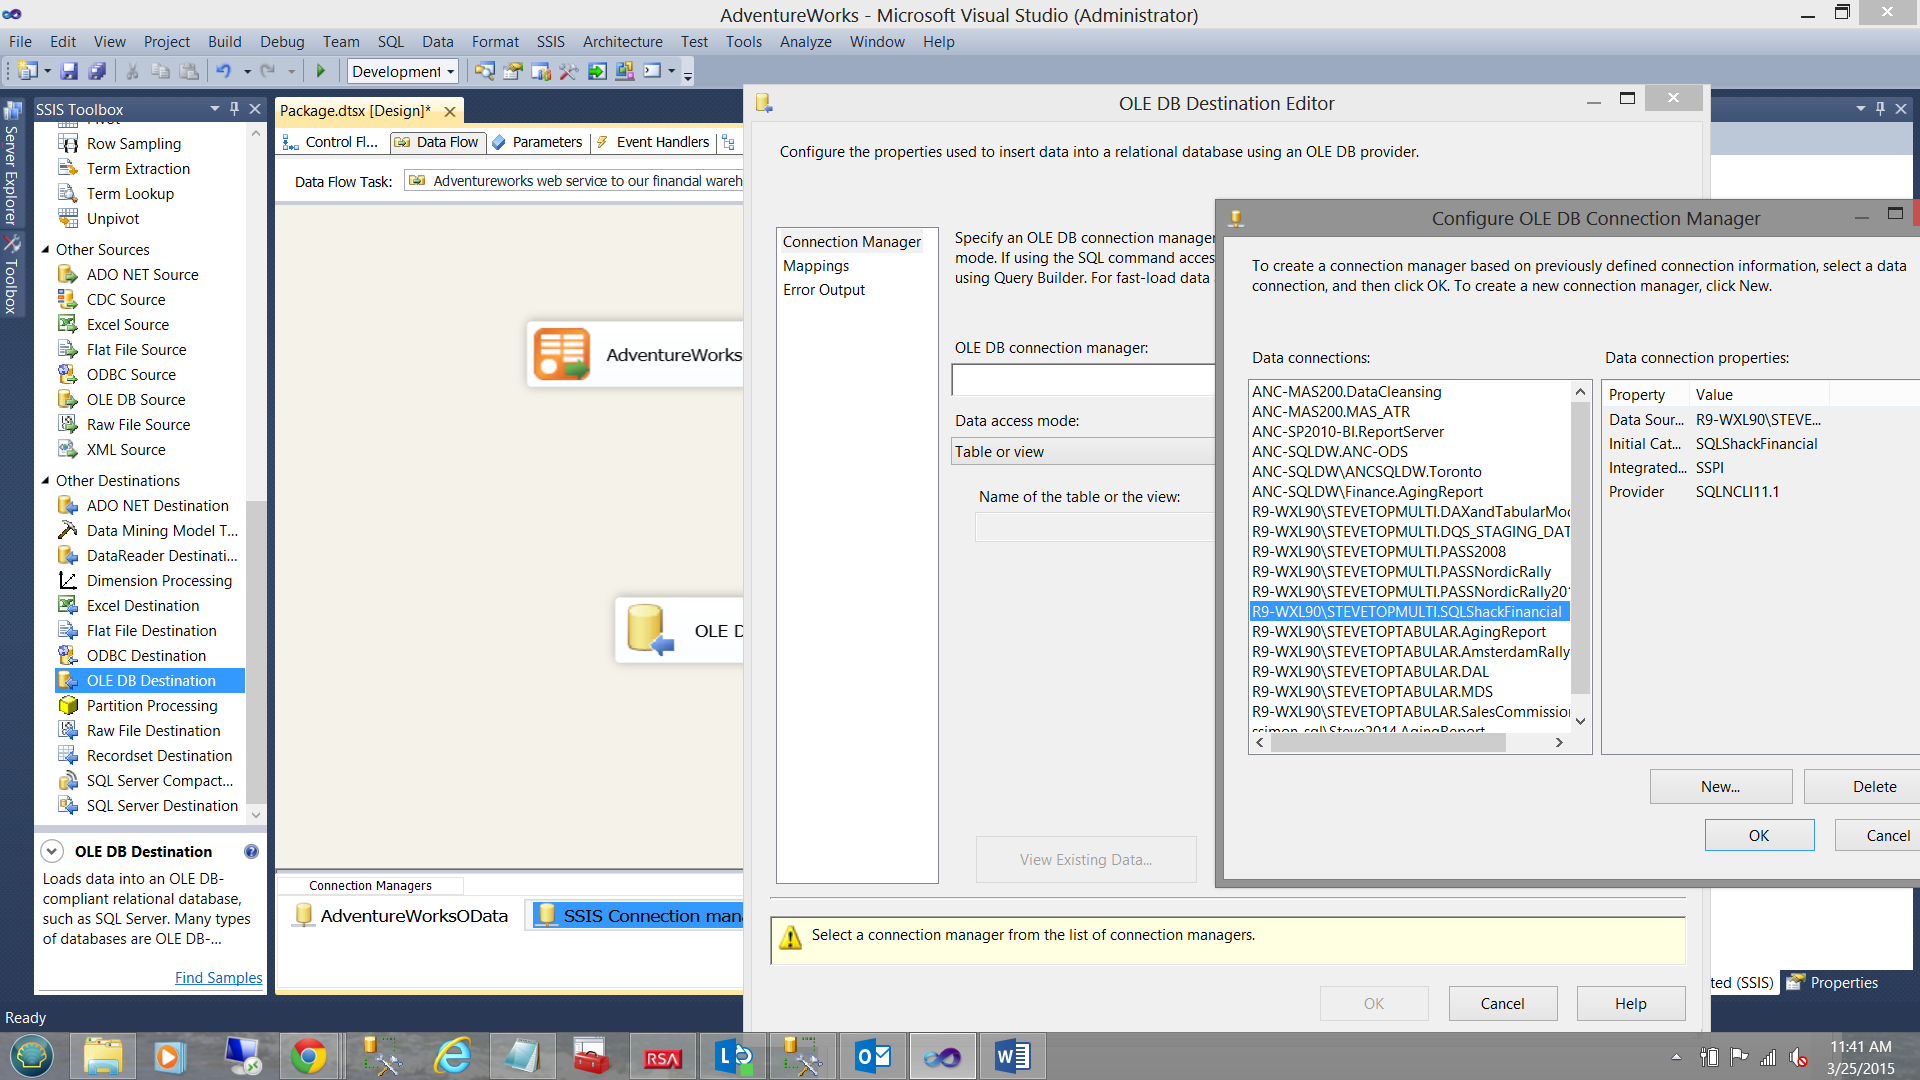
As always, we select our standard “Connection Manager” to the SQLShackFinancial” database (see above). The “OLE DB Destination Editor” now appears.
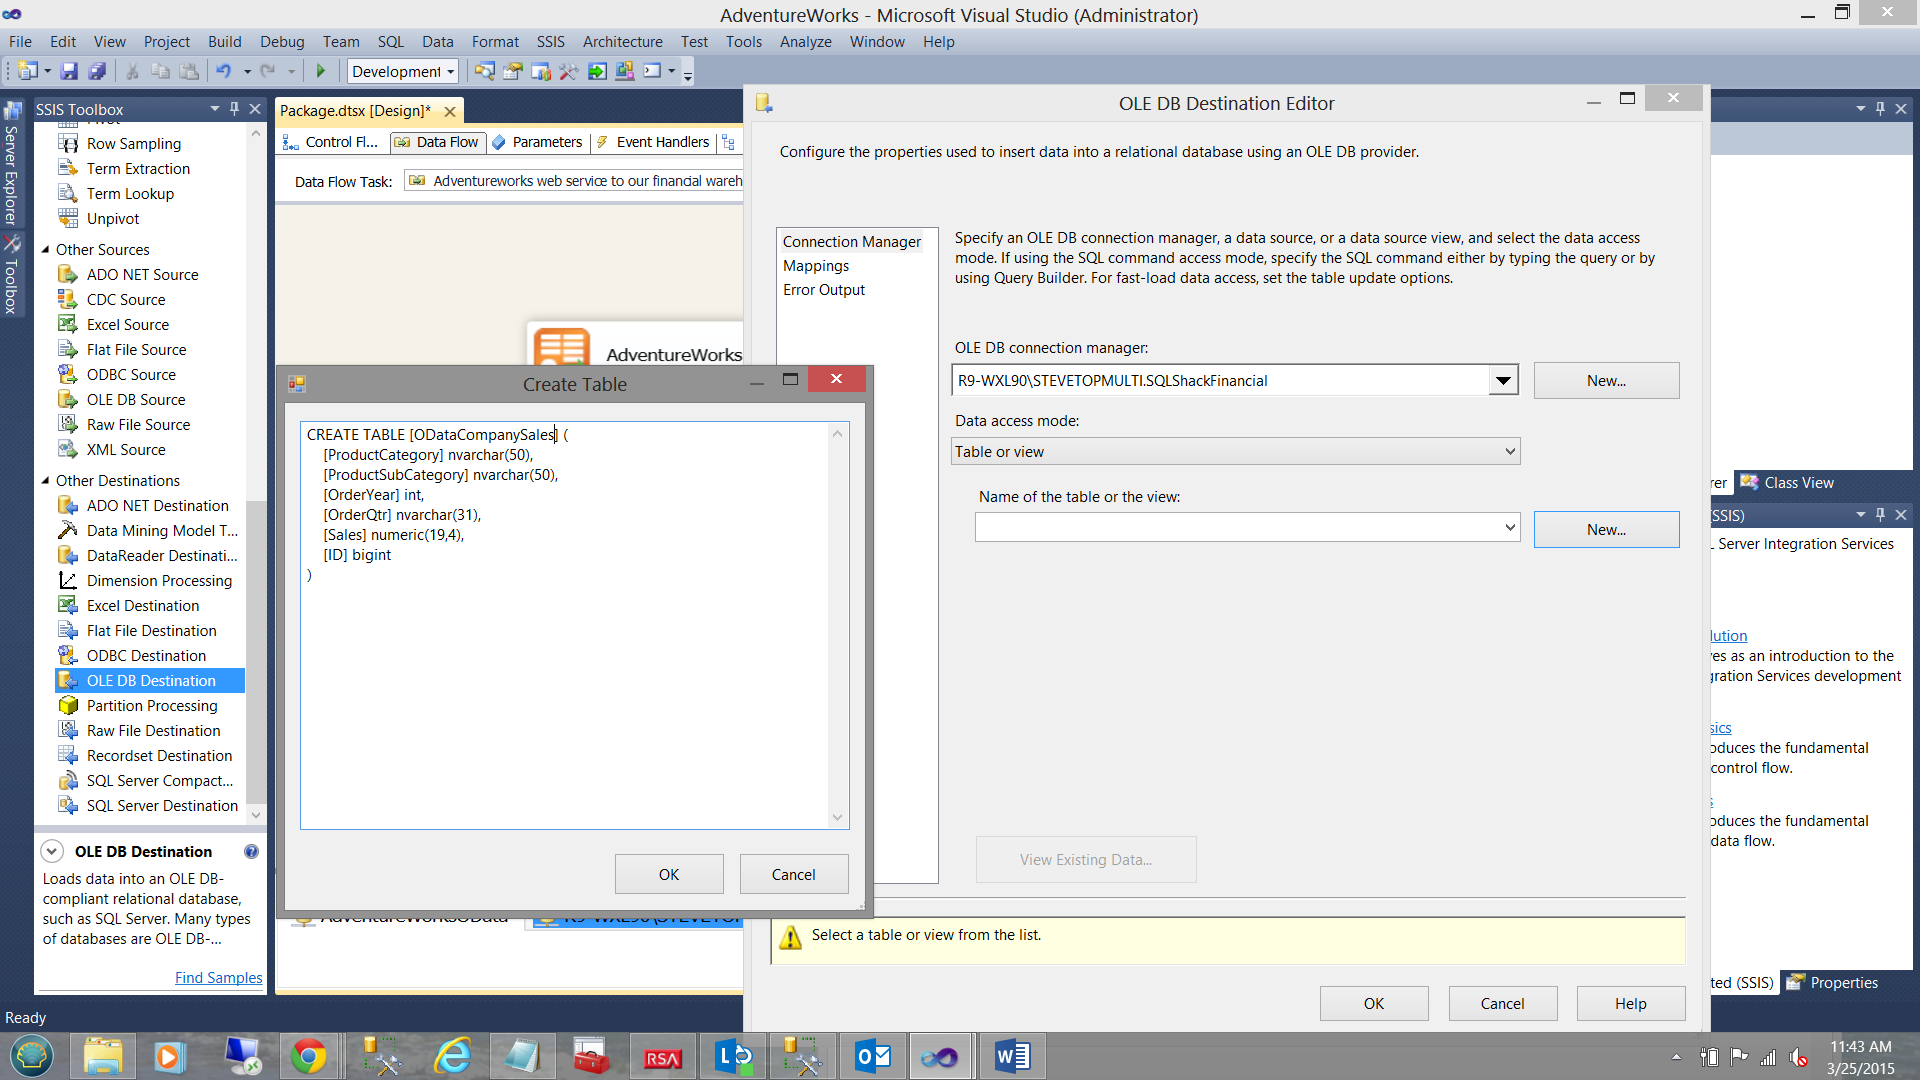
We click the “New” button to the right of the “Name of the table or the view” drop-down box. The “Create Table” dialog box now appears. We call our table “ODataCompanySales” (see above).
Clicking on the “Mappings” tab, we map the source fields to the destination fields (see below).
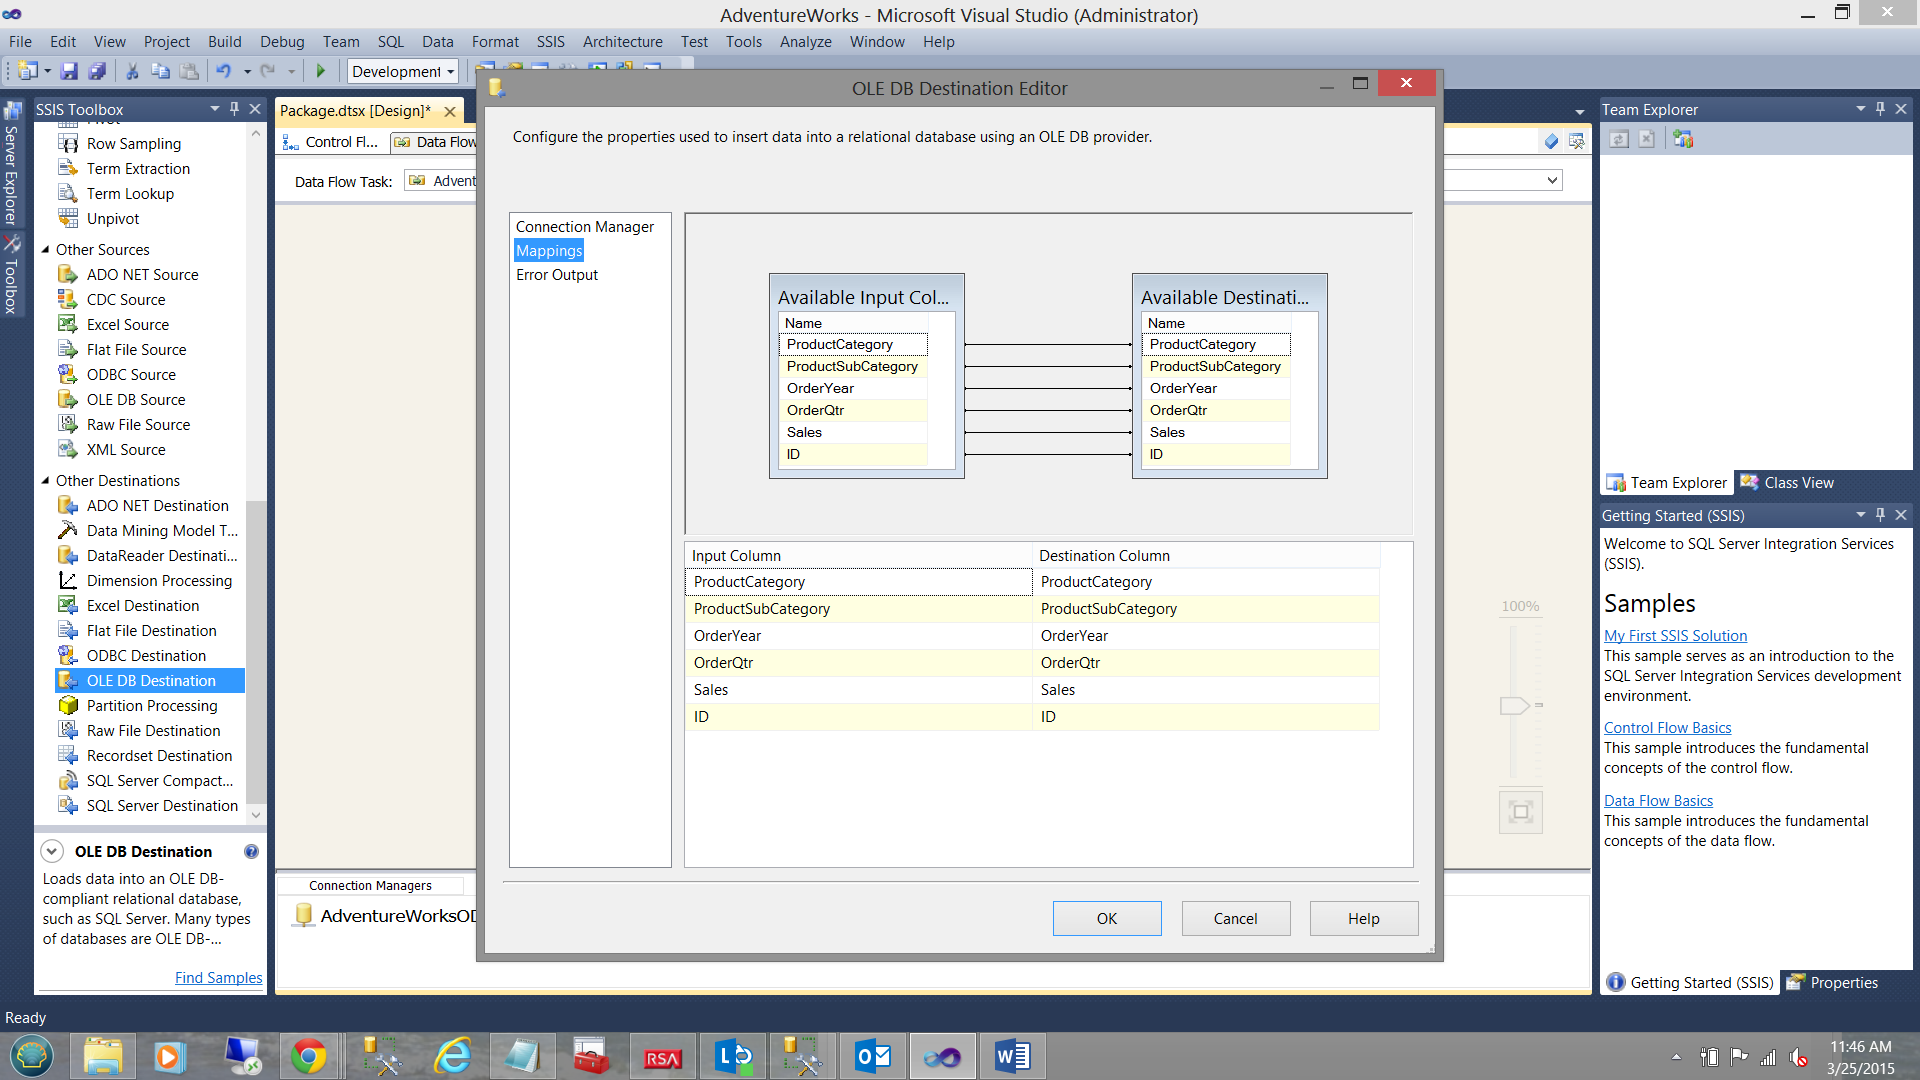
We click OK and OK to exit the dialog boxes and find ourselves back on our work surface (see below).
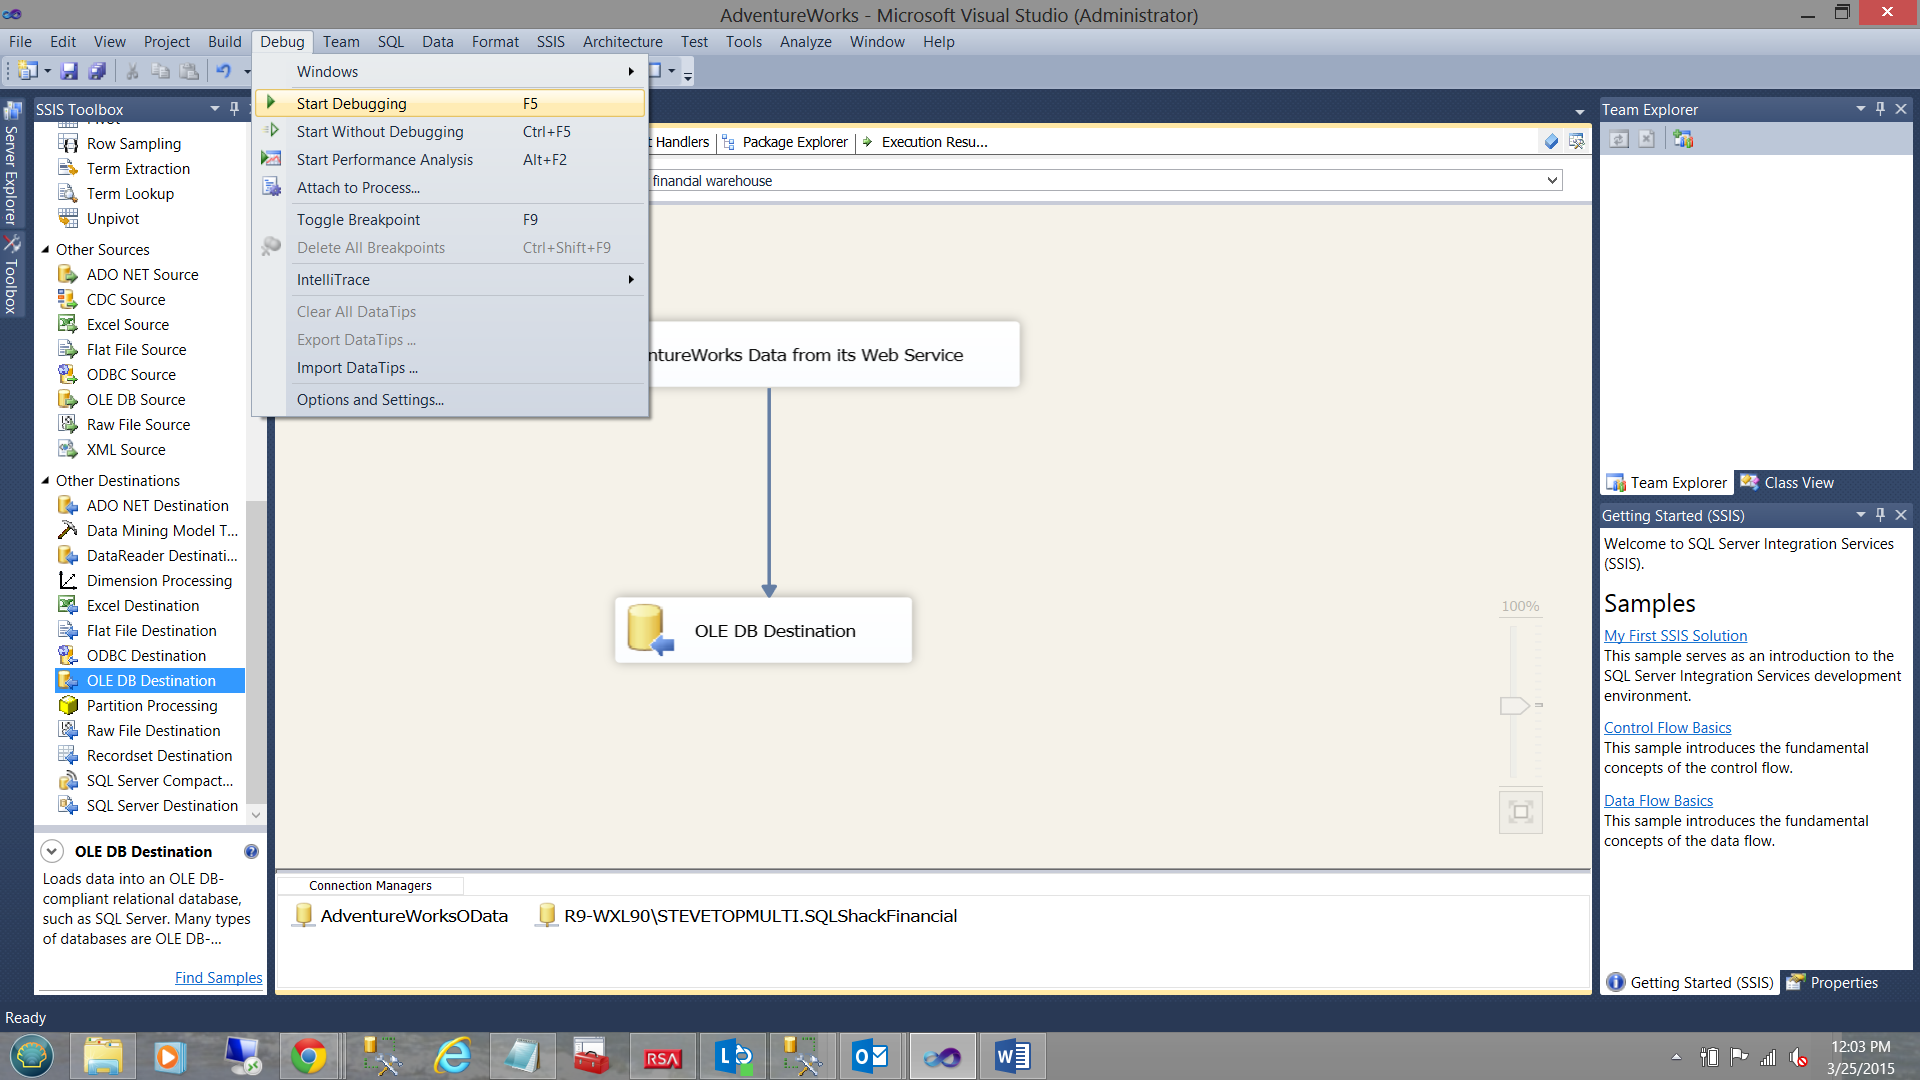
Giving it a run!
Now that we have constructed all that we need to pull the necessary data, we can give our project a “test run”. We click on the “Debug” tab and select ‘Start Debugging” (see below).
Processing begins and we find that 8 rows have been extracted (see below).
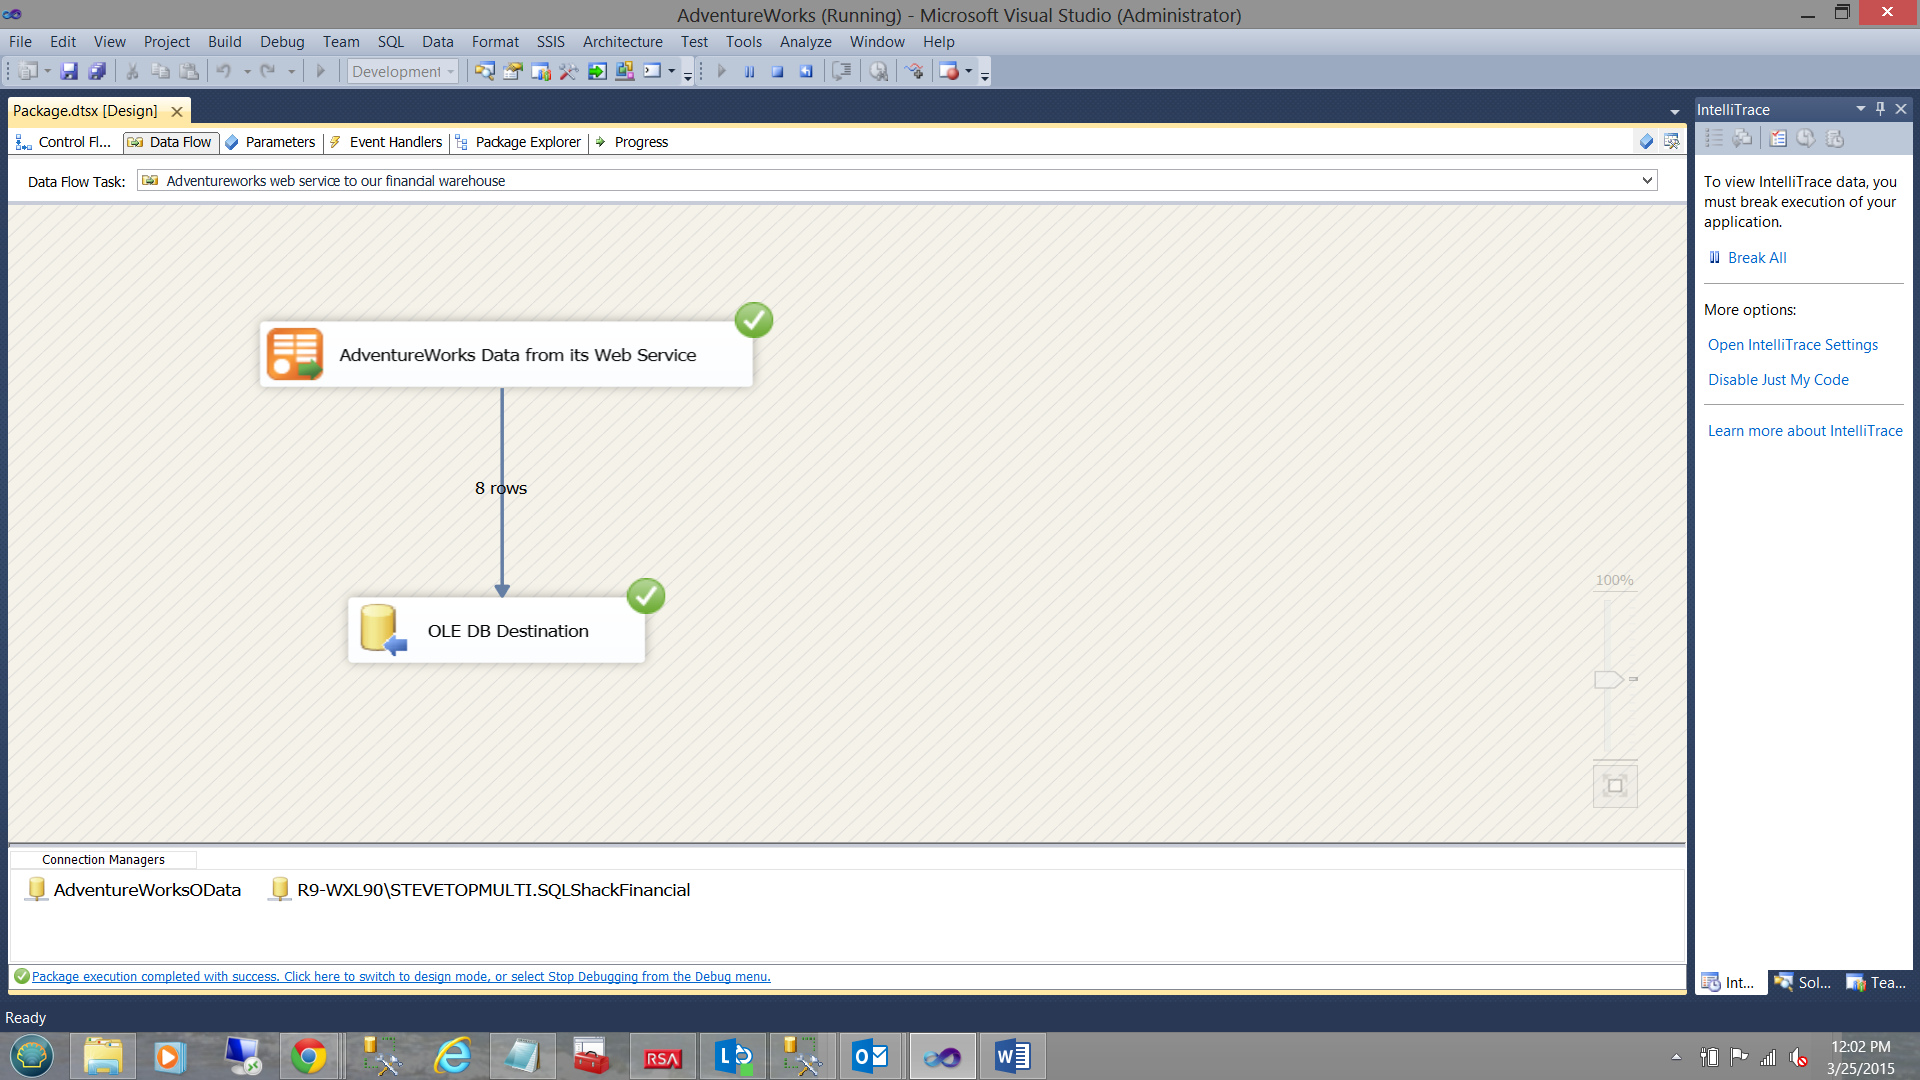
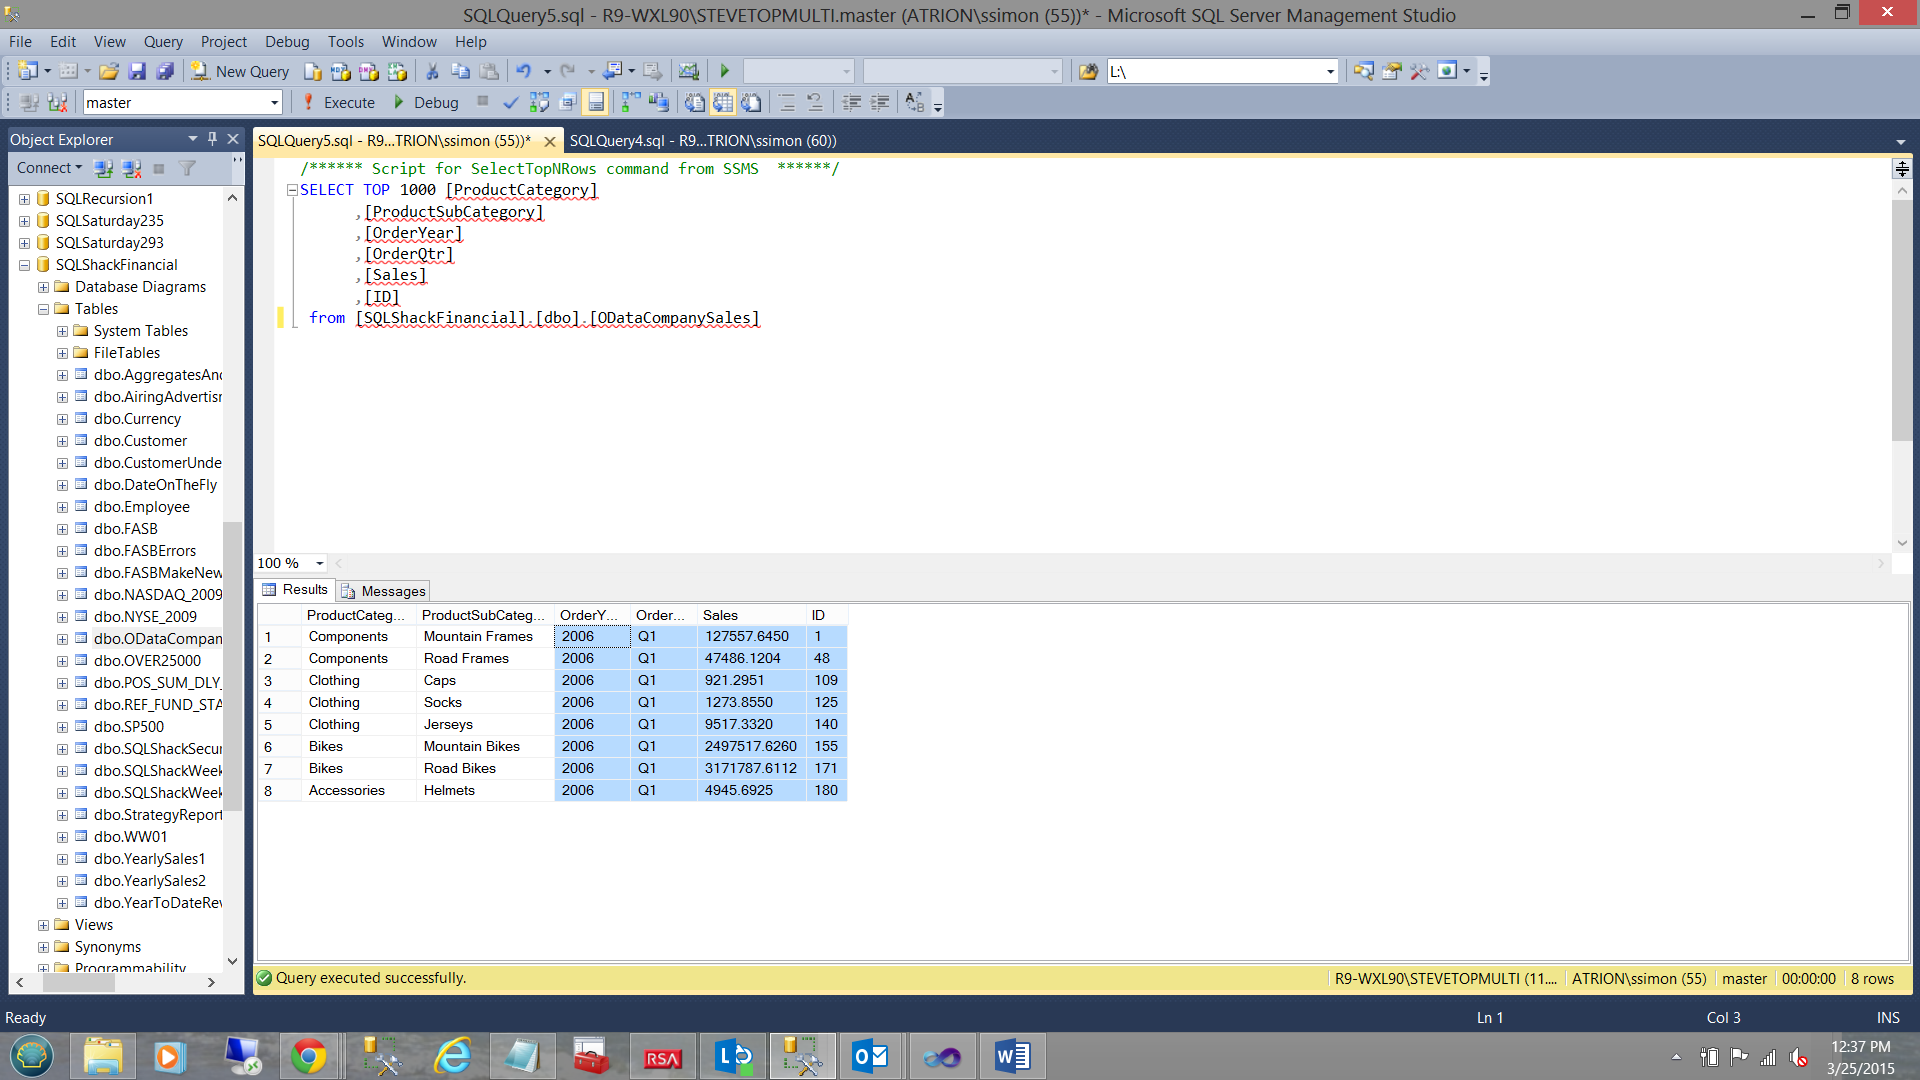
Meanwhile back in SQL Server Management Studio, we find that those data rows were in fact inserted into our table. The rows inserted are for the year 2006 and for quarter 1 (see below).
Conclusions
Oft times we find that the data that we require is associated with a web service or perhaps located in the cloud. With the advent of Microsoft OData and the OData source for SQL Server Integration Services, importing the data into our databases and data warehouse is now as quick as 1-2-3.
There are known issues with trying to extract data from Dynamics CRM due to the authentication limitations of the data source HOWEVER this control may be constructively utilized for other more vibrant tasks.
In the final portion of this series, we shall see how the same techniques may be utilized to pull valuable data from your SharePoint instances.
In the interim, happy programming.
<Steve has presented papers at 8 PASS Summits and one at PASS Europe 2009 and 2010. He has recently presented a Master Data Services presentation at the PASS Amsterdam Rally.
Steve has presented 5 papers at the Information Builders' Summits. He is a PASS regional mentor.
View all posts by Steve Simon
- Reporting in SQL Server – Using calculated Expressions within reports - December 19, 2016
- How to use Expressions within SQL Server Reporting Services to create efficient reports - December 9, 2016
- How to use SQL Server Data Quality Services to ensure the correct aggregation of data - November 9, 2016