
In this article, we are going to learn how we can install and configure PostgreSQL on windows 10. PostgreSQL, also known as Postgres, is a free and open relational database management system.
The PostgreSQL database manages the multi-version concurrency control to manage the concurrency (MVCC). When we run a transaction on PostgreSQL, it gives the snapshot of the database, which allows each transaction to made changes on the database without affecting the other transaction. PostgreSQL has three levels of transaction isolation.
- Read committed
- Repeatable Read
- Serializable
We can install PostgreSQL on the following operating systems:
- Windows
- Linux
- Mac OS Server
- Free BSD and Open BSD
In this article, we are going to focus on the step-by-step installation process of PostgreSQL on windows 10. Before the installation, we must download the stable copy of the PostgreSQL 13 server from the location. We can use this installer to install PostgreSQL on windows in graphical and silent mode. The setup file contains the following software packages:
- PostgreSQL 13 server
- pgAdmin: It is a graphical tool to develop and manage the PostgreSQL server and database
- Stack builder: It is a package manager that contains additional tools that are used for management, migration, replication, connectors, and other tools
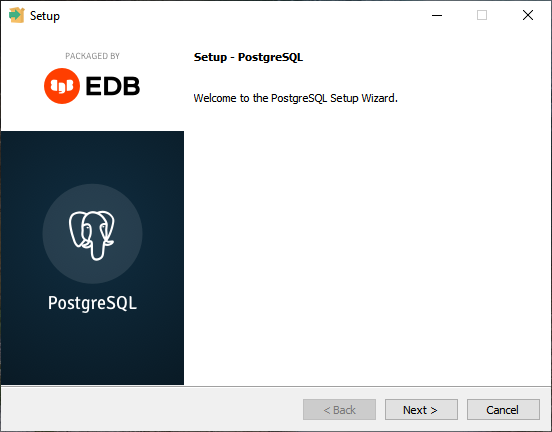
Once the setup file has been downloaded, double-click on the file. The installation wizard of PostgreSQL on Windows has begun. The first screen is the Welcome screen of the PostgreSQL installation.
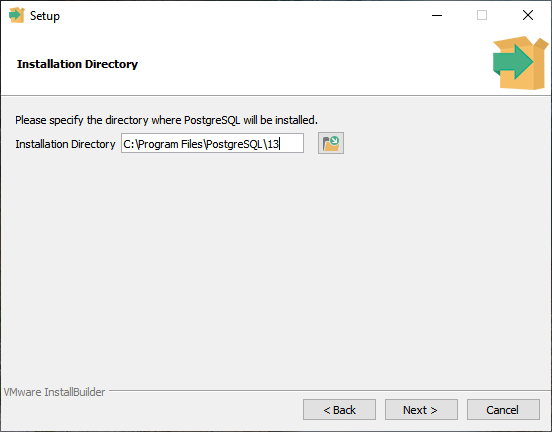
On the Installation directory screen, specify the location where you want to install the PostgreSQL.
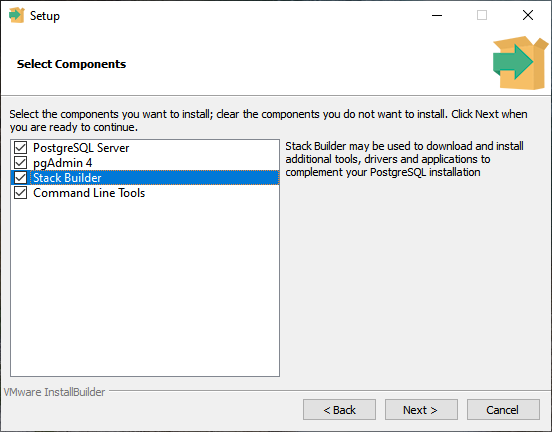
On the Select component screen, choose the component that you want to install on your workstation. You can choose any of the following:
- PostgreSQL Server
- pgAdmin4: It is a graphical interface that is used to manage the PostgreSQL database
- Stack builder: The stack builder will be used to download and install drivers and additional tools
- Command-line tools. The command-line tools and client libraries like pg_bench, pg_restore, pg_basebackup, libpq, pg_dump, and pg_restore will be installed
In our case, we will install all components.
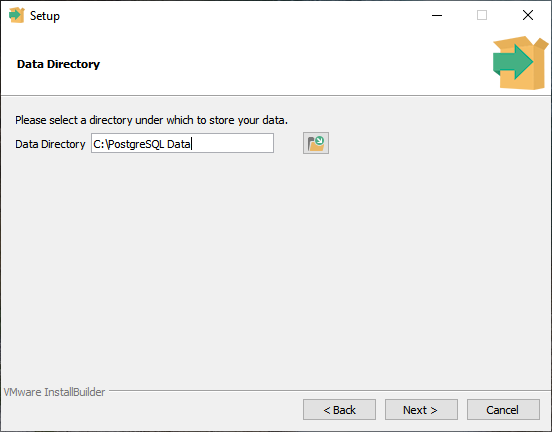
On the Data Directory screen, specify the directory where you want to store the database files. In our case, the data directory is C:\PostgreSQL Data.
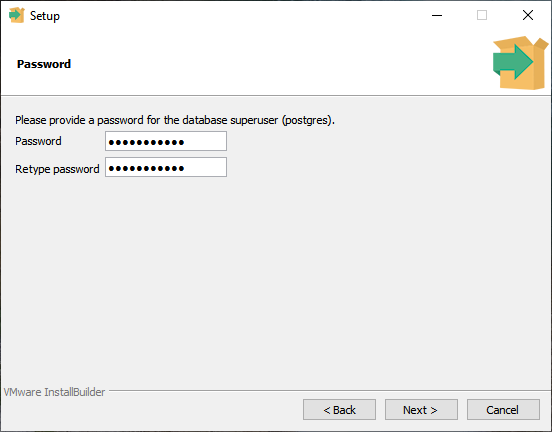
On the Password screen, specify the database superuser password. This password will be used to connect to the PostgreSQL database server.
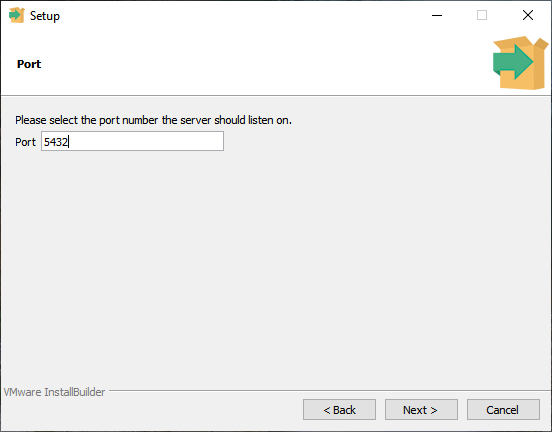
On the Port screen, specify the Port number on which the PostgreSQL server will listen to the incoming connections. By default, the PostgreSQL server listens on port number 5432. You can specify the non-default post on this screen. Make sure any other application must not use the port you specify in the Port textbox, and it must allow the incoming and outgoing connections. In our case, I am not changing the port.
You can choose the locale that you want to use in the database on the advance option screen. In our case, I am choosing the default locale.

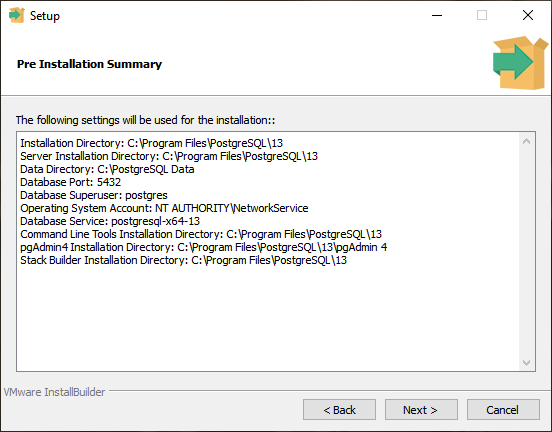
On the Pre-Installation Summary screen, you can view the settings used for installing the PostgreSQL server.
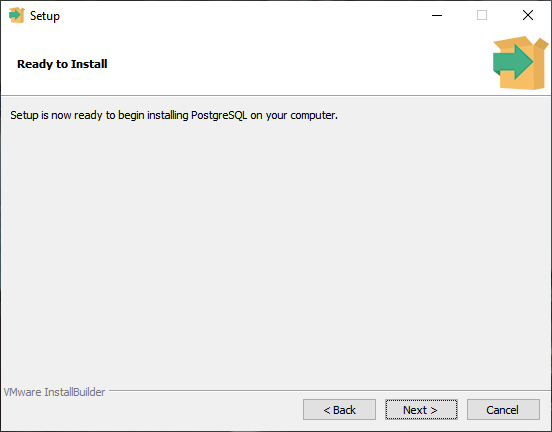
The Ready to install screen is the notification screen that states that the PostgreSQL installation process will begin.
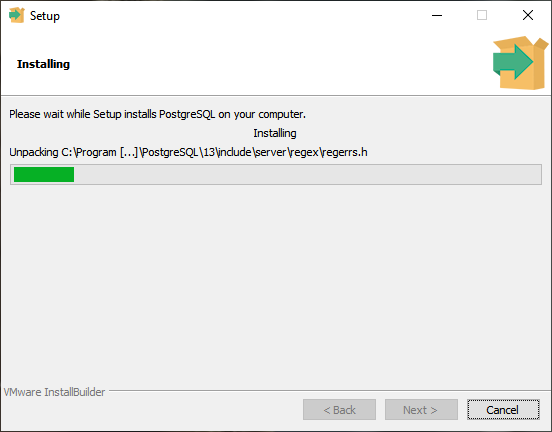
The installation process of PostgreSQL on windows has begun.
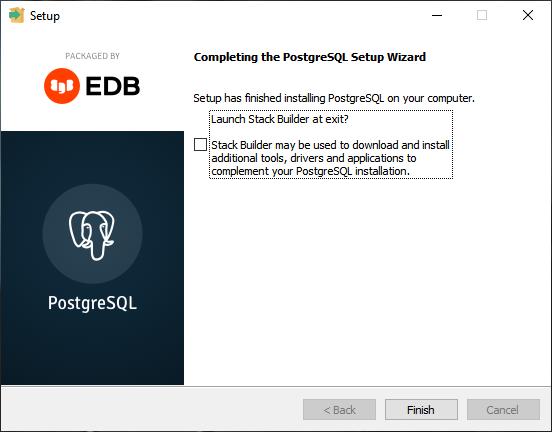
The PostgreSQL server has been installed successfully. If you want to install additional components and drivers, you can choose to open the stack builder. In our case, I am not installing additional components. Click on Finish to complete the installation.
Now, reboot the workstation. Let us understand how we can connect to the PostgreSQL server using pgAdmin4 and SQL Shell (pSQL).
Connect to PostgreSQL using pgAdmin4
We can use the pgAdmin4 tool to manage and administrate the PostgreSQL server. We can also use the pgAdmin4 to execute the Adhoc queries and create database objects.
To connect to the PostgreSQL. Launch the pgAdmin4. On the first screen, specify the password of the superuser that can be used to connect to the PostgreSQL Server.

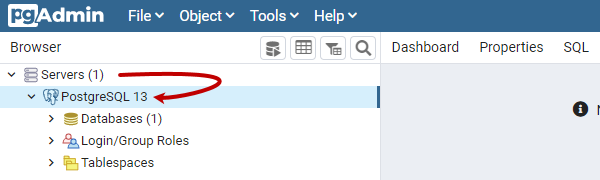
Once you’re connected to PostgreSQL13, you can view the database objects in the Browser pan. To view the installed servers, expand Servers. Under Servers, you can view the list of installed servers. In our case, the installed PostgreSQL is PostgreSQL13. You can view the list of databases, users, and tablespaces under PostgreSQL13.
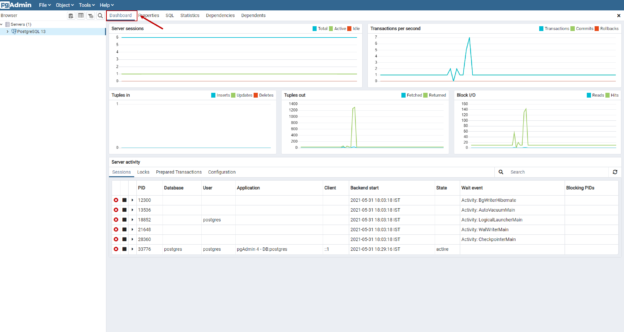
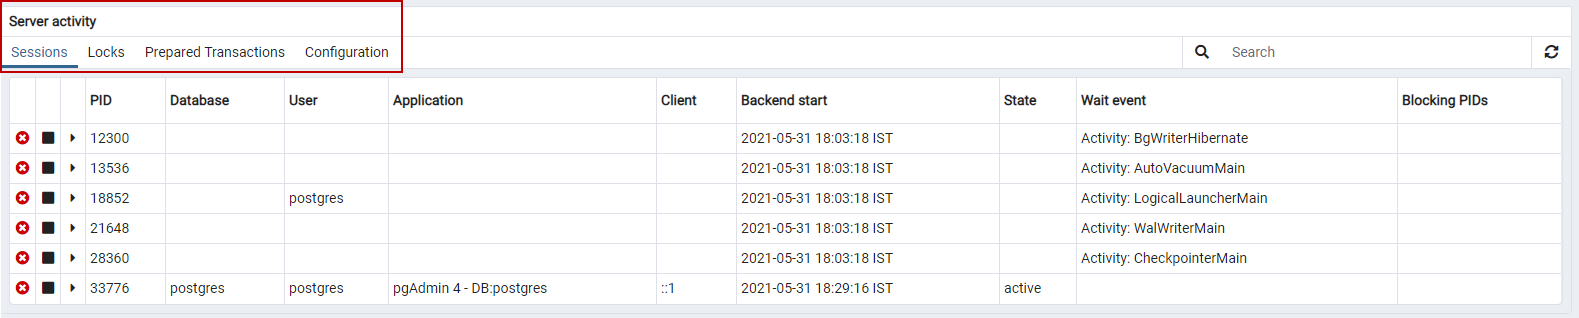
We can view the Server Activities and the configuration of the PostgreSQL server in the Dashboard tab.

You can view the list of sessions, locks acquired by the process, prepared transactions, and configuration under the server activity pan.
Now, let us see how we can create a database.
How to create a database using pgAdmin4
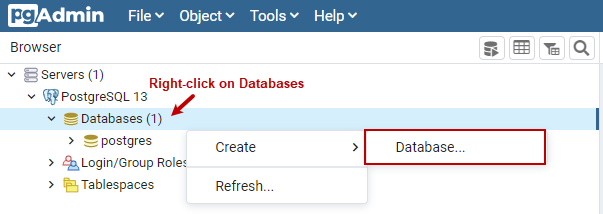
Now, let us create a database using pgAdmin4. To create a database, Expand Serves 🡪 Expand PostgreSQL13 🡪 Right-click on Databases 🡪 Hover Create 🡪 Select Database.
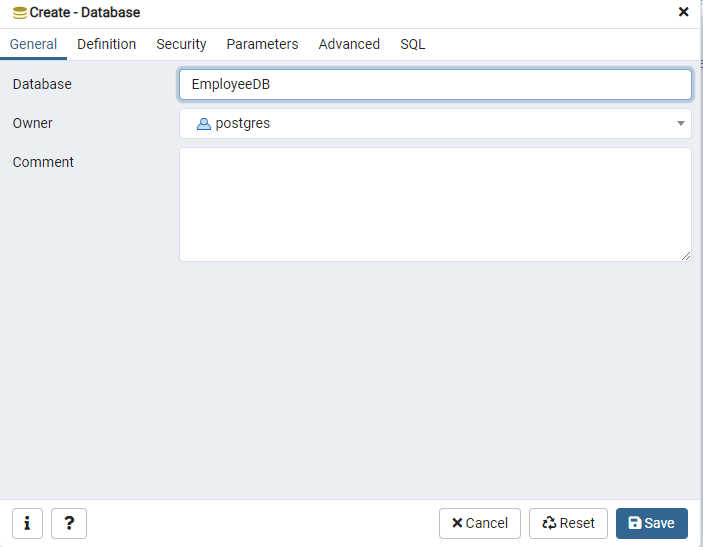
A Create database dialog box opens. In the general tab, specify the database name in the Database Textbox.
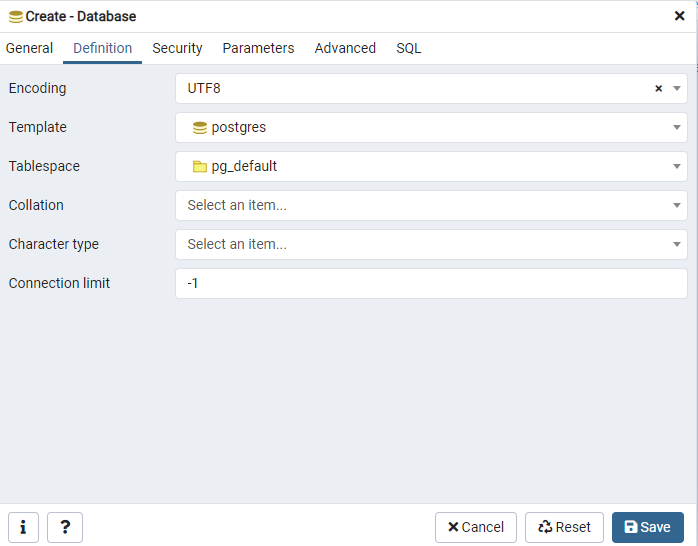
You can specify the Database Encoding template used to create a database, tablespace, database collation, character type, and connection limit on the Definition tab.
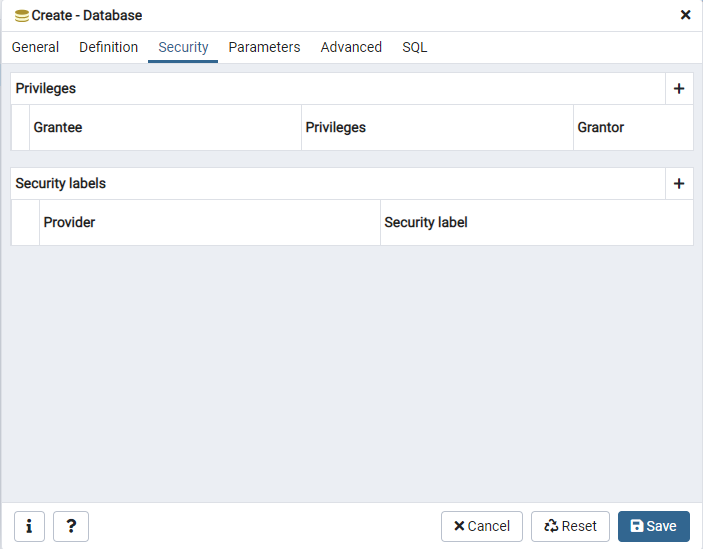
In the Security tab, you can configure the privileges and security configuration. In our case, we have not changed anything.
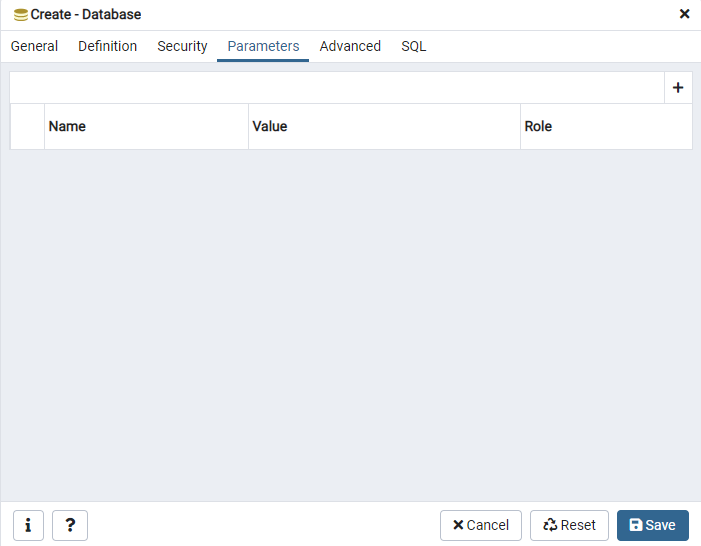
In the Parameters tab, you can configure the database-specific parameters. I have not changed any configuration.
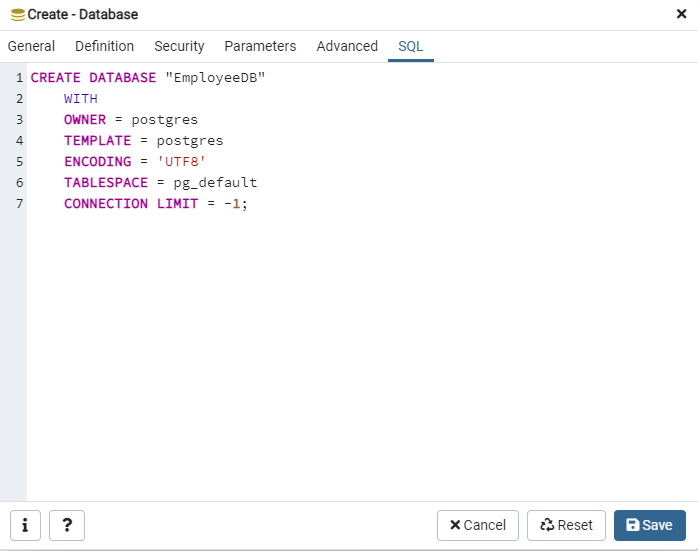
In the SQL tab, you can view the CREATE DATABASE statement generated with the configuration defined in the Create – database dialog box.
Click on Save to create the database named EmployeeDB and close the dialog box. You can view the new database in Browser pan.
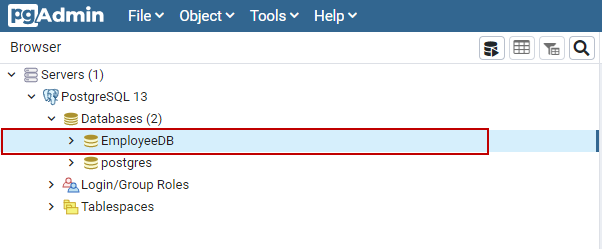
As you can see, the database has been created successfully.
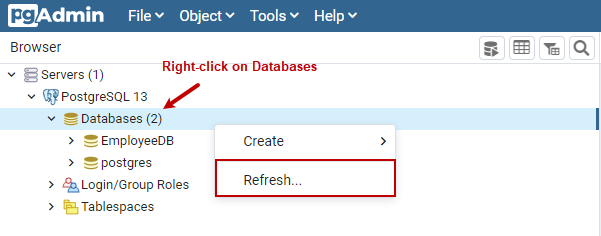
Note: If you do not see the EmployeeDB database in the Browser pane, right-click on the Databases and select Refresh

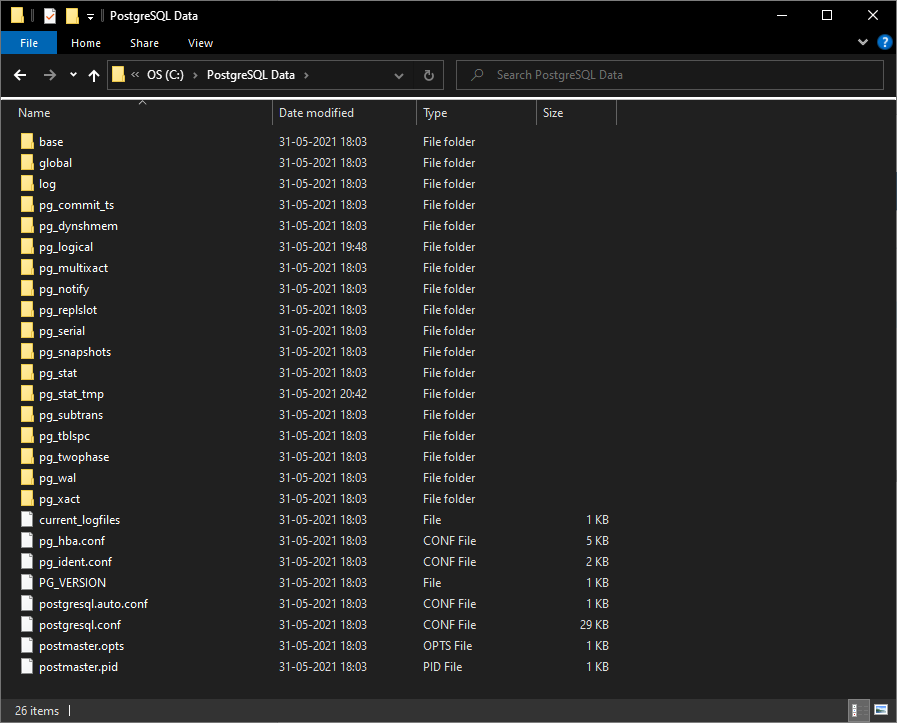
We can view the database files under the C:\PostgreSQL Data directory. See the following screenshot.
Now, let us see how we can execute the queries on PostgreSQL.
Querying the PostgreSQL database using pgAdmin4
To execute the queries using the pgAdmin4, Click on Tools 🡪 Click on Query Tool.

A query editor pan opens. Now, let us create a table named tblEmployeeGrade. The following query creates a table.
|
1 2 3 4 5 6 7 8 9 10 11 |
Create table tblEmployee ( Employee_ID varchar(20), First_name varchar(500), middle_name varchar(500), last_name varchar(500), Address varchar(1000), Contact_number int, DepartmentID int, GradeID int, ) |
Screenshot of the Query Editor:
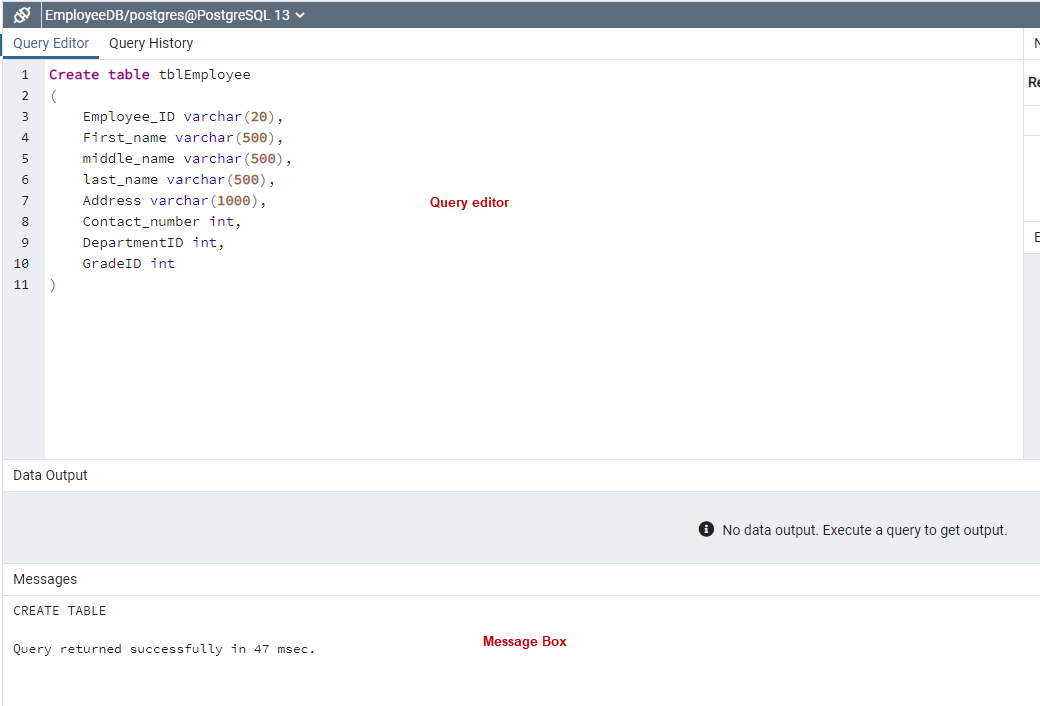
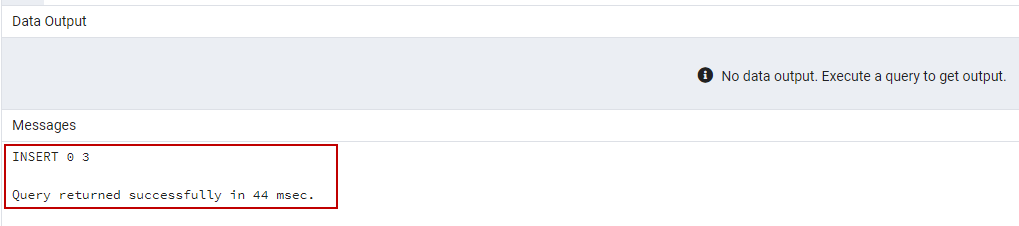
As you can see, the query execution status will be displayed in the messages pan. Now, let us insert some records in the tblemployee. Run the following query to insert data in tblemployee.
|
1 2 3 4 5 6 |
insert into tblemployee (Employee_ID,First_name,middle_name,last_name,Address,Contact_number,DepartmentID,GradeID) values ('EMP0001','Nisarg','Dixitkumar','Upadhyay','AB14, Akshardham Flats, Mehsana',123456,10,10), ('EMP0002','Nirali','Nisarg','Upadhyay','AB14, Suyojan Road, Ahmedabad',123456,10,10), ('EMP0003','Dixit','Lalshankar','Upadhyay','AB14, Suramya Stauts, Ahmedabad',123456,10,10) |
Run the SELECT statement to populate the data from the tblemployee table.
|
1 |
Select * from tblemployee |

As you can see, the query output had populated the data in grid view format and can be viewed in the Data output pan.
Connect to PostgreSQL using SQL Shell (pSQL)
We can use the pSQL command-line utility to manage the PostgreSQL database. The SQL Shell is automatically installed with the PostgreSQL server. When we launch the SQL Shell, it prompts for following options.
- Server Name: Specify the hostname of the machine on which the PostgreSQL has been installed. If you do not specify the hostname, then pSQL will connect to the localhost
- Database: Specify the database name that you want to use. If you do not specify the database name, pSQL will connect to the Postgres database
- Port: Specify the port. If you do not specify any port, pSQL will use port number 5432 to connect to the server
- Username: specify the username that you want to use to connect to PostgreSQL. If you do not specify the username, the pSQL will use the Postgres user
- Password: Specify the password of the user specified in the username parameter
Specify all the parameters and hit enter to connect to the database.
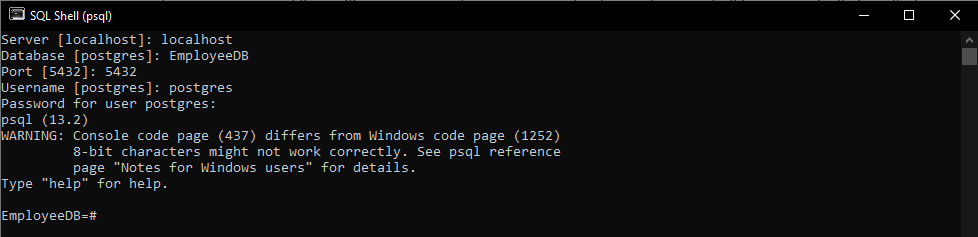
As you can see, the connection has been established successfully.
Summary
In this article, we learned the step-by-step installation process of PostgreSQL on windows 10. I have also given a high-level overview of the pgAdmin4 tool and how we can connect to the PostgreSQL database using pgAdmin and SQL Shell (pSQL) utility.

He has expertise in database design, performance tuning, backup and recovery, HA and DR setup, database migrations and upgrades. He has completed the B.Tech from Ganpat University. He can be reached on nisargupadhyay87@outlook.com
- Different ways to identify and change compatibility levels in SQL Server - July 22, 2024
- Copy SQL Databases between Windows 10 and CentOS using SQL Server data tools - October 19, 2022
- Changing the location of FILESTREAM data files in SQL Database - October 14, 2022