

Spatial data deals with data related to geography. In this article, we are going to understand the various concepts related to geographic or spatial data and how PostgreSQL can be leveraged as a database to store such geographic information. As you might be already aware, PostgreSQL is a popular and widely used open-source relational database management system that can handle production workloads very easily. With the availability of the cloud, you can quickly spin up instances of Postgres on major public cloud providers like AWS, Azure, GCP, etc.
Once the data is in these databases, it needs to be analyzed to gain insights. Analyzing spatial or geographic data is not directly possible within the PostgreSQL database. For that, we need to install a separate plugin called PostGIS that will support the functionality.
In order to support spatial data in PostgreSQL, we need to perform the following steps:
- Install the PostgreSQL database on your local
- Install PGAdmin or a GUI to manage the local PostgreSQL database server
- Install the PostGIS extension to provide support for the spatial data types like points, lines, geometry etc
- Enable the PostGIS extension
- Create database tables to support geographic information into PostgreSQL
Installing PostgreSQL and PGAdmin Server on MacOS
In this tutorial, we are going to install PostgreSQL on a MacOS machine and then install the PGAdmin server to access the PostgreSQL database using a GUI. In order to install the PostgreSQL database, we can use the in-built package manager called the Homebrew. You can use the following command to install PostgreSQL using Homebrew. Open the terminal window and type the following command in:
brew install postgresql
This will connect to the latest available version of the PostgreSQL database from the production repository and then install it on your machine.

Figure 1 – Installing PostgreSQL using Homebrew on MacOS
Depending on the strength of your internet connection, this installation might take a while. Once installed, you will get a message on the terminal saying the installation of the database has been successful.
Once the database is installed, the next step is to start the service. You can start the PostgreSQL service by running the command as below.
brew services start postgresql

Figure 2 – Starting the PostgreSQL Service
The next step is to install the PGAdmin server and connect to this PostgreSQL instance running on the local machine. There are two ways of using the PostgreSQL database, the first is using the terminal and the second uses the PGAdmin Management Utility. Personally, I prefer using the GUI as it is very intuitive and makes it easier to manage multiple items in one place. Navigate to https://www.pgadmin.org/ and get the latest version of the PGAdmin downloaded on your machine. Install the app as per the instructions and proceed forward. After installation, you need to keep the following items ready to set up and connect to the PostgreSQL instance running on the server.
- Hostname – In this case, it will the IP address of your local machine or you can also type “localhost”
- User – The username that can be used to connect to the databases
- Password – The password that can be used to connect to the database
- Maintenance Database – This is a default database that can be used to connect to the other databases
Once you use these details to connect to the database, you can see a list of available databases within your server. Since you have a fresh installation of the PostgreSQL database, therefore there are no other databases present within your server at the moment.
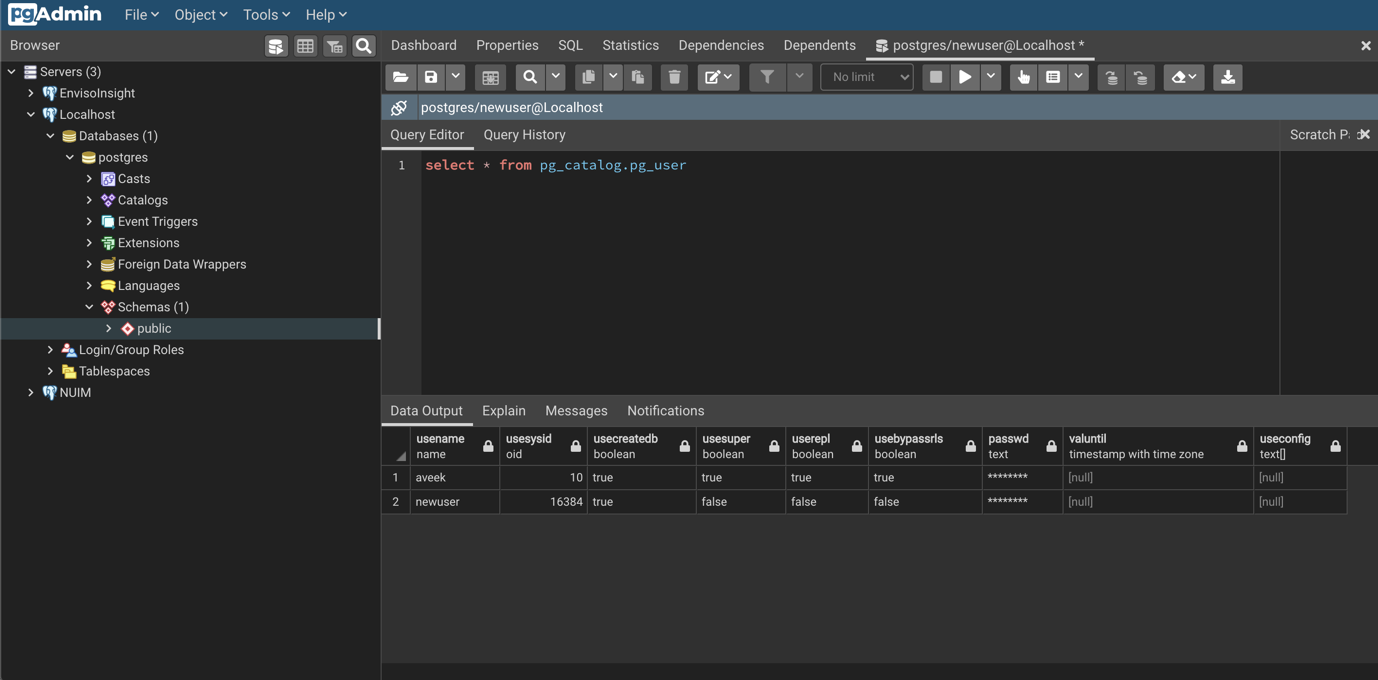
Figure 3 – Connecting to the PostgreSQL instance using PGAdmin4
Installing the PostGIS extension
So far, we have successfully installed the PostgreSQL database on the machine and also used PGAdmin to interact with the database objects. The next step now is to install the PostGIS extension that will support the spatial data type within the PostgreSQL environment. In general, GIS stands for Geographic Information Systems. It mostly deals with spatial or geographical data and how to store that data into the databases efficiently. This PostGIS extension will enhance the capabilities of the PostgreSQL database to store and use geographic and spatial data.
In order to install PostGIS, you can run the following command from your terminal:
brew install postgis
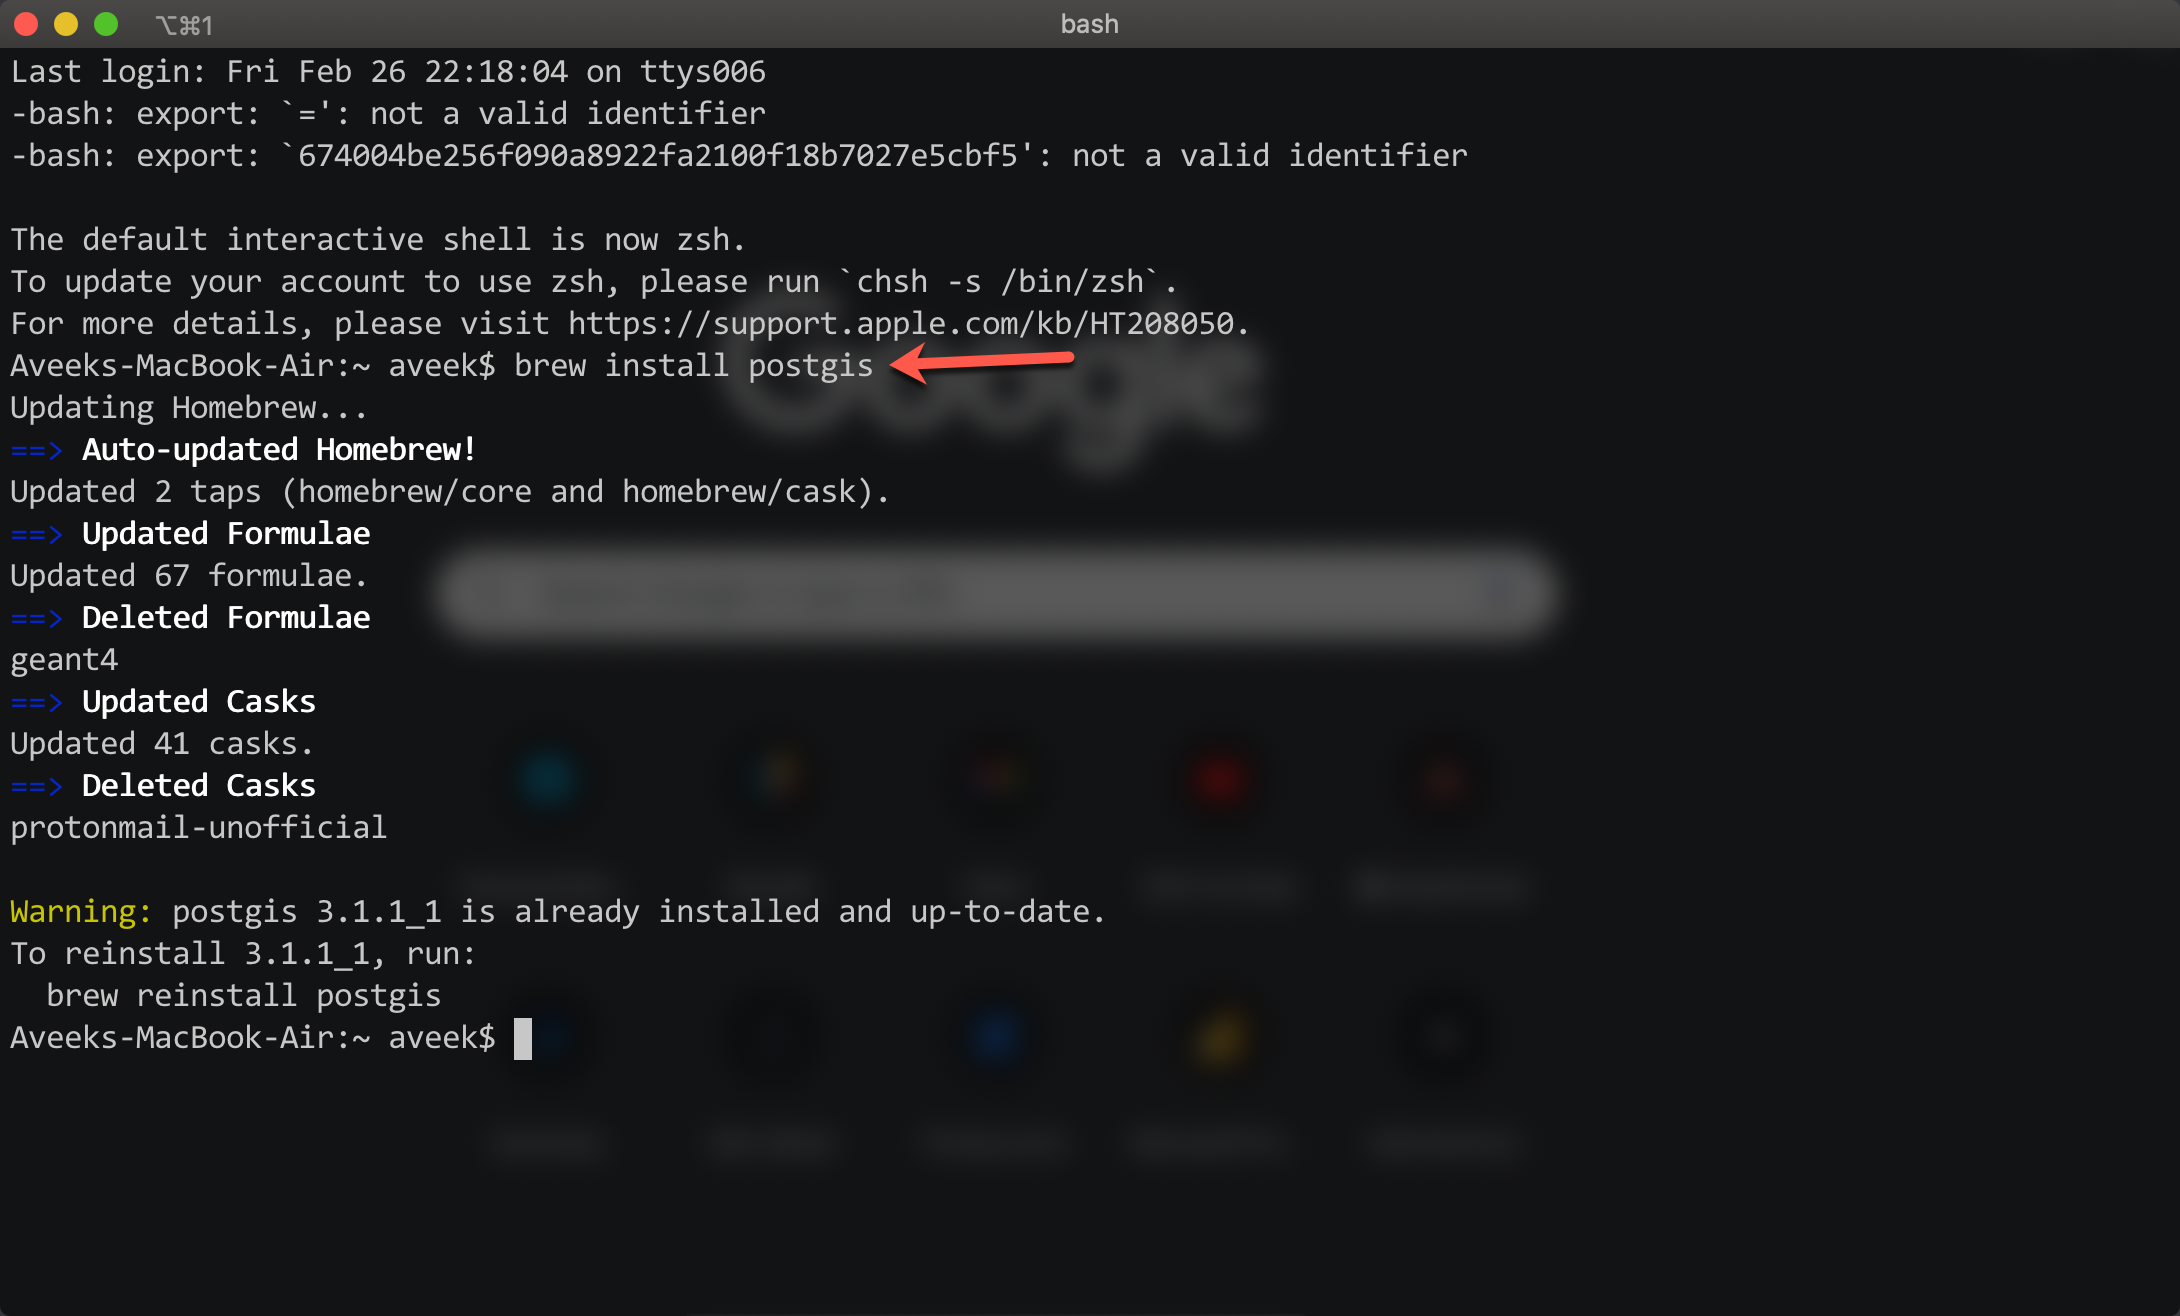
Figure 4 – Installing the PostGIS extension
This is will install the PostGIS extension on your PostgreSQL server and now you need to restart the PostgreSQL server for the PostGIS extension to start working. In my case, I already have installed the PostGIS extension prior, so it says “postgis 3.1.1_1 is already installed and up-to-date.”. You can eventually upgrade your PostGIS extension by running the following command. This will upgrade your existing PostGIS version to the latest version:
brew upgrade postgis
However, if you are doing a fresh installation of PostGIS, then you do not have to upgrade the extension as the latest version will be installed by default.
Now, let us restart the server using the following command and then start using the PostGIS extension. It is important to restart the server for the PostGIS extension to start working with the PostgreSQL server:
brew services restart postgres
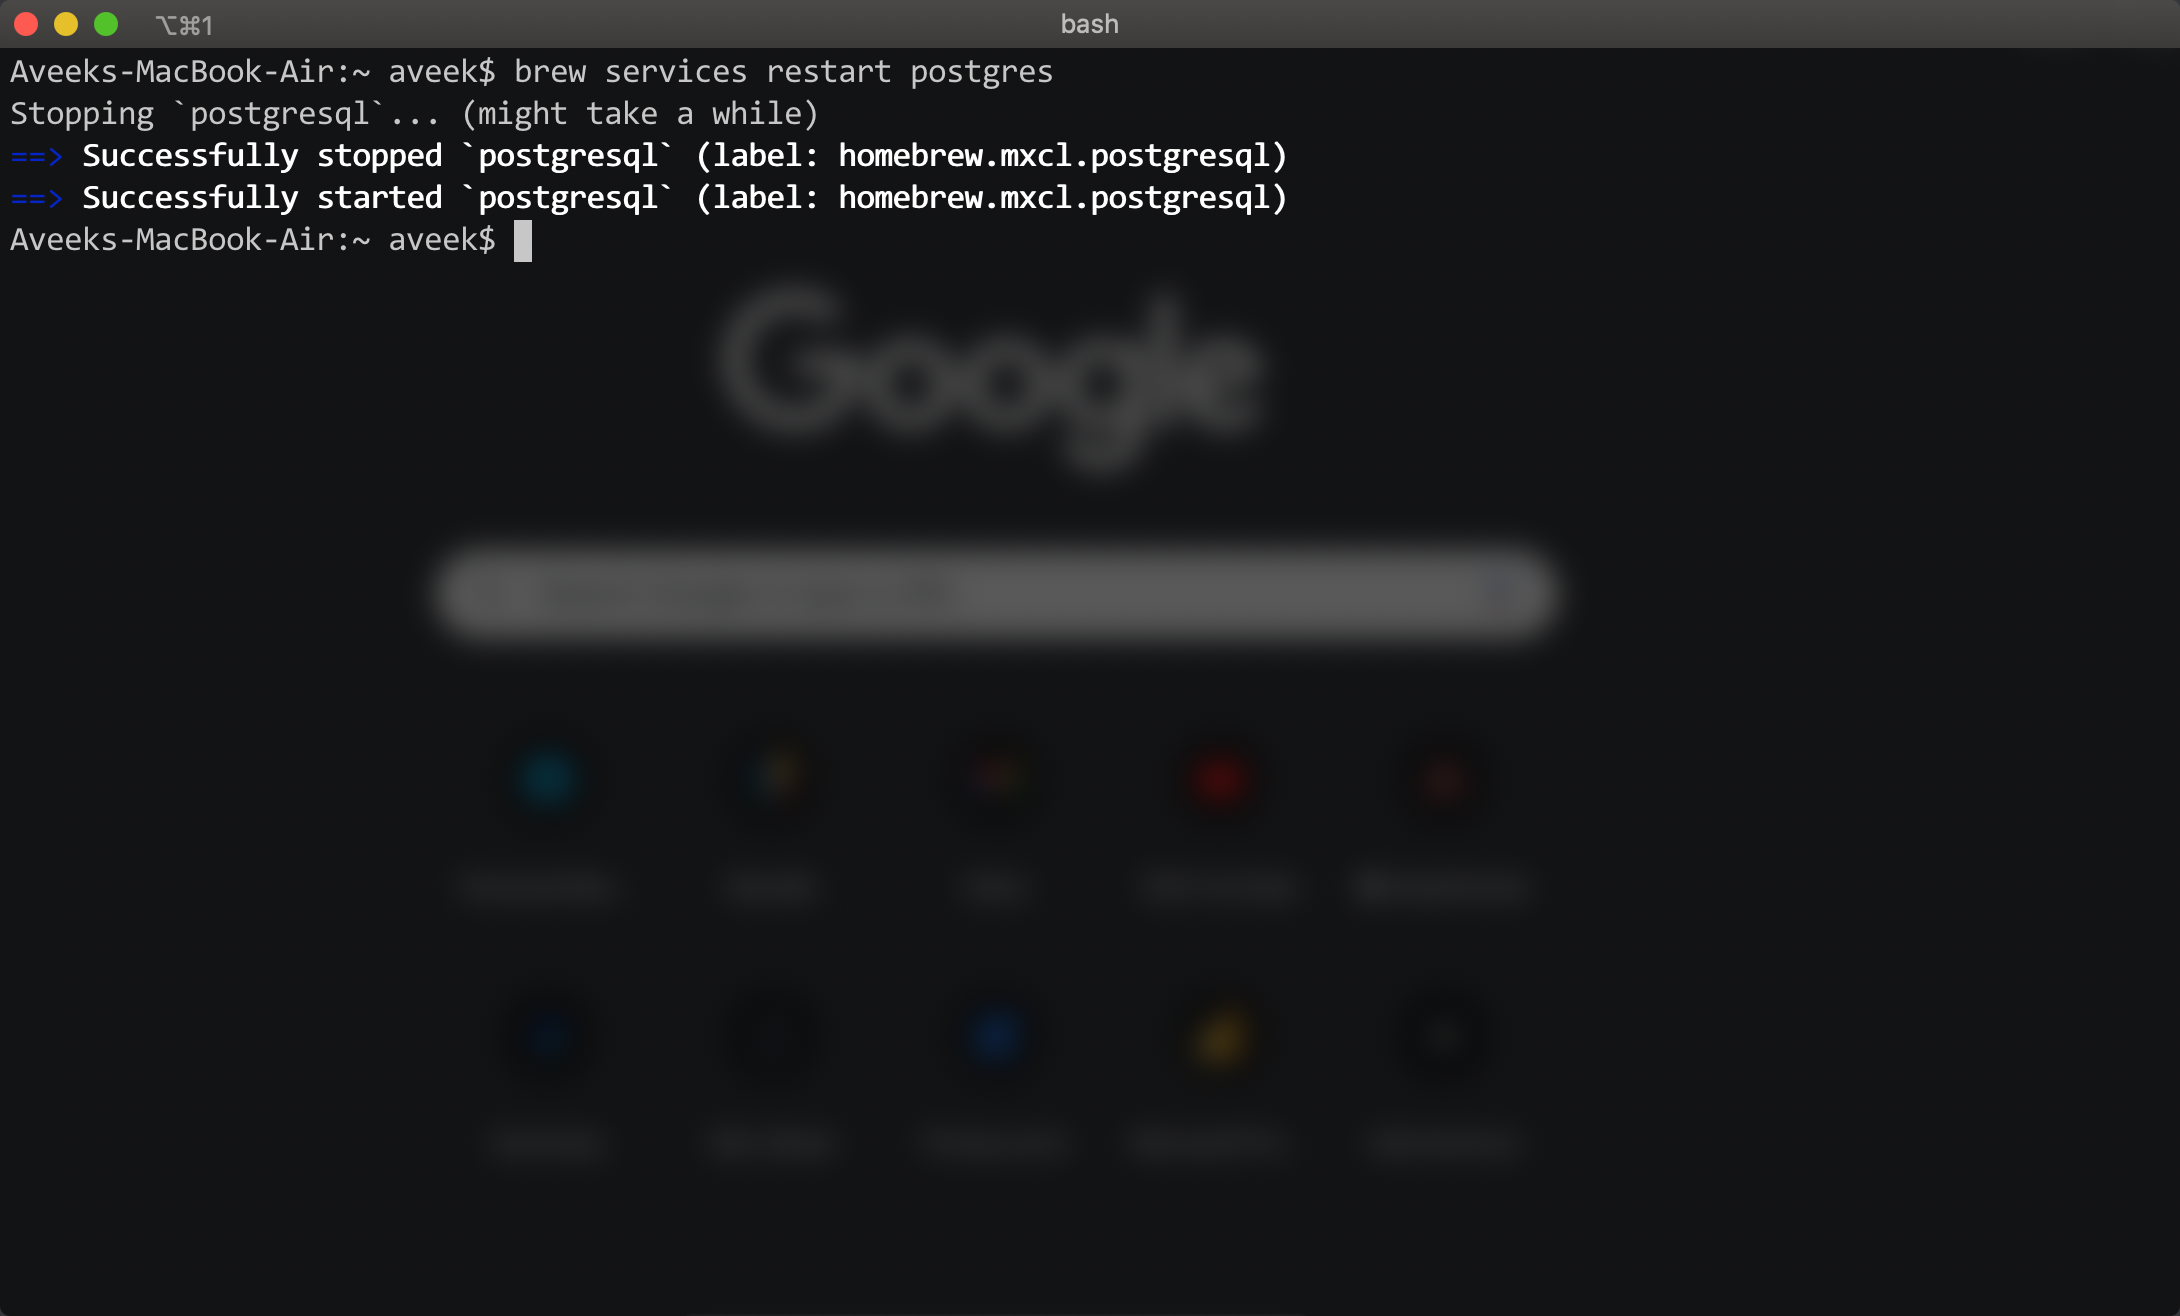
Figure 5 – Restarting the PostgreSQL server using Brew
Enabling the PostGIS extension
Now that the PostGIS extension has been successfully installed and it is also running with the PostgreSQL server, the next step is to enable the extension in the SQL window. This can be done in PostgreSQL using the CREATE EXTENSION command that will physically run or execute the scripts that the extension has. It will create all the database objects like tables, functions, data types, etc., from the extension script and load them into the database. An important thing to consider here is that only one extension of the same name can be loaded on the server. You cannot have two extensions with the same name loaded in the same database server.
In order to enable the extension, there are two ways you can do it. Either by using the PostgreSQL command-line interface or by using the PGAdmin web interface. Let us proceed with the second option and enable the extension. Head over to PGAdmin and write the following command in a New Query Window:
|
1 |
CREATE EXTENSION postgis; |
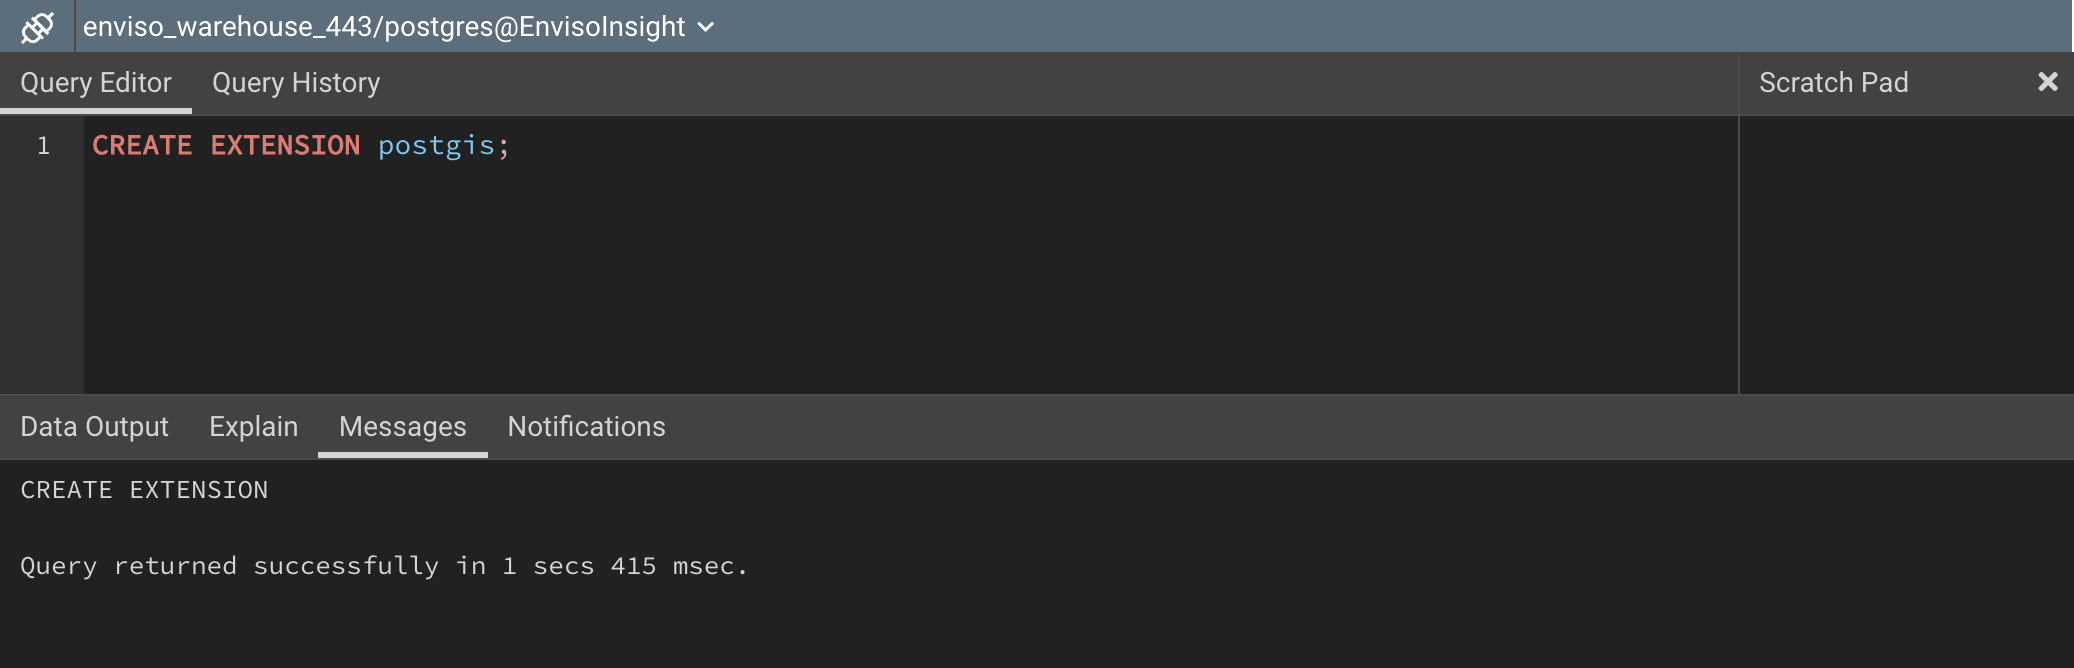
Figure 6 – Enabling the PostGIS extension using PGAdmin
As you can see in the figure above, the extension has been installed successfully. We are not good to create a table and store spatial data in it.
Creating a table to store Spatial Data in PostgreSQL
Now that the PostGIS extension has been installed, we can create the necessary tables and proceed with the usage of geographic information within the database. You can use the following script to create the table:
https://gist.github.com/aveek22/da7c006b6af18ed145fd705d15a0f56f
As you can see in the script, there is a column with the name “geometry”, the data type for which is again geometry. This column is a representation of the spatial data that is to be stored. The geometry data type can store various geographic information such as points, lines, etc. The different types of spatial data types are out of the scope of this article and we will explore those in the later articles.
Conclusion
In this article, we have seen how to install a PostgreSQL database on the local machine using MacOS and then install the PostGIS extension to support the spatial data types within the PostgreSQL database. Spatial or geographic data analysis has always been an important aspect in the field of Data Analysis. Using this geographic data, it is easier to find distances, locations and other geographic properties of objects within the dataset.

He is a prolific author, with over 100 articles published on various technical blogs, including his own blog, and a frequent contributor to different technical forums.
In his leisure time, he enjoys amateur photography mostly street imagery and still life. Some glimpses of his work can be found on Instagram. You can also find him on LinkedIn
View all posts by Aveek Das
- Getting started with PostgreSQL on Docker - August 12, 2022
- Getting started with Spatial Data in PostgreSQL - January 13, 2022
- An overview of Power BI Incremental Refresh - December 6, 2021