
Microsoft Azure Data Studio is a new GUI-based (vs CLI) lightweight tool for developing and managing your modern SQL databases. The tool resembles Microsoft’s lightweight code editor, the open source IDE Visual Studio Code in terms of functionalities and the UI in general. If you’ve used Visual Studio Code (or VS Code), you’d feel at home with Azure Data Studio. Azure Data Studio also integrates really well other products like Azure SQL Database and Data Warehouse has been made very simple. Azure Data Studio is a cross-platform tool available for Linux, Windows, and Mac to manage the SQL Server databases. You can go ahead and download Microsoft Azure Data Studio to try it out!
In this article, we’re going to touch a few points on Microsoft’s new tool, called, Azure Data Studio:
- Installation of Azure Data Studio on Windows and Linux distributions (CentOS, for example)
- Discussion on the Integrated terminals—Windows and Linux
- A short tour of the CMD and PowerShell terminals on Windows
- Installation and configuration of PowerShell on the integrated terminal on Linux
- And more…
Azure Data Studio (ADS) for Windows
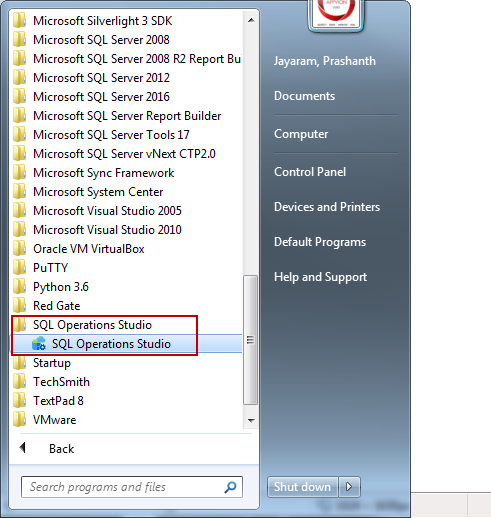
Installing Azure Data Studio is straightforward in Windows. You just have to download the installer and run it. Follow the on-screen instructions and you’re good to go. To launch it, you can either launch it from the Start Menu, or search for sqlops, or simply run the command sqlops on the cmd window.


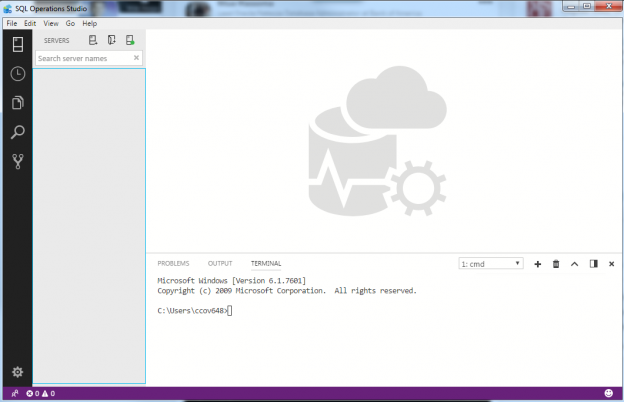
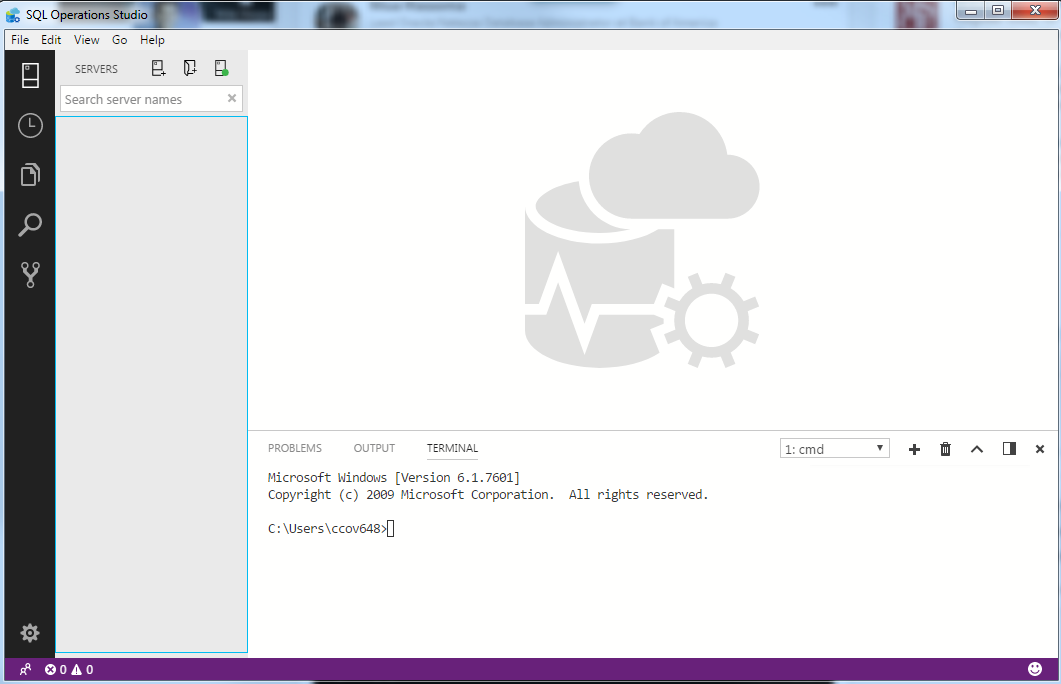
Here is what you will see of Microsoft Azure Data Studio at first
Azure Data Studio (ADS) for Linux
To install Azure Data Studio follow the steps below.
-
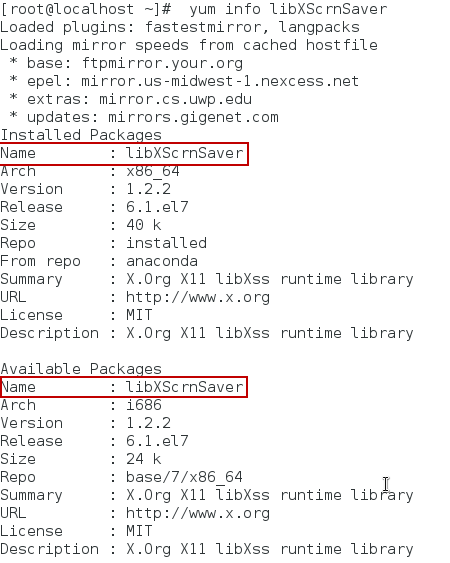
Check whether the dependency package, libXScrnSaver is installed or not
1#yum info libXScrnSaver
-
In case of absence of this package, install it using the following command:
1#yum install libXScrnSaver -
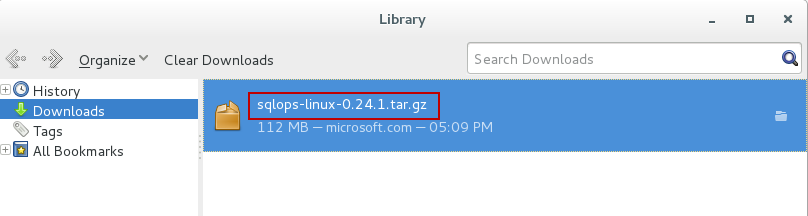
Download Azure Data Studio (ADS) for Linux.
-
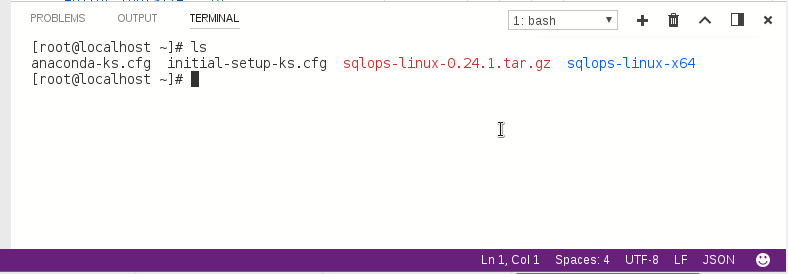
Extract the files from the archive using the tar -xvf command
123#cd ~#cp /home/thanVitha/Downloads/sqlops-linux-0.24.1.tar.gz ~tar -xvf ~/sqlops-linux0.24.1.tar.gz
-
Launch Azure Data Studio. Set the environment variables using the .bashrc script file. Use the source command to load the configuration information into the current shell.
123#echo 'export PATH="$PATH:~/sqlops-linux-x64"' >> ~/.bashrc#source ~/.bashrc#sqlops
-
Now, run the sqlops command to invoke Azure Data Studio


Integrated terminal
As administrators, it is quite common for us to use the terminal, be it PowerShell or CMD on Windows, or Terminal on Linux. However, it’s inconvenient for us to have to switch windows while working on something on sqlops to go to the terminal. Worry not, sqlops has the terminal built right in. It’s also flexible enough to let you configure your own terminals into sqlops. In other words, if you’re used to PowerShell, you can configure the terminal to be the PowerShell one by default. You can even create your own terminal configurations and map them into sqlops to have a completely customized experience.
To open the integrated terminal, go to View on the menu bar and select Integrated Terminal. If you’re into keyboard shortcuts, use the Ctrl+` combination (that’s a backtick).
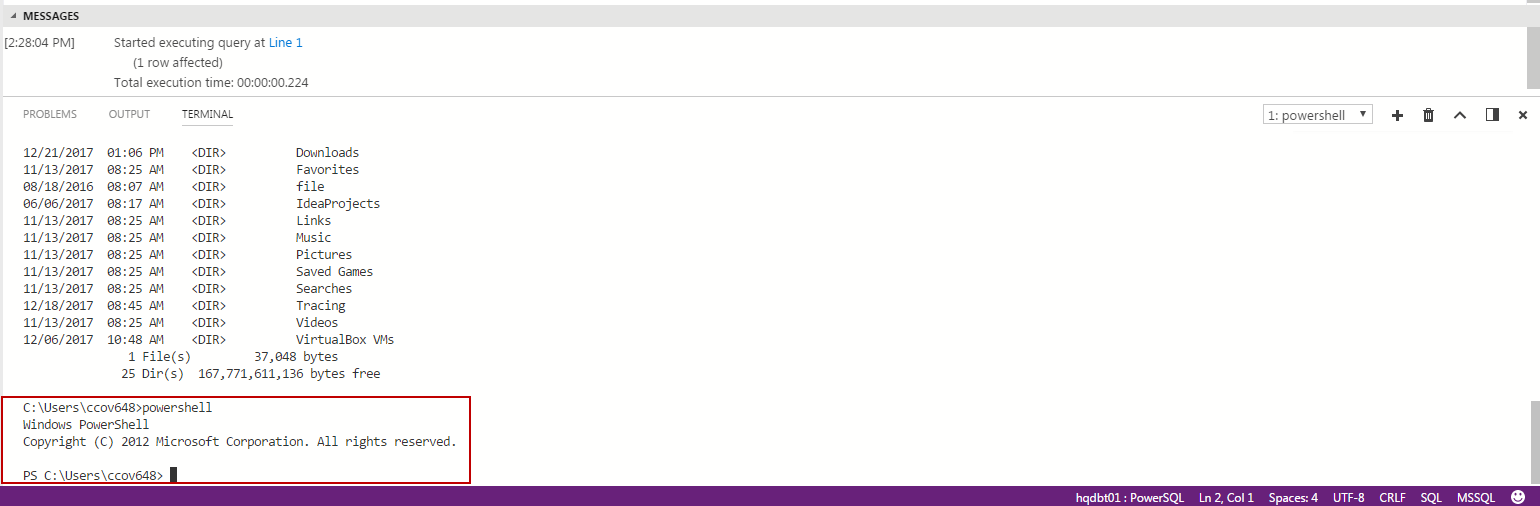
As we can see that cmd.exe is loaded by default in case of Windows. Let’s open a PowerShell console and run few SQL Server cmdlets.
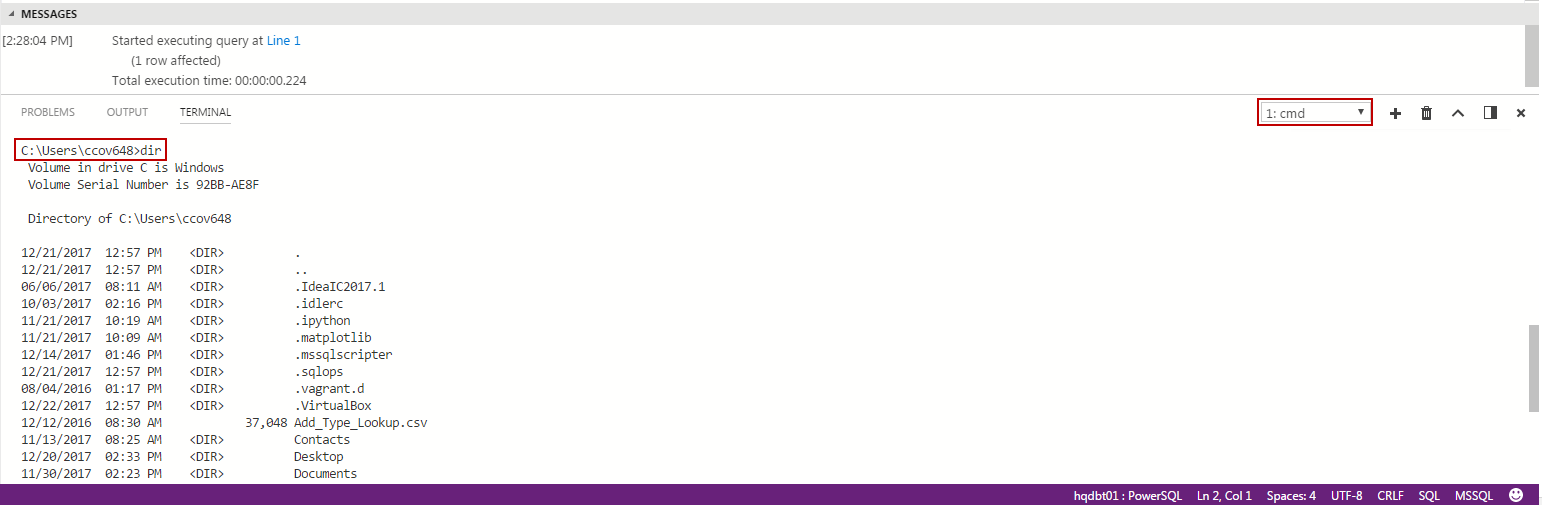
Tap on 1: cmd and select powershell.
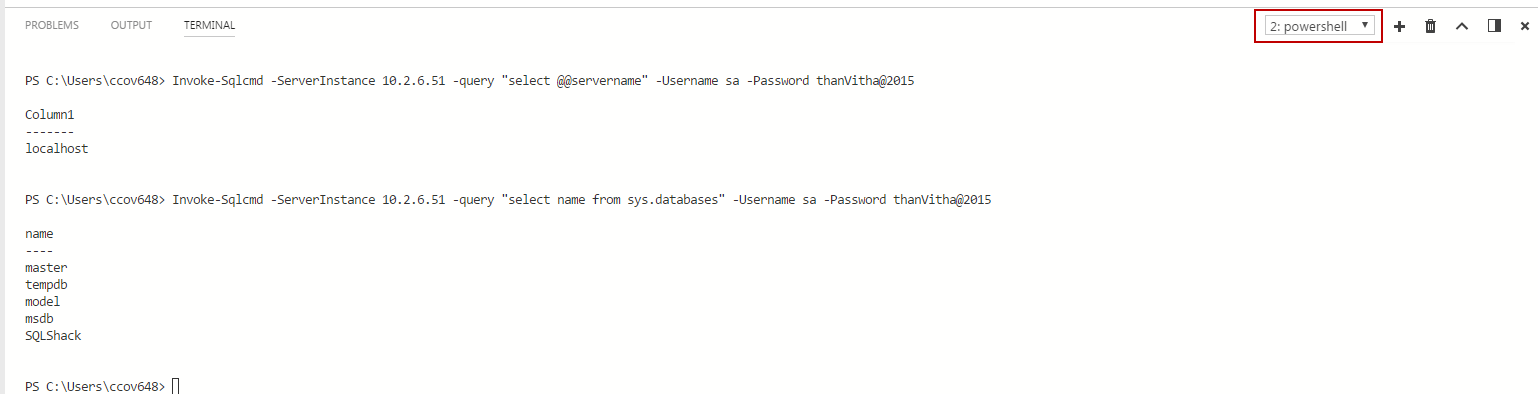
To test the cross-platform functionality, connect to Linux SQL instance. By default, the SQL Server modules are loaded.
|
1 2 |
PS C:\Users\ccov648> Invoke-Sqlcmd -ServerInstance 10.2.6.51 -query "select @@servername" -Username sa -Password thanVitha@2015 PS C:\Users\ccov648> Invoke-Sqlcmd -ServerInstance 10.2.6.51 -query "select name from sys.databases" -Username sa -Password thanVitha@2015 |
That was all Windows. Let’s go for a test run of the tool on Linux.
To open a Powershell console on Azure Data Studio in Linux, you need to download the PowerShell package from the Microsoft repository and use the yum command to install or update the PowerShell package.
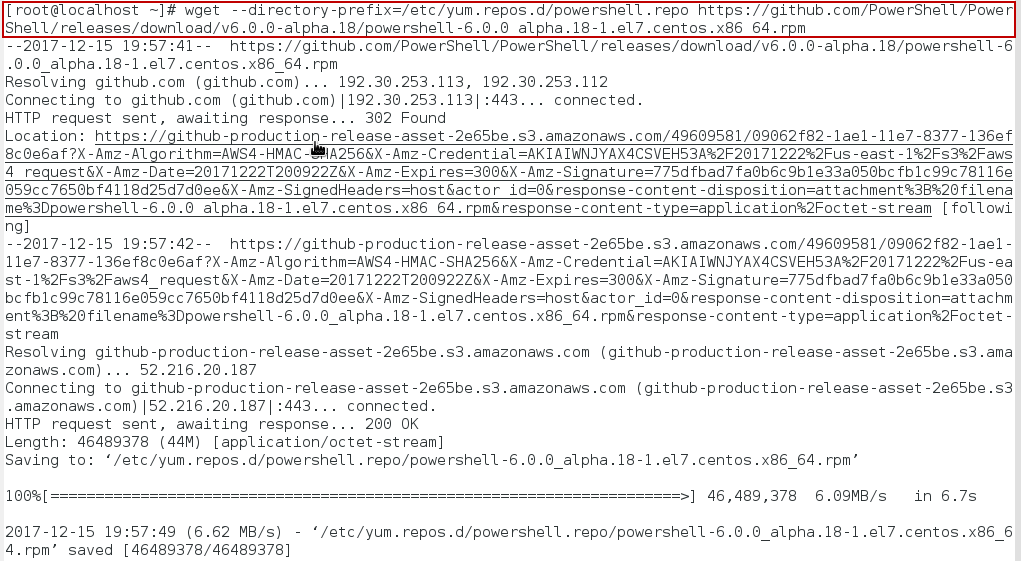
We download the PowerShell repository using wget
|
1 2 |
#wget --directory-prefix=/etc/yum.repos.d/powershell.repo https://github.com/PowerShell/PowerShell/releases/download/v6.0.0-alpha.18/powershell-6.0.0_alpha.18-1.el7.centos.x86_64.rpm |
Use yum command to install the PowerShell package.
|
1 |
#yum install powershell |

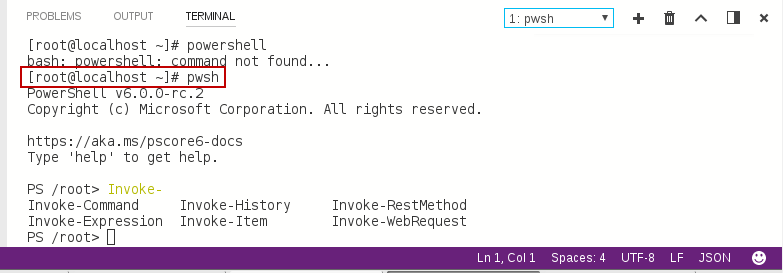
Start PowerShell using the pwsh command.
|
1 |
#pwsh |
Let’s now try to query the SQL instance using the PowerShell integrated terminal on SQL Server Operations Studio on Linux.
Download and register the SQL Server PowerShell DLLs. The tar file is here. You can read more about installation procedures in this article: An overview of Python vs PowerShell for SQL Server Database Administration.
In this case the DLLs are extracted to /home/thanvitha/SQLTools/.
|
1 2 |
PS /root> cd /home/thanvitha/SQLTools/ PS /home/thanvitha/SQLTools> |
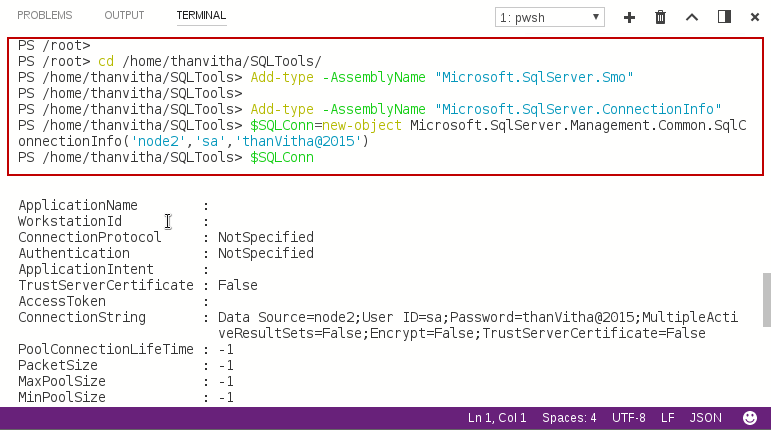
Add the SQL Server assemblies to the shell so as to be able to invoke the respective objects.
|
1 2 |
PS /home/thanvitha/SQLTools> Add-Type -AssemblyName “Microsoft.SqlServer.Smo” PS /home/thanvitha/SQLTools> Add-Type -AssemblyName “Microsoft.SqlServer.ConnectionInfo” |
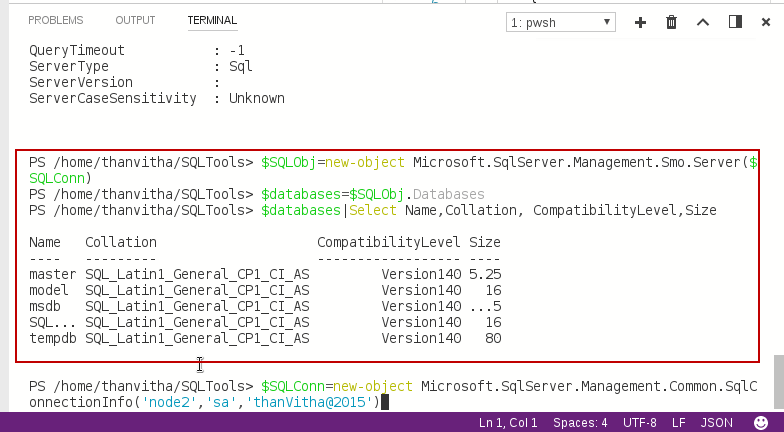
Test the SQL Server module by building a connection string and printing the database information of the SQL Server instance named node2.
Wrapping up
In this article we provided a high-level overview of DevOps, and listed various tools that help manage SQL Server databases on different platforms. We looked at Azure Data Studio in particular, and laid out the installation steps on Windows and Linux. Also, we configured PowerShell on CentOS and loaded the SQL Server DLLs in the Azure Data Studio integrated terminal on CentOS.
That’s not all of what Azure Data Studio can do, though; the tool has several other great features that hopefully I’ll get a chance to review in the future. But this is all for now. Stay tuned for updates on this promising tool!
Table of contents
| Getting started building applications using SQL Server DevOps Tools |
| Overview of SQLCMD utility in SQL Server |
| The BCP (Bulk Copy Program) command in action |
| Continuous Deployment using SQL Server Tools SqlPackage.exe |
| All about MSSQL-Scripter, the SQL Server cross-platform scripting Tool |
| Getting started with Azure Data Studio (ADS); initial installation and configuration |

My specialty lies in designing & implementing High availability solutions and cross-platform DB Migration. The technologies currently working on are SQL Server, PowerShell, Oracle and MongoDB.
View all posts by Prashanth Jayaram
- Stairway to SQL essentials - April 7, 2021
- A quick overview of database audit in SQL - January 28, 2021
- How to set up Azure Data Sync between Azure SQL databases and on-premises SQL Server - January 20, 2021