
Azure Data Studio is free, lightweight database development and operations cross-platform tool for private and commercial usage, that can be installed on Windows, macOS, and Linux for SQL Server, Azure SQL Database and Azure SQL Data Warehouse.
Azure Data Studio is built to simplify work of database developers, database administrators, and system administrators. Azure Data Studio boosts your productivity with smart code snippets, keyword completion, IntelliSense, source control integration, the ability to view and save results in CSV, Excel, JSON format, and the capability to organize and manage favorite database connections, etc. The first version of Azure Data Studio was released in November 2017.
The latest version of Azure Data Studio for all three platforms can be downloaded from the Download and install Azure Data Studio (preview) page.
In this article, Azure Data Studio for Windows platform will be explained.
Azure Data Studio can be installed using the installer or .zip file for Windows
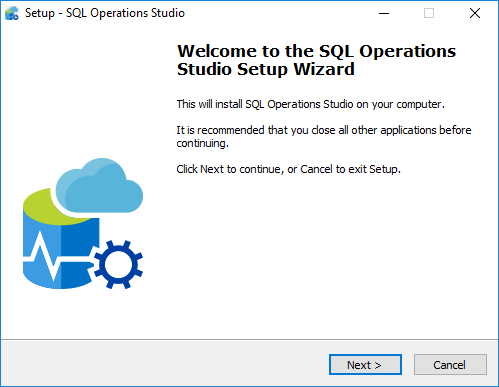
The installation process is simple. Run installer and the Welcome window will appear, press the Next button to prosed:
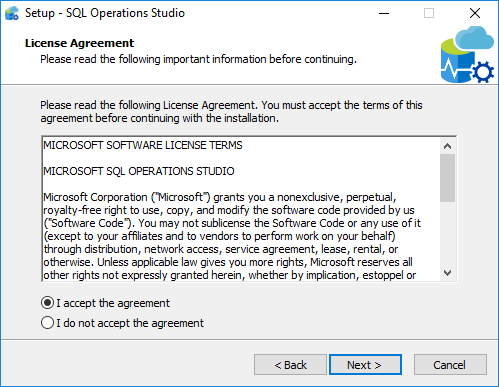
On the License Agreement, select the ”I accept the agreement” radio button and press the Next button:
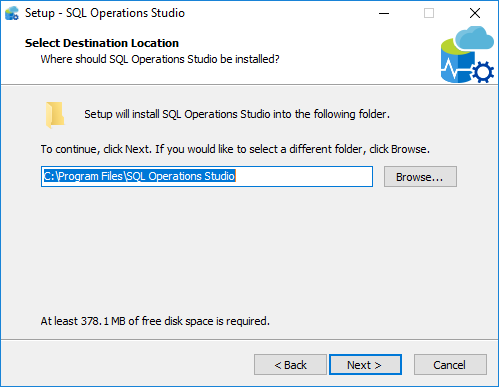
On this window, choose where Azure Data Studio will be installed. Press the Next button to continue:
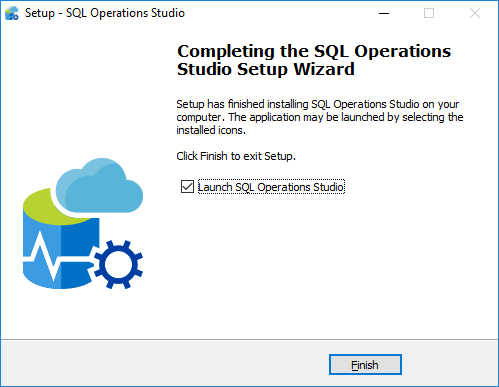
Press the Next button, go all down to the last window where the Finish button should be pressed to exit from the Setup process:
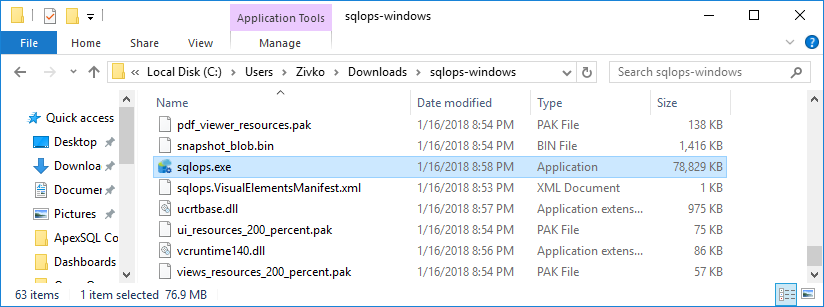
If the .zip file is used for installation of Azure Data Studio, unzip the sqlops-windows folder first, under the sqlops-windows folder, find and double-click sqlops.exe to run it:
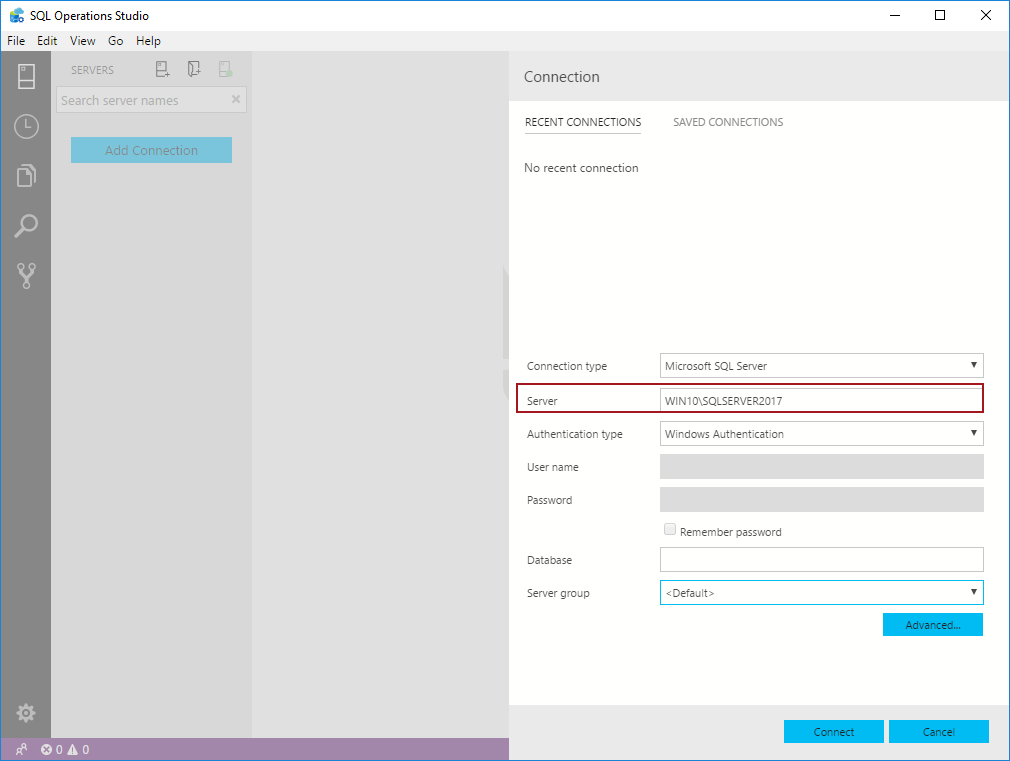
This will open the Azure Data Studio window. In the Server box, type the name of the instance for which want to establish connection and press the Connect button. Unlike SSMS, this tool does not provide dropdown list of available databases for the connected server:
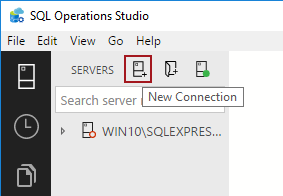
If the connection window does not appear when Azure Data Studio window is opened, simply click on the New Connection button:
Once the connection information was provided in the window, something like this should appear:
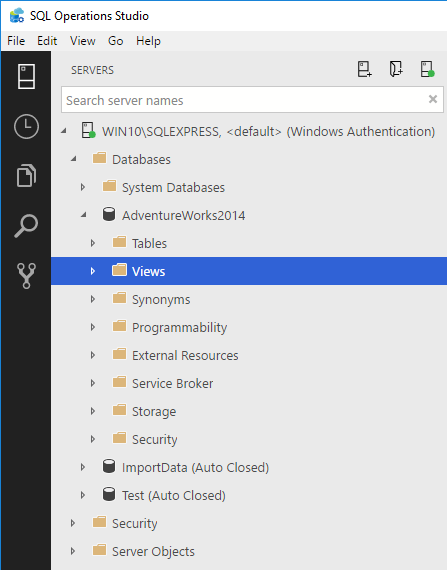
The Server pane is similar to Object Explorer in SQL Server Management Studio. This pane provides a way to navigate to the different objects in SQL Server:
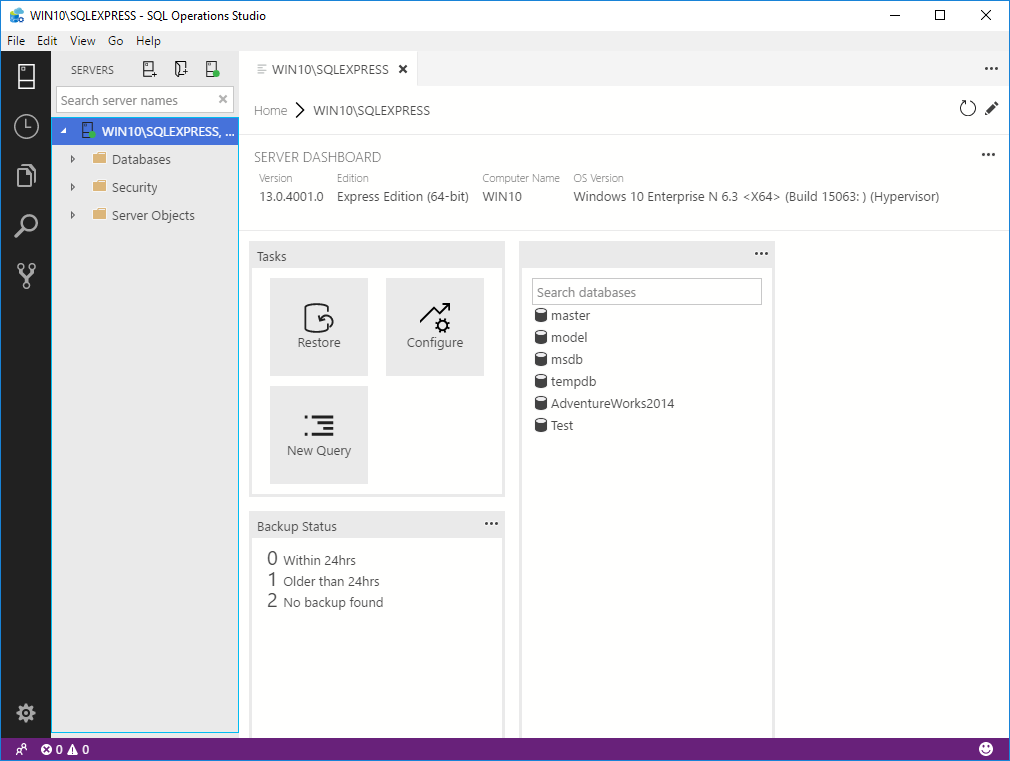
On the right side of the SQL plane is the Azure Data Studio dashboard which shows plenty useful information.
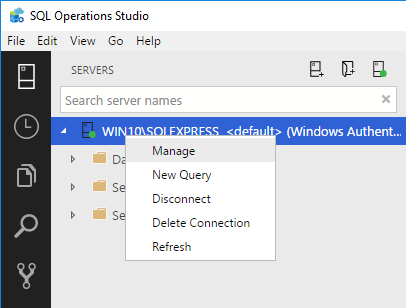
In case dashboard does not appear, go to Servers pane, right-click and, from the context menu, select the Manage command:
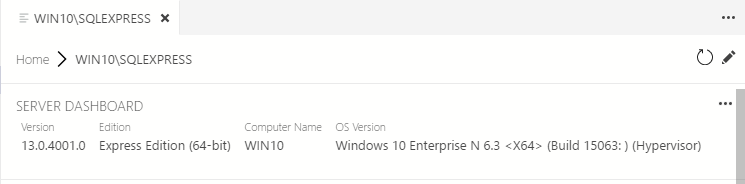
In the dashboard header, information about connected instance of SQL Server like version, edition, computer name, operating system version are shown:
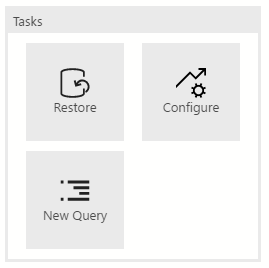
Under the SQL Server version, there are shortcuts to common tasks at server level: restore databases, configuration server and creating a new query:
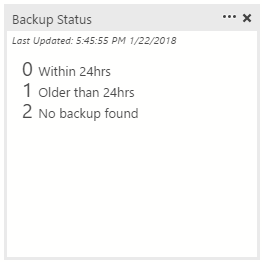
Next pane is the Backup Status pane, here, the backup status of the databases is shown:
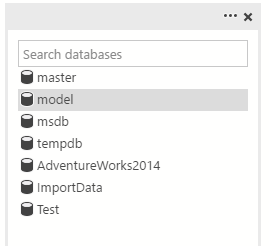
Right of the Backup Status pane, there is a search pane which provides a quick way to find a variety of objects on connected server:
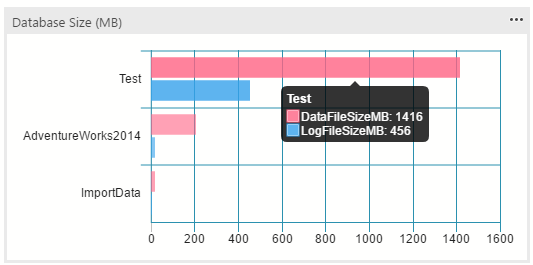
The last pane shows the sizes of the databases on a connected server:
On the left side of the Azure Data Studio, there are six icons:

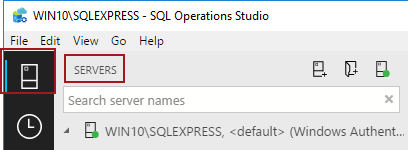
The first button is to bring up the Servers pane:
The button below the Server button is the Task History button. In the Task History pane will be shown any backups, restores, or other similar tasks that were performed:

Under the Explorer pane, the list of all opened files in Azure Data Studio are located:
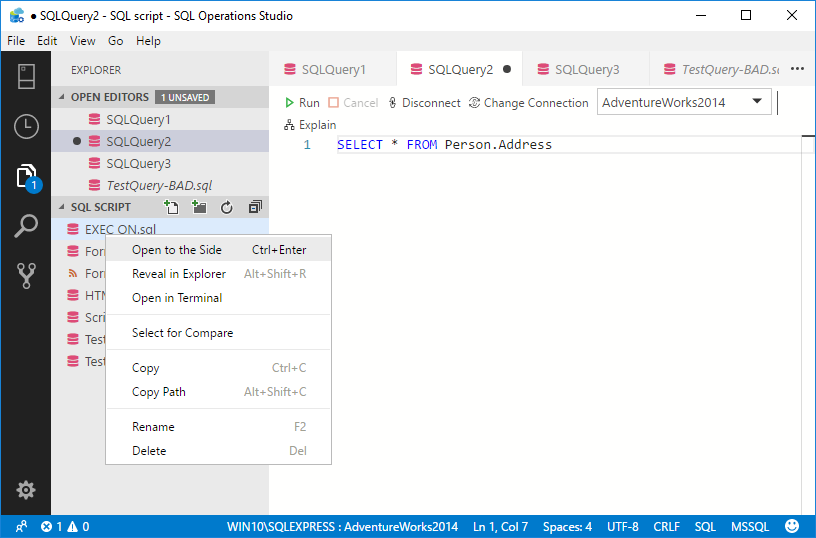
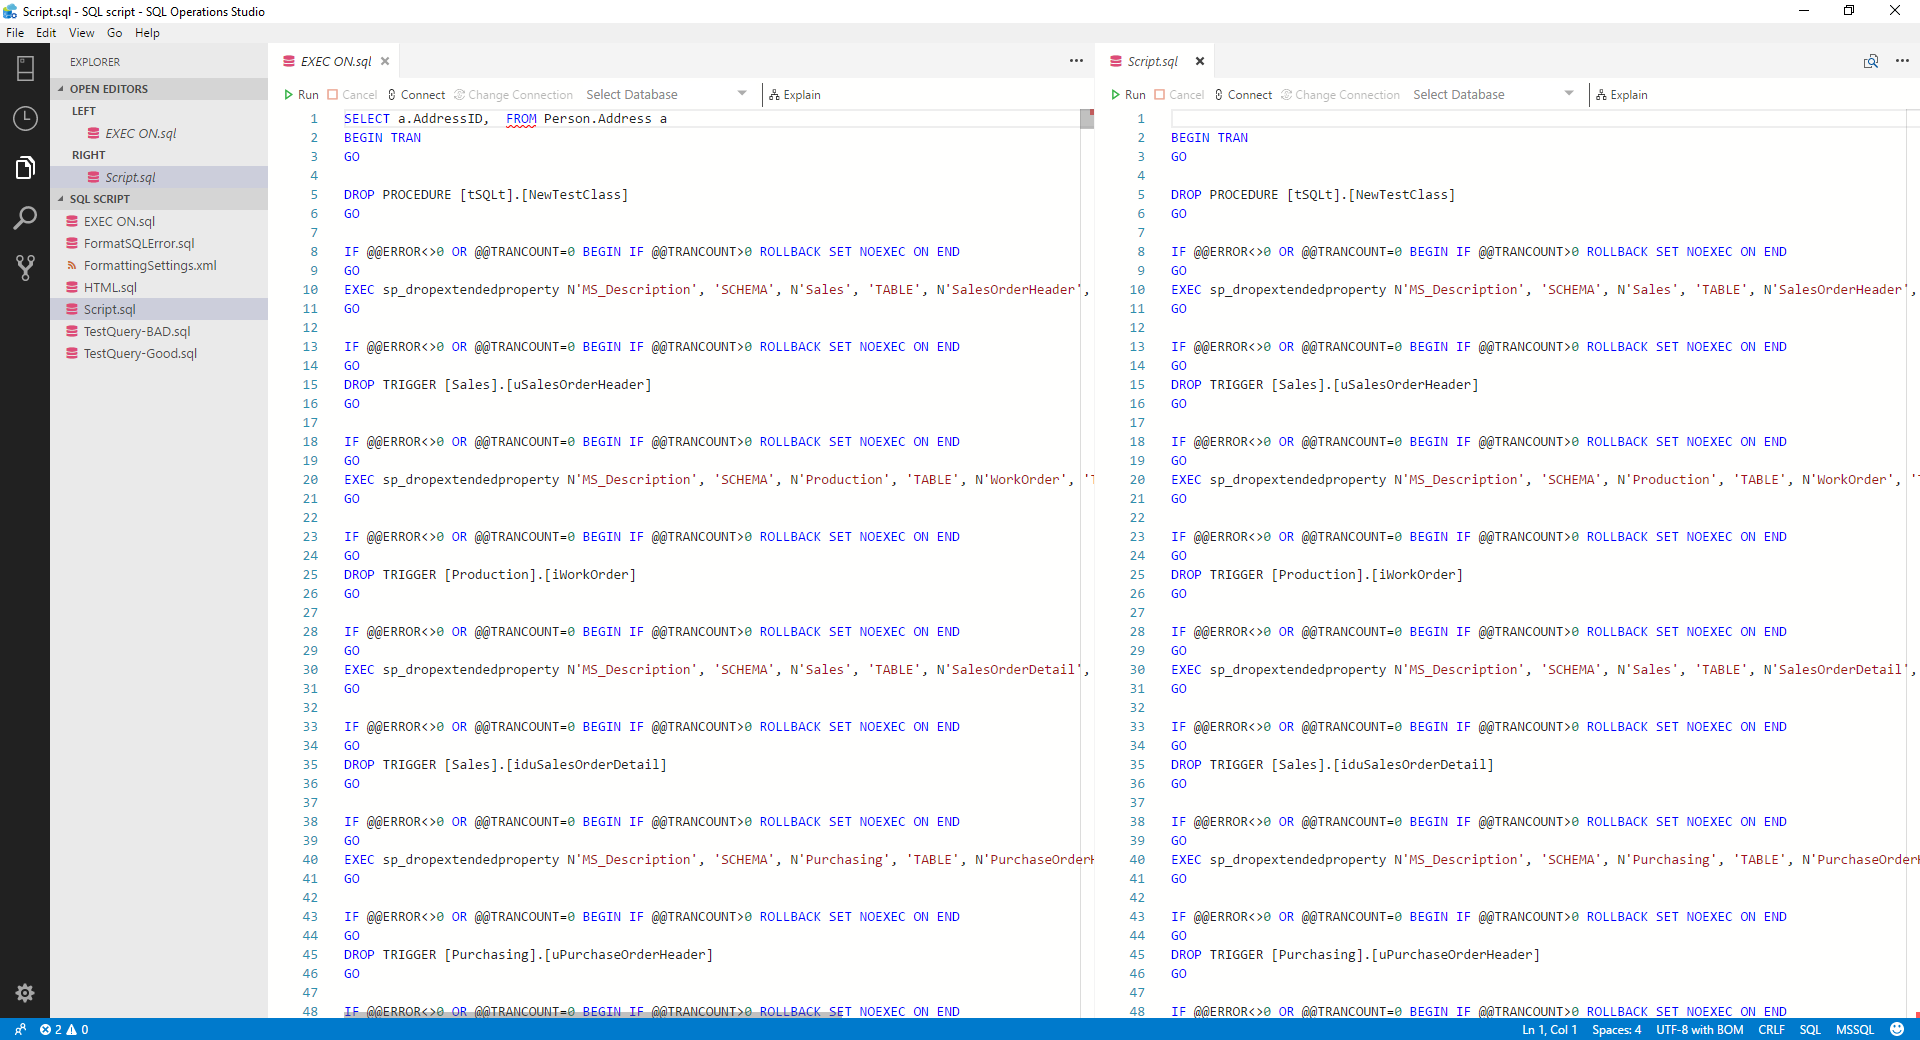
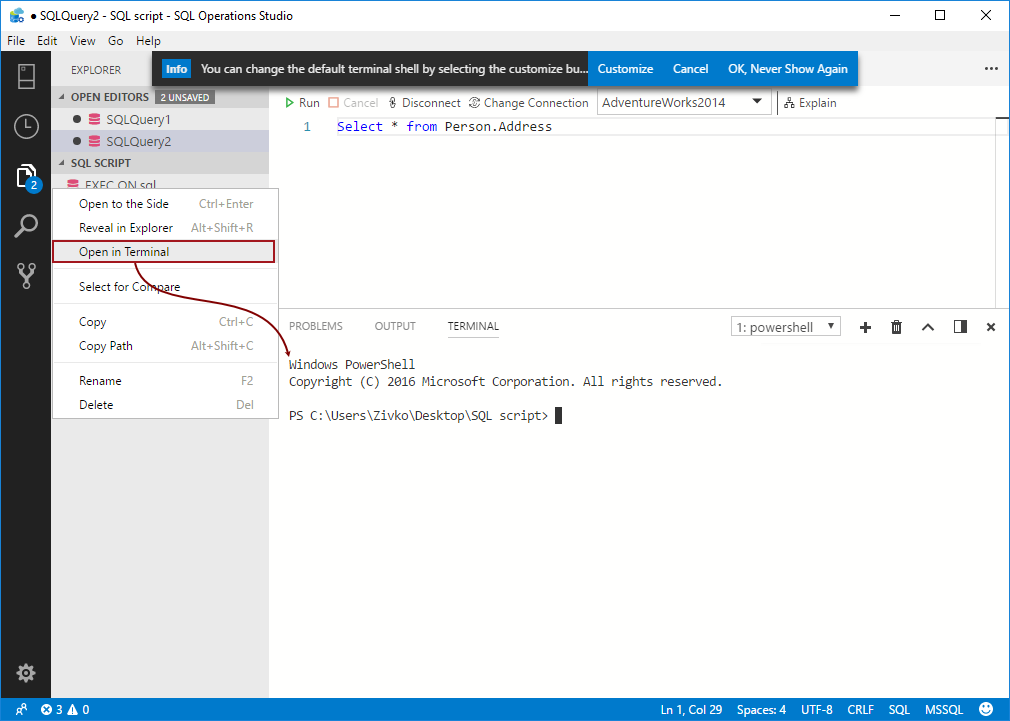
Right-click on the file will show a context menu with useful options. The Open to the Side option opens the file in the split screen, providing the ability to compare two files side by side:
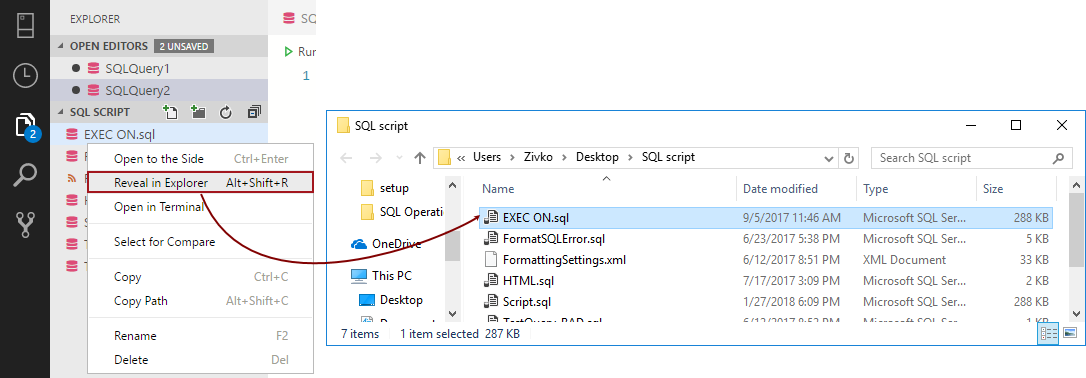
The Reveal in Terminal option opens a location of the file:
The Open in Terminal opens a terminal window in the lower side of the Azure Data Studio window:
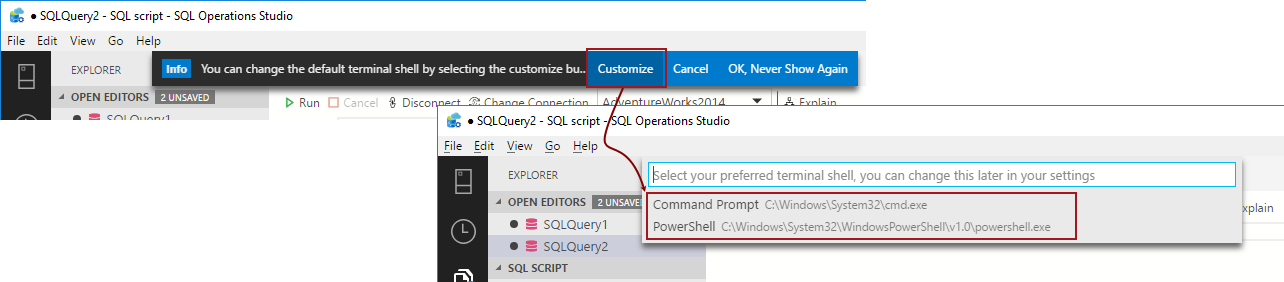
By default, the PowerShell terminal is set. Also, it can be changed to Command Prompt (CMD), or a BASH terminal by clicking the Customize button and from the list, choose the desired terminal:
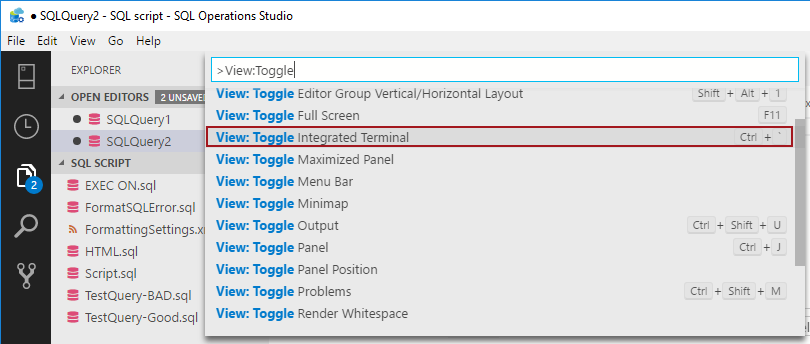
Another way to initiate the terminal is by pressing the Ctrl + ` (backtick character) keyboard shortcut, or using Ctrl + Shift + P keyboard combination to initiate the Command Palette and from there, choose the View:Toggle Integrated Terminal command:
Multiple terminals can be opened in SQL Operation Studio by pressing “Ctrl + Shift + ` keyboard combination or by pressing the plus icon on the terminal:

To switch between opened terminals, use the drop-down list:

More about the Azure Data Studio terminals can be found on the Integrated Terminal page.
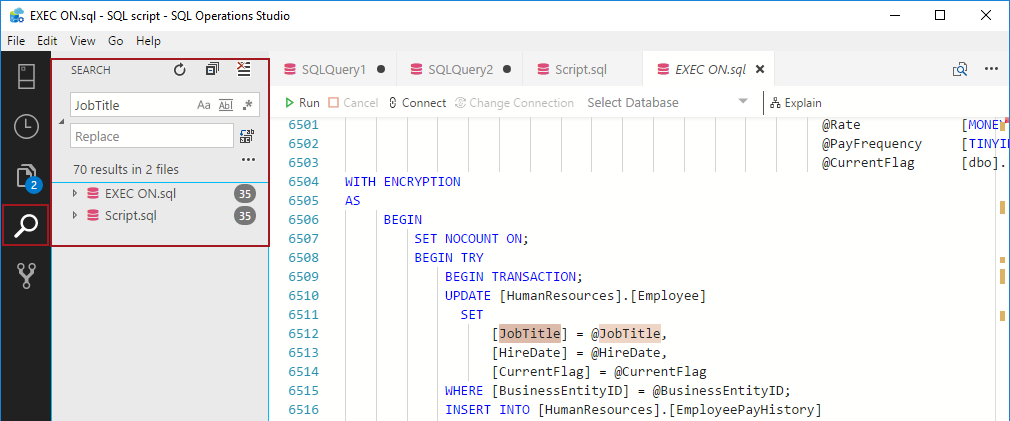
Under the Explorer icon is the Search icon which brings the Search pane for search or search and replace text in the files:
The Source Control pane allows managing files with the source code control system. Azure Data Studio supports Git for version/source control. In order to use this feature, the Git needs to be installed first:
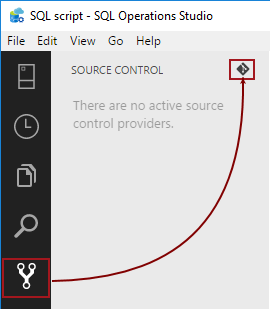
Otherwise, the Source Control tab will look like this:
More about source control feature can be found on the Using source control in Azure Data Studio (preview) page.
The last icon is the Settings icon. These options allow to set different settings of SQL Options Server like color theme, keyboard shortcuts and more:

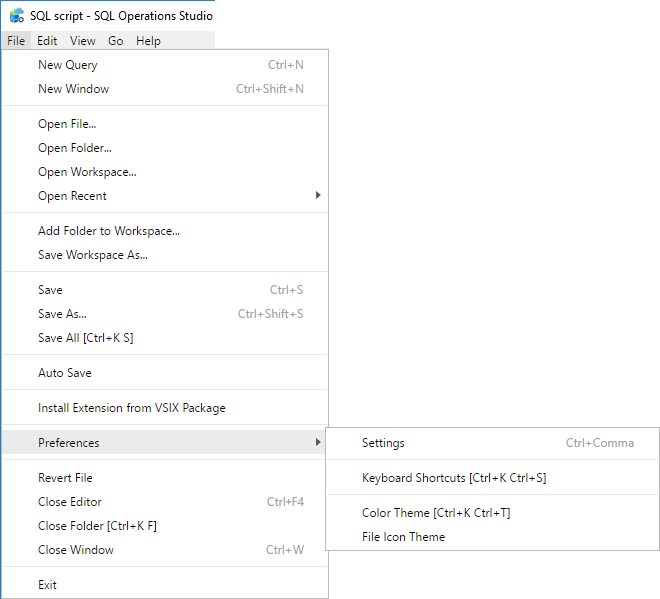
Also, some of these options can be found under the Preferences sub-menu:
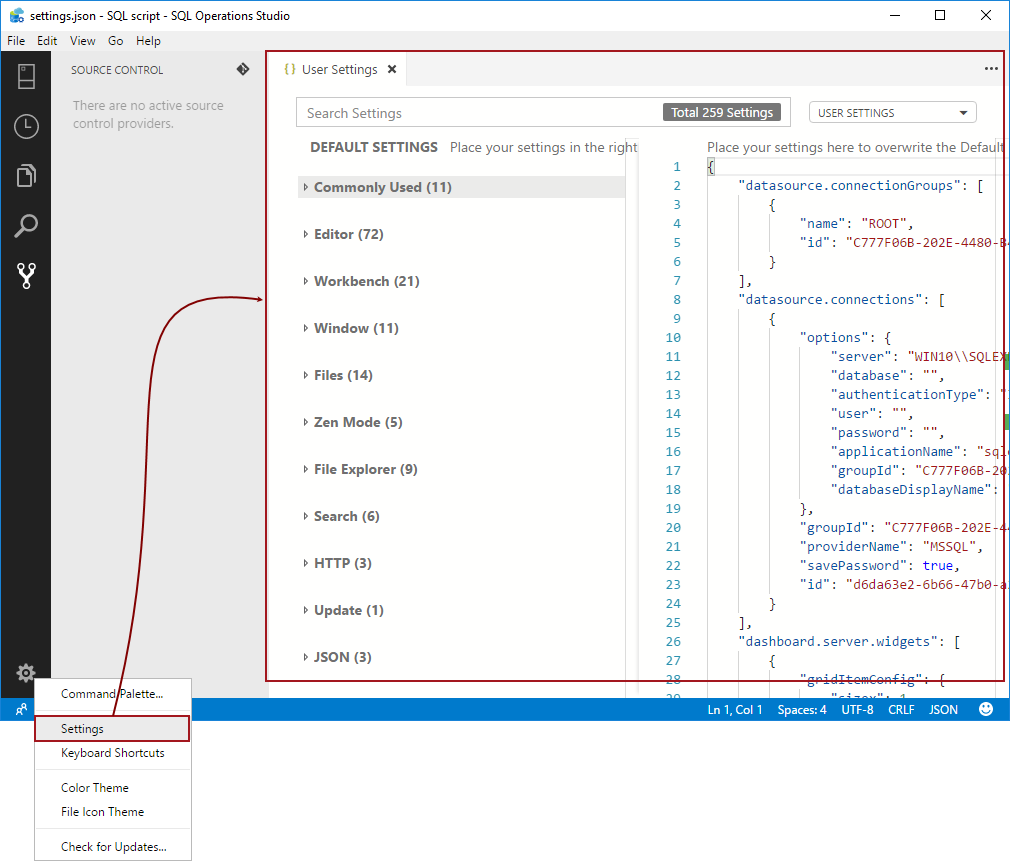
Almost every part of Azure Data Studio can be modified trough the User Settings options. To open settings, right click on the Settings icon and from context menu, choose the Settings command:
Or use the keyboard shortcut (Ctrl+,). Another way to open settings is by using the Command Palette (Ctrl+Shift+P) and find Preferences: Open User Settings:

Under the list, choose which option you want to modify (e.g. Disabling the Update option), expend the Update configuration, click on Edit button next to the option that want to modify and, from the context menu, choose desired option:
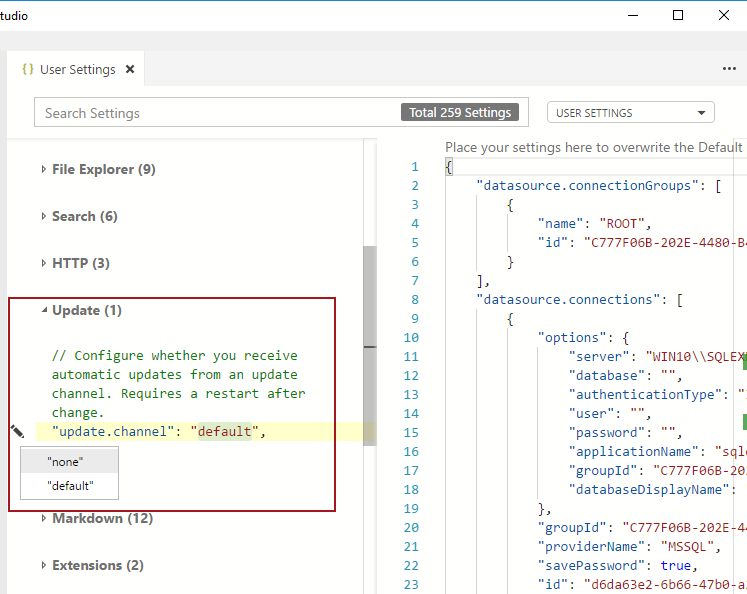
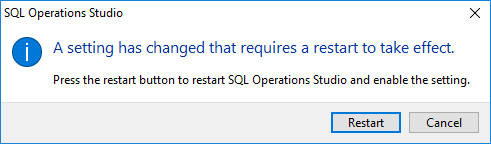
Once the option is chosen, the information box will appear, suggesting to restart Azure Data Studio in order to changes take effect:
After restarting, the changes will be updated and the Update option will be disabled:
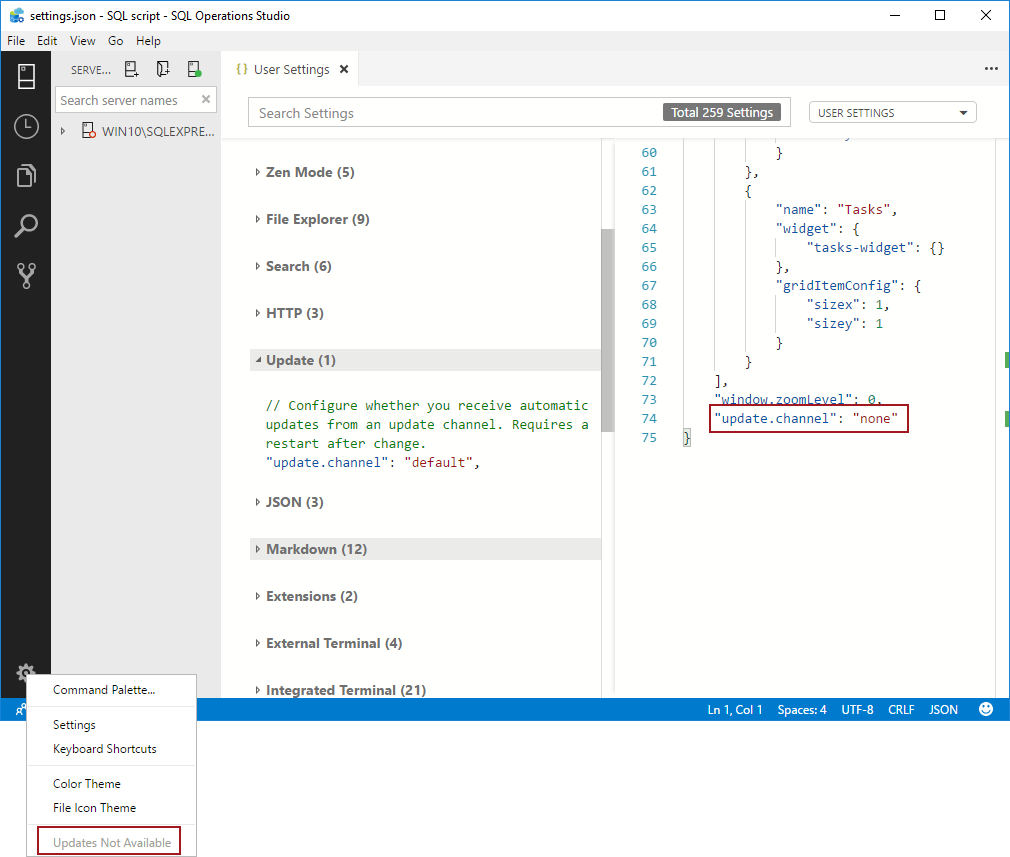
All options are saved in the settings.json file. Depending on which platform (Windows, Mac, Linux) Azure Data Studio is installed, location of the settings.json file is different. For Windows, this file is located under this path: %APPDATA%\sqlops\User\settings.json.
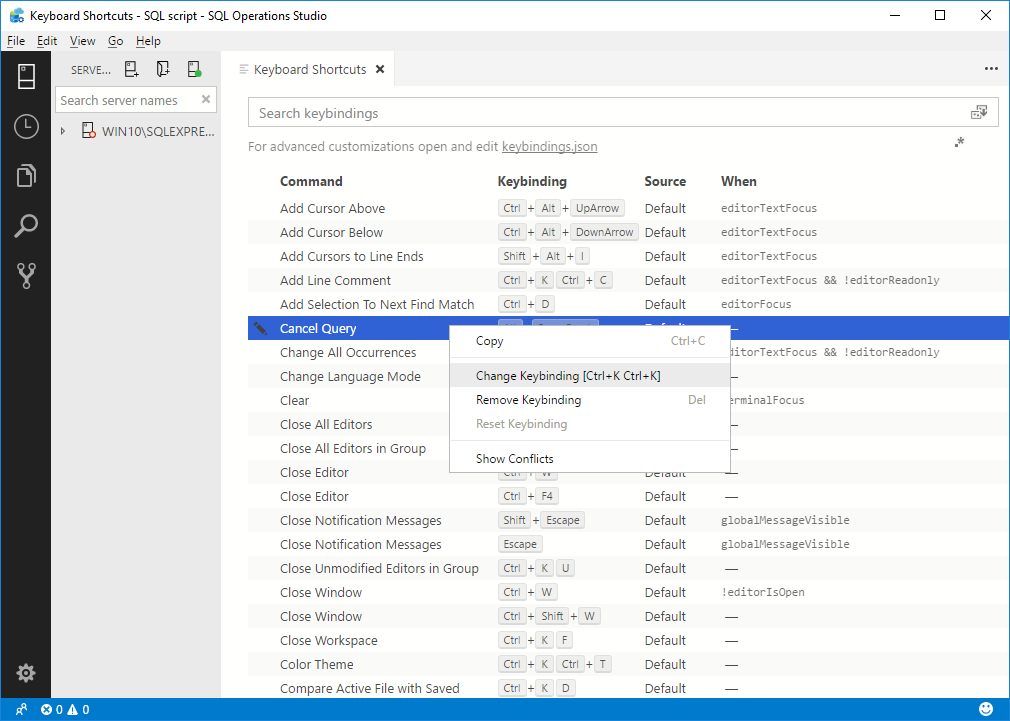
The Keyboard Shortcuts editor enables easy way to change, reset, add or remove keyboard shortcuts:
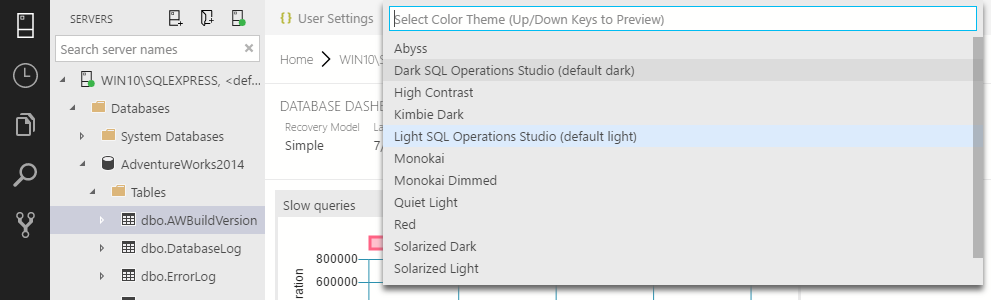
Azure Data Studio provides a number of color themes which can be used to set desired working environment.
Click on the Settings button and, from the context menu, choose the Color Theme command:

From the dropdown list, pick a desired theme for example, Dark theme:
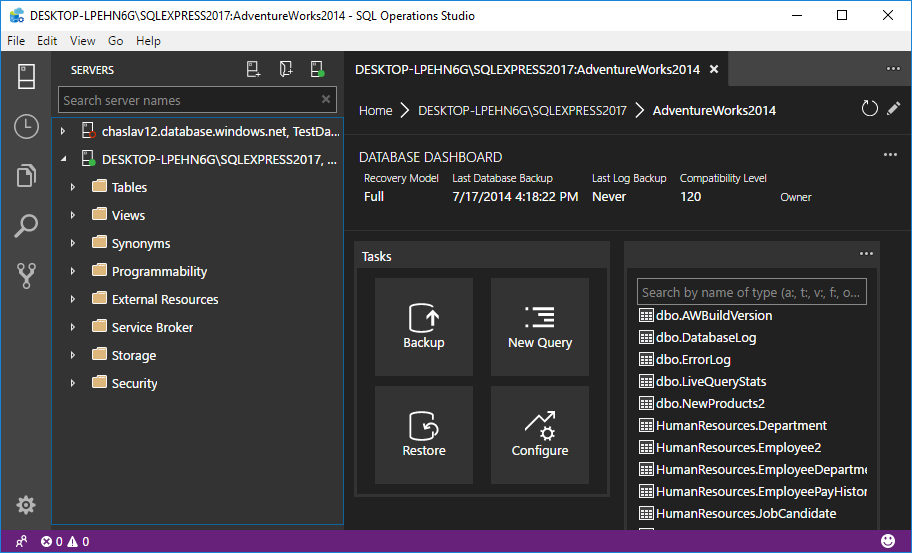
Azure Data Studio will look like this:
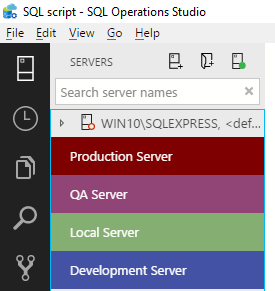
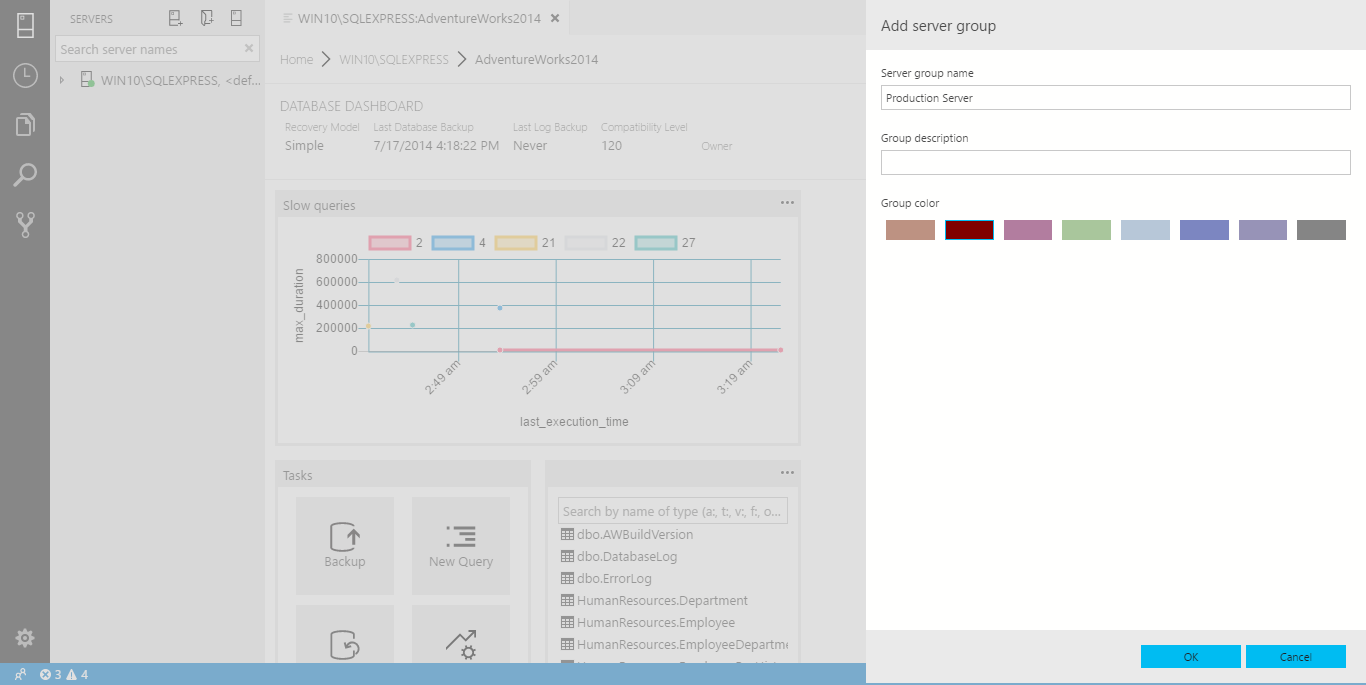
Azure Data Studio has the ability to organize connection to the servers and databases in the separate groups and assign a color to the server groups.
To create a server group, press the New Server Group button at the top of the Servers pane:

In the Server group name box, enter the name of the group and from the Group color pallet, choose a desired color for the group and press the OK button:
After pressing the OK button, the following error message may appear:
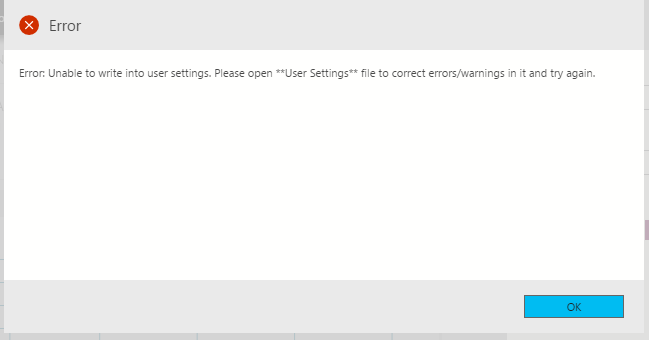
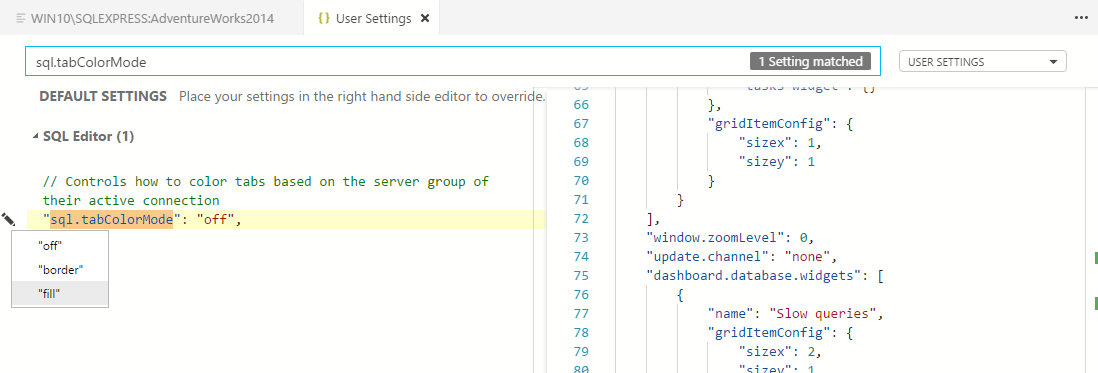
This appears because the tab colors mode is by default turned off. To enable tab colors in the User Settings file find the sql.tabColorMode setting and from the context menu pick the “fill” command:
After enabling the tab colors mode, you will be available to create the server groups:

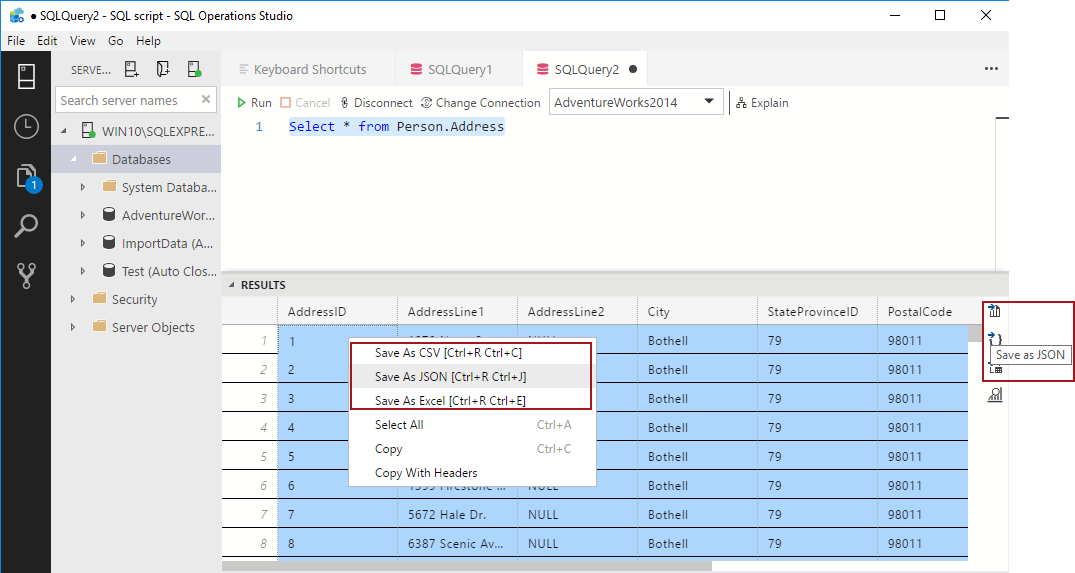
The results from the Results grid can be saved as CSV, JSON or Excel file, by selecting data. From the context menu or from the icons next to the Results grid, choose the desired file format.
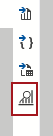
The last icon on the right side of the Results grid is the View as Chart icon:
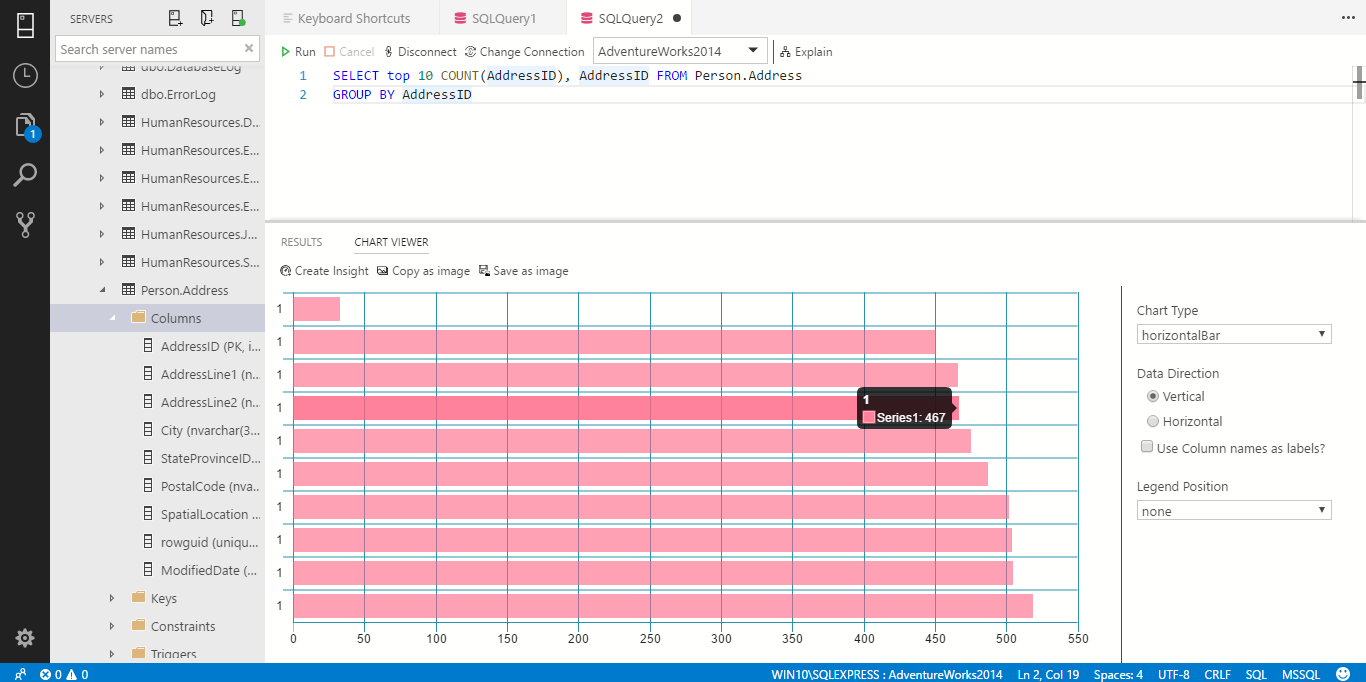
On the right side of the Chart viewer, different chart types to displaying data can be set:
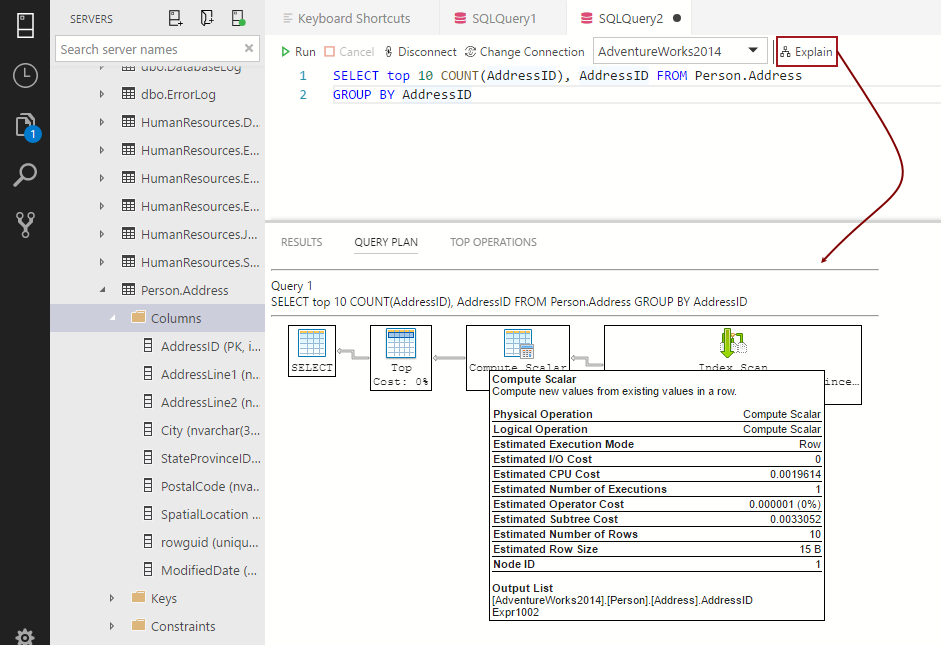
To view the execution plan, press the Explain button. This option works the same as the execution plan viewer in SSMS:
Azure Data Studio supports Query Store and provides nice way (widget) for displaying the slowest queries on the database dashboard. In a query editor, run the following T-SQL statement to enable Query Store:
ALTER DATABASE AdventureWorks2014 SET QUERY_STORE = ON
To add the insight widget for Query Store on the database dashboard, the dashboard.database.widgets setting under the User Settings file needs to be modified.
Press the Ctrl + , (comma) keyboard shortcut to open the User Settings file. Find the dashboard.database.widgets setting, press the Edit (pencil) button and, from the context menu, press the Copy to Settings command:
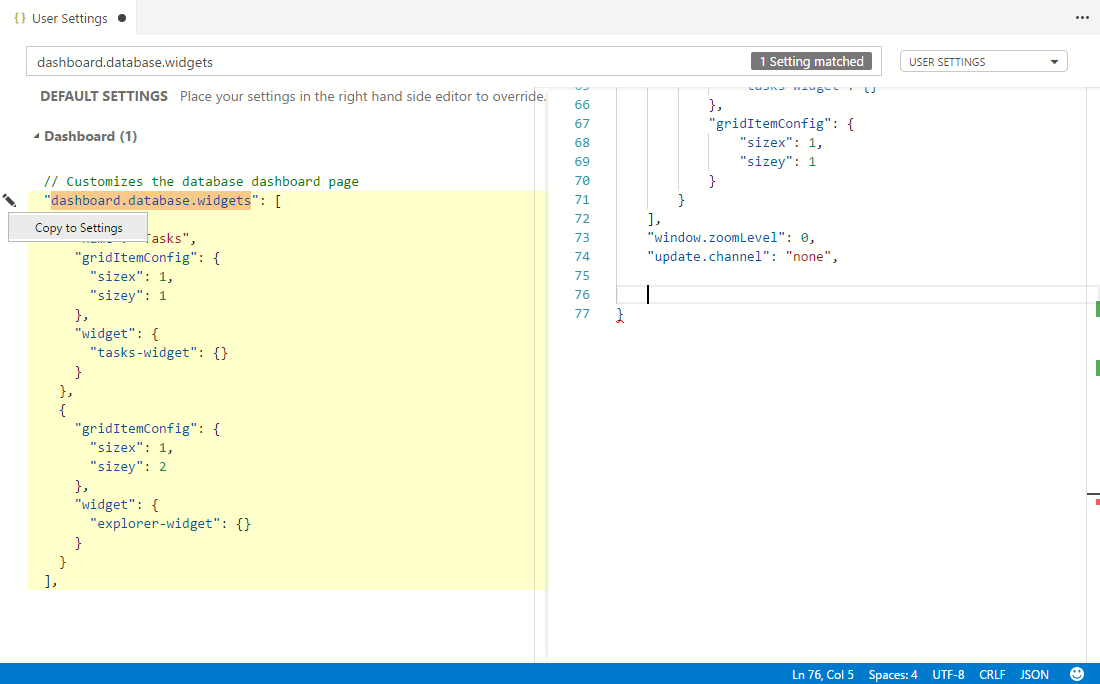
This will copy setting to the right grid:

Now, under the dashboard.database.widgets, add the curly braces:
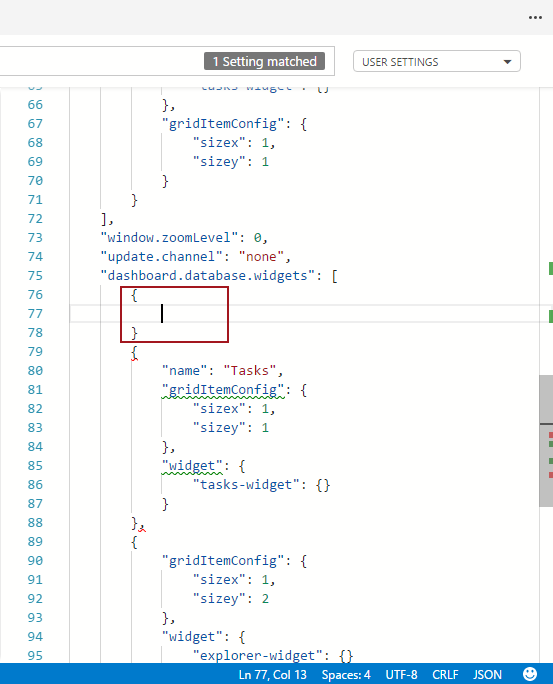
Type or paste the following code in the curly braces:
|
1 2 3 4 5 6 7 8 9 10 11 12 13 14 15 |
“name”: “Slow queries”, “gridItemConfig”: { “sizex”: 2, “sizey”: 1 }, “widget”: { “query-data-store-db-insight”: null } |
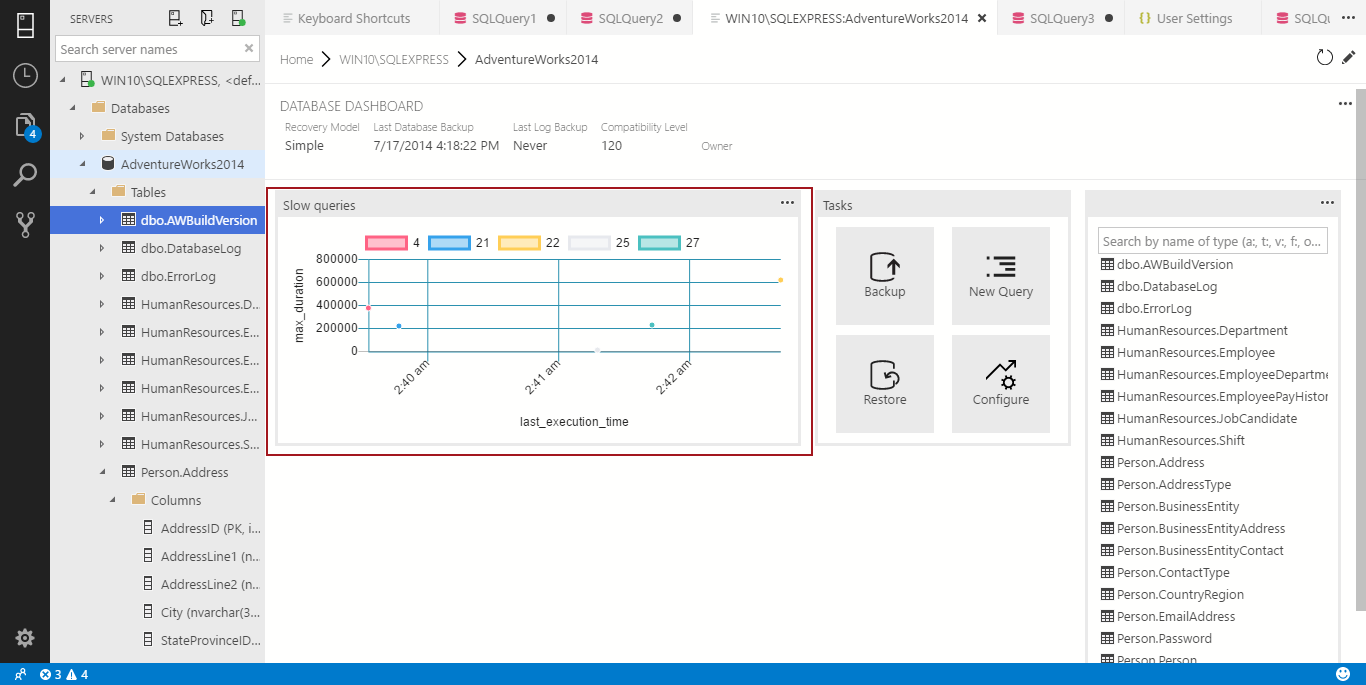
Save the settings and open the database dashboard. The Slow queries widget appears on the dashboard:
To view additional information about slowest queries, on the right side of the Slow queries widget, press the ellipses (…) button and from the context menu, choose the Show Details command:
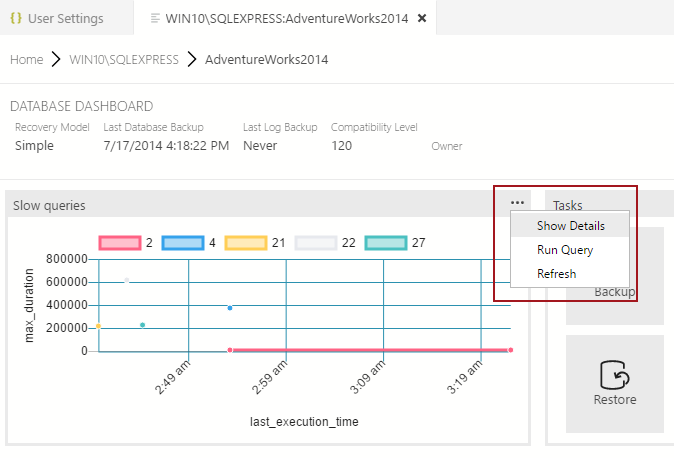
This will open the Insights pane:

In the same way, custom insight widgets can be created. More about custom insight widgets can be found on the Tutorial: Build a custom insight widget page.
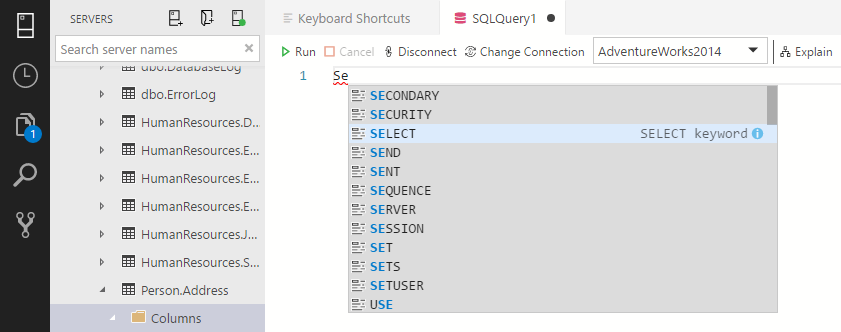
While start typing in a query editor, the hint-list will appear narrowing down the suggestions for the typed word in the query editor:
Azure Data Studio provides T-SQL snippets which generate the proper T-SQL syntax to create stored procedures, tables, views, databases etc.
In a query editor, type sql:
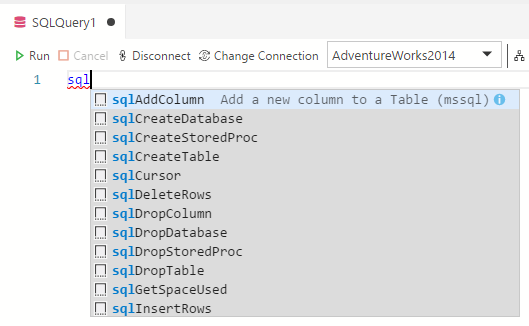
From the list, choose the desired T-SQL snippet (sqlAddColumn):

Azure Data Studio allows creating custom T-SQL snippets. Azure Data Studio inherits code snippets functionality from Visual Studio Code. For more information of how to create T-SQL snippets in Azure Data Studio, visit the Creating your own snippets page.

He is a prolific author of authoritative content related to SQL Server including a number of “platinum” articles (top 1% in terms of popularity and engagement). His writing covers a range of topics on MySQL and SQL Server including remote/linked servers, import/export, LocalDB, SSMS, and more.
In his part-time, Zivko likes basketball, foosball (table-soccer), and rock music.
See more about Marko at LinkedIn
View all posts by Marko Zivkovic
- How to connect to a remote MySQL server using SSL on Ubuntu - April 28, 2020
- How to install MySQL on Ubuntu - March 10, 2020
- Using SSH keys to connect to a remote MySQL Server - November 28, 2019