
This article will explore Azure automation for automatic data loading into Azure SQL Databases using the Azure Logic App.
Introduction
Suppose you have an Azure SQL Database for product catalog for your online shopping portal. You receive a CSV file in a specific mailbox and format for various products. You require to import data from these CSV files into Azure SQL Database.
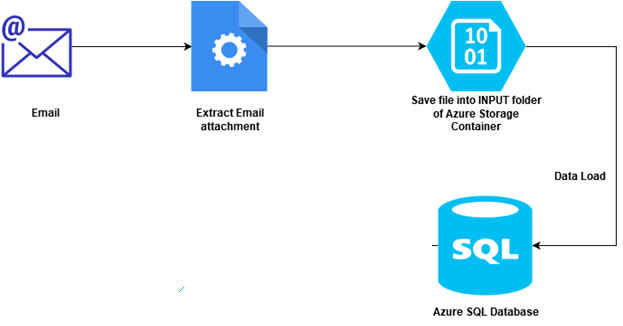
In the following high-level diagram, we can visualize the overall process. In this process, you can use the following steps to achieve the requirements.
- Manually extract the attachment from the email and save it to a local directory
- Browse to the Azure portal, navigate to the storage account container and upload the file into the INPUT folder
- Import data into Azure SQL Database tables

If we do this task manually, it might be a cumbersome process to execute daily. Therefore, you can look for automation using various ways.
- You can use ETL packages using the SQL Server Integration Services
- Azure Data factory
However, in these cases, it is a slightly complicated process to extract attachment from the email (on email arrival) and save it to the storage container automatically.
In the article, Auto-scaling Azure SQL database with Azure Logic Apps, we explored azure logic apps usage for automatically scaling resources for your azure databases.
We will cover the solution in a series of two articles. We will learn how you can use Azure Logic Apps for simulating the problem we defined earlier.
In this first part, we will implement the following things:
- Azure Logic apps to read an email, get its attachment
- Save the attachment into the Azure Storage container blob
- Send email confirmation once the attachment is uploaded to the Azure container
Requirements
To start working with this article, you require the following database environment.
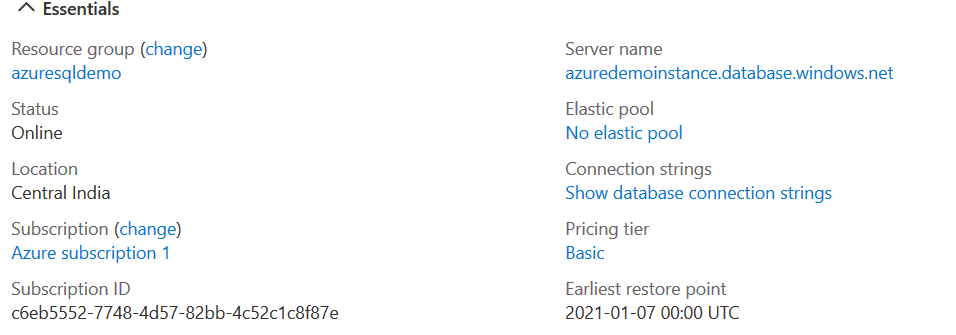
Azure SQL Database: As we import data into a database table, you require an active Azure database instance. Here, we have the following [labazuresql] database in the azuredemoinstance.database.windows.net server

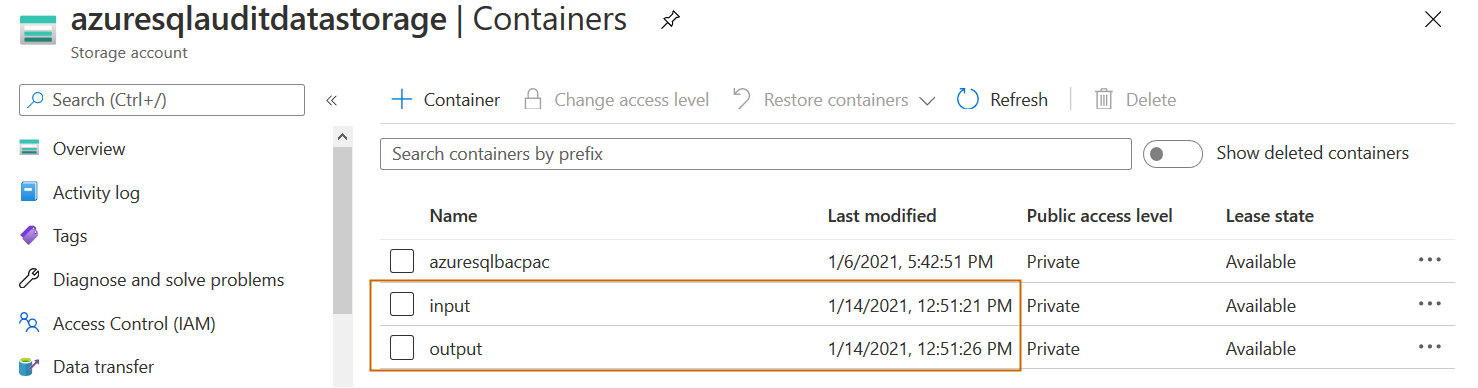
Azure Storage account and container: We require an Azure storage account and blob container for storing input and output files. Here, I have the following setup:
- Storage account: azureauditdatastorage
- Blob Containers: input and output
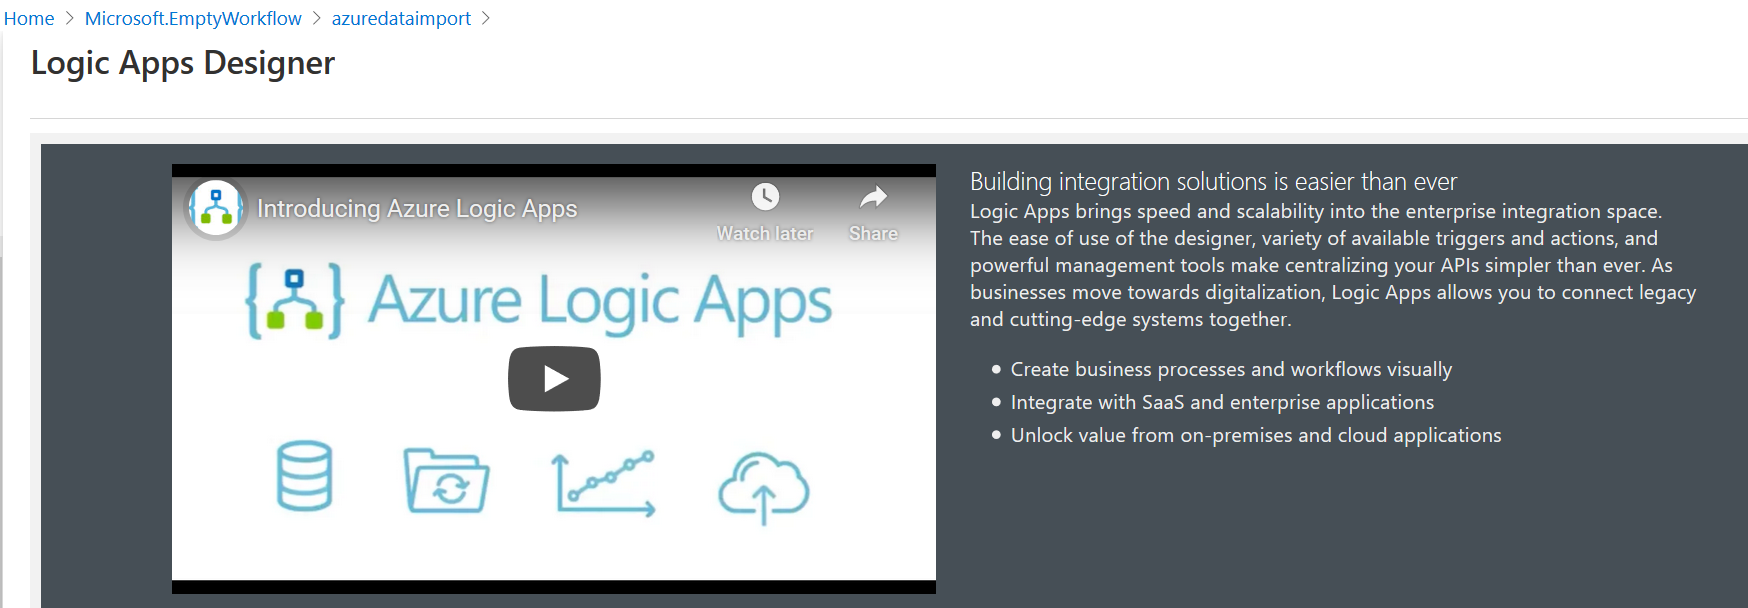
Azure Logic App account: Azure Logic app is an excellent tool to connect and build integration solutions, workflow in a simplified manner. To use the functionality, we require a logic app account. Refer to the article Automatic Scale up and down Azure SQL database with Logic Apps for more details. Here, I have [azuredataimport] logic app account, as shown below
Azure Automation for extracting Email attachments and store into Azure blob storage
In the initial part of the document, we configure logic apps to extract attachment on email arrival and save into a blob storage container’s input folder.
Extract Email attachment
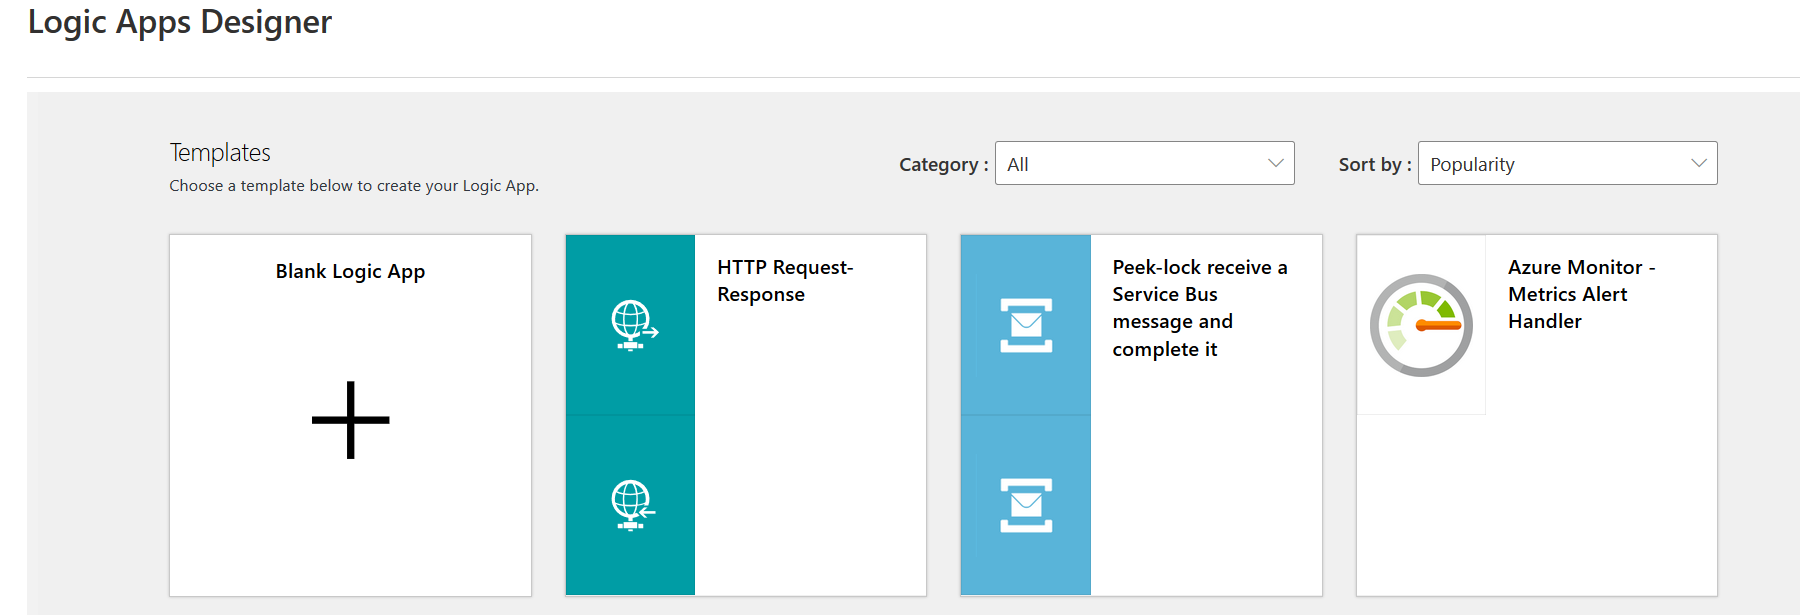
Let’s assume that we received a CSV file for import in the outlook.com mailbox. To create a workload, we can use a suitable template, or we can start with a blank logic app template, as shown below.
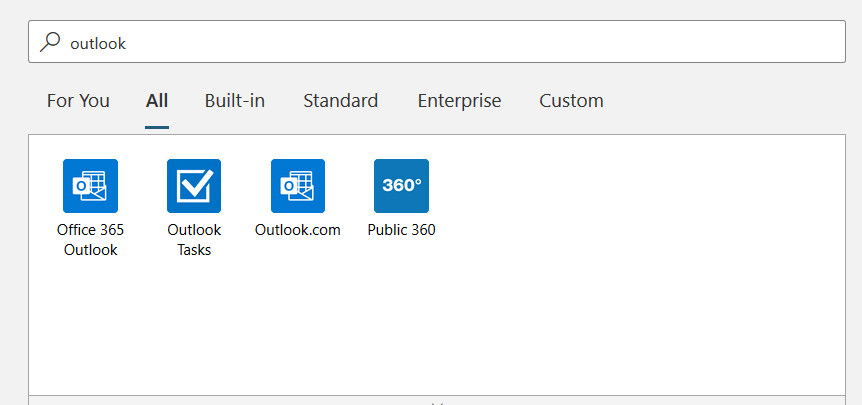
In the app designer, search for Outlook. It returns all matched components for it. Click on the Outlook.com component as a source component.
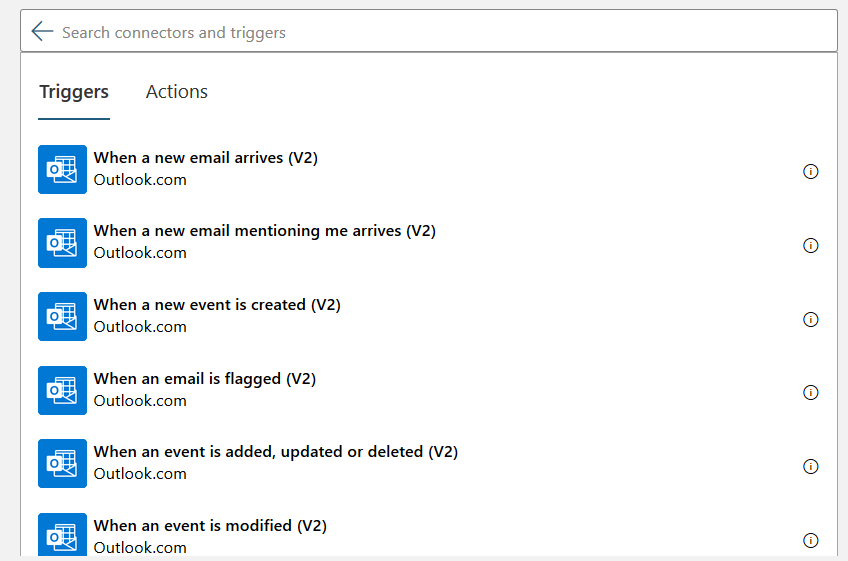
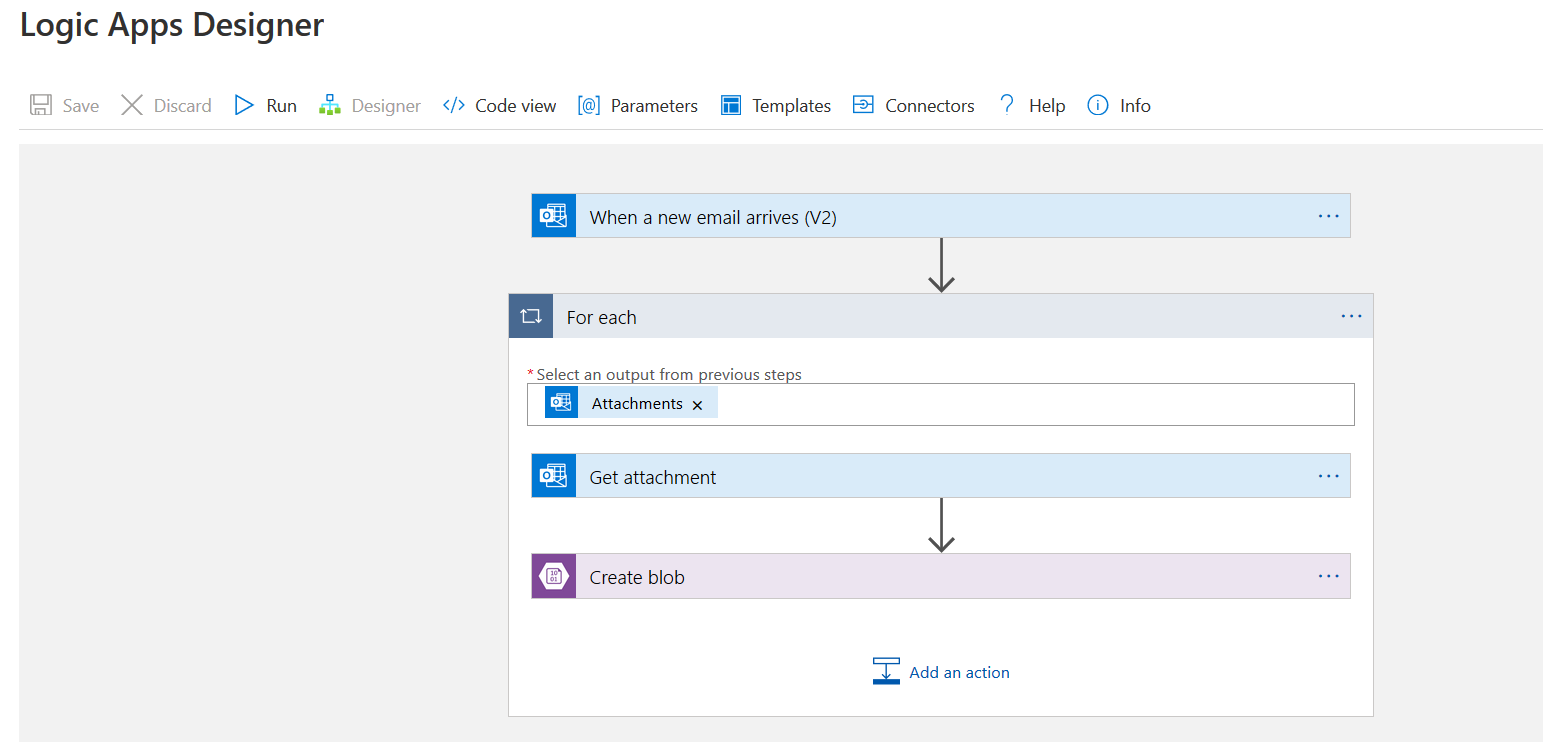
It opens a list of items in the triggers. We want to generate an action when a new email arrives in the Inbox of outlook.com. Therefore, click on When a new email arrives from the Triggers menu.
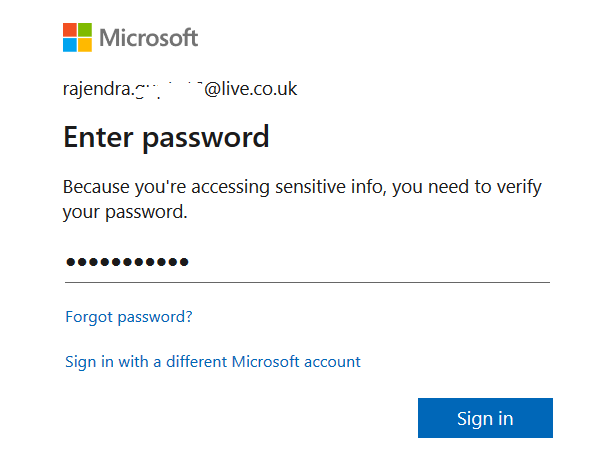
You need to sign in to Outlook.com with your credentials.
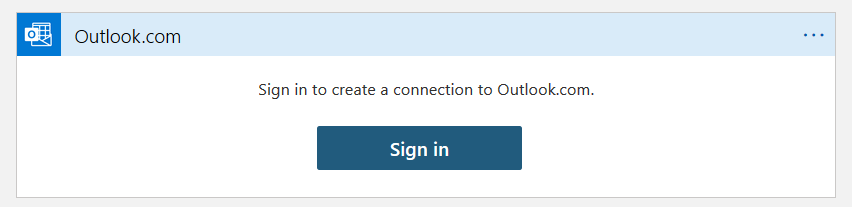
Enter your email address (user name) and password for authentication to your email account.
Azure logic apps ask you to accept the following permissions for the Outlook.com mailbox:
- Read and write access to your email
- Send mail as you
- Have full access to your contacts
- Have full access to your calendars
- Maintain access to data
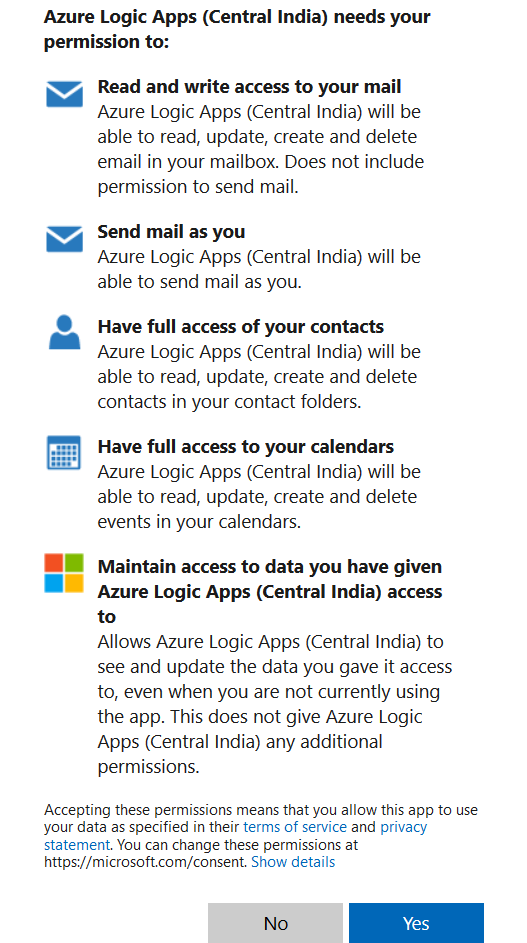
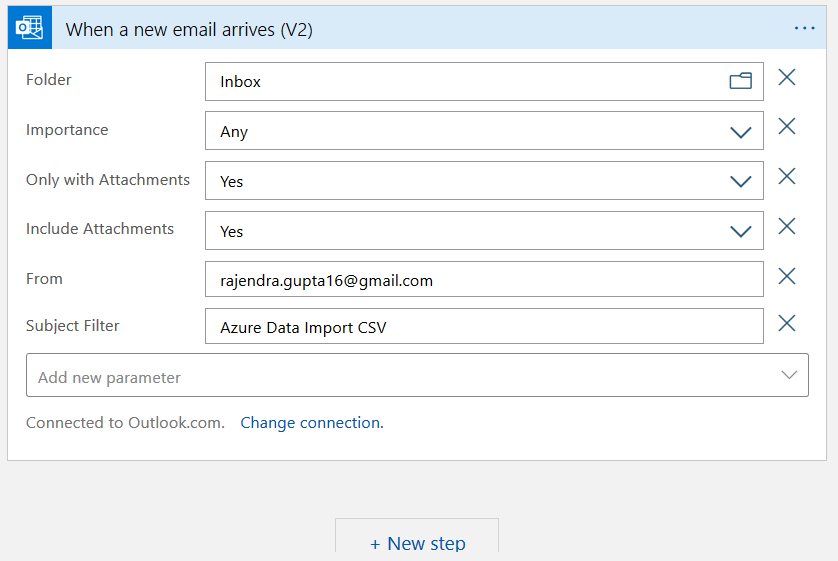
Click on Yes. It opens the configuration page for when a new email arrives. In the configuration, enter the following details:
- Folder: Inbox
- Importance: Any
- Only with Attachments: Select Yes because we wanted to upload email attachments into the Azure blob container
- Include attachments: Yes
- From: Usually, we receive an email from a specific email address such as vendor email id. Therefore, enter the email id in the field
- Subject filter: We can further filter emails from the Inbox using a specific subject filter. Here, we want to check emails with the subject line – Azure Data Import CSV
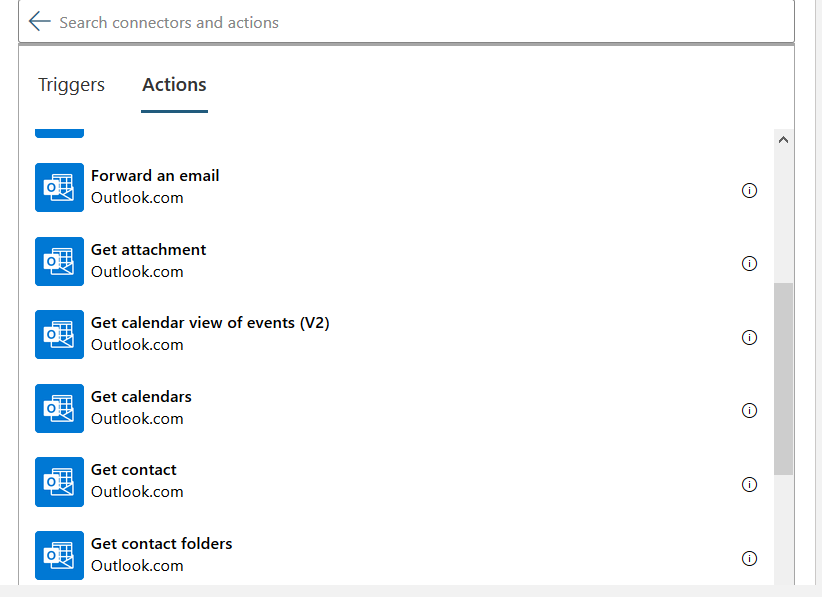
Click on +New step. Now, we need to define what action you need to take once a new email arrives.
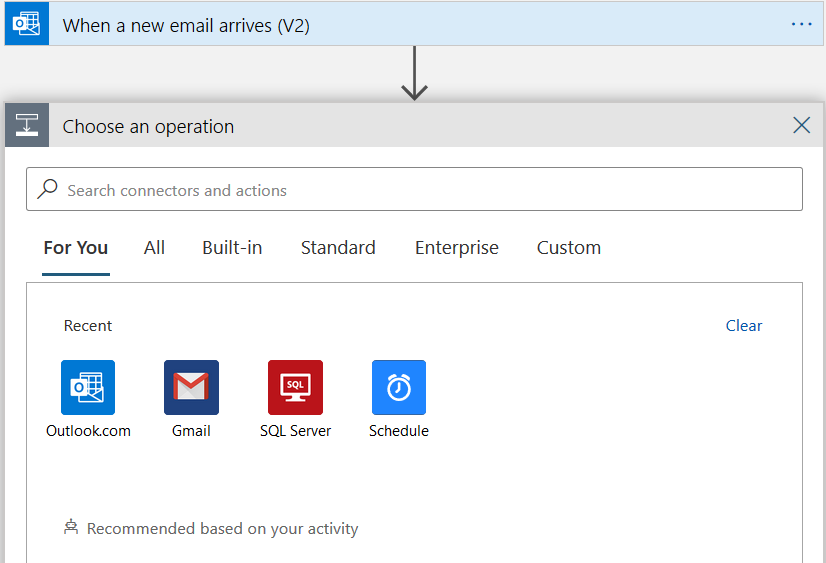
Click on Outlook.com and navigate to actions, select Get attachment.
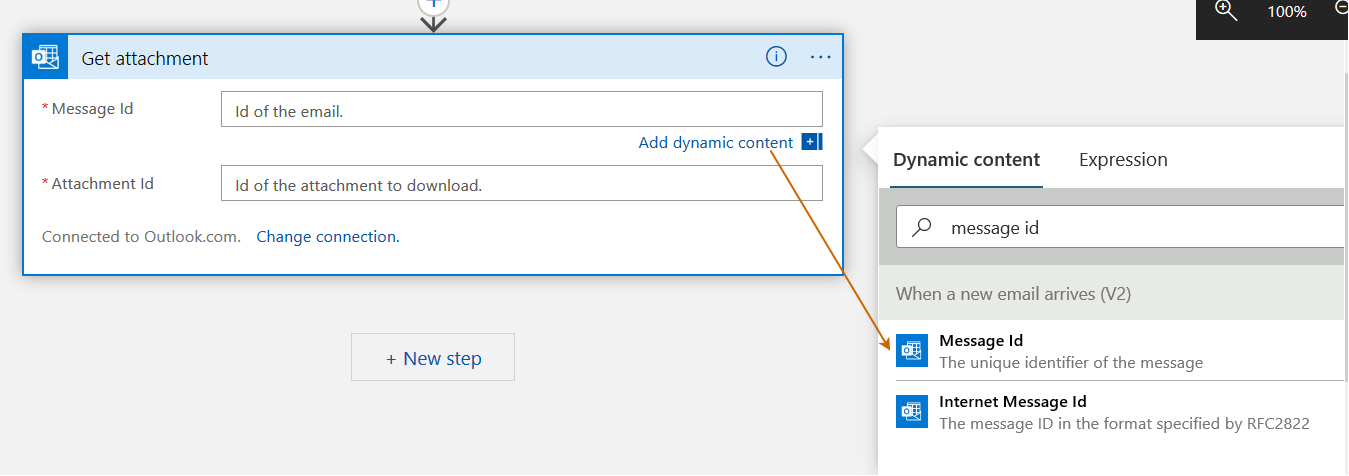
In the Get attachment configuration, it requires configuration for Message Id and Attachment Id.
Message Id: Click on the Add dynamic content and select Message id as shown below
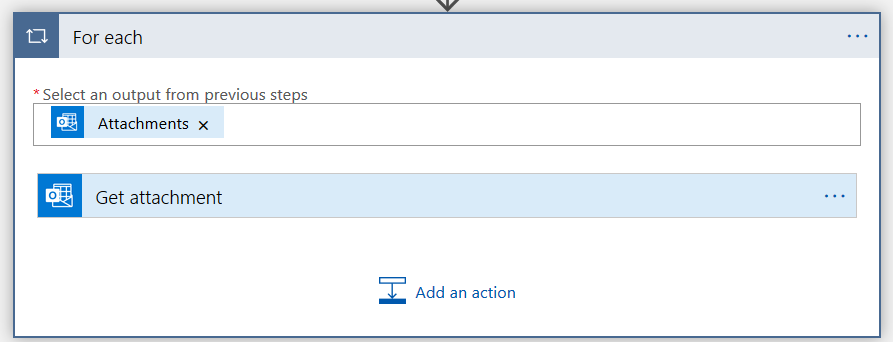
Attachment Id: Here, we need to map the id of the attachment we want to download. Click on Add dynamic content and select Attachments Attachment id.
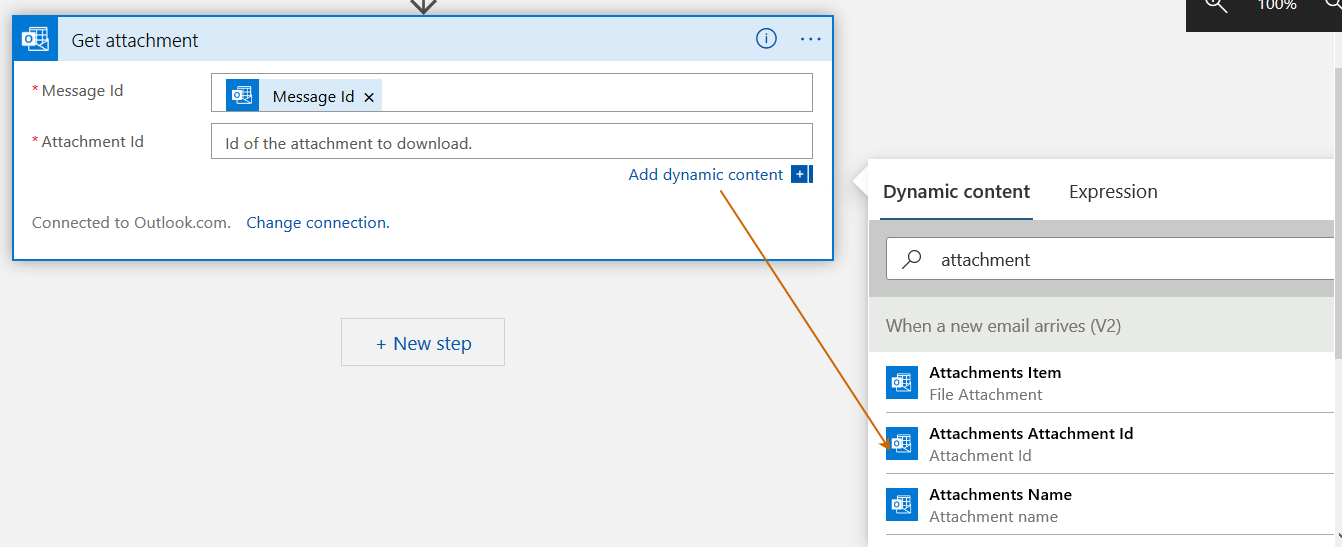
It displays For each block for attachments.
Configure Azure Blob Storage destination
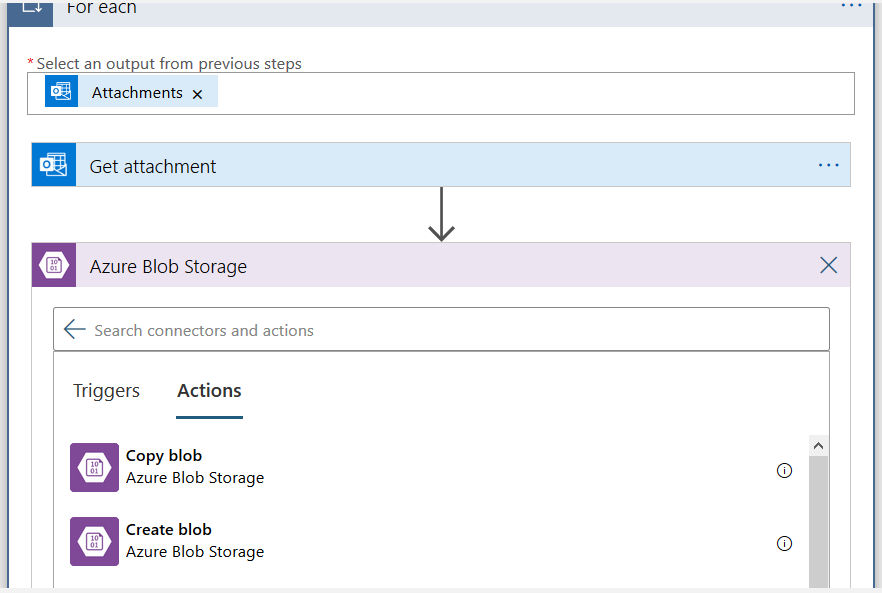
Next, click on Add an action. In the next step, we define the target storage location for storing these email attachments. In this demo, my destination storage in an Azure blob container. We already configured the input container for storing these files. Therefore, search for Azure Blob Storage.
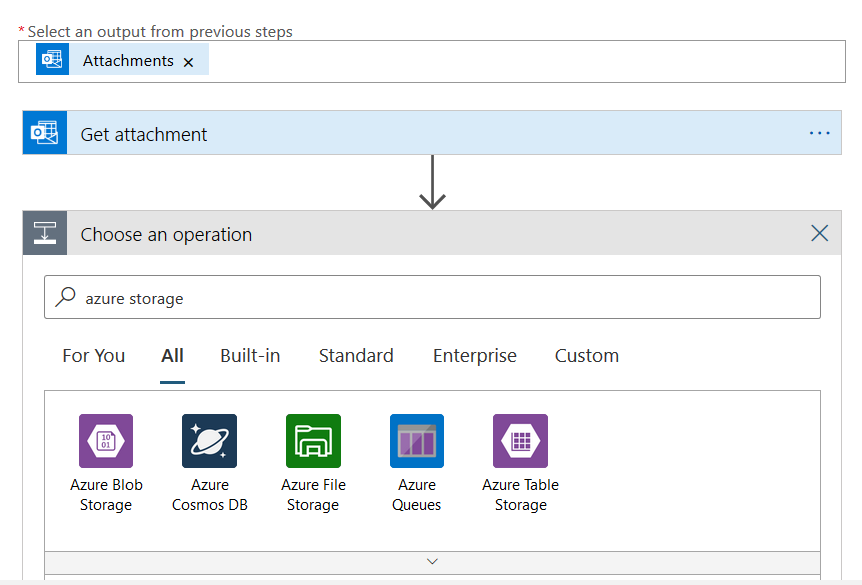
To upload a file into the Azure blob, select the Create blob from the actions list.
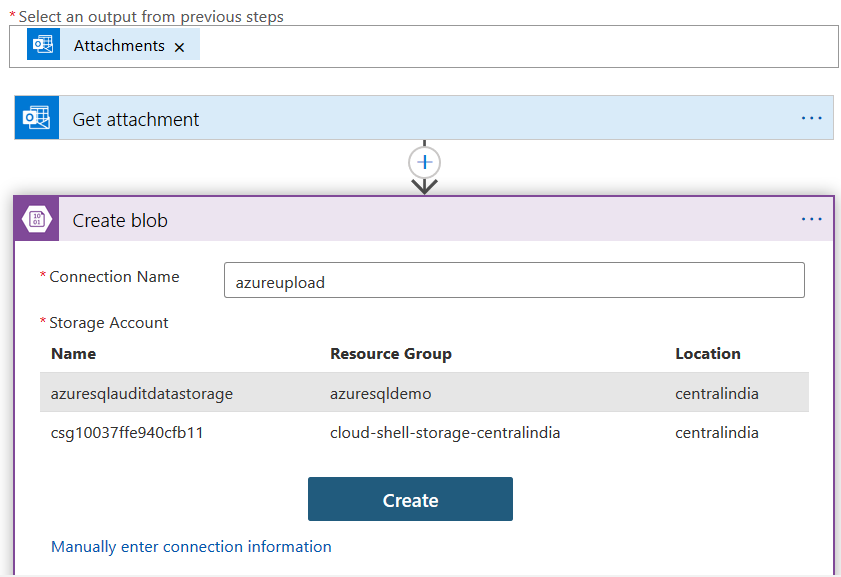
It automatically lists the azure storage account with the resource group and location. If you want a different storage account, you can enter the details manually as well.
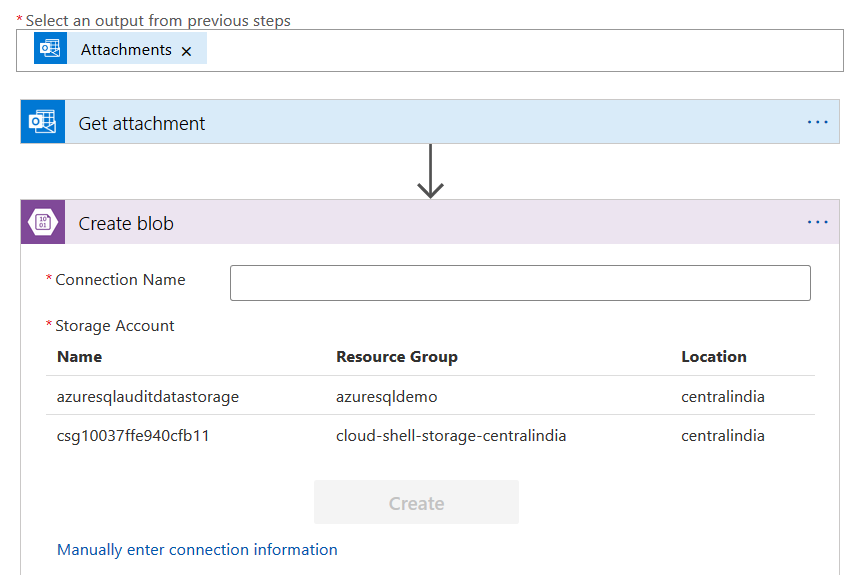
Select your azure storage account and enter a connection name, as shown below.
It asks for the following configuration of creating the blob action item:
- Folder path: Click on the folder icon and select the container to save the email attachment. Here, we want to save these files into the /input container
Blob Name: In this configuration, we specify the blob container file format. For this purpose, I use the dynamic content option – Attachment Name
Click on the blob name text box and click on Add dynamic content and select Attachment Name
- Blob content: In the blob content, select Attachment Content from the dynamic content.

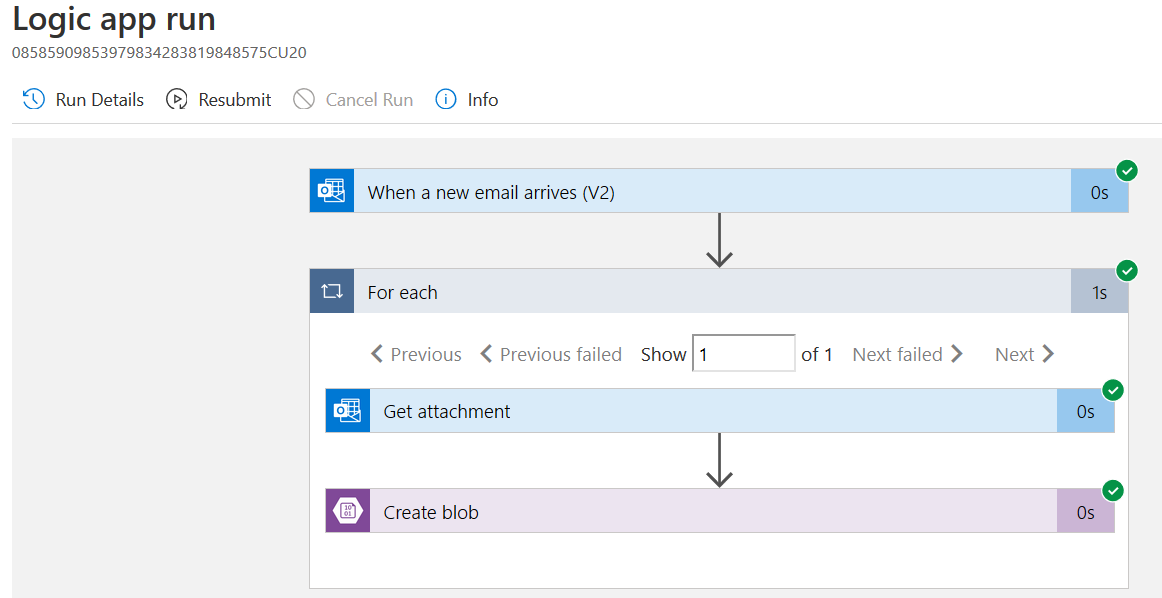
Let’s execute this azure logic app to validate things are working fine as expected. Until now, we implemented the following logic.
- When a new email arrives in specified Outlook.com id, and it has a subject – Azure Data Import CSV, the logic app saves its attachment into an azure blob storage container
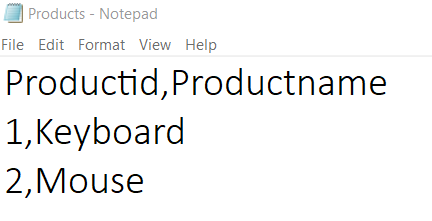
For demonstration purposes, I created the following CSV file.
Click on Run in the logic apps designer.
It starts the workflow and waits for a new email in the Inbox.

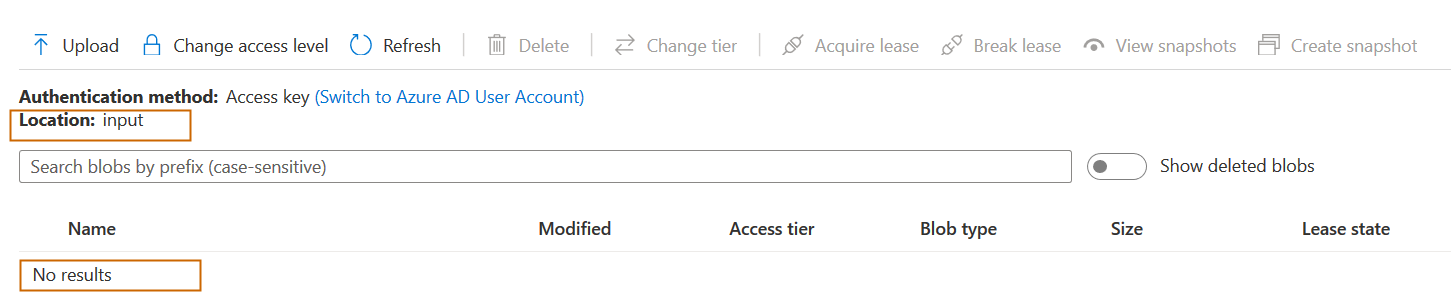
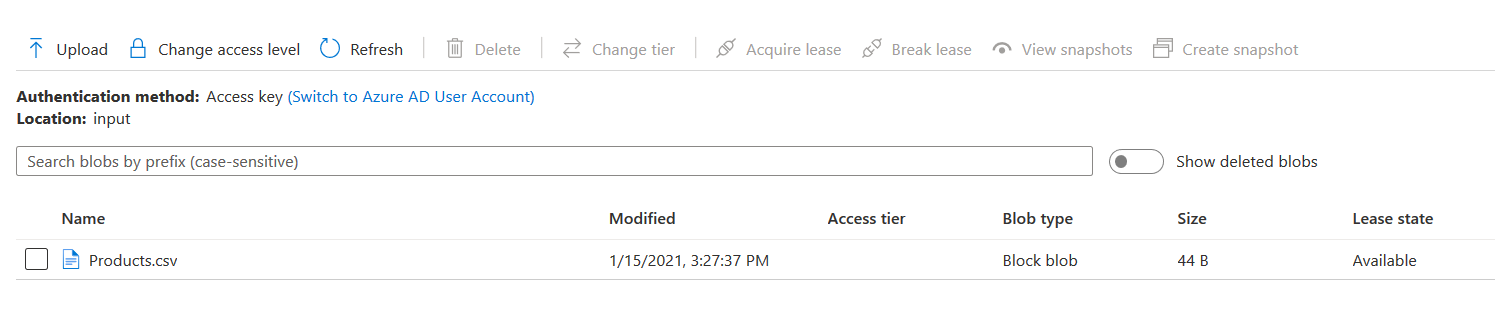
Before we send an email, verify that no files exist in the input azure blob storage.
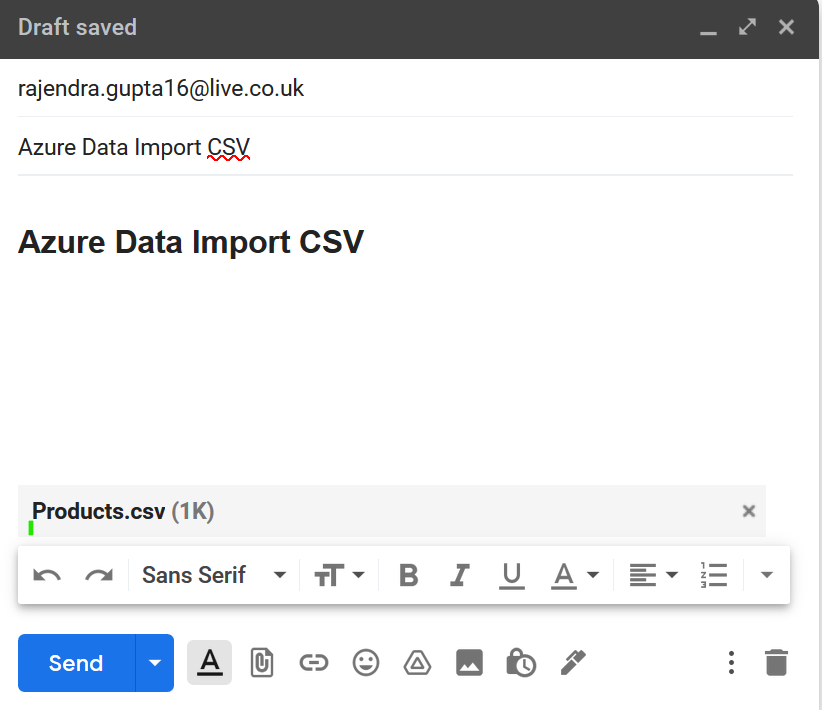
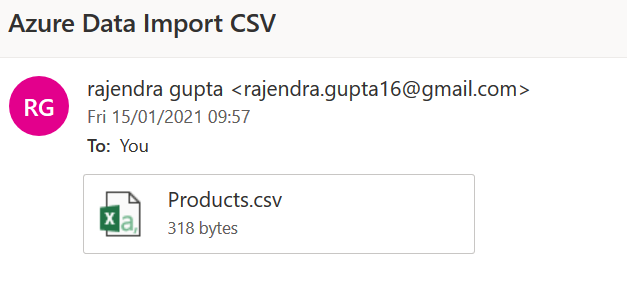
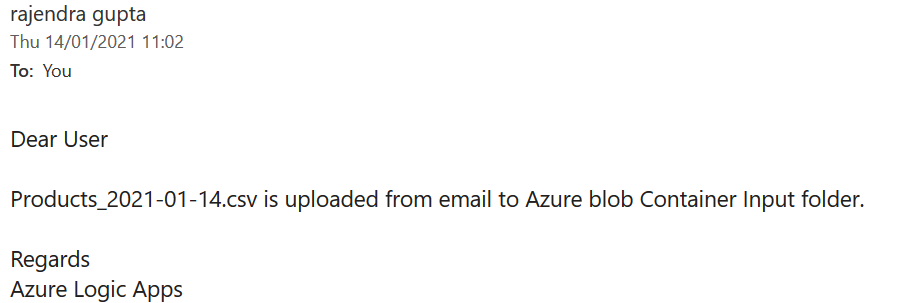
Create an email with the subject line that we specified during logic app configuration and send it to the configured email address. Here, you can see the email I sent with the Products.csv file as an attachment.
We received the email in my configured email Inbox.
We already started the logic app, but it was waiting for the new email in the Inbox. It detects the email and is processed with the following conditions.
Refresh the storage container, and you have the Product.csv file uploaded in it by the logic app workflow.

We have implemented the following task in the Logic app:
- Detect an email in the Inbox with a specific subject line and having an attachment
- The logic app retrieves the email attachment and saves it into the azure blob storage
Send email when a logic app uploads a file into an azure storage container
Suppose we wanted to get an acknowledgment or confirmation email once the azure logic app uploads a file into the storage container. In this way, you come to know about any file it has processed.
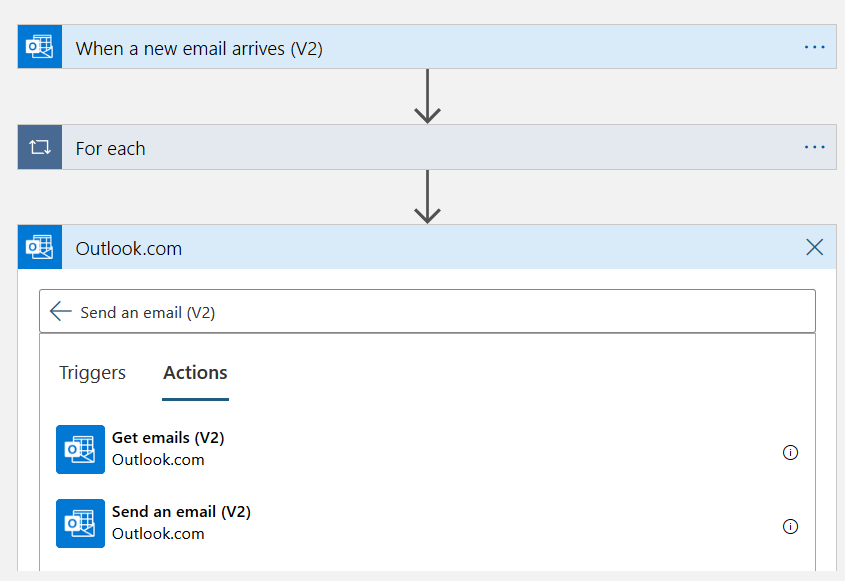
For this purpose, click on New item and select Outlook.com. In the task, search for the send an email (V2) task.
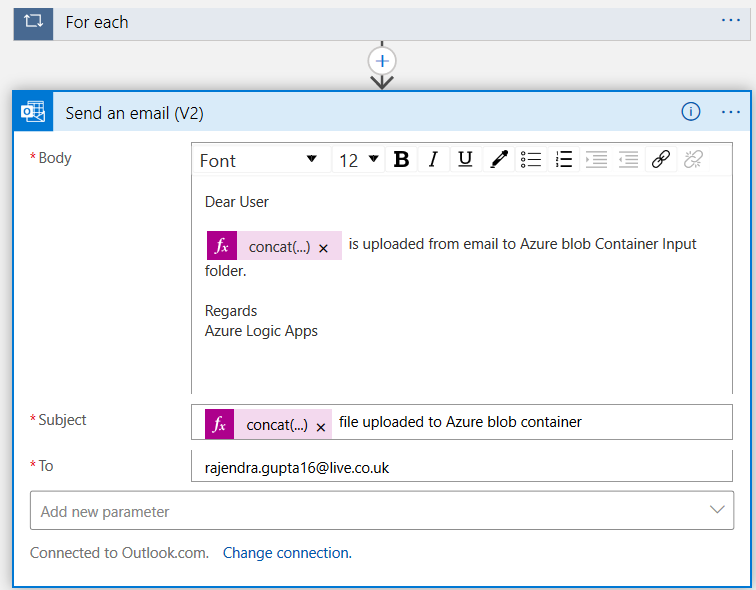
Click on Send an email (V2) and define a subject, body and recipient email address. I used the CONCAT string function for the subject and body to give the file name in the subject and body date.
concat(‘Products_’,formatDatetime(utcNow(),’yyyy’), ‘-‘, formatDatetime(utcNow(),’MM’), ‘-‘,formatDatetime(utcNow(),’dd’),’.csv’)
Mark email as Read once Azure logic app processed it
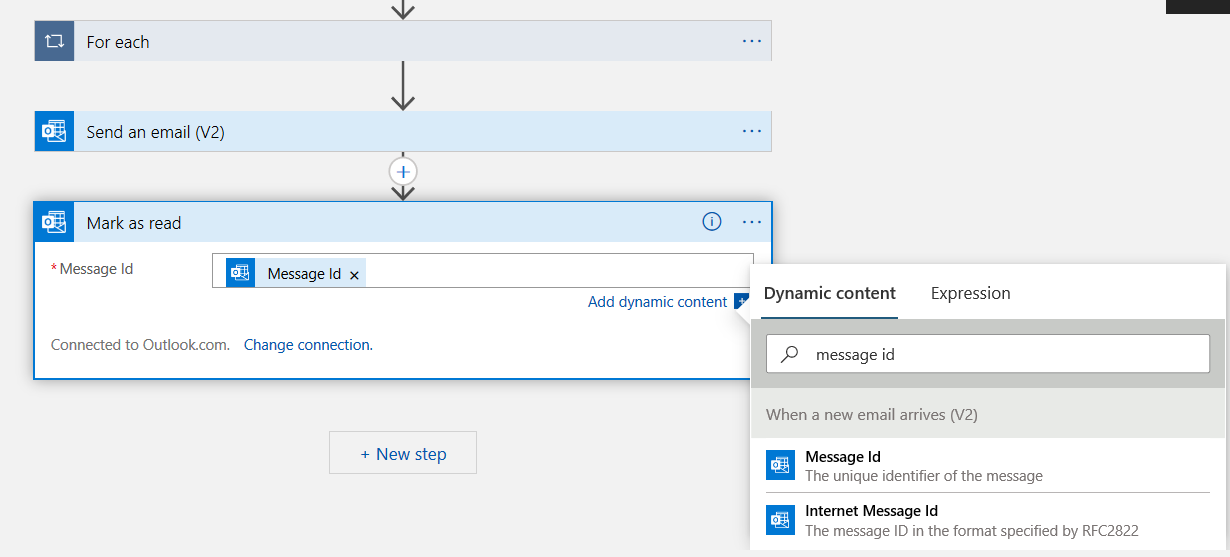
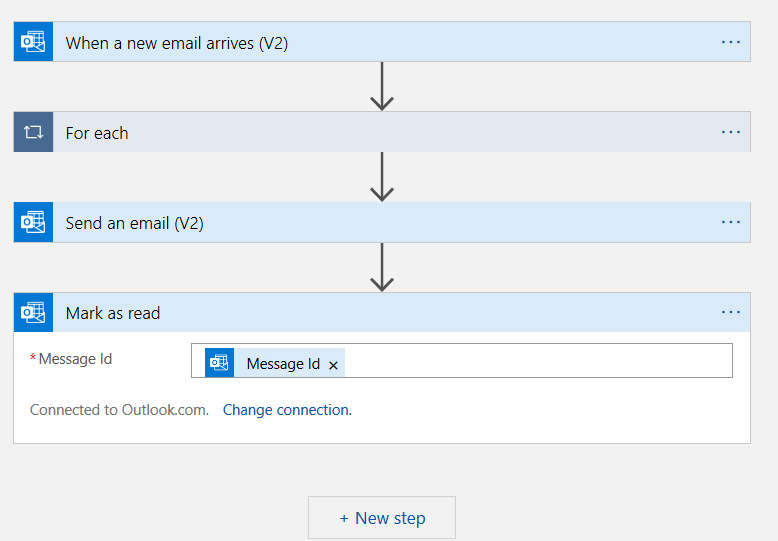
Let’s consider an additional requirement. Once the logic app uploaded an email attachment into the blob container, sends a confirmation email, the email should be marked as READ. For this purpose, select the Mark as read action from the Outlook.com task.
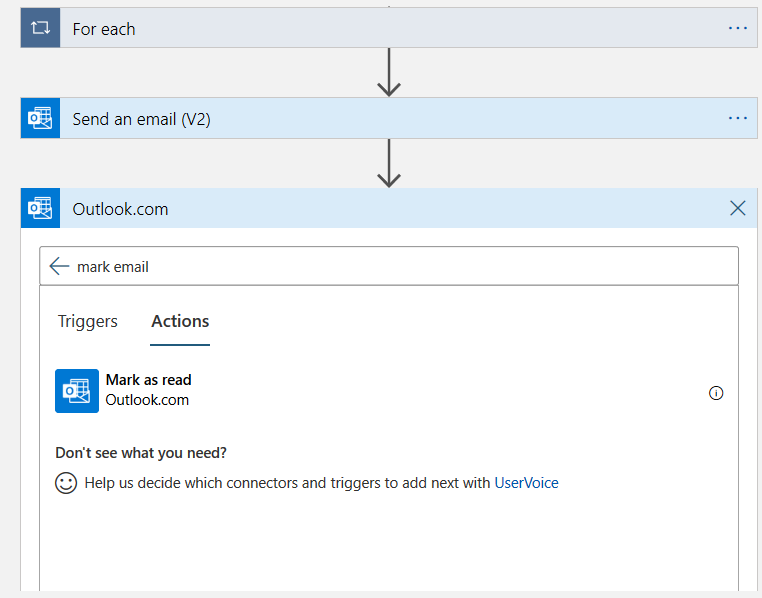
In the Mark as read action configuration, we pass the dynamic content Message Id input as shown below.
Save the logic run app and click on Run Trigger.
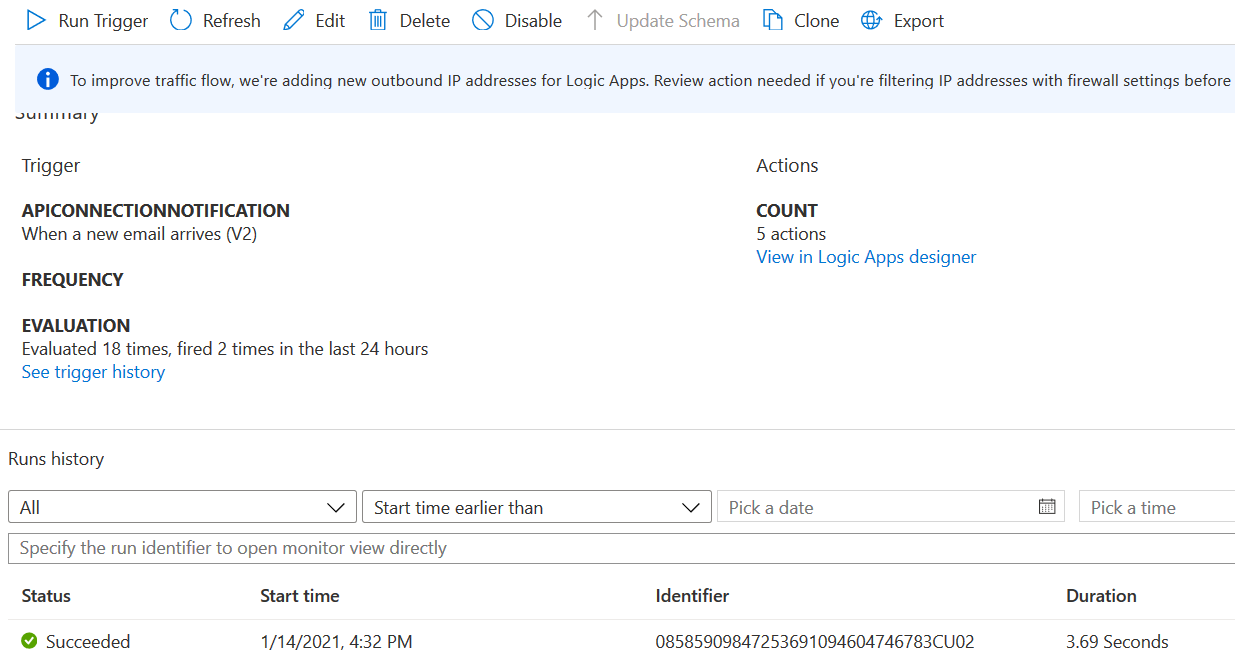
Once we send the email to a specified email address, it uploads an email attachment into the storage container, sends the email acknowledgment and marks an email as Read as you can see in the following screenshots.
Storage container:
Email content:
Email is marked as Read:

Conclusion
This article uses Azure Automation using the Azure Logic App to detect a new email with a specific subject, extract an attachment, and save it into the Azure storage container. We also configured the email confirmation once the upload is done. In the next part of the article, we will import this CSV file into Azure SQL Database using the BULK INSERT statement.
Table of contents

I am the author of the book "DP-300 Administering Relational Database on Microsoft Azure". I published more than 650 technical articles on MSSQLTips, SQLShack, Quest, CodingSight, and SeveralNines.
I am the creator of one of the biggest free online collections of articles on a single topic, with his 50-part series on SQL Server Always On Availability Groups.
Based on my contribution to the SQL Server community, I have been recognized as the prestigious Best Author of the Year continuously in 2019, 2020, and 2021 (2nd Rank) at SQLShack and the MSSQLTIPS champions award in 2020.
Personal Blog: https://www.dbblogger.com
I am always interested in new challenges so if you need consulting help, reach me at rajendra.gupta16@gmail.com
View all posts by Rajendra Gupta
- Understanding PostgreSQL SUBSTRING function - September 21, 2024
- How to install PostgreSQL on Ubuntu - July 13, 2023
- How to use the CROSSTAB function in PostgreSQL - February 17, 2023