
Introduction
Source-code versioning control has always been at the core of Continuous Integration (CI) development practice. In fact tools by JetBrains and Microsoft (amongst, many vendors) have provided development teams an ability to implement some form of CI in their Software Development Lifecycle (SDLC). In recent years, however, the focus of an effective CI strategy has expanded to include mechanisms of keeping track of database files. The possibility of this gradual expansion has largely been driven by two factors:
- Stability and maturity of source control systems such as TFS and Git
- Availability of freeware and proprietary tools that make it convenient for data professionals to keep control of their database source code
Thus, this article is a first of many in a series of conducting effective CI strategy for your database projects using Microsoft’s cloud-based Visual Studio Online (VSO) service. We will kick-off this series with a step-by-step tutorial on setting up a VSO service, configuring Git source control as well as checking in your first T-SQL script.
Installation
Sign into Visual Studio
The first pre-requisite of setting up source control using VSO is to have an active MSDN subscription or Microsoft account i.e. Outlook, Hotmail.
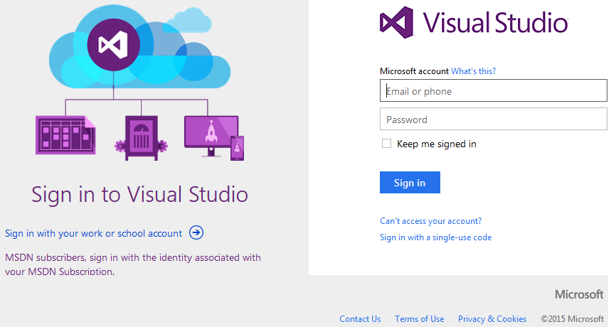
If you have an existing account or setup a new one, you can launch the Visual Studio website
Click on Get Started for Free. Sign into visual studio using your account.
Setup a Visual Studio Online Account
Next step after successfully logging in, is to setup a VSO account.
Click on the “Create a free account now” hyperlink located underneath Accounts heading.
You should then be redirected to a “Create a Visual Studio Online Account” page.
Under the Account URL textbox, type in a recognizable yet unique name – remember this name will form part of your TFS cloud instance. This means that every time you need to connect to your source control you will have provide a part of this name. I opted for almsifiso as shown below:
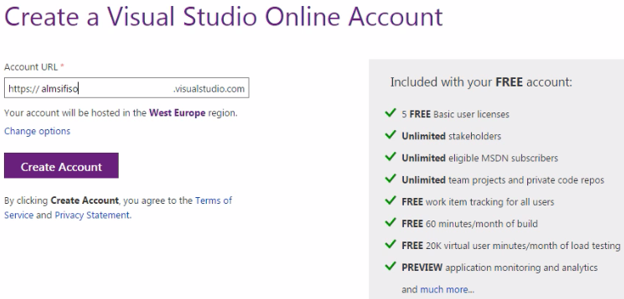
Click “Create Account” to complete this step.
Setup Team Project
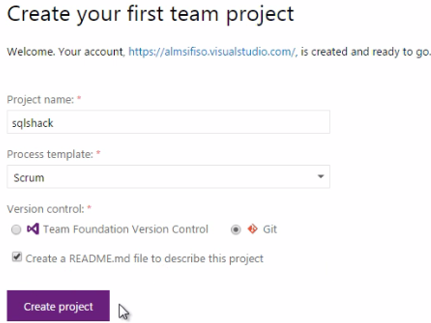
If you have setup both cloud-based TFS as well as on-premise TFS, you will concur that one of the benefit of using the cloud is that team explorer is not required to create a default team project. Instead, shortly after you have created your VSO account, you are redirected to “Create your first team project” page as shown below:
(This guide assumes that you have familiarised yourself with TFS architectural concepts such as Team Project, Team Project Collection, Teams, differences between process templates as well differences between version control systems available in VSO.)
For the purposes of exercise – I have chosen Git version control system. I have also opted to include the README.md file which will become out first file to be checked into git source control.
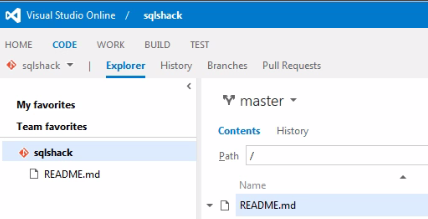
After you have clicked on the “Create project” button, you should be redirected to your web portal page. The code explorer page of your portal should consist of only the README.md file within the master repository as shown below:
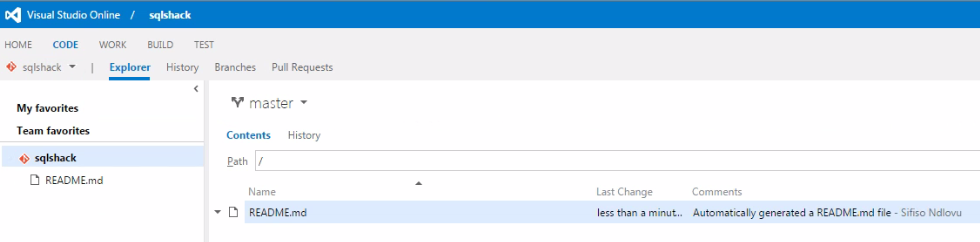
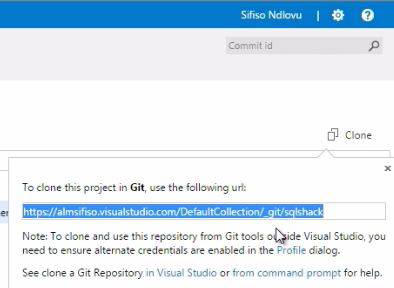
This concludes the installation section of this guide, the next section is configuration. Prior to moving onto the next section – ensure that you have a URL of your TFS site in your clipboard.
You can do this by navigating on the right far-end of your code-explorer window.
Click on the Clone icon and copy out its content.
Configuration
The details of the client machine I used for this configuration were as follows:
- Oracle Virtual Box 4.3.30
- Windows 7 Ultimate 64 bit with SP 1
- IE 10
- Team Explorer for Visual Studio 2013
- SQL Server 2012 Express
You don’t have to match my configuration but beware that the minimum version of visual studio required to connect to VSO is any edition of Visual Studio 2013.
Connect Team Explorer to TFS
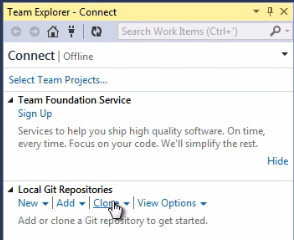
The first step towards configuring your development environment to integrate with VSO is to connect to your TFS cloud instance. This is done by launching Team Explorer for VS 2013.
Navigate to Team menu and click “Connect to Team Foundation Server…”

Click on the “Clone” link under the “Local Git Repositories” sub-heading.
Paste the TFS url from your clipboard.
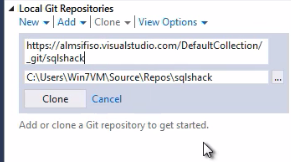
(You can change path to your working directory by clicking ellipsis)
Click the Clone button.
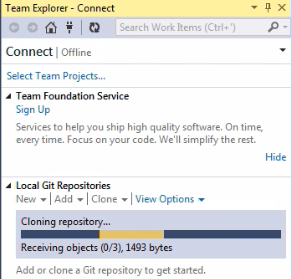
This is probably the first time you connect to your TFS cloud instance which means that you will be prompted to login with your Microsoft account. After you have signed in using your account – the cloning of your repository should be successful as shown below:
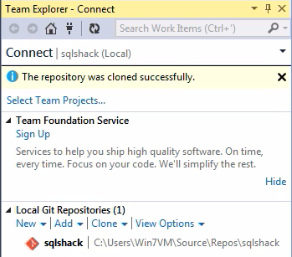
Open your working directory to confirm that the README.md file was downloaded as shown below:
Development
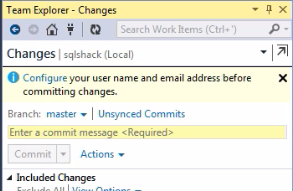
Now that we have setup and configured our source control, we can now proceed to conduct our first development check-in. The first step towards achieving our first development check-in would be to configure user name and email address that will be used to synchronise with cloud-based git. Again, this article assumes that you are familiar with the architecture of the git source system. Git source system allows you to commit your changes on a local version and later synchronise with the online service (i.e. GITHUB, VSO etc.).
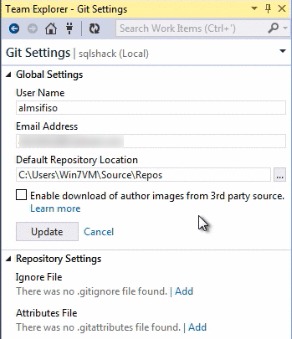
Configure Git Global Settings
In your Team Explorer window, click Configure as shown below:
Click update when you have provided the settings.
Your First DML T-SQL Script Check-In
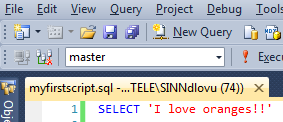
Launch SQL Server Express.
Open new query and type SELECT ‘I love oranges!!’
Save the script as myfirstscript.sql underneath your git working directory.
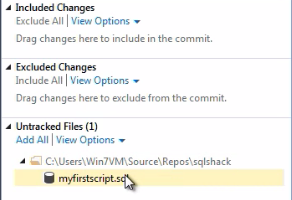
Navigate back to Team Explorer and the newly saved script should now appear under Untracked Files sub-heading.
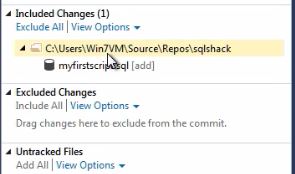
Right click and choose the Add commandto include the script in your check-in. This will move the script under the Included Changes sub-heading
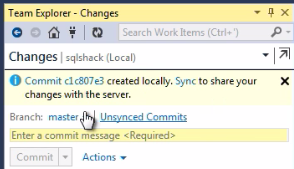
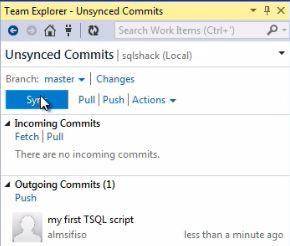
Enter a commit message and click the Commit button.
When the commit process completes, click Sync to share your changes with VSO.
When the Sync is complete, navigate back to the web portal and click on the code explorer. The T-SQL script should be listed as part of the contents of the master repository:

Conclusion
In this article we’ve gone through the steps necessary to setup Visual Studio Online account, configure a Team Project that uses Git source control system, integrate Team Explorer 2013 with VSO, and finally check-in your first database file in both local and cloud-based source control system. What has been demonstrated in this exercise is very basic and therefore subsequent articles will be used to focus more on advanced features of VSO and Git, including, resolving merge conflicts, code-reviews and setting build agents against your source code check-ins.

Sifiso's LinkedIn profile
View all posts by Sifiso W. Ndlovu