

In this article, I am going to discuss different ways in which you can install and setup Postgres Database on a Mac. Postgres is an open-source relational database system that can be used to develop a wide variety of data-based applications. Postgres has been popular for analytical workloads as well since it has support for column-store index and in-memory storage as well. Postgres is also available on all the major public cloud services like AWS, Azure, and GCP. In order to use those services, it is recommended that you should also have them installed on your local machine before deploying your databases to the cloud directly.
What is a Postgres Database?
As per the definition from the official website – “PostgreSQL is a powerful, open-source object-relational database system that uses and extends the SQL language combined with many features that safely store and scale the most complicated data workloads“. Postgres has been a stable and reliable database product and has been continuously under development for the past two decades. A lot of enterprise-scale applications, whether web or mobile, use Postgres Database as a backend relational database management system. A few of the most common tech stacks where Postgres is mostly used are as follows.
- LAPP stack – This is one of the most common web development technologies with a combination of Linux, Apache, Postgres, PHP/Perl
- Transactional Database systems / OLTP databases – It is also used as a general-purpose database system that supports real-time high throughput transactional workloads
- Analytical Databases / OLAP – Postgres is also widely used to support analytical workloads in enterprises
- Geospatial Analyses – Postgres is also largely used in the analysis of Geospatial data due to its support for the PostGIS plugin. PostGIS is a community-driven plugin developed especially for the Postgres Database to work with location analytics
How to install Postgres on Mac
Now that we have some idea about what a Postgres Database is all about, let us now go ahead and try to install it on our local machine. There are various ways in which you can install Postgres on your machine. You can either install it using the command line package manager Homebrew or you can also visit the official website and get the latest downloaded-able file and start your installation. Personally, I believe installing the Postgres database using the command-line package manager Homebrew is much easier and clean as it automatically manages the external dependencies that we need to have in order to install Postgres on our machine.
Pre-requisites
In order to install Postgres on the local Mac using Homebrew, we need to suffice a few of the prerequisites as follows.
- Homebrew for MacOS
- Google Chrome – PGAdmin
Installing/Updating Homebrew on MacOS
Let us now proceed and check if we have Homebrew installed on our MacOS. Homebrew is an open-source package management solution on MacOS and Linux. It was first released in May 2009 and since then has been under development. The latest release is in November 2020. You can read more about Homebrew from the official website. You can use Homebrew not only to install Postgres but also any other tools from a large library of applications already available.
Let us now check if you already have Homebrew installed on your machine. You can open up your terminal and run the command – “brew”.
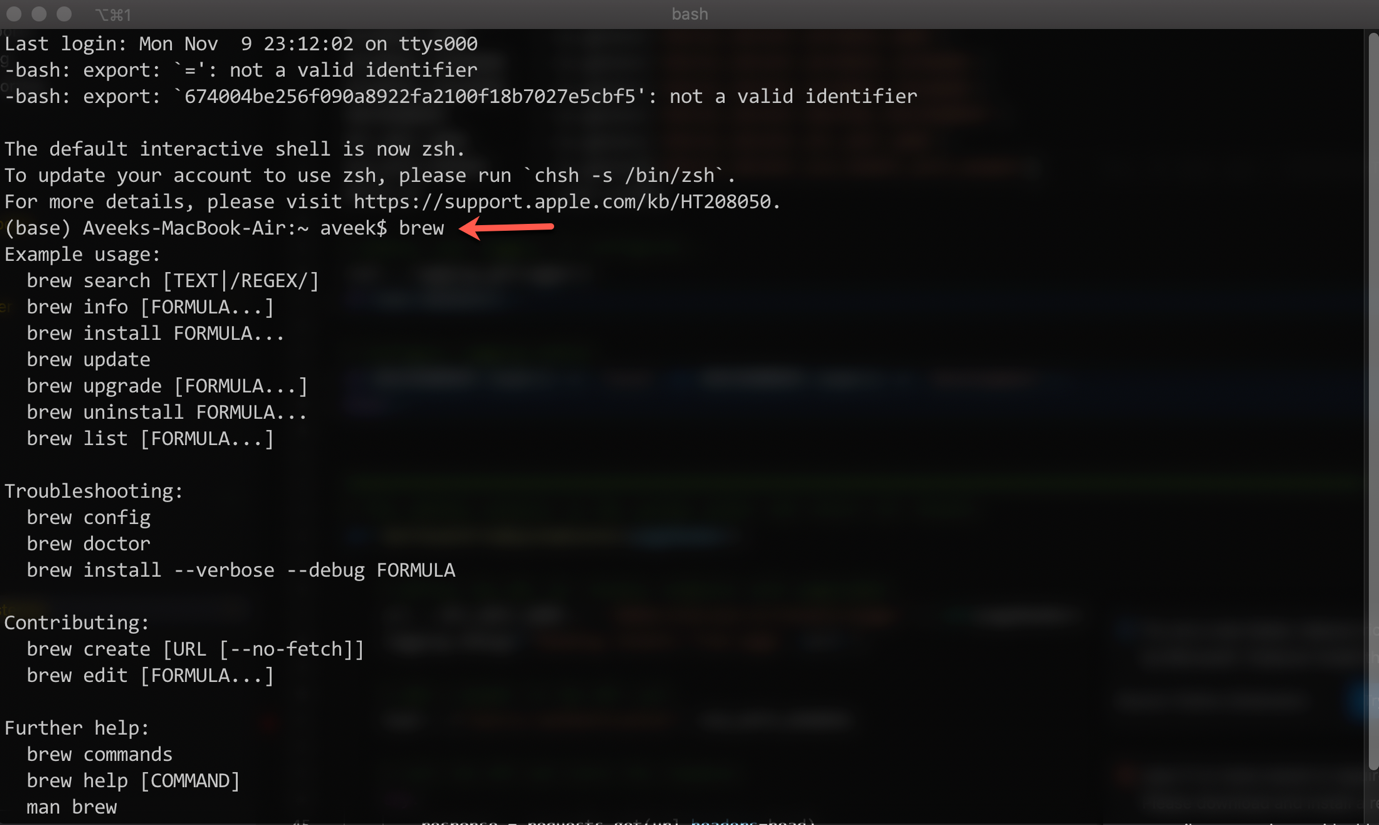
Figure 1 – Check if Homebrew is already installed on your MacOS
As you can see in the figure above, I have already installed Homebrew on my system and it returns me a list of the services that are available to be used from Homebrew. However, if you find that there is no Homebrew installed on your machine, nothing to worry about. Just run the following command on your terminal to install Homebrew.
/bin/bash -c “$(curl -fsSL https://raw.githubusercontent.com/Homebrew/install/HEAD/install.sh)”
This will connect to the GitHub repository for Homebrew and get it installed on your machine. Once it is installed, try running the command from the previous step again to initiate Homebrew. To learn more about Homebrew you can follow this article.
Once Homebrew is installed on your machine, the next step is to update it. This is a best practice to follow and it updates your Homebrew before performing any operations with it.
brew update
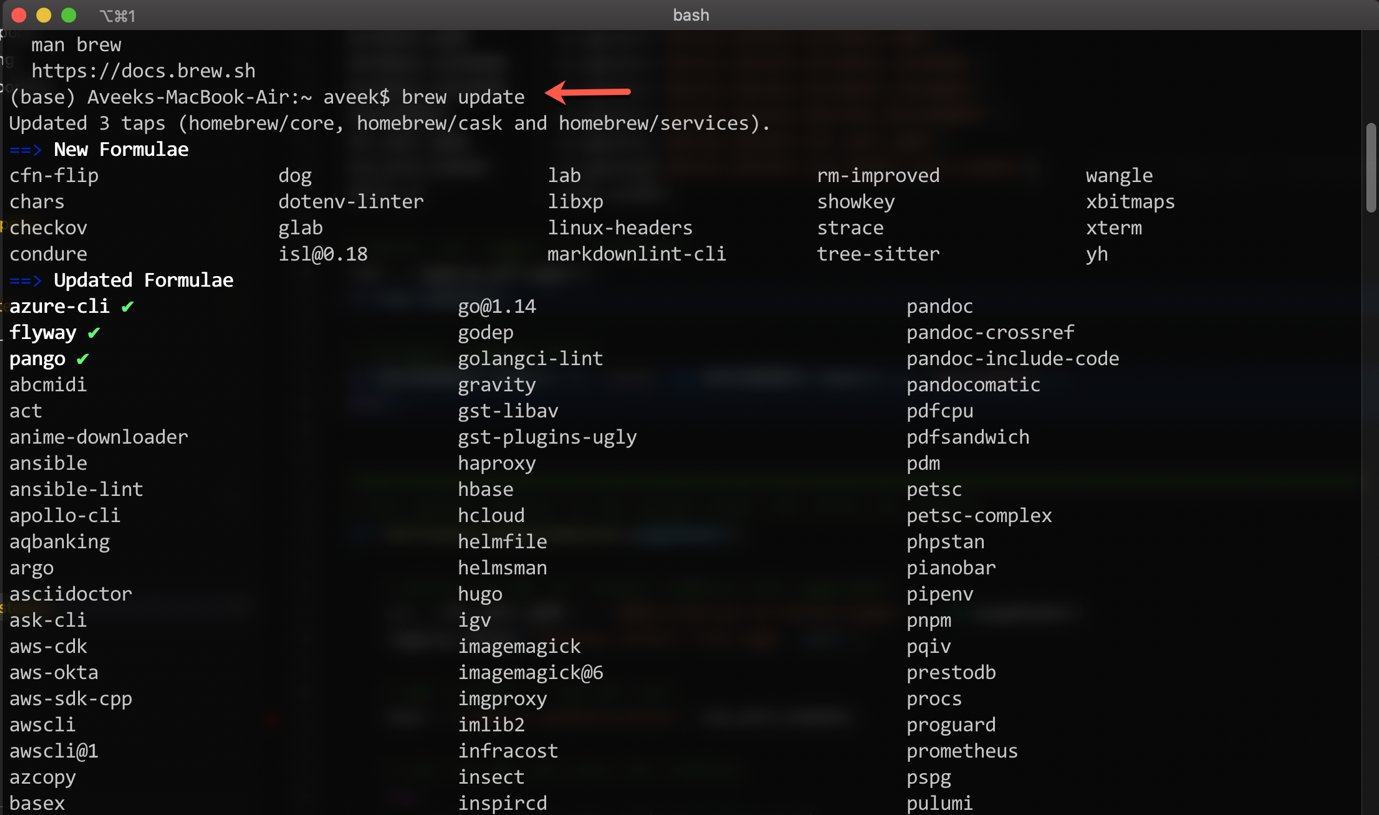
Figure 2 – Updating Homebrew on MacOS
Once you have the latest version of Homebrew, you can proceed to the next step.
Installing Postgres Database using Homebrew
Now that you have your Homebrew up and running, the next step is to install the Postgres database using Homebrew. You can run the simple command to install Postgres as follows.
brew install postgresql
This will fetch the latest version of Postgres from the repository and get it installed on your machine. Installing this might take some time and it varies based on the bandwidth of your internet connection. A good thing about installing Postgres using Homebrew is that it automatically manages the dependencies required by Postgres, you do not need to install anything separately.
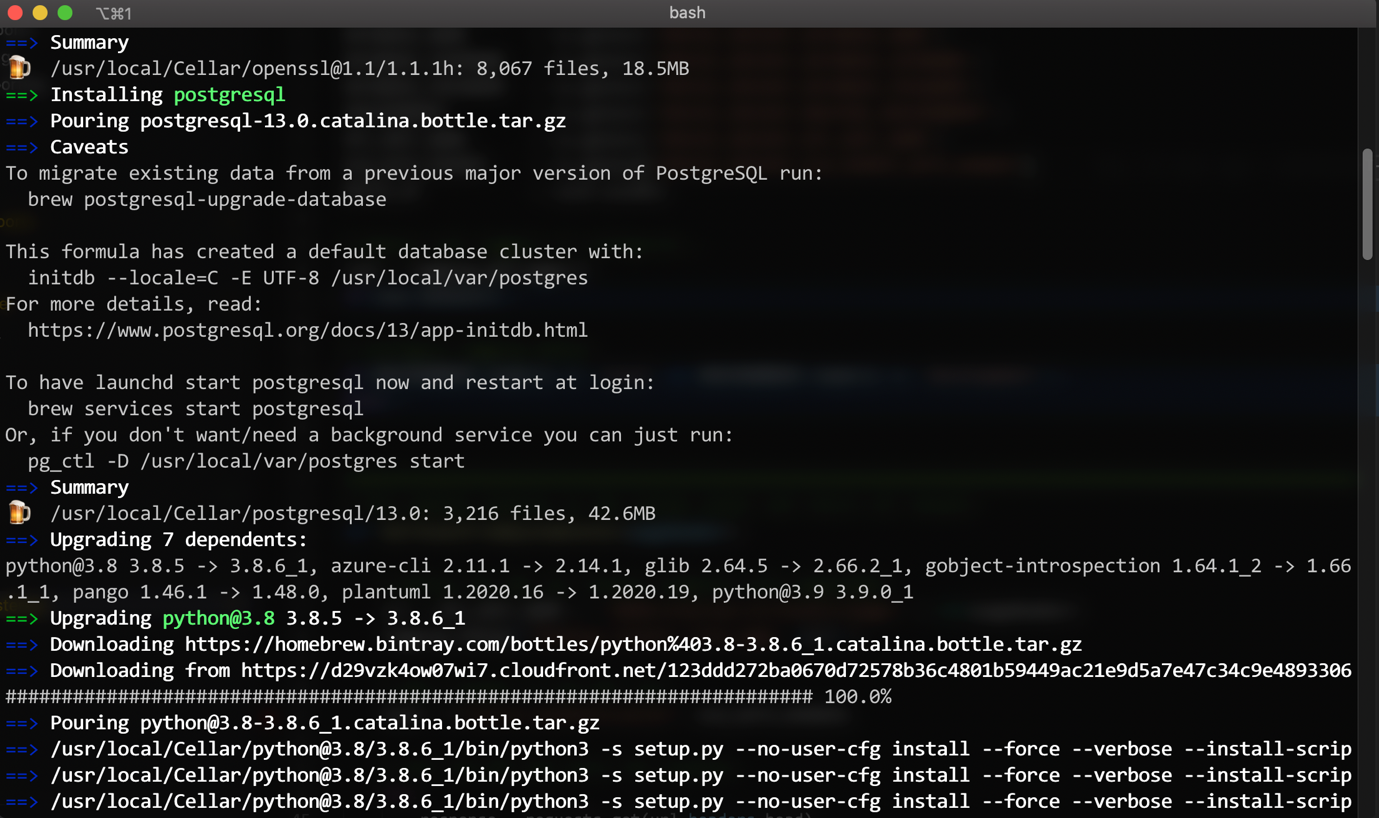
Figure 3 – Installing Postgres using homebrew
Wait for some time until the download and the installation process completes. Once completed, the next step will be to start the service up and running and start using it.
Starting and Stopping the Postgres Service
Now that we have the Postgres database installed on our machine, we need to start the service to be available for use. Use the command as follows to start running the service.
brew services start postgresql

Figure 4 – Starting the Postgres Service on Local Machine
Once the service starts, you are good to go ahead and use it. However, as a good practice, you should also stop running the service to free up resources on your local machine. You can use the following command to stop postgres from running.
brew services stop postgresql

Figure 5 – Stopping Postgres service
Configure the Postgres Database Server
Once the postgres server is up and running, the next step is to configure it for use. We are going to create a root user that will have administrator privileges to the database server. Make sure that the service is running and then run the following command.
psql postgres
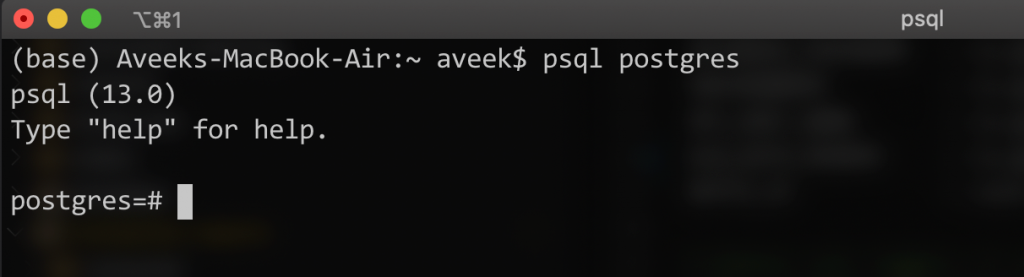
Figure 6 – Log into Postgres Server
As you can see in the figure above, we have logged into the postgres service and now ready to execute PGSQL commands. We are going to create a new user that will have the privileges to create and manage databases within the service. You can execute the command as follows to create the new user with the right access.
CREATE ROLE newUser WITH LOGIN PASSWORD ‘password’;
ALTER ROLE newUser CREATEDB;
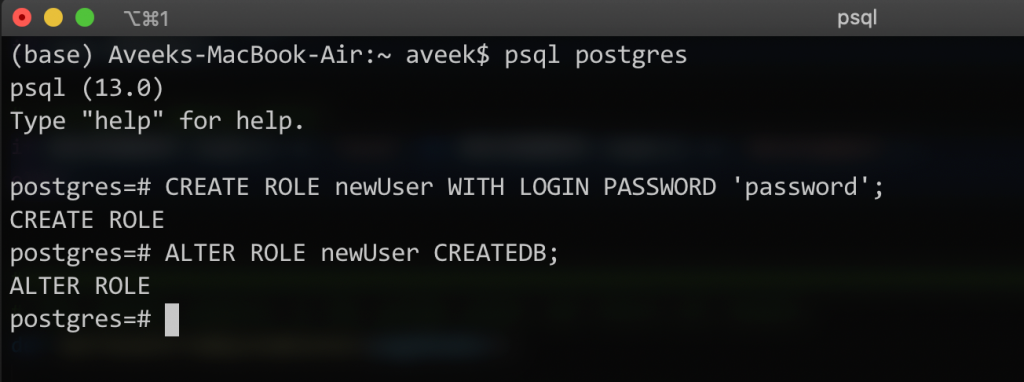
Figure 7 – Creating a new user in Postgres
Once the new user is created, you can also start using the credentials and log in with the new user’s credentials. You can use the following command to log in with the new user’s credentials. First, we need to quit the current session and then reconnect with the new user’s credentials.
\q
psql postgres -U newuser
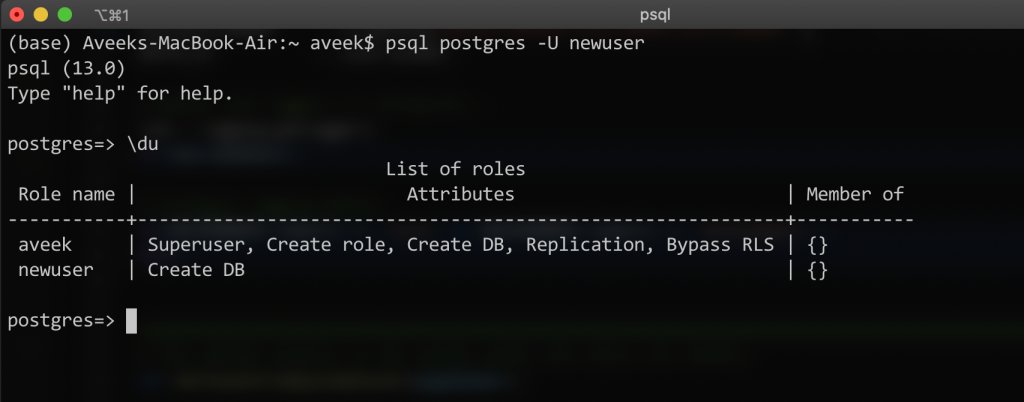
Figure 8 – New user created with CREATEDB permissions
Installing PGAdmin to navigate Postgres Database server
Using the terminal to connect to Postgres is not always helpful. There are many clients available that allow you to connect and use Postgres. PGAdmin is one of the most popular web-based interactive clients available for Postgres to manage the database server. You can use it for almost any sort of activities you want to perform with Postgres. Navigate to https://www.pgadmin.org/ and download the DMG and install it. Once installed, provide the credentials as follows.
- host – “localhost”
- user – “newuser”
- password – “password”
- maintenance database – “postgres”
Once you log in, you can see all the various functions that can be used within PGAdmin.
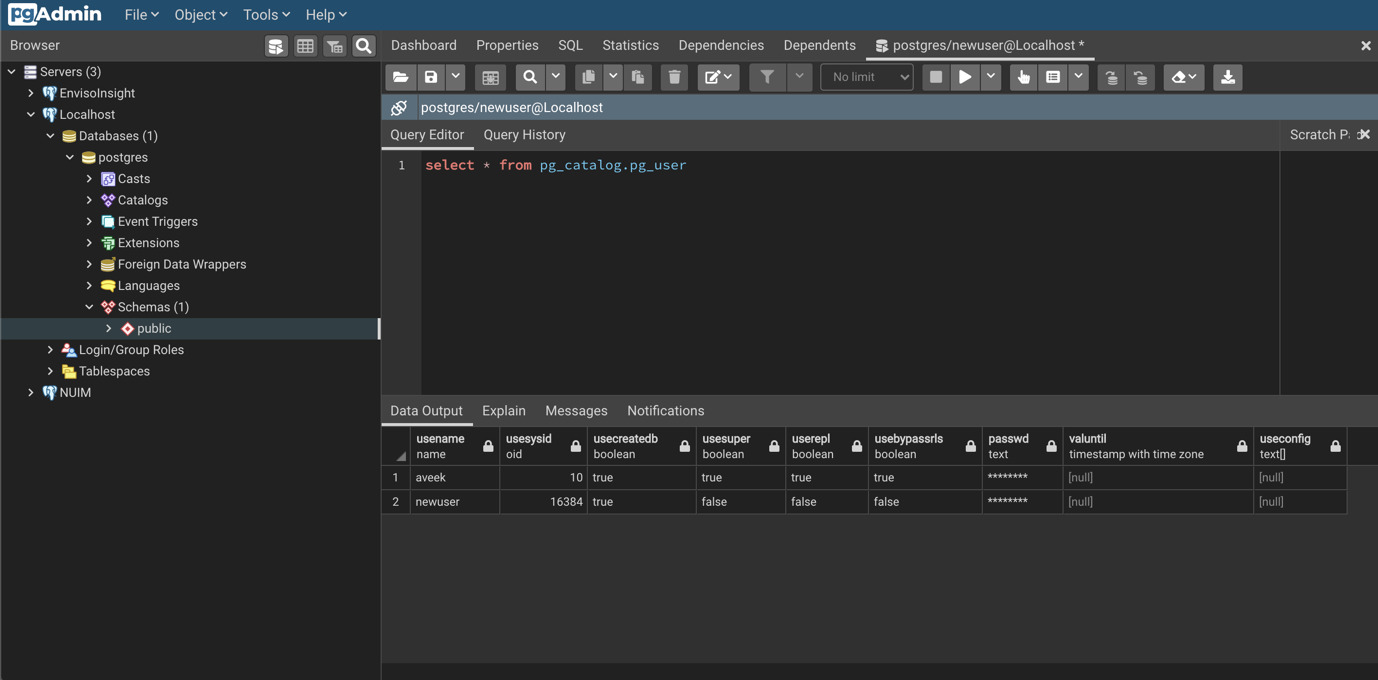
Figure 9 – Using the PGAdmin Management Tool
Conclusion
In this article, we have learned how to install the Postgres database on a MacOS and use the terminal and PGAdmin to use it. In my upcoming articles, I will provide more details about using PGAdmin for management and development purposes.

He is a prolific author, with over 100 articles published on various technical blogs, including his own blog, and a frequent contributor to different technical forums.
In his leisure time, he enjoys amateur photography mostly street imagery and still life. Some glimpses of his work can be found on Instagram. You can also find him on LinkedIn
View all posts by Aveek Das
- Getting started with PostgreSQL on Docker - August 12, 2022
- Getting started with Spatial Data in PostgreSQL - January 13, 2022
- An overview of Power BI Incremental Refresh - December 6, 2021