In this article let’s see how to install a SQL Server Instance using a Docker container in Windows server 2016.
“Containers” is probably one of the hottest buzz words talked about these days in IT world, especially Docker containers. So, what exactly is Docker? Well, Docker is one of the few companies who develops, builds and distributes container technologies. It’s a pioneer in container technologies, similar to VMWare in virtualization technologies. I won’t be going into internals and architecture of how docker container works under the hoods in this article, instead lets just focus on installing docker containers inside windows server 2016 and then setup the latest version of SQL Server Instance on top of it.
One can install dockers in windows 10 (should be enterprise or professional with anniversary update or later and Hyper-V enabled.) or in Windows server 2016, In our case we will be using Windows Server 2016 for this purpose.
Installing Docker services on windows server 2016
In order to install Docker suite, first we have to enable containers feature in windows server 2016 and install Microsoft management package provider for docker. Okay, let’s get into action. To begin with, I created a Windows server 2016 Virtual machine and enabled direct internet access to the VM.
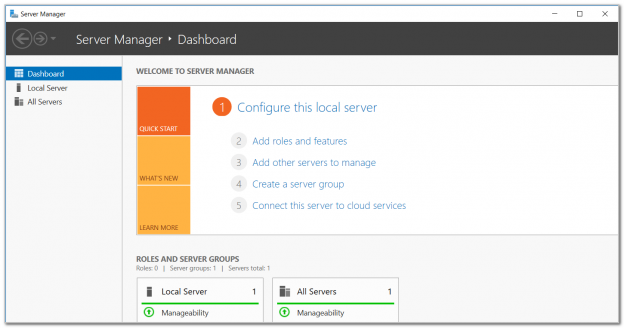
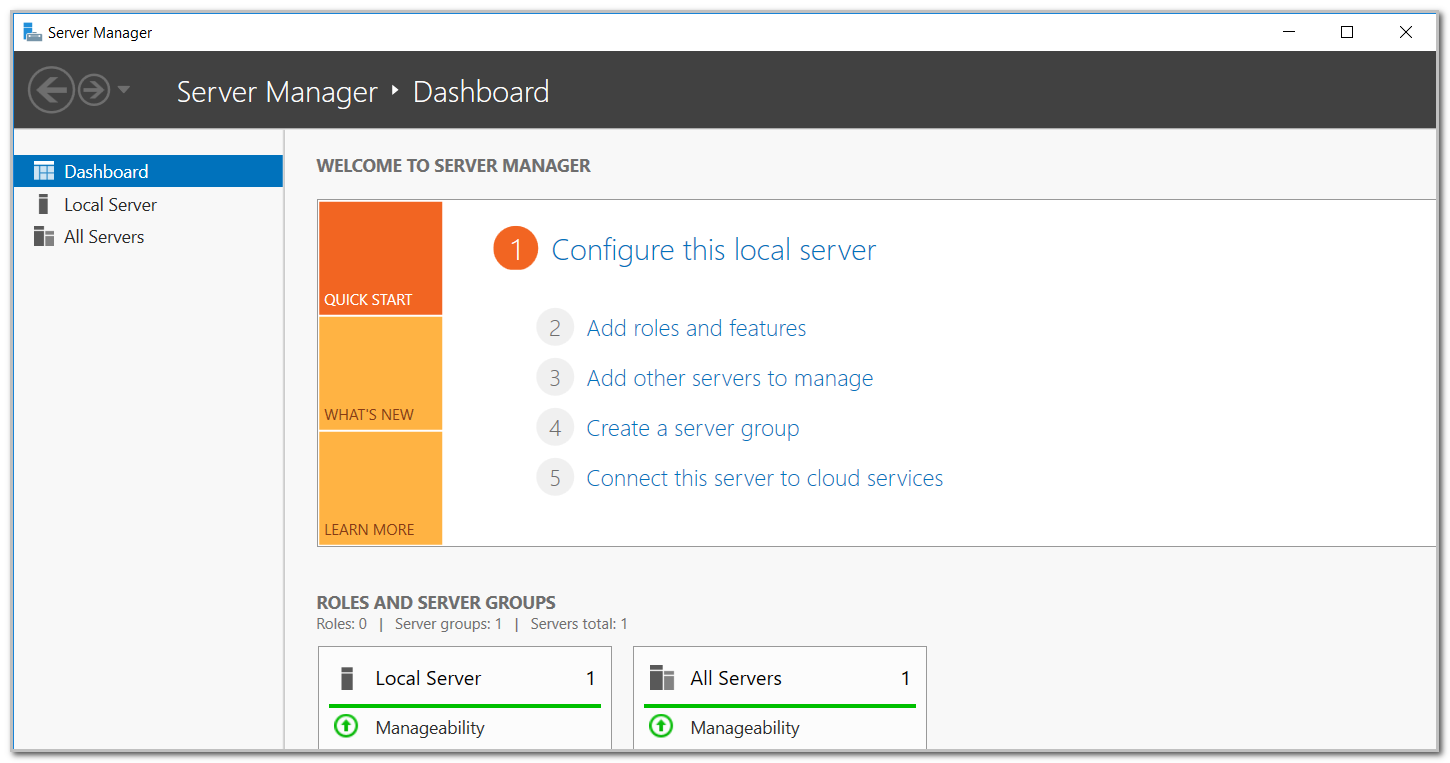
Open server manager and navigate to “Add roles and features” and select “Containers” feature as shown below.
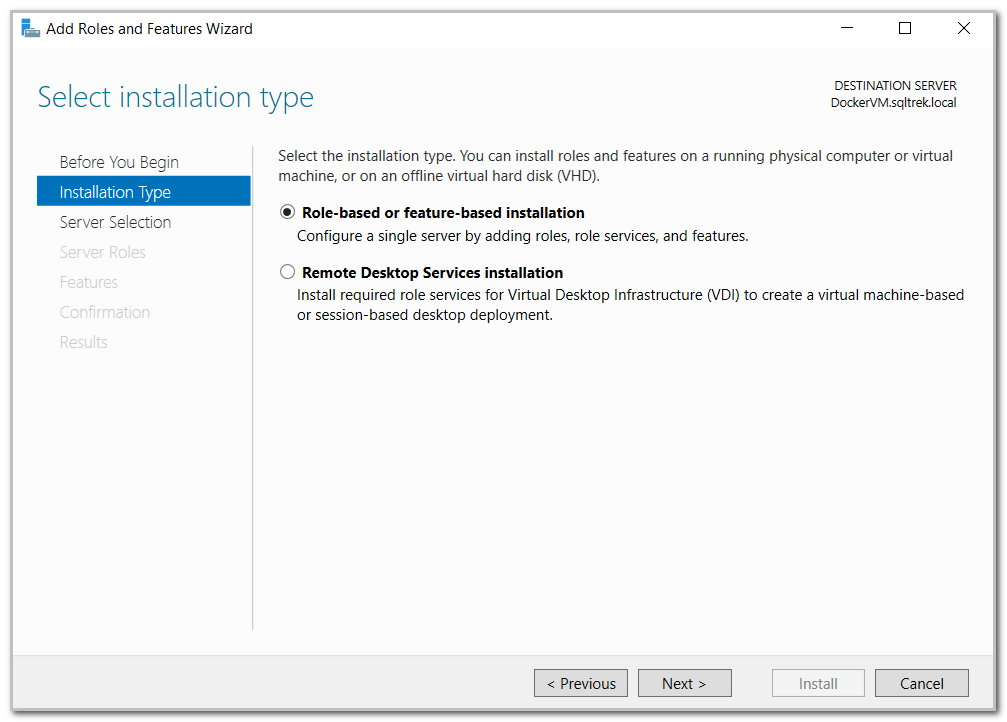
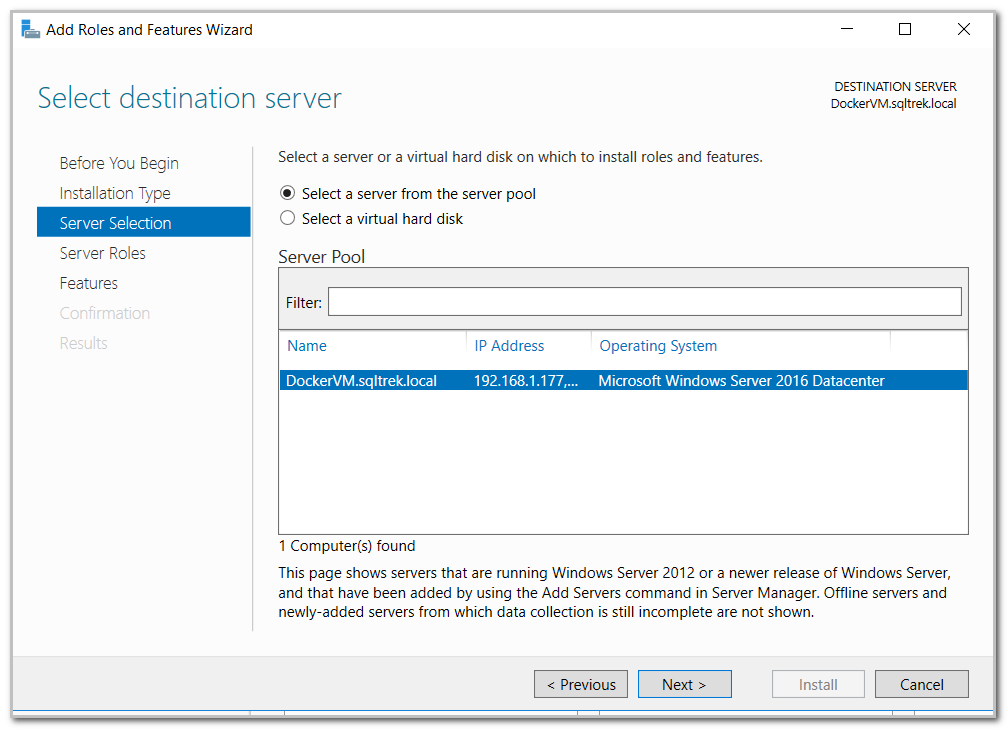
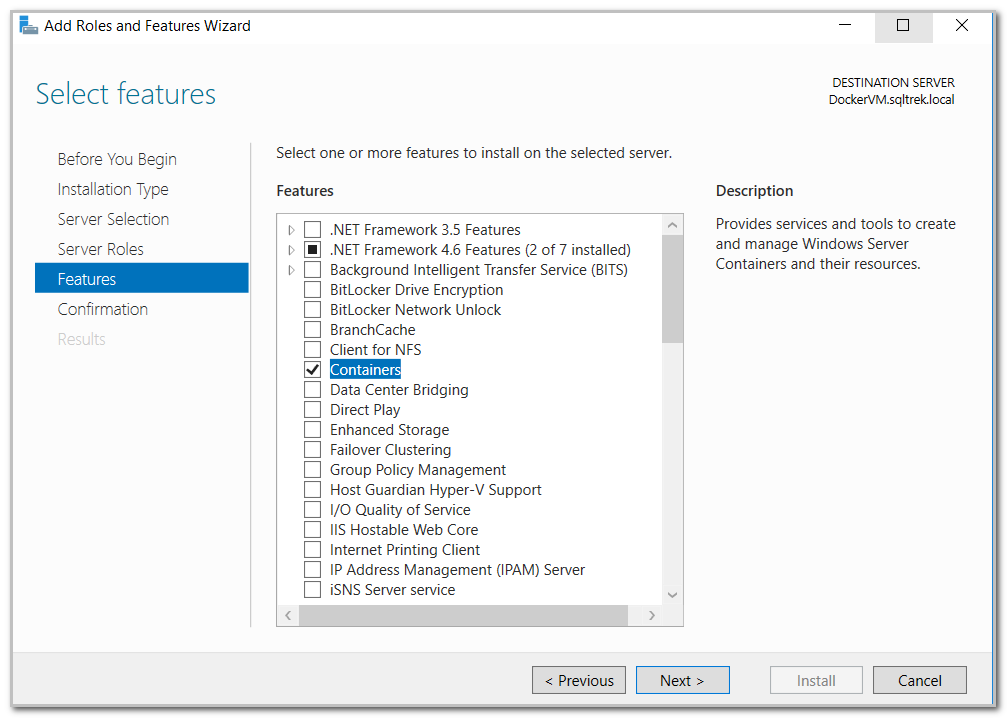
Select “Containers” feature and click “Next”.
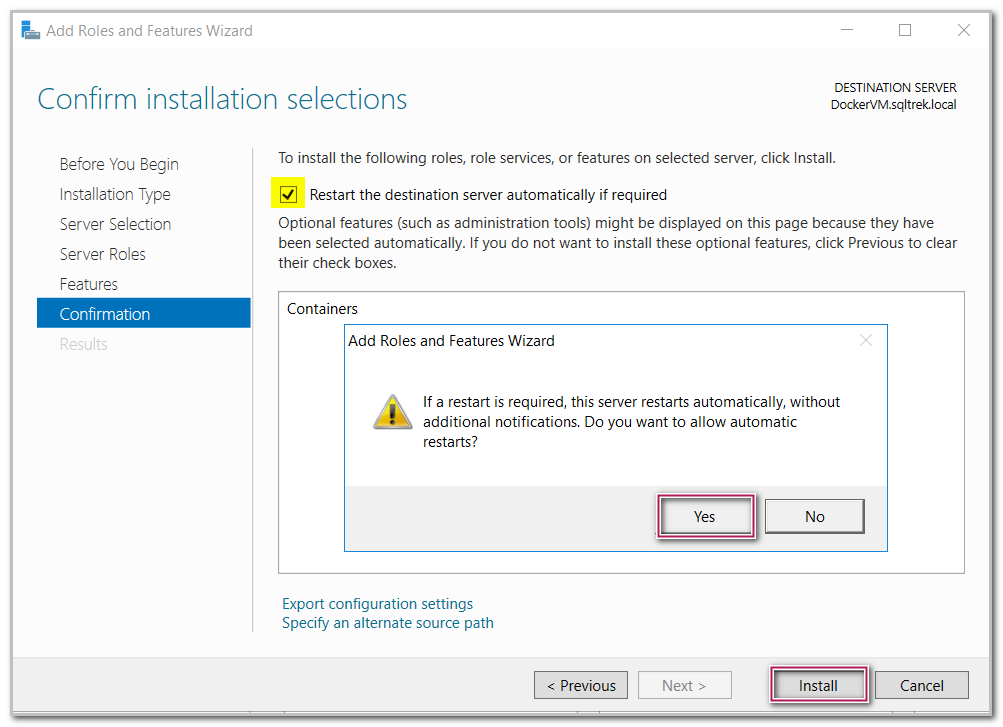
After a minute or so, the server got rebooted as per the option selected above. Now let’s download and install Microsoft package management provider for docker. For that. Open PowerShell in elevated mode (Run as an administrator) and issue below command.
|
1 |
Install-Module -Name DockerMsftProvider -Force |

You will be prompted to download and install NuGet provider as well as part of this installation, Type “Y” or just hit enter to proceed further.
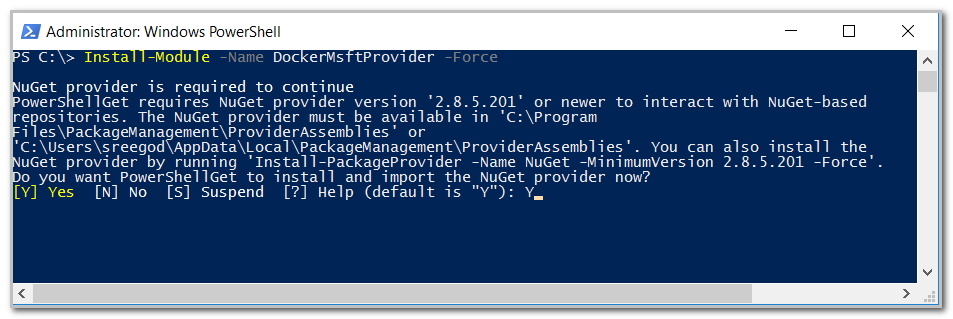
Now it’s time to install the Docker package. Issue the below provided PowerShell command to install the latest version of Docker. (This will install both Docker engine and the Docker client on your machine)
|
1 |
Install-Package -Name docker -ProviderName DockerMsftProvider -Force |
- Note: If you have the latest updates installed on your windows server 2016, you should not run into any issues.
In my case, I didn’t have the prerequisite patches installed on my server, so my installation ran into issues as shown in the below screenshot.
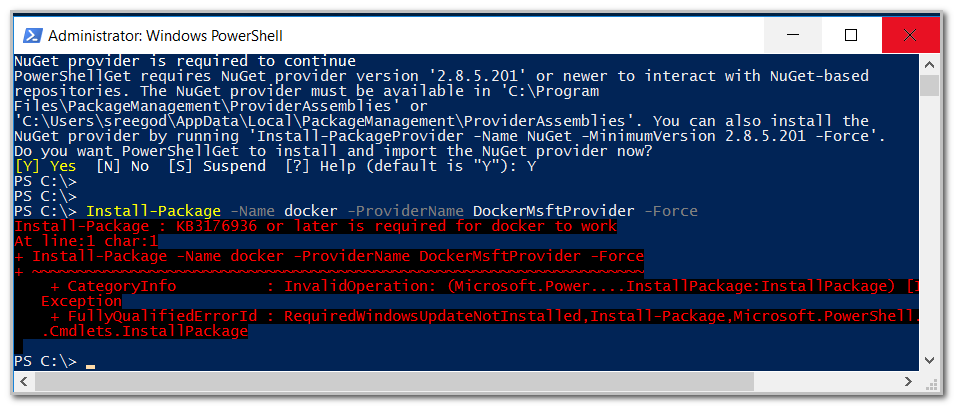
Well, let’s apply the latest and greatest updates available for my windows server 2016 invoking “sconfig”.
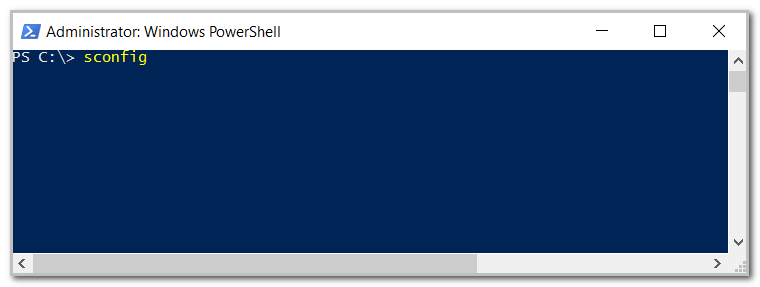
After few seconds, you should get below screen, from which you can select “Option 6” to download and install latest updates.
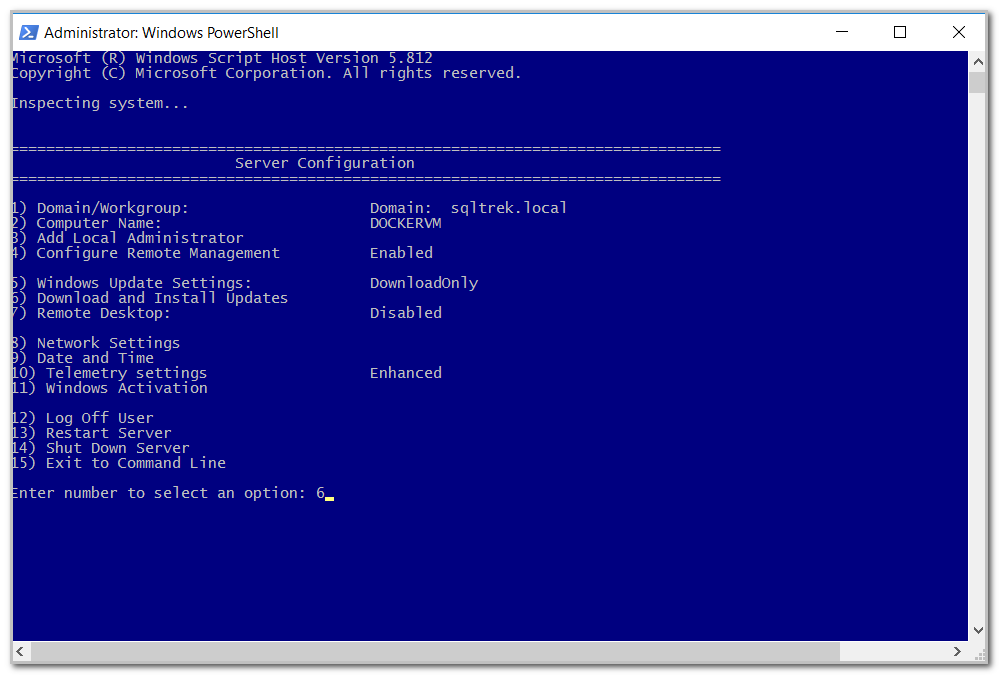
At this point, it prompted me to select either to install “All updates” or “Only recommended updates”. I opted for installing all updates as you can see in the below screenshots.
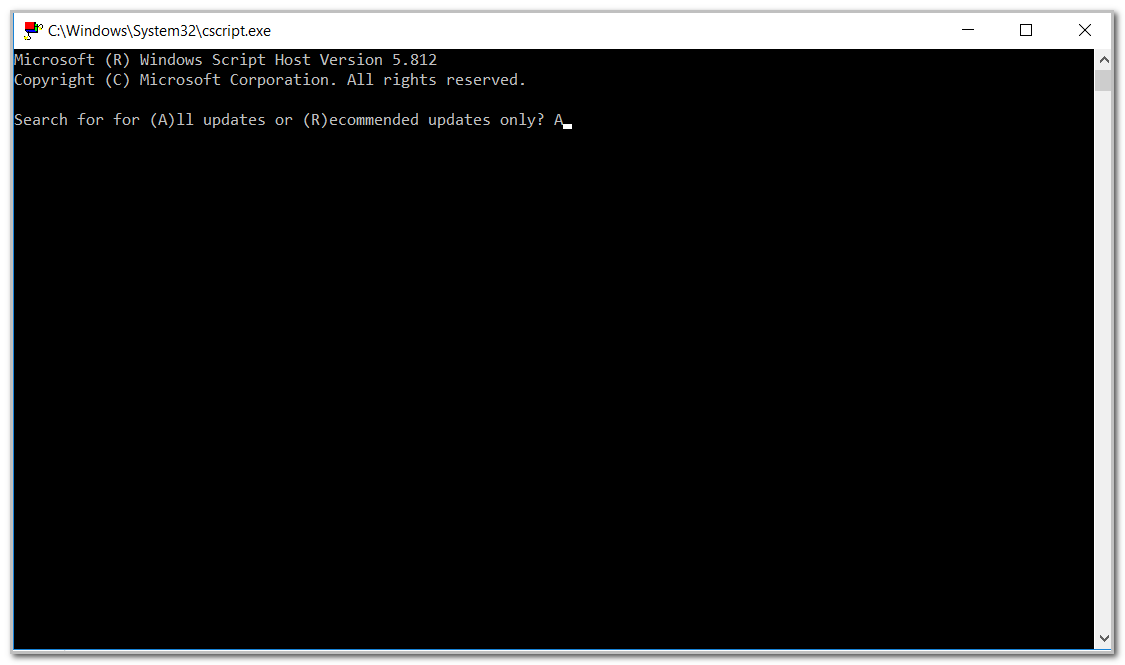
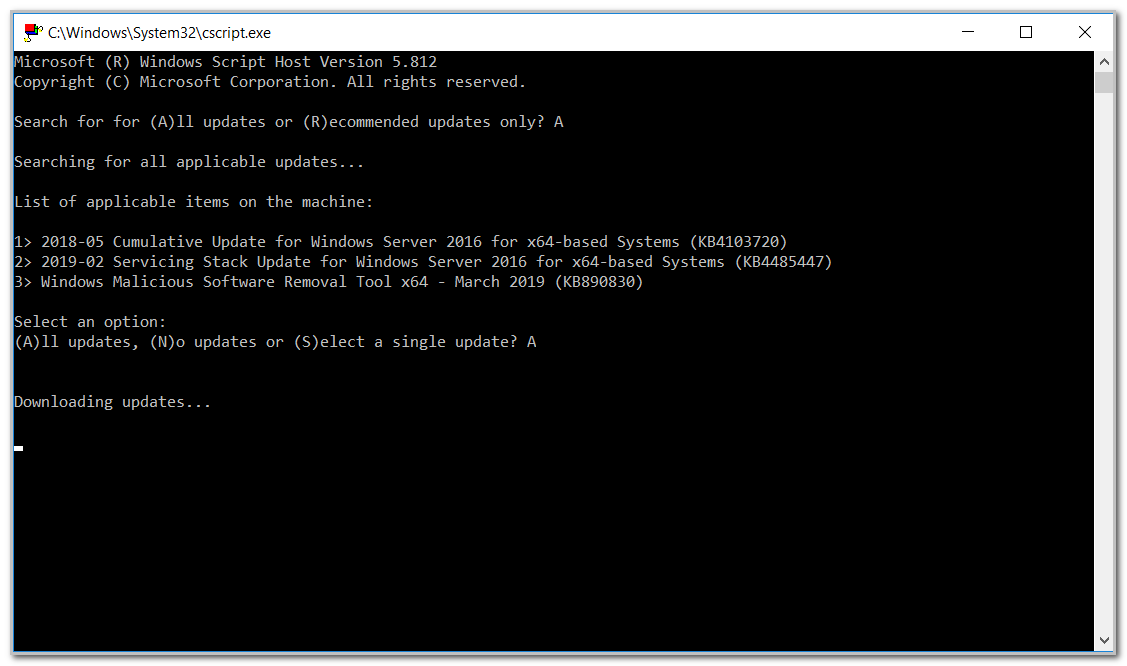
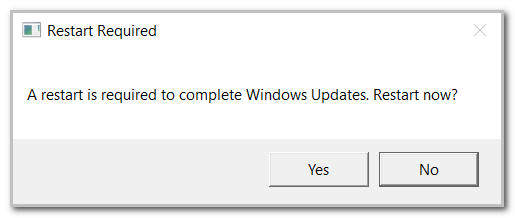
As you can see, after few minutes I got a popup requesting for system reboot. Select “Yes” and once the server is back online, I tried issuing the same PowerShell command which failed earlier to Install Docker services on my machine.
Okay, Let’s retry again…
|
1 |
Install-Package -Name docker -ProviderName DockerMsftProvider -Force |
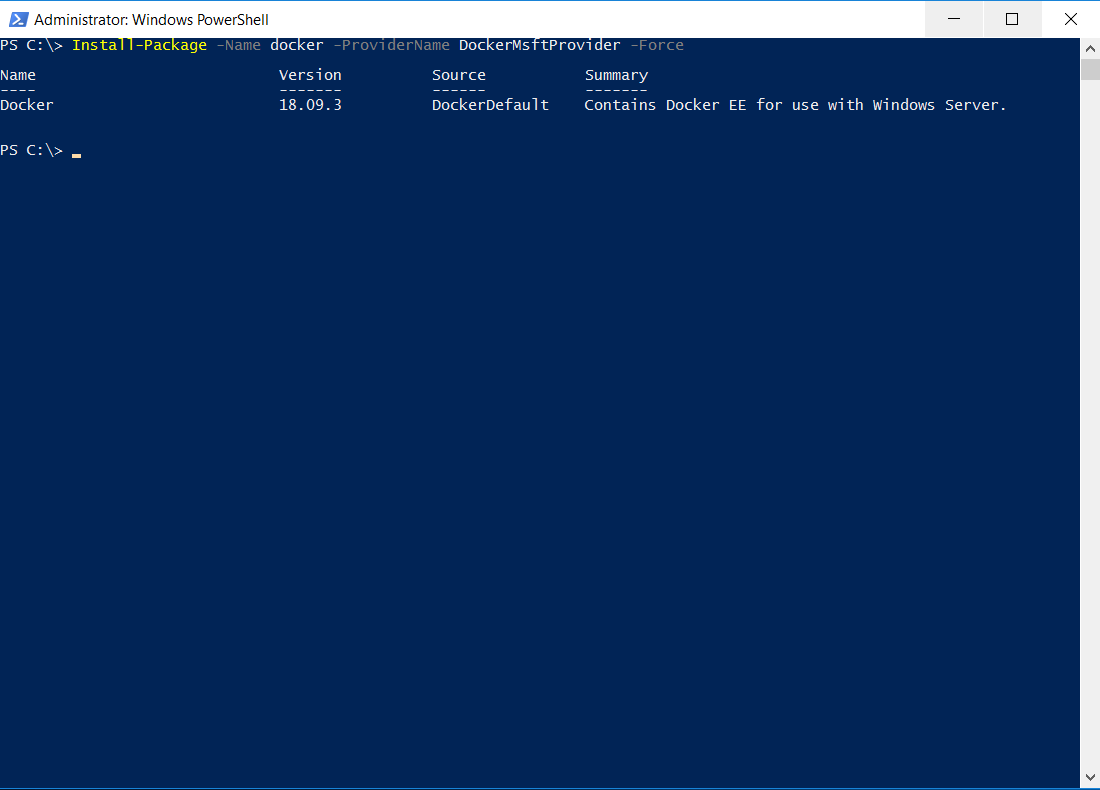
Awesome, this time I had no issues. At this point, you should be able to see Docker being installed as a service under “Services.msc” in stopped state. You can start the service from services console or issue below PowerShell statement to start the service.
|
1 |
get-service | where-object{$_.name -eq "docker"} | start-service |
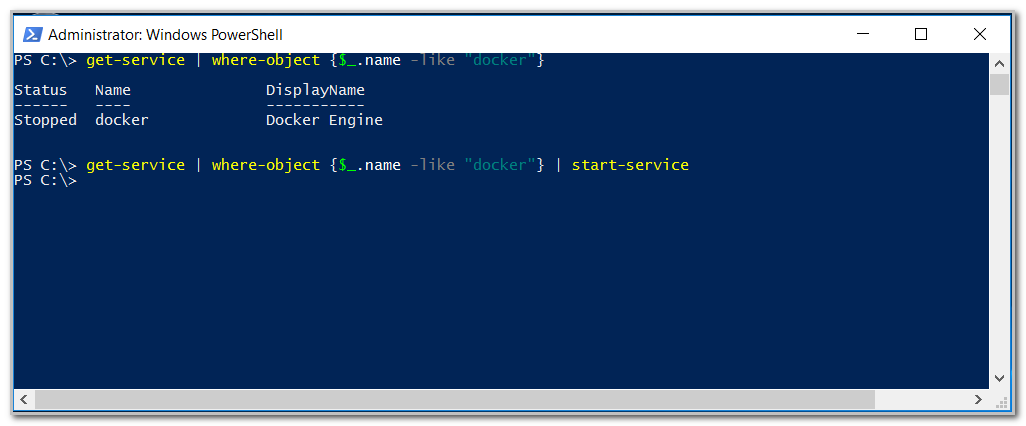
Great, now that we have Docker installed on our server, it is time to verify few basic things. Issue “Docker Info” command to get information related to docker installation we just finished.
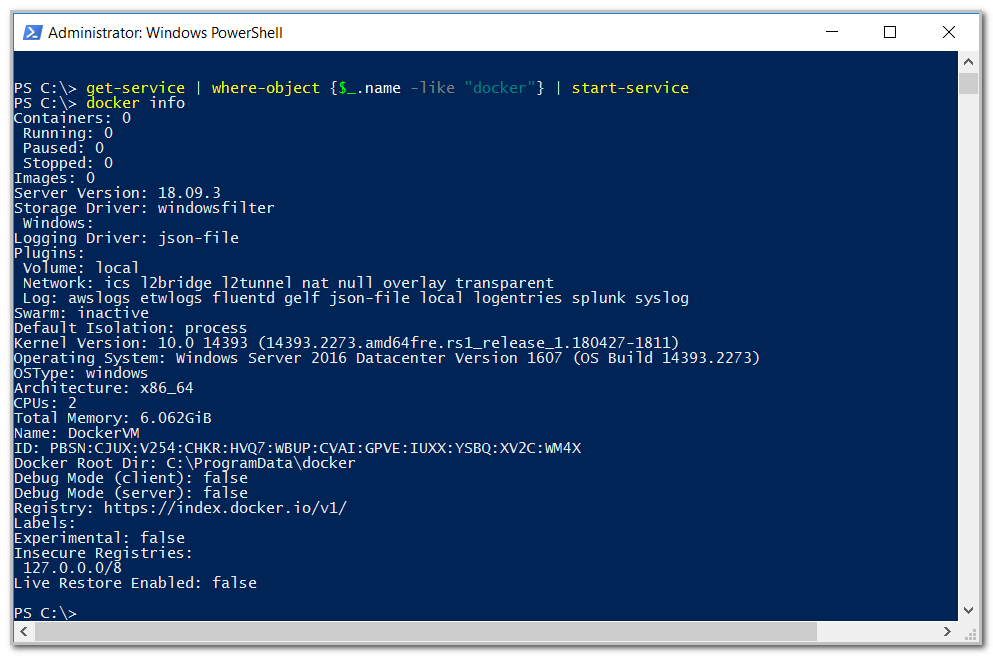
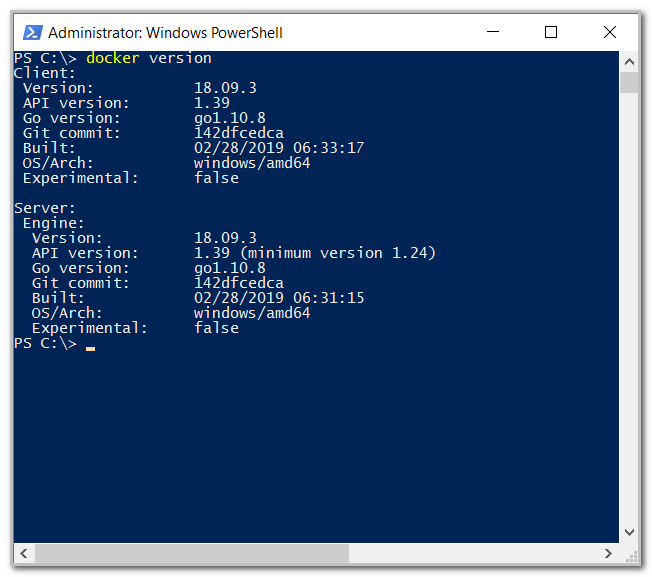
Issue “Docker version” to get version details as shown below.
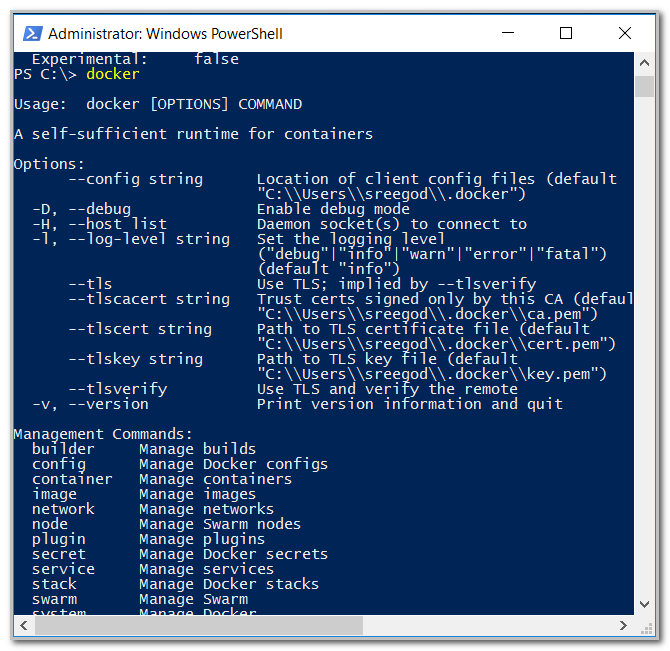
If you are curious about all the available commands we can use with Docker, just type “docker” and hit enter. It will provide us with a long list of all available commands as shown below.
Installing/running SQL Server on Windows containers
Now that we have Docker service up and running on our server, we should be able to create SQL containers. First thing first, in order to create a SQL container, we need to have an image. Think of an image as our SQL Server installation media. Similar to how we need media to create a SQL Instance on a machine, we need an image to run a SQL container. These images can be stored and pulled (Analogy – download in our traditional setup) from your own private registry if you have one setup or from Docker hub. Docker hub is a registry/repository provided by Docker company where anyone can upload and store their images. For this article, I will be using an image published by Microsoft in docker hub to create my SQL containers.
To begin with, Let’s search all the Microsoft SQL images available in docker hub by issuing below command.
|
1 |
docker search microsoft | select-string sql |

Just for fun, let’s see if I have any images already available in my local repository. I can issue the command “docker images” for that purpose. As you can see, I have none at this point.

Now, let’s pull (Again…think of it like downloading the media) “mssql-server-windows-developer” to my local registry from docker hub by issuing the below command
|
1 |
“docker pull Microsoft/mssql-server-windows-developer”. |

Depending on your download speeds, it might take a while. Once it’s done pulling the image from hub, I am issuing the “docker images” command again to check if things appear any different.

As you can see now, I have an image downloaded to my local repository which is ~15 GB in size. You can also notice that this image has been published/created by Microsoft in docker hub 14 months ago.
Now comes the fun part, we can issue below command to create and run the SQL container. Think of running a container is similar to installing a SQL Instance.
|
1 |
“docker run --name mssqltrek-con1 -d -p 1433:1433 -e sa_password=My$eCurePwd123# -e ACCEPT_EULA=Y microsoft/mssql-server-windows-developer” |
- -e: Set the ACCEPT_EULA variable to “Y” to accept end user license agreement and use SA_PASSWORD to Specify your own strong password that meets SQL Server complex password requirements
- -p: Map a TCP port on the host environment (first value) with a TCP port in the container (second value). In this example, SQL Server is listening on TCP 1433 in the container and this is exposed to the port, 1433, on the host
- –name: Specify a custom unique name for the container rather than a randomly generated one. If you run more than one container, you cannot reuse this same name
- –d: Run the container in detached mode. Since SQL runs as a service, it is recommended to use this option. If not, container will take over your cmd/shell when it starts
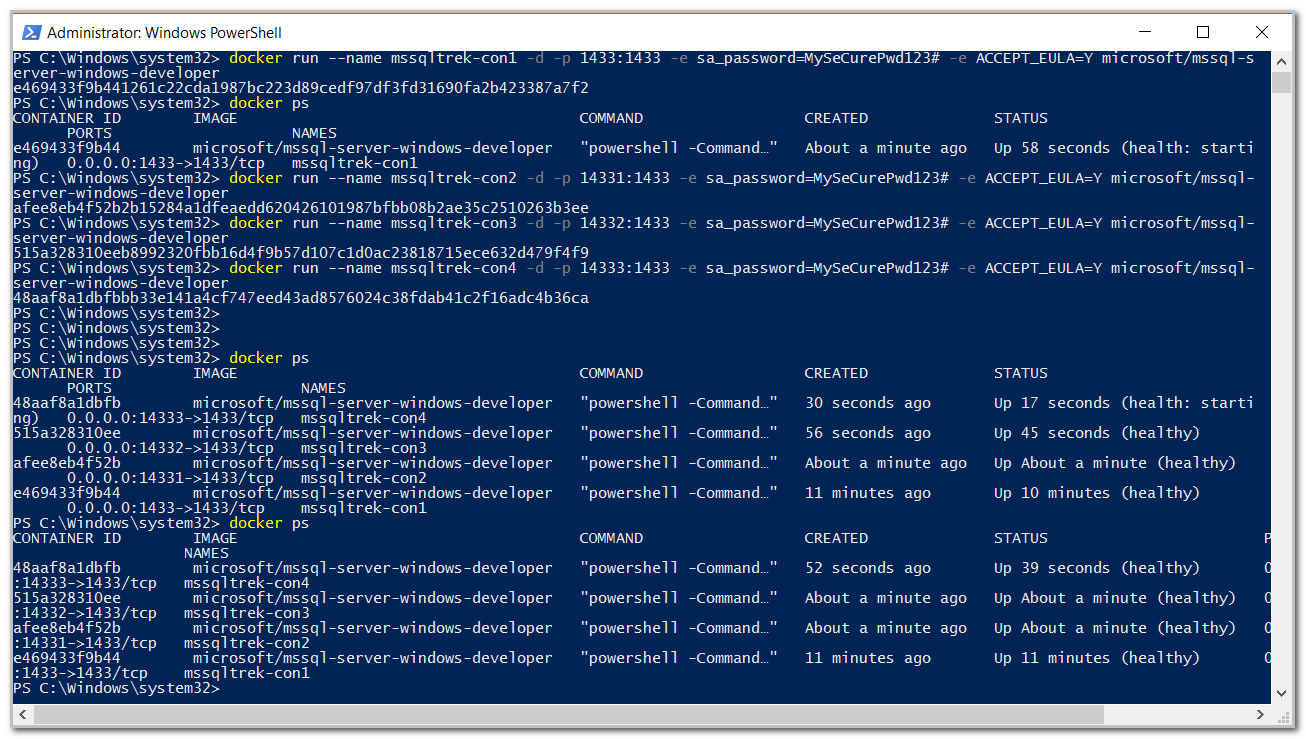
Great, Let’s verify the status of the newly created Docker windows container to make sure it’s running. For that you can issue either “Docker ps” or “Docker container ls” commands.
Tip: “Docker ps” command will only list containers which are running currently, if you want to list all the containers, issue “Docker ps -a” command.
Now, Let’s create few more Windows based SQL containers based on the same image. As you can see from the below screenshot, I was able to setup/install three SQL Server Instances using Docker windows container technology in matter of few seconds as opposed to several minutes or even hours per our traditional methods for setting up SQL Instances.
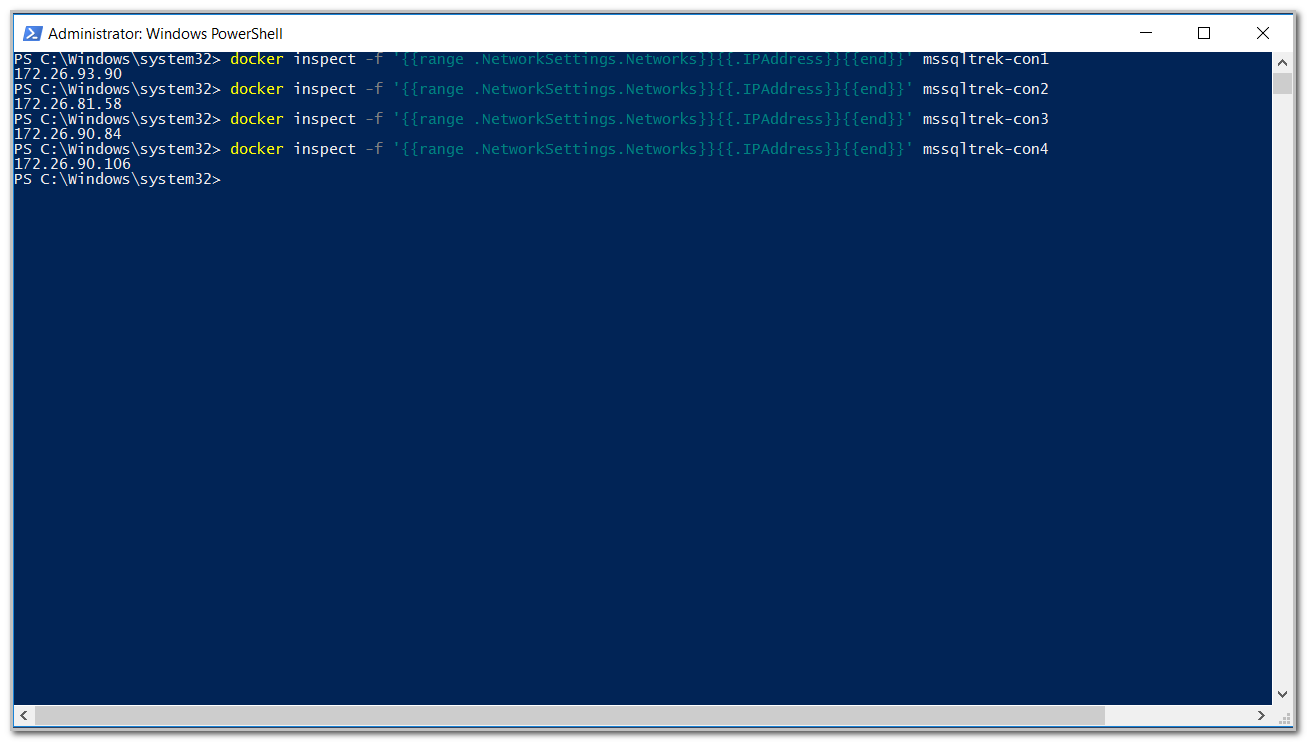
Now let’s get the IP addresses of these Docker windows SQL containers using the below shown command, I need this information to connect to my SQL container from the host machine or remotely using SSMS or any other client tools.
|
1 |
docker inspect -f "{{range .NetworkSettings.Networks}}{{.IPAddress}}{{end}}" mssqltrek-con1 |
For whatever reason, if you see any issues with starting containers, you can review the logs by issuing the command “Docker container logs –name of the container”. FYI, below are the logs of my first container mssqltrek-con1.
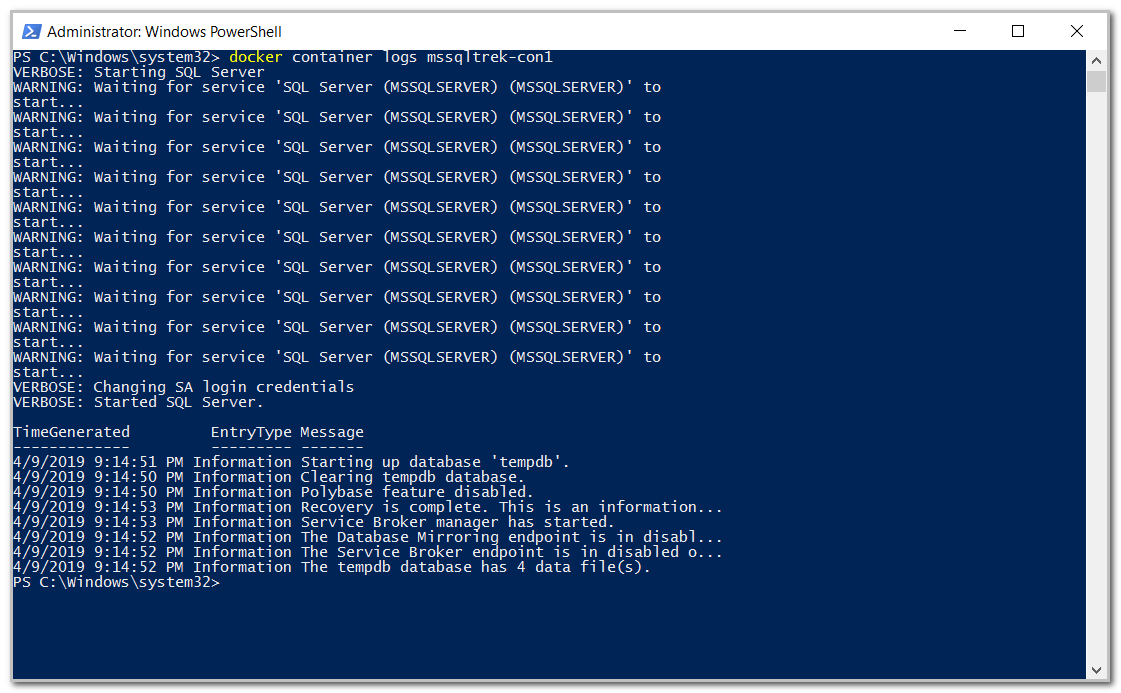
Now that we have confirmed containers are up and running, let’s connect from SSMS.
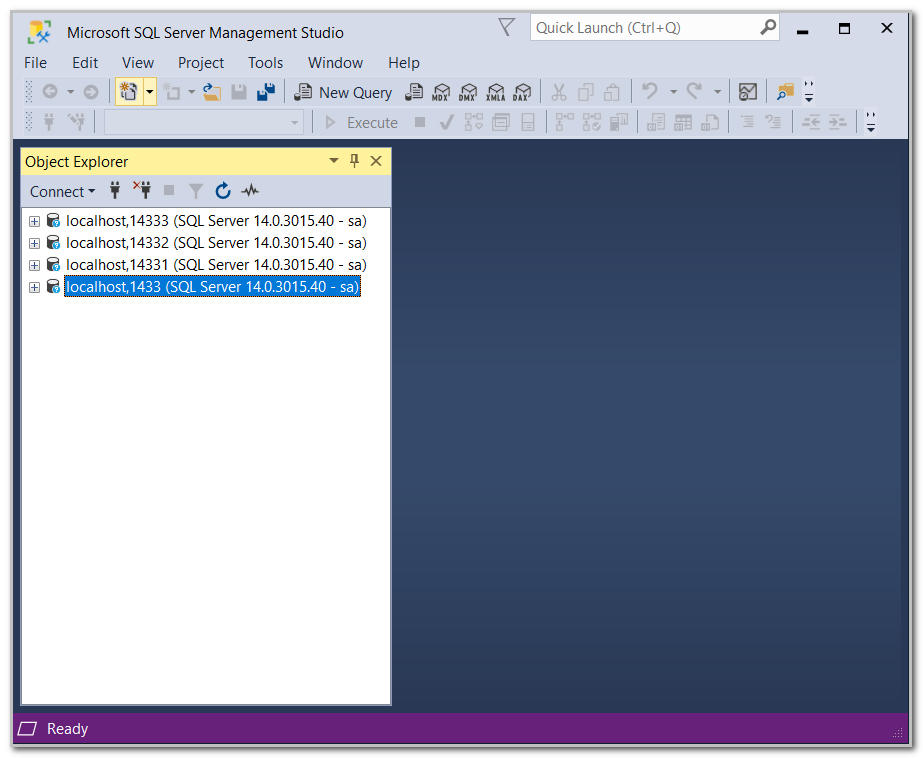
- Note: By default, Docker containers for windows will install a default Instance of SQL Server. You can use localhost (if you are connecting from the same host) or the IP address or the container name along with the port numbers in order to connect to respective SQL container.
Cleaning up Docker container environment:
Now, let’s cleanup our environment by removing all the Docker SQL containers which we did created so far. To remove/delete a container, issue the command “docker rm containername”.
- Note: Containers should be in stopped state in order to remove/delete them gracefully.
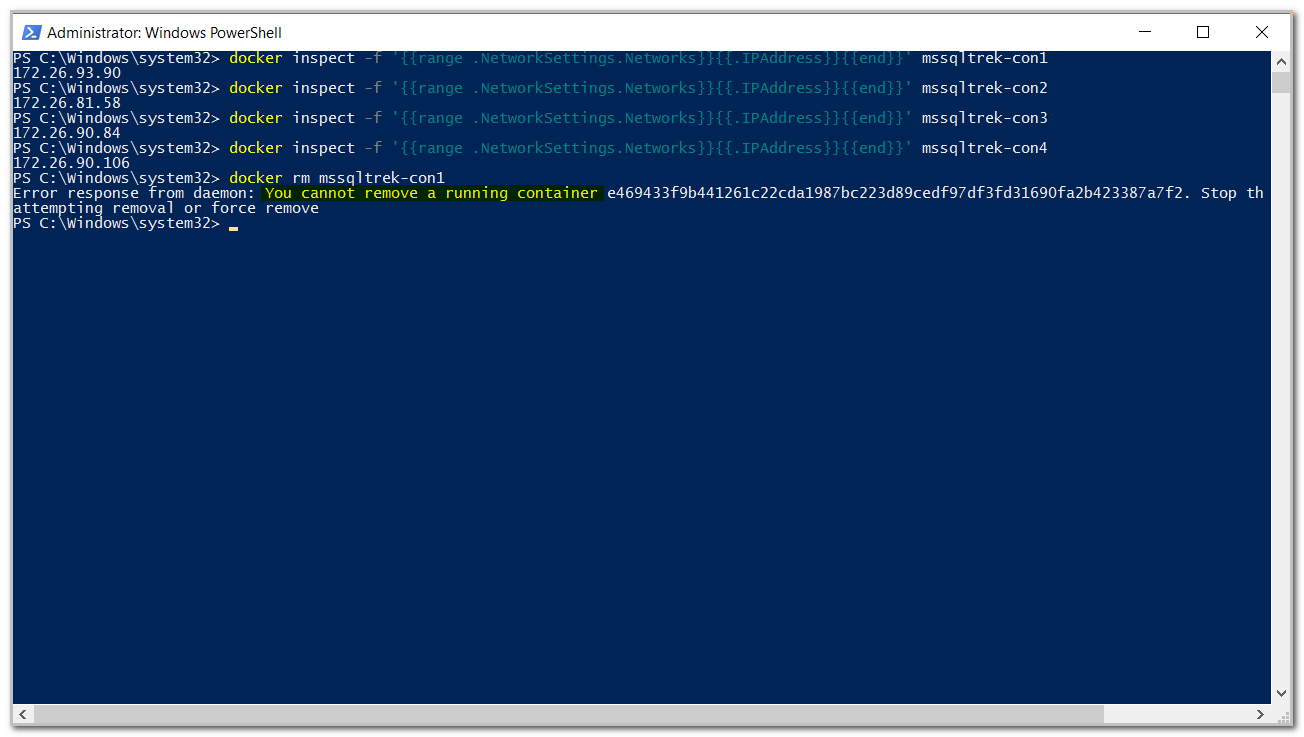
As you can see, I ran into errors when I attempt to remove my Docker windows container when it is in running state.
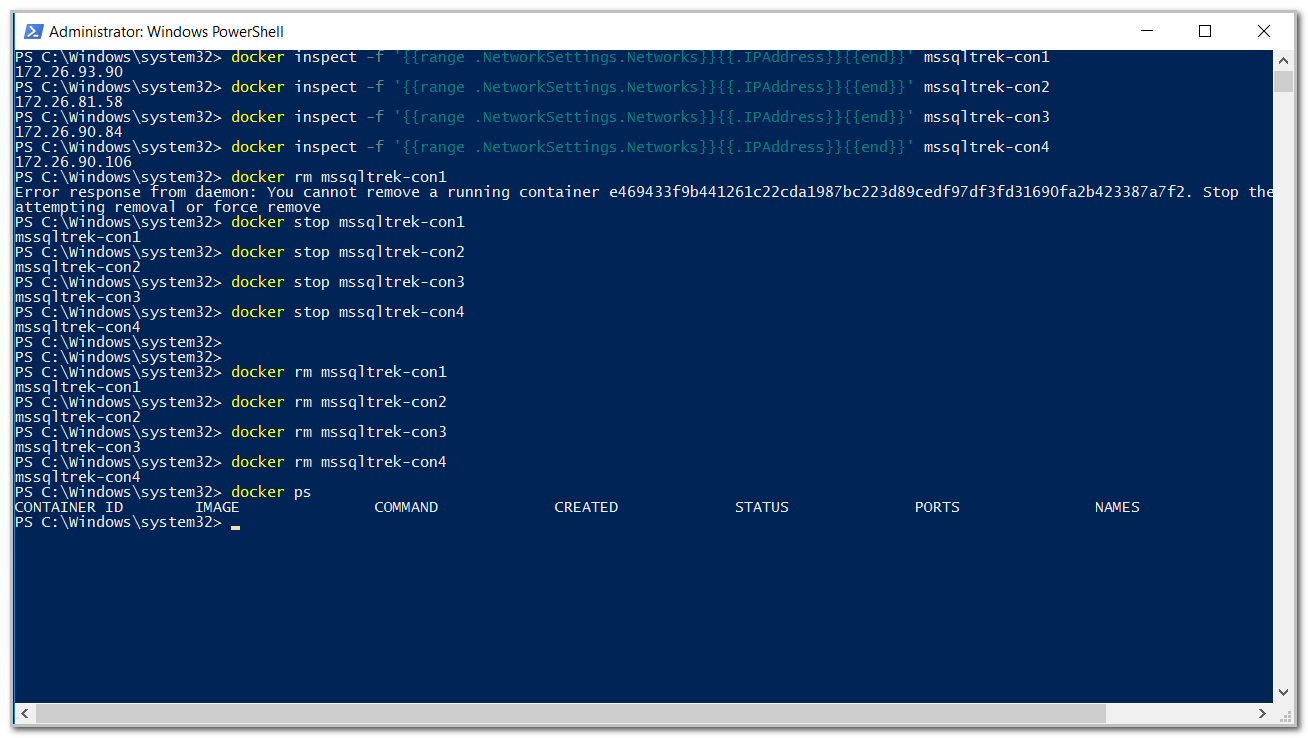
I stopped my Docker windows containers using command “docker stop containername” and then I was able to remove them without any issues as you can see below.
Conclusion:
In this article, we have seen how to install containers on Windows Server 2016 from scratch and Install the latest stable version of SQL Server leveraging Docker containers technology. Container technology is here to stay and It’s not the future, it’s present. Several companies are already leveraging Docker containers technology in their shops or at least evaluating it. Getting familiar with deploying and provisioning containers could almost become a mandatory skill in near future especially for DBAs and DevOps. Hope this article will be useful in setting up Docker windows containers in a lab environment to get familiar with and explore the technology.
- SQL Server with a Docker container on Windows Server 2016 - April 15, 2019
- Simulating a Multi Subnet cluster for setting up SQL Server Always On Availability Groups – lab setup - March 14, 2019
- Deploy SQL Server with Cluster Shared Volumes – part 2 - September 19, 2018

