

In this article, I am going to explain how we can create a Power BI Report using the Power BI Desktop and then publish it to the Power BI service workspace. Once the report is published to a workspace, we can also consider migrating the same report across several workspaces and all this can be done programmatically by using the Power BI REST APIs. This article is specially targeted towards Power BI admins or DevOps team whose task is to migrate dashboards between various environments like Development, QA, Production, etc. without any manual intervention of the reports.
Creating the Power BI report
Let us create a sample report in Power BI Desktop, and then try to deploy the same in the Power BI workspace. Head over to Power BI Desktop and create a sample report. For the sake of this tutorial, I am going to use the famous WideWorldImportersDW database, as provided by Microsoft. You can download and install the tutorial by visiting https://docs.microsoft.com/en-us/sql/samples/wide-world-importers-dw-install-configure?view=sql-server-ver15.
Open the Power BI Desktop application and click on Get Data and select SQL Server from the drop-down menu.
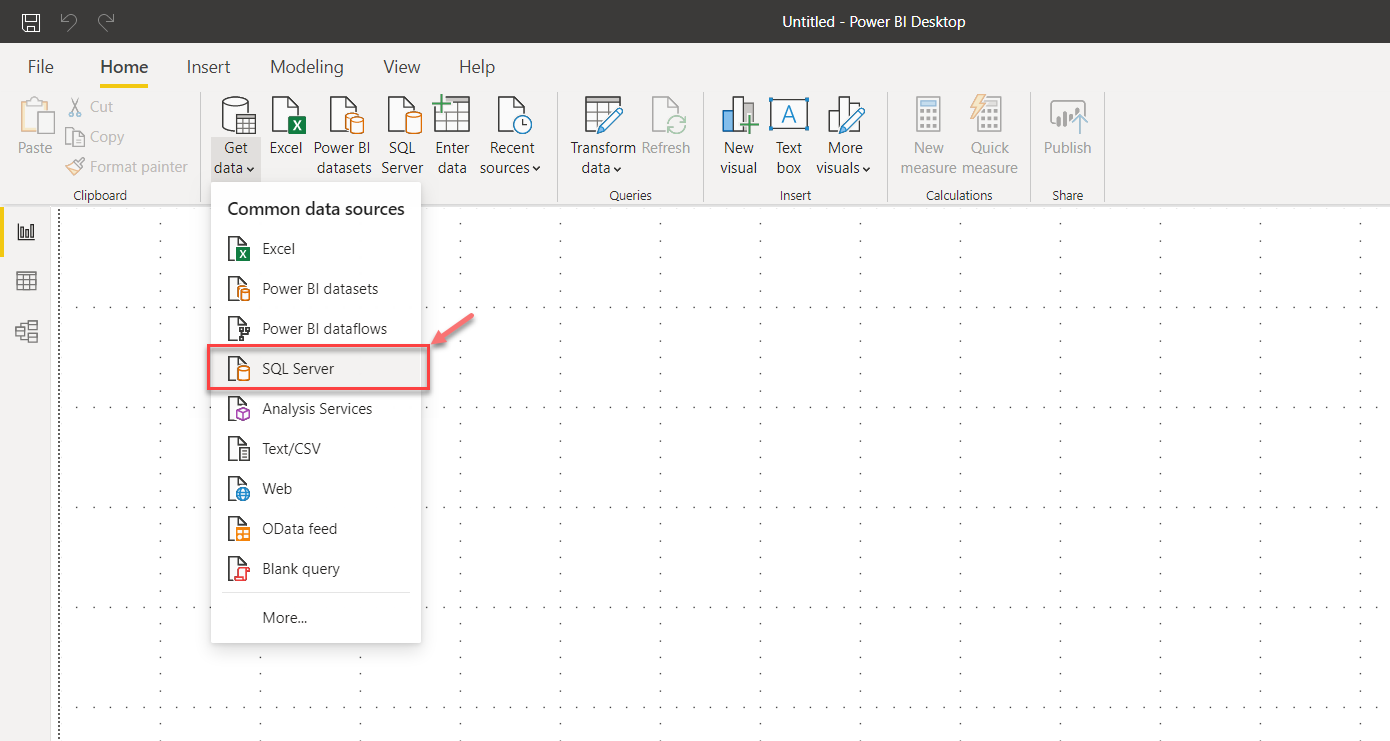
Figure 1 – Get Data from SQL Server
Select the tables from the WideWorldImportersDW database. I am going to select a few tables from the list as follows and click on Load once done.
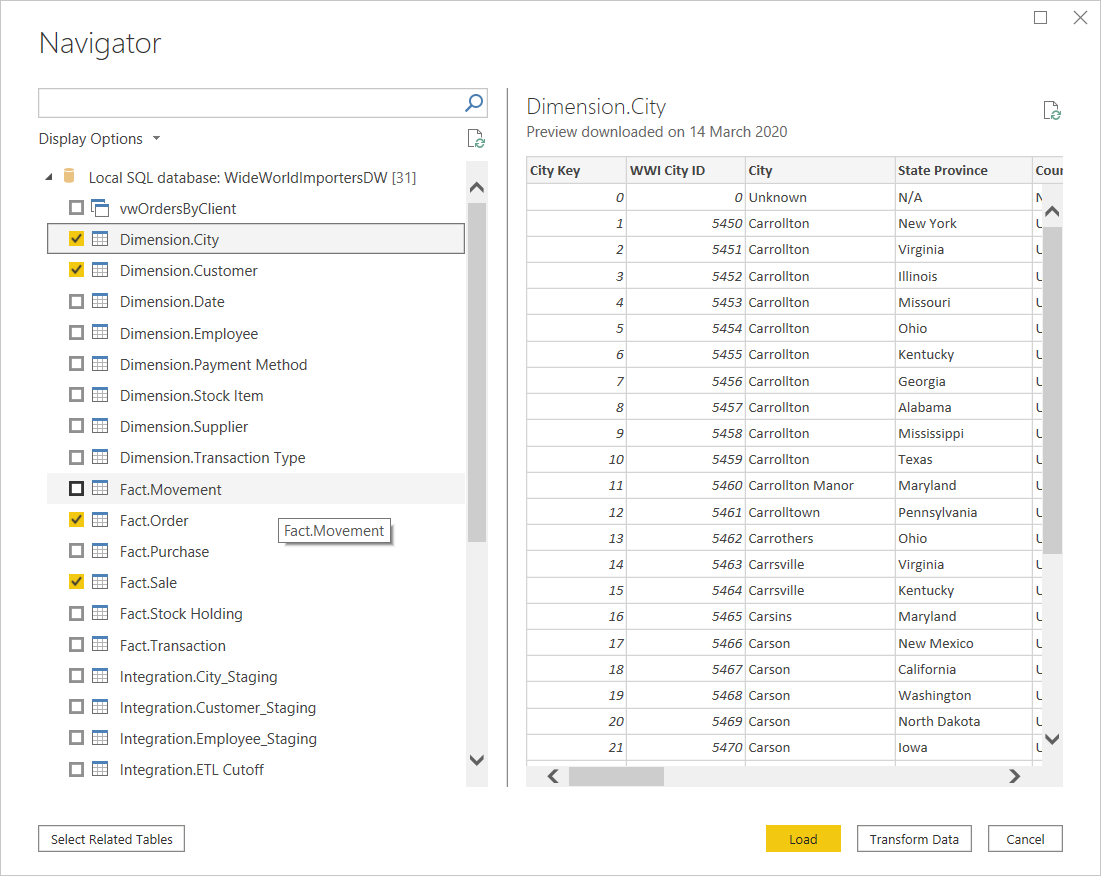
Figure 2 – Select tables from WideWorldImportersDW Database
The Power BI Desktop will load all the data within the data model, and you can see all the tables being listed up in the Fields pane on the right-hand pane.
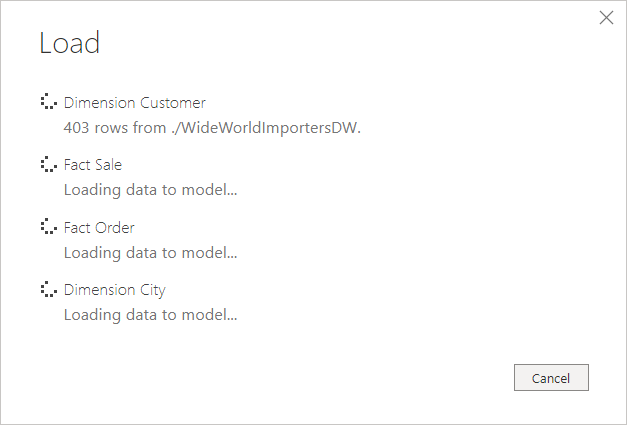
Figure 3 – Loading data into the Power BI Data Model
Drag and drop few fields into the canvas and create the report as required.
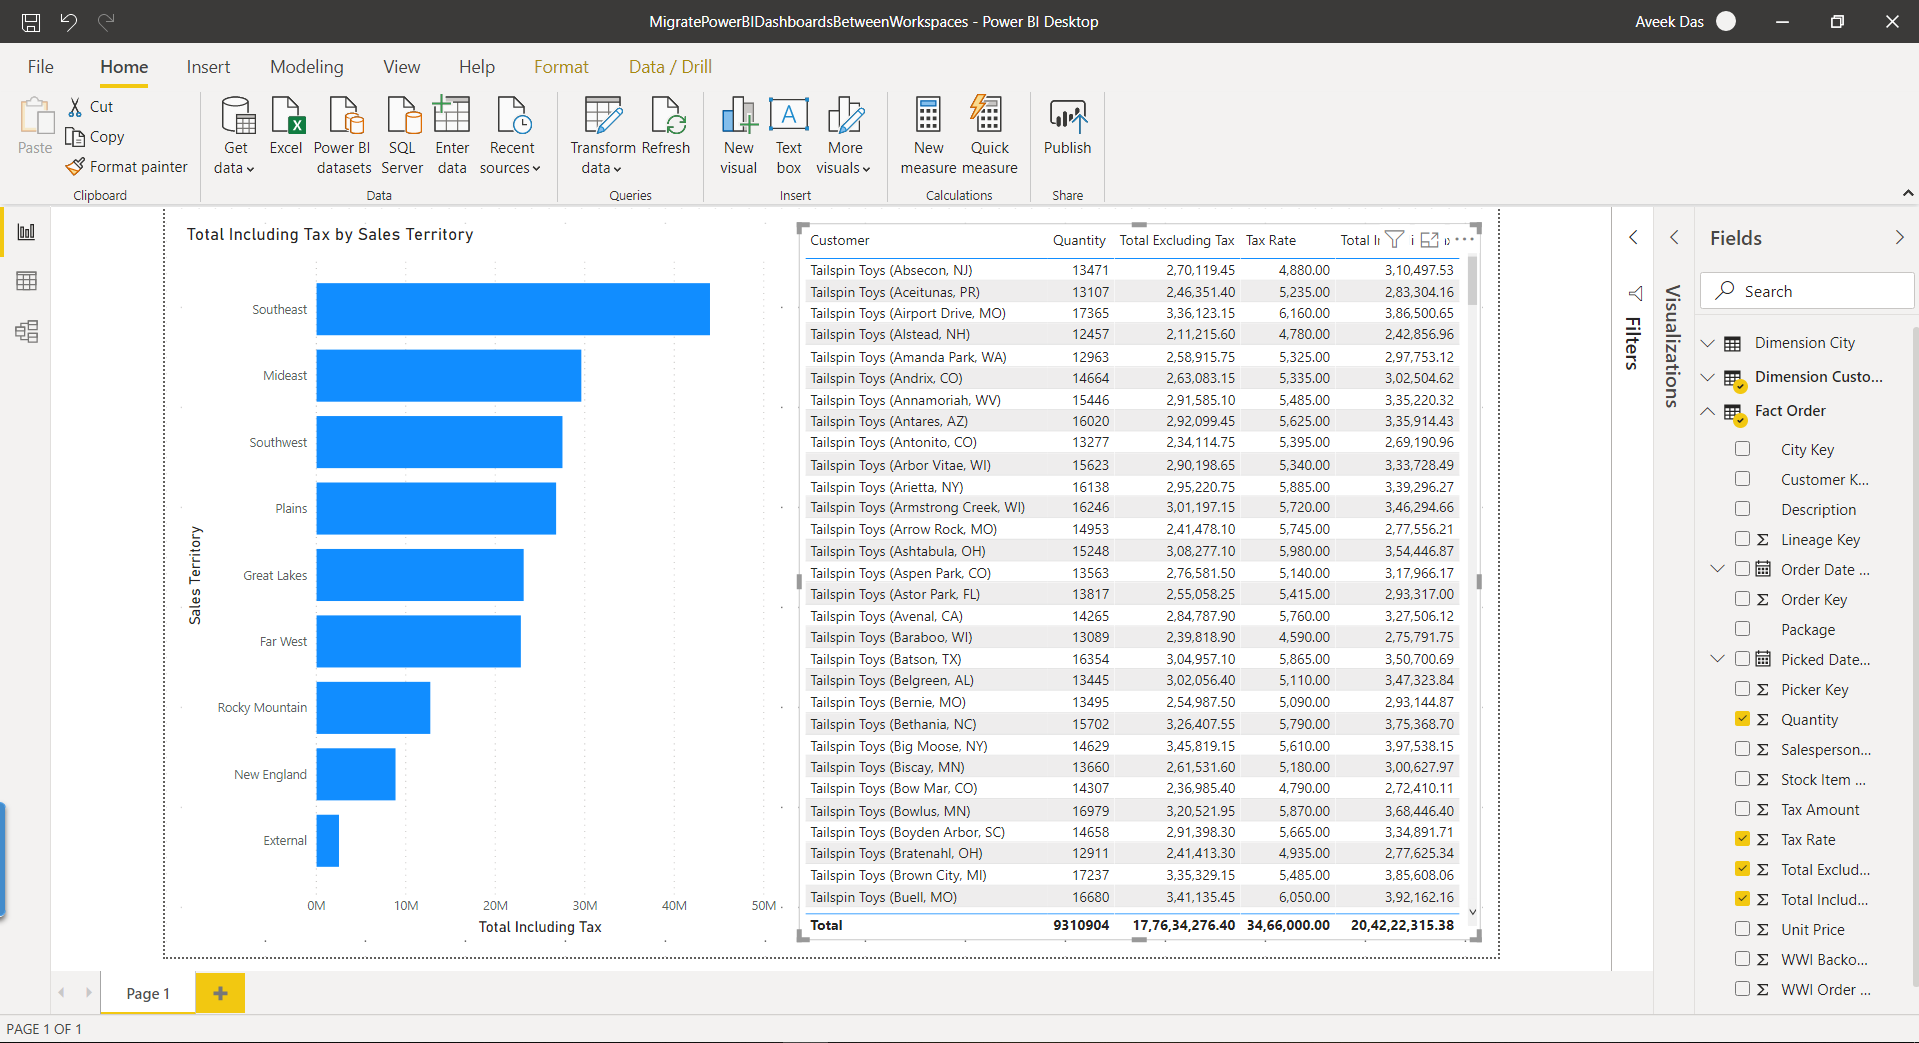
Figure 4 – Creating the report from the Data Model
Now that the report has been created, let us go ahead and publish the same to the Power BI Service using the Publish button on the Power BI Desktop window.

Figure 5 – Publish the Power BI Report to the Power BI Service
Once you click the Publish button, you can see the option to publish to different workspaces available in your account will be displayed. I am going to select the Development Workspace here and publish the report to the Development Workspace in the Power BI service account. Click Select and the report will be pushed to the Power BI service. You can publish to any of your existing workspaces and that should be fine.
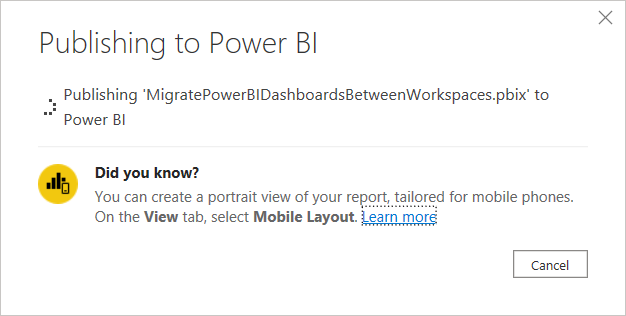
Figure 6 – Publishing the report to the Power BI Service
If the publish to the Power BI Service is successful, you will receive the following message.
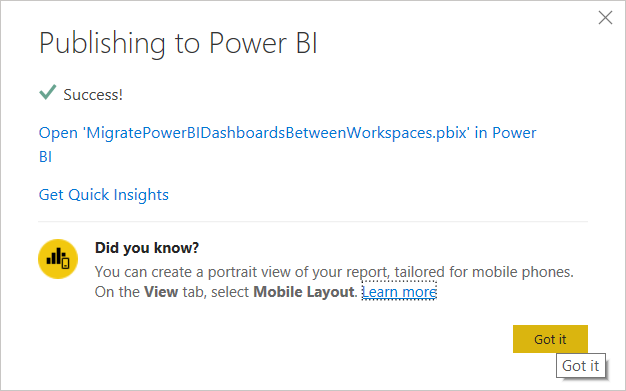
Figure 7 – Publishing to the Power BI Desktop successful
You can also verify the same by navigating to https://app.powerbi.com and click on Development Workspace to view the reports within that workspace. As you can see, the report has been successfully published, and you can see it on the Power BI service as well.
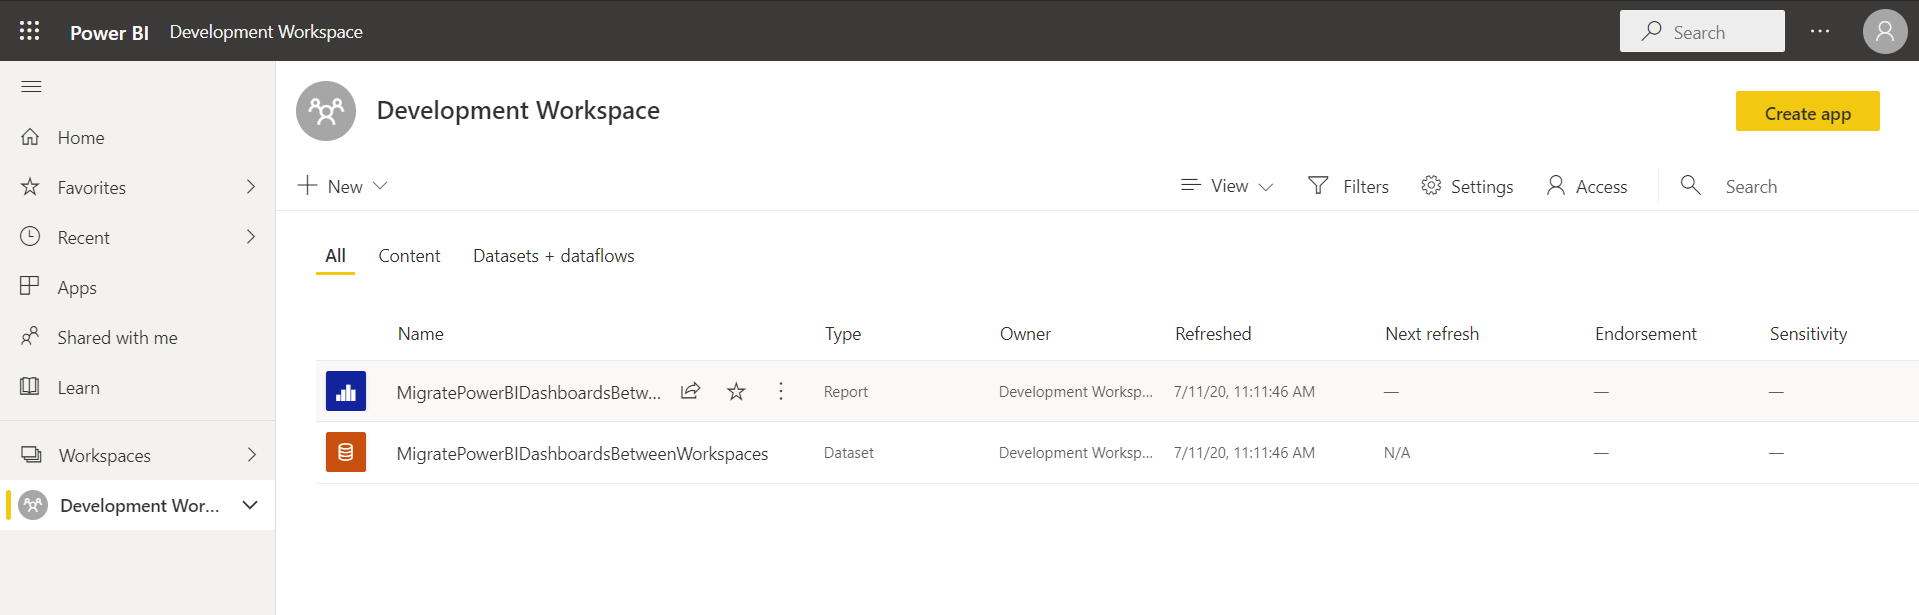
Figure 8 – Power BI report in Development Workspace
Working in the Power BI Service Account
Now, the fun part begins. We have already published our report to the Power BI service into the Development Workspace. We can also create as many workspaces as we need. These workspaces can be used to isolate the Power BI reports across various environments and used by the teams accordingly.
Now let us try to migrate the Power BI Report from Development Workspace to the Quality Workspace and we will try to do it programmatically using the REST APIs. For this, we will run a PowerShell script that is provided by Microsoft and can leverage the functionalities within it. We will also need to have a ClientID, using which we will be doing all the tasks. Head over to https://dev.powerbi.com/apps if you do not have a ClientID and create one. You can select the following options to create a ClientID for your Power BI account.
- App Type – Native app
- Redirect URI – urn:ietf:wg:oauth:2.0:oob
- Access Level – Select all the checkboxes
Click on Register and your ClientID will be generated. Save this ClientID at some secured place as we will need this to do all the operations later in the tutorial.
Copying the workspace using PowerShell
Now that most of our configuration is done, let us head over to https://github.com/Azure-Samples/powerbi-powershell/ and download the “copyWorkspace.ps1” file to our local machine.
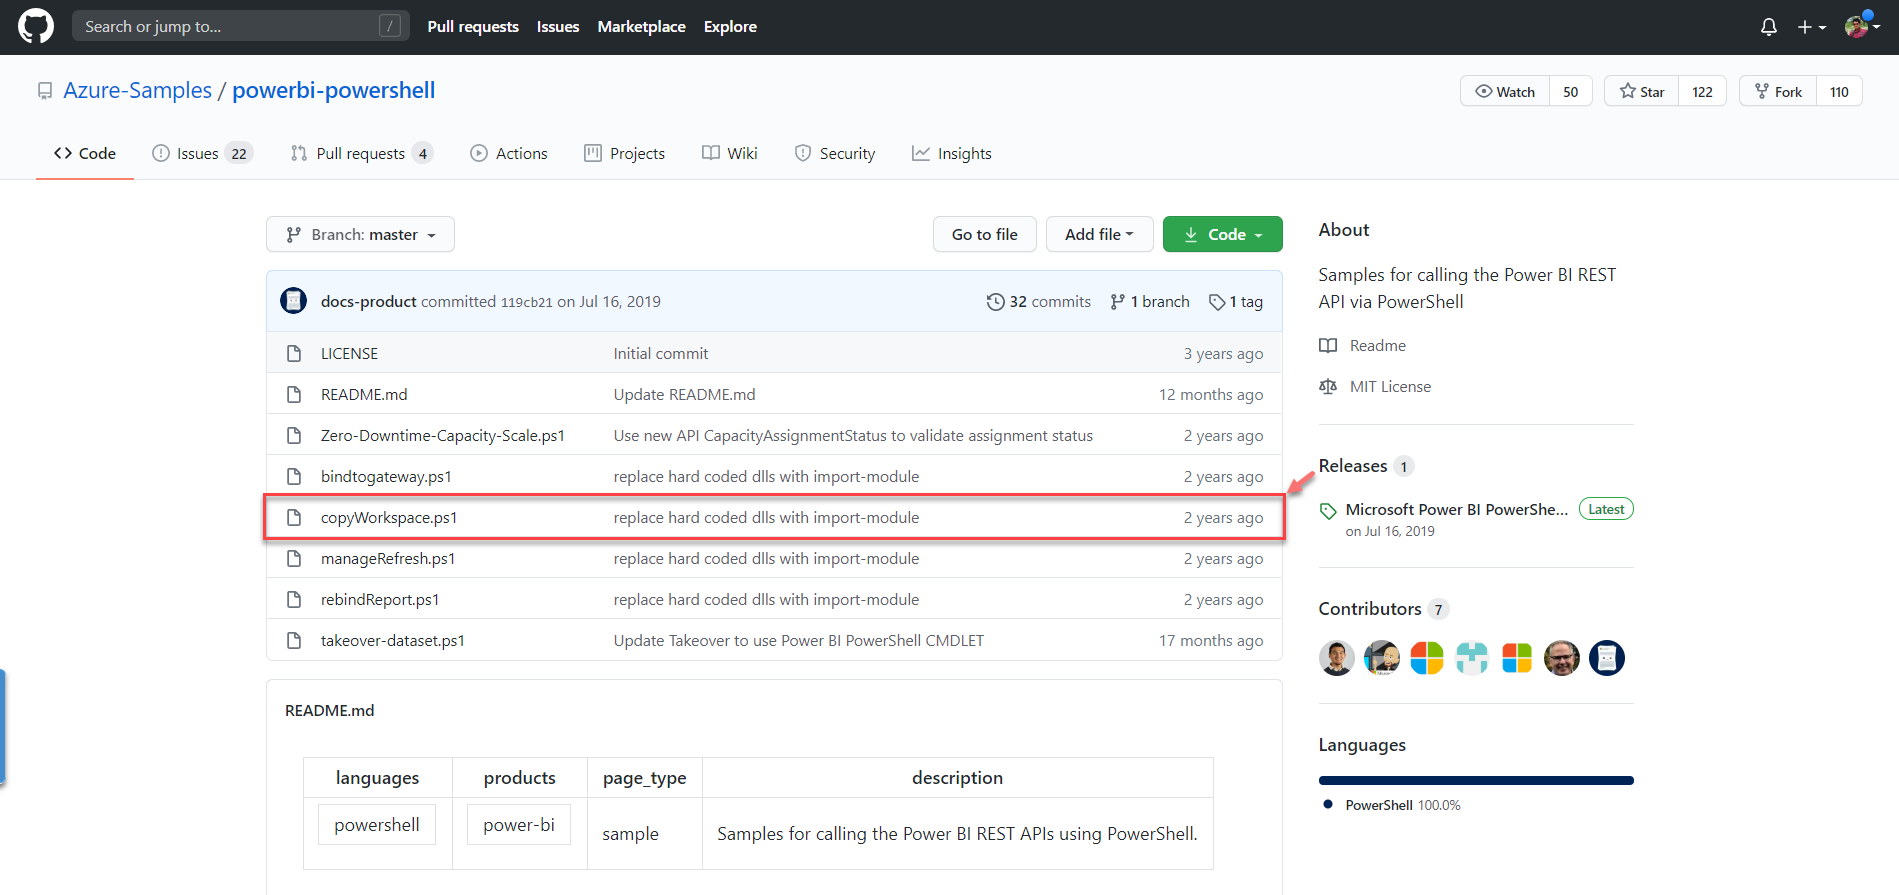
Figure 9 – Download the PowerShell file
Once you have downloaded the PowerShell script to your local machine, you need to update the ClientID in the script before running it.
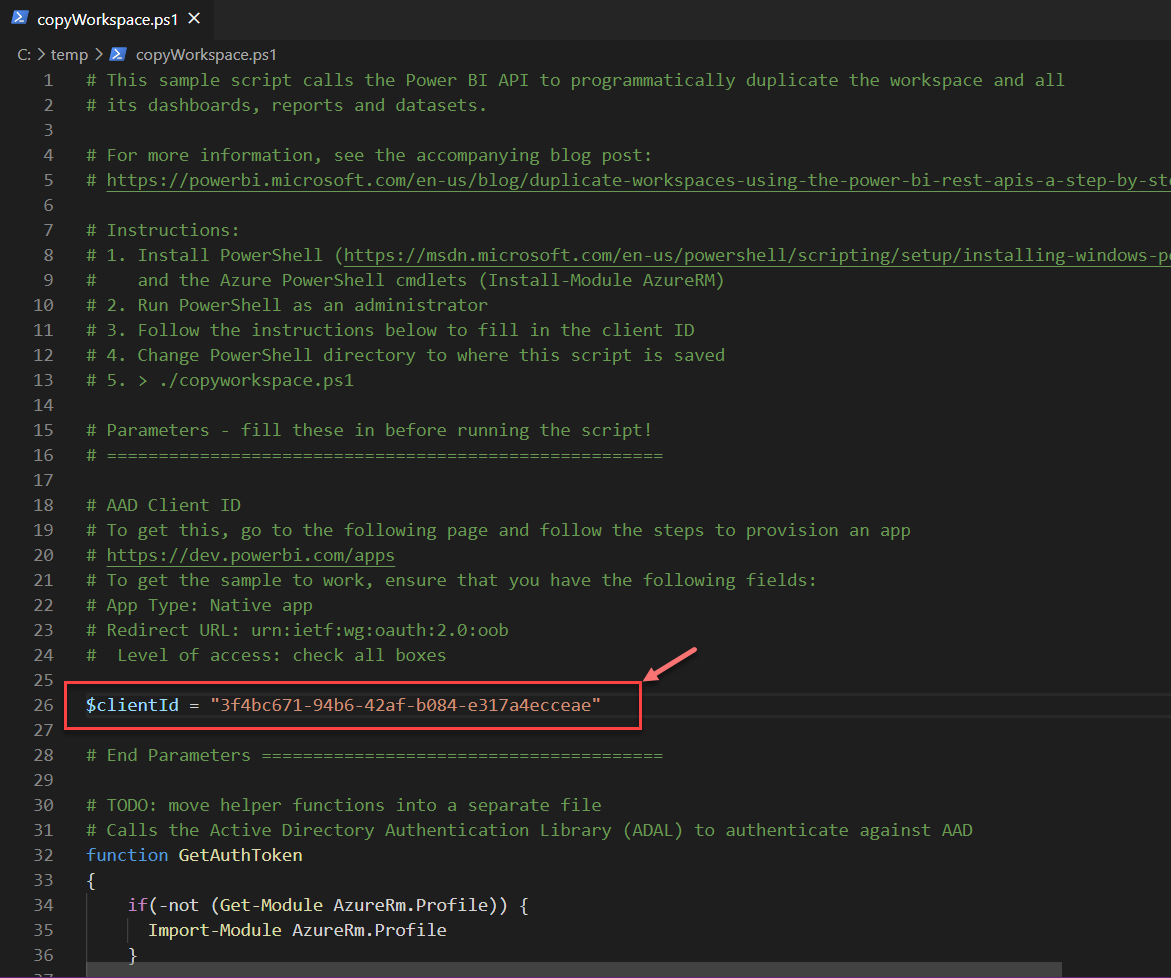
Figure 10 – Enter the ClientID
Start Visual Studio Code as an administrator to execute the above PowerShell script. You can also use the default PowerShell ISE, but I personally prefer using the VS Code.
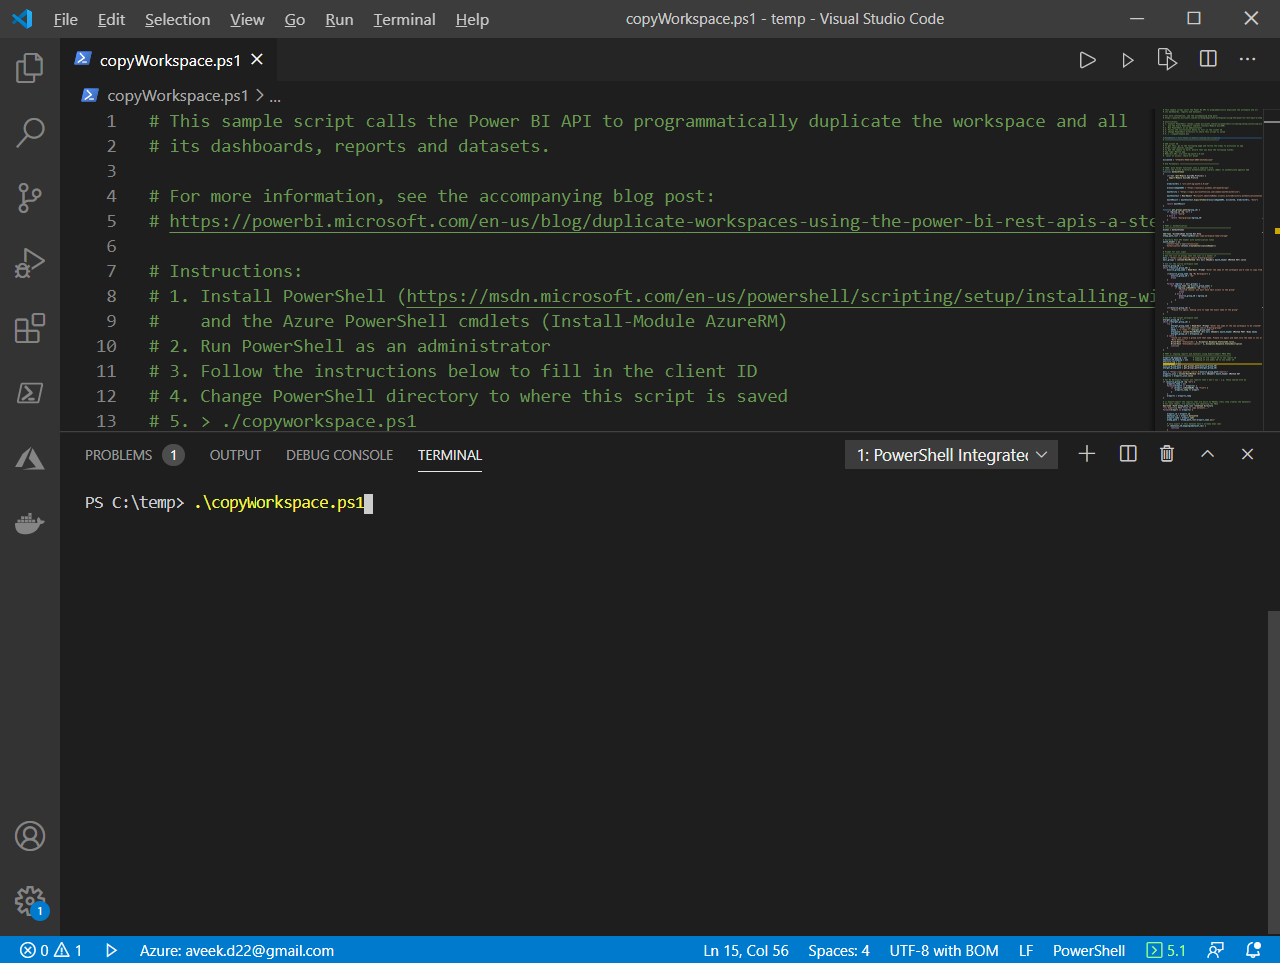
Figure 11 – Executing the PowerShell Script
As soon as you start executing the PowerShell script, you will be prompted to log in to your Power BI Service account. Select the appropriate account and allow consent to all the permissions required by the application.
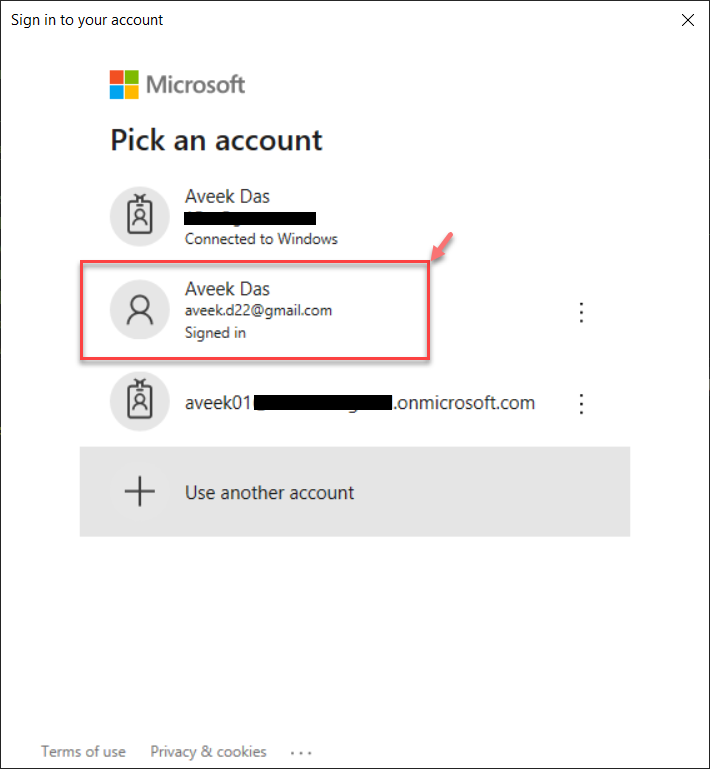
Figure 12 – Authenticating the Power BI Service Account
Once the login to the account is successful, you can head over to Visual Studio Code again, where you will need to provide the name of the workspace from where you would like to copy the report from. In this case, it will be “Development Workspace”. This will allow the script to connect to this specific workspace under your account and copy all the contents to a local directory.

Figure 13 – Source Workspace
In the next step, you need to define the name of the workspace in which the Power BI Report needs to be migrated. Let us assume that we need to give this to the QA team and so let us migrate the same to a workspace called “Quality Workspace”.
As soon as you enter the name of the workspace and hit Enter, the PowerShell script will connect to the Power BI service account and start exporting the files to the local directory.
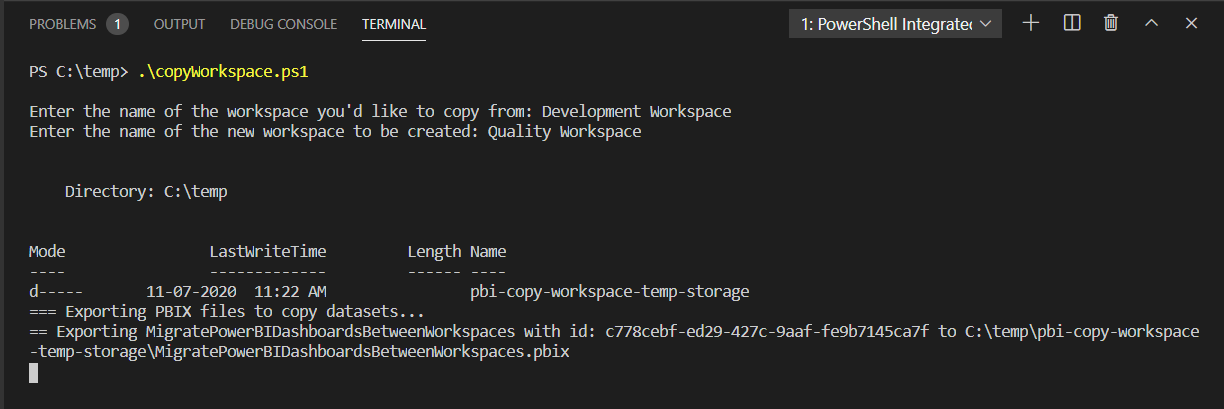
Figure 14 – Exporting files from Development Workspace
Once the files are exported to the local directory, it will then start creating the new workspace in the account and start uploading the same files to the new workspace.
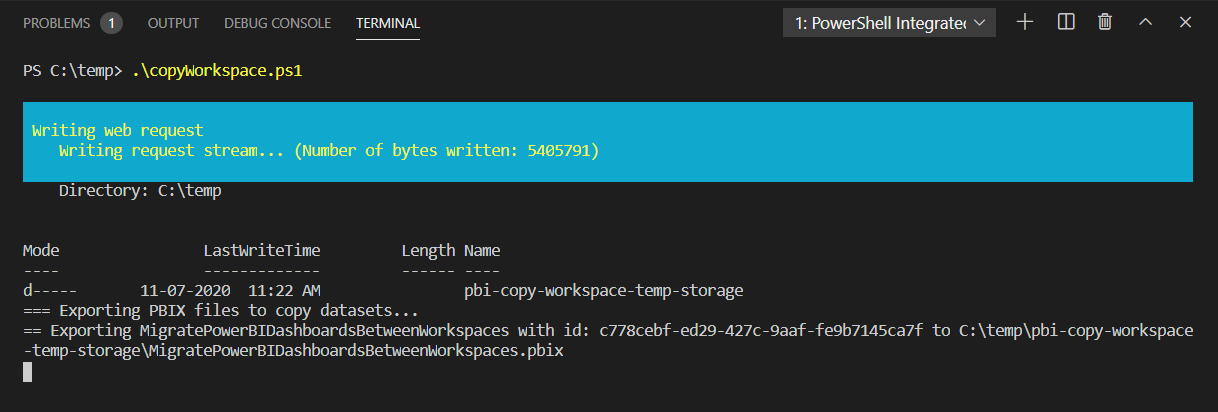
Figure 15 – Moving files to the new workspace
The report files will be uploaded to your new workspace within a few minutes, depending on the size of the PBIX file. Once completed, you can see the output as something below.
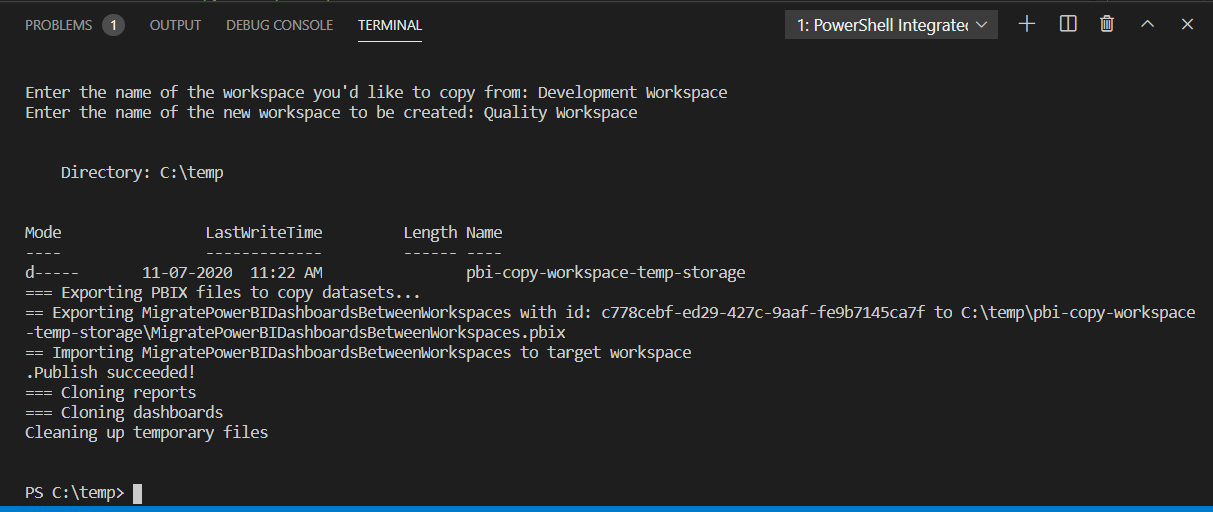
Figure 16 – Power BI Reports successfully uploaded
Now, let us head over to the Power BI Service account again and verify the same. Navigate to https://app.powerbi.com and click on the Workspaces menu. You can now see that Quality Workspace has been created automatically. This workspace has been created by the Power Shell script while uploading the files to the workspace. In this way, you can migrate the same Power BI files across multiple workspaces programmatically and there is no need to copy or publish the files manually.
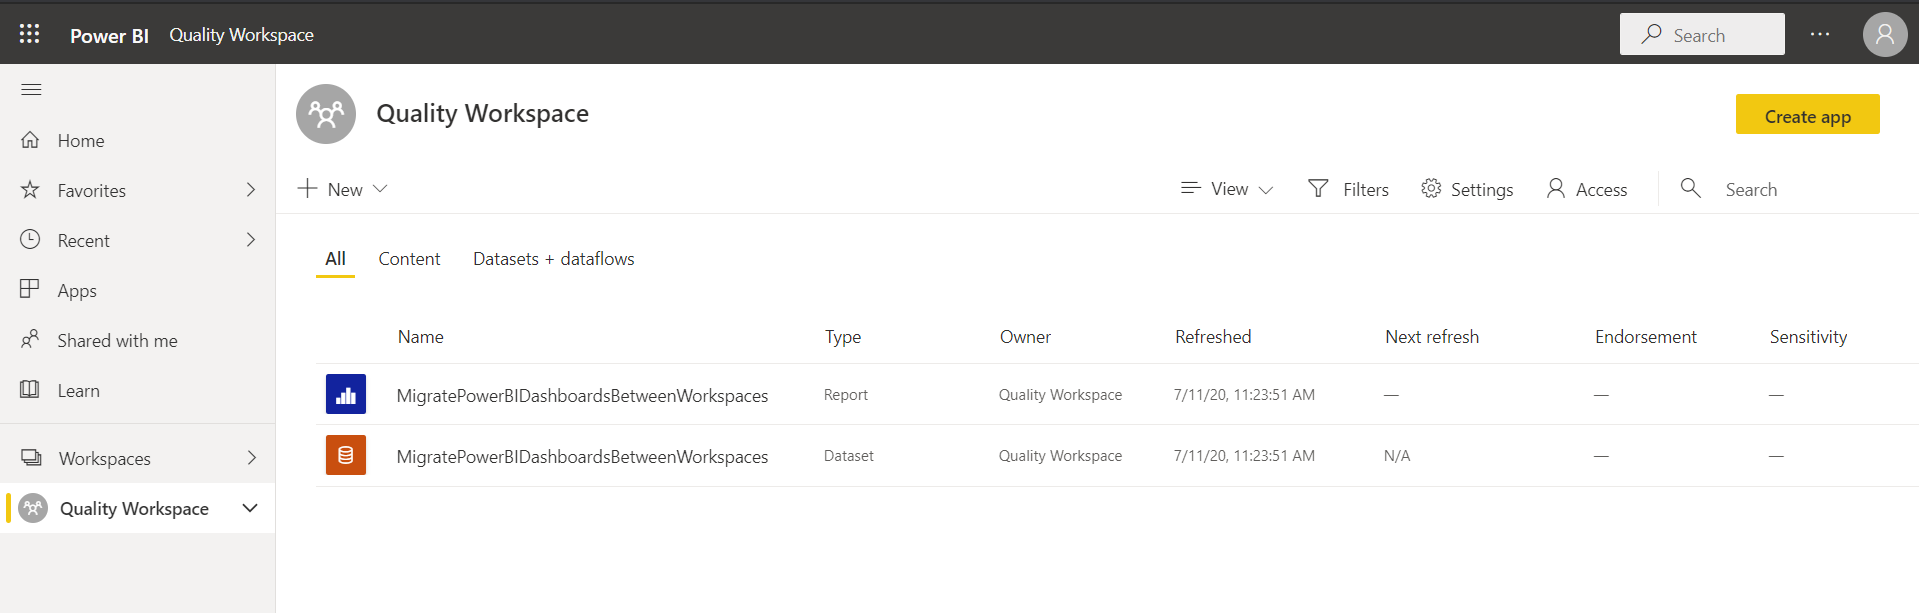
Figure 17 – Power BI files uploaded to the new workspace
Conclusion
In this article, we have seen how we can create reports using the Power BI Desktop and then publish the same to Development Workspace in the Power BI service. Since it is always advisable that we keep isolated environments for development and production, it always becomes a messy task for the Power BI administrators to work around moving these reports across multiple environments. This article will help them understand the concepts of using the Power BI REST APIs and leverage the services to migrate these reports across multiple environments within the same Power BI service.

He is a prolific author, with over 100 articles published on various technical blogs, including his own blog, and a frequent contributor to different technical forums.
In his leisure time, he enjoys amateur photography mostly street imagery and still life. Some glimpses of his work can be found on Instagram. You can also find him on LinkedIn
View all posts by Aveek Das
- Getting started with PostgreSQL on Docker - August 12, 2022
- Getting started with Spatial Data in PostgreSQL - January 13, 2022
- An overview of Power BI Incremental Refresh - December 6, 2021