
In this article, I am going to explain how to add users to a Power BI workspace using Power BI PowerShell. As you already know, Power BI is a business intelligence tool from Microsoft, using which we can build graphical reports and dashboards which bring some sense to our data that resides on the database. Power BI also has a web interface known as the Power BI service, which can be used to share and collaborate these reports and dashboards with multiple users within or out of the organization.
In this article, we will try to add users to our Power BI workspaces. Along with this, we will also emphasize the various roles that are available within the new Power BI workspace. This is important to understand before adding the users because each user is assigned a specific role while adding them to a Power BI workspace.
Roles in Power BI Service
With the addition of the new workspace in Power BI Service, customers are now able to define more granular control over their individual workspaces. We can now add multiple users to our workspaces and define role-based access for each of those users. The new workspace in Power BI Service also allows administrators to assign roles to user groups, security groups, distribution lists, etc. in addition to the individuals.
In order to add users to Power BI workspace, we will need to understand various roles that we can assign to a user while creating using Power Shell. There are four primary roles that are currently available to use with the new Power BI workspace and these are as follows.
- Admin – This role is granted to special users who have the permissions to deal with the administrative tasks within the workspace like adding or removing other people or admins, or allowing any contributor to update an app in the workspace, etc.
- Member – The member role is usually granted to those who have almost similar privileges as an admin, except the fact that they cannot operate on the admin users. Users with the member role can add other members in the workspace with a member or lower permission like contributor or a viewer. Apart from this, they can also publish new apps within the workspace and also update the apps
- Contributor – The contributor role has fewer privileges as compared to the member role. As a contributor, the users can add, modify, or delete content in the workspace, publish and edit new reports, copy reports from one workspace to another etc. These users can also schedule data refreshes and modify data gateway connection strings
- Viewer – These users have the least permissions within a workspace. They are only allowed to view and interact with certain reports without being able to modify those
Connecting to the Power BI Service Account
Now that we have some idea about the roles in Power BI service, let’s go ahead and try to assign these roles to the users. In this tutorial, I am going to use Power Shell to connect to the Power BI service account and then run commands to add the users. In my previous article, regarding Programmatic Access to Power BI PowerShell commandlets, I have explained how to use the Power Shell commandlets to work with the Power BI module. I would strongly advise having a look at it before continuing this article, to have some fair knowledge about working with PowerShell commandlets with Power BI.
Now, to add users to Power BI workspace, we would need to connect to the Power BI service account first. We will open the Power Shell ISE and run the following command.
|
1 |
Connect-PowerBIServiceAccount |
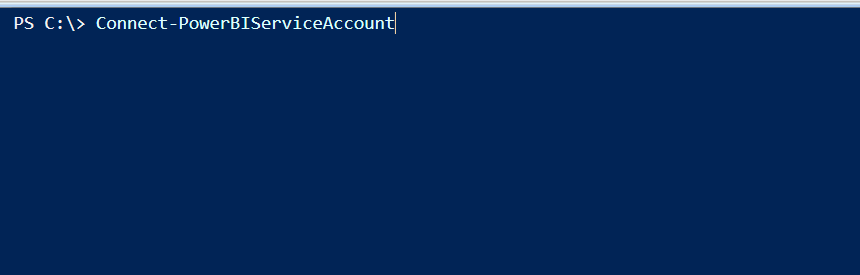
Figure 1 – Connecting to Power BI Service Account
Once you write this command in the Power Shell console, hit Enter. You will be prompted with a username and password that you can use to sign into the Power BI service account. Click on Sign In to proceed forward.
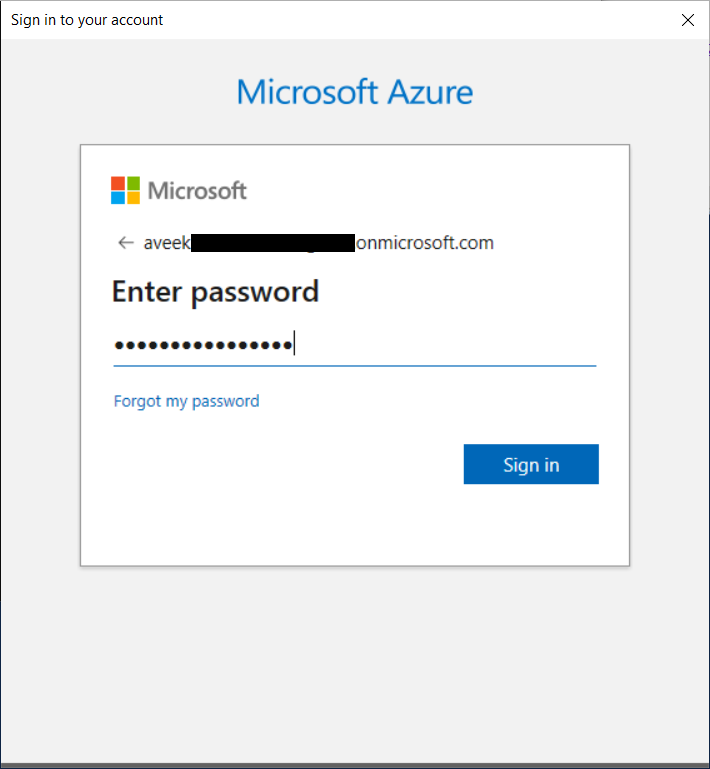
Figure 2 – Signing into Power BI Service Account
Once you log in to the service account successfully, you will receive a response in the Power Shell terminal as follows.
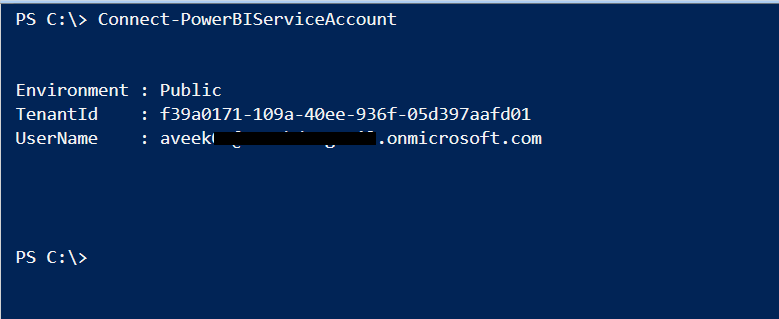
Figure 3 – Power BI Service Account connected successfully
Add users to the Power BI workspace
Once you are logged in to the Power BI service account using Power Shell, the next step is to run the command that will add users to the workspace. But before moving forward, let us first log in to the Power BI service using the web portal to verify the current scenario. Navigate to https://app.powerbi.com and sign in with the same credentials as used to connect the Power Shell terminal.
As you can see, I have an additional workspace configured with the name “Staging Workspace”. Although this is an empty workspace, we can still use it to add users to this workspace.
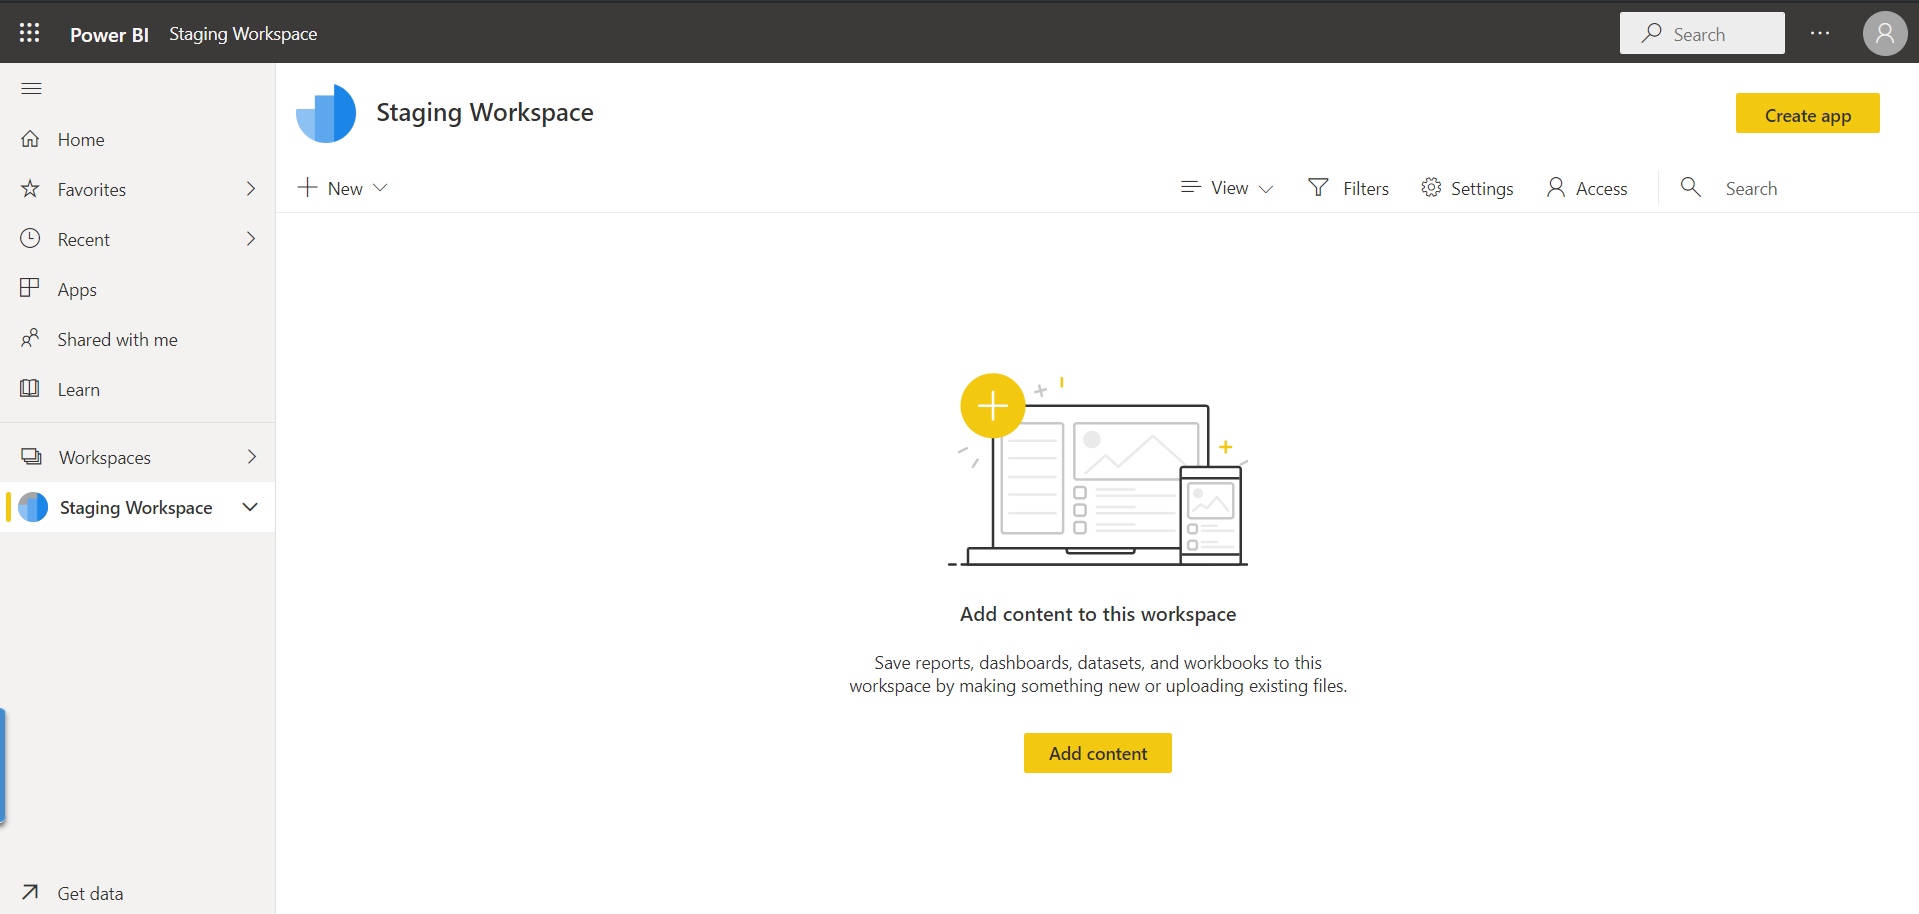
Figure 4 – Staging workspace
In order to view the current users in the workspace, expand the Workspaces, and select the three dots beside the workspace of your choice, in this case, it is “Staging Workspace”. From the drop-down that appears, select Workspace access.
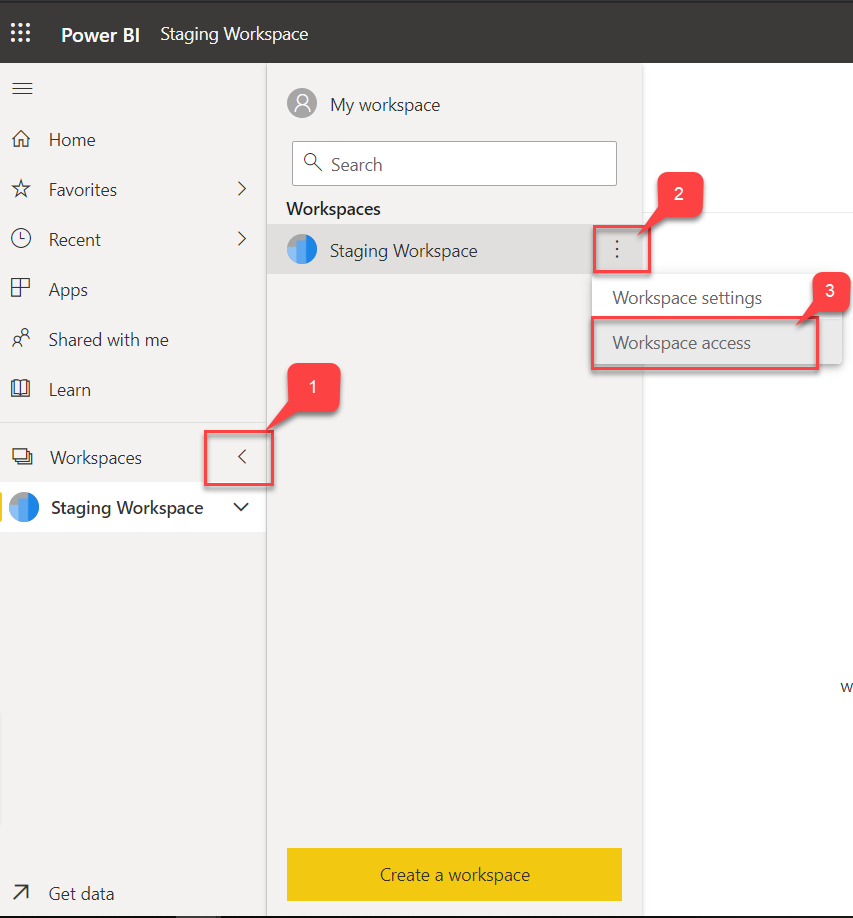
Figure 5 – Workspace Access
As soon as you click on Workspace access, on the right-hand pane, a window appears which displays a list of users that are currently allocated to use this workspace and their respective roles.
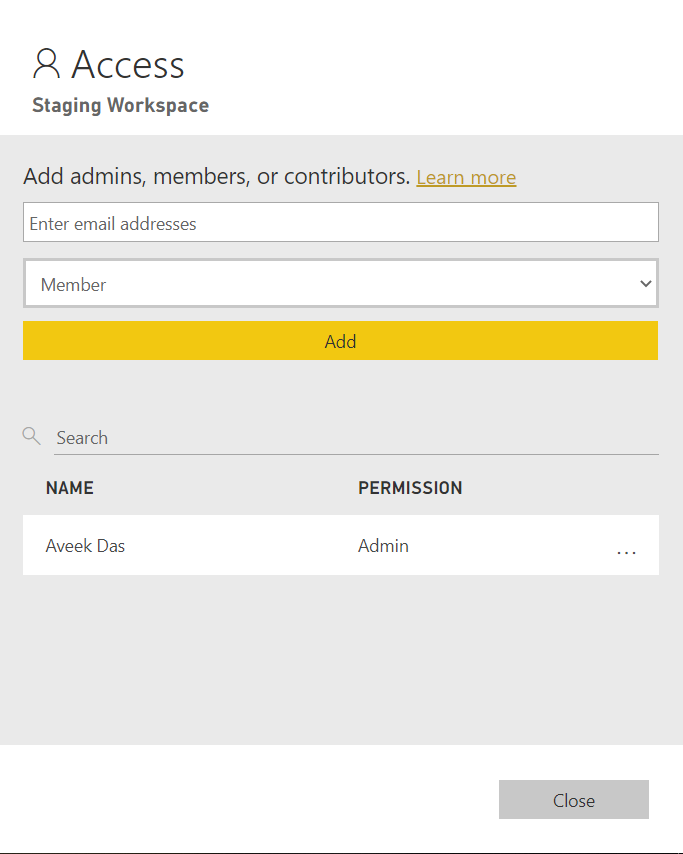
Figure 6 – Workspace Users
As you can see, there is only one user at the moment, with the admin role. One last step before proceeding to add users to Power BI workspace is to get the WorkspaceID. This can be copied from the browser address bar as follows.

Figure 7 – Fetch Workspace ID
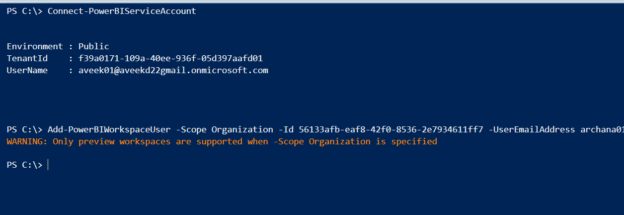
Let us now go ahead and add a second user to this workspace using Power Shell as a contributor role. The command to add the user is as follows.
|
1 |
Add-PowerBIWorkspaceUser -Scope Organization -Id <WORKSPACE_ID> -UserEmailAddress <EMAIL_ADDRESS> -AccessRight Contributor |
Once you type the above Power Shell command and hit enter, it will add the new user with a contributor role to the workspace.
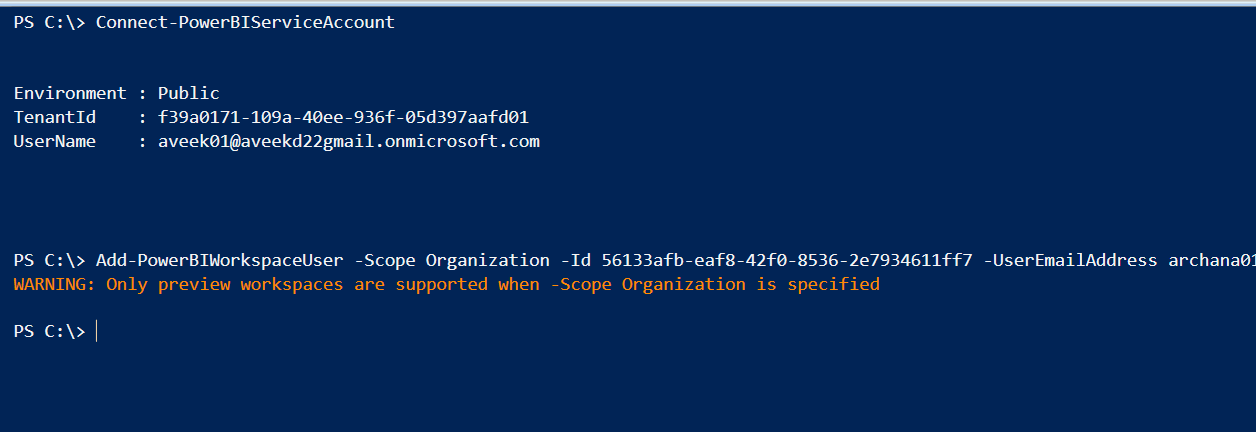
Figure 8 – Add users to Power BI workspace
You can verify the same by navigating to the web portal and follow the same steps as mentioned above. As you might have already guessed, the new user has been added with the contributor role.
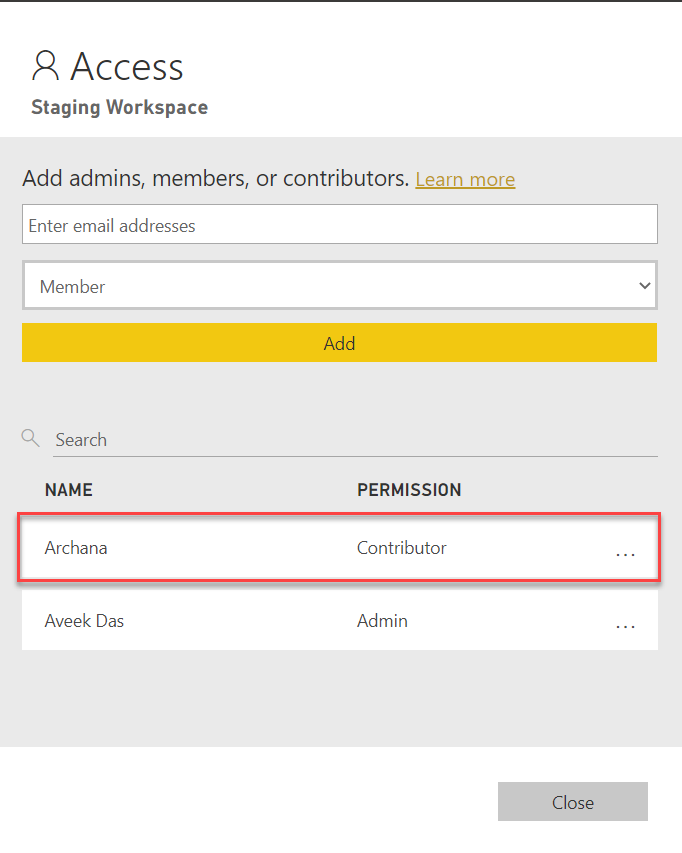
Figure 9 – New User verified in Portal
Modifying the roles of users in the workspace
Suppose you have already added a new user to a workspace or there is an old user in the workspace, for whom the role needs to be modified. In such a case, you can run the above command again. The only change that needs to be done is to modify the name of the role at the end of the command. Let us now try and modify the role of the new user that we just added. The command will be as follows.
|
1 |
Add-PowerBIWorkspaceUser -Scope Organization -Id <WORKSPACE_ID> -UserEmailAddress <EMAIL_ADDRESS> -AccessRight Member |
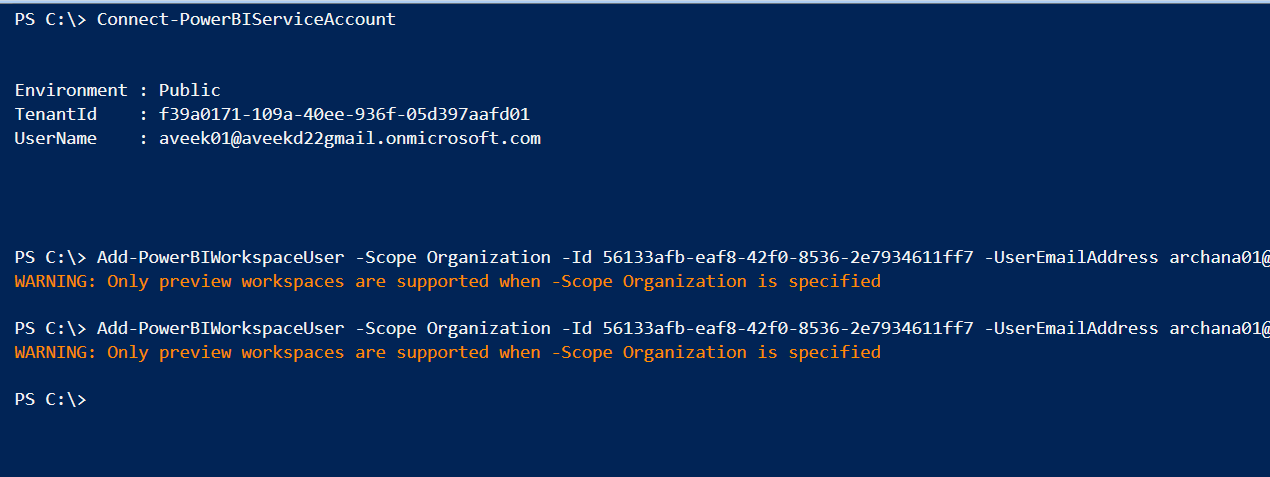
Figure 10 – Modified Role of existing user
Let us again head over to the portal to verify the same.

Figure 11 – User Role Modified
As you can see, the role has been updated as Member from a contributor.
Conclusion
In this article, I have explained how to add users to a Power BI workspace using Power BI PowerShell commandlets. We have created the report using Power BI Desktop and then published the same into Power BI Service. Power BI Service is the cloud version of Power BI which can be used to view the reports online and also share the reports and dashboards to different users.
Finally, we have learned how to add users to Power BI workspace using the Power BI PowerShell commandlets. This process of adding users to Power BI workspace is important from an administrative point of view as it can control the users who will have access to a specific report.

He is a prolific author, with over 100 articles published on various technical blogs, including his own blog, and a frequent contributor to different technical forums.
In his leisure time, he enjoys amateur photography mostly street imagery and still life. Some glimpses of his work can be found on Instagram. You can also find him on LinkedIn
View all posts by Aveek Das
- Getting started with PostgreSQL on Docker - August 12, 2022
- Getting started with Spatial Data in PostgreSQL - January 13, 2022
- An overview of Power BI Incremental Refresh - December 6, 2021