
In this article, I am going to explain the step-by-step installation process of MySQL server 8.0.19 using a noinstall Zip archive. In my previous article, I have explained the step-by-step installation process of MySQL 8.0 on windows 10.
The steps to install MySQL is as the following:
- Download and extract the files
- Create MySQL option files
- Initialization of the MySQL data directory and system databases
- Start the MySQL server services using the command prompt
- Create MySQL as a windows service
- Set the values of the PATH variable to access MySQL
- Connect to MySQL instance using MySQL workbench
Download and extract the files
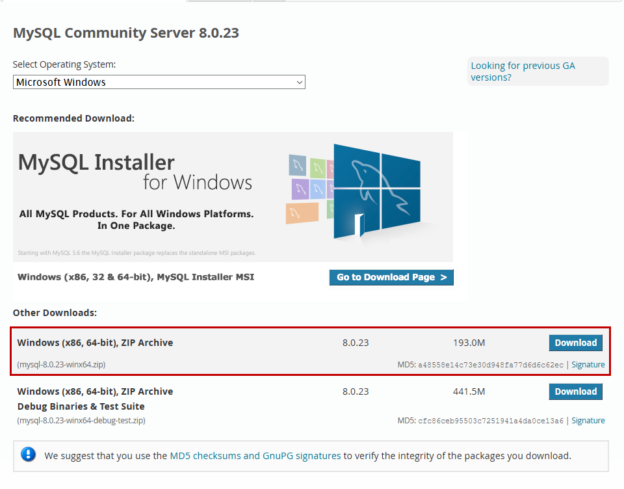
First, let us download the Zip archive of MySQL 8.0 from the download page. On the download page, choose Microsoft Windows from the Select operating System drop-down page. Select Windows (x86, 64-bit) ZIP archive.

Once the zip archives are downloaded, copy the files to your desired location and extract the files.
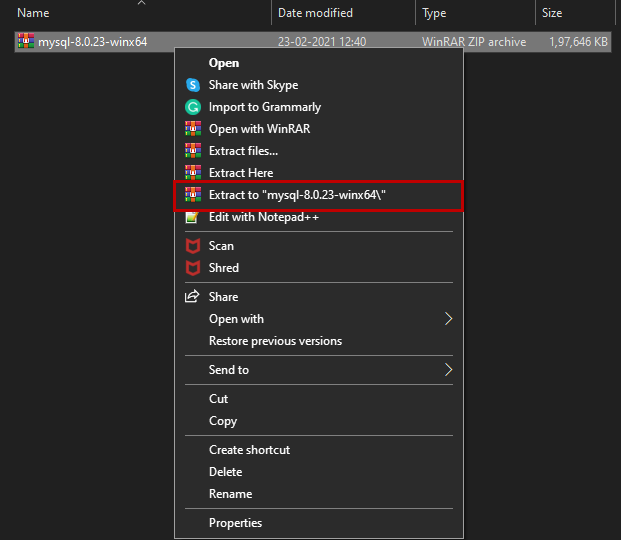
I have created a directory named MySQL_Home on the C:\ drive of my workstation. We are using it as a home directory of MySQL. I have copied the extracted files to the C:\MySQL_Home directory.
Create MySQL configuration file
The configuration file is used to initiate the MySQL database server. The file contains the following information.
- Base directory: The base directory to the installation. In our case, the C:\MySQL_Home is the base directory
- Data directory: The location of the data directory. In our case, C:\MySQL_Data_Directory is the data directory
Create a new text file and enter the following parameters in it. We can use a plain text editor (notepad or notepad++) to create the configuration file.
|
1 2 3 4 5 |
[mysqld] # set basedir to your installation path basedir="C:/MySQL_Home/" # set datadir to the location of your data directory datadir="C:/MySQL_Data_Directory/" |
- Note: When we use the windows pathname, then in the configuration file, the pathname must be specified with \\ (double backslash) or / (Forward slash) character. Suppose the configuration file is in C:\MySQL_Home, then you must specify C:/MySQL_Home or C:\\MySQL_Home

Save the file as my.ini in the C:\MySQL_Home directory and close the editor.
Initialize the data directories and system databases
The ZIP archive of MySQL does not include the data directory; therefore, we must initialize it manually. When we initialize it, MySQL creates the MySQL system database files and system tables in the location specified in the options file.
To initialize MySQL and create MySQL system databases, we must run the mysqld command with the –initialize or –initialize-insecure option. The details of both options are the following:
- The –initialization option is considered secure by default. When we use this option, MySQL generates a random root password. Once installation completes, the root password will be expired, and you must create a new root password
- When we use the –initialize-insecure option, we do not need to specify the root password. It is considered that the user will create the root password before moving on to production. In simple words, we must create a root password before putting this server for production usage
Before starting the service, we can determine the MySQL Server type. We can configure two types of MySQL Server on Windows.
- Mysqld: These are optimized binary files and have named-pipe support
- Mysqld-debug: These are optimized binary and compiled with full debugging. It has automatic memory allocation checking
In this demo, we will use the mysqld binaries. I am installing MySQL on my workstation to initialize the MySQL data directories; I am using the –initialize-insecure option.
Open the command prompt as an administrator user. First, navigate to the MySQL_Home\bin directory using the cd command.:
|
1 |
C:\>cd C:\MySQL_Home\bin |
Run the following command:
|
1 |
C:\MySQL_Home\bin>mysqld.exe --initialize-insecure |
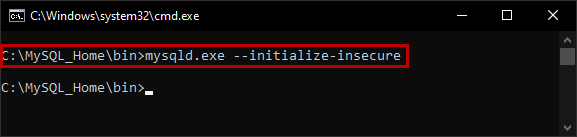
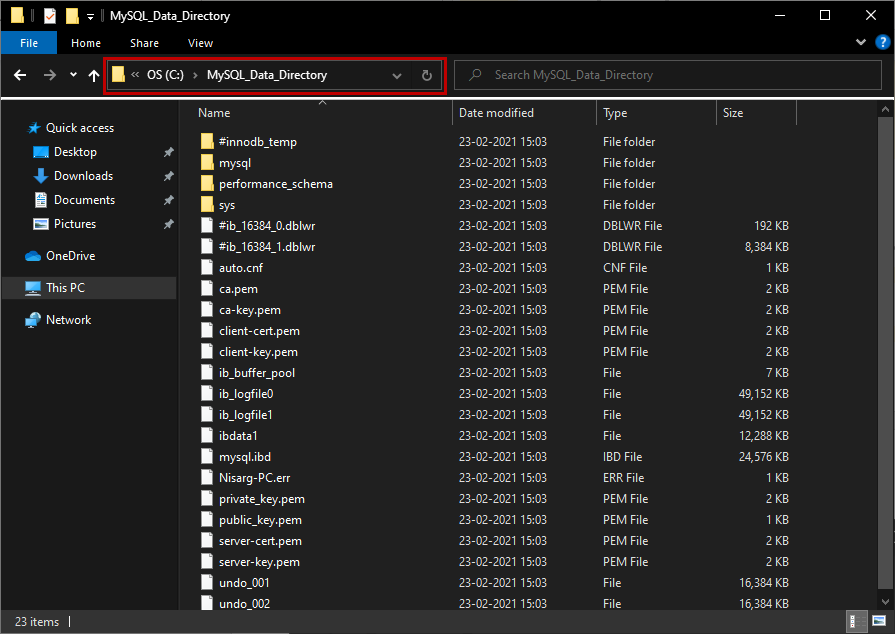
The command executes successfully, but it did not return any message. To verify that the initialization was completed successfully, open C:\MySQL_Data_Directory. You can see the data directories and system database files have been created, which indicates that the initialization was completed successfully.
During the initialization process, MySQL writes the logs in the data directory of MySQL. If the data directories have not been created or encounter an error, you can review them to diagnose the issue. The file name format of the error log is [Host Name].err.
Now, let us start the MySQL services.
Start MySQL Service using command prompt
First, let us start the MySQL Services using the command prompt. To do that, navigate to the MySQL base directory’s bin folder and run the following command.
|
1 |
C:\MySQL_Home\bin>mysqld.exe |
The mysqld service will be started. Now, connect to the MySQL server using mysql command-line tools. Start another session of command prompt and run the below command. It connects to the MySQL server using the root user.

- Note: In this method, the problem is, you can not close the command prompt in which you have executed the mysqld.exe command. If you close the window, the MySQL service will be stopped. To fix the issue, it is recommended to run MySQL as a windows service
Run MySQL as a windows service
Now, let us run MySQL as a windows service. The benefit of creating the MySQL windows service is to get more control over it. We can control the services using the NET SERVICE command and Services MMC (Microsoft Management Console.) We can install the MySQL Server as a service by executing the following command.
|
1 |
C:\MySQL_Home\bin\mysqld.exe --install |
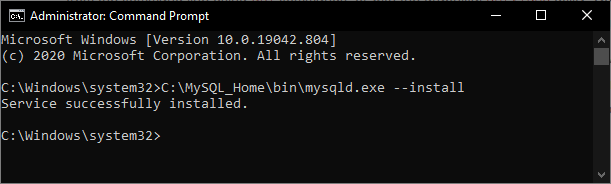
As you can see in the above image, the service has been installed. Now, to view the service, open Control Panel Administrative Tools Open Services. In the services MMC, locate the MySQL Service.
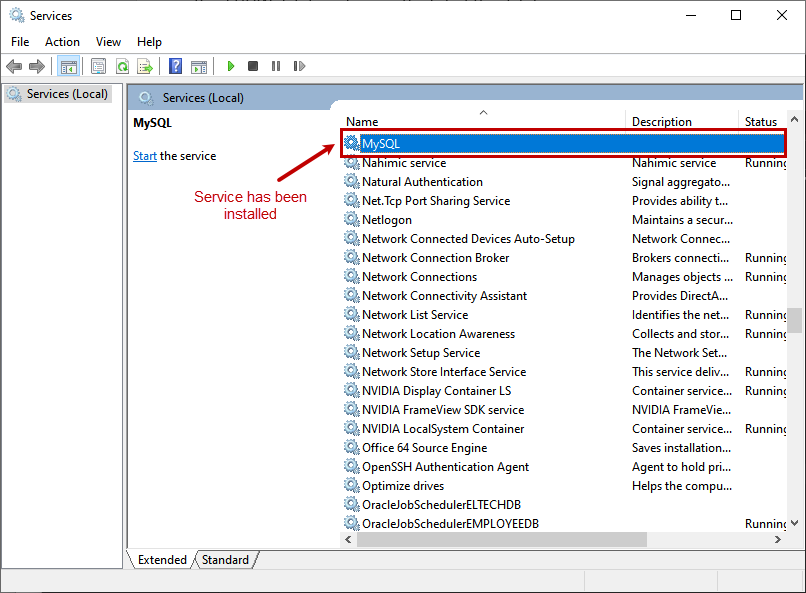
As you can see in the above image, the MySQL server is installed as a service, but we must start it manually execute the following command in PowerShell. The command should be executed using an Administrator account.
|
1 |
<strong>C:\Windows\System32></strong> Net start mysql |
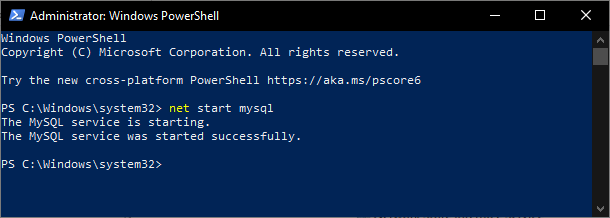
As you can see, the service has been started.
Set PATH variable to access MySQL
Let us run MySQL from the command prompt without specifying the full path of the mysql.exe file. Open a Command prompt and run the MySQL command.
The following error occurs:
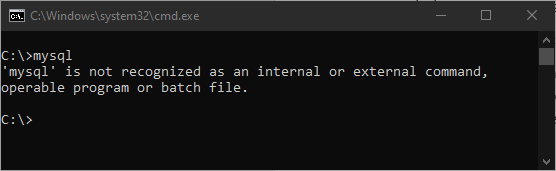
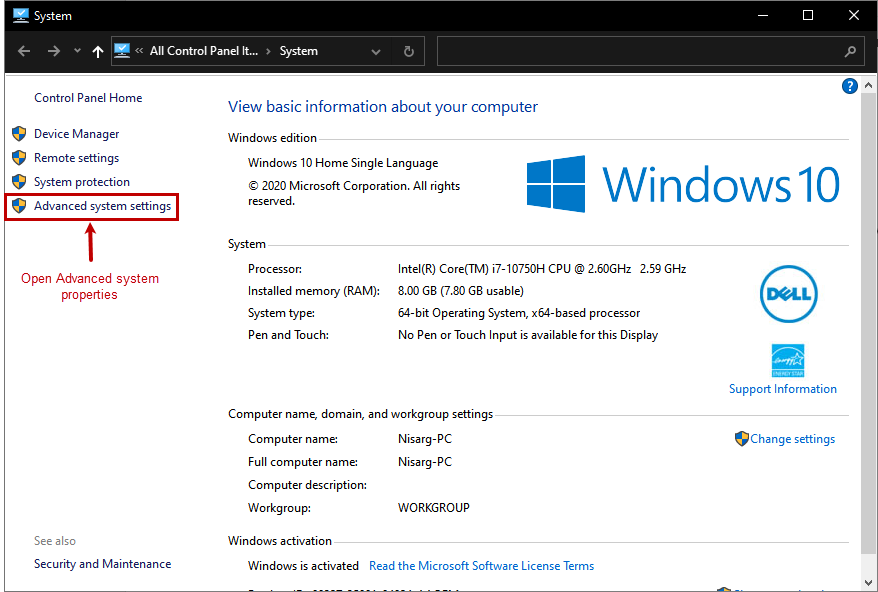
When we install the MySQL from the zip archive, we must configure the PATH variable to access MySQL without specifying the full path of mysql.exe. To access MySQL easily, we can set the PATH variable. For that, Open System Properties Open Advanced system settings.
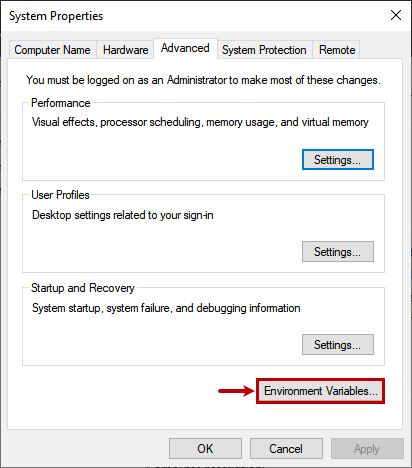
In Advanced system settings, click on Environment.
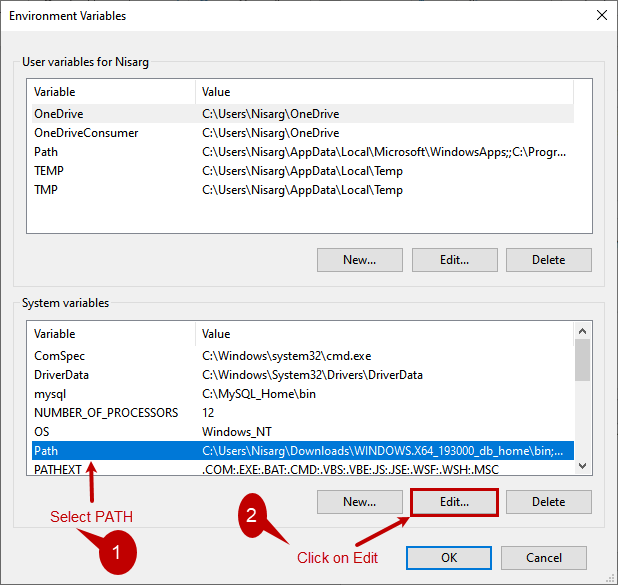
In the environment dialog box opens. Select PATH Click on Edit.
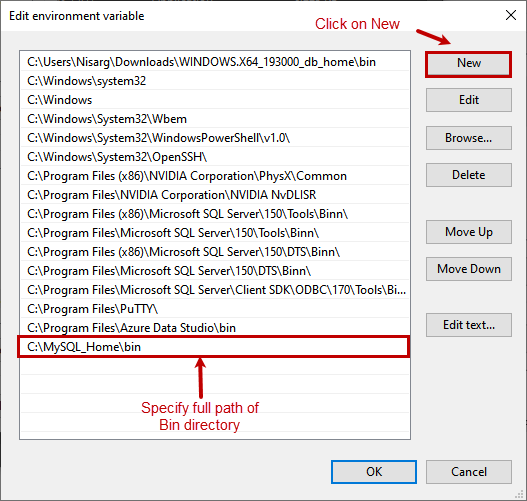
A dialog box Edit System variable opens. In the dialog box, click on Add Specify the full path of the MySQL bin directory. In our case, the bin folder is in C:\MySQL_Home, so specify C:\MySQL_Home\bin.
Click OK to save the variable and close the dialog box. Now, again run the command.
|
1 |
C:\> Mysql -u root -p |
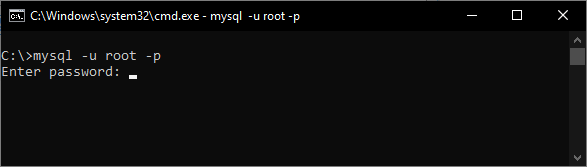
As you can see, the error has been resolved. Specify the password and hit enter.
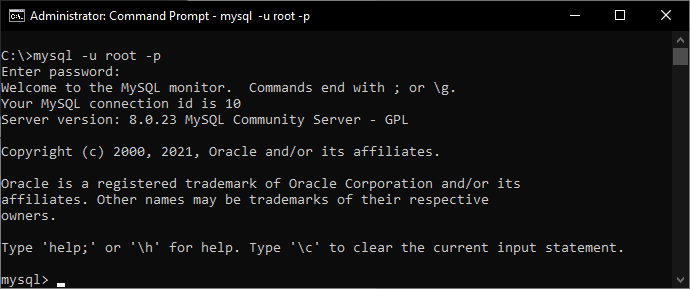
You are now connected to the MySQL server.
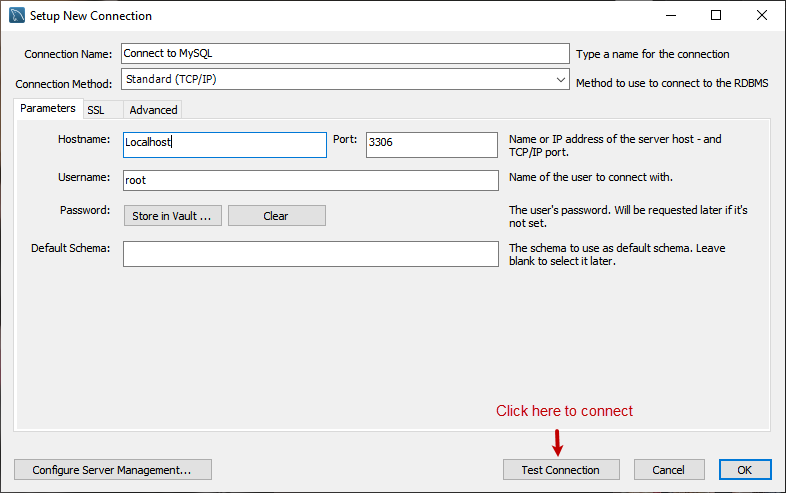
Connect to MySQL Server using workbench
Open MySQL workbench, and in the connection dialog box, specify the hostname and port number on which the MySQL is installed and the Username that has access to the MySQL Server. Click on Test Connection.
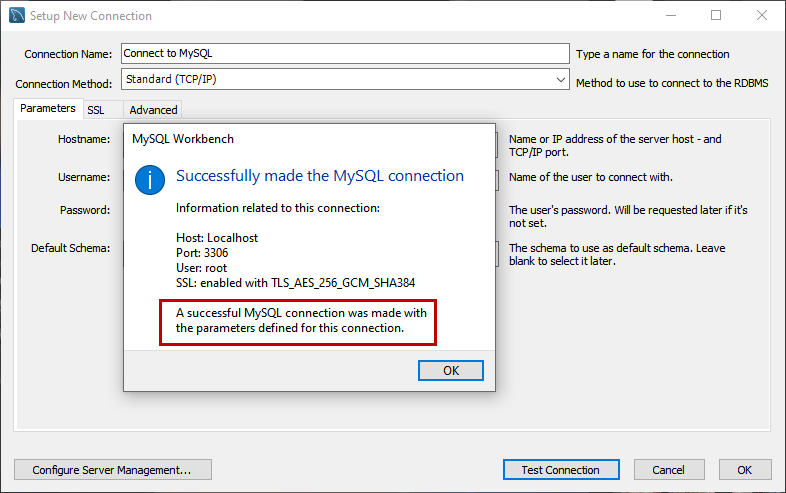
The connection is established successfully.
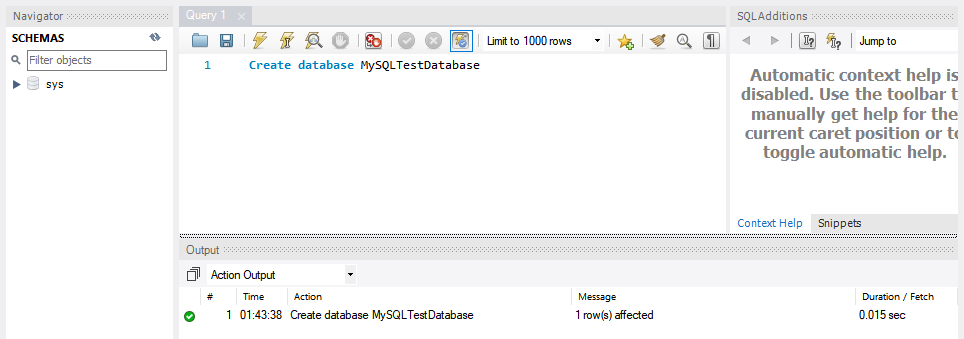
Once connected, run the following query to create a database.
Query
|
1 |
Create database MySQLTestDatabase |
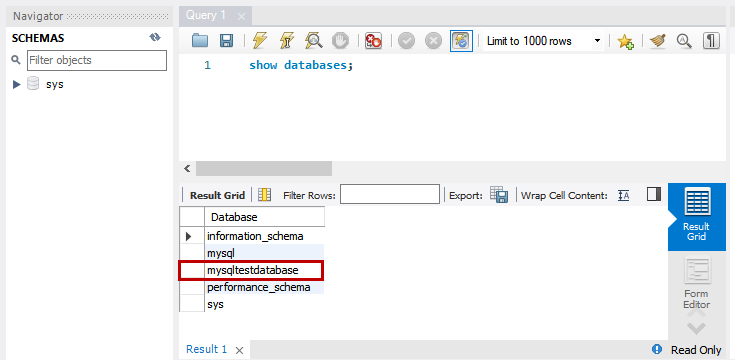
Run Show Database to view the list of the database.
|
1 |
SHOW DATABASES; |
Summary
MySQL server’s installation process using the noinstall ZIP archive is entirely different from the installation process of MySQL using *.msi installer. The installer is a GUI tool that makes the installation process much easier than the MySQL ZIP archive installation process. In this article, I have explained how we can install MySQL Server using noinstall ZIP archive.
Table of contents

He has expertise in database design, performance tuning, backup and recovery, HA and DR setup, database migrations and upgrades. He has completed the B.Tech from Ganpat University. He can be reached on nisargupadhyay87@outlook.com
- Different ways to identify and change compatibility levels in SQL Server - July 22, 2024
- Copy SQL Databases between Windows 10 and CentOS using SQL Server data tools - October 19, 2022
- Changing the location of FILESTREAM data files in SQL Database - October 14, 2022