

Analyzing data with Power BI has always been fascinating to me. With ever-growing data comes more risk, and hence more security is needed. In this article, I am going to introduce what row-level security in Power BI is and how does it work. I’ll also demonstrate in detail how to implement the same in Power BI Desktop. Later, we will also discuss how to implement this row-level security in Power BI service as well. To learn about row-level security in SQL Server, please have a look at my previous article, where I have explained how to implement the same.
Importing Data into Power BI
The first step in demonstrating any Power BI feature is to load the dataset into the Power BI environment and build the required visuals. For this article, I’m going to use the famous AdventureWorksDW database, as provided by Microsoft. You can download this database and get it installed on your PC.
Open Power BI Desktop and click on Get Data. Select SQL Server from the drop-down menu.
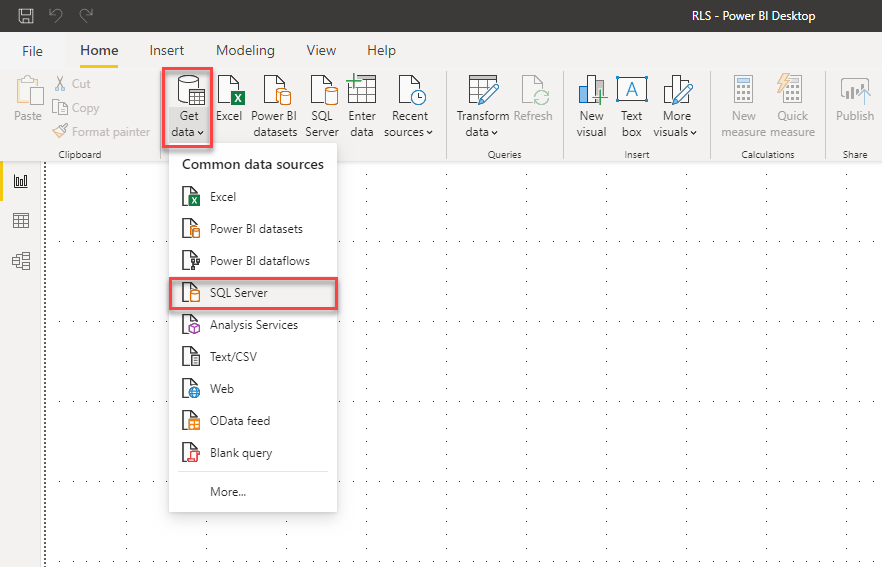
Figure 1 – Get Data in Power BI
Select a few tables from the AdventureWorksDW database. I’ve selected a few tables from the database, which are as follows.
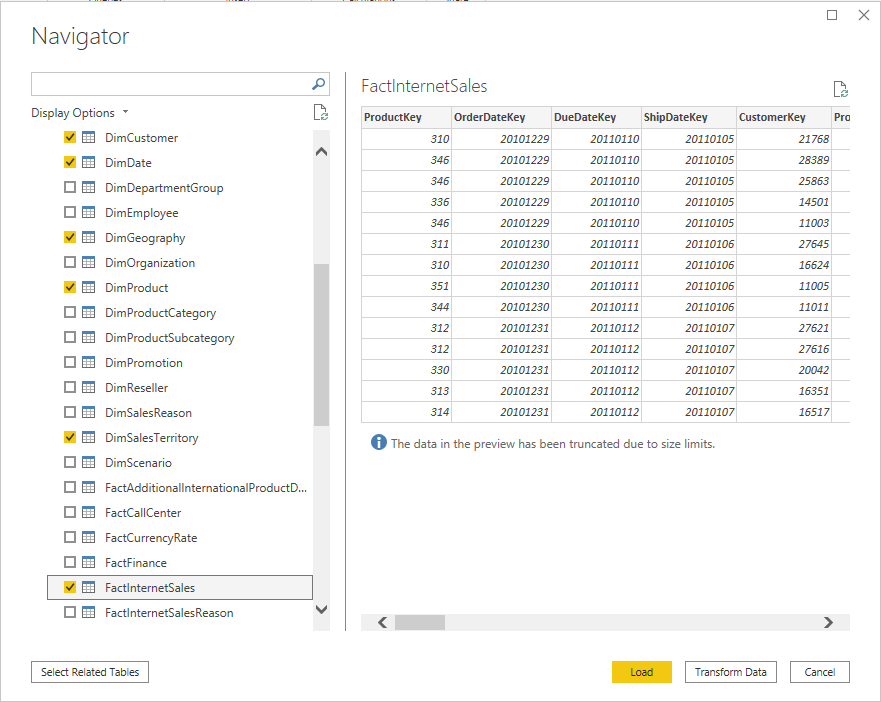
Figure 2 – Select Tables for Power BI
Once these tables are imported into Power BI, you can view these on the right-hand pane as follows.
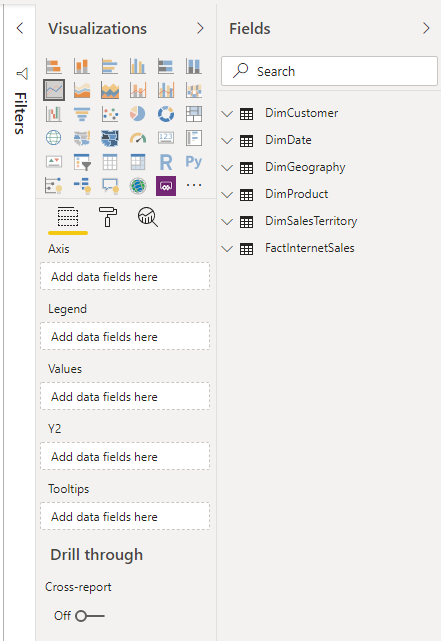
Figure 3 – Power BI Dataset Imported
Alternatively, you can also view the Data Model and the underlying relationships.
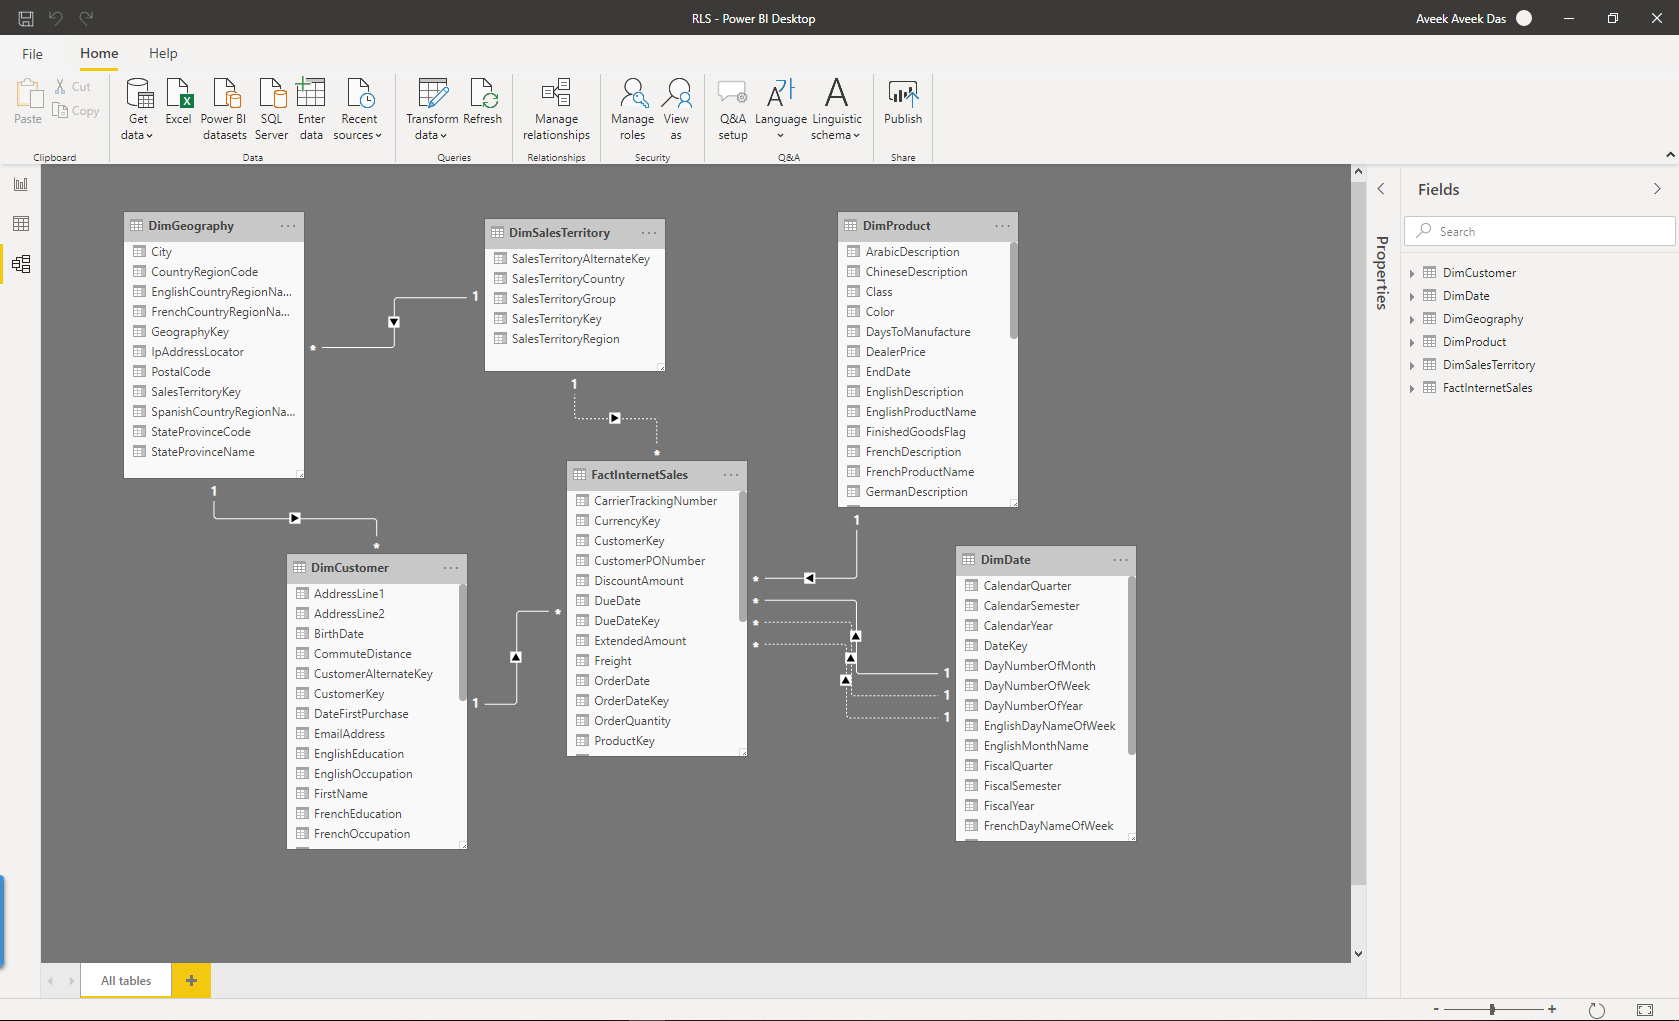
Figure 4 – Power BI Dataset Relationships
Finally, create a sample report on which you’d like to apply the row-level security in Power BI. For this example, I’m going to set the row-level security on the SalesTerritoryGroup column. As you can see, the SalesTerritoryGroup column can be further divided into SalesTerritoryRegion. When we assign roles to a specific territory group, only data relevant for that group will be visible while other records will be hidden from the display.
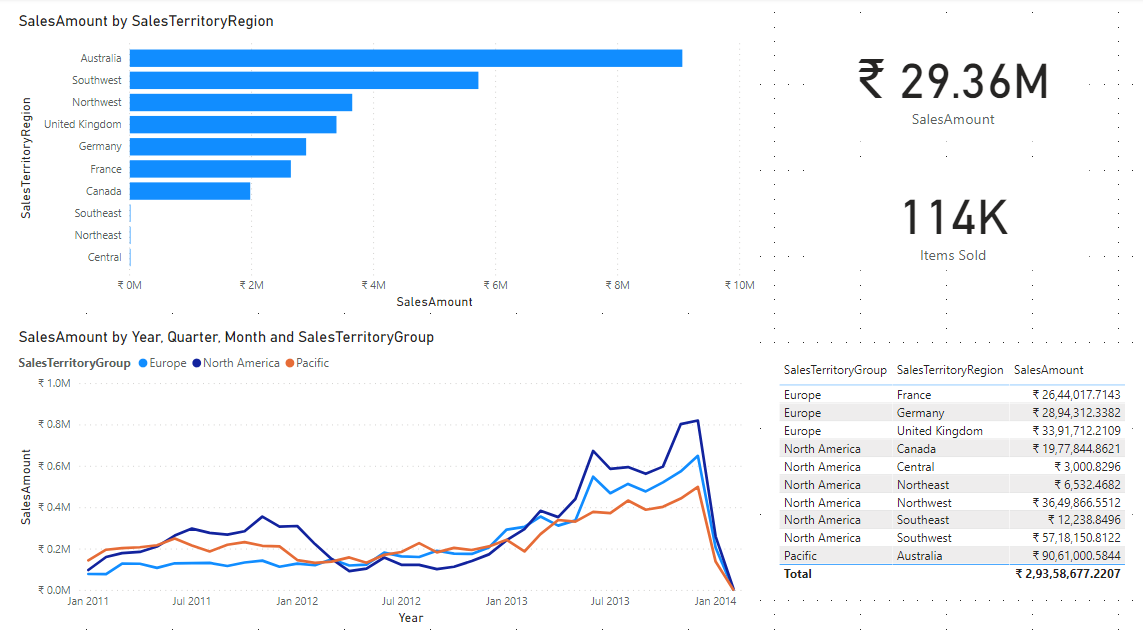
Figure 5 – Power BI Report
Part 1: Implement Row-Level Security in Power BI Desktop
In order to implement row-level security in Power BI, navigate to the Modeling tab on the top, and select Manage roles.
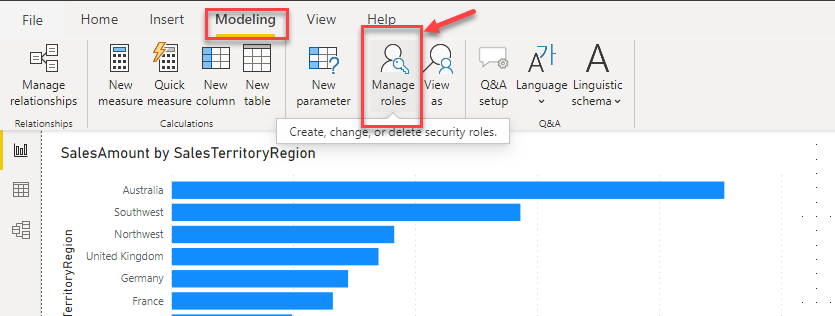
Figure 6 – Manage Roles
In the Manage roles dialog box that appears, click on Create.
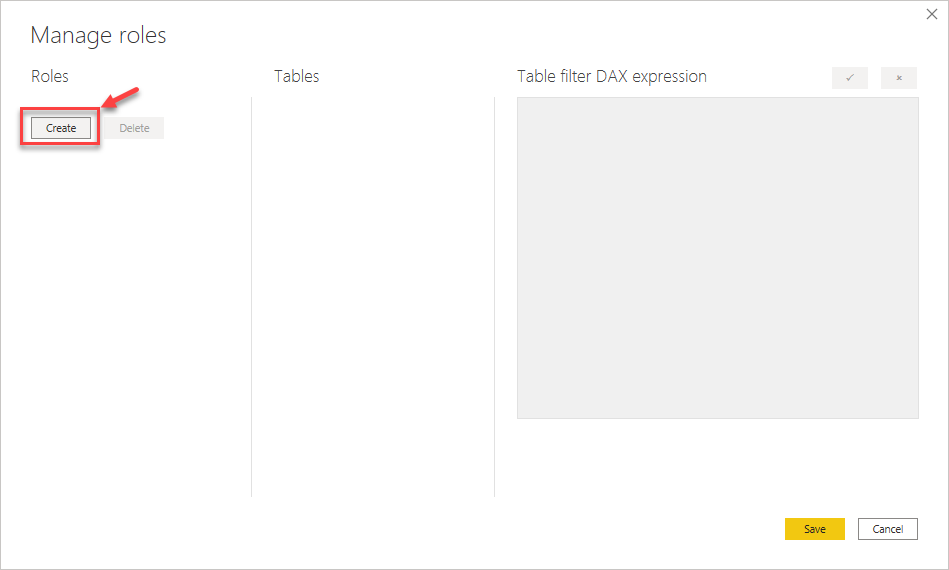
Figure 7 – Create Role
Once you click on Create, you’ll have a list of tables from the data model from which you can select a filter to apply the row-level security. Since I’m going to filter on the territory group, I’ll expand the DimSalesTerritory and select Add Filter and then select the column SalesTerritoryGroup.
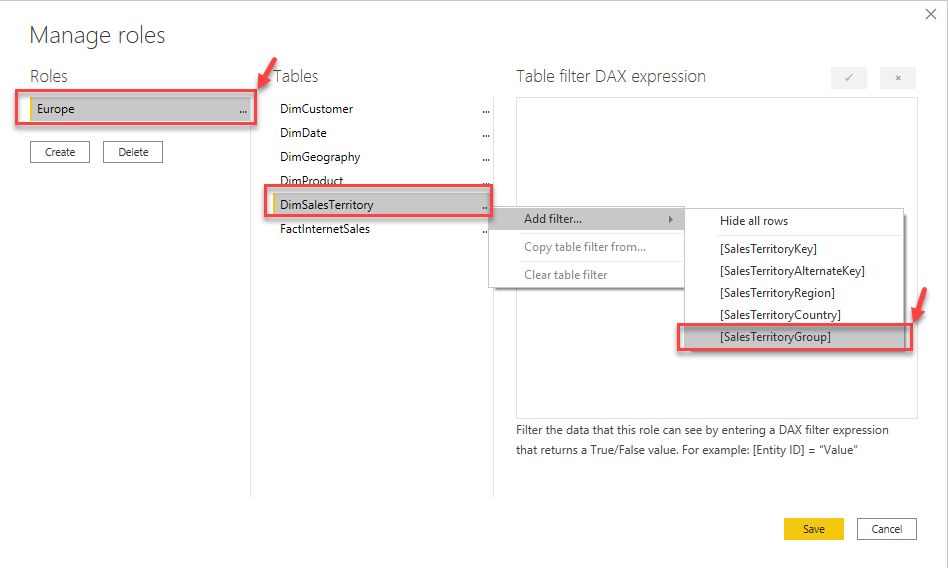
Figure 8 – Adding Filter
You’ll see that a new sample DAX expression has been added with SalesTerritoryGroup as the table.
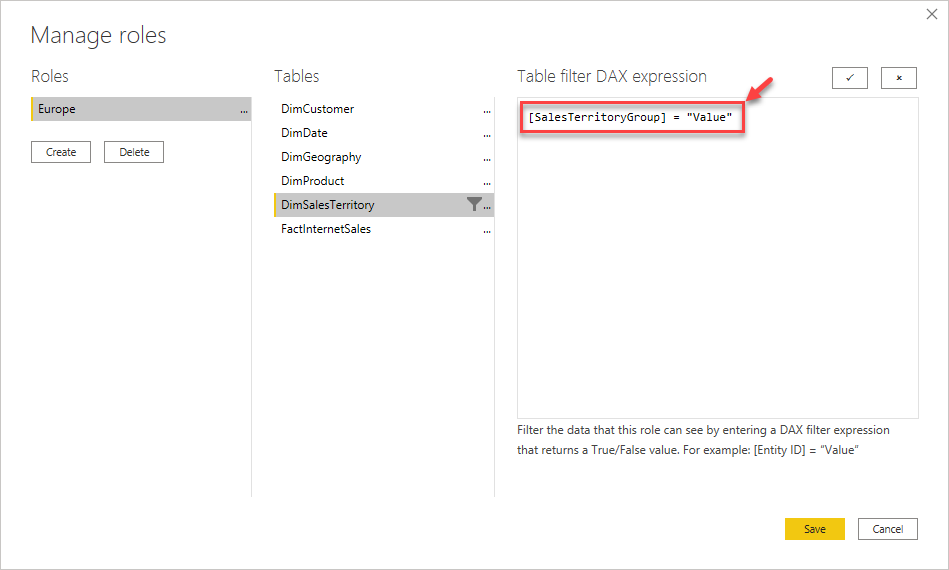
Figure 9 – Sample DAX Expression Added
Replace the “value” in the DAX expression with an actual value from the SalesTerritoryGroup. Let’s add the value as “Europe” and such that this role will filter data only for those records for Europe as the territory group.
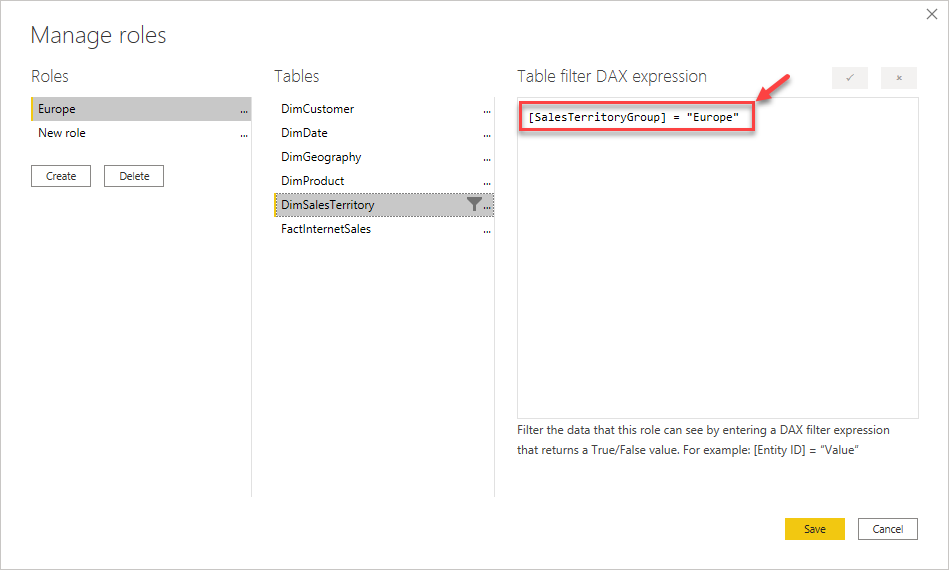
Figure 10 – Added Europe as SalesTerritoryGroup Filter
Likewise, let’s create one more for “North America” as well.
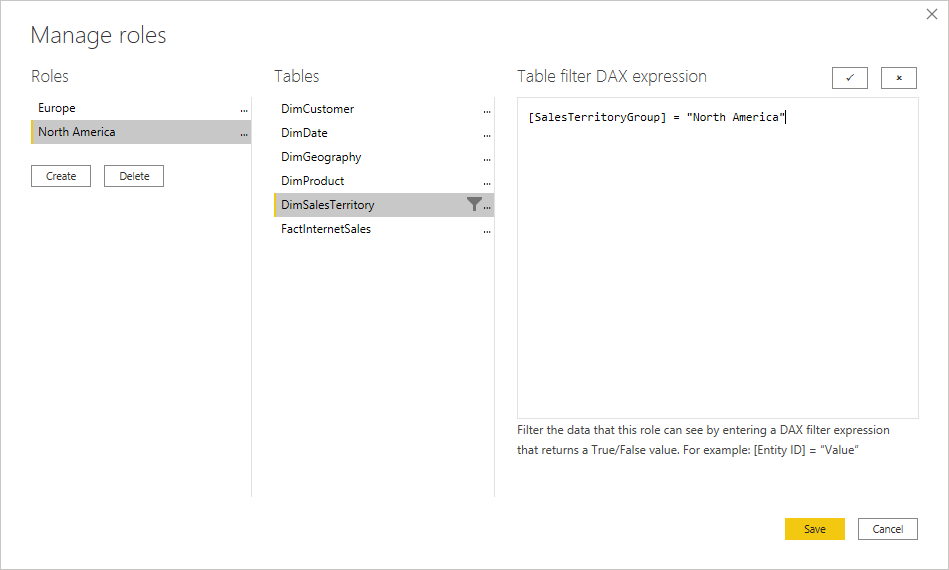
Figure 11 – Added North America as SalesTerritoryGroup Filter
Finally, let’s create a role for a manager who wants to monitor sales across Europe and North America. We need to provide access to both these territories for the manager. You can use the following expression to assign more than one value for a role.
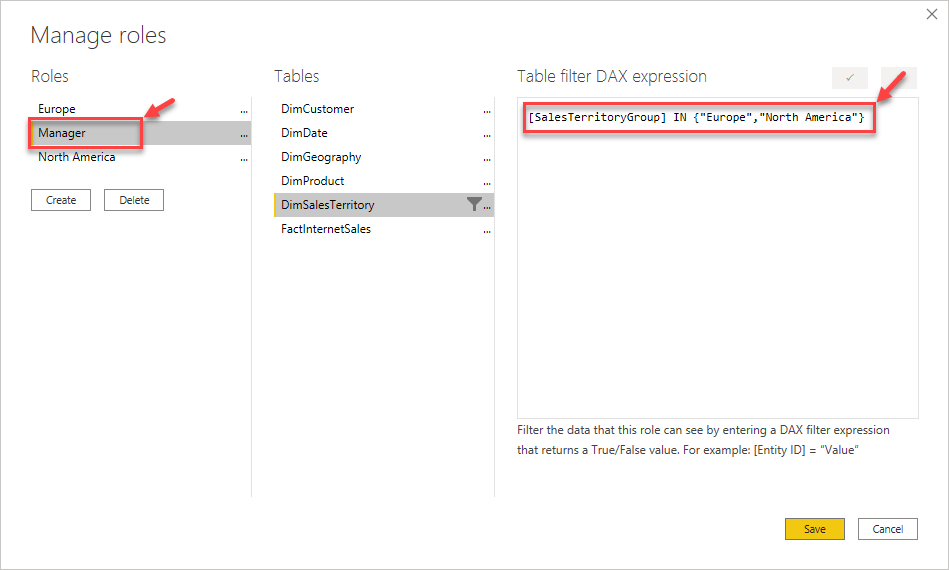
Figure 12 – Adding Manager Role
Now that we have created the roles let us go ahead and view the implementation in actual. There is an option in Power BI, where we can see the reports from the context of the roles that we just created. This will help us test if the DAX filter expressions are working as expected, and if the row-level security in Power BI can be implemented correctly.
Click on View as, by default, the role None will be selected.
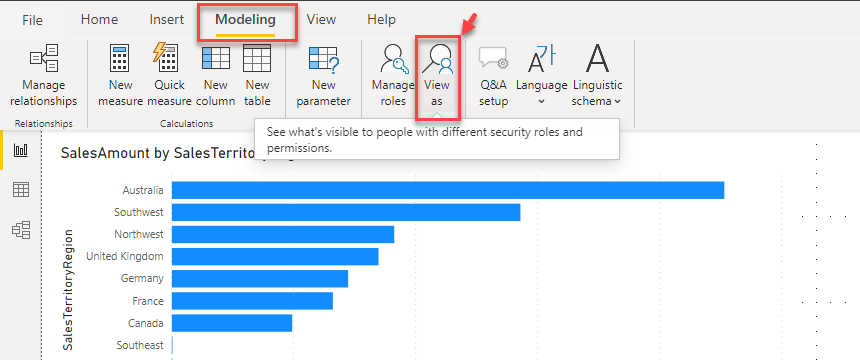
Figure 13 – View as Role
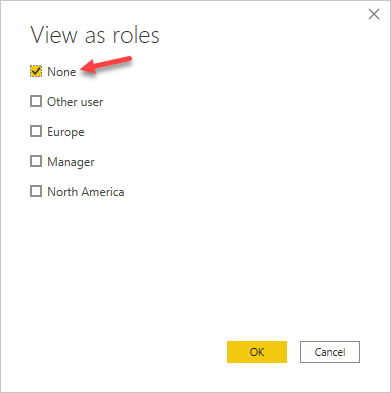
Figure 14 – Default Role None Selected
Let us try to see how the reports look if we select a different role. Select Europe as the role and proceed ahead.
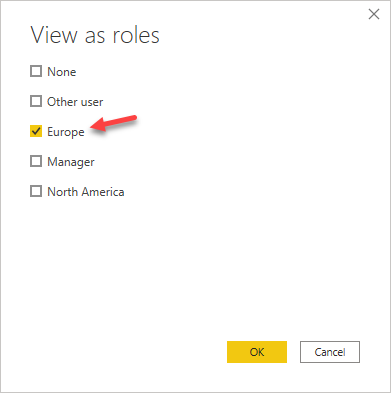
Figure 15 – Selecting Europe as the role
You’ll notice that the report renders the visualization, but only for the specific role that is selected. You can also notice on the left-hand top that it is mentioned as “Now viewing report as Europe”. Notice how the regions only for Europe are filtered and the line chart now shows only one line, that is for Europe only.
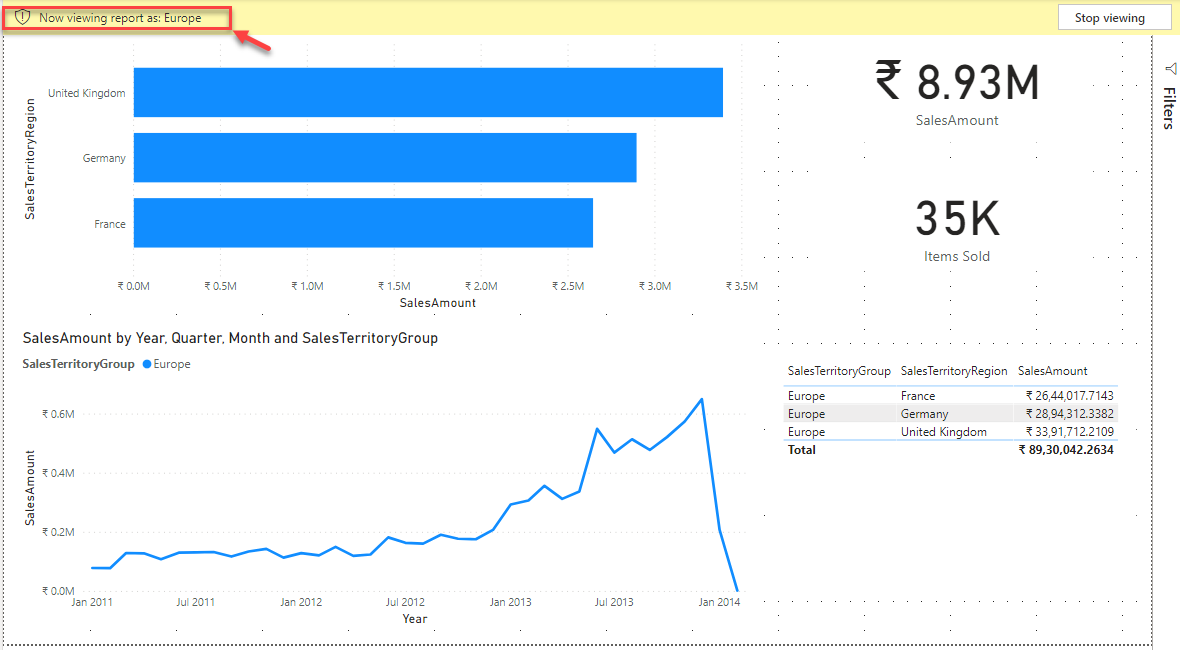
Figure 16 – Viewing as Europe Role
Let us repeat the same again but by changing the role and selecting North America.
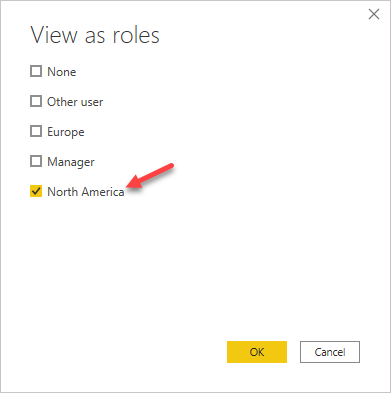
Figure 17 – Selecting North America as the role
As you can see now, all the territories that belong to North America as being displayed along with a single line for the same in the line chart.
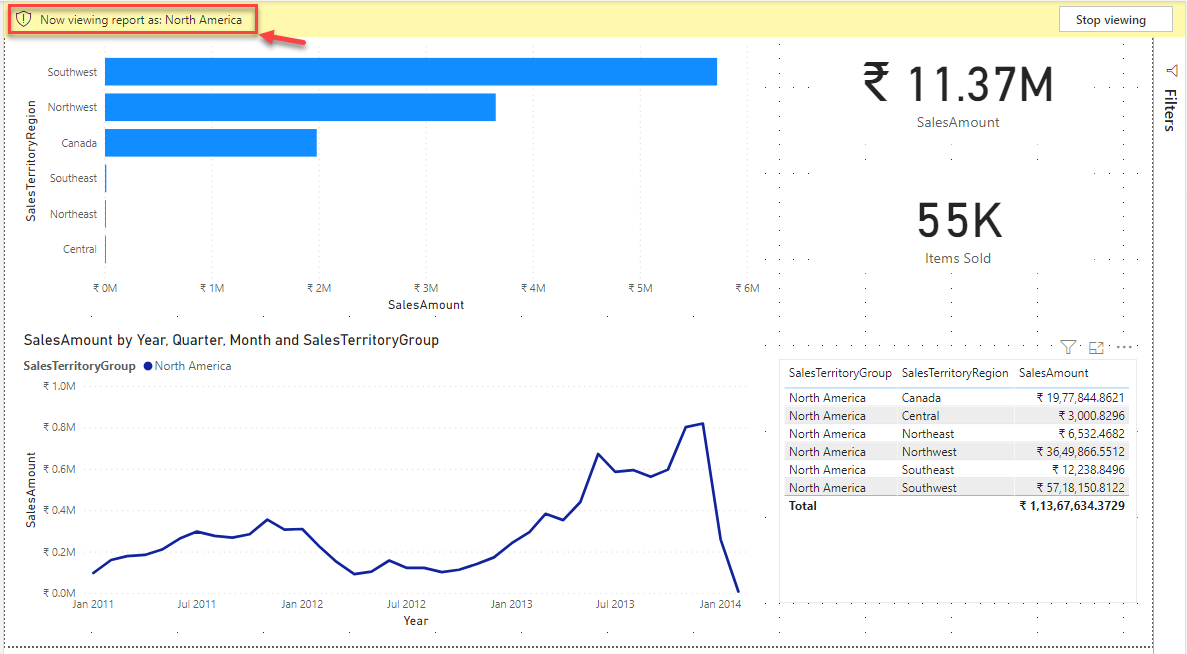
Figure 18 – Viewing as North America Role
Finally, let us see how the manager role will display the results, as this role needs to display both the groups – Europe and North America. Select the Manager as the role and click OK.
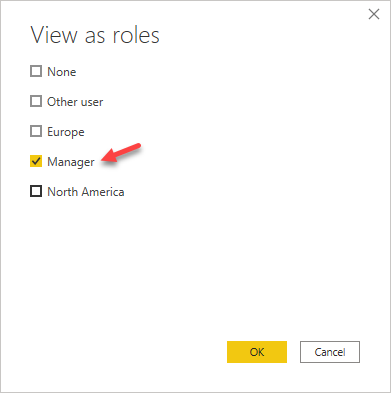
Figure 19 – Selecting Manager as the role
As you can see, the manager has access to the data for both the territory groups, and thus two lines are being displayed on the line chart. Also, the values on the cards are now summarized for both the territory groups.
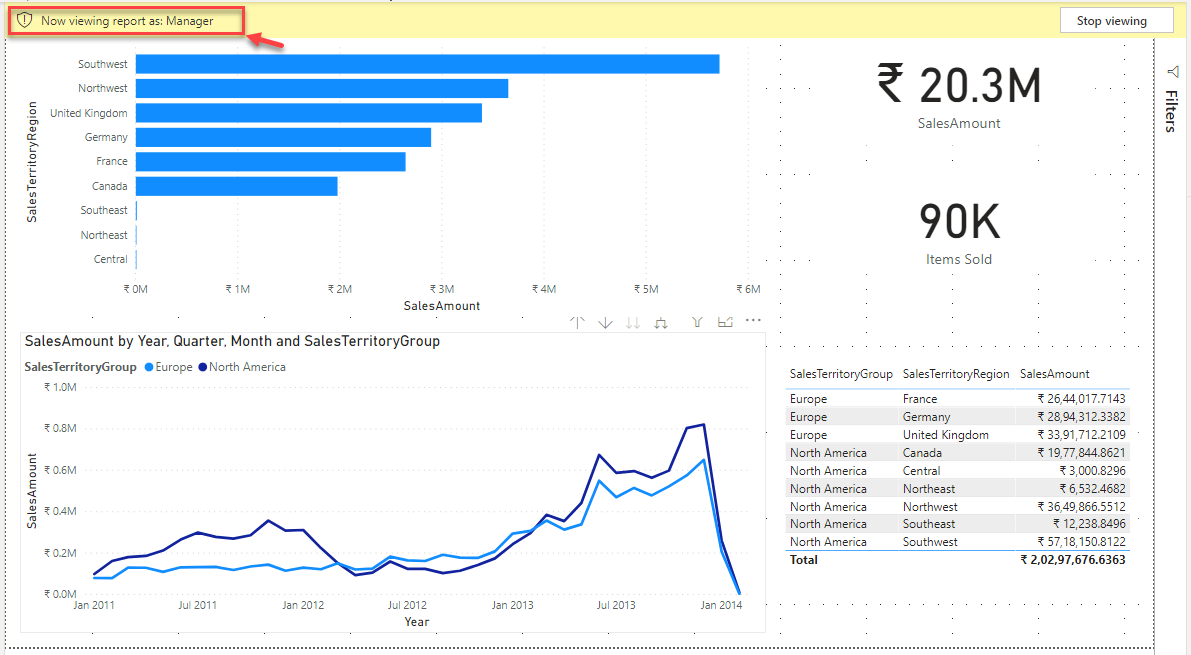
Figure 20 – Viewing as Manager
Now that we have some understanding of how row-level security in Power BI Desktop works let’s go ahead and understand how to implement the same security in Power BI service as well.
Publish the report to a workspace and open the published report link.
Figure 21 – Publishing report to Power BI Service
Part 2: Implement Row-Level Security in Power BI Service
Open the report that you have just published.
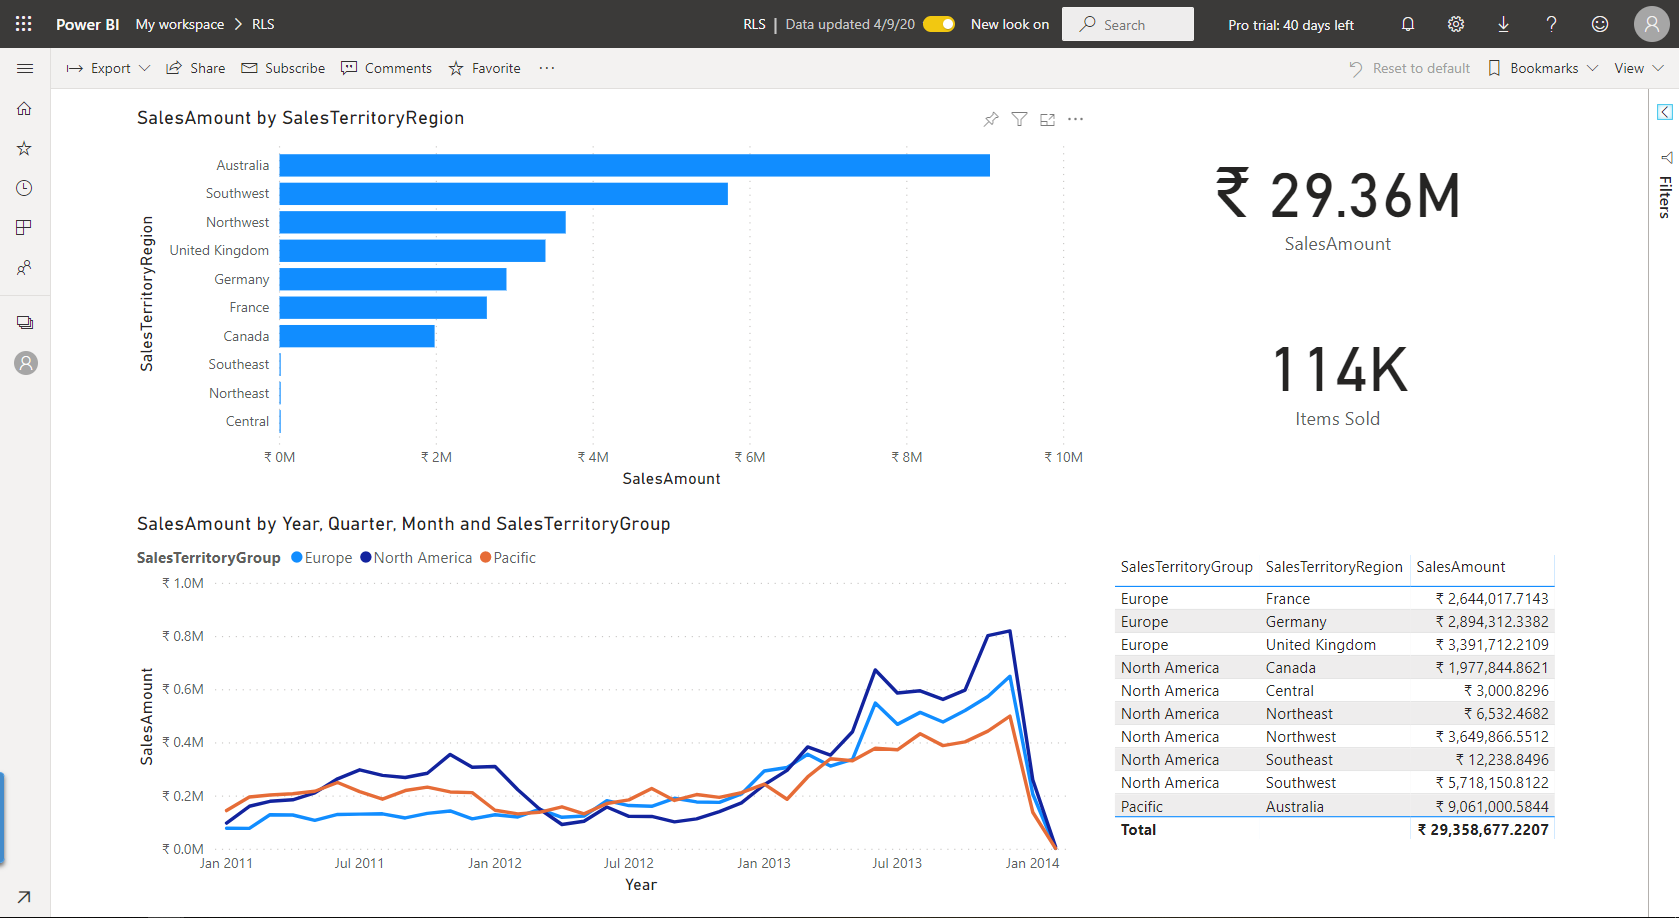
Figure 22 – Open Report in Power BI Service
Next, in order to implement RLS, navigate to Datasets, and then click on the options button for the report dataset that you just published.
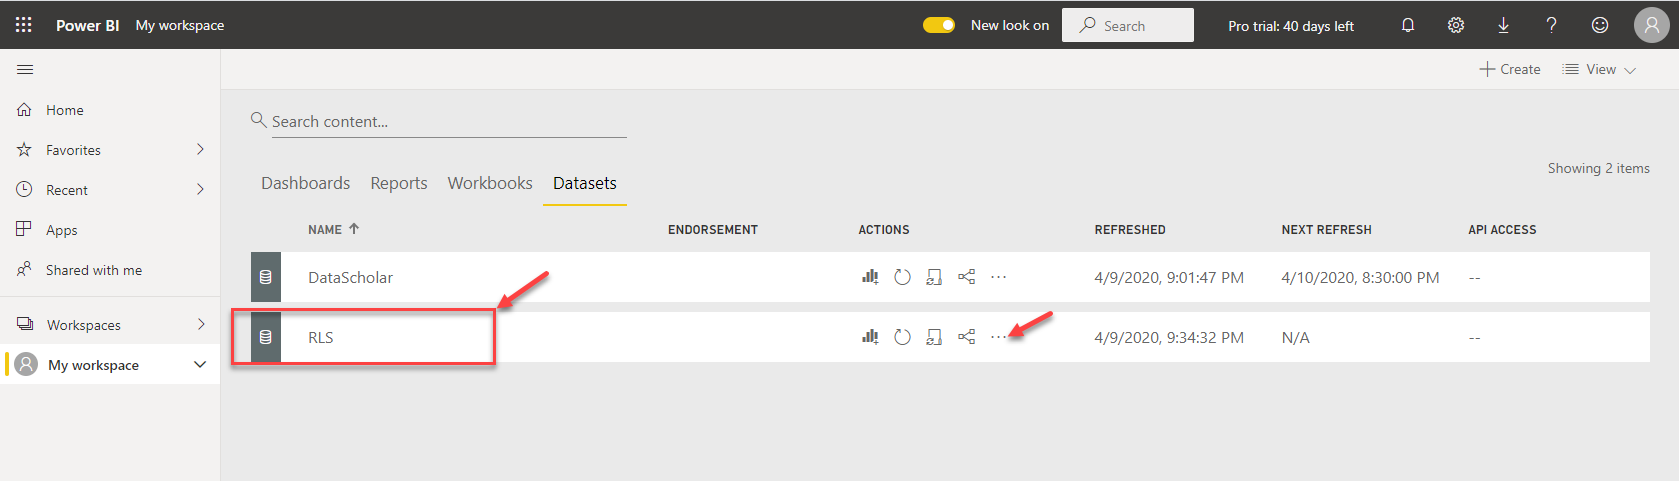
Figure 23 – Selecting Dataset Options
Select Security from the drop-down menu.
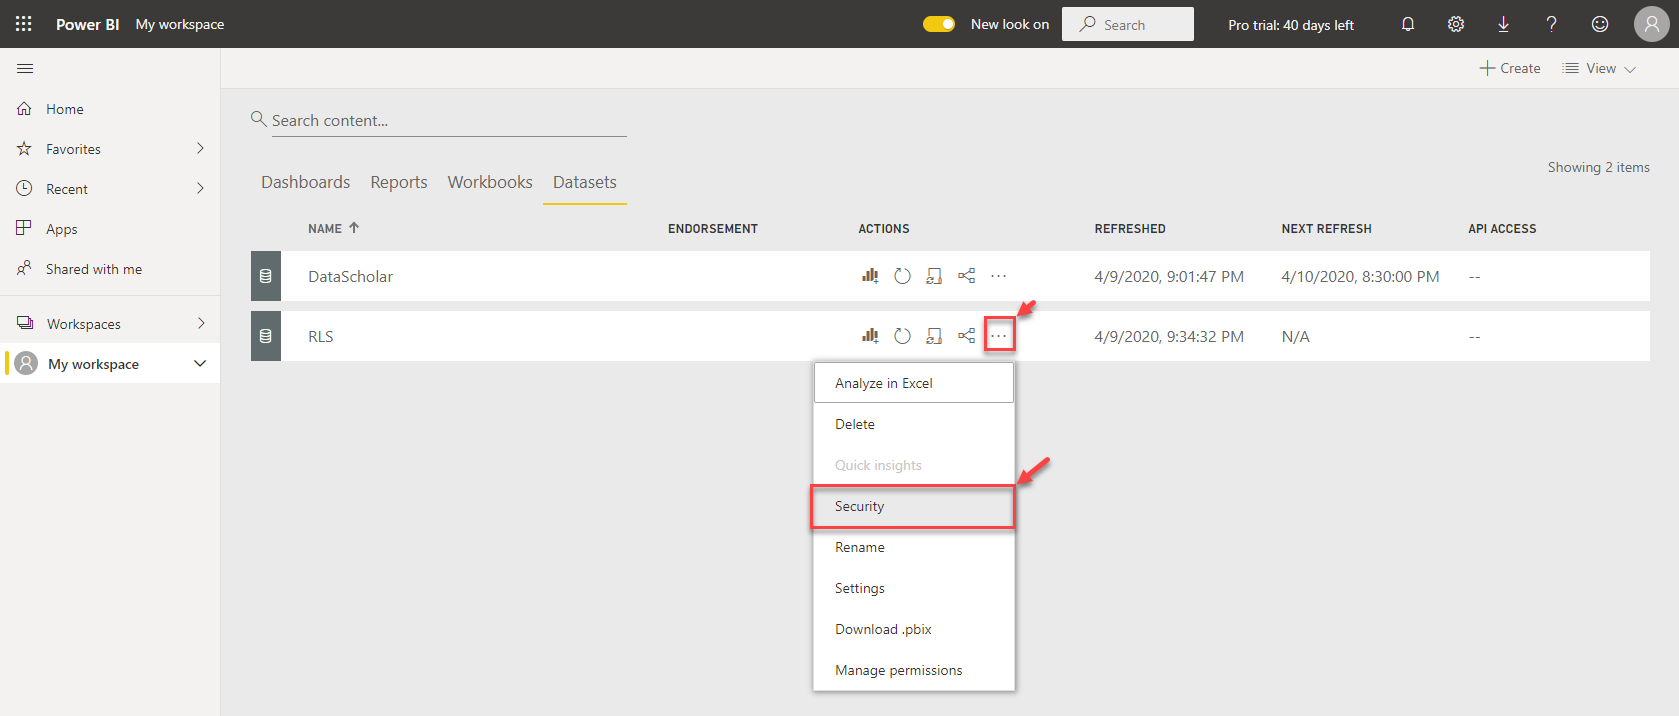
Figure 24 – Dataset Security
The Row-Level Security page opens, and you can see all the three roles that we defined in the desktop are present. Let’s add some users to these roles and try to view from each of the role contexts. Select Europe and the email address for the user who can view the territory for Europe only. Repeat the same for North America and Manager as well. Since I’m the only user in my directory, I’ll be adding my email address for all these roles; however, you can add as many as required based on the requirements.
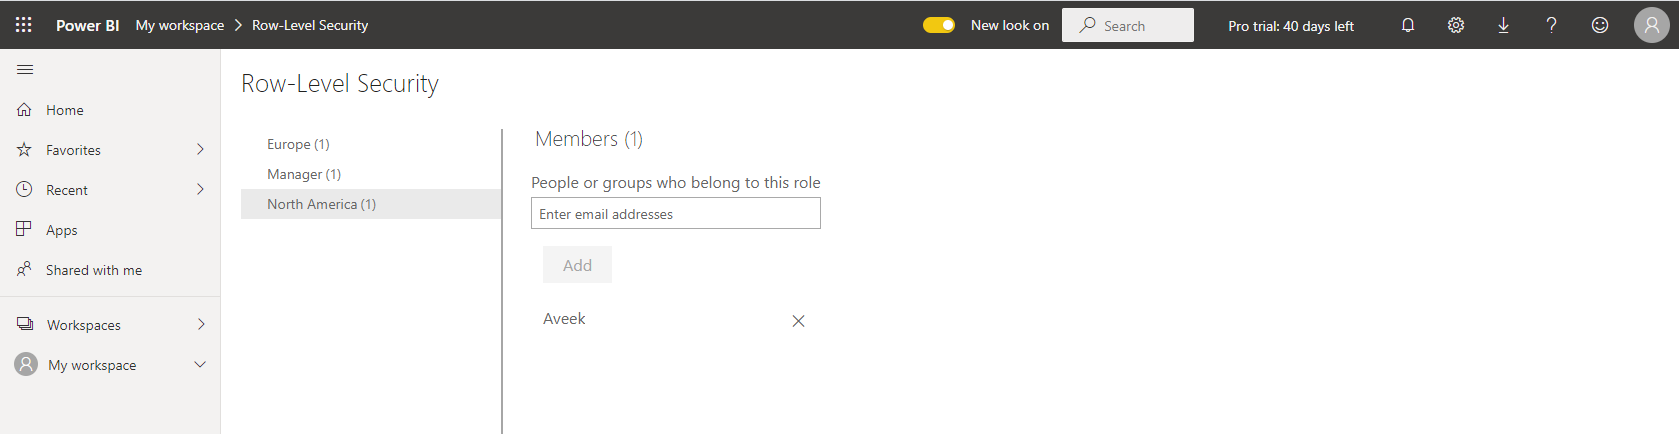
Figure 25 – Adding Users to Roles
Now that we have added users let’s test the roles as well. Right-click on the options for a role and select Test as Role.
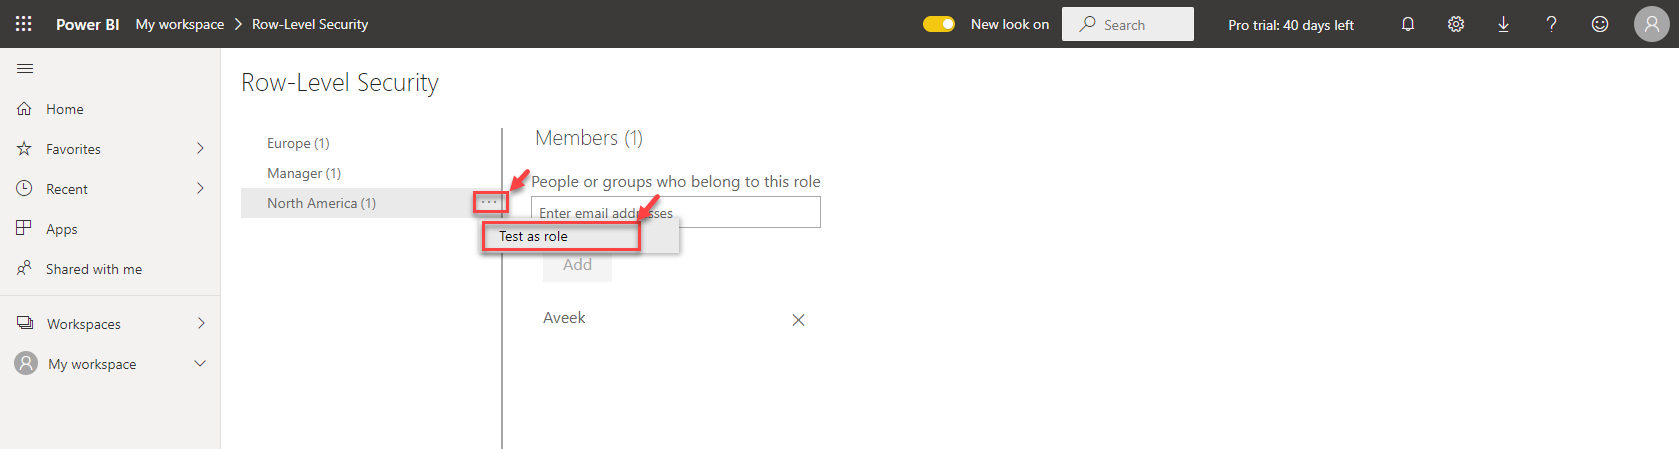
Figure 26 – Test as Role
As you can see, the Power BI report is rendered with data only for North America.
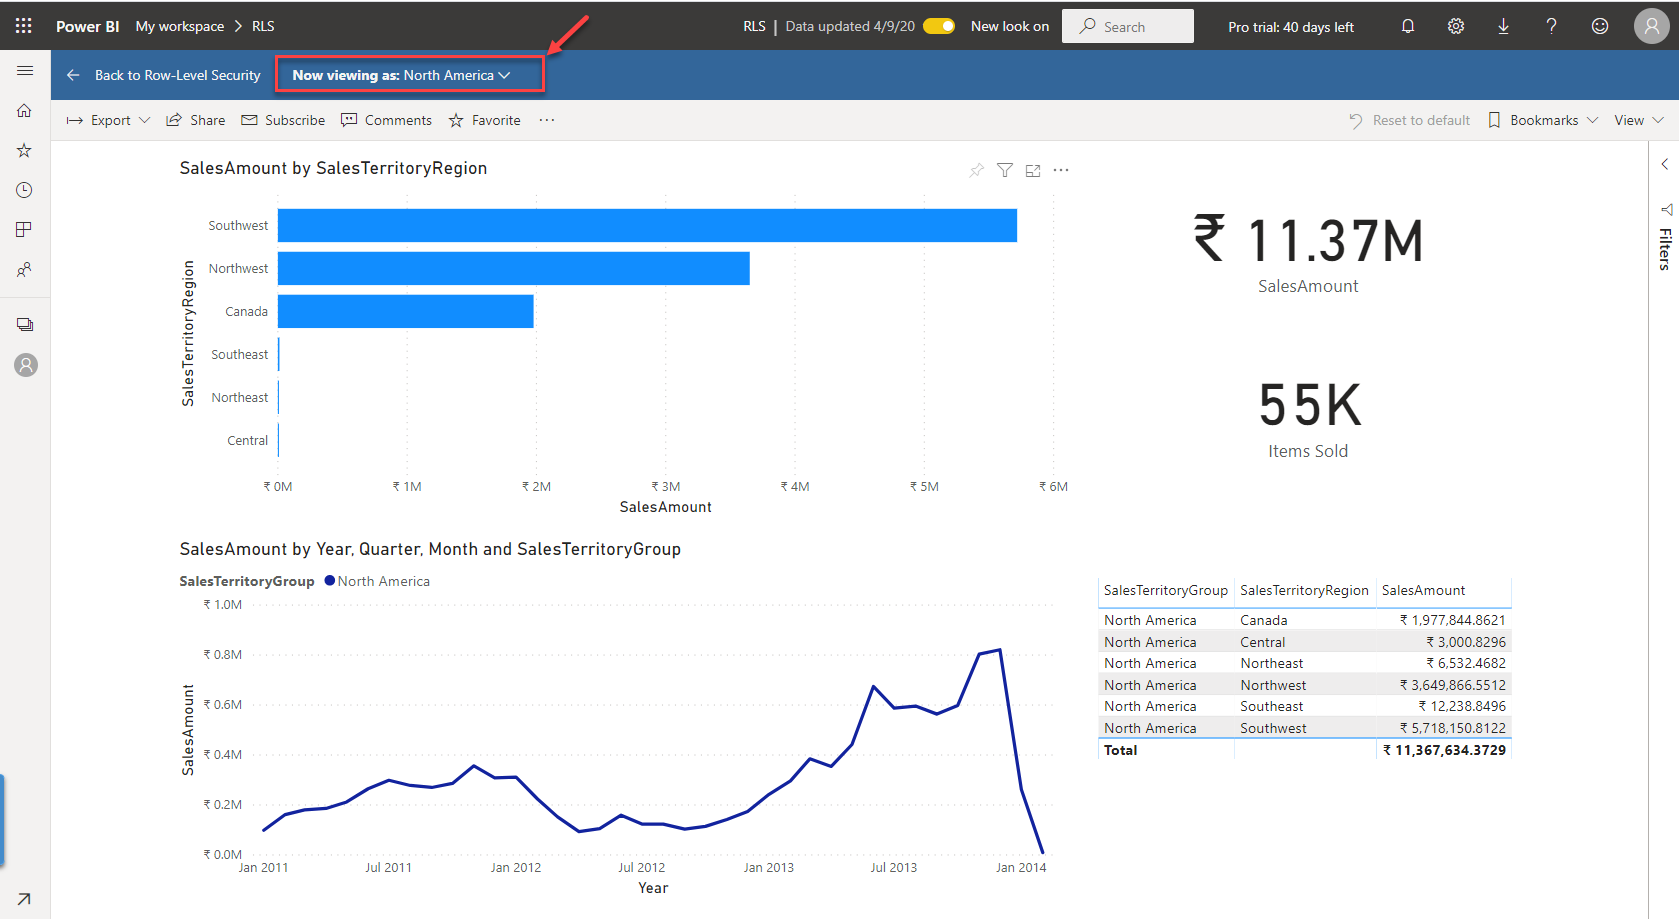
Figure 27 – Viewing Data as North America
Repeating the same as with the Manager role.
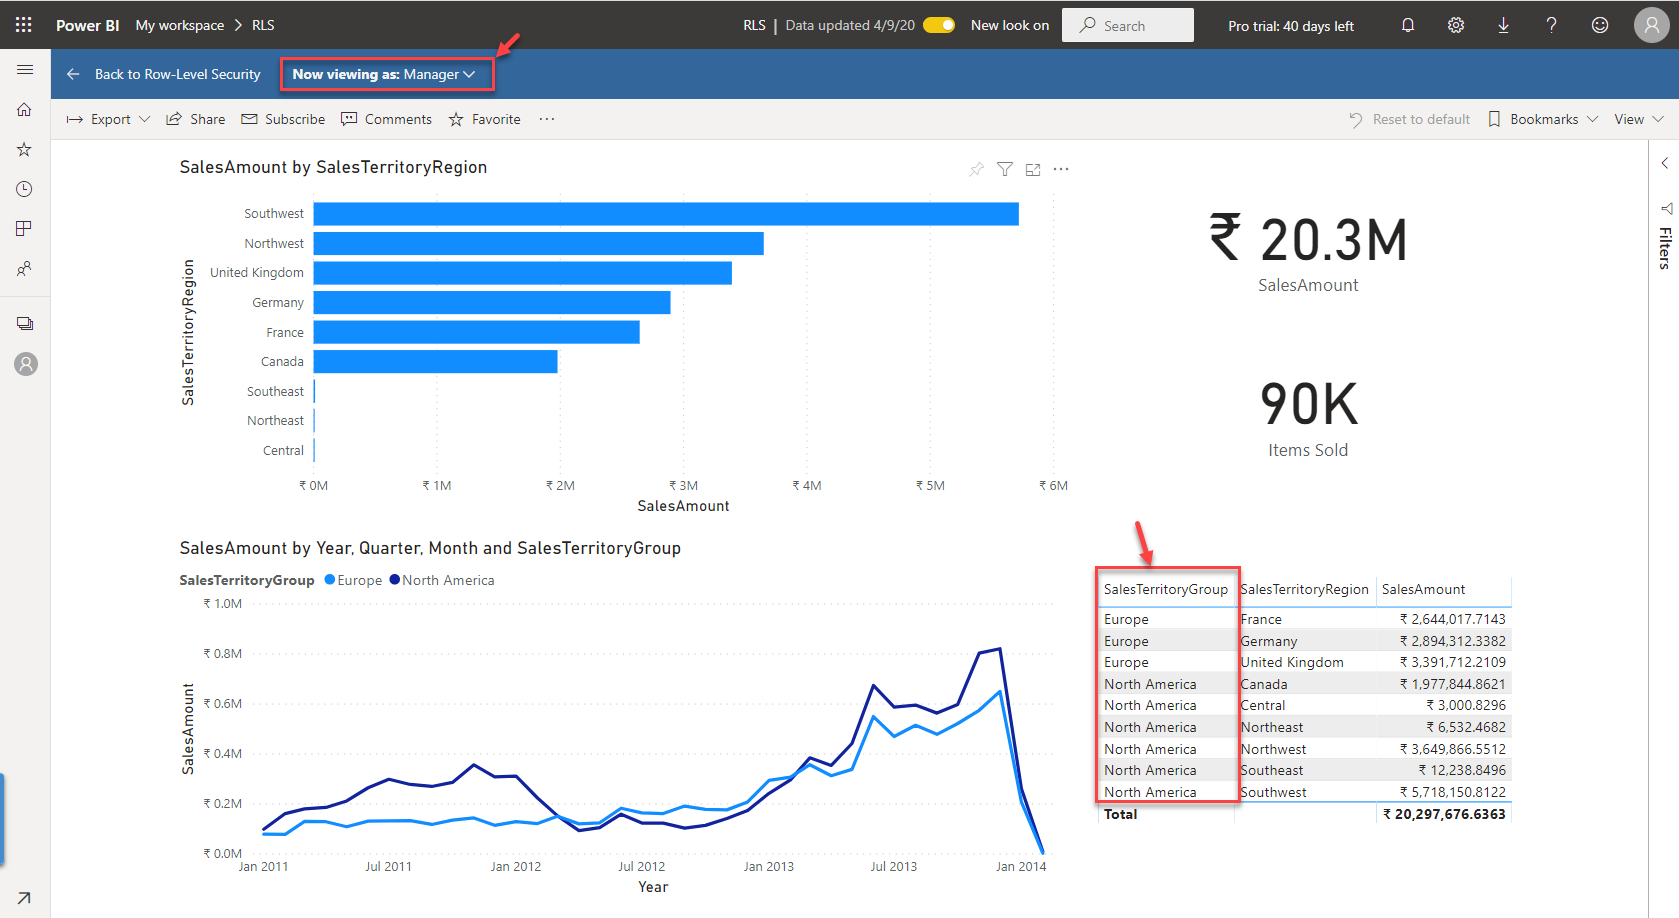
Figure 28 – Viewing Data as Manager
Conclusion
As we have learned, row-level security in Power BI is one of the most important security features in both the desktop and the cloud service. In addition to the email addresses that we mapped the users to, users from the Azure Active Directory can also be mapped to the roles and given secured access to the reports. However, an important thing to note that any user who has privileges to modify the report and the dataset will be able to view the underlying data for other roles as well.

He is a prolific author, with over 100 articles published on various technical blogs, including his own blog, and a frequent contributor to different technical forums.
In his leisure time, he enjoys amateur photography mostly street imagery and still life. Some glimpses of his work can be found on Instagram. You can also find him on LinkedIn
View all posts by Aveek Das
- Getting started with PostgreSQL on Docker - August 12, 2022
- Getting started with Spatial Data in PostgreSQL - January 13, 2022
- An overview of Power BI Incremental Refresh - December 6, 2021