

This article will help you get started with Power Query in Azure Data Factory to perform Data Wrangling.
Introduction
Modern data landscape and infrastructure consist of a variety of operational and analytical data stores composed of relational, nosql, analytical, data warehouses, data marts, data lakes and many more. With data generated in a variety of formats and by a variety of line-of-business applications, when data is combined from these data stores, often there is a need to modulate the data per the needs of the consumption or processing systems. The popular term used for this process is data wrangling, which means transforming data as well as metadata per the requirements. Typically Extract-Transform-Load (ETL) tools are used to build data pipelines that transform large-scale data on a regular basis and move the data from source to destination in the desired format. ETL tools come in all varieties where some of them need extensive coding while some employ a low-code-no-code approach which provides a graphical user interface that lets a user build a data transformation logic graphically in a step-wise fashion. While both approaches provide their set of advantages, often merging both the approaches where one can package a series of steps to create a data wrangling template and use it as a step in the data processing or data wrangling pipeline is considered optimal. This approach provides agility to prepare data-wrangling logic and promotes reusability by allowing the wrangling approach to be used in multiple data pipelines and merged with other steps in the overall data processing pipeline.
On the Azure cloud platform, Azure Data Factory is typically considered the first-hand choice for building data pipelines and transforming data from a variety of data sources, which at a high level is graphical in nature but often involves coding for many mundane data wrangling tasks. Power Query on the other hand offers a GUI-based interface for performing such mundane tasks in a very accelerated manner using an excel-like interface. Azure Data Factory recently added integration with Power Query which enables building data factory templates and utilizing them in Data Factory pipelines. In this article, we will learn how to work with Power Query in Azure Data Factory to do Data Wrangling.
Pre-requisite
The primary requirement to perform data wrangling using Azure Data Factory is having some sample data in a supported data repository, that can be sourced in an Azure Data Factory pipeline for processing. One of the ways to set up such a data repository with sample data is by creating an Azure SQL Database instance with sample data that comes built-in while creating the instance. It is assumed that such a sample data repository has already been set up on the Azure account.
Next, we need an instance of Azure Data Factory created in the same account and region where the sample data repository has been created, so that we can register this data repository as a data source in Azure Data Factory and source the data for use with Power Query. Once this setup is complete, we are good to proceed with the next steps.
Data Wrangling with Power Query in Azure Data Factory
Navigate to the dashboard of the Azure Data Factory instance as shown below. Click on Author & Monitor link to open the Data Factory portal.

Once the portal opens, click on the Factory Resources tab and you should be able to see a screen as shown below. In this section, the bottom-most tab will be Power Query (Preview) as shown below, which is in Preview as of the draft of this article.
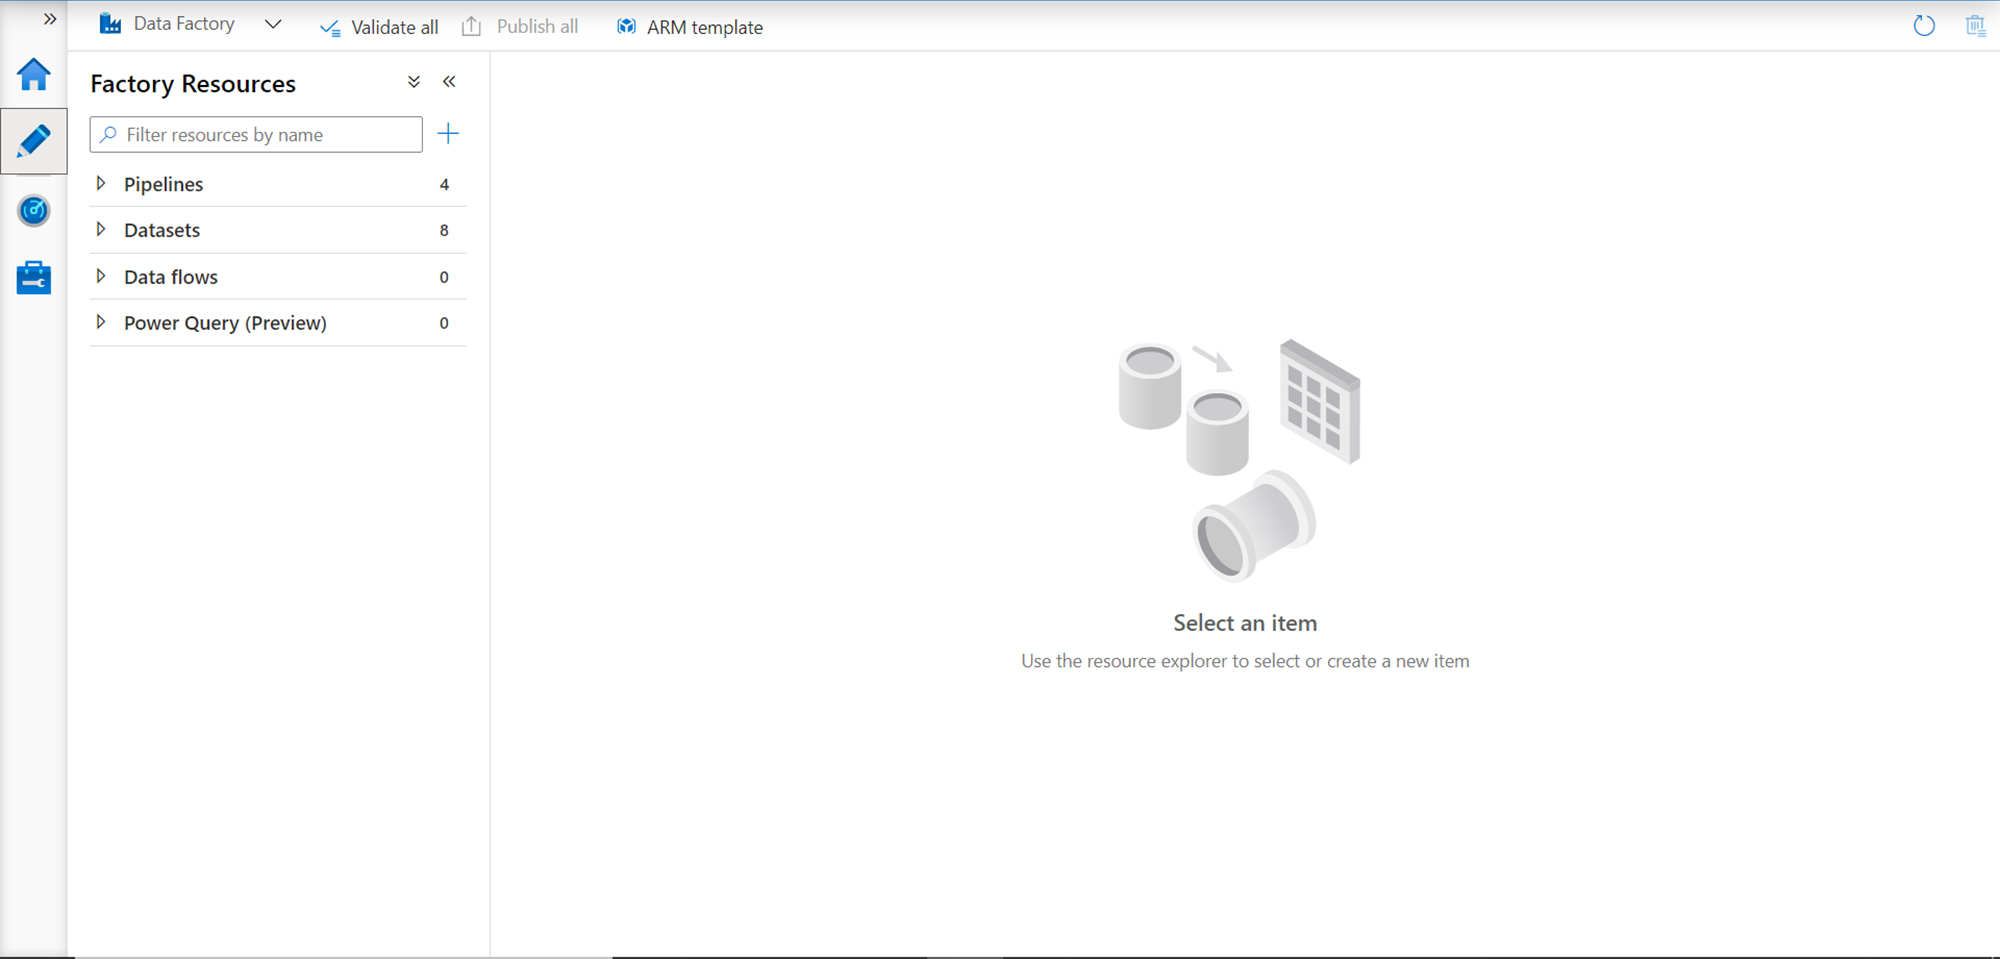
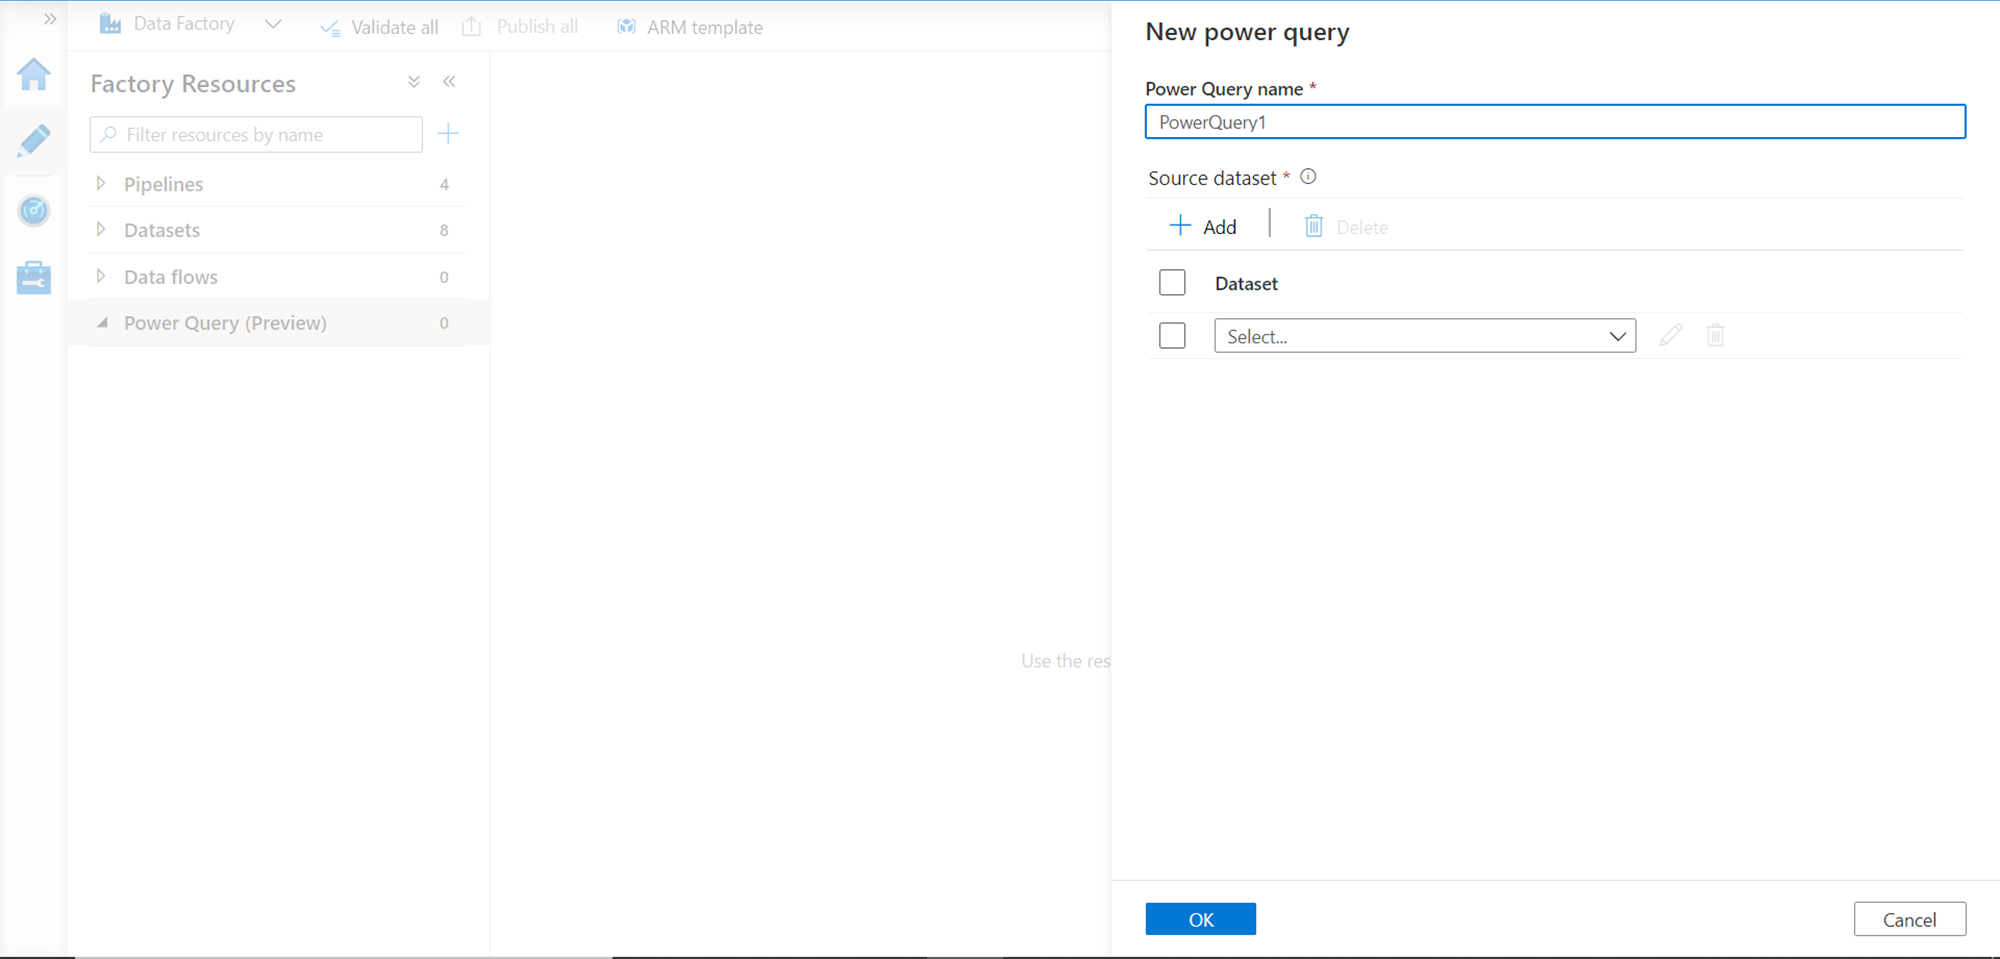
Expand this tab and select New Power Query option from the context menu to start a new power query session. This will result in the creation of a new object itself which we will use later in a data pipeline. Once the option to create a new query is selected, it will open a new wizard to create a new power query as shown below. Provide a new name for the power query and click on Add button to create a new dataset or select an existing dataset from the drop-down.
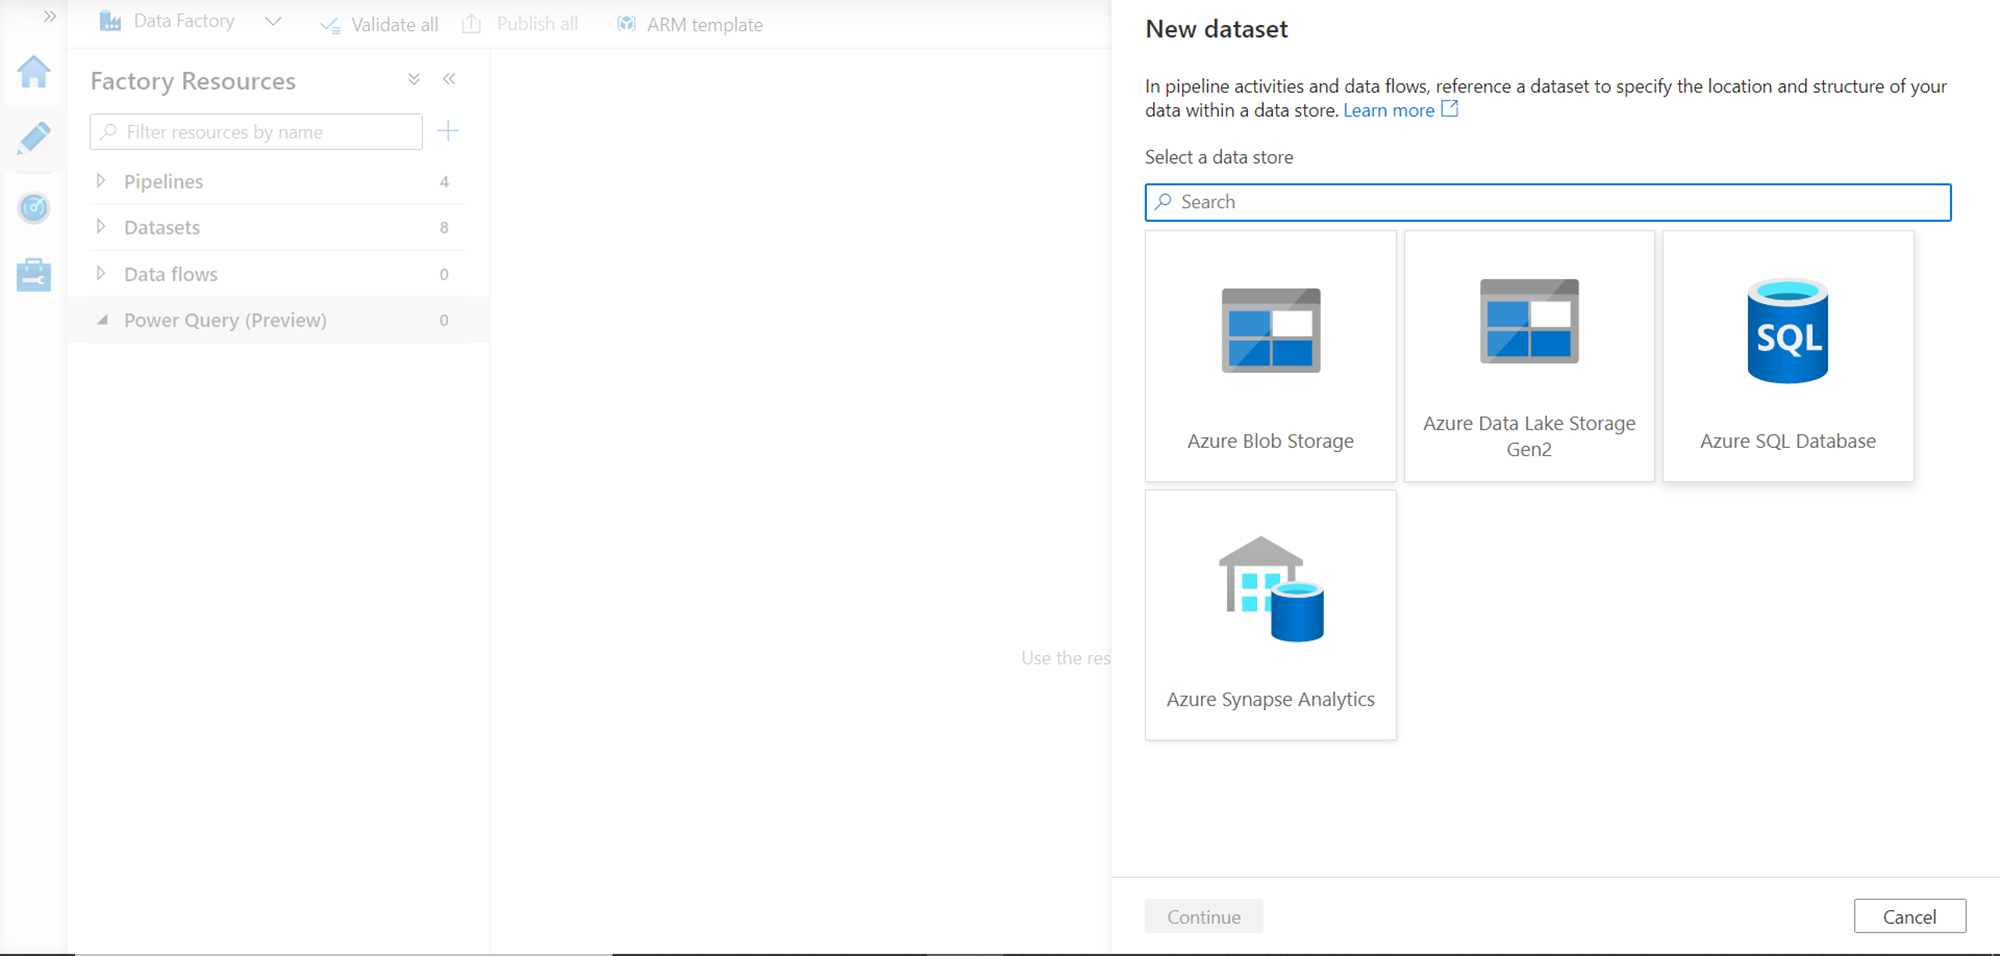
In our case, we intend to use the Azure SQL Database instance that we created earlier as the data source. So, select Azure SQL Database from the list of supported data sources as shown below.
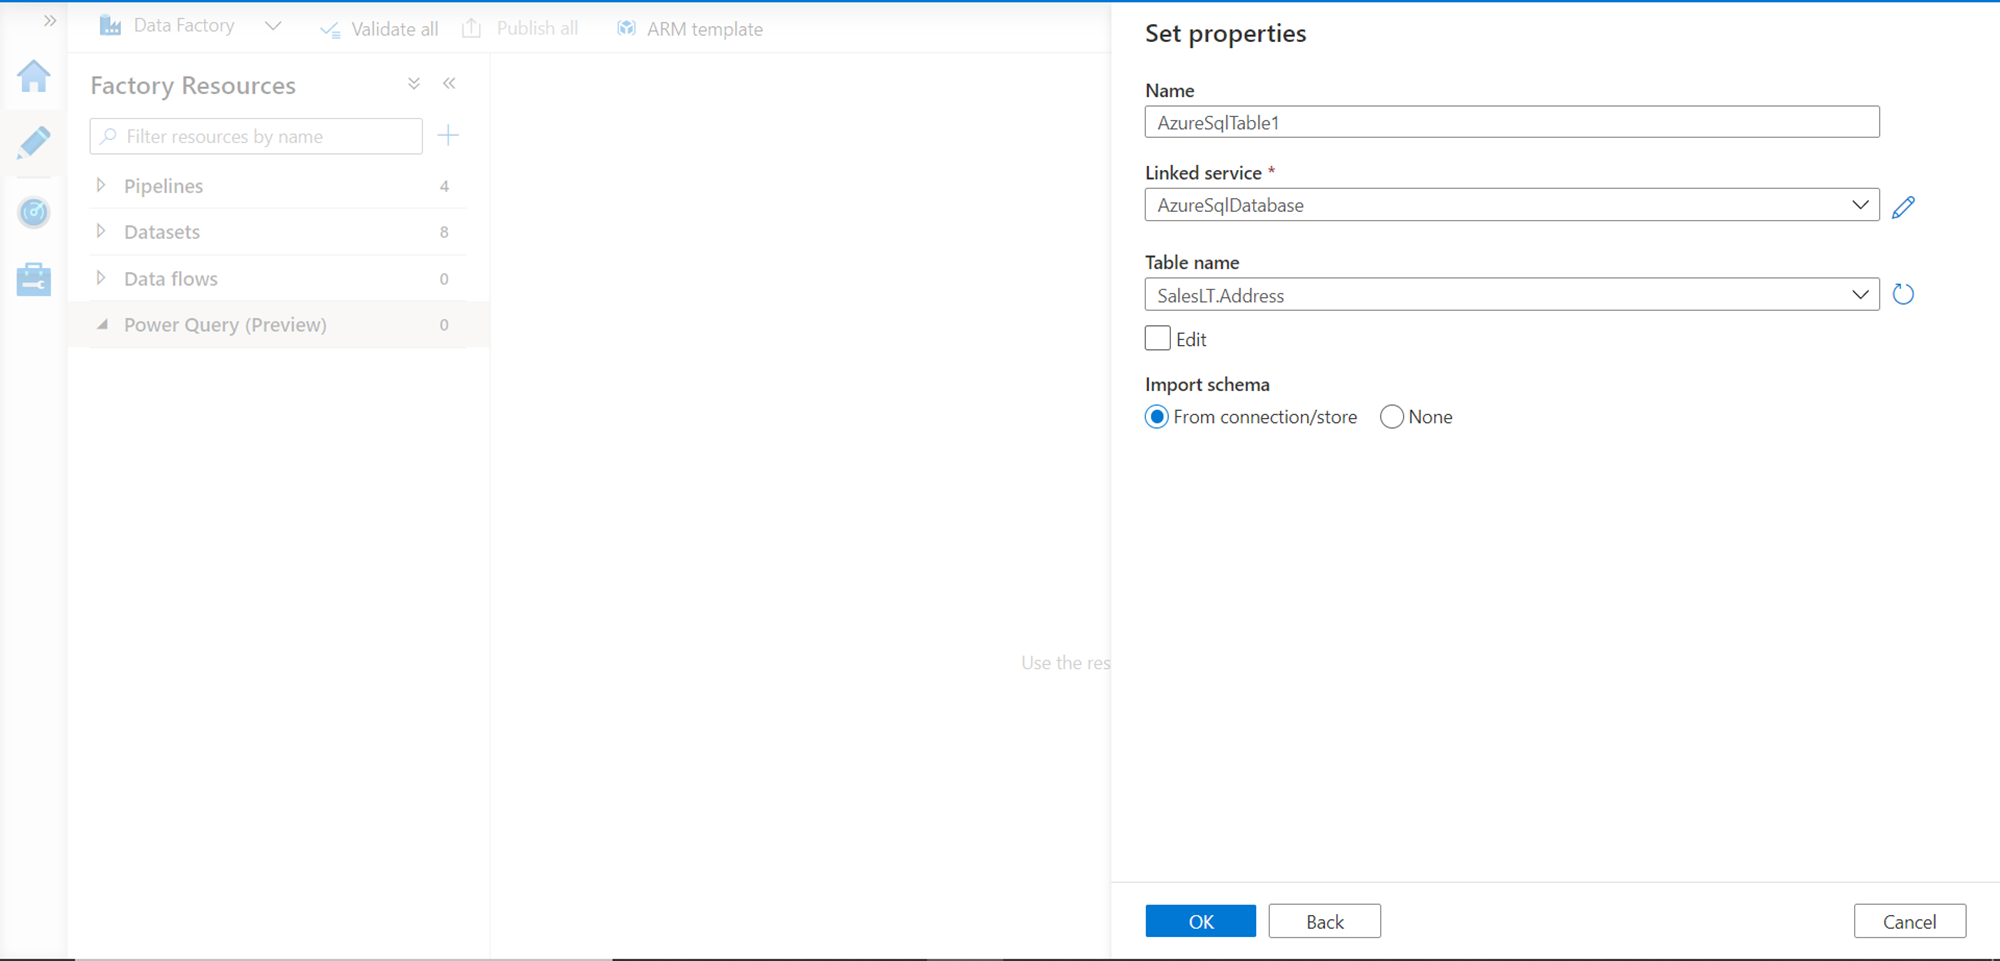
In the next step, we need to configure properties for the linked service where we can use an existing one or create a new one as well. Once we have a successful linked service created which points to Azure SQL Database, we can select the table of choice as shown below. If we intend to edit the name of the table, we can check the edit checkbox and change the name as well. We will import the schema from the store itself, so we will continue with the default option and click on the OK button.
It would take us to the previous screen and show the newly created dataset name in the drop-down. Click on the OK button again and a power query session would open as shown below. Before starting to explore and use the different options for data wrangling using this power query, it should be kept in view that now all Power Query M functions are supported when we use it in data pipelines, as shown in the information banner in the power query environment shown below. This may eventually get supported once the feature moves out of preview over time.
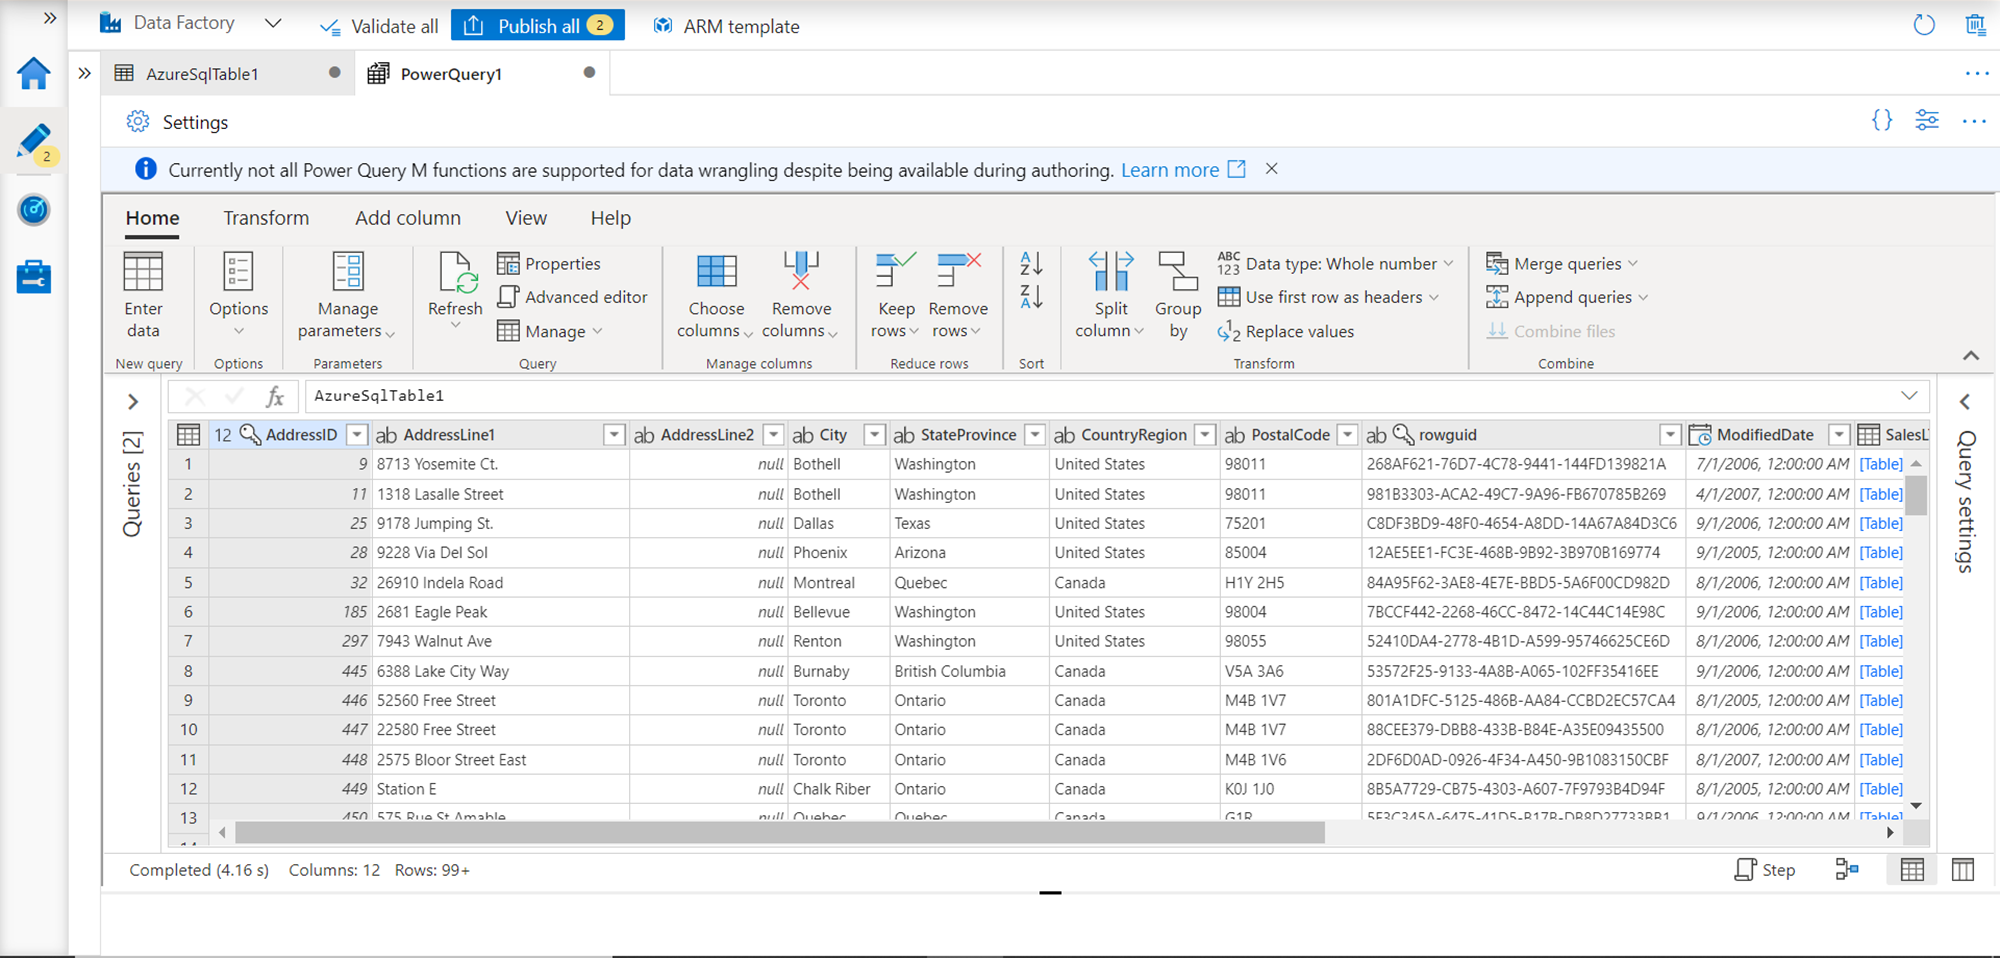
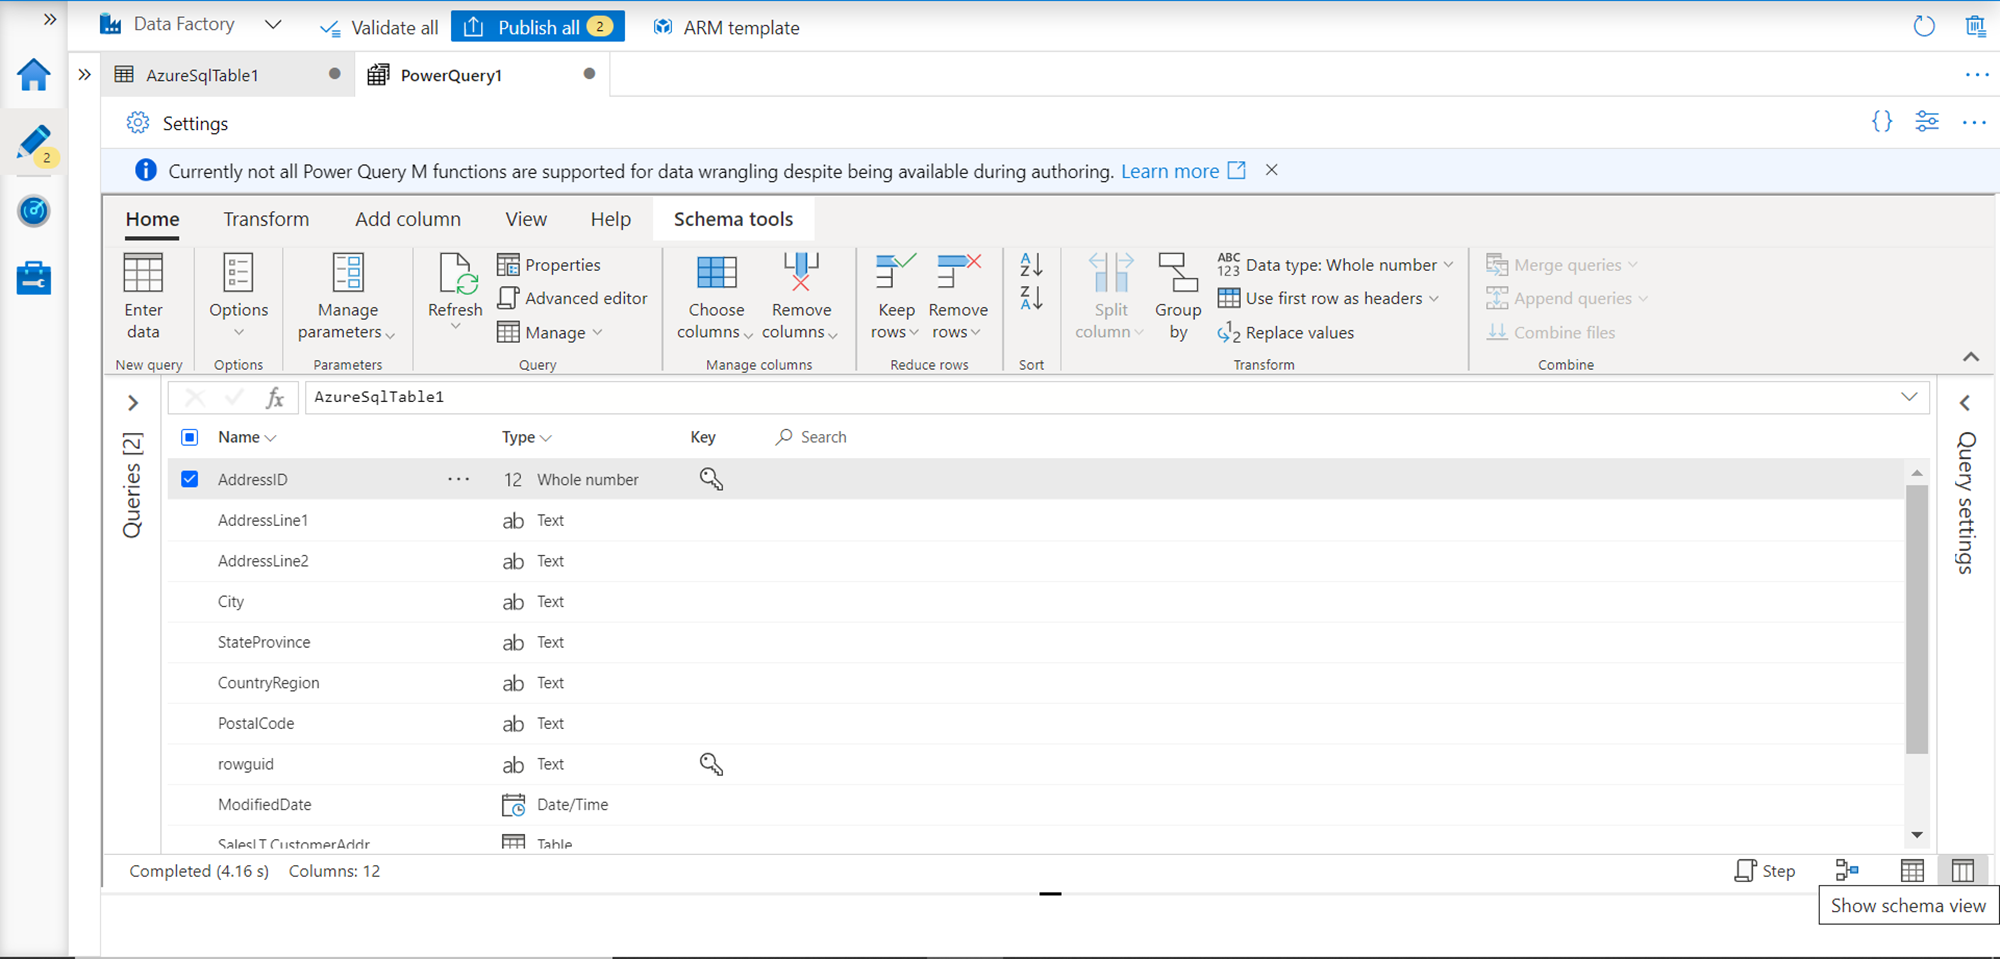
The view shown above is the data view where the data is visible in an excel like user interface. To browse the schema of this dataset we can switch to the schema view from the icon and the bottom-right corner, which will bring up a screen as shown below.
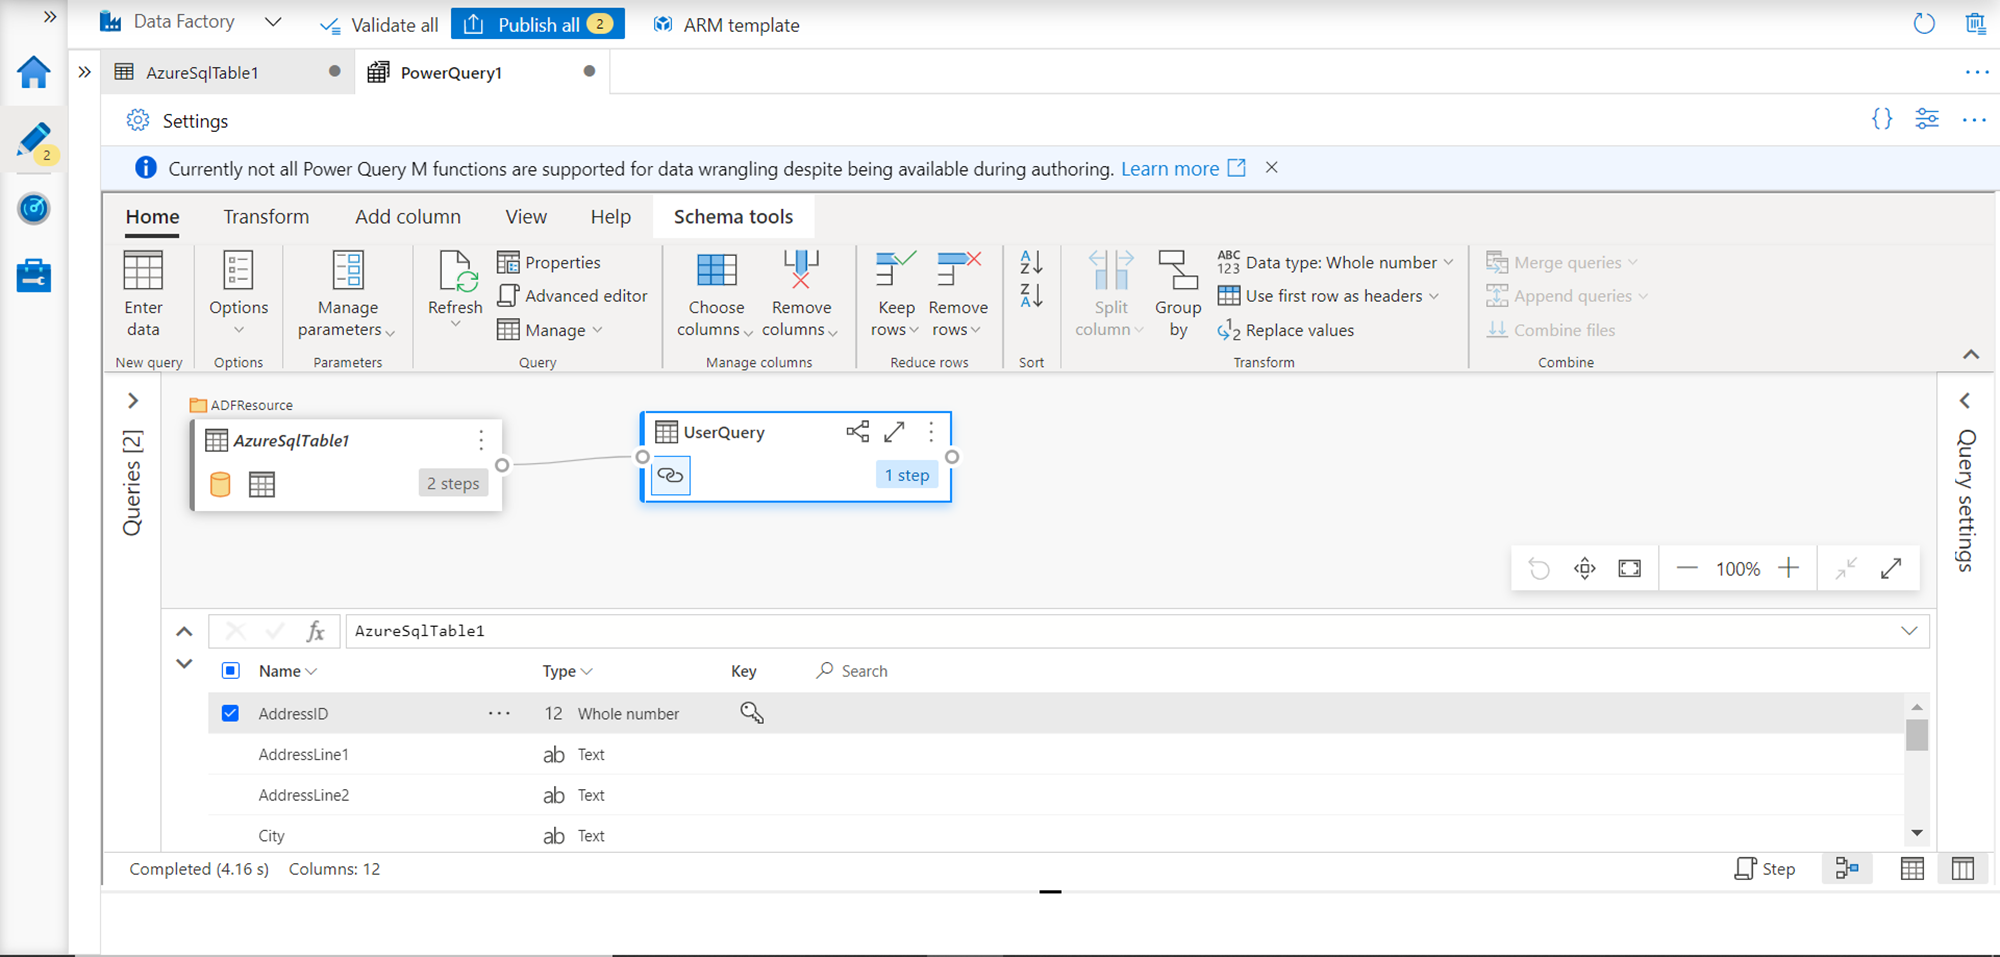
Another view supported by the Power Query environment is the Diagram view. It shows all the steps in a sequence that are applied to data to manage and monitor data-wrangling logic in a graphical manner as shown below.
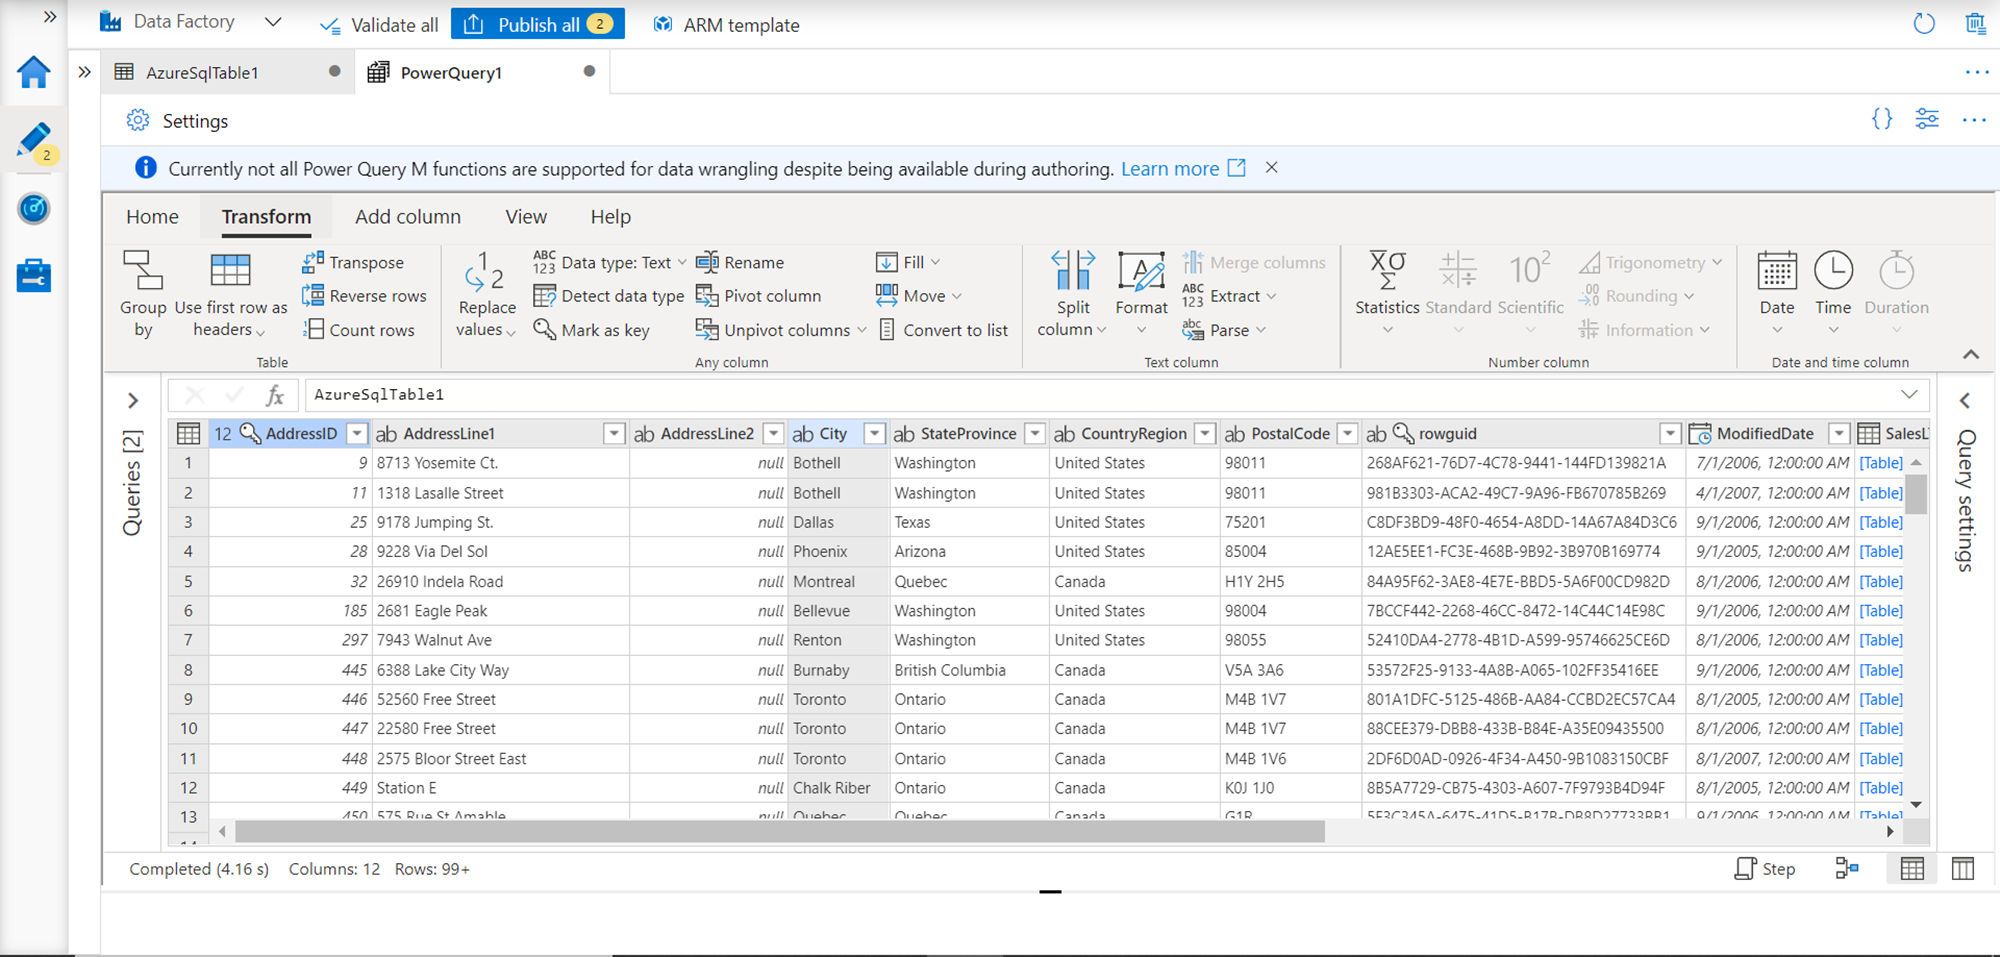
The typical functions that are performed on a tabular dataset using regular SQL-based functions can be found under the Transform tab as shown below. This includes tasks like grouping, counting rows, formatting, splitting, calculating statistics, pivot and unpivoting, replacing values and many more.
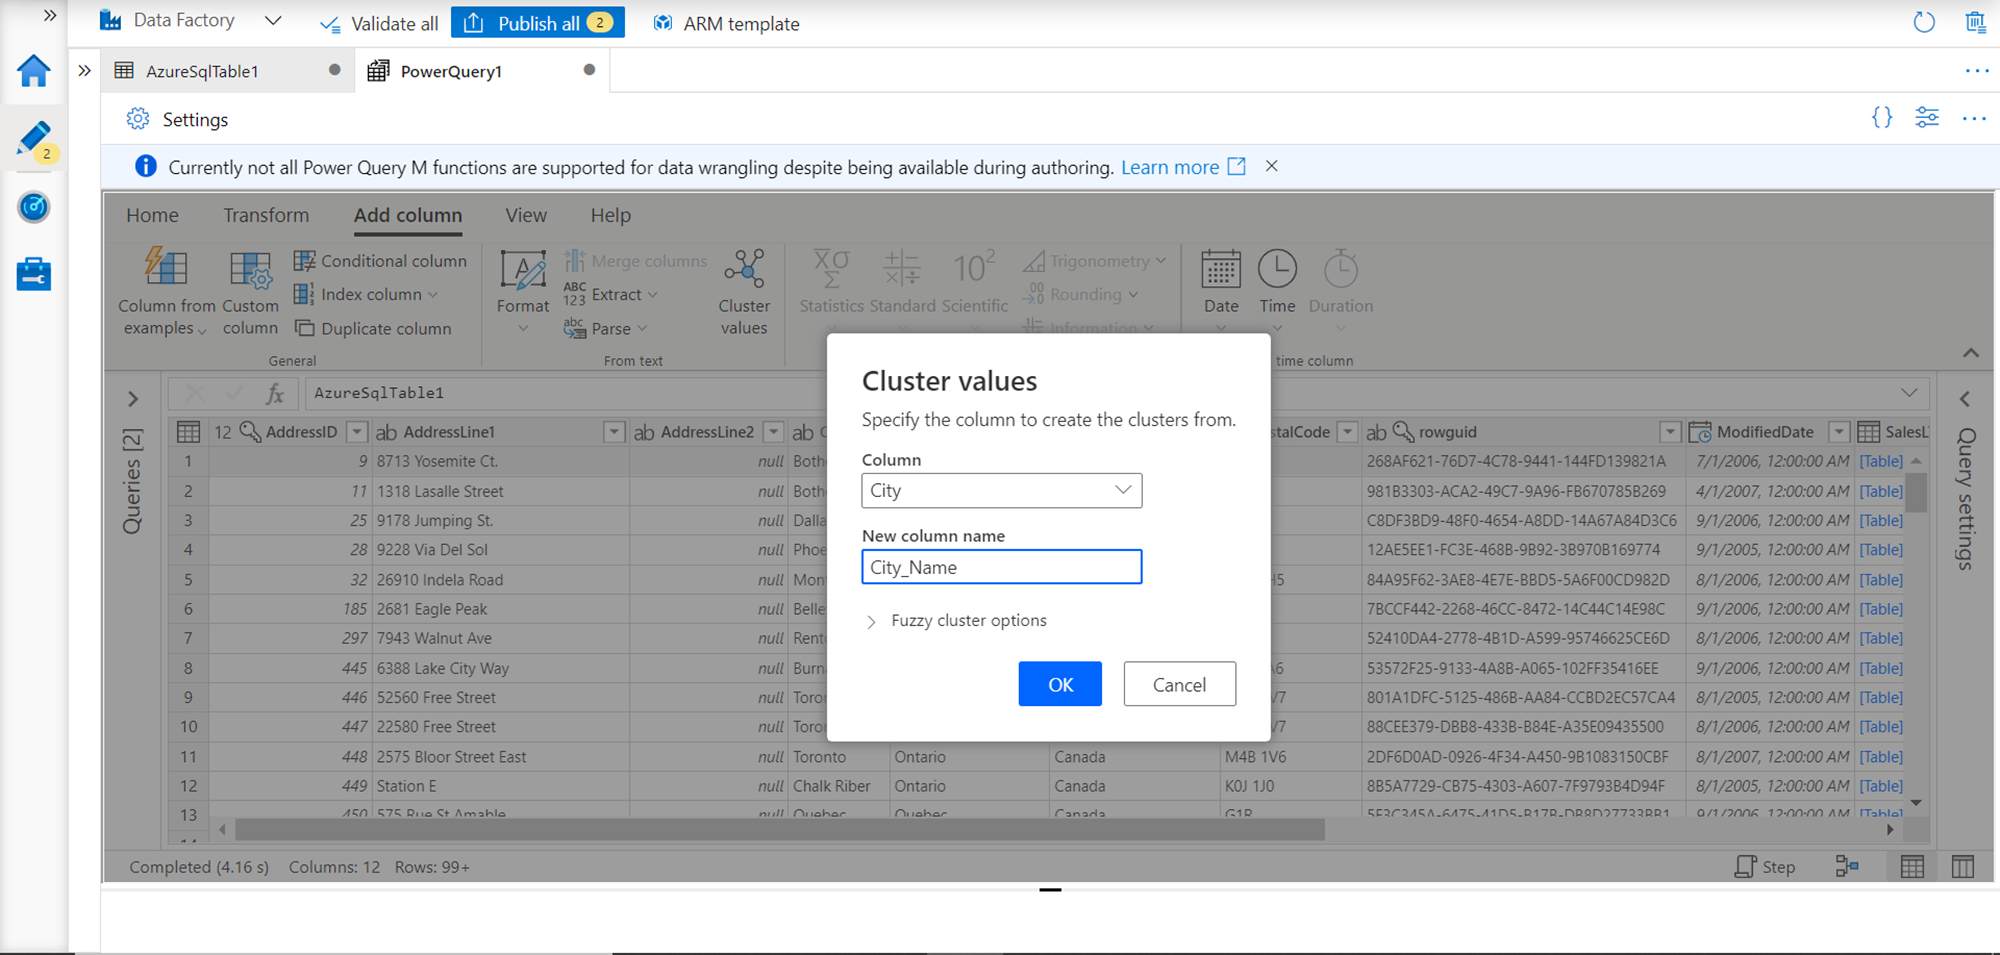
Typical actions for schema enhancement-related actions can be found under Add Column tab as shown below. Advanced functionality like Add a column based on a cluster of values are examples of tasks that can be performed easily without the need for any coding for data wrangling.
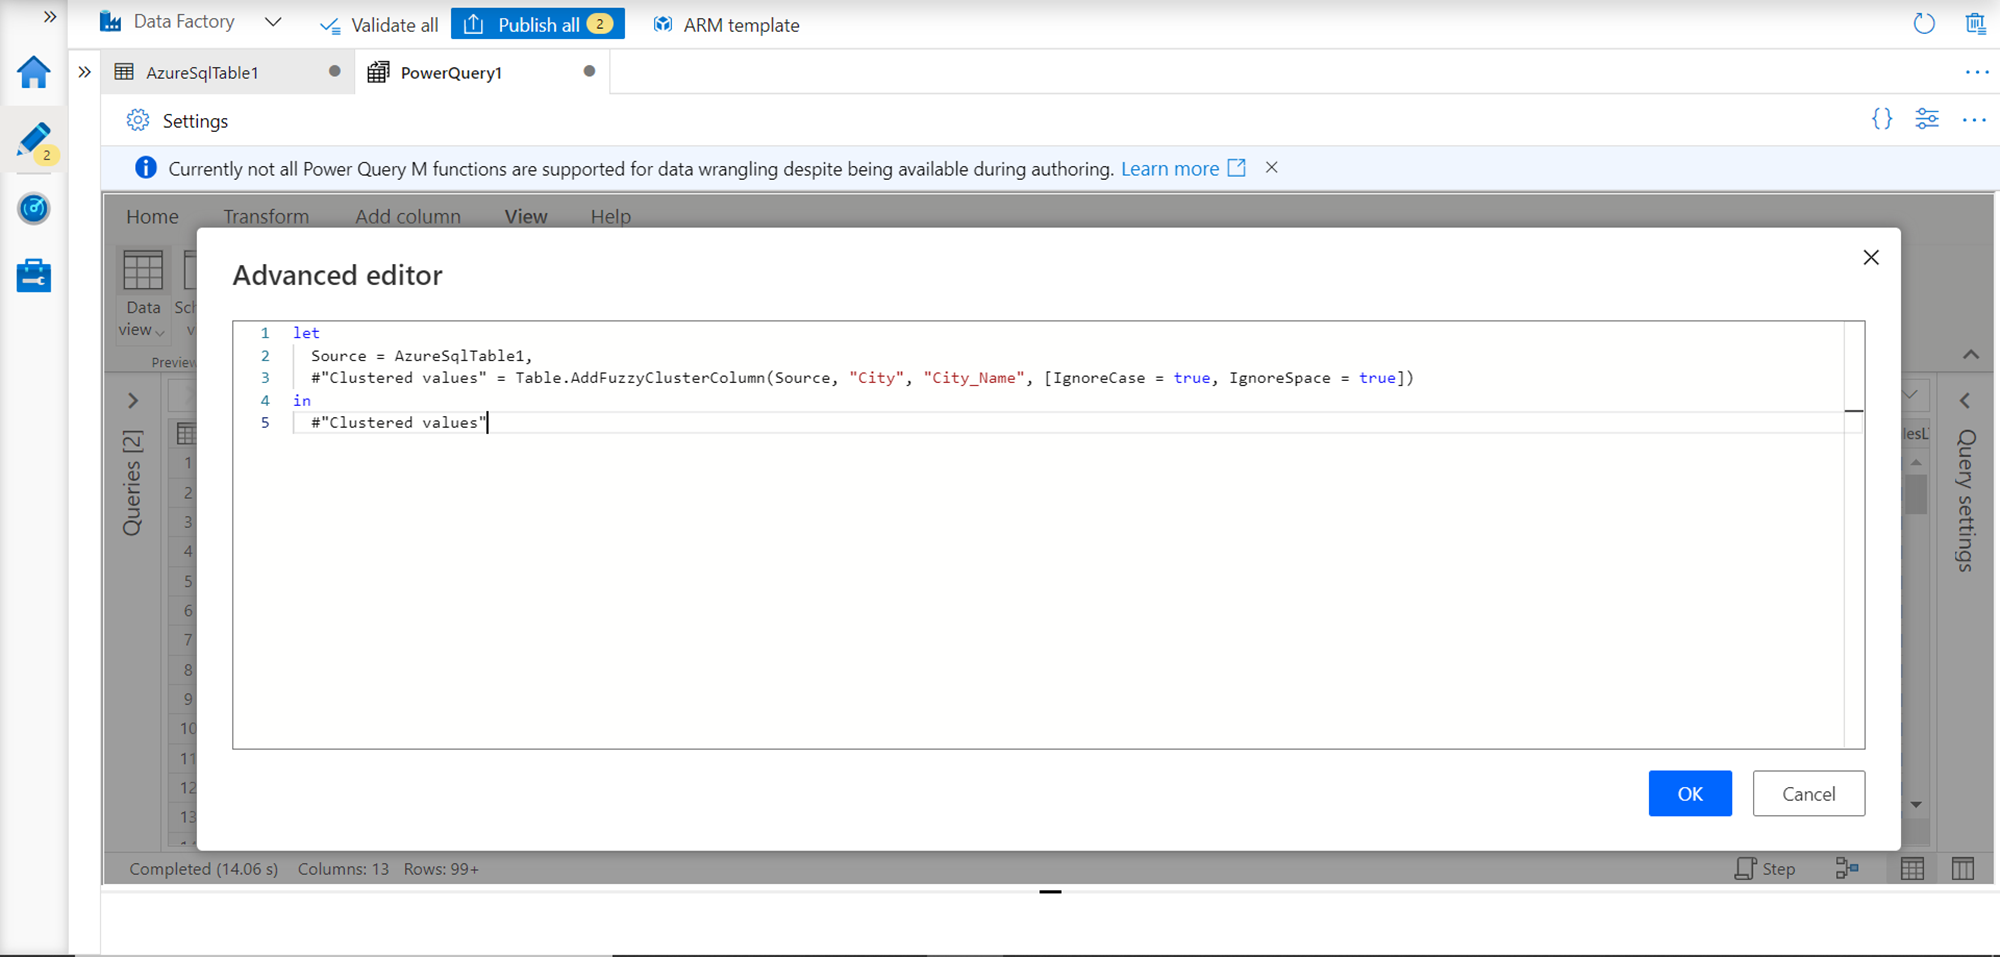
From the view menu, one can also access the Advanced Editor and type the queries directly in the Power Query environment, to program tasks with low code for data wrangling right in the Power query environment itself, as shown below.
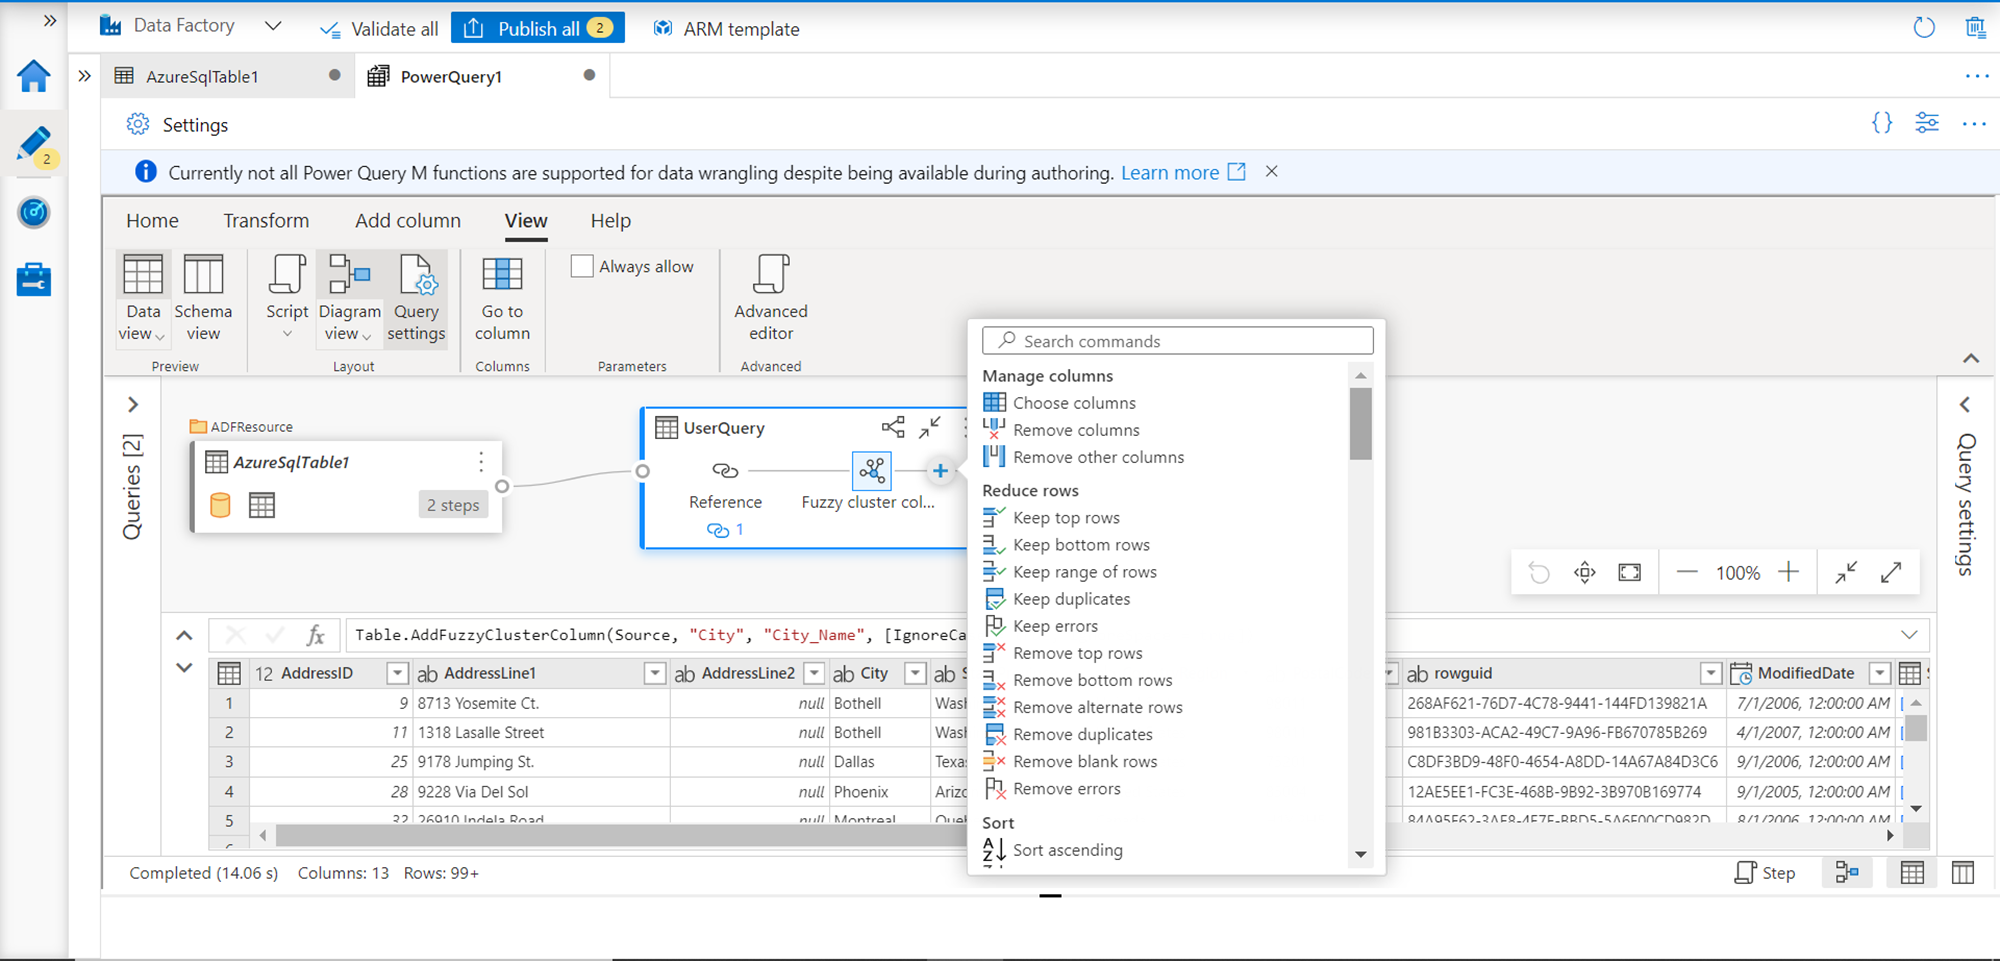
While working in the diagram view, one may want to add more steps in the data wrangling workflow in place, and then edit each step separately later. This helps to build a blueprint of the data wrangling flow first and program the details later. To perform this, in the diagram view one can use context menus to add any support tasks in the flow as shown below.
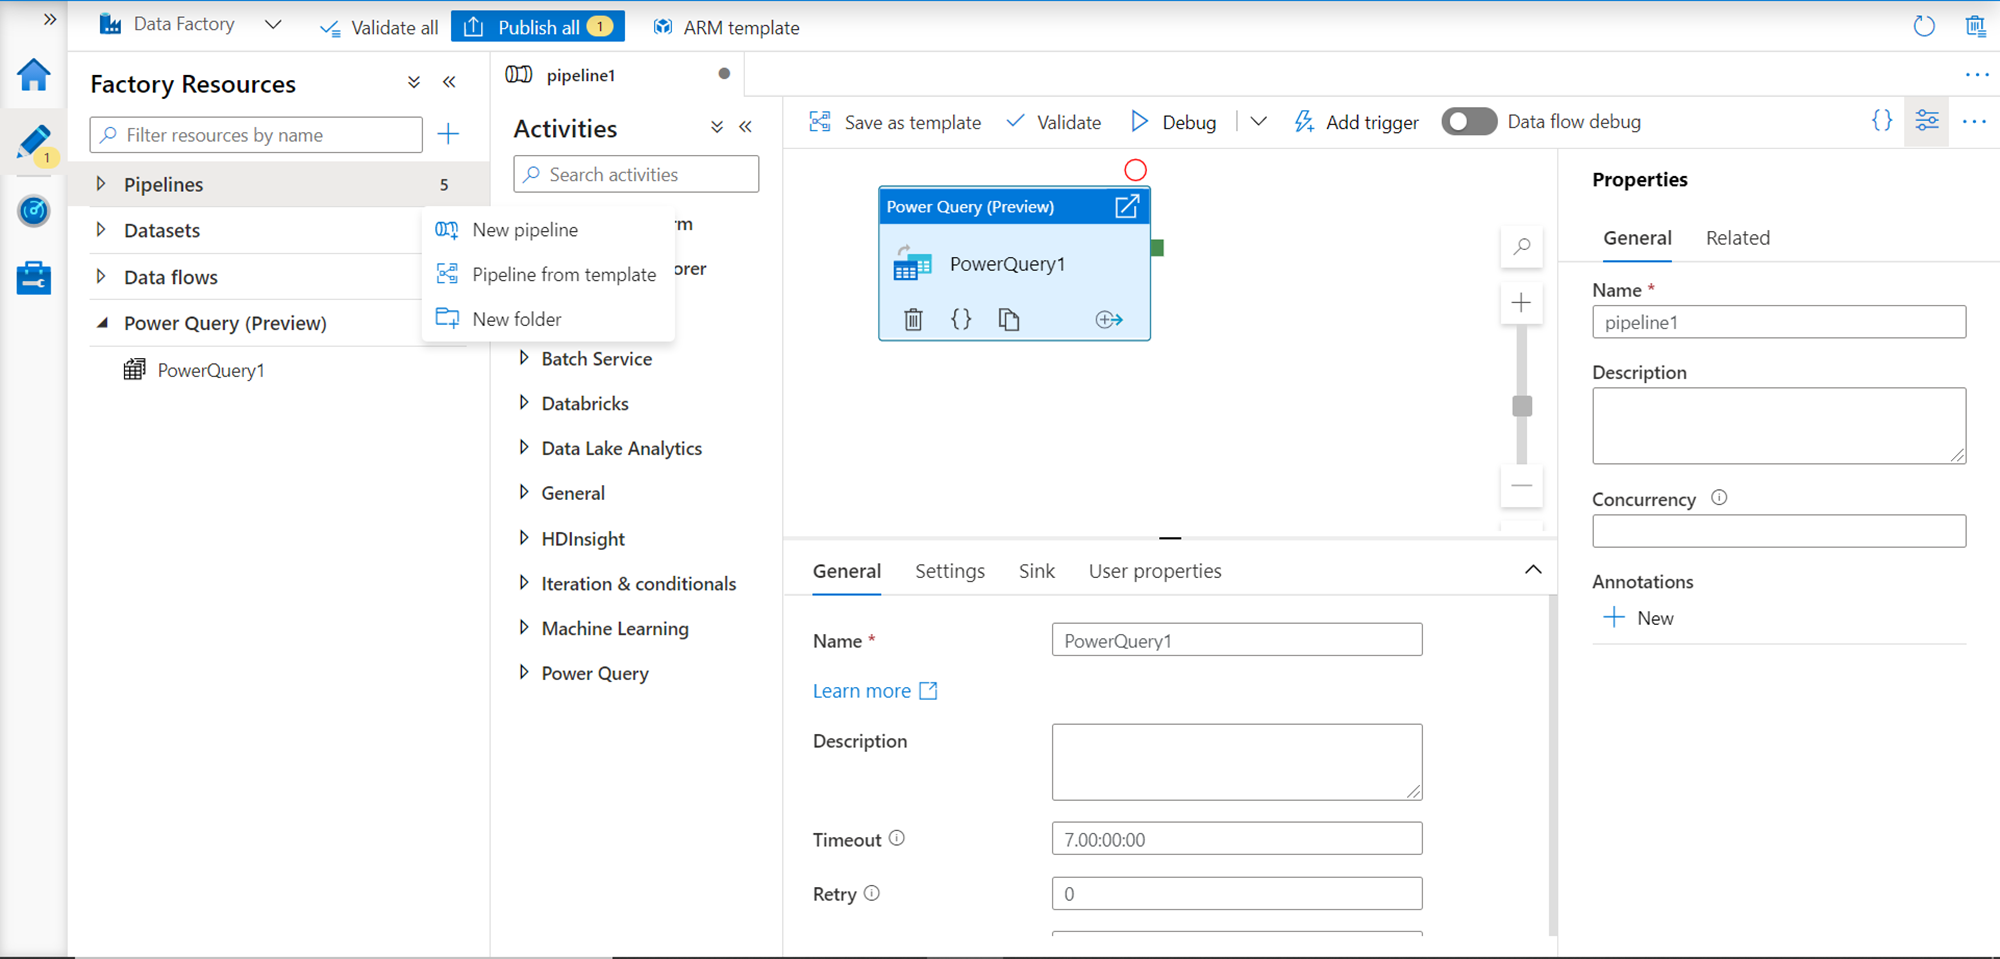
Once the data wrangling job is prepared, saved, and published successfully in the Power Query environment, one can switch to the data pipelines tab in the factory resources section. From the context menu, create a new data pipeline, and drag-and-drop the newly created power query to the data pipeline where executing this power query flow would be a step in the overall data pipeline as shown below.
In this way, we can create data-wrangling flows or logic in Azure Data Factory using Power Query natively in the data factory portal and use it as a component or step in the data processing pipeline.
Conclusion
In this article, we sourced data from Azure SQL Database into an instance of Azure Data Factory. We learned how to create a new Power Query object, source the data from the registered data sources, wrangle the data using different options and views supported by Power Query, and then finally we learned how to use this power query template in the Data Factory pipeline.

She has a deep experience in designing data and analytics solutions and ensuring its stability, reliability, and performance. She is also certified in SQL Server and have passed certifications like 70-463: Implementing Data Warehouses with Microsoft SQL Server.
View all posts by Gauri Mahajan
- Oracle Substring function overview with examples - June 19, 2024
- Introduction to the SQL Standard Deviation function - April 21, 2023
- A quick overview of MySQL foreign key with examples - February 7, 2023