
There are some cases in the wild where we want to get back data from an external database without additional coding in an application and just write a T-SQL query that will do all the job for us. That’s why Microsoft provides the « linked server » feature.
But linked servers are, by default, unable to connect to an Oracle Database. This is the subject that will be treated here. We will see how to install the mandatory libraries and tools then we will configure the network layer of the Oracle database (which is called the Oracle Net) to finally be able to create a linked server and query the target database instance.
Let’s get started!
Installation of Oracle Database Client
First of all, stop the SQL Server instances running on the computer on which you will install. The installation won’t fail if instances are running, but at the first call of the Linked Server Provider, the instance will hang and won’t respond!
In my case, I want to connect an Oracle Database 11g instance. So I will install an Oracle Database 11g client, but you can also try installing the latest version.
Source files can be downloaded on Oracle’s website. It’s in the form of a ZIP file. Download it, extract it and open the extracted folder.
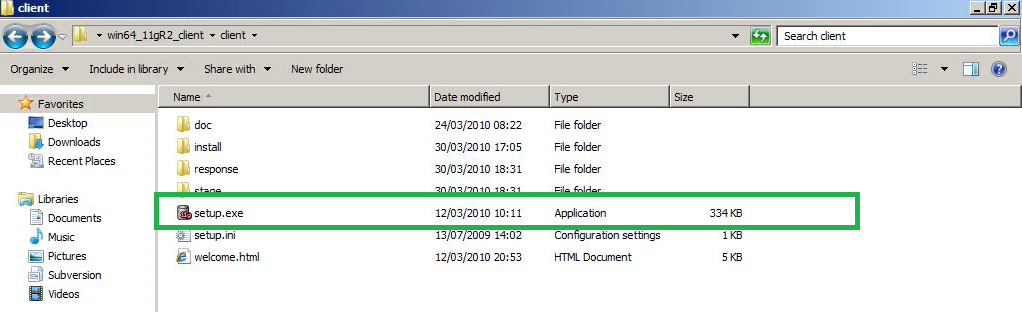
Once done, just click on « setup.exe »
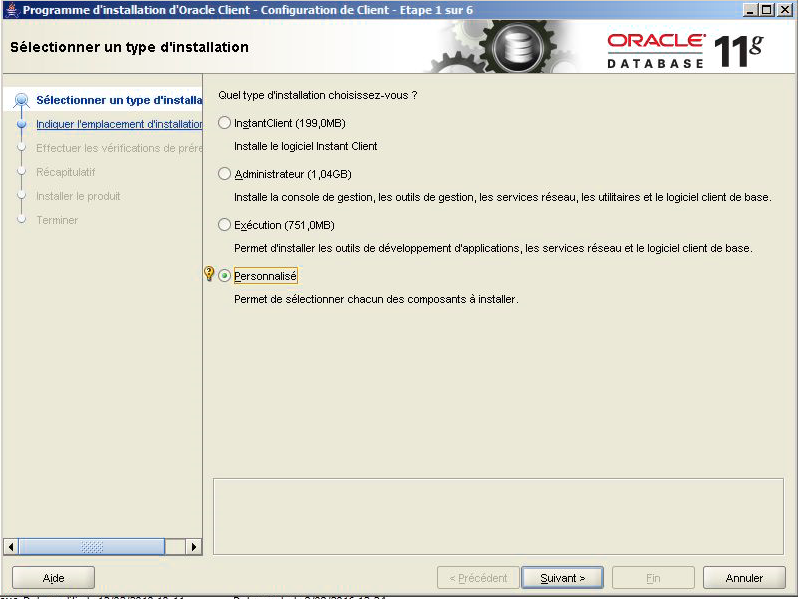
This will open the following dialog. Choose « Custom »
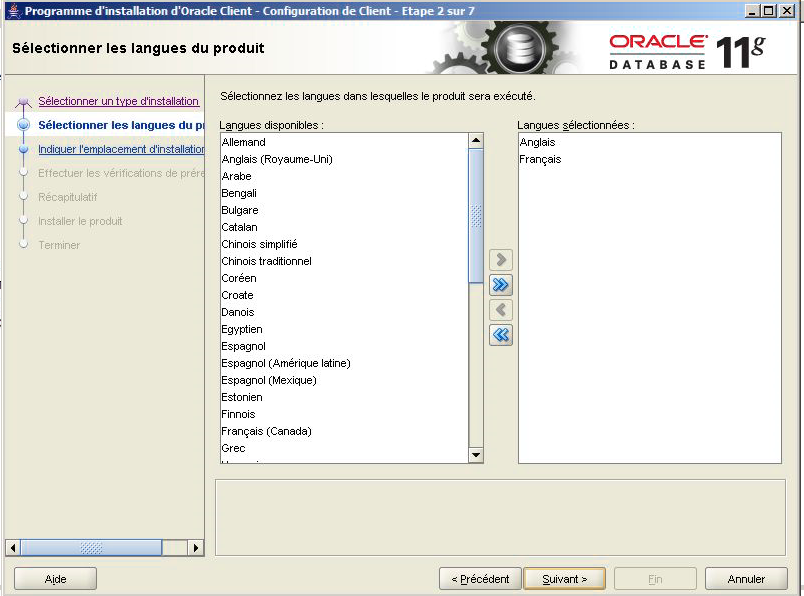
Choose the appropriate languages that your client may use.
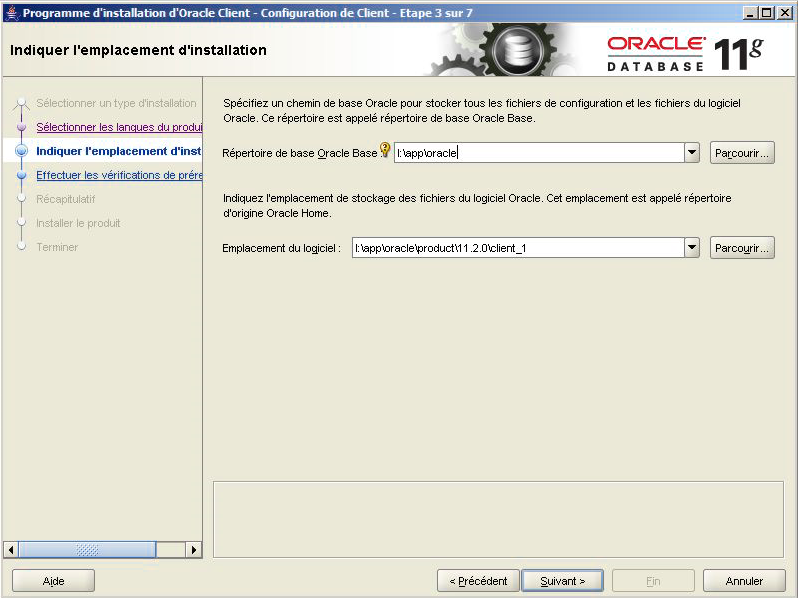
Then choose the destination folder for your installation. I personally prefer separate it from operating system partition, and I follow the conventional path in Oracle as stated on the documentation page about Oracle Flexible Architecture (OFA).
Let’s now select the appropriate components.
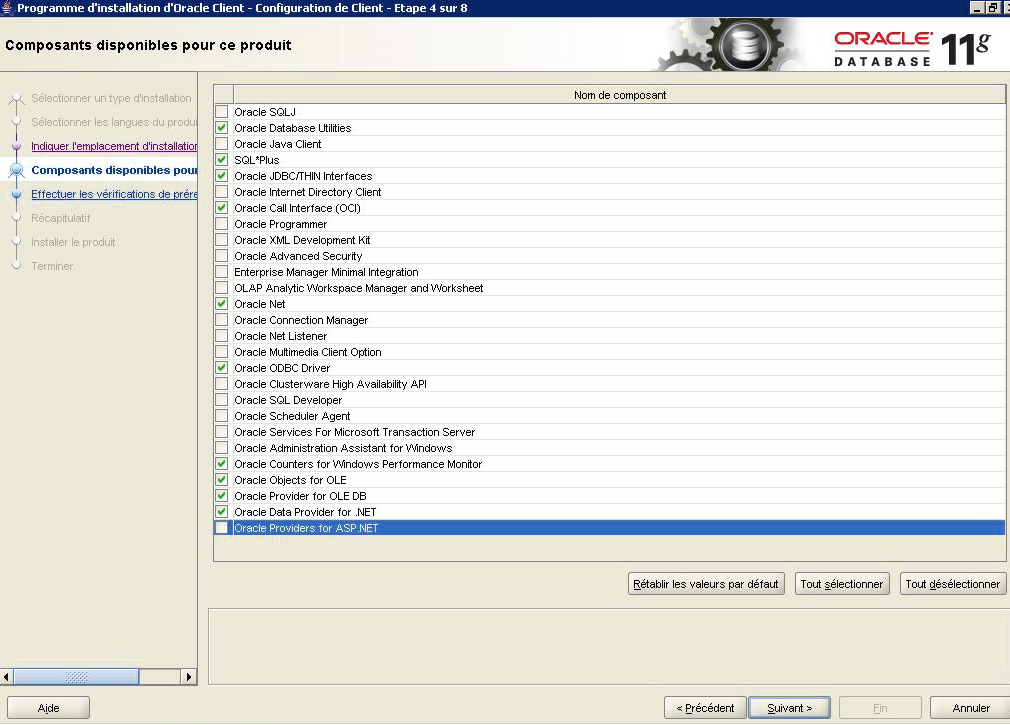
Database Utilities, SQL*Plus and Oracle Call Interface are selected in cases where one would add an external development for any reason. They may not be useful.
Oracle Net is the network layer of Oracle Database. This will allow us to configure « routes » in a file called tnsnames.ora
Oracle ODBC Driver, Oracle Provider for OLE DB and Oracle Provider for .NET are selected to allow SQL Server to contact the Oracle Database by different means.
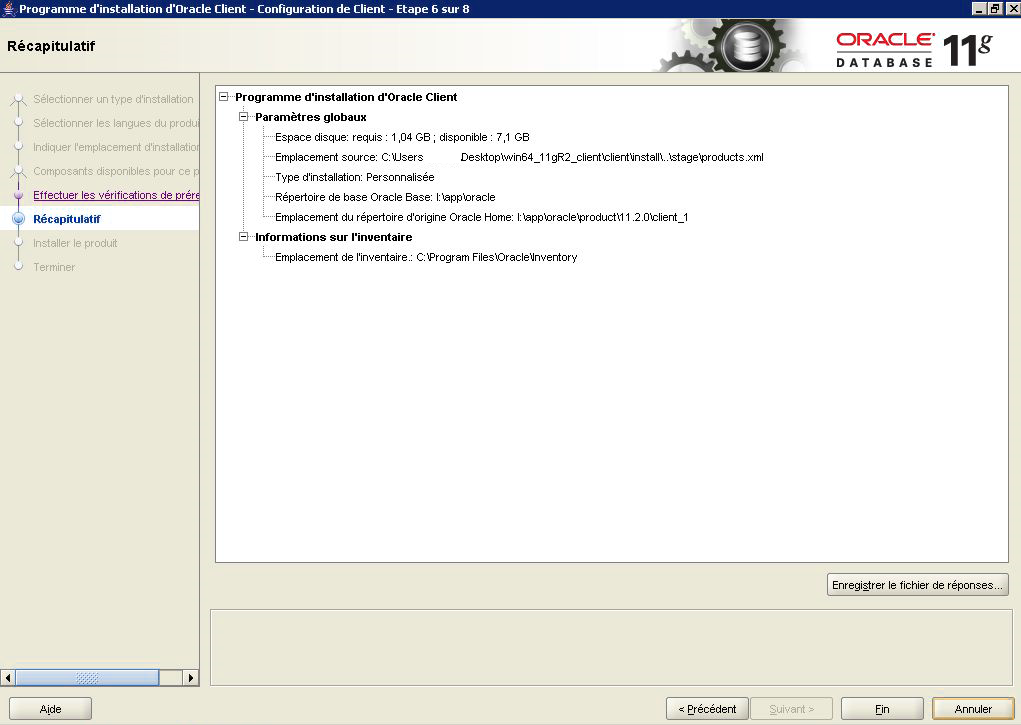
By clicking on the « Next » button, you will have to wait a little bit for verifications. Once they succeed, you will see the following recap :
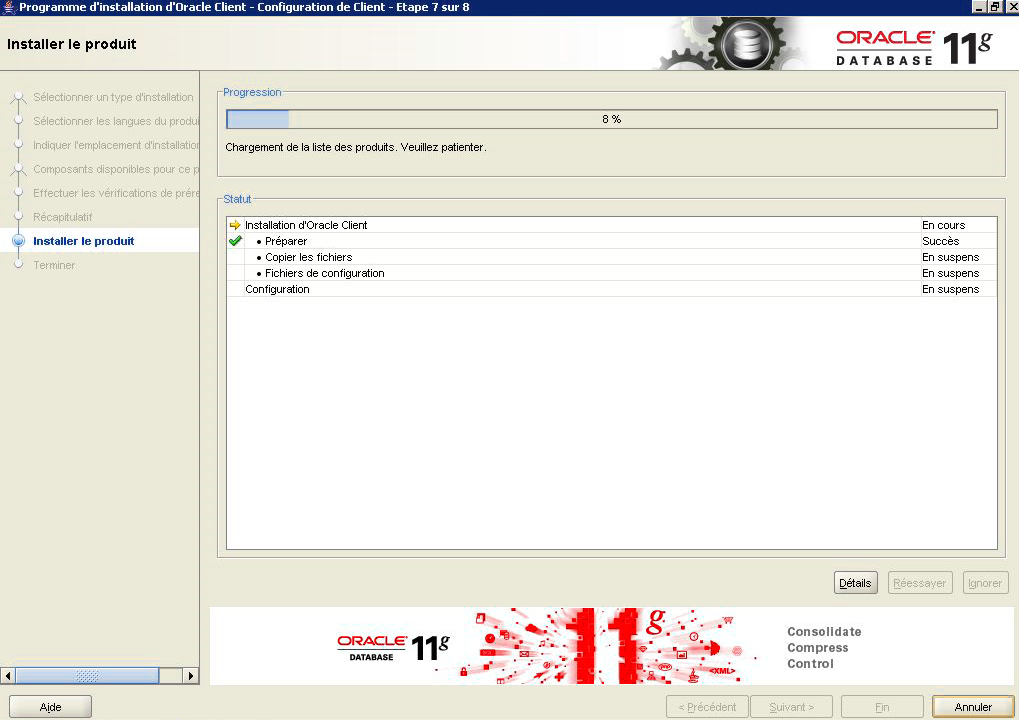
Click on « End » and the installation begins…
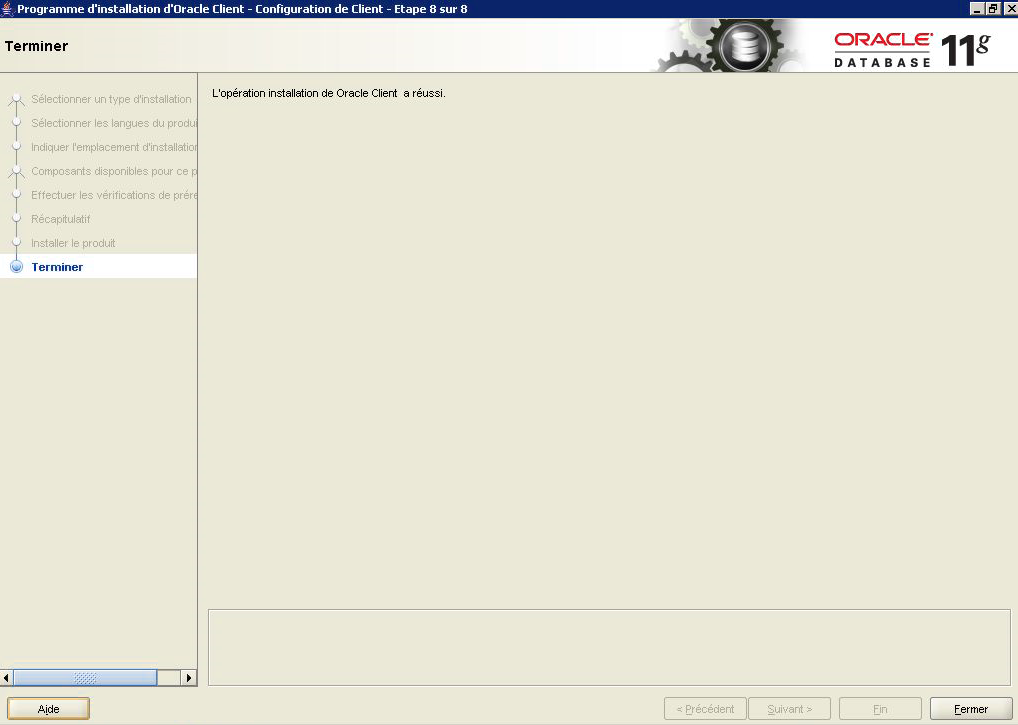
And we are done.
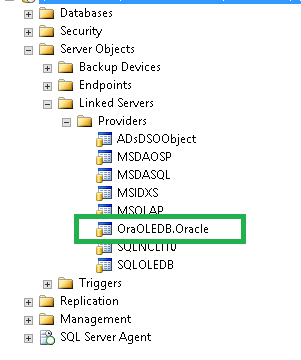
Let’s just connect to the SQL Server instance and check that it sees the newly installed provider :
Configure the Oracle Net (add reference to a target Oracle instance)
Location of configuration files
As we installed the Oracle software in I:\app\oracle, the network configuration files will be located in I:\app\oracle\product\11.2.0\client_1\network\admin.
Edit the configuration of Oracle Net (sqlnet.ora)
The sqlnet.ora file is the profile configuration file. We will use it to first prioritize the name resolution method, to define the default domain and a time interval to verify that the connection is still active.
Have a look at the following page for further information.
To do so, add the following lines in the sqlnet.ora file.
|
1 2 3 4 5 |
NAMES.DIRECTORY_PATH= (TNSNAMES, HOSTNAME) NAMES.DEFAULT_DOMAIN = LOCALDOM SQLNET.EXPIRE_TIME = 30 |
Important note
When NAMES.DEFAULT_DOMAIN is defined, you will always have to use the fully qualified TNS name. You can remove it if you are not interested in using
Edit the local list used in name resolution (tnsnames.ora)
A file that is very important in the configuration is the tnsnames.ora file. The definition provided by Oracle for this file is the following :
This tnsnames.ora file is a configuration file that contains net service names mapped to connect descriptors for the local naming method, or net service names mapped to listener protocol addresses.
Here is an example of content that will be used to create the linked server.
|
1 2 3 4 5 6 7 8 9 10 11 12 |
TESTSRV.LOCALDOM = (DESCRIPTION = (ADDRESS_LIST = (ADDRESS = (PROTOCOL = TCP)(HOST = TestSrv.st.chulg)(PORT = 1521)) ) (CONNECT_DATA = (SERVER = DEDICATED) (SERVICE_NAME = TESTSRV.LOCALDOM) ) ) |
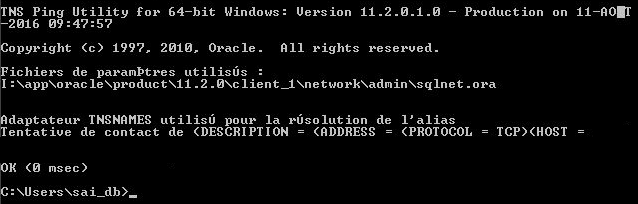
Test nameing resolution
Open cmd.exe and run the following command:
|
1 2 3 |
tnsping TESTSRV |
You will get a text similar to the following:
Create a linked server to an Oracle Database instance
Using SSMS
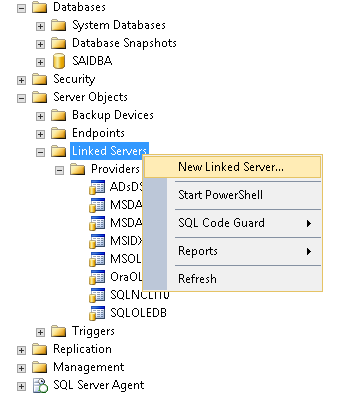
The most accessible way to create a linked server is definitely via SQL Server Management Studio. To do so, connect to the SQL Server instance and find « Server Objects », one clicked, you will find « Linked Servers ». If you right-click on it, you will be able to create a new linked server.
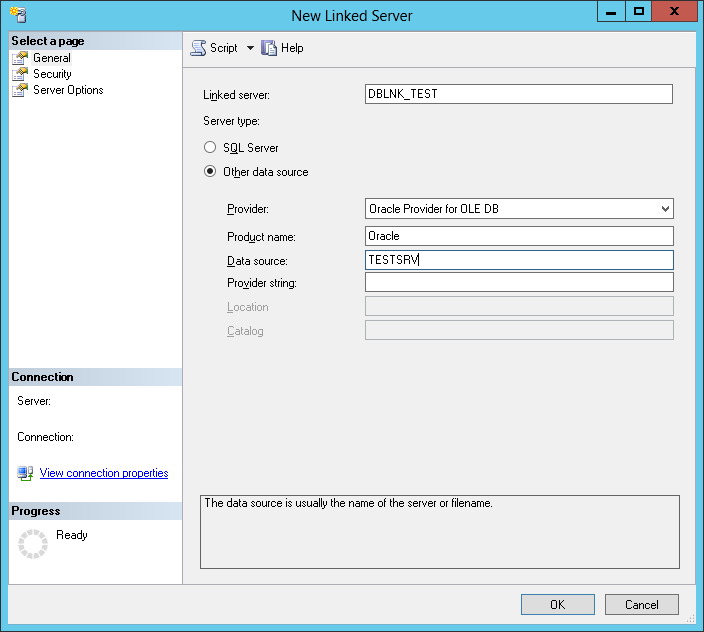
Provide the information for a connection as follows. As Data source, you will use the name used in the tnsnames.ora file (with or without the domain name).
In the security part of the configuration, depending on the configuration of your environment you will choose the appropriate method to use for remote authentication.
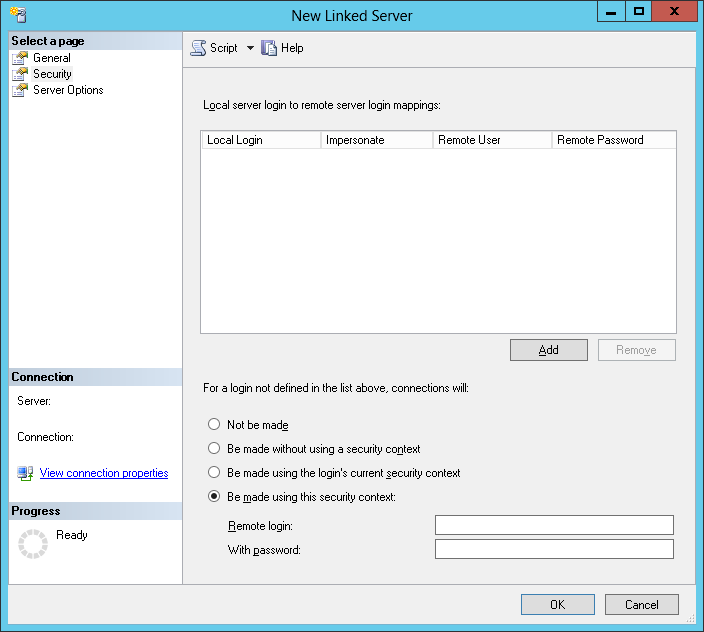
You can also review linked server settings to adjust according to your environment.
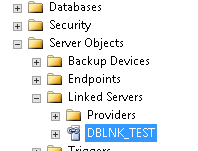
Once clicked on « OK », the linked server will be created and added in the « Linked Servers » list, as follows.
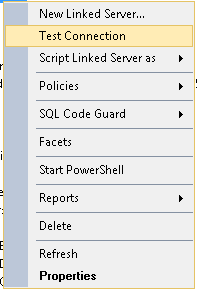
We can test the linked server. To do so, right click on it and choose « Test connection ».
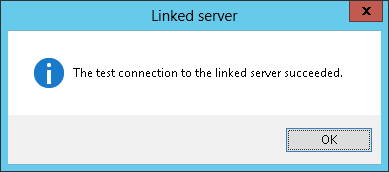
If everything is well configured, you will get the following dialog :
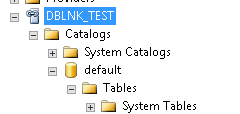
You can also list tables and views that you can query via by going down the tree view :
Finally, you can run the following query :
|
1 2 3 |
SELECT * FROM OPENQUERY([DBLNK_TEST] , 'select sysdate from dual') ; |
For further information, follow the links below :
Alternative : my stored procedure
While SSMS is easy to use, I like automation. That’s the reason why I developed a stored procedure that does exactly the same, but in a scripted and faster way.
The stored procedure is called [Administration].[CreateStdLinkedServer]. This stored procedure just works with Oracle Linked Server, but will be updated in the future to handle every kind of linked server.
It has the following interface :
|
1 2 3 4 5 6 7 8 9 10 11 |
[Administration].[CreateStdLinkedServer] ( @LinkedServerName SYSNAME, @ServerProduct nvarchar(128), @DataSource nvarchar(4000), @IdentityForwarding varchar(8) = 'true', @Username SYSNAME, @Password SYSNAME, @debug TINYINT = 0 ) |
This procedure only works when @ServerProduct equals « Oracle ». It’s attached to this article and you can download it here
Here is the procedure call for our linked server DBLNK_TEST.
|
1 2 3 4 5 6 7 8 9 10 11 |
EXEC [dbo].[CreateStdLinkedServer] @LinkedServerName = 'DBLNK_TEST', @ServerProduct = 'Oracle', @DataSource = 'TESTSRV', @IdentityForwarding = 'FALSE', @Username = 'sdsq', @Password = 'sdqsqs', @debug = 1 ; |
Further more…
If you want to migrate/copy a linked server from a server to another, you may be interested in the Copy-SqlLinkedServer Powershell script that is available in the open source project called « dbatools »
Troubleshooting
Sometimes, things can go wrong. You will find in this section problems and a way to address those problems.
TNS:could not resolve the connect identifier specified.
Don’t worry for the error, we should find a solution !
Generally, you might end up with this error didn’t edit the tnsnames file appropriately, like in the example at “Edit the local list used in name resolution (tnsnames.ora)” section. This error means that there is no definition to the server you want to link.
I advise you to review the definitions in your tnsnames.ora file and make sure that tnsping gives you a “OK” status. If not, make sure that you can ping the address (IP or DNS) that is referenced as the host in the TNS entry.
More info on “ORA-12154: TNS: could not resolve the connect identifier specified” error while creating a linked server to Oracle
Useful resources
- Installing Oracle Database Client
- How to get up and running with Oracle and Linked Servers
- Local Naming Parameters (tnsnames.ora)
- Parameters for the sqlnet.ora File

I'm one of the rare guys out there who started to work as a DBA immediately after his graduation. So, I work at the university hospital of Liege since 2011. Initially involved in Oracle Database administration (which are still under my charge), I had the opportunity to learn and manage SQL Server instances in 2013. Since 2013, I've learned a lot about SQL Server in administration and development.
I like the job of DBA because you need to have a general knowledge in every field of IT. That's the reason why I won't stop learning (and share) the products of my learnings.
View all posts by Jefferson Elias
- How to perform a performance test against a SQL Server instance - September 14, 2018
- Concurrency problems – theory and experimentation in SQL Server - July 24, 2018
- How to link two SQL Server instances with Kerberos - July 5, 2018