
AzCopy is a command-line tool that is used to upload and download blobs/files from or to the Azure Blob Storage. In this article, I am going to explain how we can use it to create a new container on Azure blob storage and upload the data from the local machine to the Azure blob storage.
This command-line utility is not required to be installed on the workstation. You can download the appropriate executables from the below location.
The executable files are compressed in .zip (Windows) or .tar (Linux). You can download and unzip the executables. In this article, I am going to explain the following:
- Generate a shared access signature to connect to azure blob storage
- Create a container on the Azure blob storage
- Upload files on the container
- Upload the entire directory on the container
- Upload specific files on the container
Generate a shared access signature (SAS)
First, let us create a container on the Azure blob storage. To connect to the Azure blob storage, we must provide authorization credentials. To provide authorization credentials, you can use any of the following:
- Azure active directory
- Shared access signature token (SAS token)
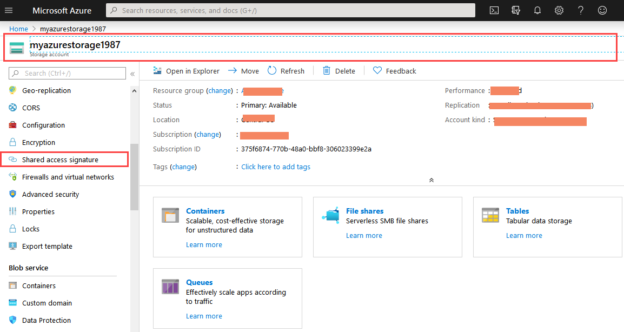
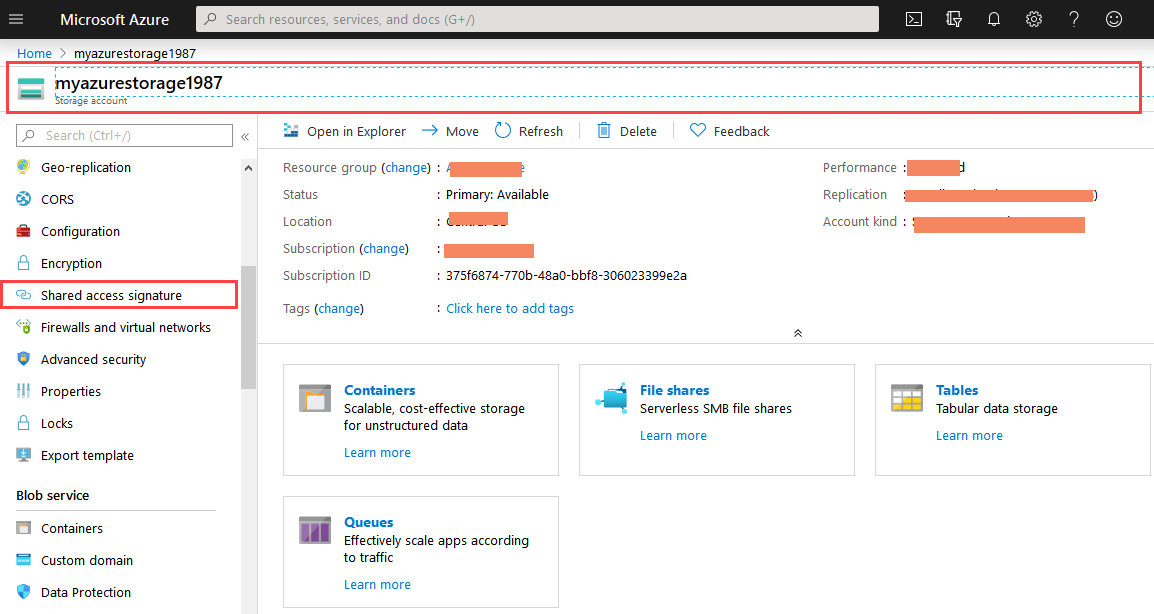
In this article, I have used the shared access signature (SAS) token. To generate the SAS token, the first login to the Azure portal navigate to the storage account resource group Click on Shared access signature. See the following image:
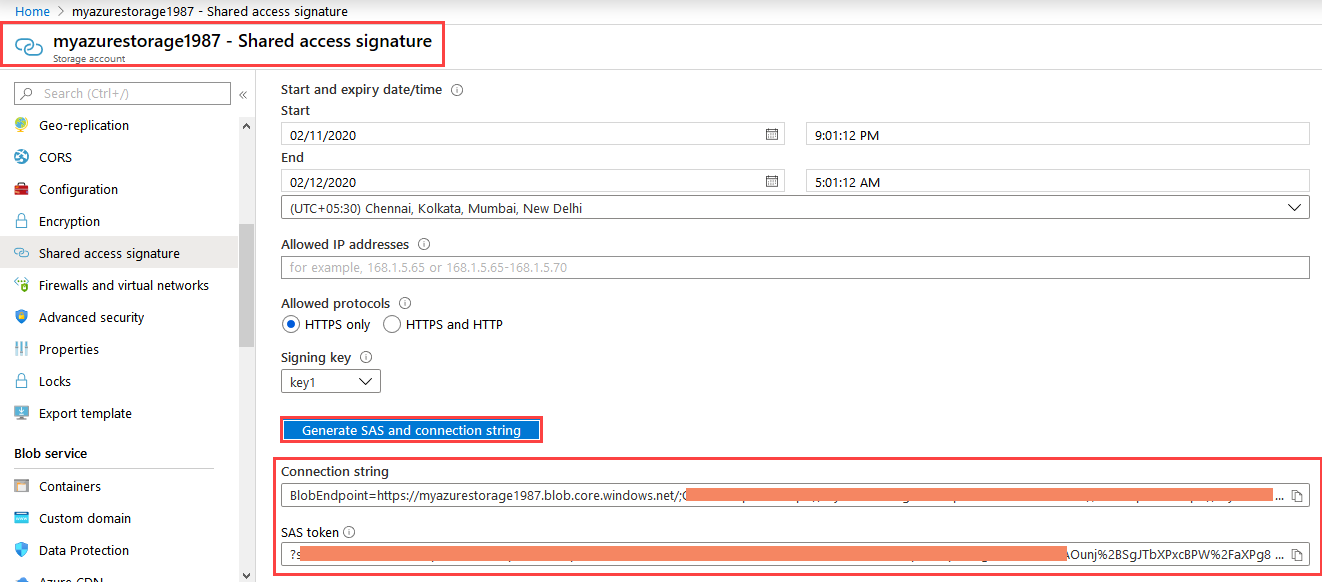
On the Shared access signature page, click on “Generate SAS and connection string.” A connection string and SAS token will be generated. See the following image:
Now, to run the AzCopy command, we will use the SAS token. The SAS token will be appended at the end of the azure blob container URL (Storage account connection string). Following is the example of the blob storage URL appended with the SAS token:
“<storage_account_name>.<blob>.core.windows.net/<container_name>?<SAS token>”
Create an Azure blob container
Using AzCopy command, I can create a BLOB container in the azure storage account. Following is the syntax:
|
1 |
Azcopy make "<storage_account_name>.<blob>.core.windows.net/<container_name>?<SAS token>" |
Example:
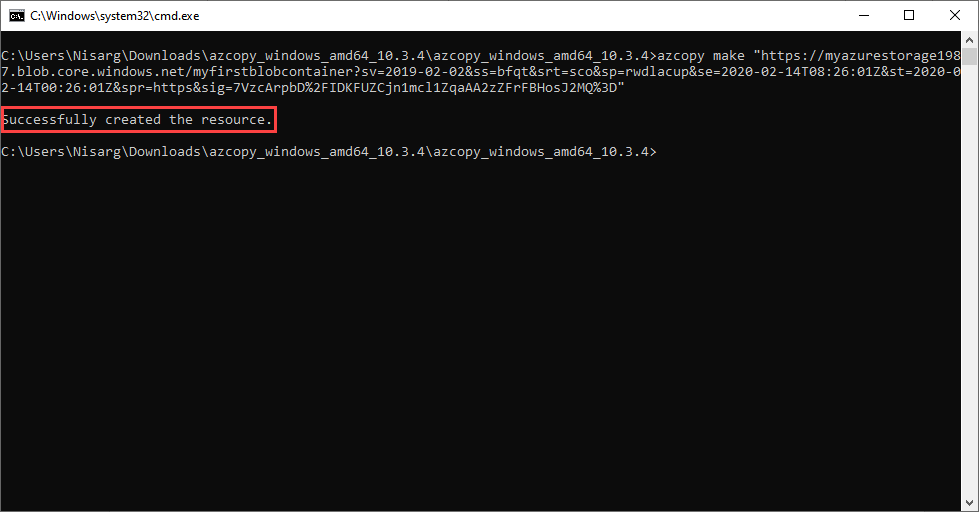
For example, I want to create a container named “MyFirstBLOBContainer.” To do that, execute the following command:
|
1 |
azcopy make "https://myazurestorage1987.blob.core.windows.net/myfirstBLOBcontainer?<SAS token>" |
The screenshot of the command:
You can verify that the new container has been created in the storage account. On the Azure portal, navigate to the Azure blob storage account Open containers.
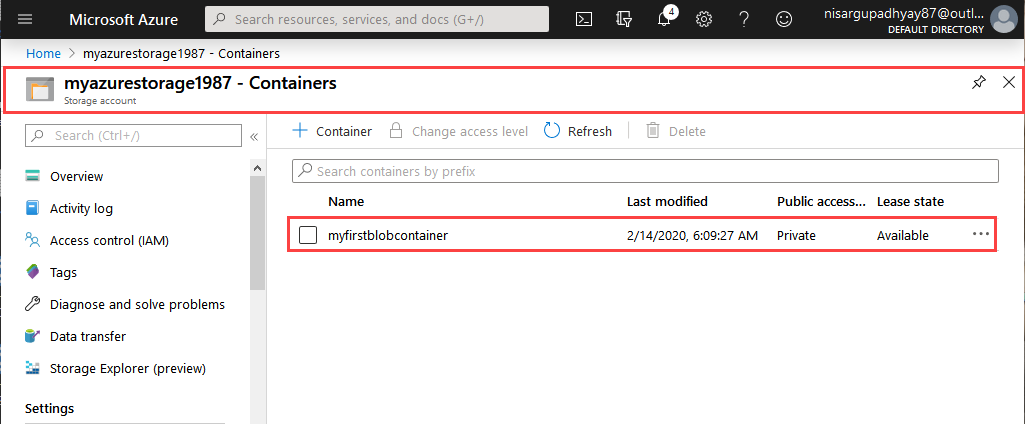
We can see in the above image, a new container named “MyFirstBLOBContainer” has been created.
Upload a file on the container
Using AzCopy, I can upload the files from the source to the destination. It supports the following directions:
- local machine<-> Azure Blob (SAS or OAuth authentication)
- local machine <-> Azure Files (Share/directory SAS authentication)
- Azure Blob (SAS or public) -> Azure Blob (SAS or OAuth authentication)
- Azure Blob (SAS or public) -> Azure Files (SAS)
- Azure Files (SAS) -> Azure Files (SAS)
You can read more about the copy command here.
The syntax to upload a file is following:
|
1 |
Azcopy copy " <Source File>" "<storage_account_name>.<blob>.core.windows.net/<containername>?<SAS token>" |
Example:
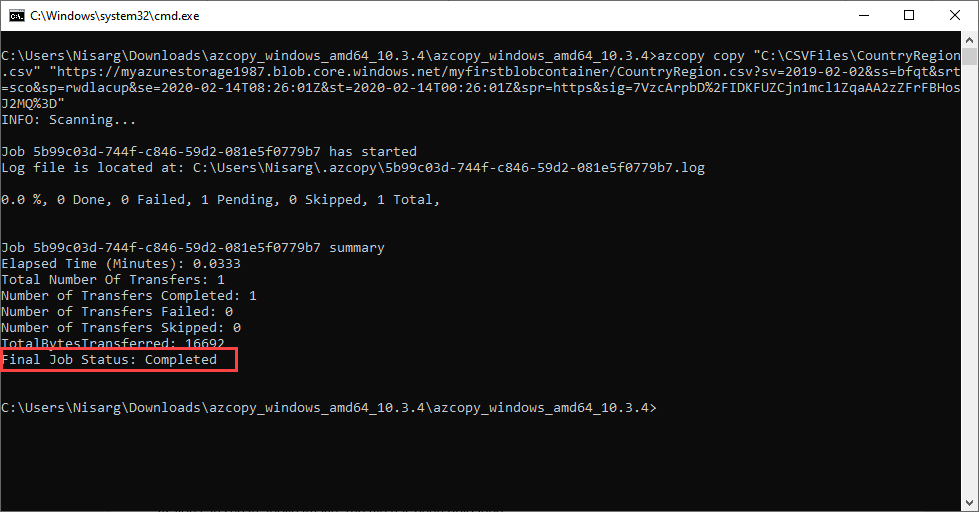
Once the container has been created, let us upload the data to the container. I have created a CSV file named “CountryRegion.csv” in the directory “C:\CSVFiles“. I want to upload it to the BLOB container “MyFirstBLOBContainer.” As I mentioned, for authorization, we are going to use SAS. Execute the following command to upload the file:
|
1 |
azcopy copy "C:\CSVFiles\CountryRegion.csv" "https://myazurestorage1987.blob.core.windows.net/myfirstblobcontainer/CountryRegion.csv?<SAS token>" |
The screenshot of the command:
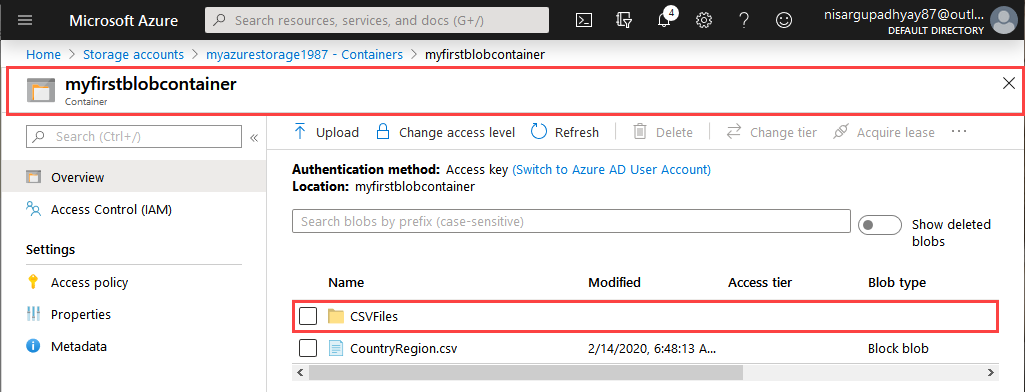
To view the uploaded file on the Azure portal, navigate to the Azure blob storage account Open containers open “MyFirstBLOBContainer.”

As you can see in the above image, the file has been uploaded.
Upload the directory on the container
Using AzCopy command, we can upload the directory and all the files within the directory to the Azure blob storage container. The command creates a directory with the same name on the container and uploads the files.
Following is the syntax:
|
1 2 3 |
Azcopy copy "<directory on local computer>" "<storage_account_name>.<blob>.core.windows.net/<containername>/directoryname?<SAS token>" --recursive |
Instead of uploading the entire directory, if you want to upload the content of the directory, then you can specify a wildcard symbol in the command(*).
Following is the syntax:
|
1 2 3 |
Azcopy copy " <root directory on local computer>\* " "<storage_account_name>.<blob>.core.windows.net/<containername>/directoryname?<SAS token>" --recursive |
Example:
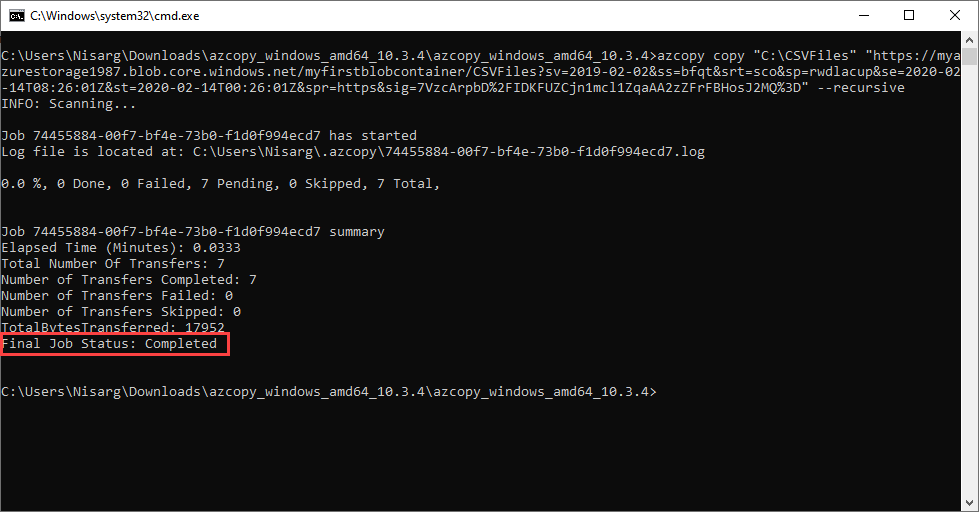
Suppose, I want to upload a “CSVFiles” directory to the azure blob container “ MyFirstBLOBContainer.” To do that, execute the following command.
|
1 2 3 |
azcopy copy "C:\CSVFiles" "https://myazurestorage1987.blob.core.windows.net/myfirstblobcontainer/CSVFiles?<SAS Token>" --recursive |
The screenshot of the command:
A new directory named “CSVFiles” will be created on “MyFirstBLOBContainer.” You can view the files login to the Azure portal open storage account Open containers open MyFirstBLOBContainer.
Now, to upload all the files within the “Adventureworks2014-install-files” directory to the “Adventureworks2014” directory on the storage container, execute the following command.
|
1 |
azcopy copy "C:\Adventureworks2014-install-files\*" "https://myazurestorage1987.blob.core.windows.net/myfirstblobcontainer/Adventureworks2014?<SAS Token>" |
The screenshot of the command.
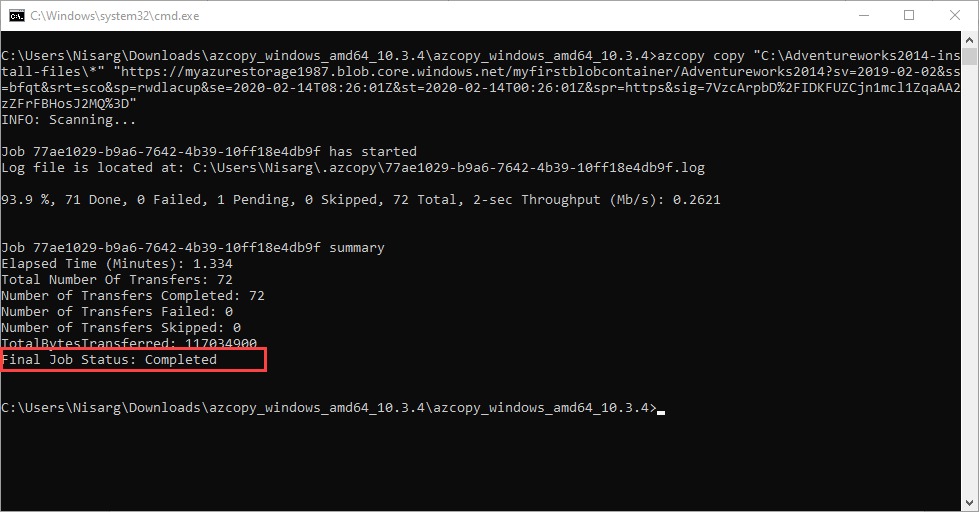
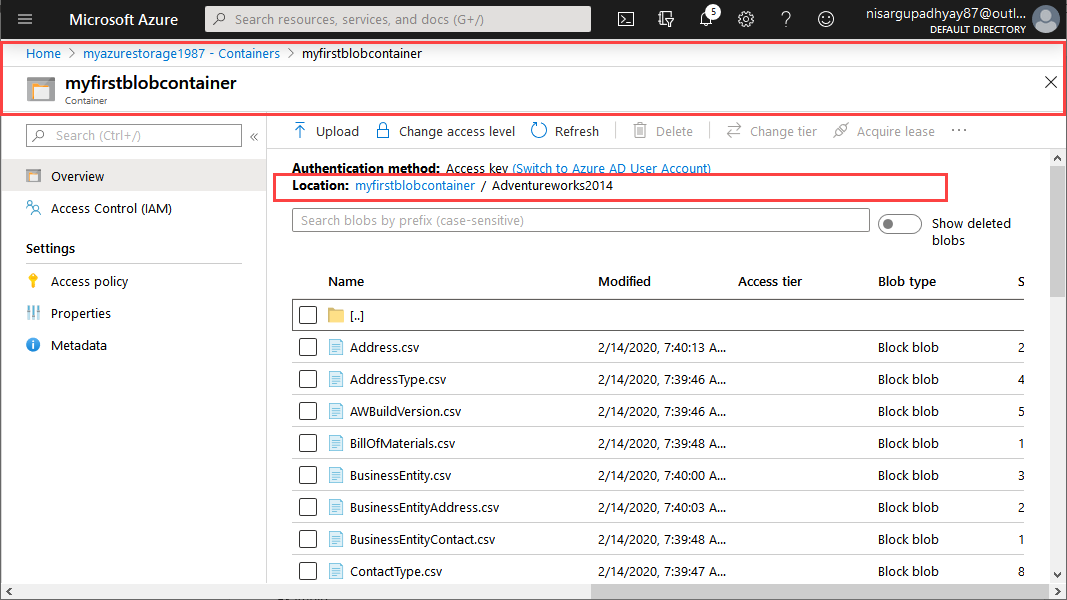
To view the files, login to the Azure portal open storage account open container open Adventureworks2014 directory.
Upload specific files on the container
Using AzCopy command, we can upload specific files to the blob storage container. To do that, we must use – -include-path option and separate individual files using a semi-colon(;). Following is the syntax:
|
1 |
Azcopy copy " <directory on local computer>" "<storage_account_name>.<blob>.core.windows.net/<containername>/directoryname?<SAS token>" - - include-path "<file1> ; <file2> ; <file3>" |
Example:
For example, I want to upload three CSV files named “ProductCategory.csv“, “Shift.csv“,” ShoppingCartItem.csv” to the “MyFirstBLOBContainer.” To do that, execute the following command.
|
1 |
azcopy copy "C:\CSVFiles" "https://myazurestorage1987.blob.core.windows.net/myfirstblobcontainer?<SAS Token>" --include-path "ProductCategory.csv;Shift.csv;ShoppingCartItem.csv" |
The screenshot of the command:
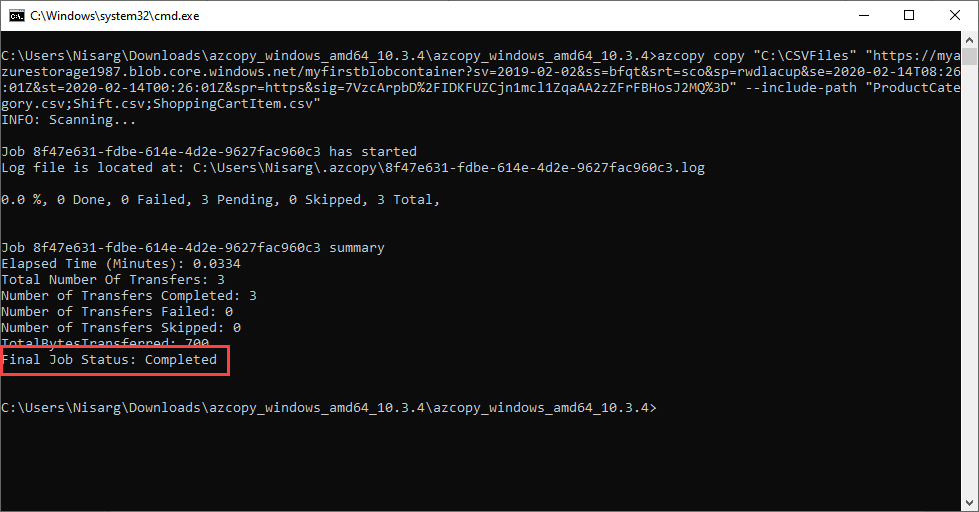
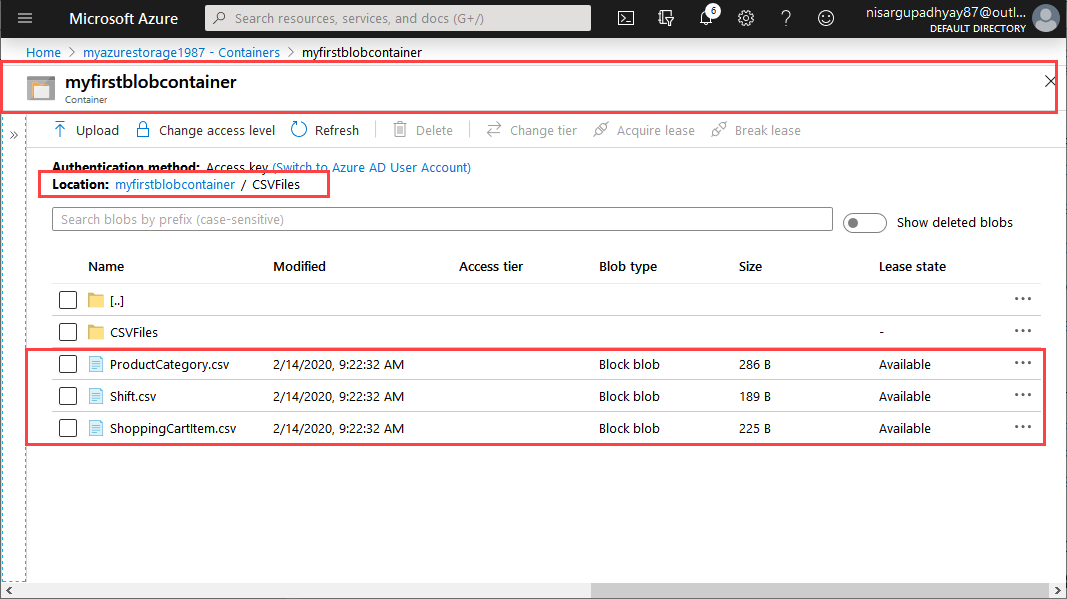
To view these files, login to the Azure portal open the Azure blob storage account Open containers open MyFirstBLOBContainer.
Summary
In this article, I have explained the AzCopy command and how it can be used to create new containers and upload files on the Azure Blob Storage containers.

He has expertise in database design, performance tuning, backup and recovery, HA and DR setup, database migrations and upgrades. He has completed the B.Tech from Ganpat University. He can be reached on nisargupadhyay87@outlook.com
- Different ways to identify and change compatibility levels in SQL Server - July 22, 2024
- Copy SQL Databases between Windows 10 and CentOS using SQL Server data tools - October 19, 2022
- Changing the location of FILESTREAM data files in SQL Database - October 14, 2022