

This article installs SQL Server on Linux on the Amazon EC2 instance with Red Hat OS prepared in the earlier article.
Introduction
In the previous article, Installation of SQL Server Linux on Red Hat in Amazon EC2 instances, we explored the preparation of Amazon EC2 instance with the Red Hat Linux operating system installation. It is our first virtual server in the Amazon cloud. In this article, we will install SQL Server Linux 2017 on this EC2 instance and connect with the SQL database through SQLCMD command-line tools.
Prerequisites
- Amazon EC2 instance with Red Hat Linux
- Configured Security groups (firewall) for the EC2 instance
Launch Amazon EC2 instance
Login in AWS web console and launch EC2 from the services. It opens the EC2 dashboard, as shown below:
We stopped our EC2 instance created earlier. It only shows the running instances in the dashboard.
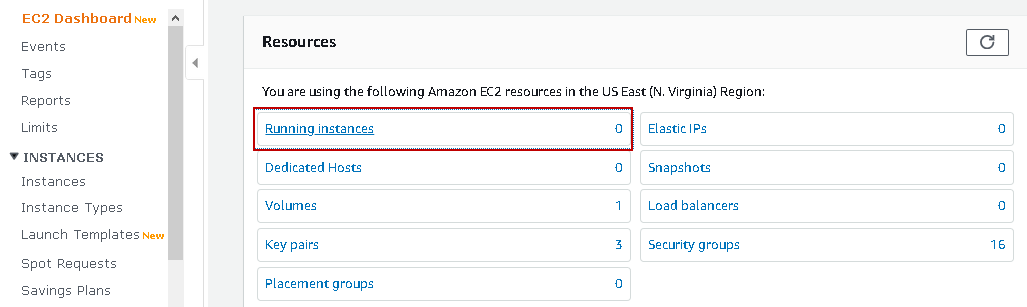
Click on Running instances, and it shows an instance in the stopped status:

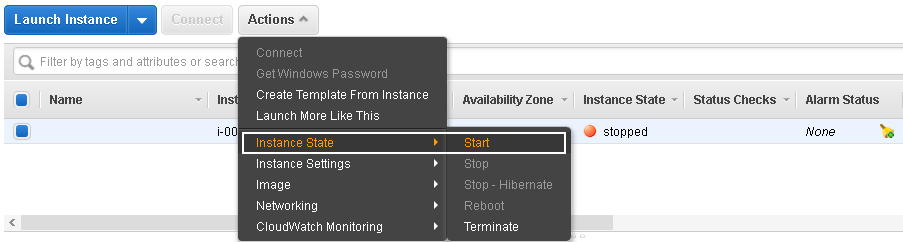
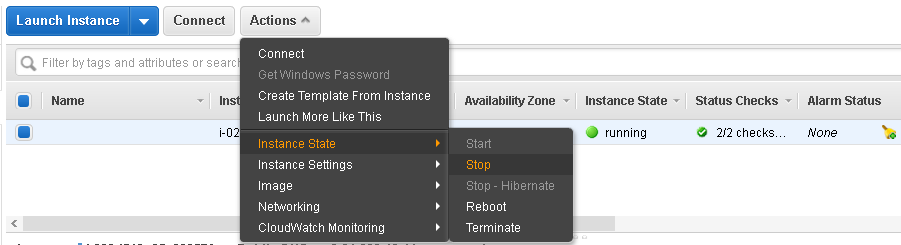
EC2 instance should be in running status so that we can install SQL Server Linux on it. Click on Actions | Instance State | Start for starting this instance:
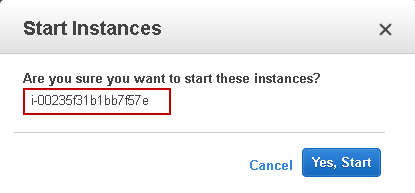
It asks confirmation before starting the EC2 instance. Click on Yes, Start:
It takes some time to start the Amazon EC2 instance. It also performs the 2/2 status check that it performed earlier during instance creation:
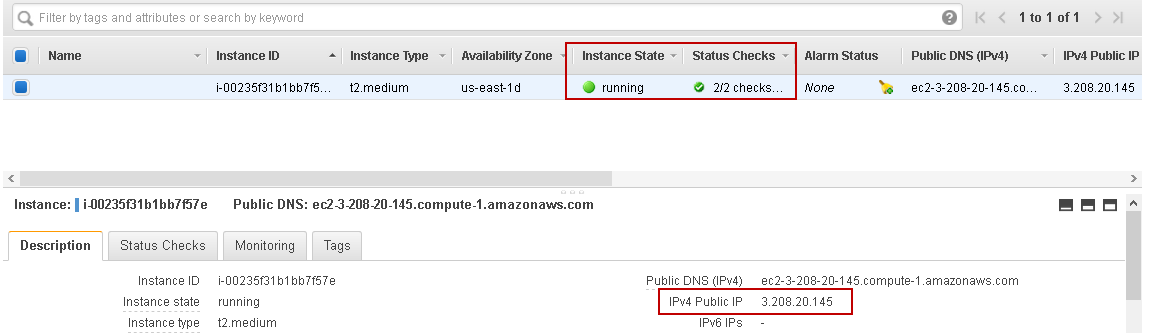
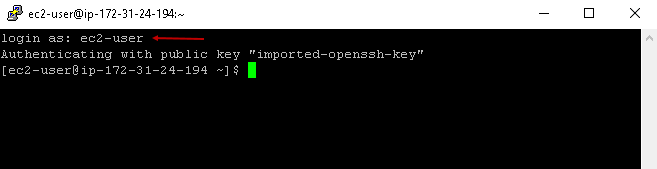
Once the instance is up, launch Putty and connect to EC2 instance using public IP address and private key (.PPK file):
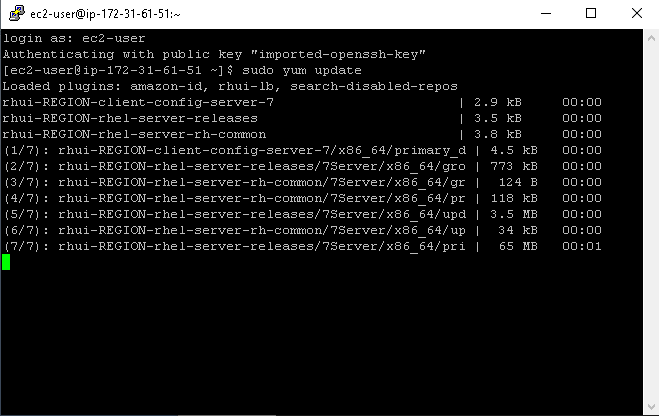
After connected to EC2 instance, it is a best practice to update all packages to the latest versions. Execute the following command:
|
1 |
sudo yum update |
It checks for all packages, plug-in for updates:
Once all checks are complete, it asks for downloading the packages with download size. In this following screenshot, we can see it requires 315 MB download for 237 packages upgrade:
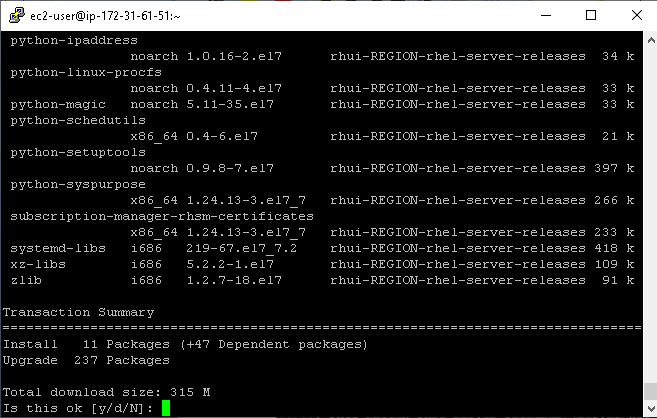
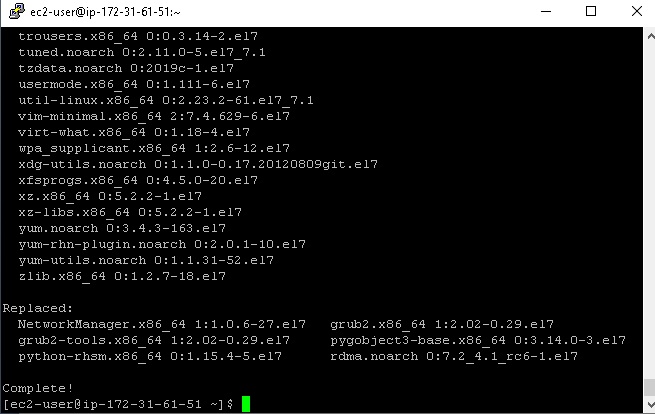
Enter “y” for download and install all required packages upgrades. This process might take longer, depending upon download size and network speed. Once all upgrades are successful, you can see the following screen:
SQL Server installation on Amazon EC2 RHEL instance
Once we have completed all previous steps, we are ready for SQL Server Linux installation. Let’s use the following steps for the SQL Server installation.
Step 1: Download SQL Server 2017 repository
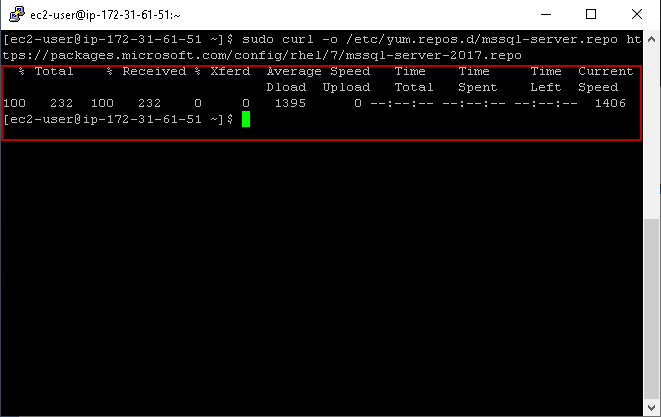
The first step is to download the SQL Server 2017 repository file for Red Hat Linux. Execute the following command in the SSH terminal:
|
1 |
$ sudo curl -o /etc/yum.repos.d/mssql-server.repo https://packages.microsoft.com/config/rhel/7/mssql-server-2017.repo |
In Linux, we use Sudo for executing the command with the highest privileges. The above command downloads the required SQL Server package from specified URL and downloads it into a new repository /etc/yum.repos.d/mssql-server.repo
In the output of the terminal window, we can see the repository file downloading progress, current speed, time spent and time left:
Step 2: Install SQL Server from the repository
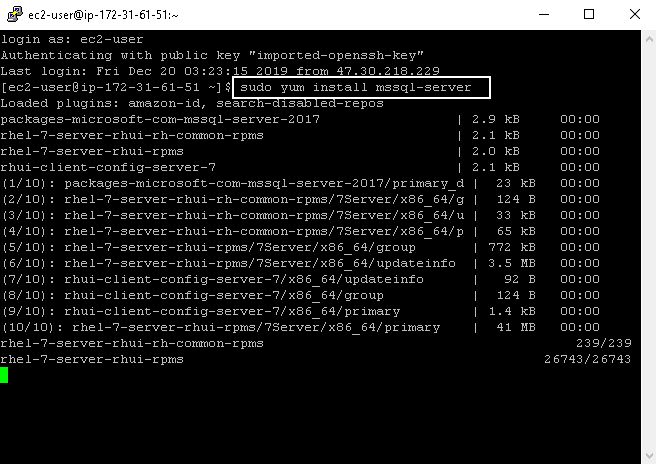
In this step, execute the following command for installing SQL Server using Sudo access:
|
1 |
sudo yum install mssql-server |
It checks for the dependencies and gives you information about the packages it needs to download.
It also shows the size of each package and time spent in downloading the package:
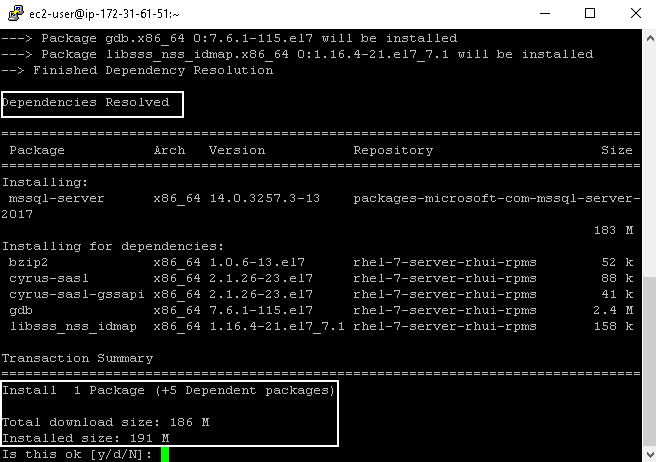
It automatically resolves a few dependencies. In this screenshot, we can see that it needs to download 186 MB file for other dependencies. We can see the dependency package, architecture, version and repository for it:
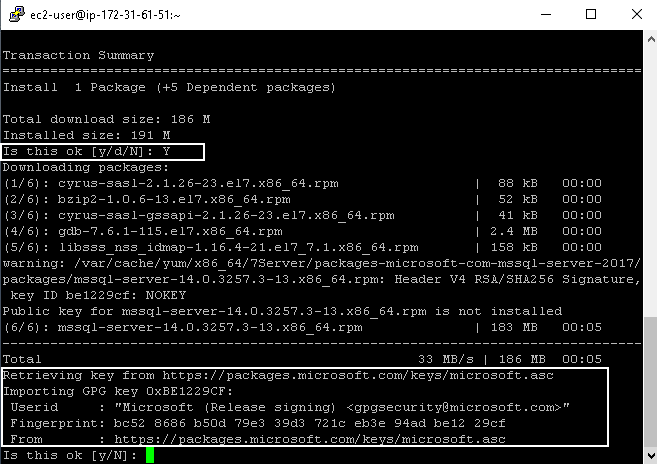
Enter “y”, and it downloads the remaining packages. Once the package is downloaded, it imports the public repository GPG key from the Microsoft repository URL but requires user confirmation to proceed. You can also view user id (gpgsecurity@microsoft.com) along with key source URL:
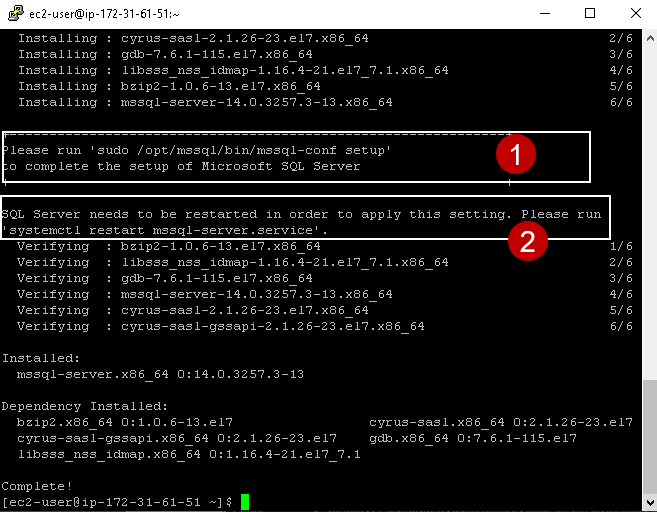
Enter “y”, and it installs SQL Server Linux on Amazon EC2 instance. SQL Server set up also guides you for the next step.
In the following screenshot, we can note down the following steps:
- SQL Server configuration using mssql-conf utility
- Restart SQL Server Linux service using systemctl utility
SQL Server configuration
Execute the command to complete the set up for SQL Server Linux as shown in the screenshot (number 1).
Specify SQL Server Linux edition
Firstly, it asks you about the edition of SQL Server. It gives you a list of available editions such as Standard, Enterprise, Express along with sequence number of each instance:
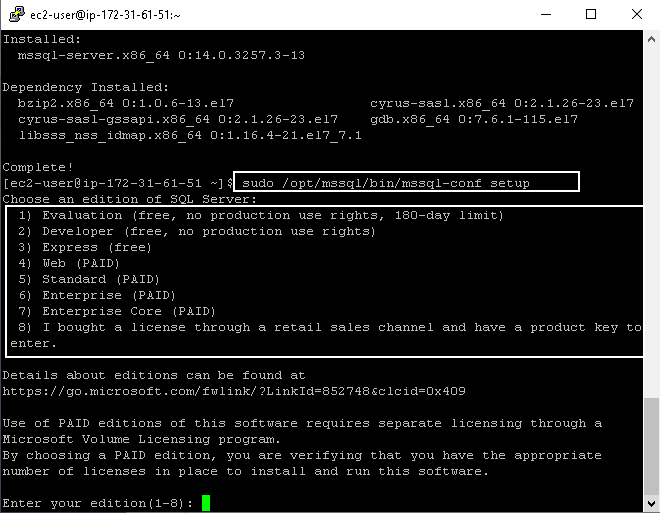
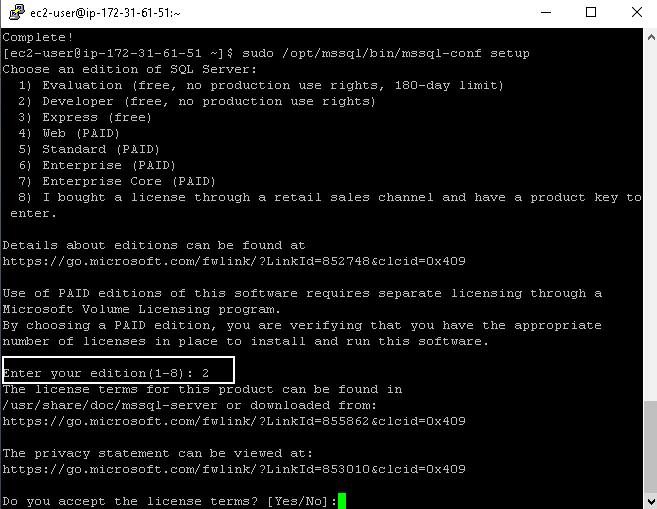
Suppose we want to install the SQL Server Linux developer edition, we need to provide input (2) for it.
Accept license terms for Microsoft product
The next step is to accept the license terms and conditions. It is a mandatory step, and we cannot say No! If you are interested in reading the license agreement, copy the specified URL and read it.
Enter “yes” to proceed with the installation:
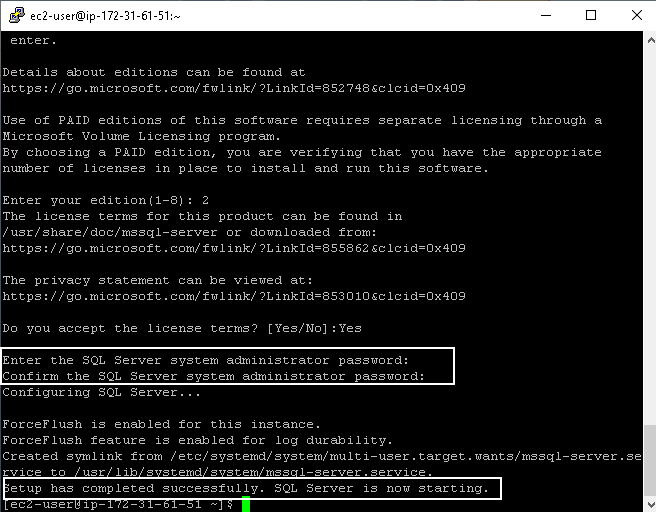
Specify the sysadmin (SA) account password
It now asks you to provide for the SA account. Provide a SA user password and confirm it. You do not see any character while typing the password in Linux. It is the desired behavior of the Linux OS. SQL Server set up is now complete, and it starts the SQL Services for you:
Installation of SQL Server command-line tools in Amazon EC2 instance
SQL Server set up does not install command line tools SQLCMD. We can install them with the following steps:
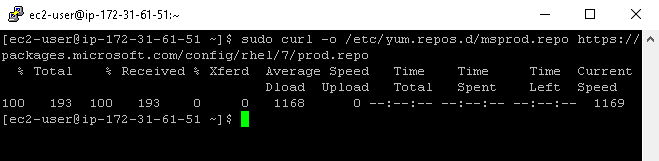
Download the repository
|
1 |
$ sudo curl -o /etc/yum.repos.d/msprod.repo https://packages.microsoft.com/config/rhel/7/prod.repo |
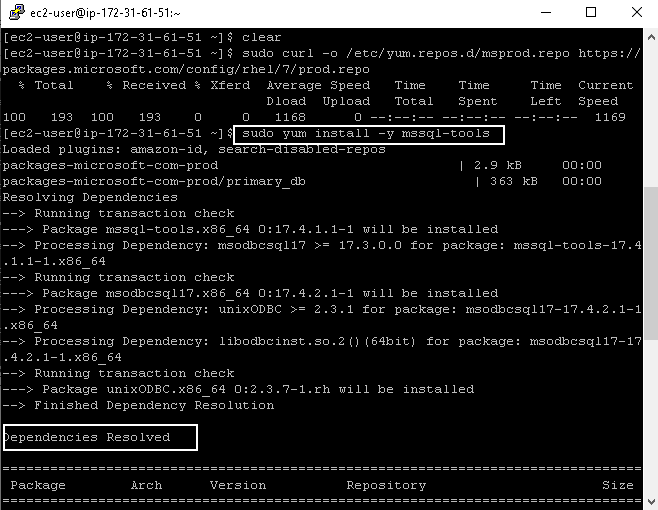
Install client tools
Execute the yum install command for mssql-tools, and it resolves the required dependencies as shown in the following screenshot:
|
1 |
$ sudo yum install -y mssql-tools |
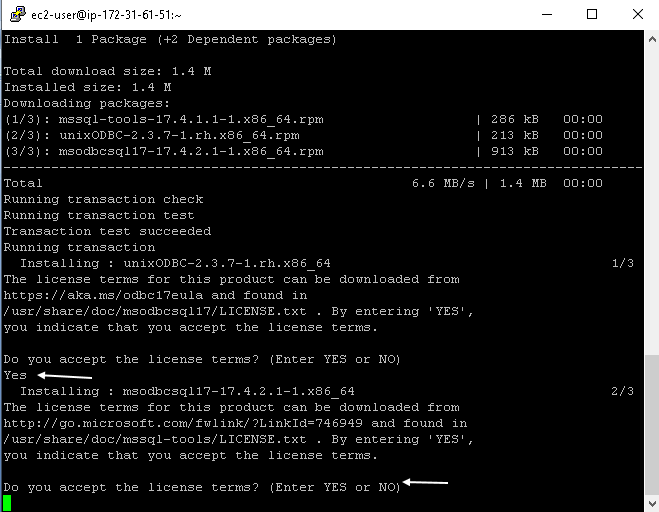
Enter “yes” twice for accepting the license terms for unixODBC and SQL ODBC as shown in below image:
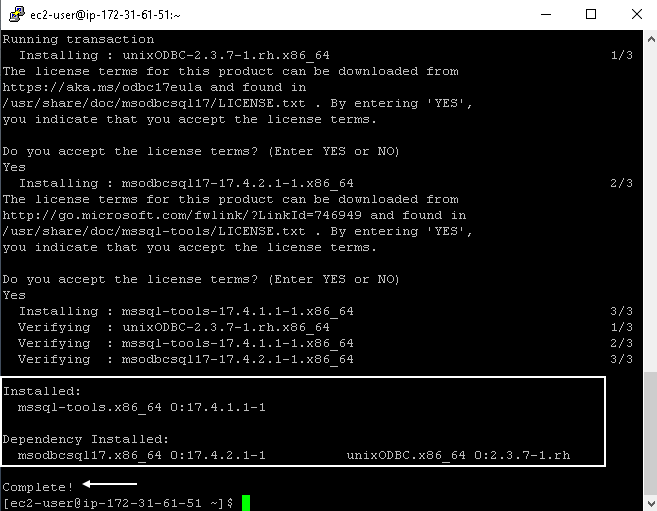
It quickly installs mssql-tools and its dependencies:
We should add /opt/mssql-tools/bin/ to the PATH environment variables. It helps to run the mssql -tools without specifying the full path for it. It modifies the PATH environment variables for both login sessions and interactive/non-login sessions using bash and bashrc profile. If we do not add the /opt/mssql-tools/bin in the PATH environment variable, we need to use this path while using the SQLCMD tool:

We can now use SQLCMD for database connection and executing queries.
Connect SQL Server Linux using SQLCMD on Amazon EC2 instance
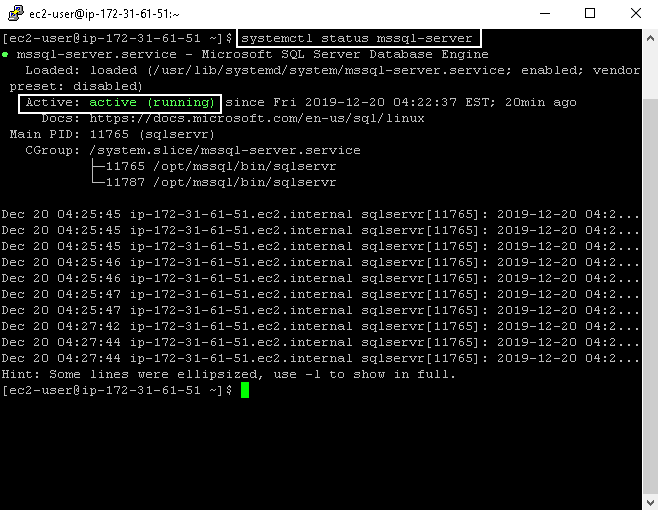
First, check the SQL Services status using the systemctl command:
|
1 |
$ systemctl status mssql-server |
Its status should be active (running). It also shows the timestamp since when the service is up:
In the SQLCMD, specify the following parameters:
- -S: SQL Instance name. In the local instance, we can specify localhost for this parameter
- -U: user name. By default, it takes SA user for the connection
- -P: password, we can skip this parameter. SQL Server automatically asks you for a password for authentication purposes
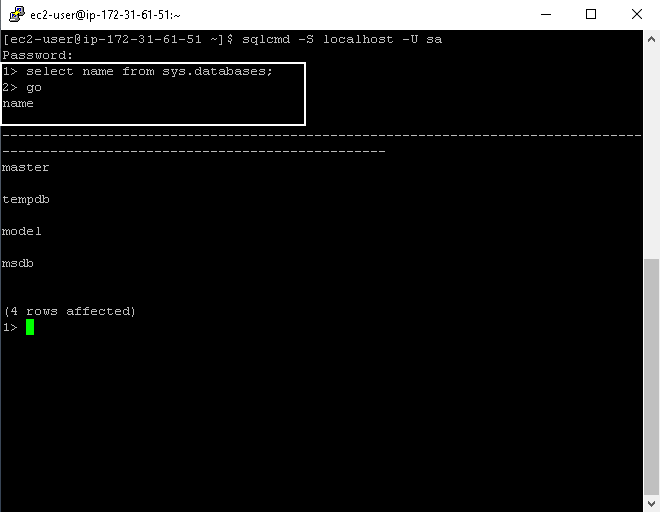
Execute the following command and provide the password for it:
|
1 |
$ sqlcmd -S localhost -U sa |
Once the connection is successful, it prompts the cursor to the next line:

We can execute SQL statements in the SQLCMD command prompt. We use a go statement to execute the transaction batch in SQLCMD, as shown below.
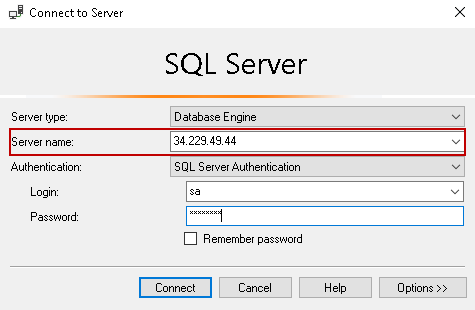
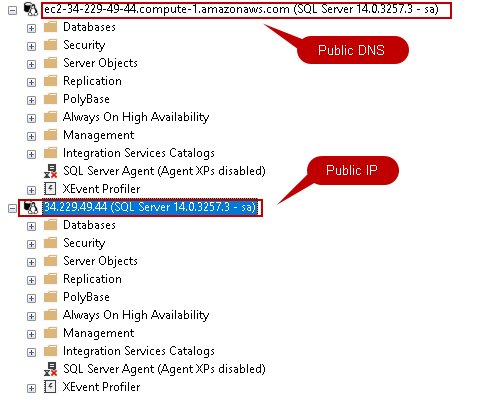
We can also connect this SQL instance from SSMS outside the Amazon EC2 instance. We can use either public IP or Public DNS for this connection:

Firewall (security groups) should allow connection to port 1433 else connection will not be allowed outside EC2 instance.
Connection with Public DNS using SSMS outside EC2 instance
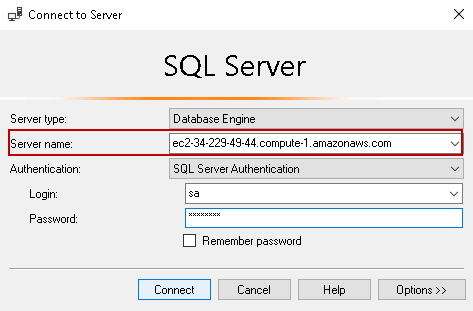
Connection with Public IP using SSMS outside EC2 instance
In the following screenshot, we can see a successful connection to SQL Server on Linux from SSMS outside the EC2 instance:
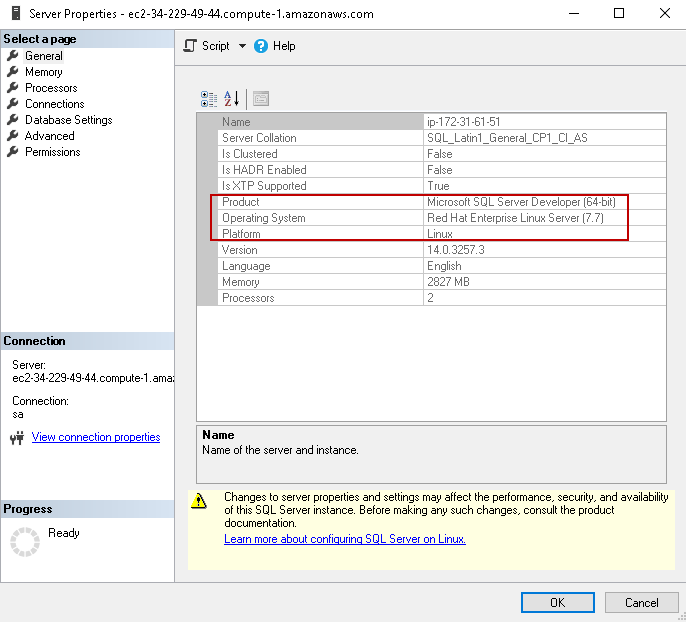
Right-click on SQL instance and go to Properties. In this page, we can view the SQL Server version, edition, memory and CPU information:
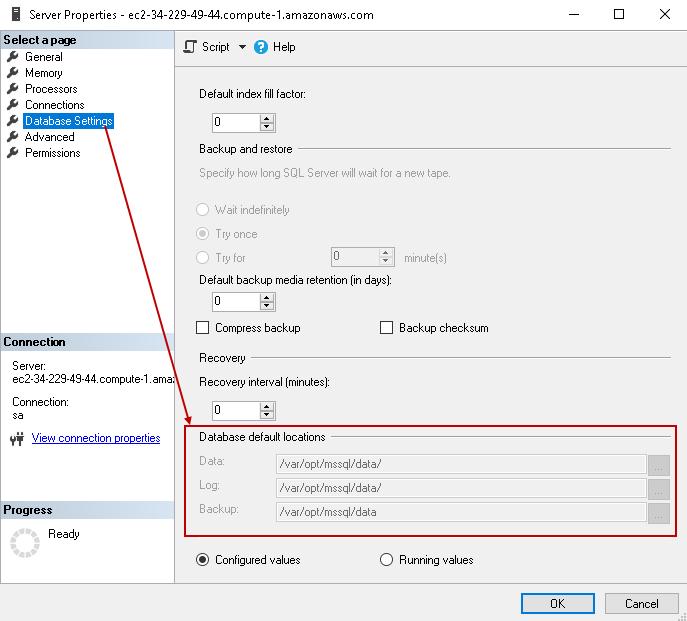
Click on the database settings page and view the default database locations. The default locations are as follows:
- Data: /var/opt/mssql/data
- Log: /var/opt/mssql/data
- Backup: /var/opt/mssql/data
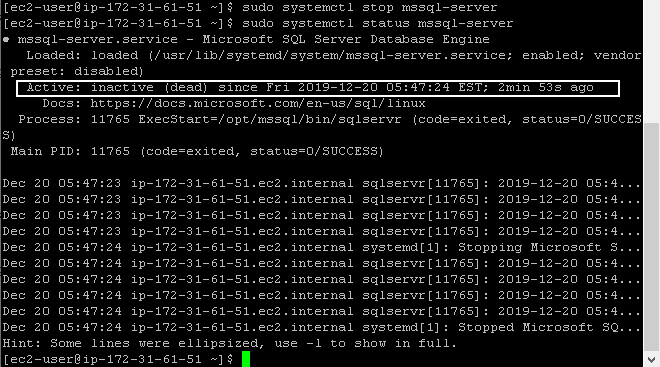
Stop SQL Services on Amazon EC2 instance
We use the systemctl stop command for stopping SQL Services in RHEL:
|
1 |
>sudo systemctl stop mssql-server |

It does not show any messages for this command execution. We can verify the status of SQL Services for verification purpose:
|
1 |
>sudo systemctl status mssql-server |
In the output, we can see that process is inactive(dead) that shows SQL Server services are stopped:
At last, we should stop Amazon EC2 instance if we are not using it. We only pay for the hourly resource usage, as shown in the previous article. It is a good practice to stop an instance, especially if it is created for test purposes only.
In the EC2 dashboard, select the specific instance and go-to actions. In the actions, go to Instance state and stop the instance:
Conclusion
In this article, we explore SQL Server Linux and client tools installation in Amazon EC2 instance for the Red Hat Linux operation system. You should explore this and be familiar with both Amazon cloud infrastructure and SQL Server on Linux.

I am the author of the book "DP-300 Administering Relational Database on Microsoft Azure". I published more than 650 technical articles on MSSQLTips, SQLShack, Quest, CodingSight, and SeveralNines.
I am the creator of one of the biggest free online collections of articles on a single topic, with his 50-part series on SQL Server Always On Availability Groups.
Based on my contribution to the SQL Server community, I have been recognized as the prestigious Best Author of the Year continuously in 2019, 2020, and 2021 (2nd Rank) at SQLShack and the MSSQLTIPS champions award in 2020.
Personal Blog: https://www.dbblogger.com
I am always interested in new challenges so if you need consulting help, reach me at rajendra.gupta16@gmail.com
View all posts by Rajendra Gupta
- Understanding PostgreSQL SUBSTRING function - September 21, 2024
- How to install PostgreSQL on Ubuntu - July 13, 2023
- How to use the CROSSTAB function in PostgreSQL - February 17, 2023