

Until now, we learned to install and configure SQL Server 2019 using the Docker container. In this article, we will directly install SQL Server on the Ubuntu Linux and explore more on this.
SQL Server works on both the windows as well as Linux platform operating systems from SQL Server 2017. In my previous articles, we explored the following topics
- Preparing an Oracle VM virtual machine and install Ubuntu operating system on it
- Installing SQL Server 2019 2.0 on Ubuntu Linux using Docker Container
- Installing various SQL Server tools on the Ubuntu virtual machine and Connect SQL Server from inside and outside the VM machine
Also described in a previous article, we can install SQL Server on Linux directly on Ubuntu OS or we can run it using the Docker container.
Getting started
Launch the Virtual Machine and connect to it using the Putty terminal with the credentials.

Installation
Follow the below steps to install SQL Server 2019 2.1 (latest preview version)
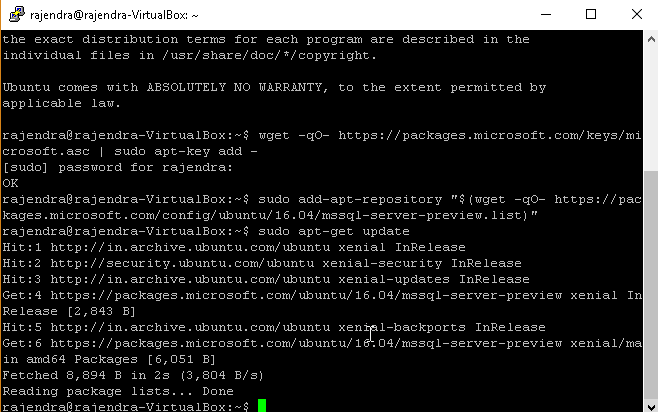
- We need to import the Import the public repository GPG keys:
As per GPG key documentation, “GnuPG allows you to encrypt and sign your data and communications; it features a versatile key management system, along with access modules for all kinds of public key directories. GnuPG, also known as GPG, is a command line tool with features for easy integration with other applications”
-
In this step, we need to register the Microsoft SQL Server Ubuntu repository for SQL Server 2019 preview using the add-apt-repository. We can get web content using the wget command for the URL specified in the below command.
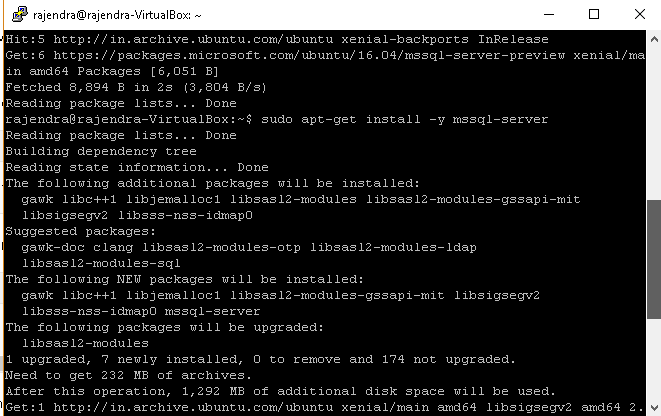
- Now, we are ready to install SQL Server database engine services. Run the below command to start SQL Server 2019 2.1 installation.
wget -qO- https://packages.microsoft.com/keys/microsoft.asc | sudo apt-key add –

sudo add-apt-repository “$(wget -qO- https://packages.microsoft.com/config/ubuntu/16.04/mssql-server-preview.list)”
After the command, update the repository using the below command
sudo apt-get update
sudo apt-get install -y mssql-server
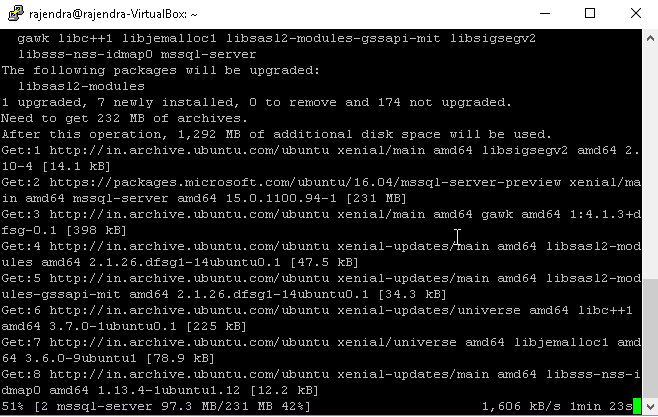
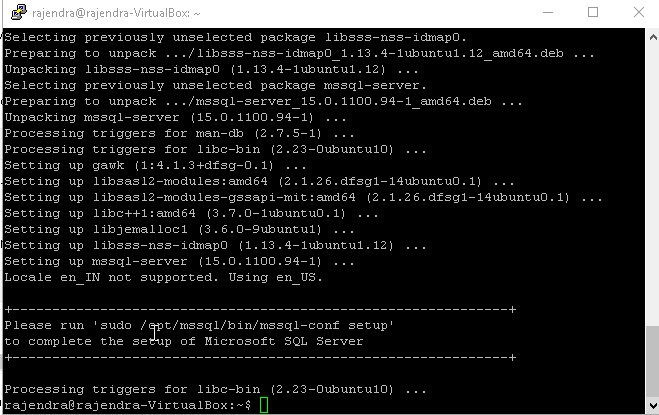
In the screenshot below, you can notice that it installs the dependent package and upgrades a few existing packages. It requires 1,292 MB of additional disk space.
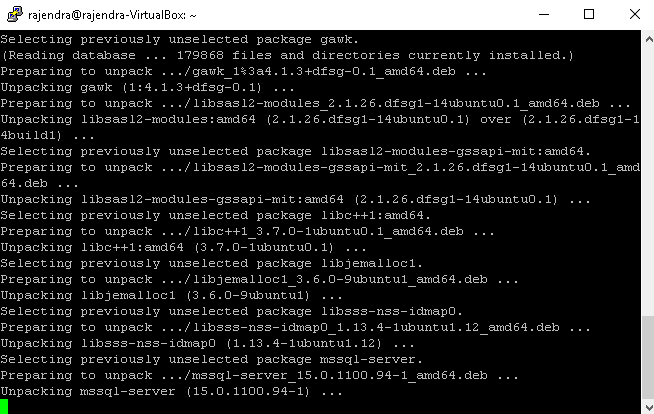
Once dependency is installed, it installs the mssql-server package. You can see details progress message about each component.
At this point, you get the image of SQL Server instance on the Ubuntu. However, in order to use this SQL instance, we need to run ‘sudo /opt/mssql/bin/mssql-conf setup’.
In a windows environment, when we install SQL Server during the installation wizard, we need to specify details such as edition, instance name, license agreement, SA password etc. In a Linux environment, it first installs the base version and then we can configure an instance with the desired configuration.
Configuration
Run the command with administrative permission user
Sudo /opt/mssql/bin/mssql-conf setup’
1. Choose an edition of SQL Server:
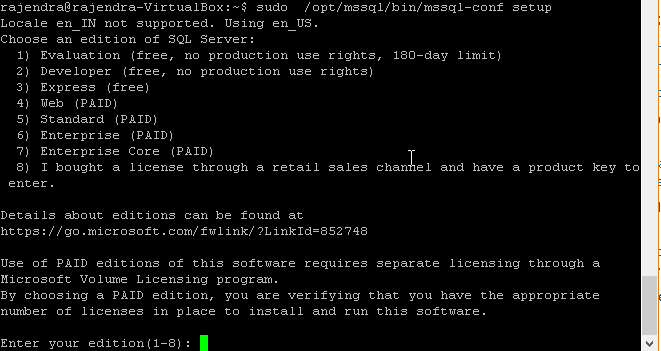
Each edition is listed with a serial number. Enter the edition no (1-8) from the list. In this instance, we will install number 1 -Evaluation (free, no production rights, 180-days limit)
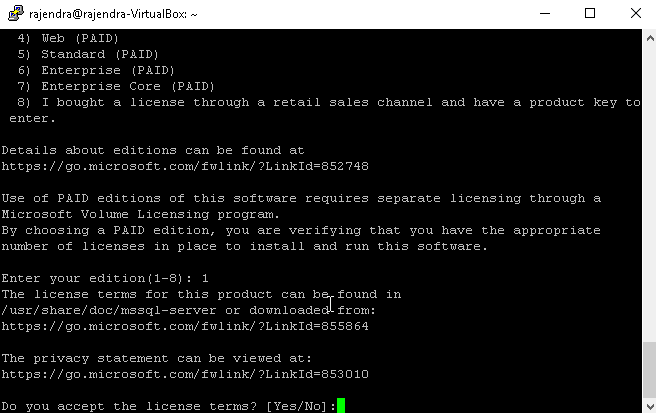
2. Next part is to accept the license terms. Provide the input as Yes or No.
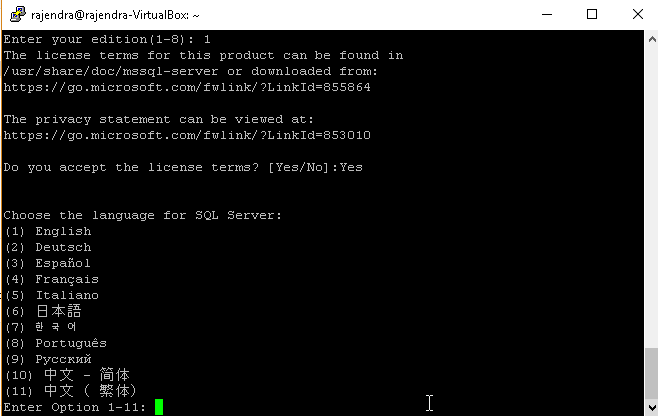
3. Third input required is the language for the SQL Server. Enter option 1-11 from the list shown.
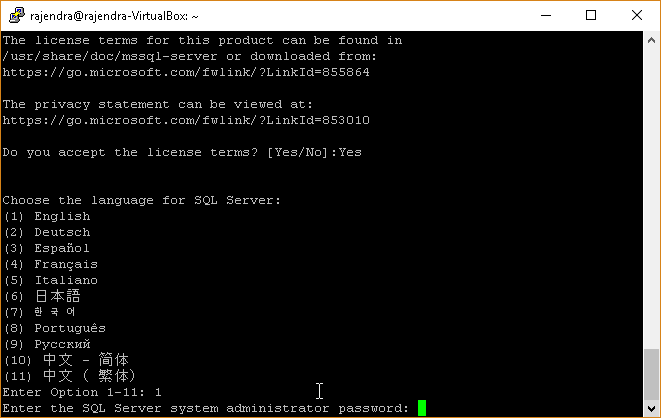
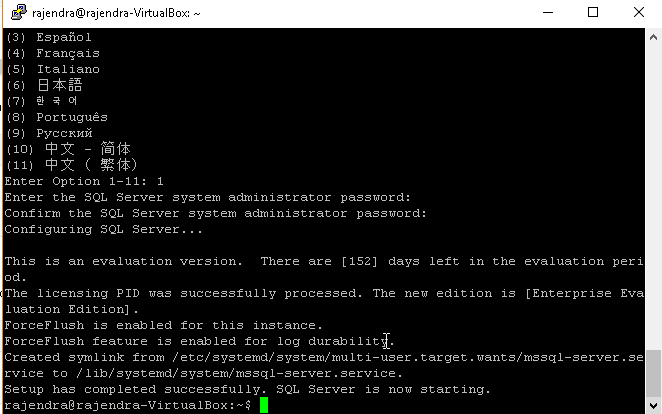
4. Now, we need to specify the system administrator (SA) password. Enter the password again to confirm the password.
Once we have provided all these inputs, we can see the message that ‘ this is an evaluation version. There are (152) days left in the evaluation period. The license PID was successfully processed. ‘
It starts the SQL Server with this configuration and we get the message at the end ‘Set up has completed successfully. SQL Server is now starting’
Restarting and connecting
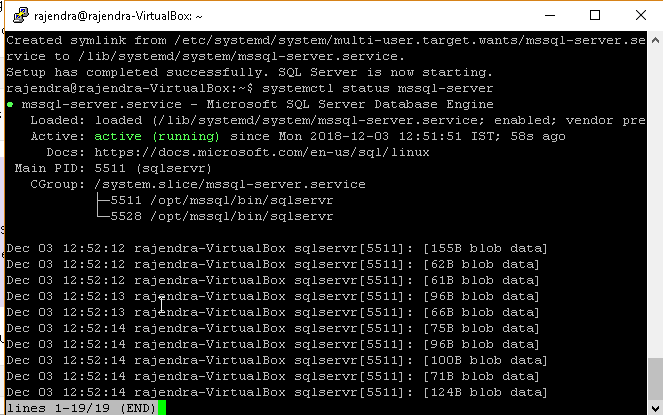
You can check the SQL Service status from the command line using the systemctl command. We can check the status, stop and start SQL Services using the systemctl command.
Systemctl status mssql-server
In the output, you will see the status as ‘active (running) since timestamp’ message.
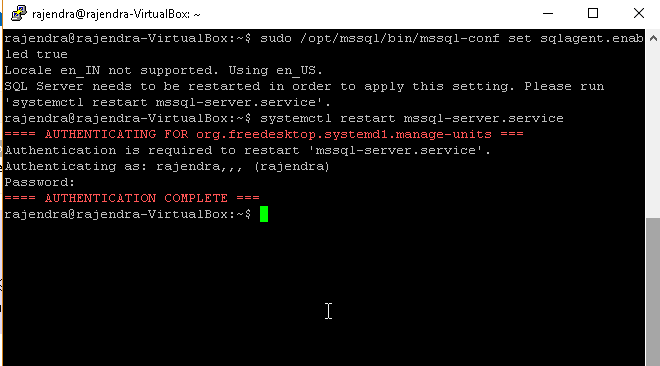
As per Microsoft documentation, you can enable the sqlagent and then restart SQL Server to use it. However, I believe there is some issue in this with the sqlagent. However, you can note down the steps to start sqlagent service.
Sudo /opt/mssql/bin/mssql-conf set sqlagent.enabled.true
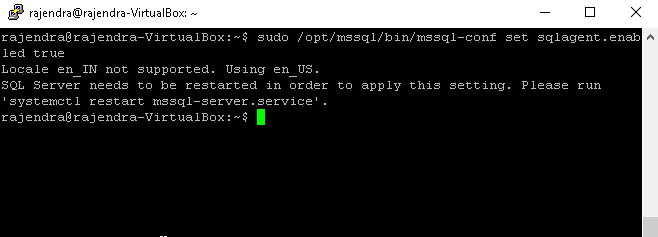
Restart SQL Services using below command
Systemctl restart mssql-server.service
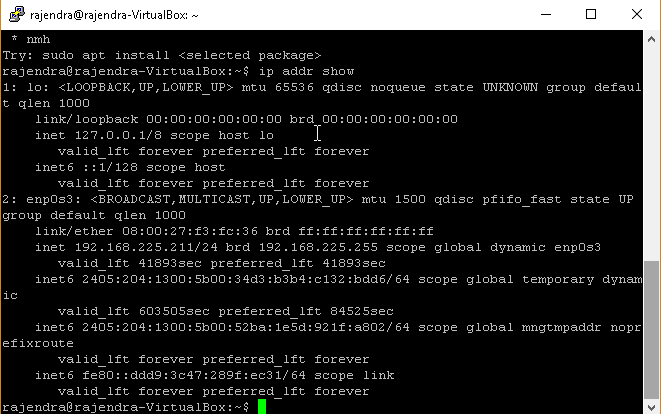
First, check the IP address of the VM using the command
IP addr show
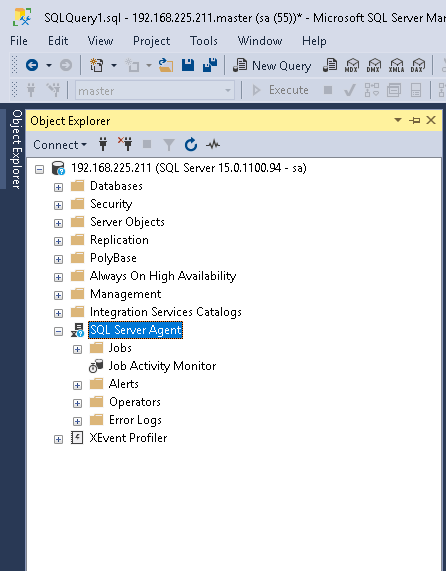
Connect to Ubuntu Linux instance using SQL Server Management Studio 18.0
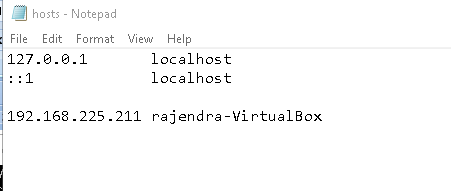
Here, we connected to SQL Server instance using the IP address. If we want to connect to SQL Server using the Virtual Server (hostname), we need to enter the details in the host file. The host file in Windows is available at C:\windows\System32\drivers\etc
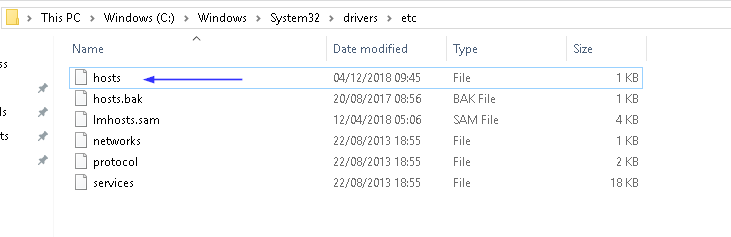
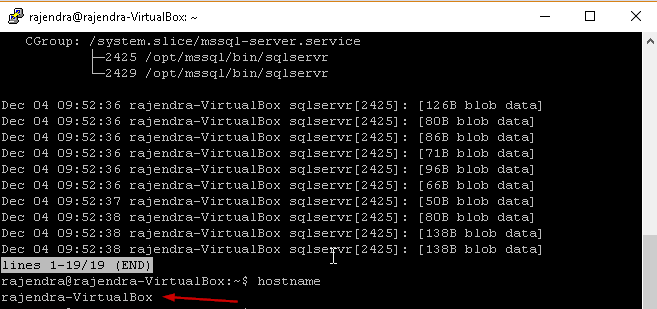
Check the hostname using the command ‘hostname’ in Linux. Our hostname is ‘Rajendra-VirtualBox’
Open the host file with administrative permission and add the details. Save and close the file.
However, I found one issue with my hostname registered in the instance. In the below query, you can see the svrname ‘Rajendra-Virtual’ while my hostname is ‘Rajendra-VirtualBox’

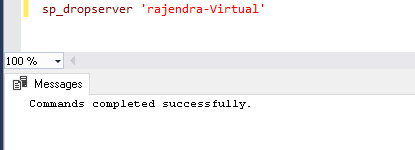
Drop the server name using the command
Sp_dropserver ‘Rajendra-Virtual’
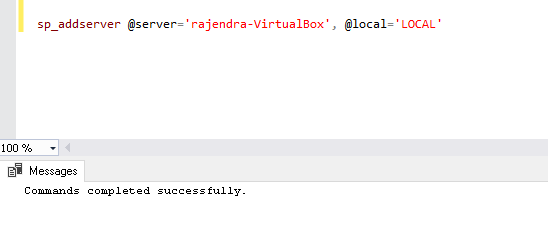
Add the server name using the sp_addserver command
Sp_addserver @server=’rajendra-VirtualBox’,@local=’Local’
Restart SQL Services

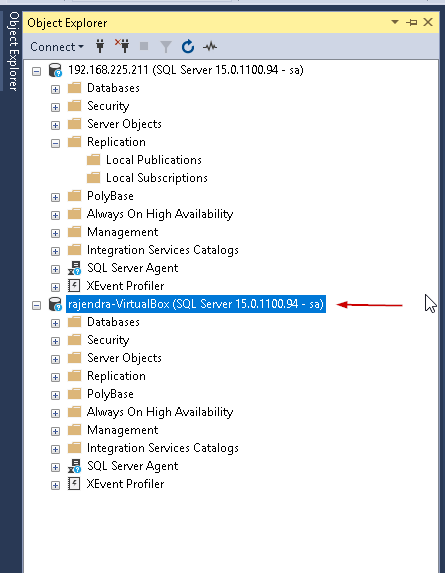
Verify the server name. Now the server name is correctly configured.

You can now connect with both the hostname and IP address.
Restore the WideWorldStore database on Ubuntu Linux instance
In the previous articles, we learned to use the import and export utility to transfer the objects and the data from the windows based SQL instance. In this article, we will restore the database backup onto Ubuntu instance.
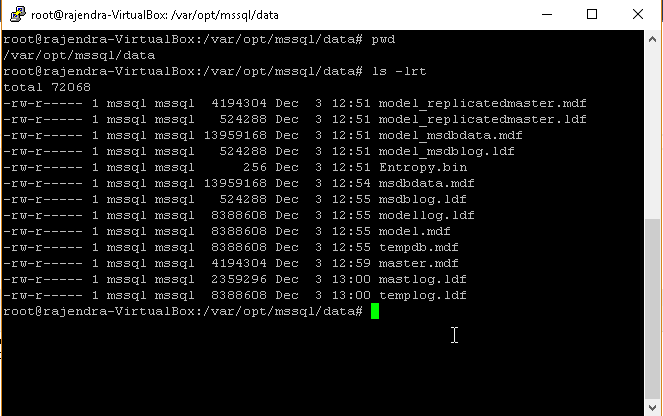
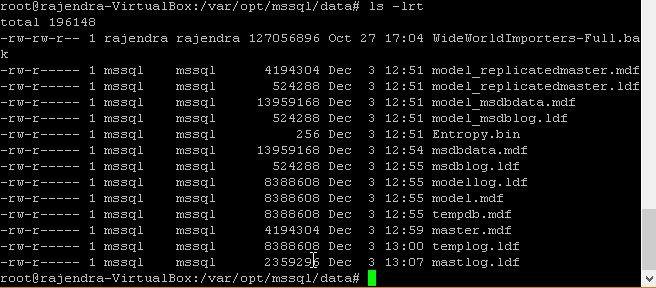
The default directory for the data files and the log files in Ubuntu is /var/opt/mssql/data. We can go to the directory and view the content using the ls -lrt command.
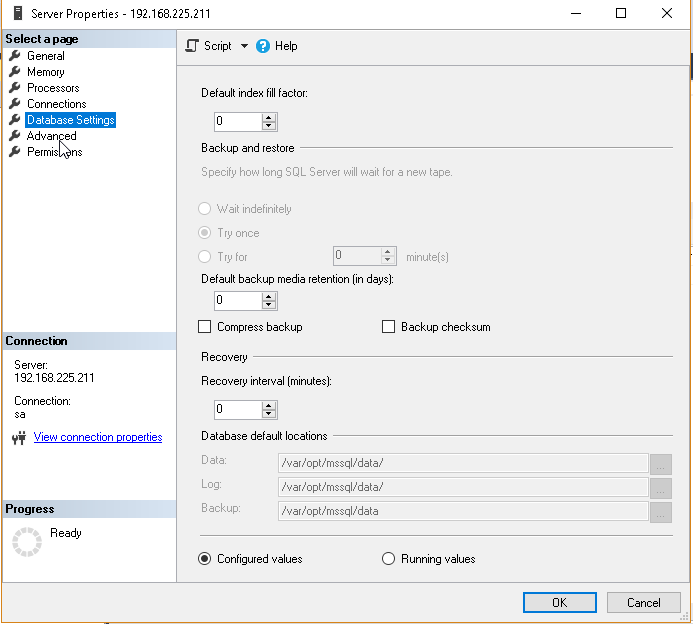
In below screenshot, we can see all system databases files in this directory.
Download WideWorldImporters-Full.bak sample database and transfer it to Ubuntu using the WinSCP.
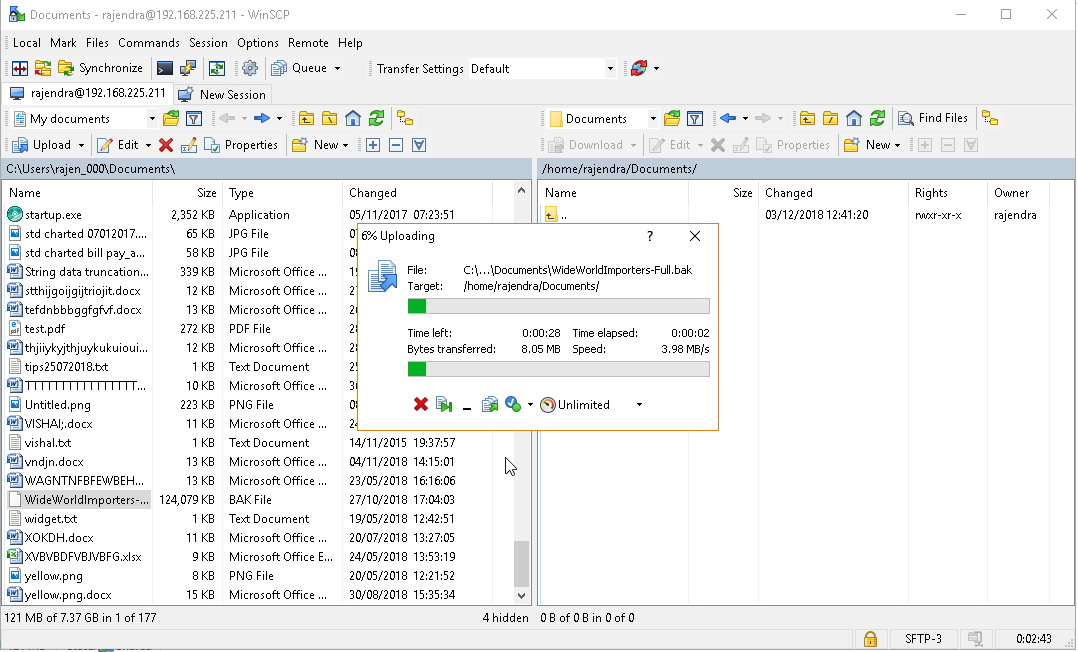
It transfers the file from the windows directory to the Ubuntu directory.
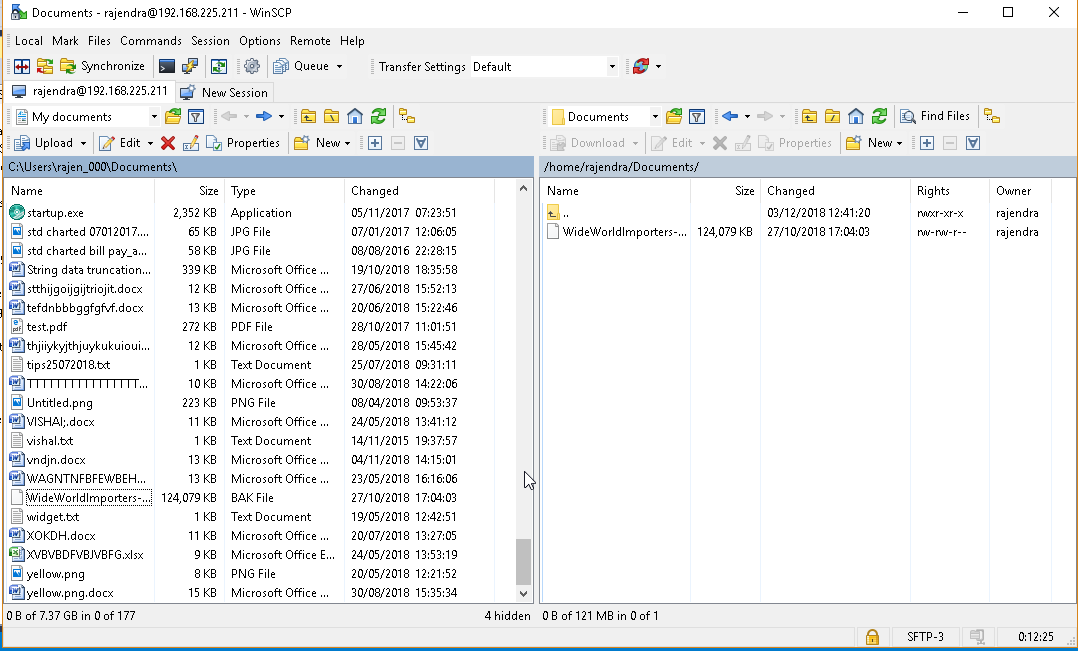
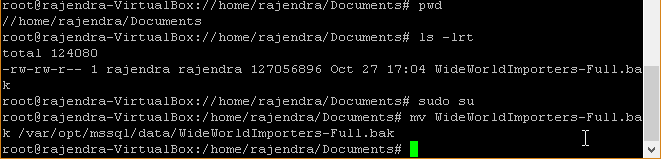
Verify the backup file at Ubuntu directory.

Move this backup file to the SQL directory /var/opt/mssql/data using the administrative permission.
# sudo su
#mv WideWorldImporters-Full.bak /var/opt/mssq/data/ WideWorldImporters-Full.bak
Verify the backup file at the /var/opt/msssql/data
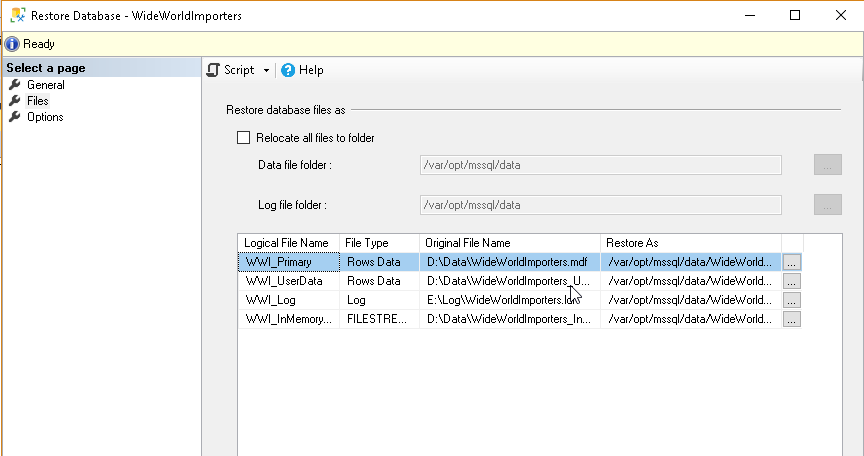
In the SSMS, restore the database with the Restore database wizard.
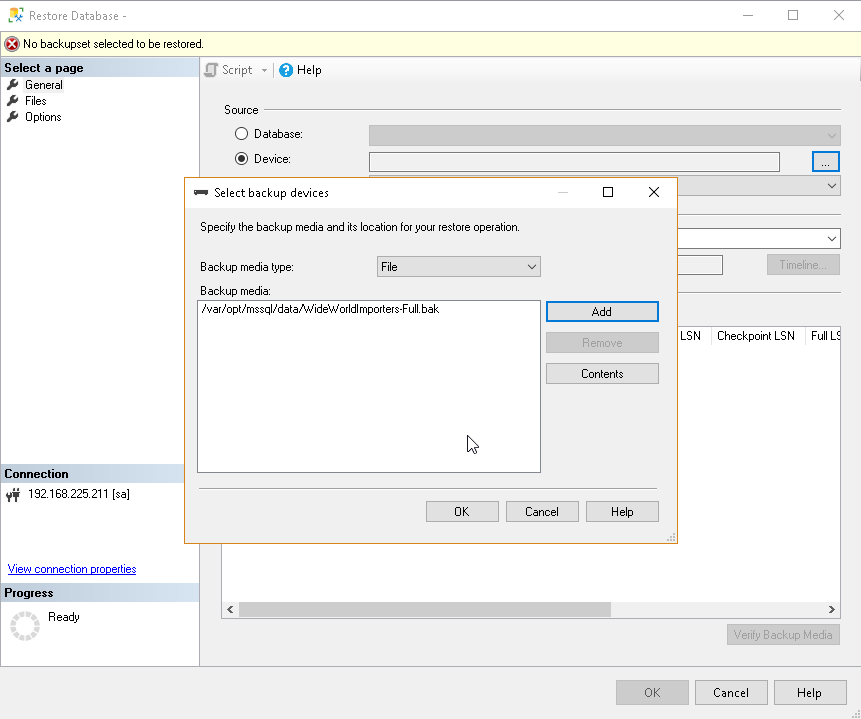
View the restore plan

View the database file location. You can see here that all the database files are moving to /var/opt/mssql/data directory.
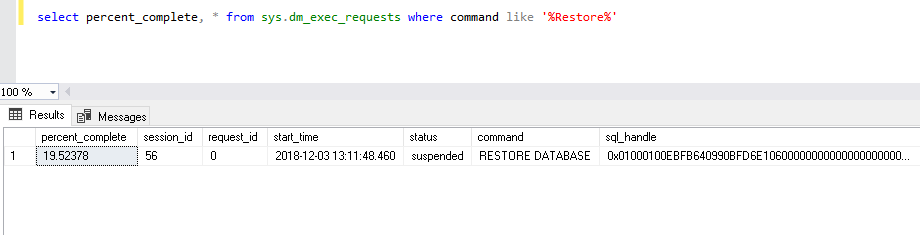
You can track the restore progress as usual way DMV.
Select percent_complete, * from sys.dm_exec_requests where a command like ‘%Restores%’
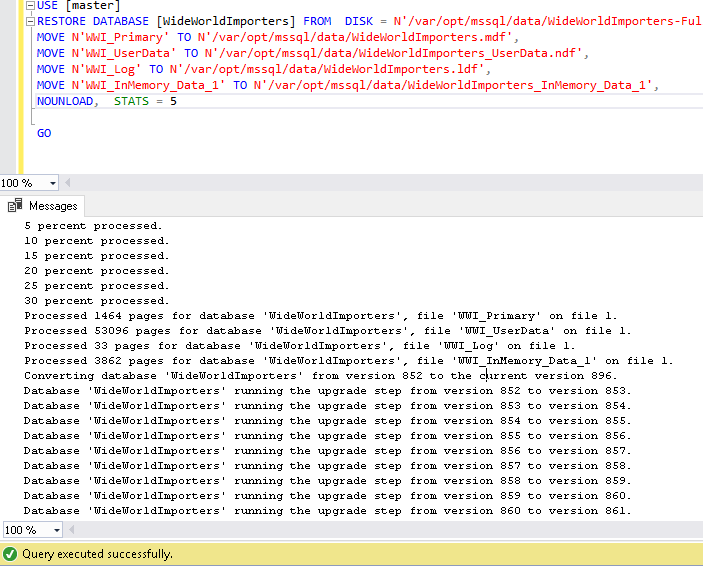
Below script does the restore database wizard generate the script. You can view the detailed restored progress.
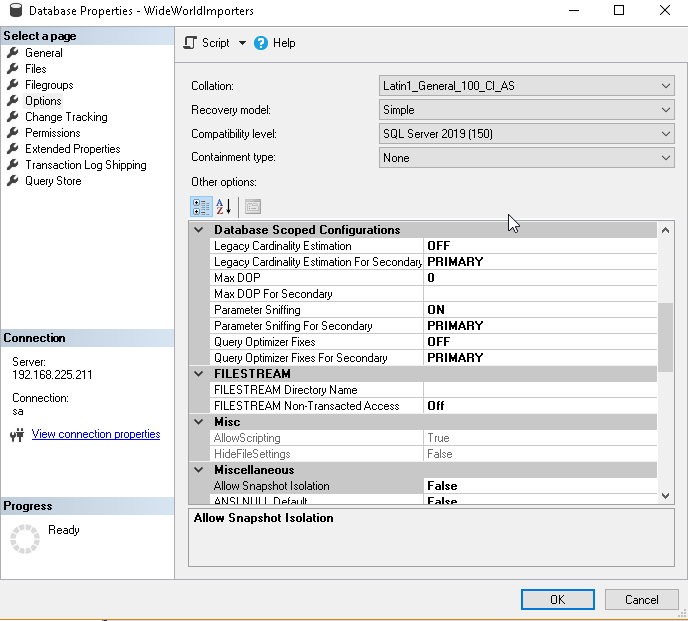
View the DATABASE property in SSMS
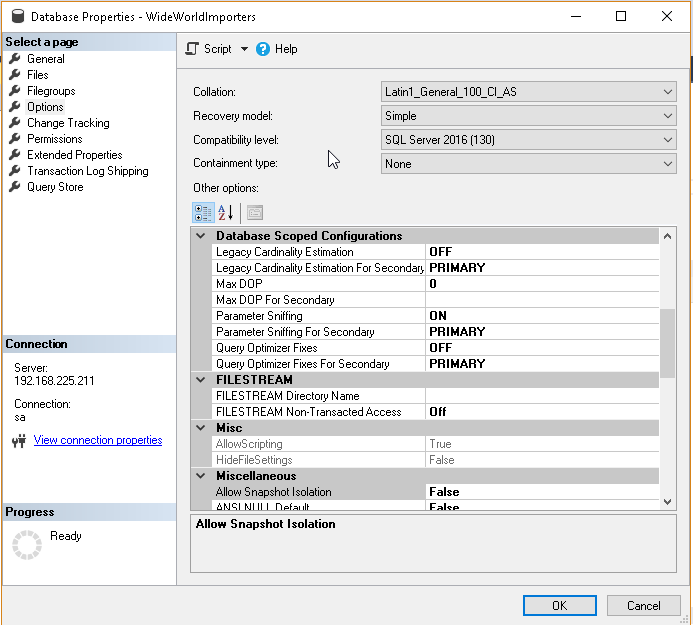
Change the compatibility mode to SQL Server 2019 (150) using below command or from the drop-down options.
|
1 2 3 4 5 6 |
USE [master] GO ALTER DATABASE [WideWorldImporters] SET COMPATIBILITY_LEVEL = 150 GO GO |
Verify the database compatibility level is set to SQL Server 2019 (150)
Conclusion
In this article, we explored a SQL Server 2019 installation on Ubuntu and restored a database on it. We also connected with an IP address and the hostname using SQL Server Management Studio. In the next articles, we will learn further SQL Server on Linux.
Table of contents
| SQL Server 2019 on Linux with Ubuntu and Azure Data Studio |
| SQL Server 2019 on Linux with a Docker container on Ubuntu |
| SQL Server 2019 on Linux with Ubuntu |
| SQL Server 2019 installation on Ubuntu without a Docker Container |
| Renaming Logical and Physical file names in SQL Server on Linux |
| Rename SQL Server instance on Ubuntu Linux |

I am the author of the book "DP-300 Administering Relational Database on Microsoft Azure". I published more than 650 technical articles on MSSQLTips, SQLShack, Quest, CodingSight, and SeveralNines.
I am the creator of one of the biggest free online collections of articles on a single topic, with his 50-part series on SQL Server Always On Availability Groups.
Based on my contribution to the SQL Server community, I have been recognized as the prestigious Best Author of the Year continuously in 2019, 2020, and 2021 (2nd Rank) at SQLShack and the MSSQLTIPS champions award in 2020.
Personal Blog: https://www.dbblogger.com
I am always interested in new challenges so if you need consulting help, reach me at rajendra.gupta16@gmail.com
View all posts by Rajendra Gupta
- Understanding PostgreSQL SUBSTRING function - September 21, 2024
- How to install PostgreSQL on Ubuntu - July 13, 2023
- How to use the CROSSTAB function in PostgreSQL - February 17, 2023