

The last time I wrote an article relating to Team Explorer, I used it to express my unhappiness with Microsoft’s decision to “break from the norm” and not provide us with a standalone installer for Team Explorer 2015. Such a decision affected development teams that uses Team Explorer to store, collaborate and manage SQL Server-related solutions (i.e. T-SQL scripts, SSRS, SSAS, SSIS) into TFS source control. Well, the good news is that it looks like Microsoft has finally heeded the call of bringing back the standalone installer for Team Explorer as Visual Studio 2017 (available from release 26403.00) now contains a standalone Team Explorer 2017 installer.
The bad news is that Team Explorer 2017 standalone installer is no longer provided in a form of an ISO file instead you get a bootstrapper application file that does an online installation. The problem with such an installation approach is that, as per Scott Hanselman’s recent experiences of poor speed of internet connection in my country, online installation is not always the viable option for developers located in places with moderate speeds of internet connection. In such cases it is better to make an offline installation file of Team Explorer 2017 and share it across the team. In this article we take a look at various methods of installing Team Explorer 2017 as well as explore the features of Team Explorer 2017 particularly comparing it against its predecessor, Team Explorer 2015.
Installing Team Explorer 2017
- Online installer
If you have a reliable internet connection than online installation of Team Explorer 2017 would be feasible for you. All you need to do is:
- Download the Visual Studio Team Explorer 2017 bootstrapper setup file here
- Run the bootstrapper file
-
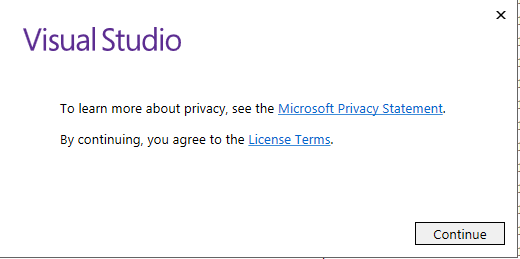
Agree to the License terms by clicking the Continue button shown in Figure 1

Figure 1: License Terms - You will then be redirected to a Visual Studio installation Center dialog box. Navigate to the Visual Studio Team Explorer 2017 product, and click Install
-
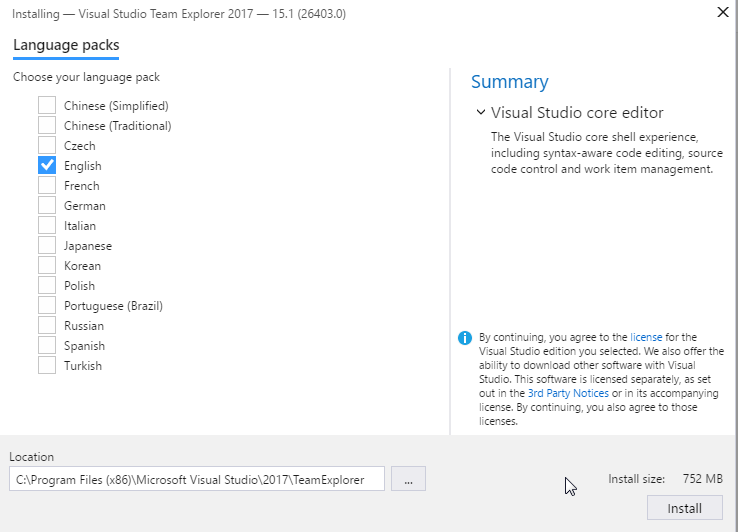
Choose your preferred language pack as shown in Figure 2
Figure 2: Visual Studio Team Explorer 2017 Language Packs - Click install
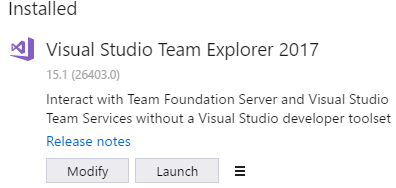
Once the installation completes, you will be given the option to Modify or Launch Visual Studio Team Explorer 2017 as shown in Figure 3.
Figure 3: Visual Studio Team Explorer 2017 installation completed - Offline installer
Earlier, I alluded to poor speeds of internet connection that could motivate one to setup an offline installer for Team Explorer 2017, well even people with super internet connection speeds have issues too, especially when you are running the bootstrapper file in an environment (i.e. workplace connection) that requires you to access the internet via a proxy server (see Figure 4 for one of the comments taken from Visual Studio website).
Figure 4: User comment from here Thus, the aforementioned issues suggest a need for an offline installer. Below is a list of steps for setting up an offline installer for Team Explorer 2017:
-
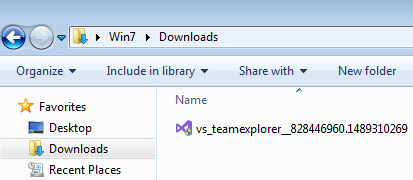
Similarly to the online installation of Team Explorer 2017, the first thing to do when creating an offline installer is to download the Visual Studio Team Explorer 2017 bootstrapper setup file. In my case I downloaded the file and stored it under the Downloads folder as shown in Figure 5.
Figure 5: Visual Studio Team Explorer 2017 bootstrapper setup file - Create a folder that will be used to store Team Explorer 2017 application files i.e. set folder name to vs2017_teamexplorer_offline
-
Open command prompt and run the cd command to switch to the directory that has the bootstrapper file that you downloaded earlier
Figure 6: Switch directory windows command -
The next step involves the actual downloading of files from Microsoft into the folder you created in Step B. This is done using windows command prompts as shown in Figure 7
Figure 7 As soon you press the Enter key to run the command in Step D, a download progress window will come up as shown in Figure 8.
Figure 8 As the files are being downloaded another command prompt will come up which contain additional information relating to what is being downloaded as shown in Figure 9. This additional command prompt will automatically close itself as soon as the required files are downloaded.
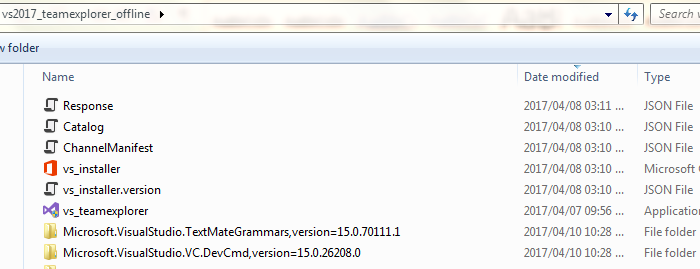
Figure 9 Now going back to the folder you created in Step B, you should see a list of files that were downloaded (about 222 files and folders) as shown in Figure 10.
Figure 10 The next set of steps involves doing the actual offline installation of Team Explorer 2017:
-
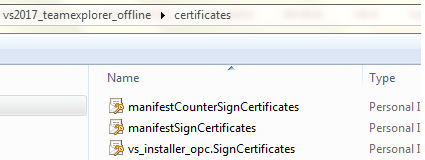
The first step towards successful installation of Team Explorer 2017 is to install certificates. You will find 3 certificates inside a certificates sub-folder of your offline installer folder as shown in Figure 11.
Figure 11: Certificates folder -
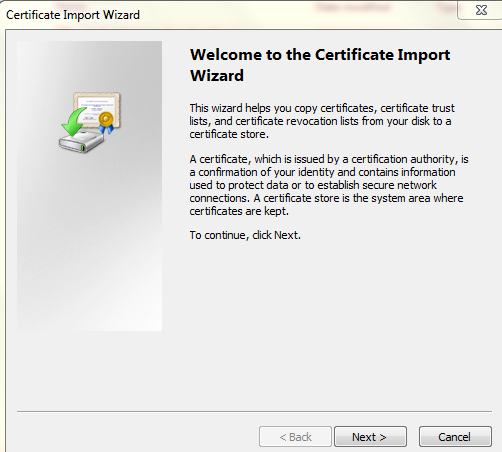
Double click each certificate to install certificates. As you install certificates, a Certificate Import Wizard like the one shown in Figure 12 will come up, simply click the Next button all the way till you get to the Finish button
Figure 12: Certificate Import Wizard -
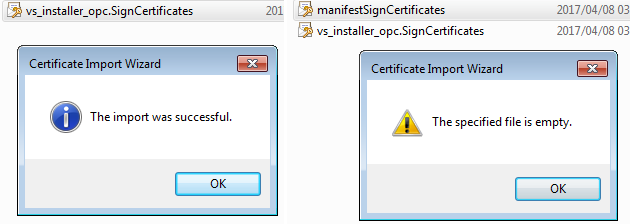
After clicking the Finish button, you are either going to receive The import was successful or The specified file is empty messages as shown in Figure 13. Either way click the OK button – please note that out of the 3 certificate files, you should receive at least 1 successful import message.
Figure 13 Now that we have installed the certificates, we can proceed to installing Team Explorer 2017. We do this by running the vs_teamexplorer.exe file in the offline installer folder using command prompt.
-
Switch directory to the folder containing the offline installer files as shown in Figure 14
Figure 14 -
Execute the vs_teamexplorer.exe file using command prompt as shown in Figure 15
Figure 15 The rest of the offline installation steps of Team Explorer 2017 are similar to Steps C – F under the Online Installer section covered earlier in this article.
-
Similarly to the online installation of Team Explorer 2017, the first thing to do when creating an offline installer is to download the Visual Studio Team Explorer 2017 bootstrapper setup file. In my case I downloaded the file and stored it under the Downloads folder as shown in Figure 5.
- Download a copy of my offline Team Explorer 2017 standalone installer
Another option is to skip through the steps of downloading Team Explorer 2017 applications files and simply get a copy of mine here. Once you have successfully downloaded my copy, you can follow the Steps E – I in the Offline Installer section of this article.


Exploring Team Explorer 2017
- Hosted Service Providers Name Changes
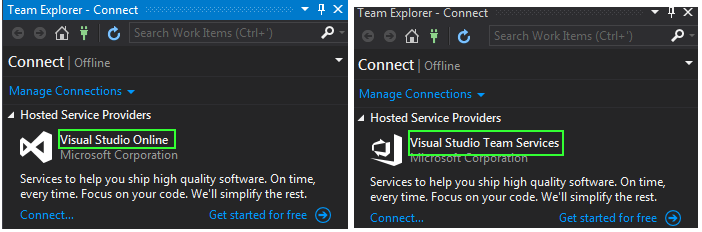
If you have been using the cloud-based version of TFS for as long as I have, you will be aware that it has undergone several name changes from being initially called Team Foundation Service to Visual Studio Online and recently to Visual Studio Team Services. Consequently, every release of Team Explorer reflected these name changes as shown in Figure 16 wherein Team Explorer 2017 (right side of the screenshot) refers to the hosted service provider as Visual Studio Team Services instead of Visual Studio Online.
Figure 16 - Showing Hosted Repositories
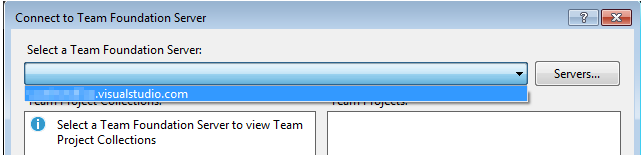
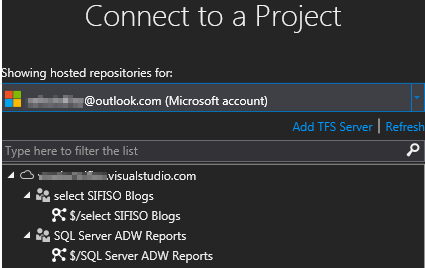
Team Explorer 2017 has replaced the Connect to Team Foundation Server dialog box (shown in Figure 17) with a more interactive and intuitive Connect to a Project dialog box shown in Figure 18.
Figure 17: Connect to Team Foundation Server dialog box
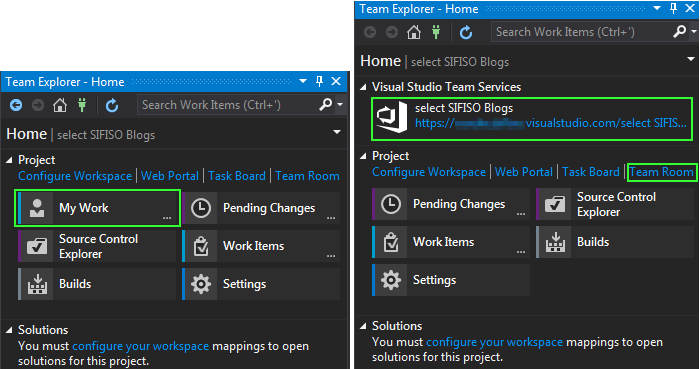
Figure 18: Connect to a Project dialog box - Changes to Team Explorer – Home
One noticeable change in the main window of Team Explorer 2017 is the inclusion of the Visual Studio Team Services section that lists the name of the project you are connected to as well as the URL link of that project.
Figure 19: Team Explorer – Home Another somewhat unfavourable change in Team Explorer 2017 is the removal of My Work widget. The rest of the Team Explorer 2017 widgets are similar to what we had in Team Explorer 2015 (i.e. Pending Changes, Source Control Explorer, Builds etc.). Finally, the link to Team Room is still provided in Team Explorer 2017 even though it will be deprecated later this year.
Conclusion
In a perfect world, the Team Explorer 2017 standalone installer would be a readily downloadable ISO file but this is not a perfect world so we have to work with what we have – i.e. the bootstrapper setup file. This is still better than the alternatives we had in Team Explorer 2015 – which was to install Visual Studio Community edition just to have access to Team Explorer.

Sifiso's LinkedIn profile
View all posts by Sifiso W. Ndlovu