
Introduction
In previous articles, we saw how to connect with ODBC to SQL Server using the ODBC Data Source Administrator in Windows. This time, we will connect to Azure and export the data from one table in Azure to SQL Server on-premises using SSIS.
Requirements
- First, you will need an Azure Account.
- Secondly, you will need an Azure SQL database created in Azure. For more information about this topic, refer to the below article:
- SSDT installed and VS Installed AND SQL Server Integration Services were selected.
- SQL Server on-premises installed.
Topics
In this article we will talk about the following topics:
- Azure SQL Server, Database and credentials, firewall, and how to create a table with data in Azure.
- How to connect to Azure SQL using the ODBC Data Source Administrator.
- Use the connection to export data from a table in Azure SQL into SQL on-premises.
Azure SQL Server, Database, and credentials and how to create a table with data
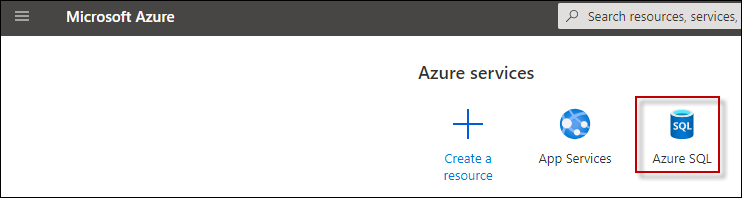
If you accomplished the requirements, you already have an Azure SQL Database. In Azure go to the Azure SQL Section.
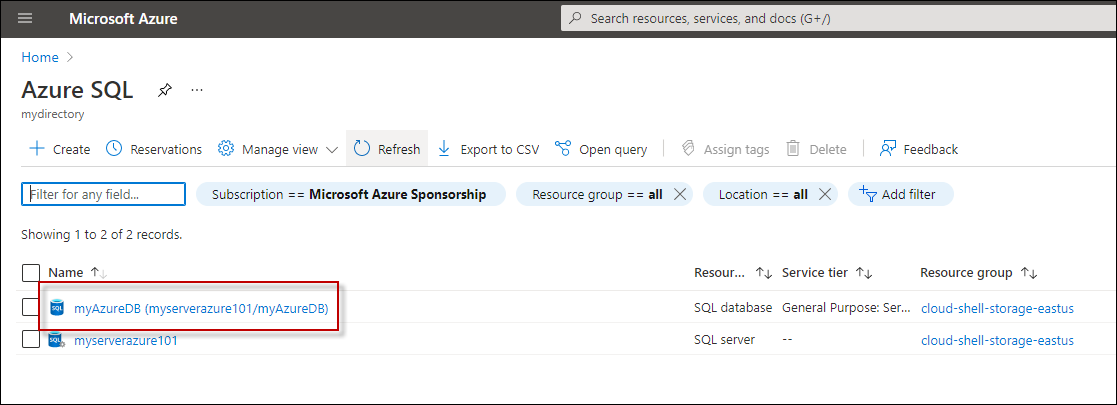
In this example, the Azure server name is myAzure101 and the database name is myAzureDB. Click on it.
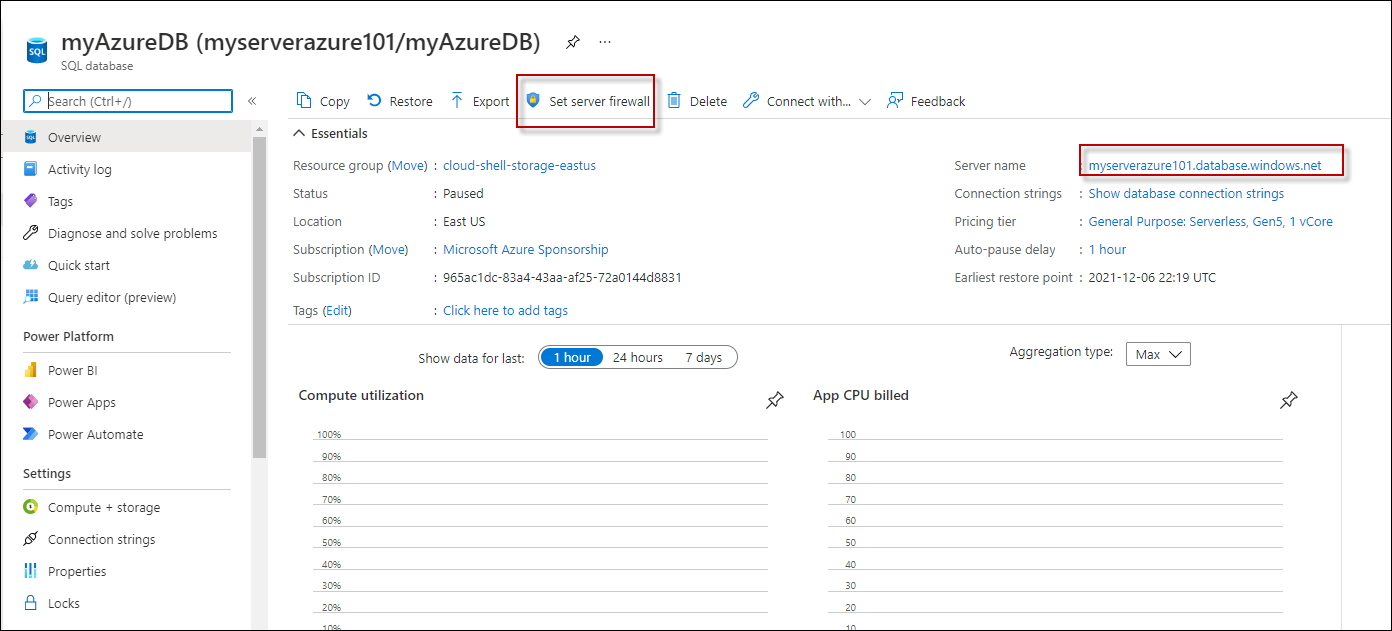
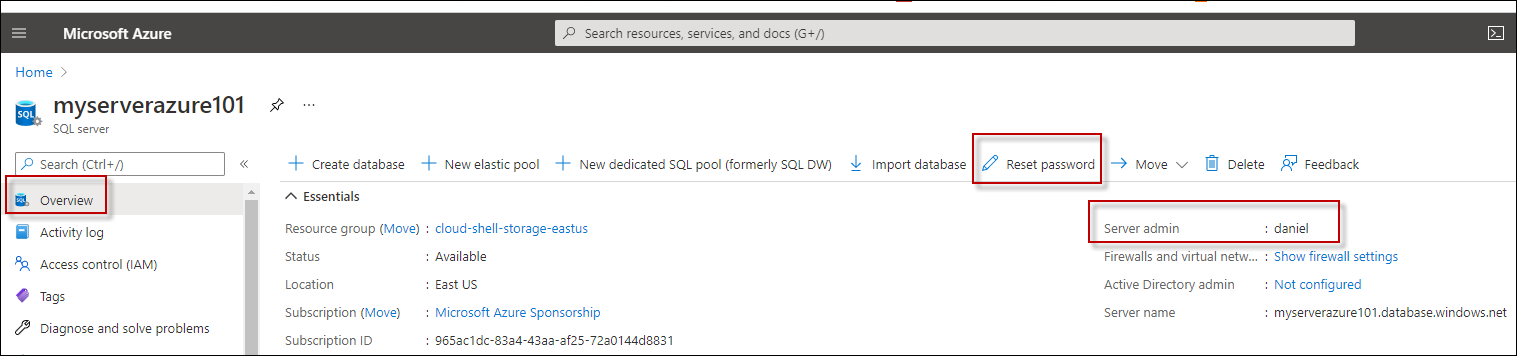
Note that the complete name for the server is myserverazure101.database.windows.net. The full name is very important later to create the connection.
Press the set server firewall in the database. This option will allow you to add your current local machine to have access to the Azure SQL Database. If the firewall does not allow your client IP, the connection will be blocked.
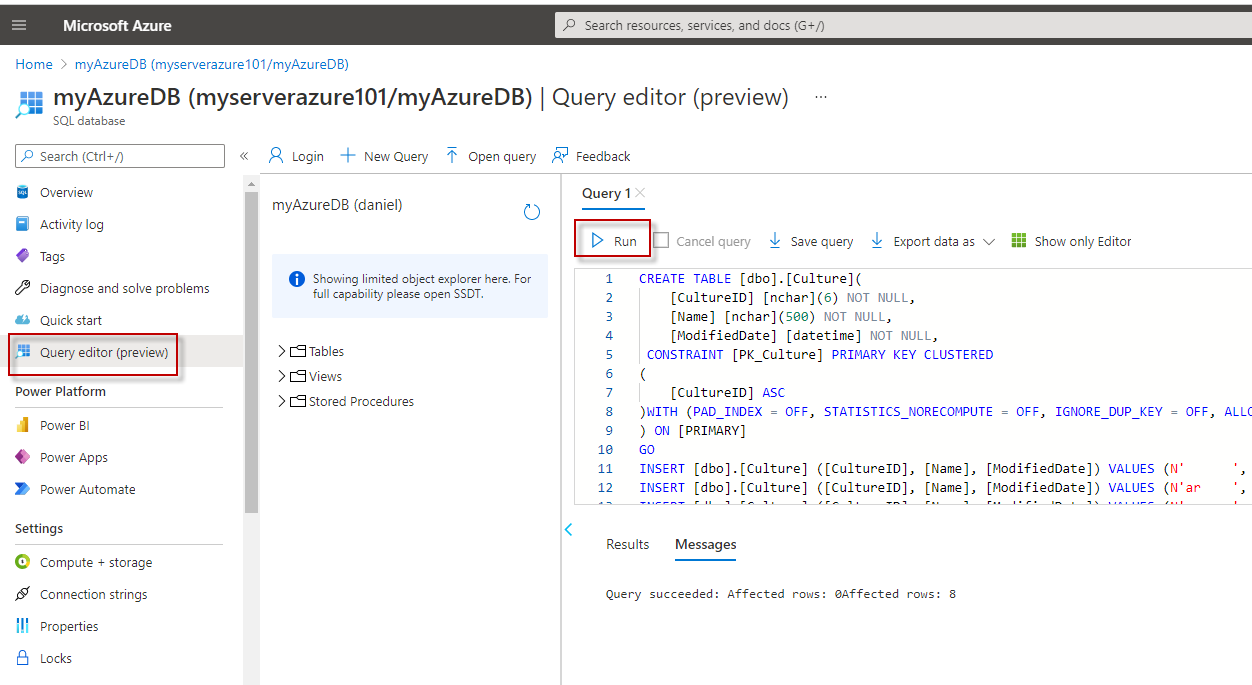
To create a table with data (if you do have it), you can use the Query editor, connect and run the following query to create a table named dbo.Culture and insert some data.
|
1 2 3 4 5 6 7 8 9 10 11 12 13 14 15 16 17 18 19 20 21 22 23 24 25 26 27 28 29 |
CREATE TABLE [dbo].[Culture]( [CultureID] [nchar](6) NOT NULL, [Name] [nchar](500) NOT NULL, [ModifiedDate] [datetime] NOT NULL, CONSTRAINT [PK_Culture] PRIMARY KEY CLUSTERED ( [CultureID] ASC )WITH (PAD_INDEX = OFF, STATISTICS_NORECOMPUTE = OFF, IGNORE_DUP_KEY = OFF, ALLOW_ROW_LOCKS = ON, ALLOW_PAGE_LOCKS = ON, OPTIMIZE_FOR_SEQUENTIAL_KEY = OFF) ON [PRIMARY] ) ON [PRIMARY] GO INSERT [dbo].[Culture] ([CultureID], [Name], [ModifiedDate]) VALUES (N' ', N'Invariant Language (Invariant Country) ', CAST(N'2008-04-30T00:00:00.000' AS DateTime)) INSERT [dbo].[Culture] ([CultureID], [Name], [ModifiedDate]) VALUES (N'ar ',N'Arabic ', CAST(N'2008-04-30T00:00:00.000' AS DateTime)) INSERT [dbo].[Culture] ([CultureID], [Name], [ModifiedDate]) VALUES (N'en ',N'English ', CAST(N'2008-04-30T00:00:00.000' AS DateTime)) INSERT [dbo].[Culture] ([CultureID], [Name], [ModifiedDate]) VALUES (N'es ',N'Spanish ', CAST(N'2008-04-30T00:00:00.000' AS DateTime)) INSERT [dbo].[Culture] ([CultureID], [Name], [ModifiedDate]) VALUES (N'fr ',N'French ', CAST(N'2008-04-30T00:00:00.000' AS DateTime)) INSERT [dbo].[Culture] ([CultureID], [Name], [ModifiedDate]) VALUES (N'he ',N'Hebrew ', CAST(N'2008-04-30T00:00:00.000' AS DateTime)) INSERT [dbo].[Culture] ([CultureID], [Name], [ModifiedDate]) VALUES (N'th ',N'Thai ', CAST(N'2008-04-30T00:00:00.000' AS DateTime)) INSERT [dbo].[Culture] ([CultureID], [Name], [ModifiedDate]) VALUES (N'zh-cht',N'Chinese ', CAST(N'2008-04-30T00:00:00.000' AS DateTime)) GO |
If you go to the Azure SQL Server, to the Overview, you can see the login. In this example the administrator’s name is daniel. You can optionally reset the password here.
OK, it is time to return to our Windows on-premises machine and start doing our ODBC connection.
How to connect to Azure SQL using the ODBC Data Source Administrator
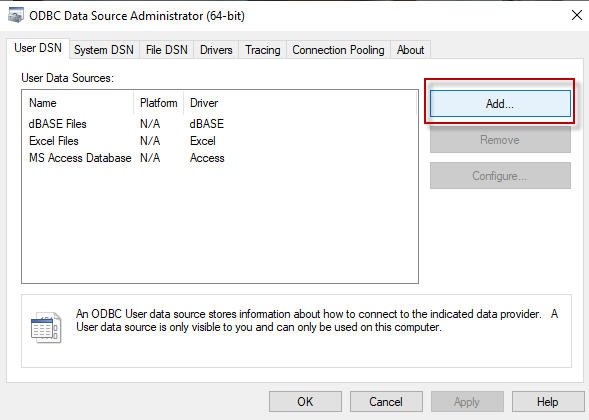
You can use Windows Search to open the ODBC Data Sources and open it.

In the ODBC Data Source Administration, we will press the Add button to add an Azure SQL ODBC connection.
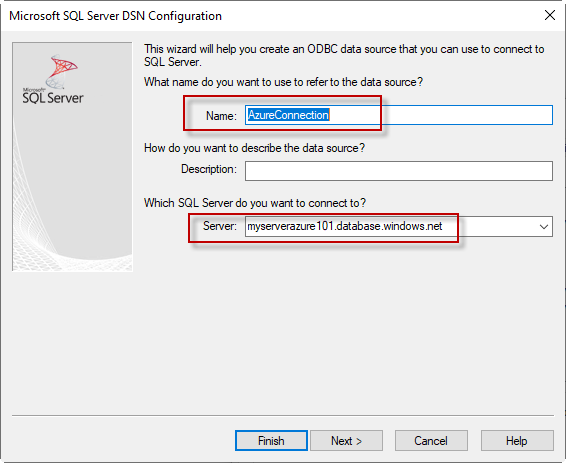
You can use any name for the data source. Just remember the name to use it later in SSIS. The description is optional, but it is a good practice to have a good description. Especially if you have a lot of connection and you don’t usually remember what the connection do.
The SQL Server is the Azure SQL Server name that we mentioned previously in the Azure section.
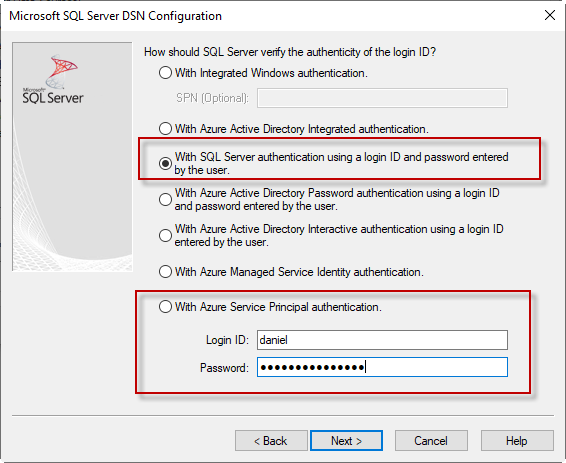
This is the most important part of the ODBC for Azure. There are several options that an On-premises guy is not familiar with.
You can connect using Azure Active Directory Integrated authentication. That means that the connection will detect your Azure Active Directory account. For more information about Azure Active Directory accounts, refer to the following link:
The other option is With SQL Server authentication using a login ID and password entered by the user. This is the easiest way and the way we will do it. Unfortunately, it is unsafe to do this way. The safest way is to do it using AD. However, for educational purposes and to avoid a very extensive article, we will use that option. As you can see, we are using the daniel login which is an administrator in the Azure SQL Server in the Portal
You can also enter the Azure Active Directory credentials or use an Azure Managed Service Identity authentication. This option allows authenticating without using the credential.
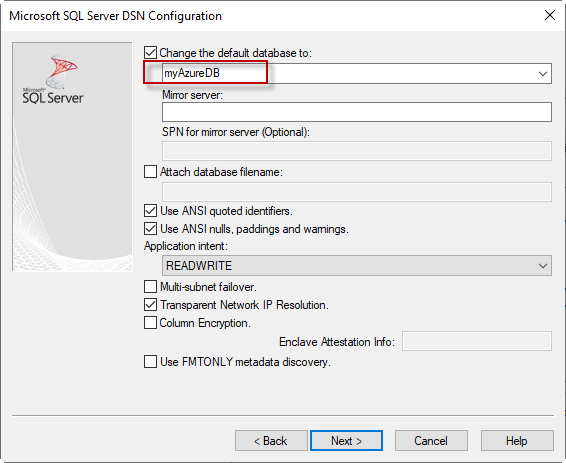
If the connection is working, you will be able to check the default database and select the myAzureDB database from the portal.
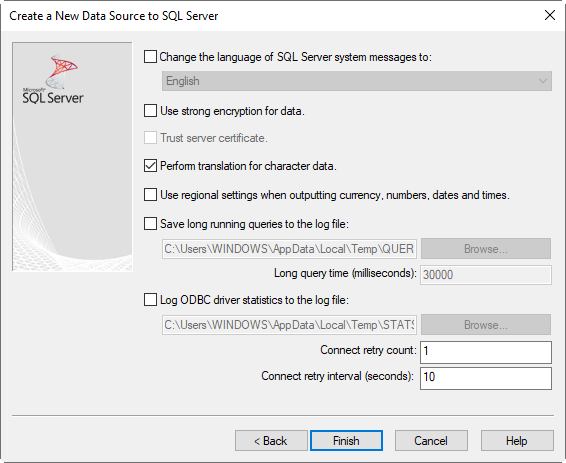
You can keep the default values in the following step wizard and Finish.
Use the connection to export data from a table in Azure SQL into SQL on-premises
We will need to open an SSIS Project for this section. If you did not complete the requirements, follow this tutorial to install the SSDT tools with SQL Server Integration Services and create an SSIS Project. We have a table named dbo.Culture created in the Portal and an ODBC Connection was created. We will export the table from Azure to SQL Server.
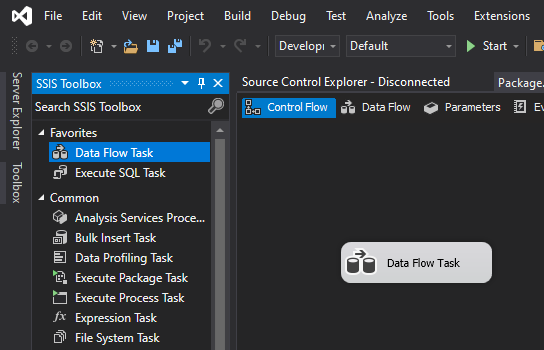
In the SSIS Project, double-click the Data Flow Task to create a new task.
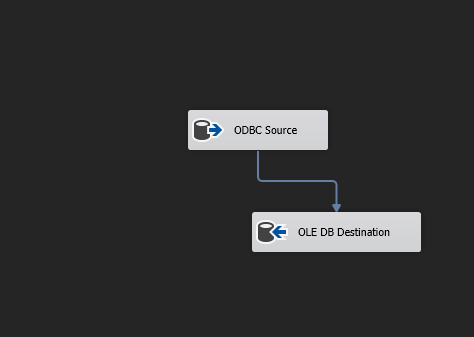
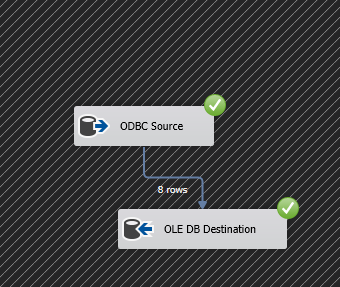
Double-click the Data Flow Task just created and drag and drop the ODBC Source and the OLE DB Destination.
We will use the ODBC Source to Connect to Azure and the OLE DB Destination to create a connection to SQL Server on-premises and import data from the Azure SQL table.
Double click the ODBC Source Task and in the task press the New button.
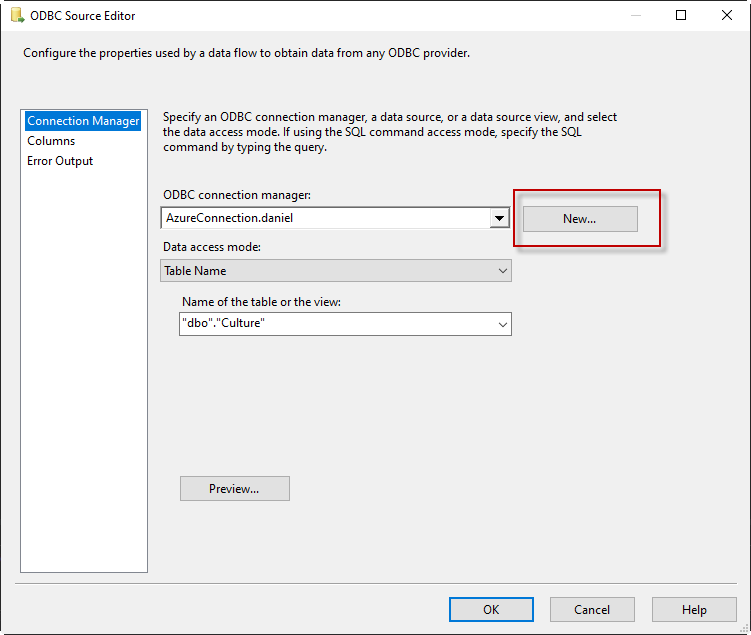
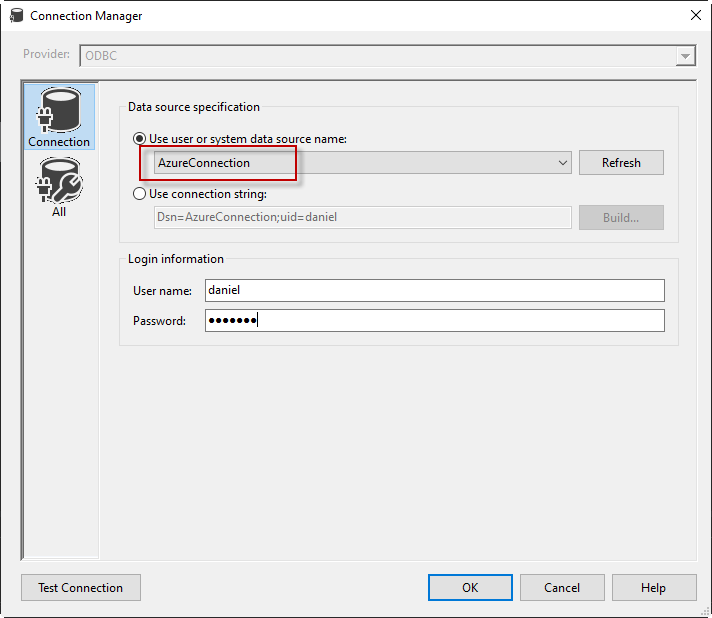
Select the AzureConnection. This is the name of the ODBC Connection created on the Wizard when we created the ODBC Connection to Azure. If necessary, include the Login information from Azure.
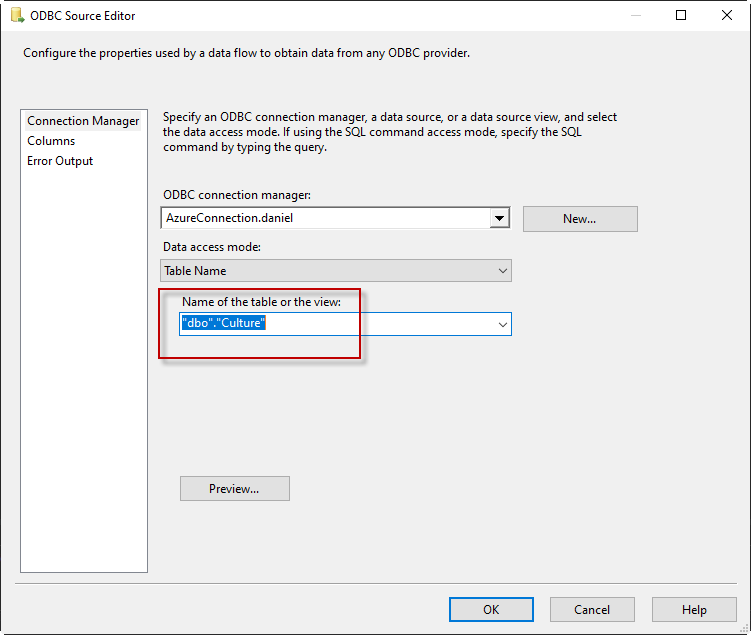
Select the culture table from Azure. We created this table in the portal. If you have a different table in your portal use the table of your preference.
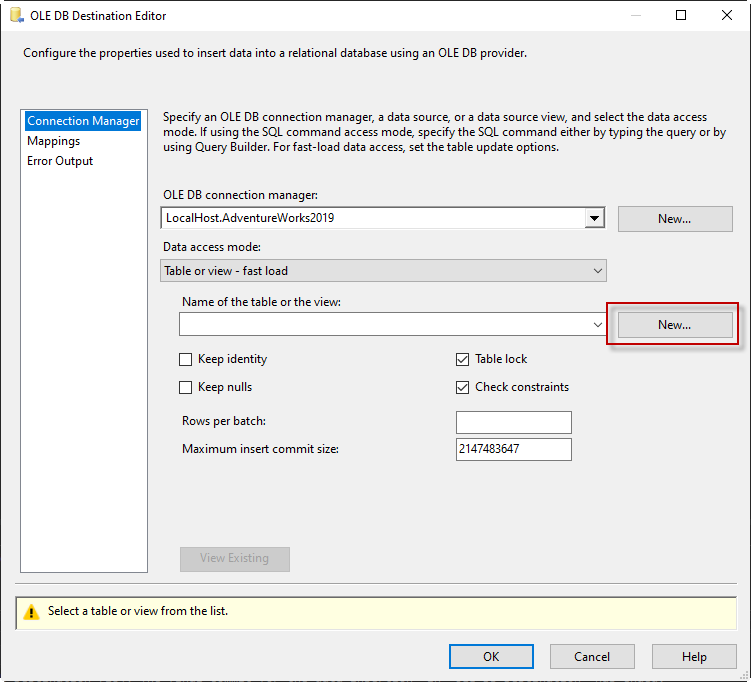
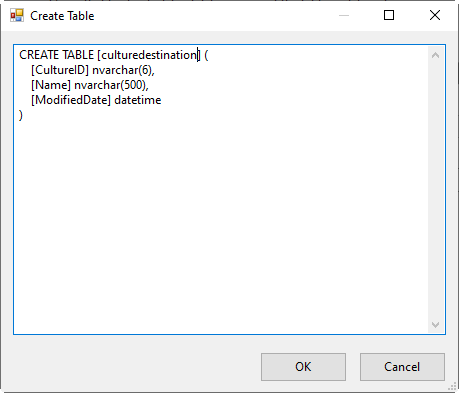
Double click on the OLE DB Destination if you do not have a connection created. You will need to select a connection in your local SQL Server. In this example, we are using the Adventureworks on-premises database, but you can use any database to import the table from Azure. Once the connection is set. Press the New button to create a destination table.
Modify the table name and the data types according to your preferences. These are the T-SQL statements to create the destination table.
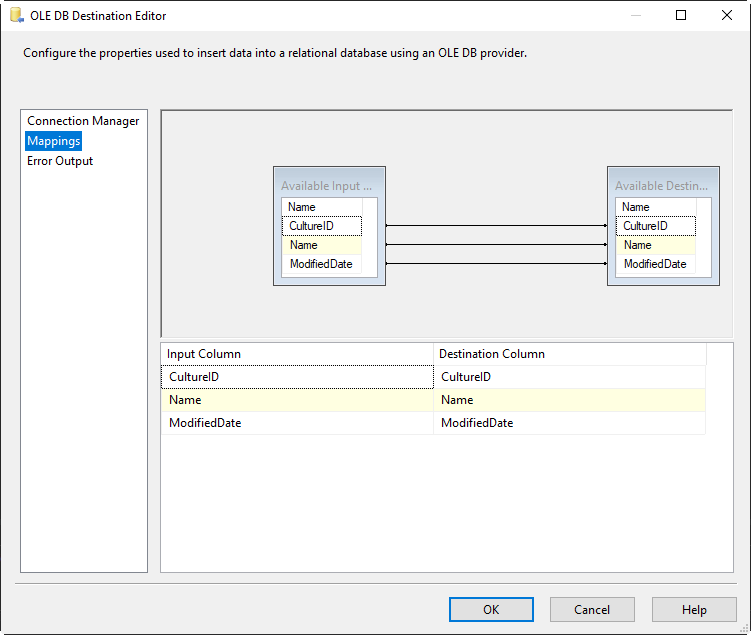
Go to the Mappings tab to map the columns from source to destination. In this example, the default values are fine.
Finally, run the package to export the data to SQL on-premises.
Conclusion
In this article, we set the firewall in our Azure SQL database to create a connection to it. We also created an Azure SQL table and then created an ODBC connection in Windows to our Azure SQL database. Finally, we exported the Azure SQL table to SQL Server on-premises.

He has worked for the government, oil companies, web sites, magazines and universities around the world. Daniel also regularly speaks at SQL Servers conferences and blogs. He writes SQL Server training materials for certification exams.
He also helps with translating SQLShack articles to Spanish
View all posts by Daniel Calbimonte
- PostgreSQL tutorial to create a user - November 12, 2023
- PostgreSQL Tutorial for beginners - April 6, 2023
- PSQL stored procedures overview and examples - February 14, 2023