
In this article, I am going to demonstrate how to connect to databases using a pandas dataframe object. Pandas in Python uses a module known as SQLAlchemy to connect to various databases and perform database operations. In the previous article in this series “Learn Pandas in Python”, I have explained how to get up and running with the dataframe object in pandas. Using the dataframe object, you can easily start working with your structured datasets in a similar way that of relational tables. I would suggest you have a look at that article in case you are new to pandas and want to learn more about the dataframe object.
A brief about SQLAlchemy
To talk about the SQLAlchemy in brief, it can be referred to as an ORM (Object Relationship Mapping), too, which is written in Python to work with databases. It helps programmers and application developers have full control flexibility over the SQL tools. Often, while developing applications in any programming language, we come across the need to store and read data from the databases. This module provides a pythonic way to create and represent relational databases from within the Python projects. An advantage of working with such a module is that you do not need to remember the syntactical differences of the various databases around. The module does all the heavy lifting for you, while you interact with all the databases in the same way.
You can read more about the module from the official website.
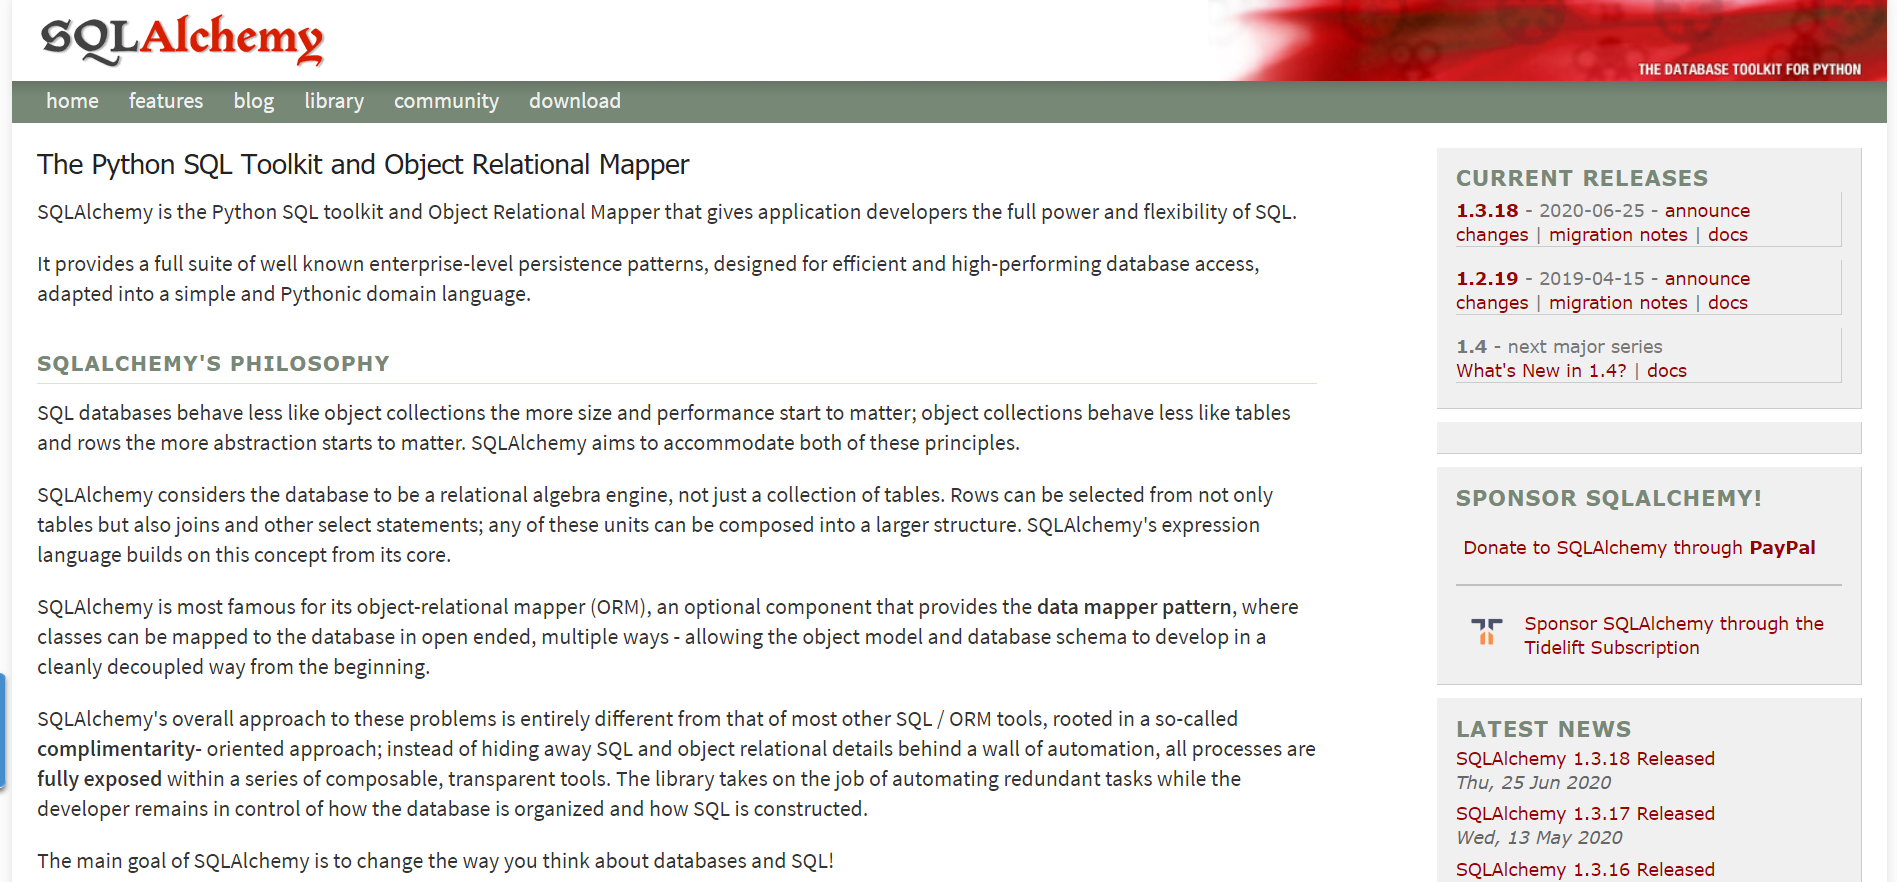
Figure 1 – Official website
Installing the module in Python
You can download the latest version of the module from the official website by navigating to https://www.sqlalchemy.org/download.html#current. Also, for the purpose of this tutorial, I am going to create a virtual environment and do all the necessary demo from within the environment. You can run the following command to install it in your environment in Python.
|
1 |
pip install sqlalchemy |
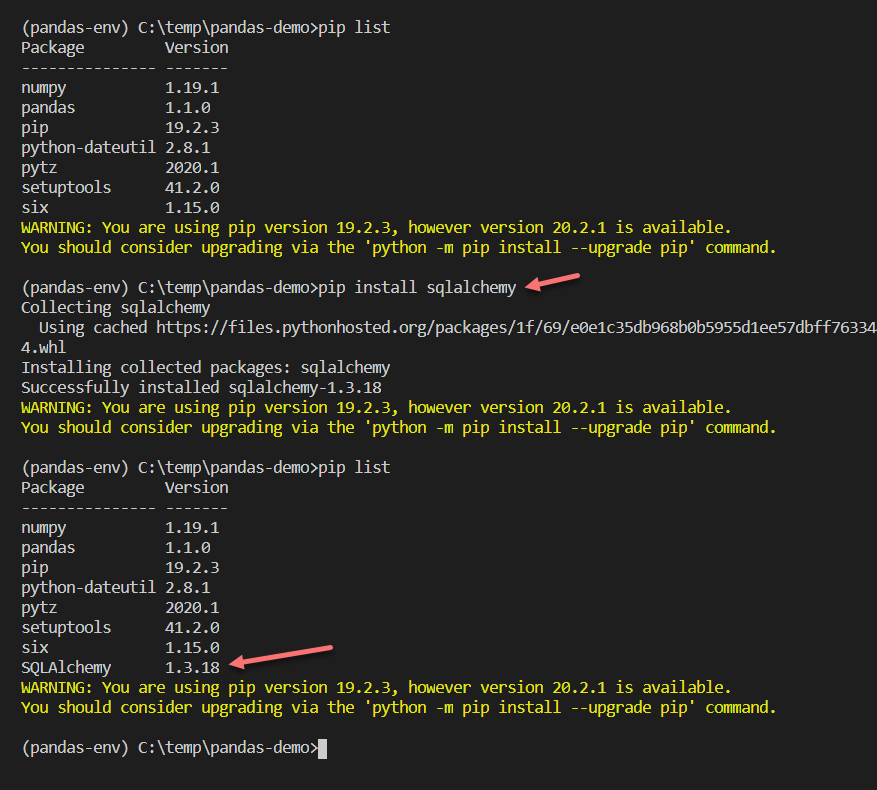
Figure 2 – Installing the module in a virtual environment
Once the module has been imported, let us now import it and see if our script is running fine.
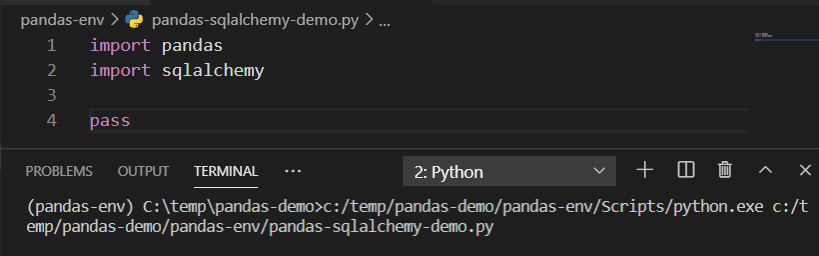
Figure 3 – Testing the script by importing the module
As you can see in the figure above, the modules have been imported successfully. So now, we can begin working with the SQL Alchemy module. In this tutorial, I am going to use PostgreSQL as the database. However, you can use any other database of your choice if you like to. This module supports multiple databases like MySQL, SQL Server, SQLite, etc.
Creating the connection engine
In order to be able to connect to the databases, we need to initiate something known as Connection Engine. This engine is dependent on the type of database that you are connecting to. It will be used to connect to the database engine when the script is executed. You can create the engine by using the following URI pattern.
‘postgresql://username:password@databasehost:port/databasename’
A URI mentioned above is a simple connection string that can be used by the module to establish a connection with the PostgreSQL database. In the first part, you need to mention the database flavor that you are connecting to. It can be “mysql” or “mssql” depending on the database that you use. In this case, it is going to be “postgresql”. In the second part of the connection string, you need to specify the username and password that you will be using to connect to the database server. Note that the username and the password are separated by using colons. In the third part, you need to mention the database hostname and the port on which the database is running, followed by the database name. So, the final command to create the engine using such a connection string will be as follows.
|
1 |
engine = sqlalchemy.create_engine('postgresql://postgres:test1234@localhost:5432/sql-shack-demo') |
Additionally, if you are connecting to a MySQL database, you need to install the “pymysql” package. However, for PostgreSQL, I am going to install the “psycopg2” which will enable us to connect to the database engine. You can install the package by running the following command from the terminal.
|
1 |
pip install psycopg2 |
That is all about creating a database connection. Now, we can proceed to use this connection and create the tables in the database.
Create a SQL table from Pandas dataframe
Now that we have our database engine ready, let us first create a dataframe from a CSV file and try to insert the same into a SQL table in the PostgreSQL database. I am using a Superstore dataset for this tutorial, which you can download from https://data.world/annjackson/2019-superstore. To read data from a CSV file in pandas, you can use the following command and store it into a dataframe.
|
1 |
data = pandas.read_csv('C:/temp/pandas-db-sqlshack-demo/pandas-env/superstore.csv') |
Now, the data is stored in a dataframe which can be used to do all the operations. In order to write data to a table in the PostgreSQL database, we need to use the “to_sql()” method of the dataframe class. This method will read data from the dataframe and create a new table and insert all the records in it. Let us see this in action now. You can use the following code for your reference.
|
1 2 3 4 5 6 7 8 9 10 11 |
import pandas import sqlalchemy # Create the engine to connect to the PostgreSQL database engine = sqlalchemy.create_engine('postgresql://postgres:test1234@localhost:5432/sql-shack-demo') # Read data from CSV and load into a dataframe object data = pandas.read_csv('C:/temp/pandas-db-sqlshack-demo/pandas-env/superstore.csv') # Write data into the table in PostgreSQL database data.to_sql('superstore',engine) |
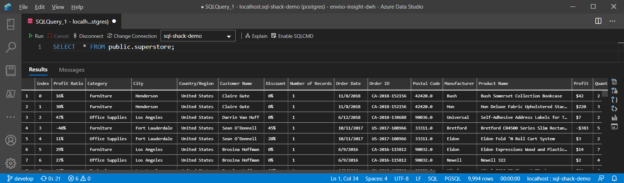
When you run the file, a table with the name “superstore” will be created, and you can select the data from the table accordingly.
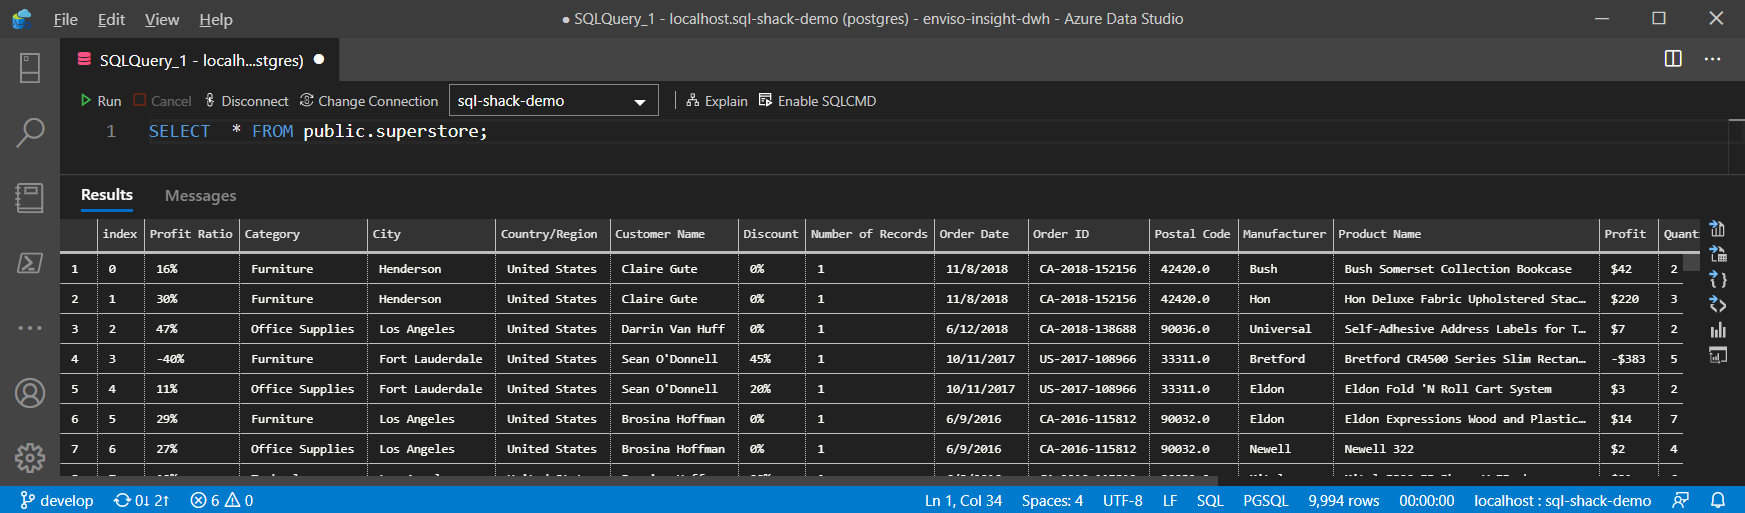
Figure 4 – Selecting data from the table
As you can see in the above code, the “to_sql()” method takes two arguments as the name of the table to be created and the engine to connect to. These two are the mandatory parameters of this method. However, there are also a few optional parameters to this method, which I would like to discuss.
- if_exists – This parameter is used to decide what should be done in case the table already exists in the database. By default, pandas will not be able to write data into this table and will eventually throw an error. You can customize it by providing a value of “REPLACE” if you would like to drop and create a new table every time the code is executed. Also, you can pass a value of “APPEND” if you want to add new records into the table on each execution
- schema – By default, pandas will write data into the default schema for the database. In PostgreSQL, it is the “public” schema, whereas, in SQL Server, it is the “dbo” schema. If you want it to create a table in a different schema, you can add the name of the schema as value to this parameter
- index – This is a Boolean field which adds an INDEX column to the table to uniquely identify each row when the value is set to TRUE
- chunksize – This can be referred to as a batch of data being inserted to the table instead of one row at a time. You can specify an integer value, and that will be the size of the batch that will be used to insert the data. This feature is useful if you have a really large dataset, and you want to bulk insert data
- dtype – This is a dictionary that accepts the column names and their datatypes if we need to explicitly declare the datatypes of the fields that are in the dataframe. The key in the dictionary is the name of the column, and the value is the datatype. This is recommended if you want greater control over declaring the datatypes of your table and do not want to rely upon the module to do it for you
This is all about the “to_sql()” method from the SQLAlchemy module, which can be used to insert data into a database table.
Conclusion
In this article, I have explained in detail about the SQLAlchemy module that is used by pandas in order to read and write data from various databases. This module can be installed when you install pandas on your machine. However, you need to explicitly import it in your programs if you want to use it. The SQLAlchemy modules provide a wrapper around the basic modules for most of the popular databases. Basically, it makes working with the databases a lot easier when used in a combination of pandas. In my next article in the series, I will explain how to read data from a database using the SQLAlchemy module and will also explain how to execute SQL queries directly.

He is a prolific author, with over 100 articles published on various technical blogs, including his own blog, and a frequent contributor to different technical forums.
In his leisure time, he enjoys amateur photography mostly street imagery and still life. Some glimpses of his work can be found on Instagram. You can also find him on LinkedIn
View all posts by Aveek Das
- Getting started with PostgreSQL on Docker - August 12, 2022
- Getting started with Spatial Data in PostgreSQL - January 13, 2022
- An overview of Power BI Incremental Refresh - December 6, 2021