
Often as consultants, we don’t get to work onsite alongside our clients instead we are given copies of clients’ production environment and work on proposed solutions back at our offices. Once development has been completed, we then deploy and integrate our solution back to the client’s production environment. I’ve recently had to adopt a similar offsite development approach whilst working on a project that included development and configuration of master data services. In this article, I will demonstrate how a SQL Server 2017 Master Data Services (MDS) model can be exported from one environment (i.e. MDS Dev) and deployed into another environment (i.e. MDS Prod).
Background
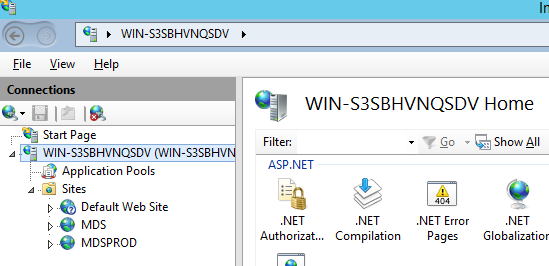
For the purposes of this demonstration, I have setup two MDS environments within a single server. As per the list of sites shown in my IIS server in Figure 1, the MDS web application simulates my development environment whilst MDSPROD is a production application.
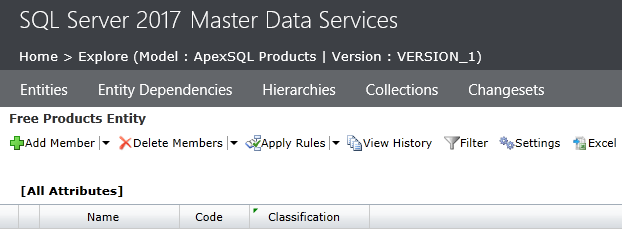
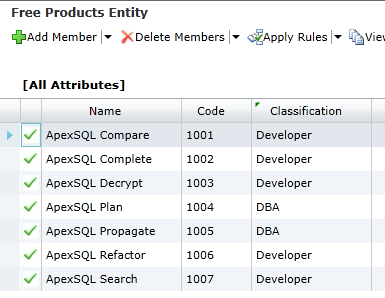
The MDS development application contains a single model which in turn contains a single entity called Free Products Entity. A preview of the data stored in Free Products Entity is shown in Figure 2.
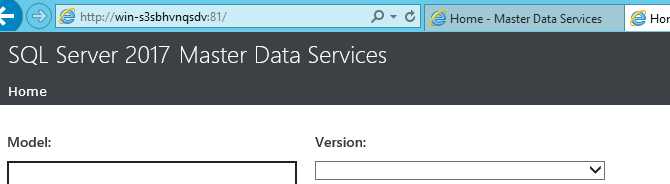
At this point, the MDS production environment has no existing models as shown in Figure 3.
MDS Model Deployment using GUI
Migration of MDS models can be done using either a GUI-like interface or through the windows command prompt application. We start off by looking at the GUI option.
Step 1: Export MDS Model into a Package file
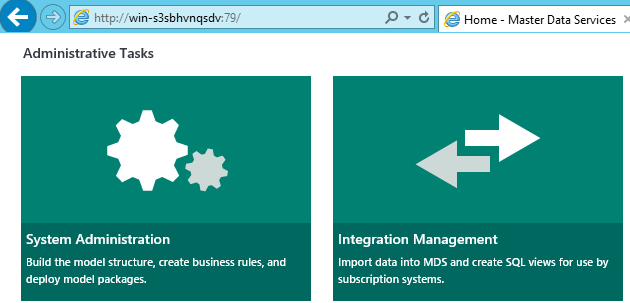
The deployment using the GUI is browser-based and relies on the MDS web application. We begin by navigating to the System Administration option as indicated in Figure 4.
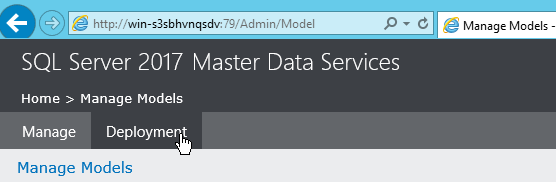
Clicking on System Administration will redirect you to the Manage Models page. We next navigate and click to the Deployment sub-menu as shown in Figure 5.
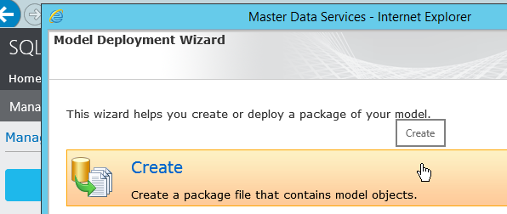
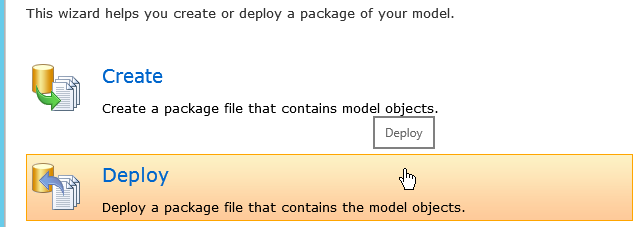
This will bring up a Model Deployment Wizard, click on the Create option as indicated in Figure 6.
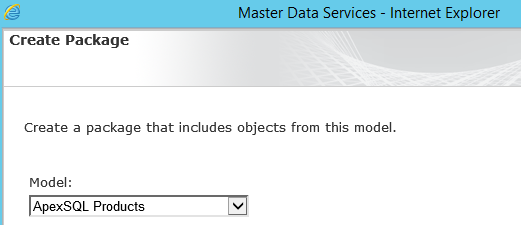
You will next be redirected to the Create Package section wherein you will be expected to specify the MDS model you want to export – in my case, that will be ApexSQL Products.
Click the Next button to export and create an MDS model package file.
Clicking the Finish button will conclude the package file creation process. All you need to do next is to click the Download button so to download and save a copy of the package file you’ve just created.
Step 2: Import MDS Package into an MDS instance
Having successfully exported our MDS model into a package file, we next navigate to our MDS production web application and import the package file. We do this by firstly navigating and clicking to the System Administration option as per Figure 4.
We then click on Deployment sub-menu as per Figure 5. This will result in the Model Deployment Wizard coming up but this time we click on Deploy as shown in Figure 8.
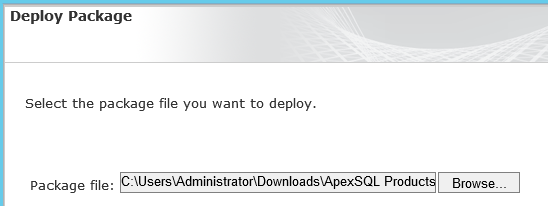
We are then redirected to Deploy Package window wherein we click the Browse button and specify the path to our package file.
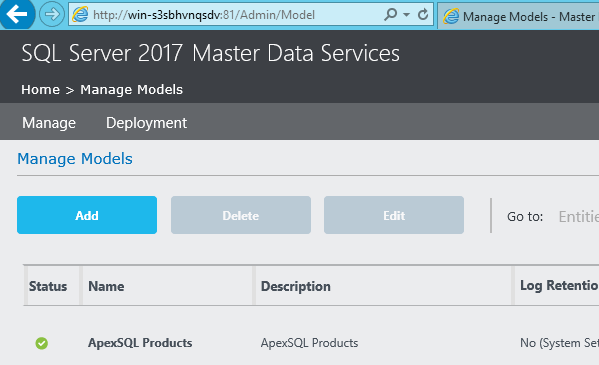
After clicking Next and Finish buttons, the Model Deployment Wizard will be closed and a subsequent page refresh of the MDS production web application should bring up the newly imported MDS model as shown in Figure 10.
Limitation of the GUI Deployment Option
Most administrators of SQL Server-based applications such as MDS prefer administration of such applications through a GUI-like interface. Whilst such a practice could be sufficient in carrying out most of the administration related tasks, the migration of an MDS model from one server to another using a GUI doesn’t migrate all required objects, lets alone data. Figure 11 gives us a production preview of the Free Products Entity which was migrated using the steps above. You will notice that unlike the development copy (shown in Figure 2), the migrated version in a production environment is missing all the data. Furthermore, the subscription views that were created in development environment are missing in the production version.

MDS Deployment using Windows Command Line
We can get around the issue of missing data and subscription views prevalent in the GUI approach by turning to scripting using a windows command prompt to perform MDS Model migration. Similarly, to the GUI approach, command line approach is a two-step process that involves exporting of a given MDS model into a package file and then later importing that package file into another MDS server.
Step 1: Generate MDS Package containing Entity Data
To get started, we first need to launch windows command prompt program in administrator mode. We then change the working directory to wherever the MDSModelDeploy.exe application is stored – in my case, the location is: C:\Program Files\Microsoft SQL Server\140\Master Data Services\Configuration as shown in Figure 12.

Similar to SQL Server applications such as Reporting Services and Analysis Services, several instances of MDS can be configured and run at the same time on one machine. Thus, part of migrating MDS models using windows command prompt involves identifying a list of currently configured services linked to MDS instances. Consequently, in this demonstration, we next run the listservices method to retrieve a list of existing MDS services within a given server. The results of calling the listservices method is shown in Figure 13, and as it can be seen, my demo box has two instances of MDS currently installed; MDS1 for MDS Development website as well as MDS2 for the production instance.

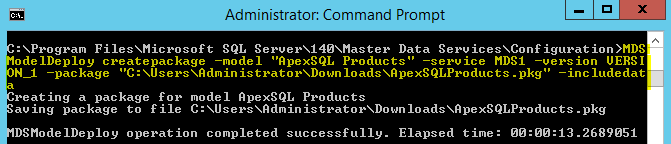
The last part in this section involves the actual creation of a package file by calling the createpacakge method. As shown in Figure 14. The createpackage method has several mandatory parameters that need to be supplied and provided you have supplied correct parameter values, package creation via command prompt should be successful.
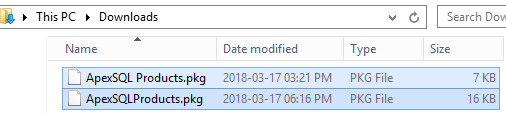
Finally, Figure 15 shows two MDS packages that were created using the GUI and command prompt program, respectively. Not surprisingly, the size of the package created using windows command prompt is larger at 16KB compared to the other package. This is because as part of creating this package we opted to include data and its related objects.
Step 2: Import MDS Package into an MDS instance
The MDSModelDeploy utility has three main methods for deploying an MDS package file into an MDS instance. The main methods are deployclone, deployupdate, and deploynew. For the purposes of this demo, I have opted for the deploynew method which will result in a new model being created into a target server. The complete command for deploying an MDS model is shown in Script 1.
|
1 |
MDSModelDeploy deploynew -model "ApexSQL Products" -service MDS2 -package "C:\Users\Administrator\Downloads\ApexSQLProducts.pkg" |
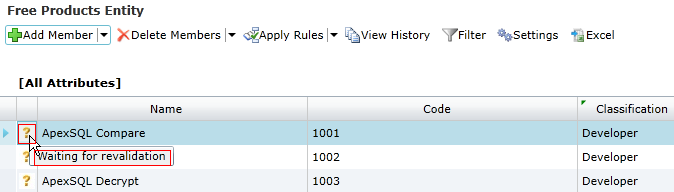
Once we have successfully executed Script 1, the newly deployed MDS model should appear in the target server as shown in Figure 16. Notice, however, that every data entry in Free Products Entity begins with a question mark. This is used to indicate that although the MDS model was successfully deployed with data, you still need to go through the data and validate it.
Summary
In this article, we have gone through two main approaches for migrating an MDS model from one server to another. The GUI approach is convenient but has several limitations. On the other hand, the command line approach gives you full control and further enables you to include data as part of model deployments.
References
- Master Data Services Overview (MDS)
- Command Prompt: What It Is and How to Use It
- Deploy a Model Deployment Package by Using MDSModelDeploy

Sifiso's LinkedIn profile
View all posts by Sifiso W. Ndlovu