
In this article, we will learn to install SQL Server 2019 on the RedHat Linux 18 on a virtual machine.
Introduction
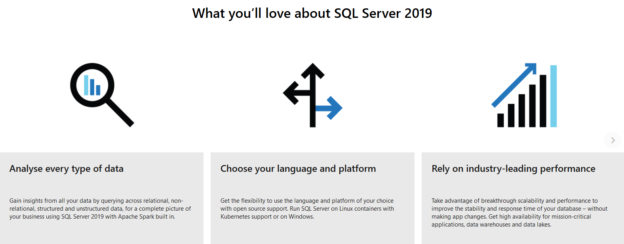
SQL 2019 evolves itself from a traditional relational database. You can integrate it with various relational, non-relational data using Apache, Big data clusters, Hadoop. It is available on both Windows and Linux operating systems.
Image Reference: Microsoft
You should be familiar with SQL Server 2019 installation on both Windows and Linux (RedHat, Ubuntu or SUSE Linux) systems. In this article, we implement the following tasks.
- Prepare a virtual machine for RedHat Linux 18
- Install and Configure SQL Server 2019 on top of the Virtual Machine
Prepare a virtual machine for RedHat Linux 18
To create a Virtual machine, we need to have virtualization software such as Oracle VirtualBox. You can browse to URL and download the latest version VirtualBox6.1.
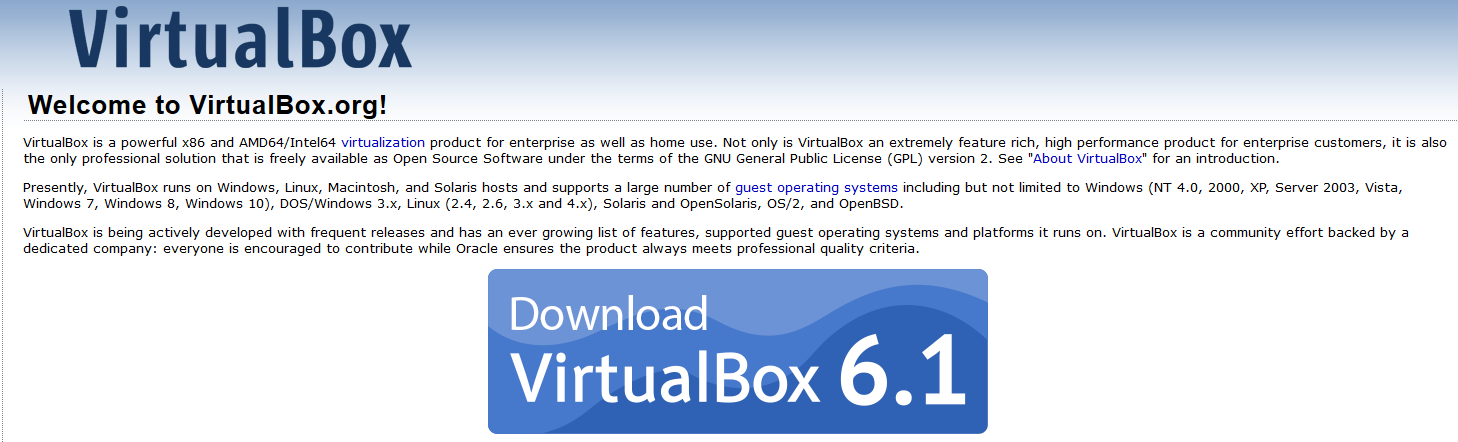
You can follow the installation wizard and install it on your machine. Once you have installed it, click on New for deploying the new VM.

In the Create Virtual Machine, specify a VM name, folder to store the VM related files, and select the OS type (Linux) along with version (Red-Hat).
In the memory size, give the appropriate memory for SQL Server VM. For this training environment, I use 4096MB memory.
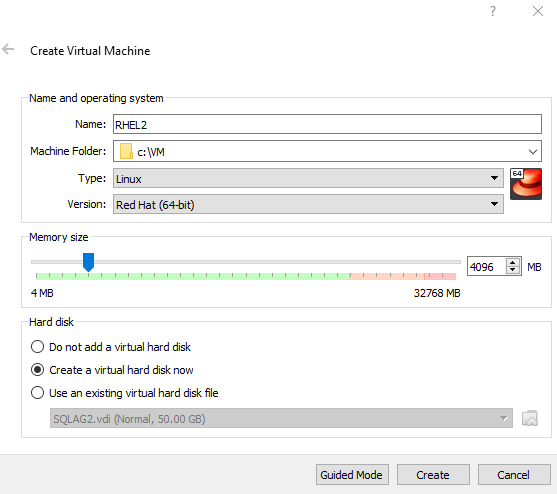
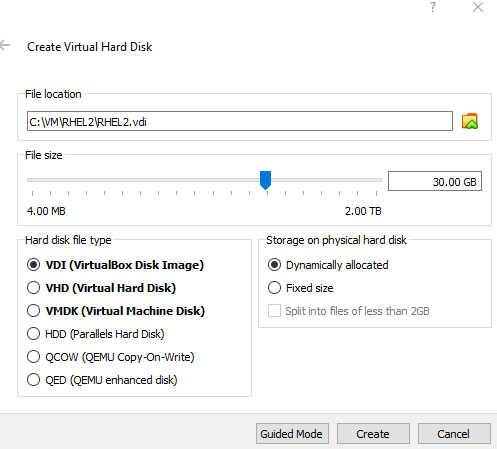
Click ok Create and select the hard disk file type, size. We can go with the VDI file type and 30 GB space for it.
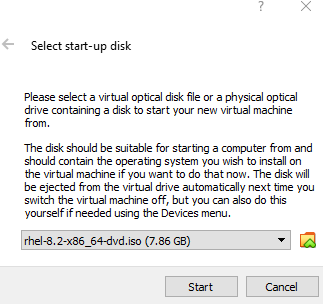
Click on Create and start the VM machine. You download the ISO file for the RedHat Linux 18 before proceeding further.
During the startup, it asks for the ISO file of the RedHat operating system. In the screenshot, it shows a 7.86 GB ISO file size.
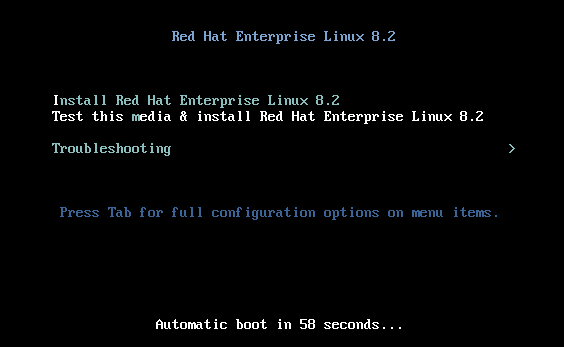
It starts the RedHat Enterprise Linux 18.2 setup, as shown below.
In the beginning, select your installation language. It automatically detects your VM language.
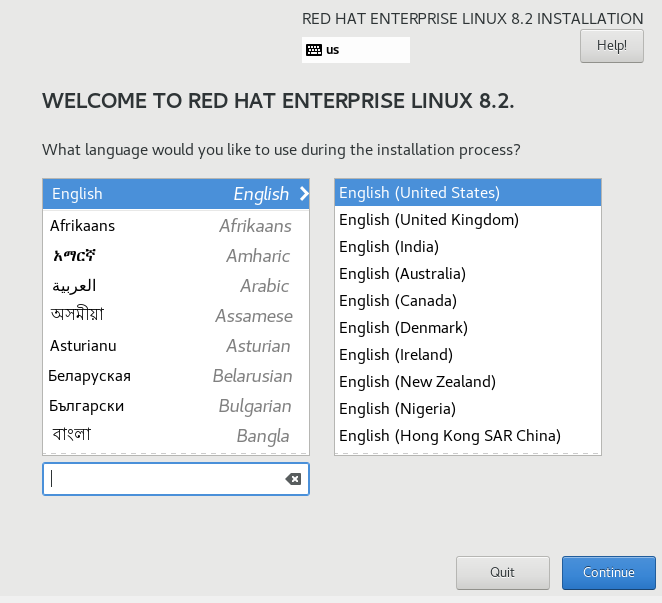
Click on Continue. In the Installation summary, you get various configurations for Localization, software and system.
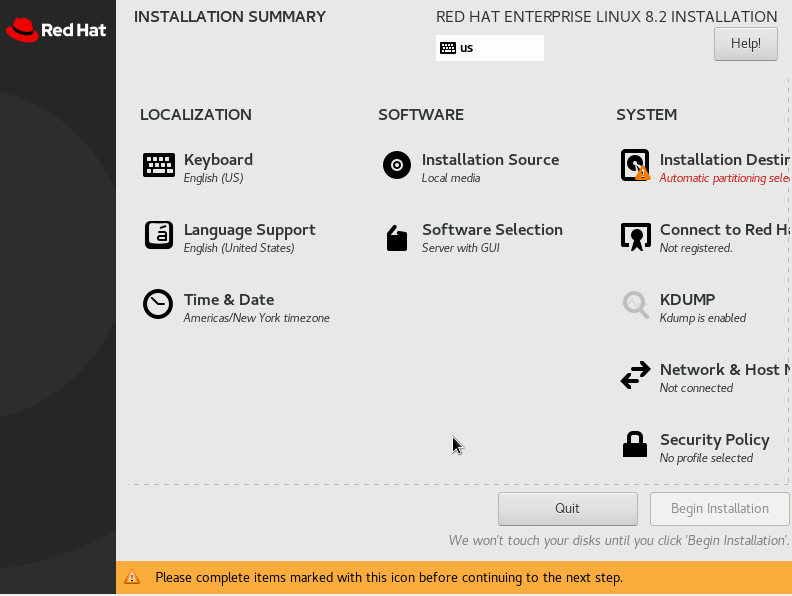
Click on the Installation Destination under the system category. You can make drive partitions on this page, but we can go with the default partition for our RedHat OS.
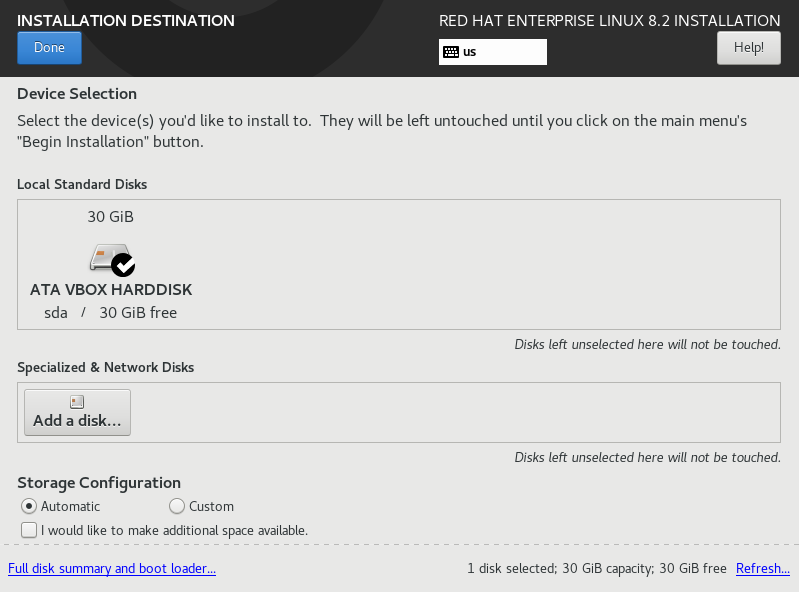
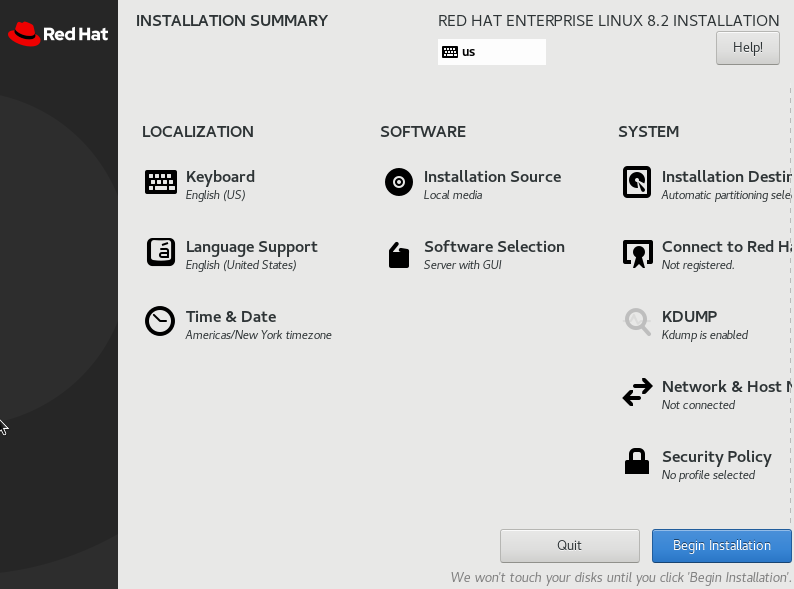
Now, you do not see any error for the installation destination. Click on Begin Installation.
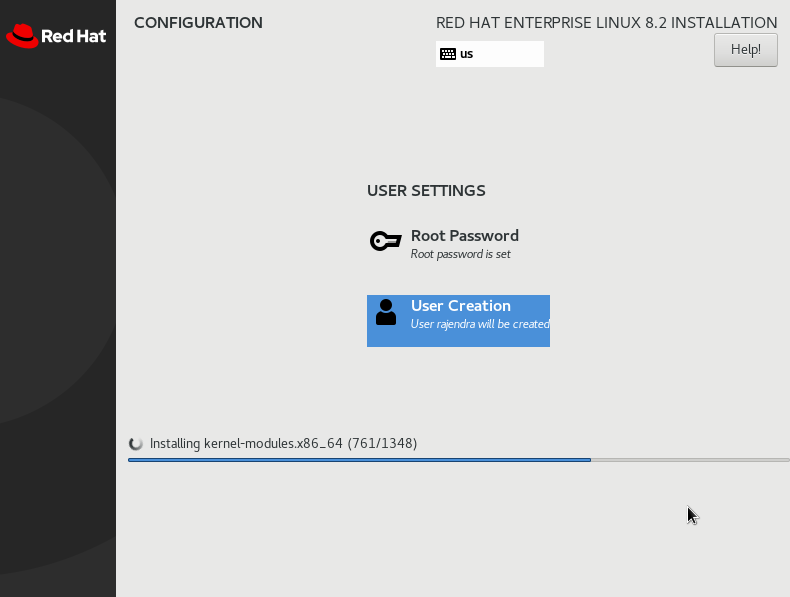
While the RedHat installation is in progress, it requires input for the Root password and a RedHat user.
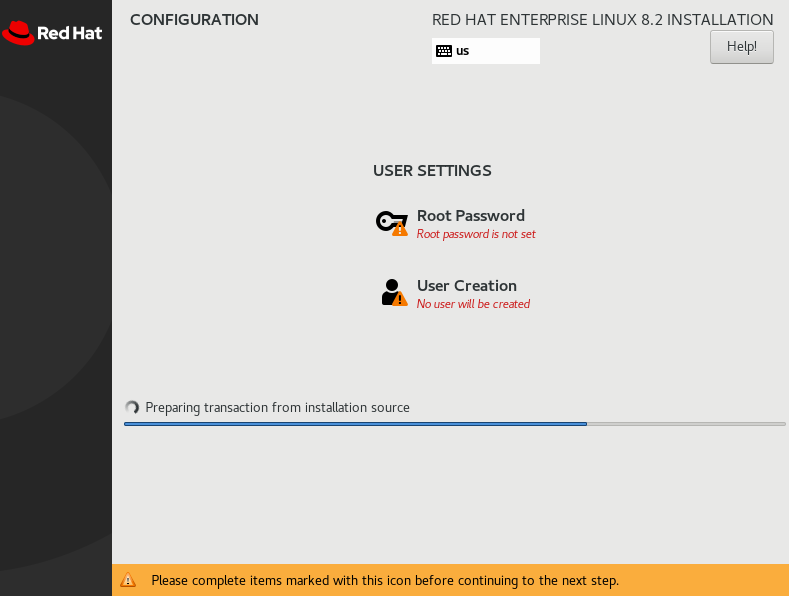
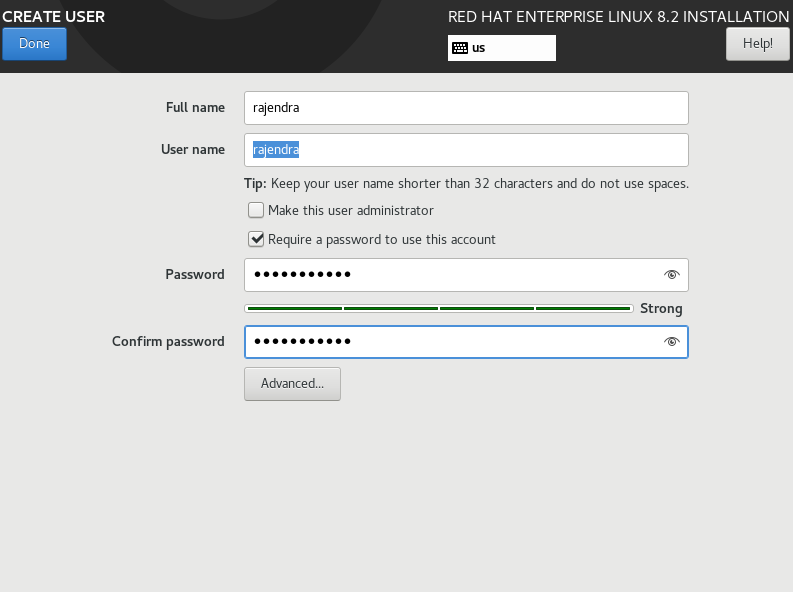
Click on Create User and fill up your user name, passwords.
Similarly, click on Root Password and specify the password for the root user. You require this password for performing administrative work in RedHat OS.
Now, RedHat Enterprise Linux is installed successfully. You can reboot the VM and start using the VM for SQL installations.
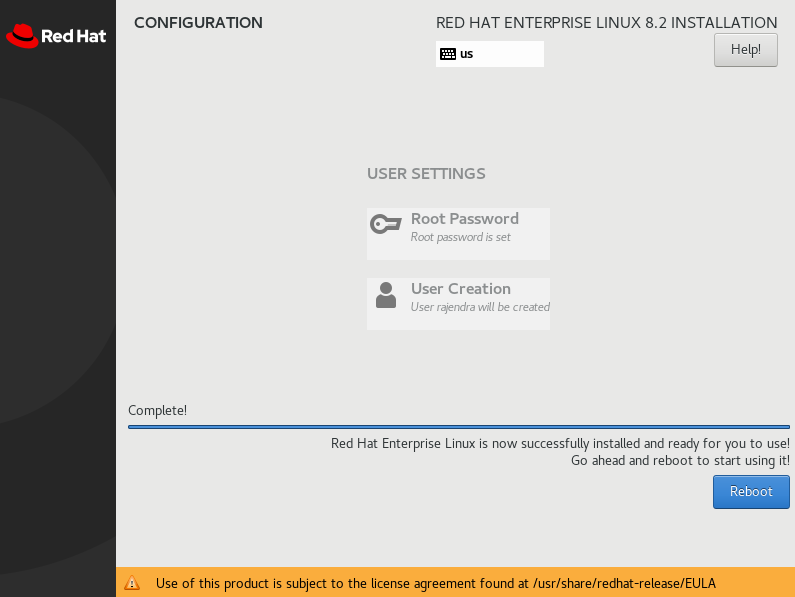
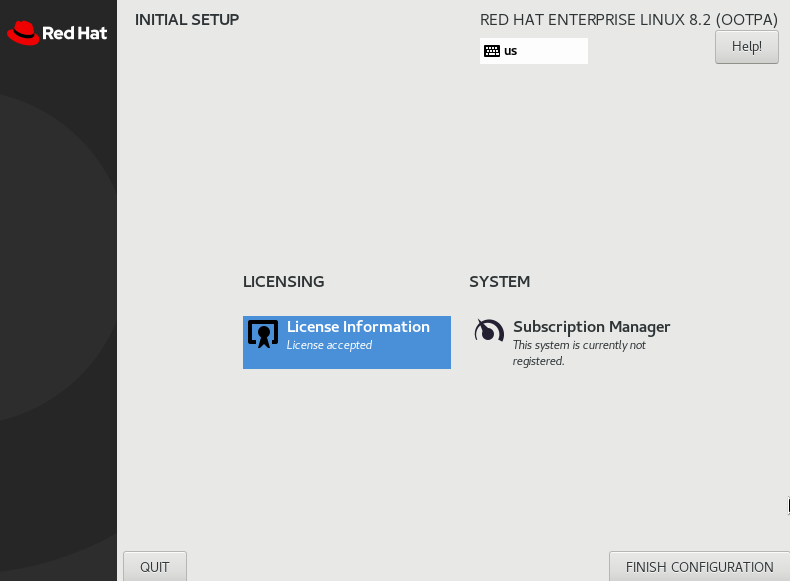
Before the reboot, click on License information and accept the license terms conditions.
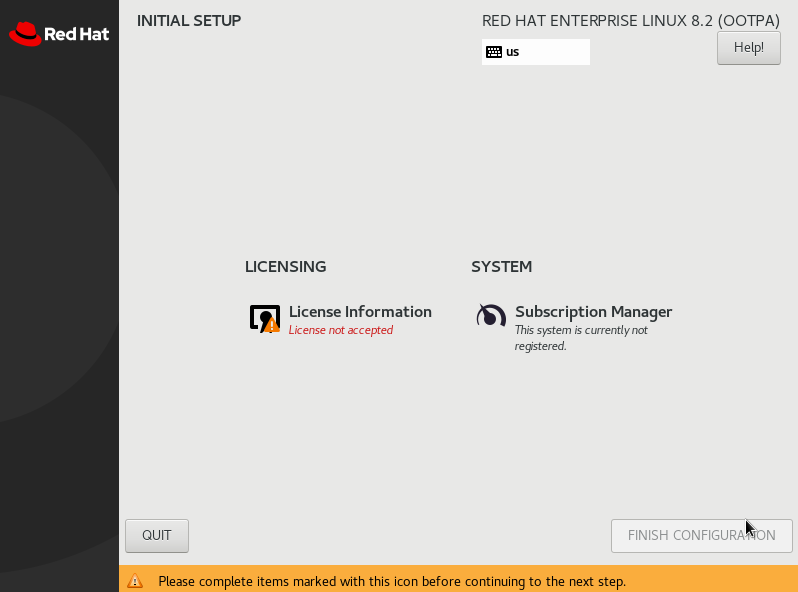
Click on Finish Configuration.
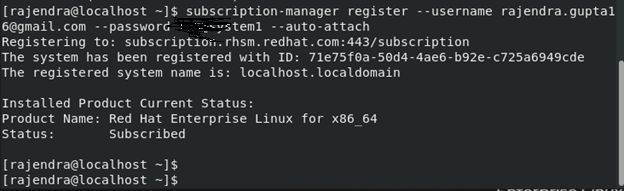
Once the VM is up, log in with your administrator credentials and launch the terminal. We need to provide the subscription information for your RHEL account credentials using the following query:
$ subscription-manager register –username Rajendra.gupta16@gmail.com –password ******** –auto-attach
By default, Oracle VirtualBox assigns a name for your virtual machine. We need to change it to our desired hostname using the following command.
$sudo vi /etc/hostname
You can verify the new hostname using the cat command below
$sudo cat /etc/hostname

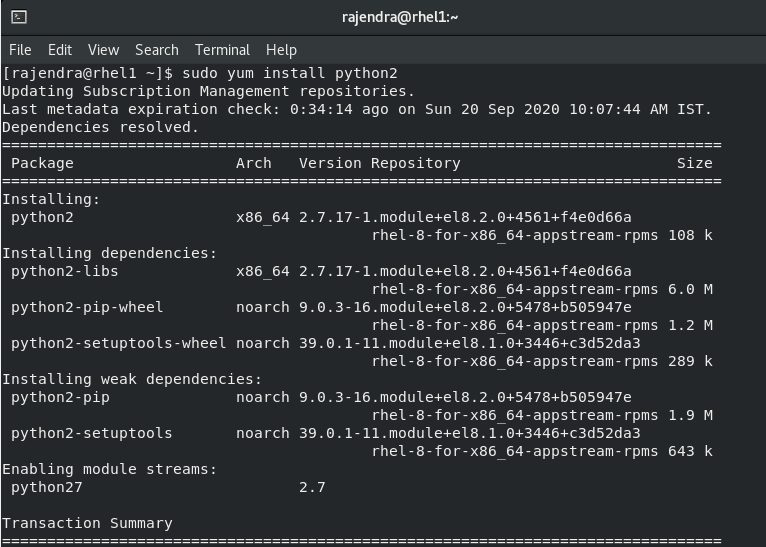
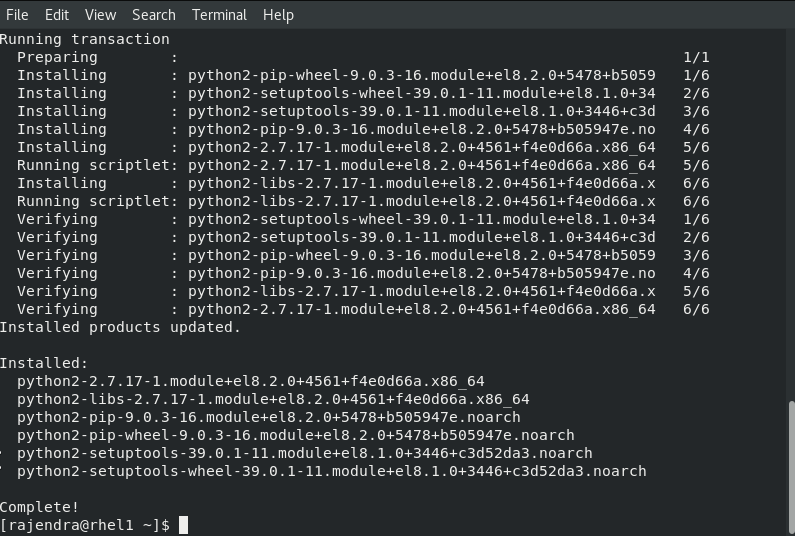
Install Python2 on RedHat Enterprise Linux
SQL Server 2019 uses Python and OpenSSL for the SQL Server installation. You can install Python2 using the following command in the terminal.
$ sudo yum install python2
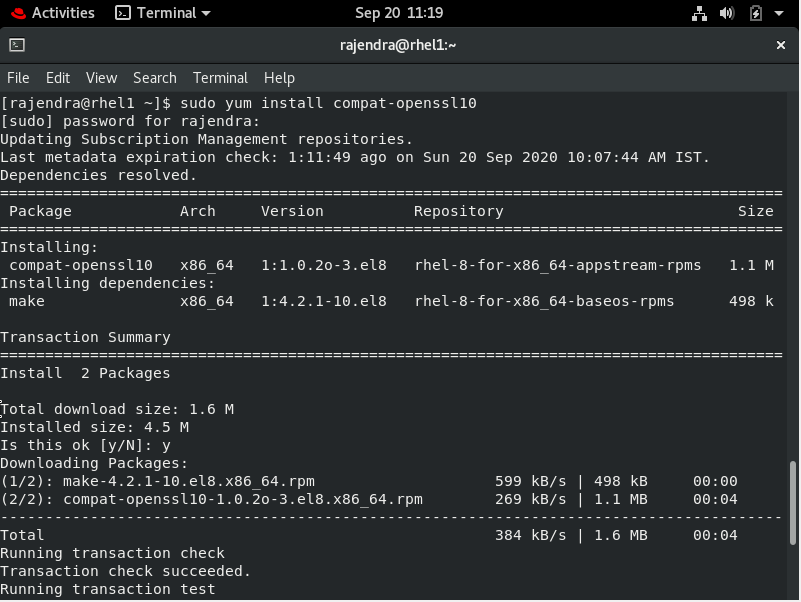
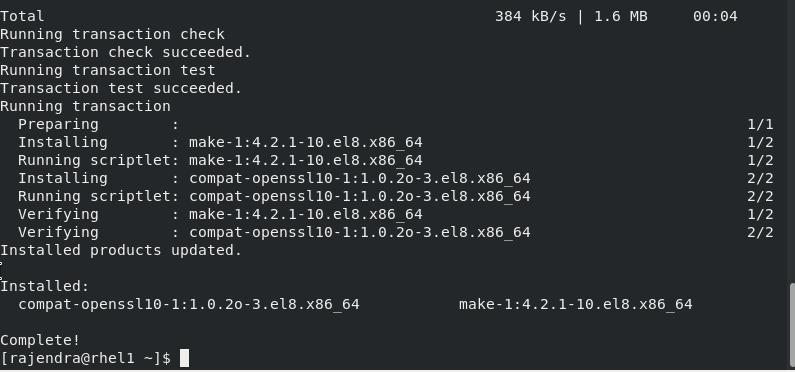
Install OpenSSL on RedHat Enterprise Linux
Once we have installed the Python2 on the RedHat Linux server, we can install the OpenSSL as well with the following code.
$ sudo yum install compat-openssl10
Now, we need to set the defaults for the Python in the RedHat system. We use Python2 as a default interpreter for the SQL 2019. To set the defaults, use the following command.
$ sudo alternatives –config python
It gives you a list of Python version. Enter the selection number, and it creates a symlink for your SQL Server. Here, we select option 3 for Python2.

Install Microsoft SQL Server 2019 on RedHat Linux Enterprise Server
We are now ready to deploy the SQL 2019 on the RedHat Linux Enterprise Server.
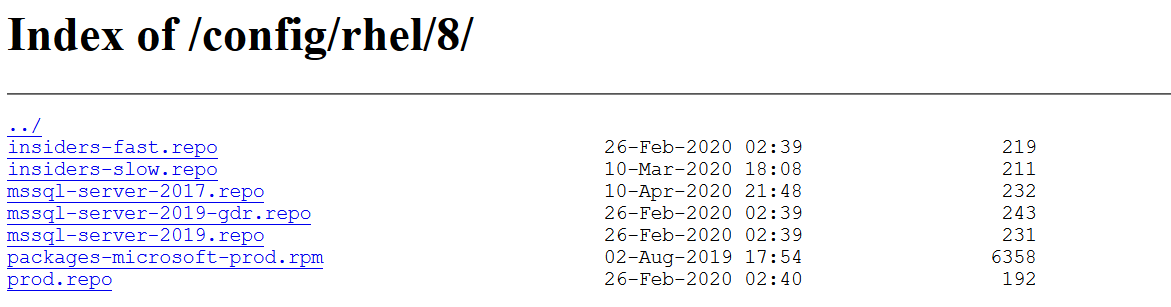
Step 1: Download the SQL 2019 Red Hat repository configuration file
In this step, you use the CURL command in RedHat and download the SQL Server 2019 repository configuration file from Microsoft URL.
$ sudo curl -o /etc/yum.repos.d/mssql-server.repo https://packages.microsoft.com/config/rhel/8/mssql-server-2019.repo

You can browse the URL in a browser to check the existing repositories.
Step 2: Install SQL Server 2019
In this step, we install the SQL 2019 from the repository we downloaded in the earlier step.
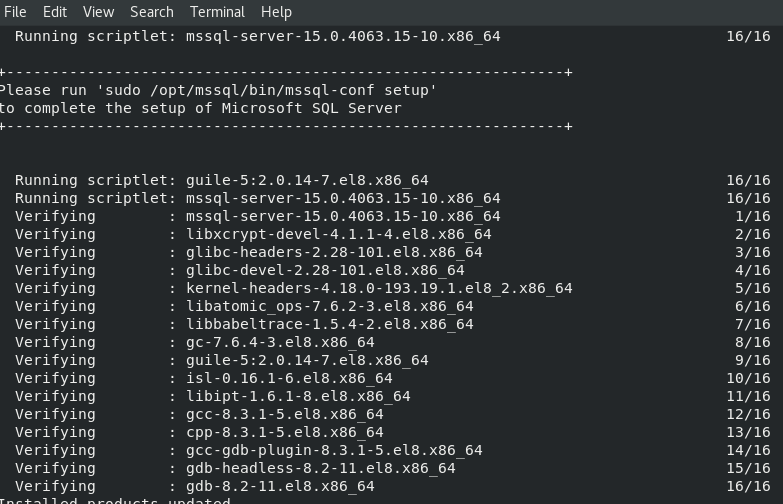
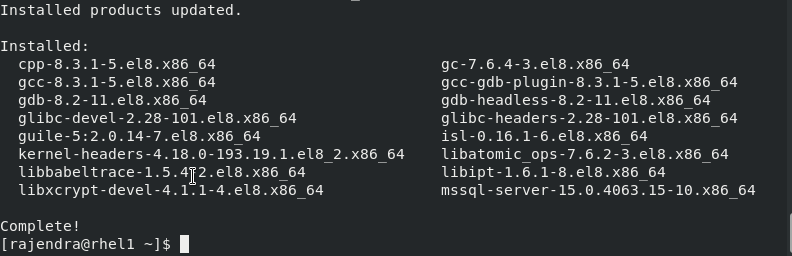
$ sudo yum install -y mssql-server
Step3: Configuring SQL Server 2019
In the Windows SQL Server, the installation wizard gives you the option to choose and based on those inputs, and it installs SQL Server features.
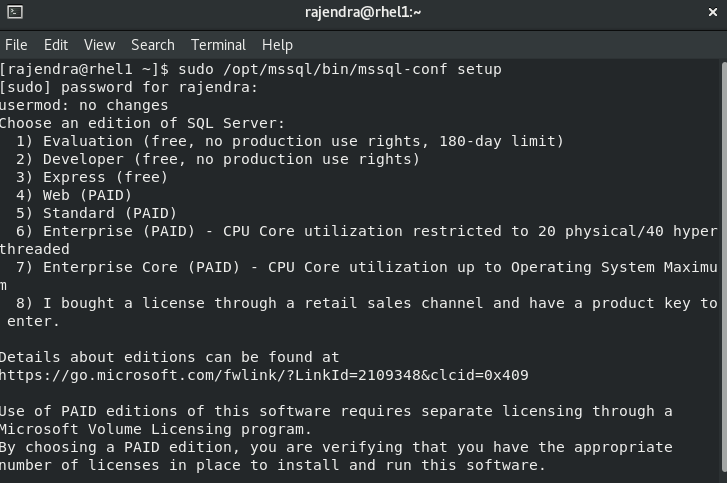
In the SQL Server on Linux, we install the base set up and then configure SQL Server using the mssql-conf utility.
$sudo /opt/mssql/bin/mssql-conf setup
Inputs required:
-
Edition of SQL Server: Enter the numeric value for the edition, we wish to install. For example, for the evaluation edition, you enter value 1

- SQL Server administrator (SA) password
-
Accept license terms

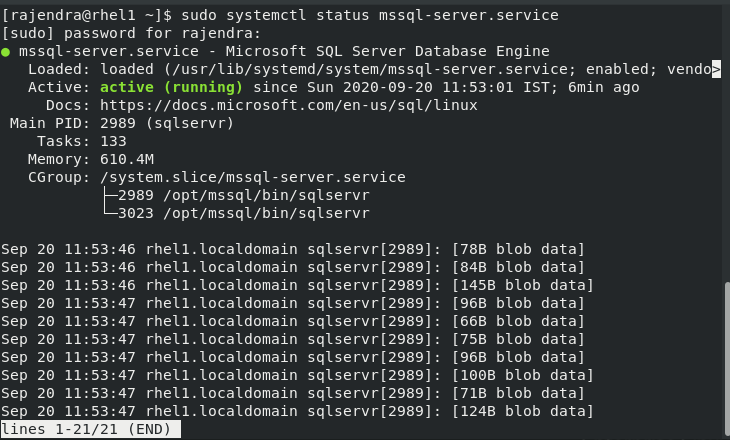
It installs the SQL 2019 on the RedHat Linux Enterprise server and starts the services. To check the SQL service status, run the following command.
$ sudo systemctl status mssql-server
MSSQL Server service is in the running status, as shown below.
Installing SQL Server command-line tools
You can connect the SQL Server on Linux using the following ways.
- SQL Server Management Studio: You can install SSMS for only a Windows server. The firewall must allow connection from Windows to RedHat Linux Server
- Azure Data Studio: You can install Azure Data Studio on the Linux server as well
- SQL CMD: You can install the SQLCMD as a client tool to execute your
To install the SQLCMD client tool, use the following steps.
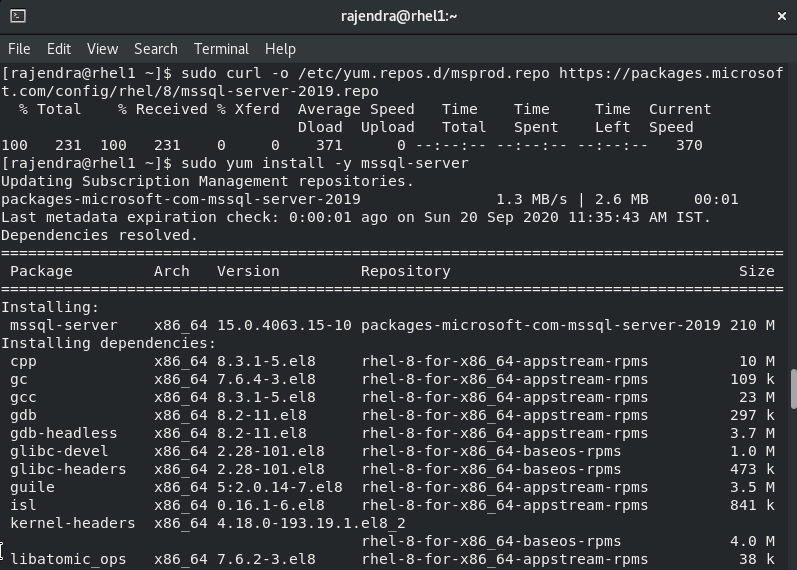
Step 1: Download the SQL Server 2019 Red Hat repository configuration file
Download the repository for the SQL Server client tools with the following command.
$ sudo curl -o /etc/yum.repos.d/msprod.repo https://packages.microsoft.com/config/rhel/8/prod.repo

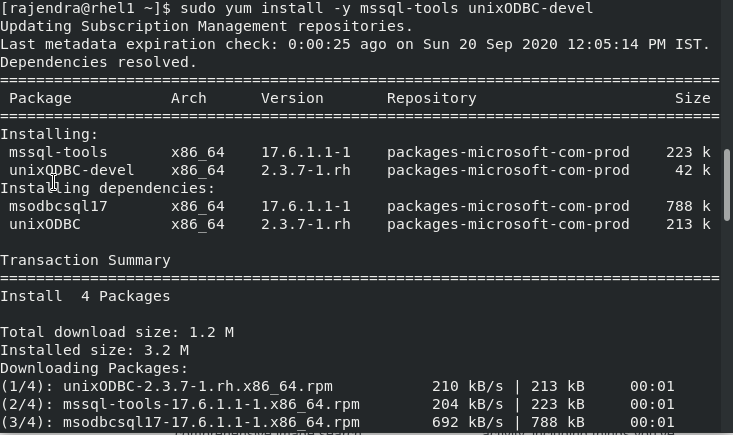
Step 2: Install mssql-tools and unixODBC developer package
To install the install mssql-tools with the unixODBC developer package, run the following command in the terminal.
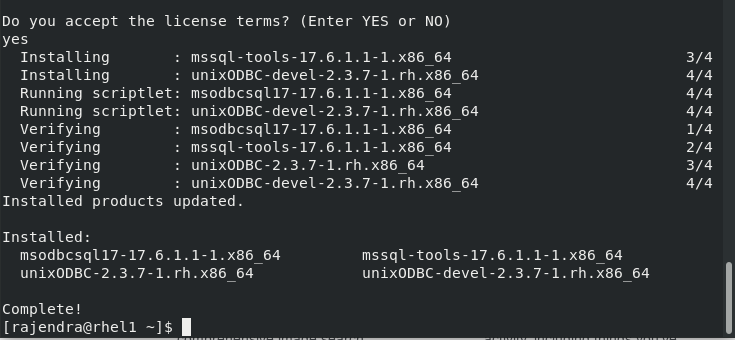
$ sudo yum install -y mssql-tools unixODBC-devel
Accept the license terms.
Step 3: Add the client tools path in the PATH (environment variables)
SQL client tools are installed in the /opt/mssql-tools/bin directory. We can add it to the PATH environment variable for using the SQLCMD without specifying the /opt/mssql-tools/bin directory.
$ echo ‘export PATH=”$PATH:/opt/mssql-tools/bin”‘ >> ~/.bash_profile
$ echo ‘export PATH=”$PATH:/opt/mssql-tools/bin”‘ >> ~/.bashrc
$ source ~/.bashrc

Now, connect to the SQL Server 2019 Linux on RedHat Enterprise Server using the SQLCMD.
$ sqlcmd -s localhost -U SA -P India@123

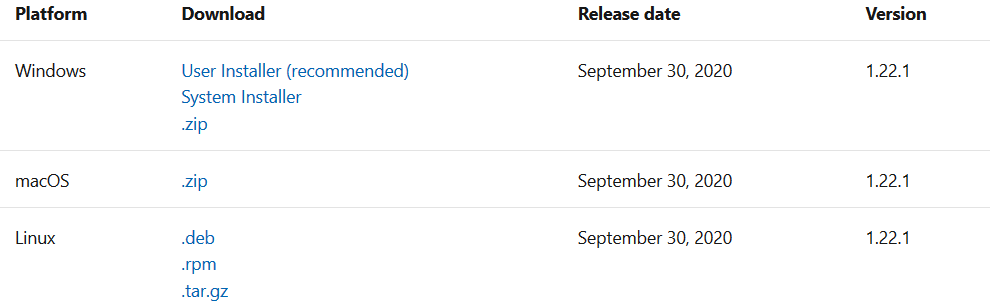
Install Azure Data Studio on RedHat Linux Enterprise Server
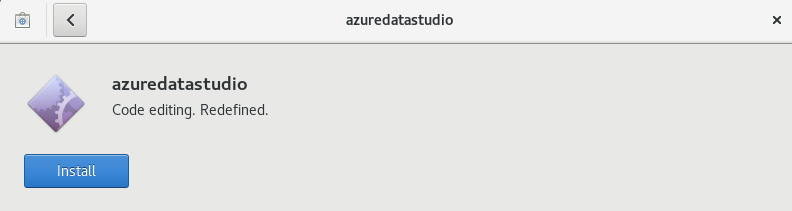
Browse to Microsoft Docs URL and download the Linux based Azure Data Studio.
Click on Install, and it quickly installs the ADS in your RedHat Linux.
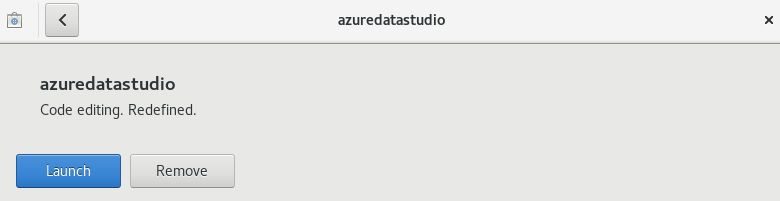
After the ADS installation, click on Launch to connect with the SQL Server.
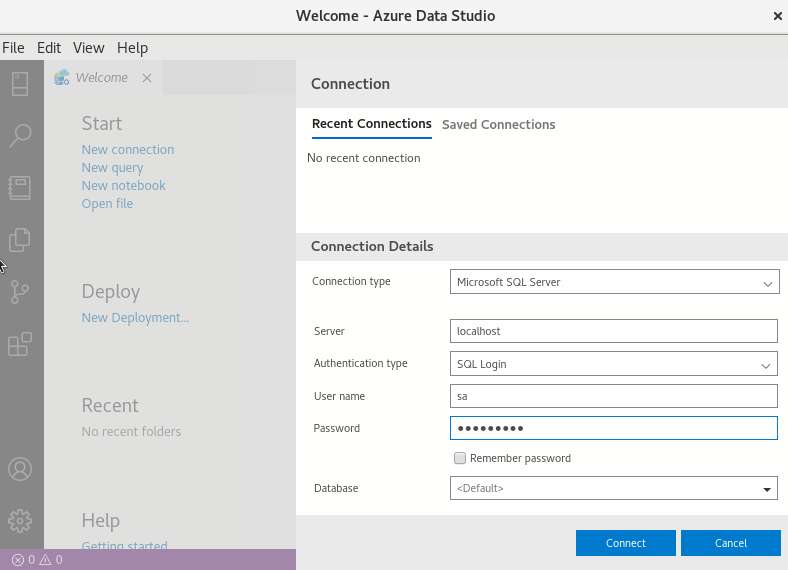
In the new connection window, specify server name (you can use the localhost if you connect within the RedHat server terminal), authentication type (SQL login) and the credentials.
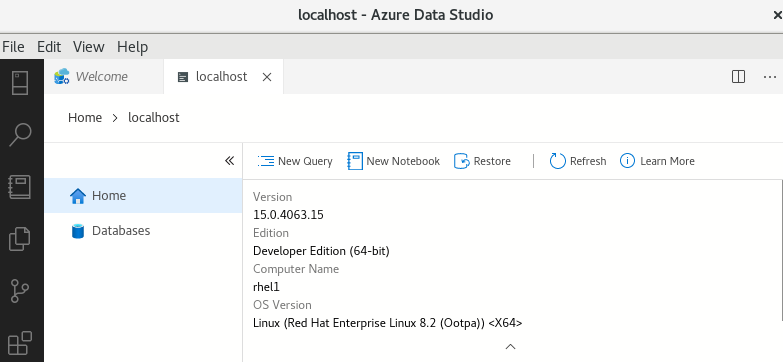
In the ADS dashboard, you can view the details as the following:
- Version: 15.0.4063.15
- Edition: Developer edition( 64-bit)
- Computer name: Rhel1
- OS version: RedHat Enterprise Linux 8.2 (Oopta)
Conclusion
In this article, we configured a RedHat Enterprise Server virtual machine and installed SQL Server 2019 Linux on it. Further, we explored the client tools SQLCMD and Azure Data Studio for executing SQL queries.

I am the author of the book "DP-300 Administering Relational Database on Microsoft Azure". I published more than 650 technical articles on MSSQLTips, SQLShack, Quest, CodingSight, and SeveralNines.
I am the creator of one of the biggest free online collections of articles on a single topic, with his 50-part series on SQL Server Always On Availability Groups.
Based on my contribution to the SQL Server community, I have been recognized as the prestigious Best Author of the Year continuously in 2019, 2020, and 2021 (2nd Rank) at SQLShack and the MSSQLTIPS champions award in 2020.
Personal Blog: https://www.dbblogger.com
I am always interested in new challenges so if you need consulting help, reach me at rajendra.gupta16@gmail.com
View all posts by Rajendra Gupta
- Understanding PostgreSQL SUBSTRING function - September 21, 2024
- How to install PostgreSQL on Ubuntu - July 13, 2023
- How to use the CROSSTAB function in PostgreSQL - February 17, 2023