

In this article, I am going to explain what Jupyter Notebooks are and how to install the same on your machine. Further, I will demonstrate how to use these notebooks using Visual Studio Code and perform data analysis and other development activities. It is an open-source platform using which you can create and share documents that contain live code, equations, and visualizations along with the formatted text. Most importantly, these notebooks can be run on the web browser by just starting a server and using it. This open-source project is maintained by the team at Project Jupyter.
Notebooks have been around for a couple of years now and it is one of the most common notebooks preferred by a lot of Data Scientists and programmers in general. I, myself love to frame by initial building blocks of any application by using the notebook first, and when the dots are connected, I transfer the code into a cleaner and structured file. This way I can perform all the logical necessary steps in the notebook and once I get a clear picture of the code working, I just transfer the code into the actual project directory.
As per the definition by Wikipedia – “Jupyter Notebook (formerly IPython Notebooks) is a web-based interactive computational environment for creating notebook documents.”. The name “Jupyter” comes from the core execution environments that it provides, which are Julia, Python and R. Although Jupyter ships with the IPython kernel, there are a ton of other kernels being supported by them at the moment.

Figure 1 – The Official Logo (Source)
Installing the Notebooks
Assuming that you are using python for your day to day development work, you can install the Jupyter Notebook very easily by using the Python package manager. Just run the following command on your command prompt and you will get it installed on your machine.
|
1 |
pip install jupyter |
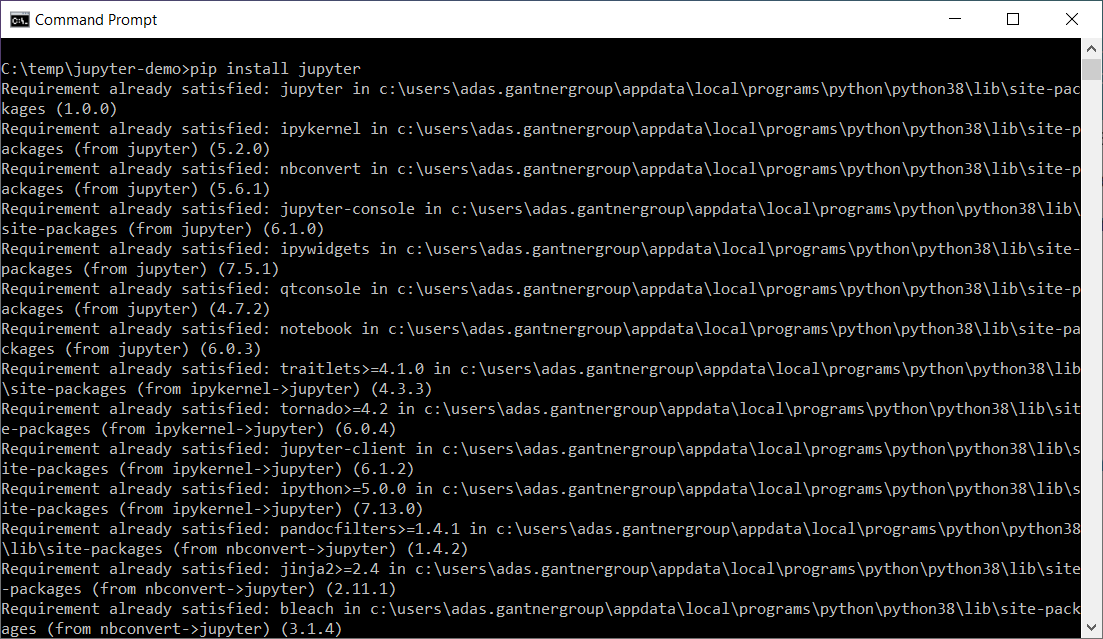
Figure 2 – Installing the package using PIP
I have already installed it beforehand but if you are doing it for the first time, you can see all the required dependencies being installed accordingly. Once the installation completes, you can run the following command to start the Jupyter server. I would recommend you doing this under a specified directory so that you can refer and work with files that are placed under that directory itself. Once in that directory run this command.
|
1 |
jupyter notebook |
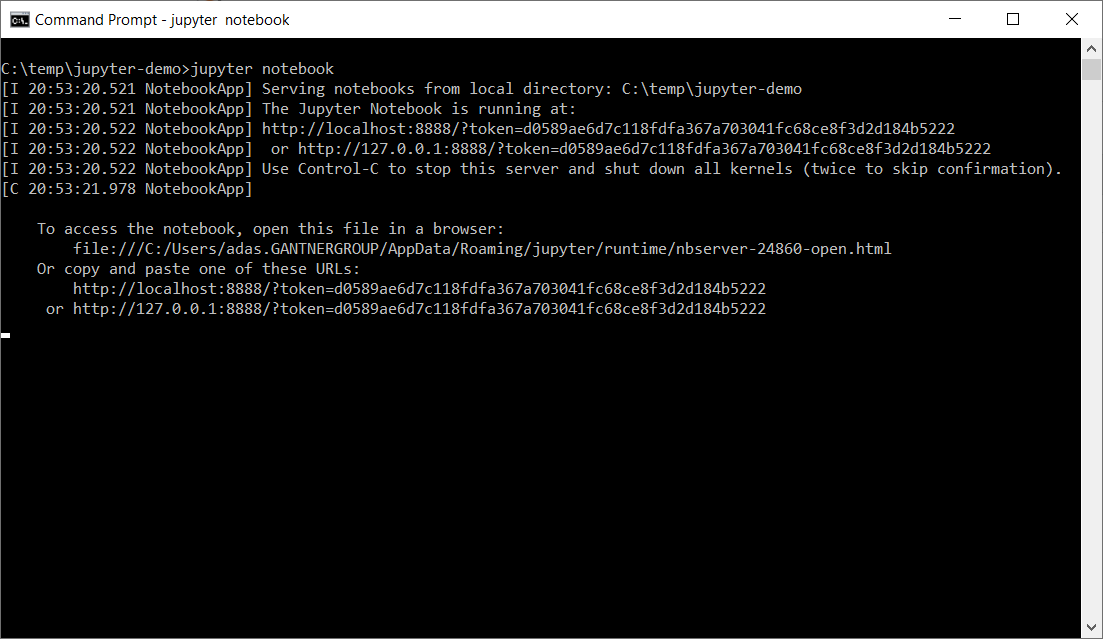
Figure 3 – Starting the Jupyter Server
As you can see in the figure above, the jupyter server has been started and you will automatically be navigated to a local instance of the server on the web browser. The local web address should be http://localhost:8888/tree.This web application looks something like this.

Figure 4 – Jupyter local instance created
An important thing to note here is that so far, we have just started the jupyter server and we have not created any notebook so far. Let us go ahead and create a notebook in this web application now.
Creating a notebook in the Jupyter web application
In the web application, there is a New icon on the top right-hand side, which on-click will show you a list of available Python kernels that you can use with your notebook. I am going to use the Python 3 version and create one. You can see that a new web page appears which looks like this.
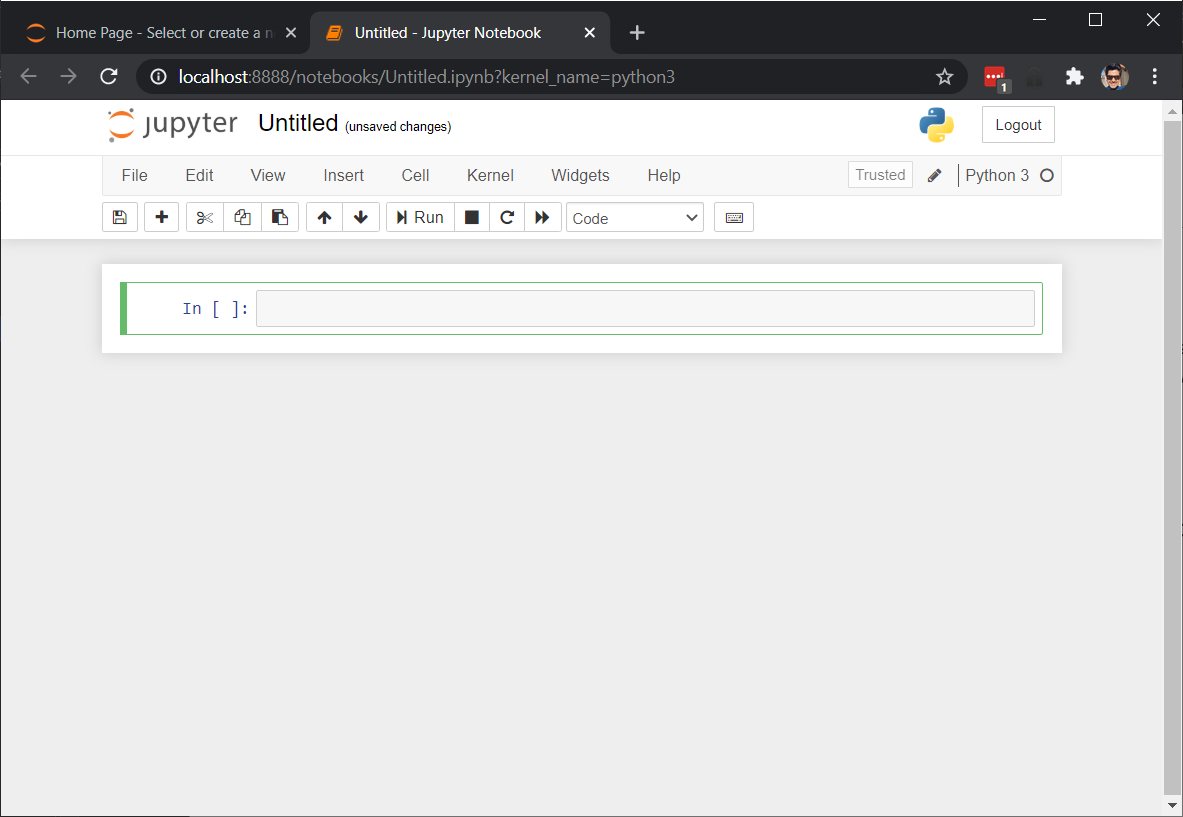
Figure 5 – Creating a notebook
Let us now go ahead and provide a suitable name for the notebook. You can click the title which is “Untitled” and provide a name according to your choice.
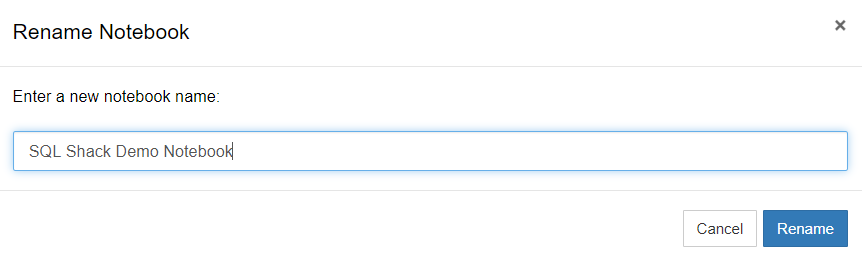
Figure 6 – Renaming the notebook
Once the notebook is renamed, you can see the title is reflected as follows.
Figure 7 – Notebook renamed
Executing the cells
So far, we have learned about the basics of the Jupyter Notebook. Now, let us go ahead and try to write some code and execute those. In these notebooks, you can write your code in individual blocks known as cells. This is helpful as you can easily isolate your coding blocks while keeping those in the same notebook. You can define a variable in one cell and then use it in a corresponding cell. This makes your code more readable as you can logically group chunks of code in a block while separating the others. By default, you are allowed to write code only for the language that you used while creating the notebook, which in this case is Python 3. Let us now write a print statement and see if it works.
|
1 |
print(‘SQL Shack Demo.’) |
Once you write your code, you can just select the Run button on the top or hit Shift + Enter on your keyboard.
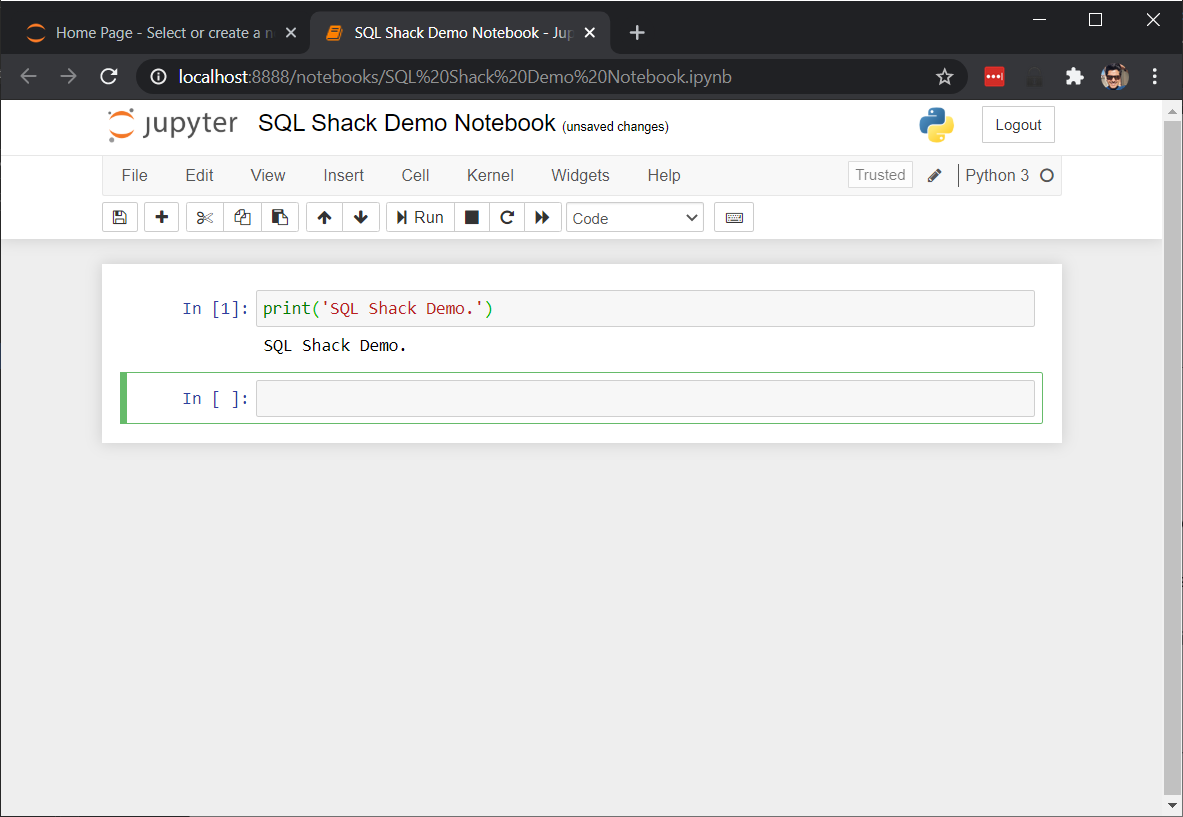
Figure 8 – Running code in Python
One thing that you might notice here is the small square braces that show up on the left of the cell with the work “ln“. This is an indication of the number of times you have executed that particular cell. For instance, if you open up a fresh notebook, then the value will be 1, however, for each subsequent run, it will be added.
Other File types supported
In addition to notebooks, you can also create text files, run the terminal, or create a directory using these notebooks.
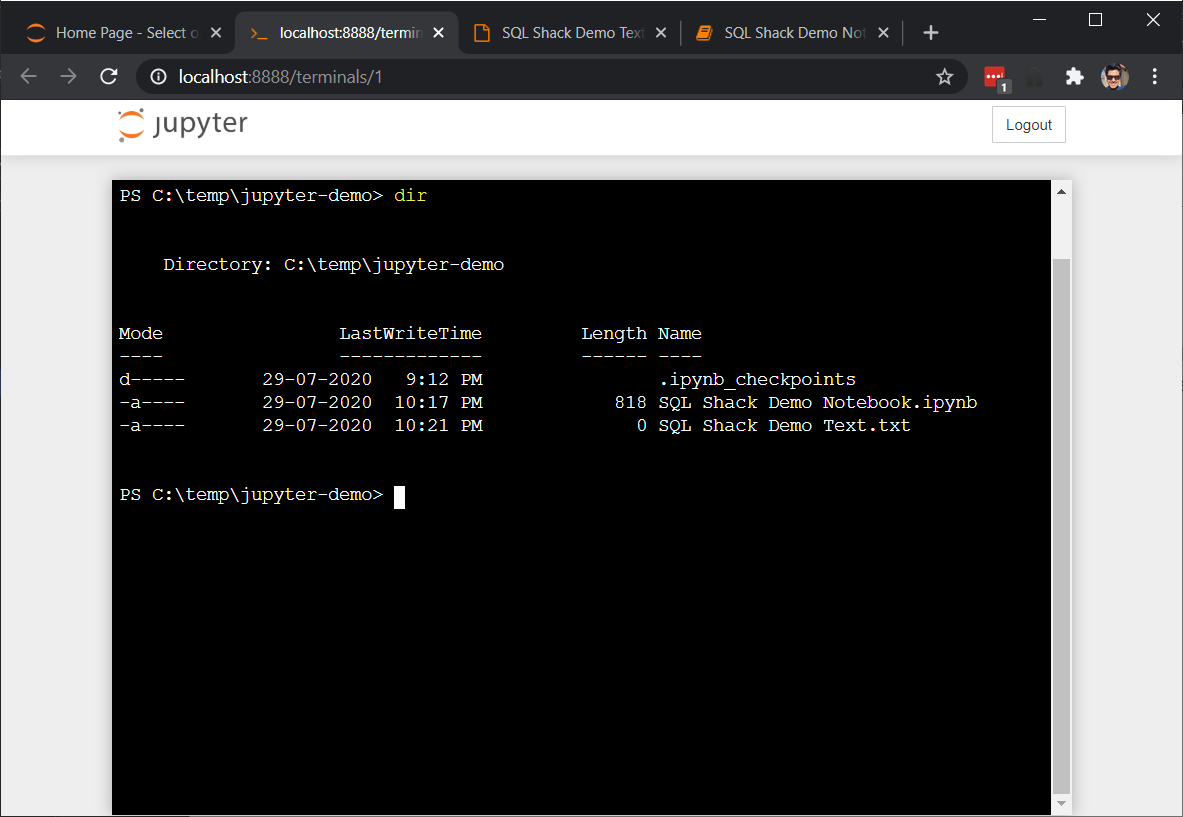
Figure 9 – Using the terminal
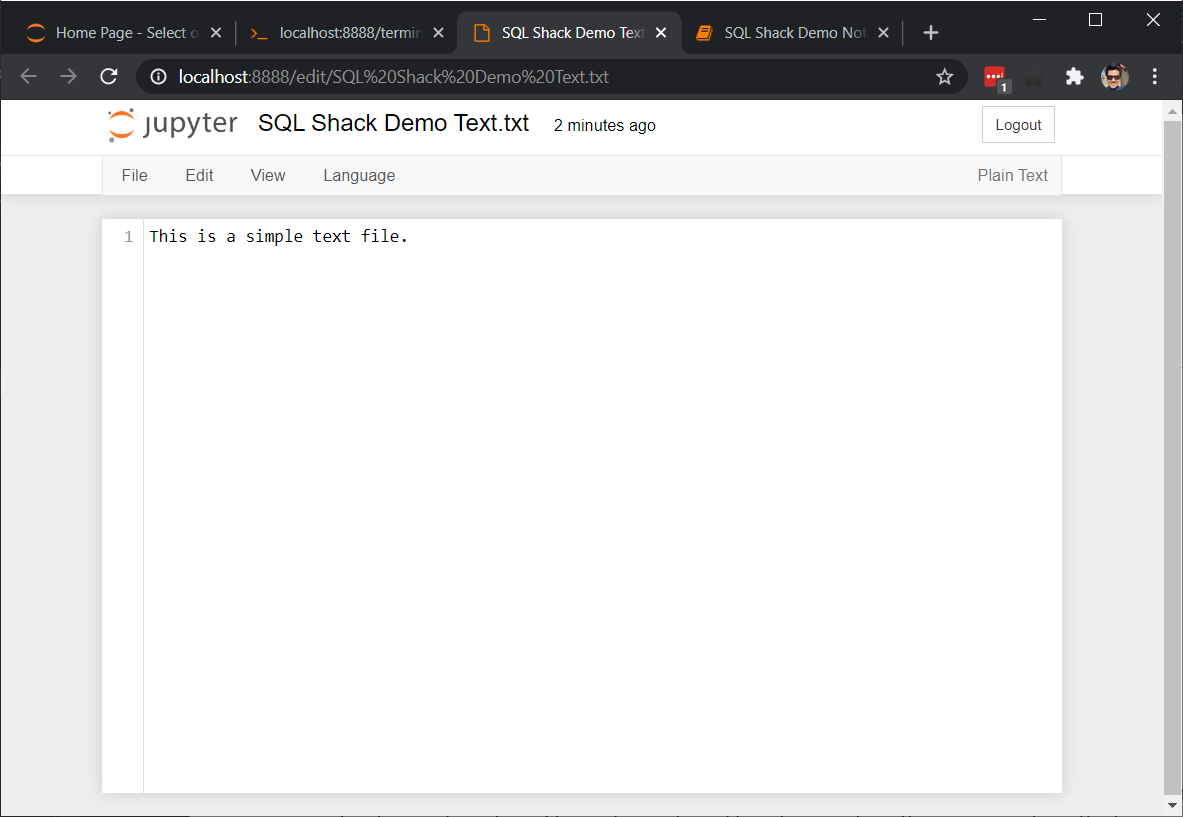
Figure 10 – Creating a text file
Styling your contents
There are a few different types of cells available in a Jupyter Notebook that you can use to style and format your document. One of which is the code, which allows us to write code in any language. The others are Markdown and Raw NB Convert. You can use the Markdown cells to style and format your entire document and it is also one of the easiest ways to do so.
Using Markdown, you can add different headings to your document, emphasize and italicize your text. You can also add list items add syntax highlighting to your code. Let us explore all of these now.
You can add heading by just adding the “#” before your title and that is it. The number of “#” defines the heading level as follows.
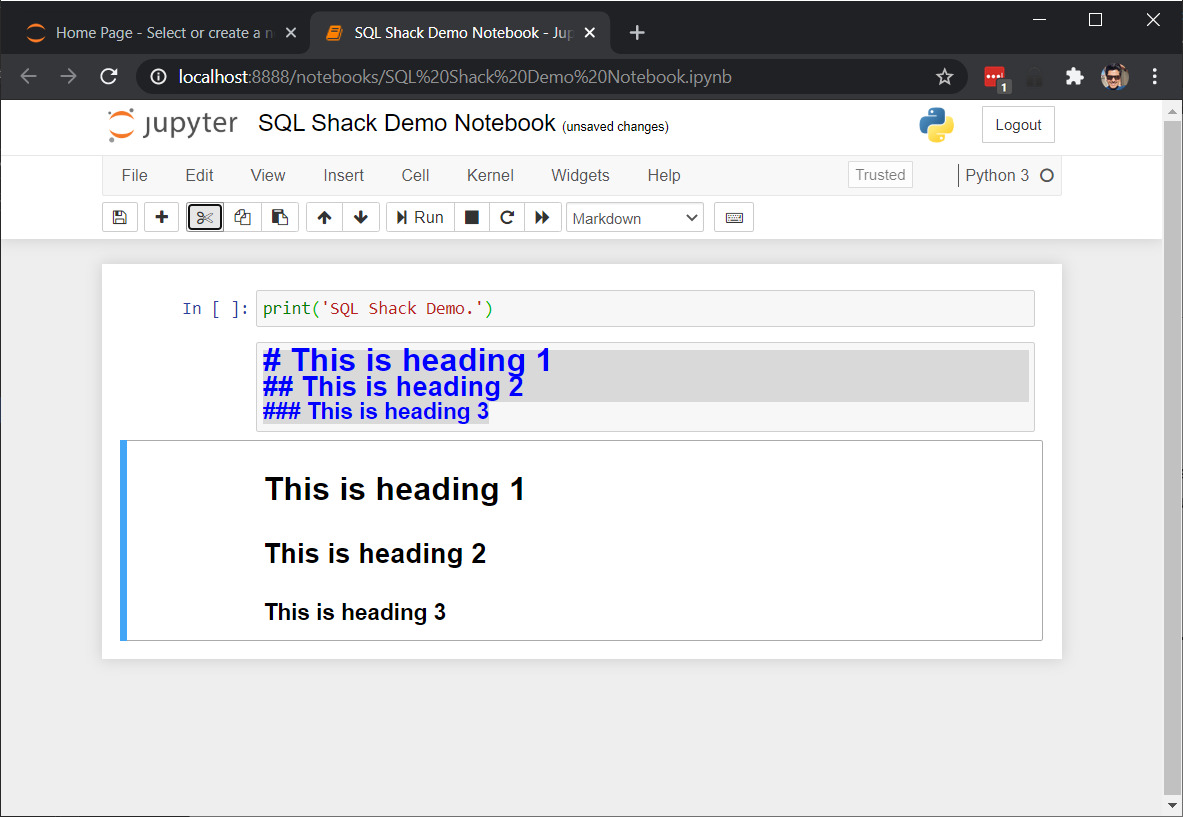
Figure 11 – Adding Headings in the notebook
You can use single “*” or “_” before and after your words to make them italicized and use double if you want your text to appear bold.
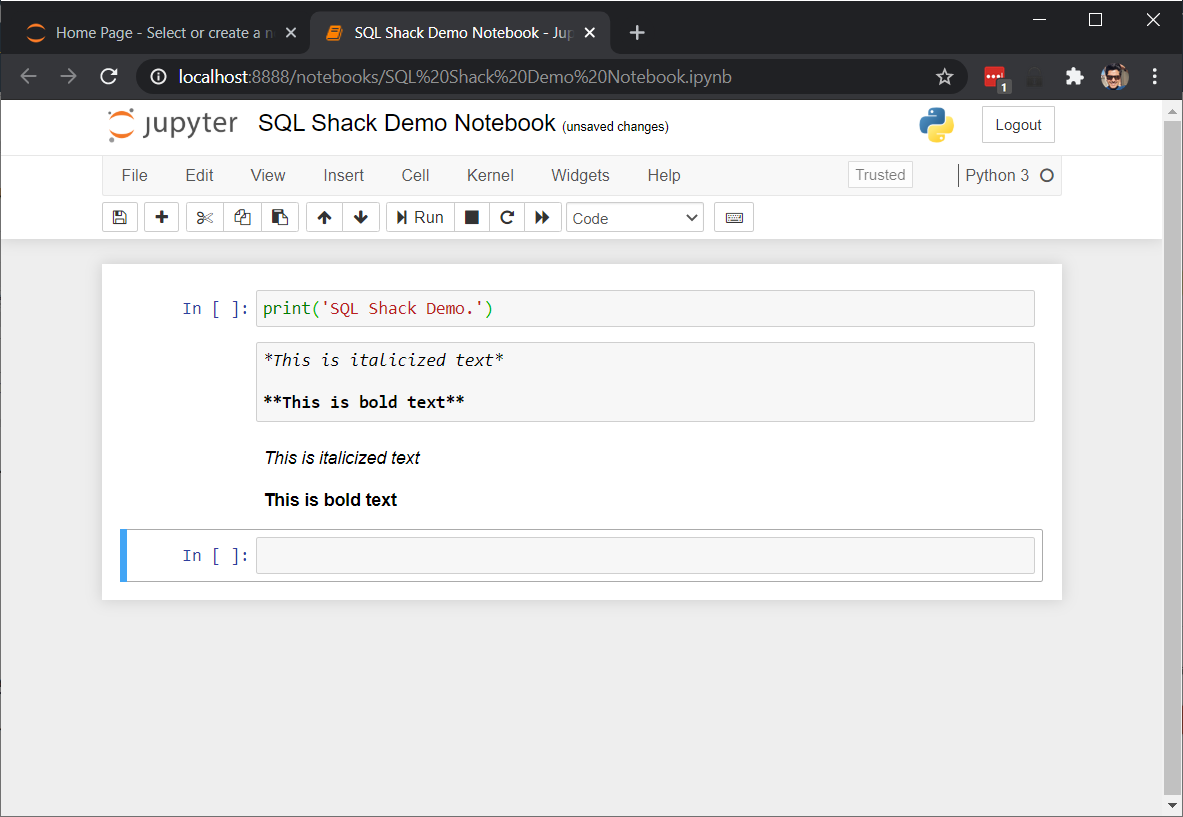
Figure 12 – Emphasizing your texts in Jupyter Notebook
If you want to add lists to your document, you can use the single “*” and start putting the items down. You can also add sub-items under your main items lists and it is quite easy.
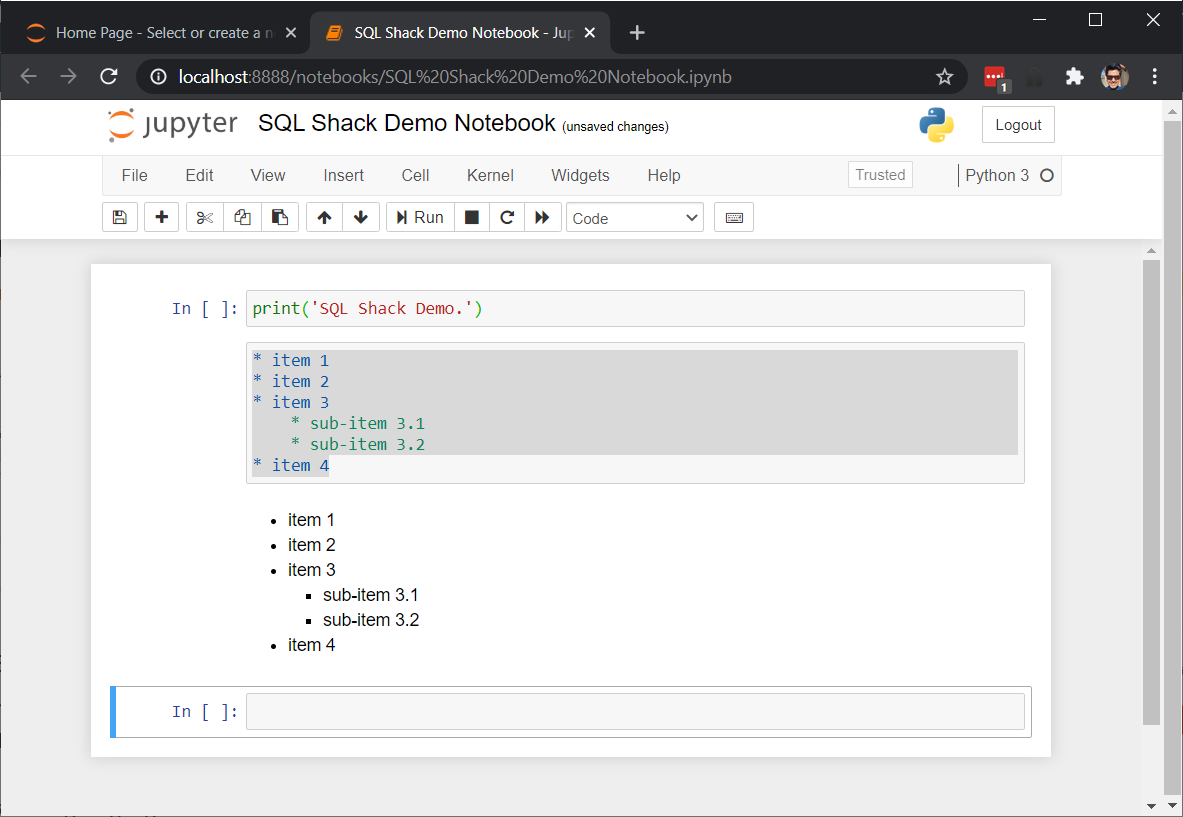
Figure 13 – Adding lists to your Jupyter Notebooks
Finally, if you want to document your code and highlight the syntax for your fellow programmers, you can make good use of Jupyter Notebooks to do so. In order to do so, you need to start with three backticks and mention the programming language that the code is going to be highlighted for.
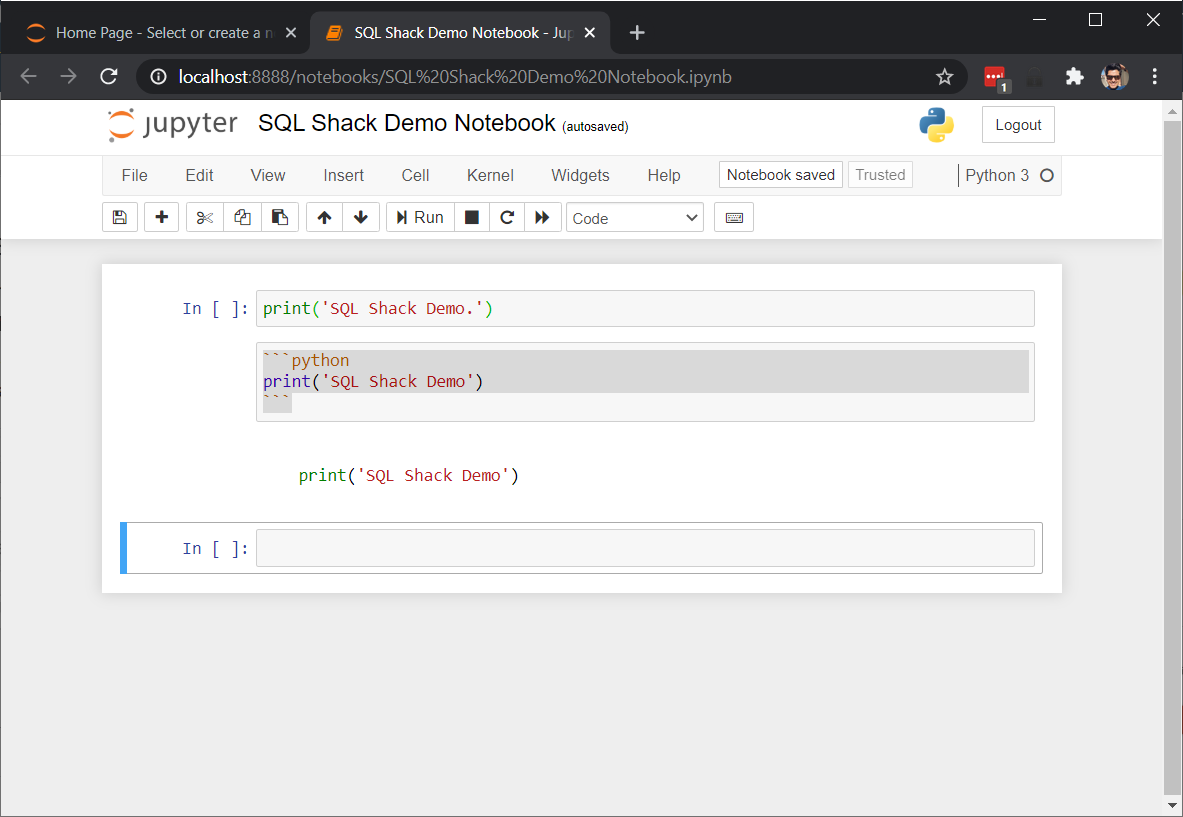
Figure 14 – Syntax highlighting in Jupyter Notebooks
Conclusion
In this article, we have understood in detail about Jupyter Notebooks and how to install the same on our development machine. I have also explained how to execute Python commands on the browser using Jupyter Notebook. When it comes to data analysis, these notebooks come in handy because you can add an explanation to your code and also can annotate those. This is much intuitive as compared to writing comments in a general code editor and is self-explanatory. Using these notebooks in your day to day life will also help you enhance your data analysis along with your documentation skills.

He is a prolific author, with over 100 articles published on various technical blogs, including his own blog, and a frequent contributor to different technical forums.
In his leisure time, he enjoys amateur photography mostly street imagery and still life. Some glimpses of his work can be found on Instagram. You can also find him on LinkedIn
View all posts by Aveek Das
- Getting started with PostgreSQL on Docker - August 12, 2022
- Getting started with Spatial Data in PostgreSQL - January 13, 2022
- An overview of Power BI Incremental Refresh - December 6, 2021