
This article talks about Azure Data Catalog and how data professionals can use it to locate, understand and consume data sources.
As the name suggests, it is a service in Azure that helps users organize, discover and register data sources. This fully managed cloud service acts as a central shared place in an organization for developers, analysts, data scientists and users to contribute their knowledge and help to locate, understand and consume data.
Data Catalog in Azure does not move data and it remains in its existing location, a copy of its structural and descriptive metadata is added to the Data Catalog, along with a reference to the data-source location. This metadata is indexed making the data easily searchable.
Why do we need an Azure Data Catalog?
- Companies are generating and storing boatloads of data every day, and with this fast-growing data, discovering data sources are challenging for both data producers and data consumers
- It becomes highly complex and time-consuming to create and maintain documentation of large data sources
- There is always some volume of tribal knowledge (information that is known within a company) that exists within an organization and it becomes little challenging for a newcomer in the company to seek all this knowledge. Azure Data Catalog rightly addresses this issue by providing a platform to gain information about the data and hence, it makes data sources easily discoverable and understandable
- With Data Catalog, developers no longer have to spend time looking and searching data using complex queries
Azure Data Catalog process involves:
Below are the steps that are usually followed as we proceed in the Data Catalog:
- Create a data catalog – this is the first step to provision a Data Catalog
- Register and annotate assets – Users can register their data sources, and also add annotations with tags, documents and understandable descriptions
- Discover and consume assets – Users can easily search and filter assets with indexed metadata
- Connect to Data – This lets you connect and pull data into various tools like Excel, Power BI, SSDT etc.
Important points to remember while working with Azure Data Catalog
To set up a Data Catalog, you are supposed to be the owner or co-owner of an Azure subscription.
Only one Data Catalog is supported per organization (i.e. per tenant) and you cannot have additional catalogs even if you have multiple subscriptions.
Data Catalog only supports work or school accounts, so in order to create a data catalog in Azure, you need to have a work or school account.
Without any further delay, let’s see Azure Data Catalog in action –
This article assumes you have basic knowledge of Azure, familiar with working with Azure SQL database and have an Azure Subscription.
How to create an Azure Data Catalog?
You can create Data Catalog like any other Azure resource through the Azure portal. Go to the portal, search for Data Catalog, and mention a name for your data catalog. You will also have to specify the subscription name, the location for the catalog, and the pricing tier (free or standard edition). Then select Create. Finally, go to the Azure Data Catalog home page and select Publish Data.

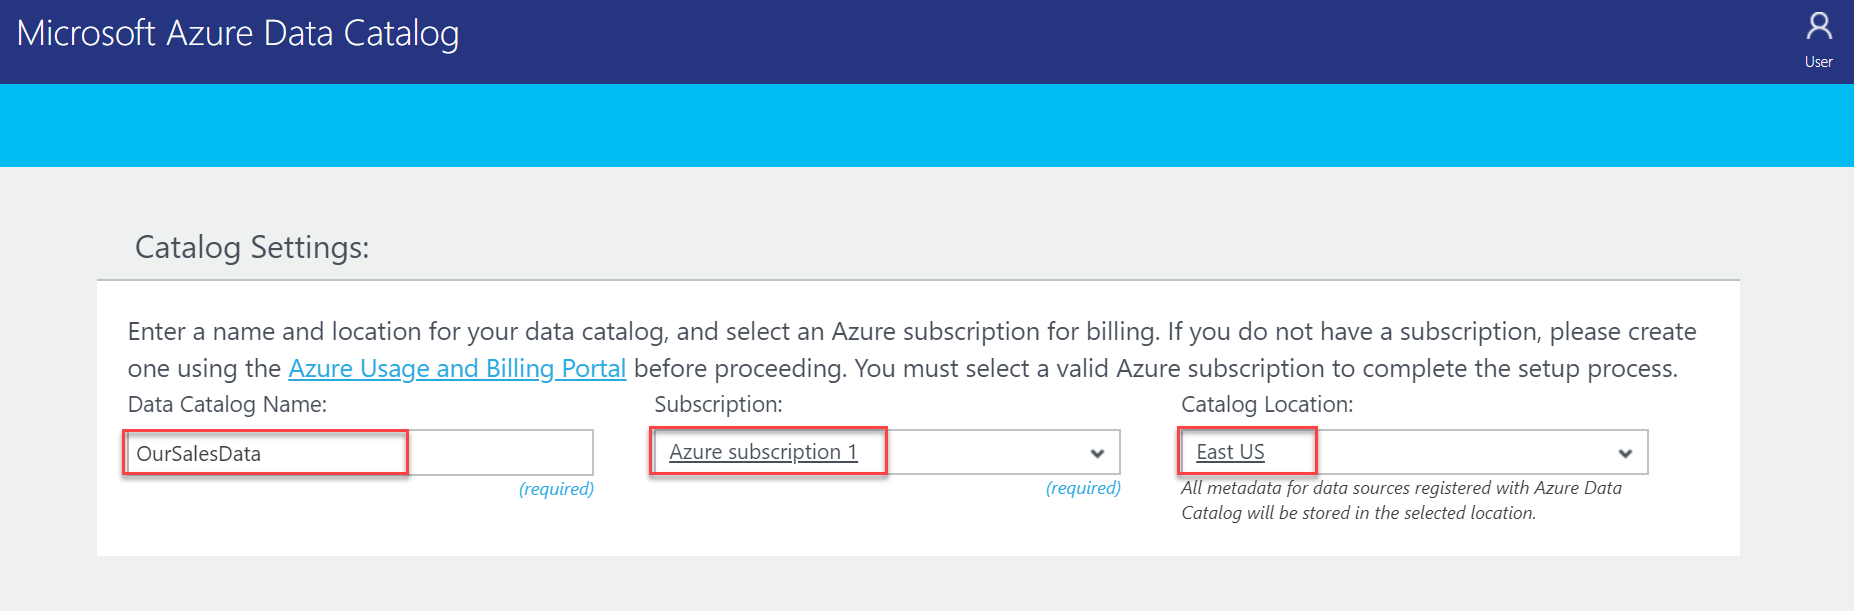
Alternatively, you can go to the Azure Data Catalog provision page, and type in Data Catalog Name, the subscription you may want to use, and the location for the catalog as shown below.
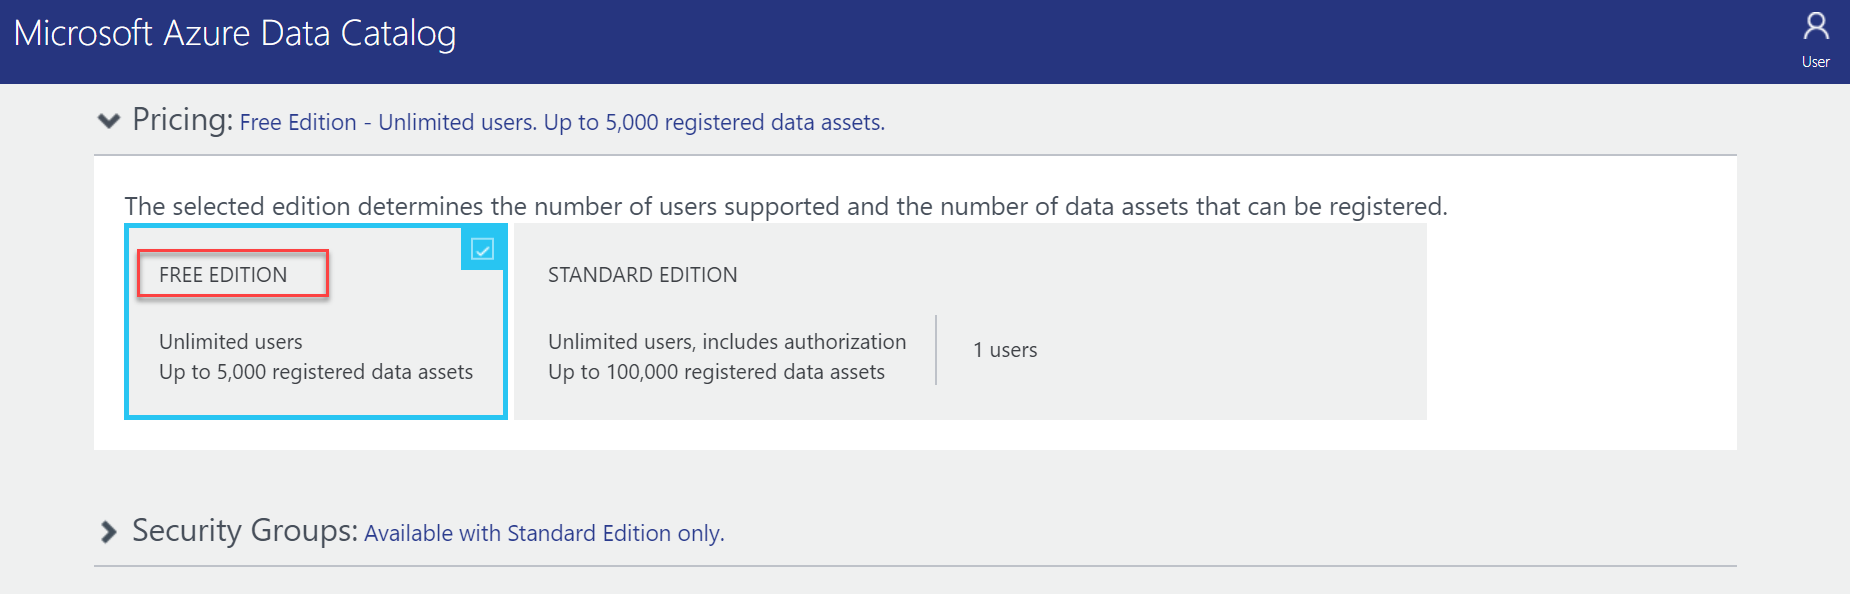
Scroll a little down to select the Pricing, this service is offered in two editions. For this demo, I am selecting the FREE EDITION.
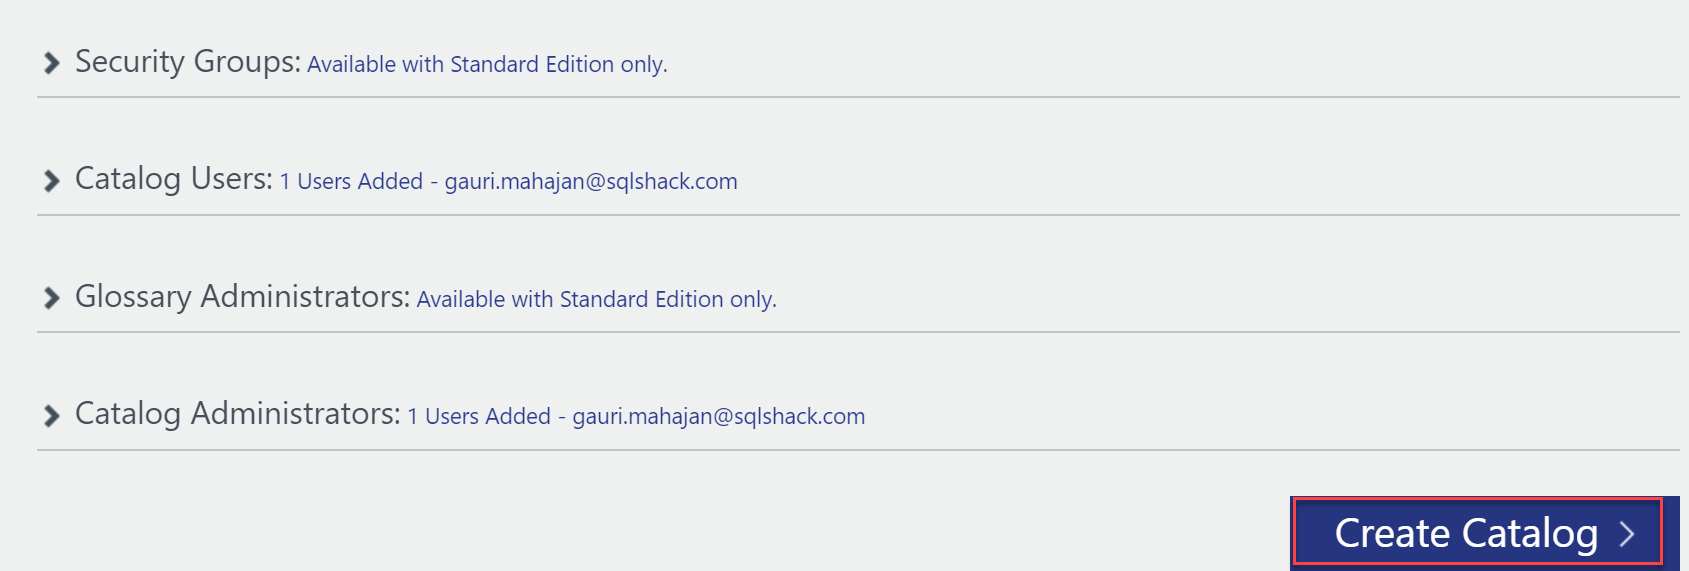
I am keeping everything as default for the below categories, your ID is automatically added as a catalog user and an administrator. You can further add catalog users and catalog administrators to the catalog. And finally, click Create Catalog to create a Data Catalog named, OurSalesData in Azure.
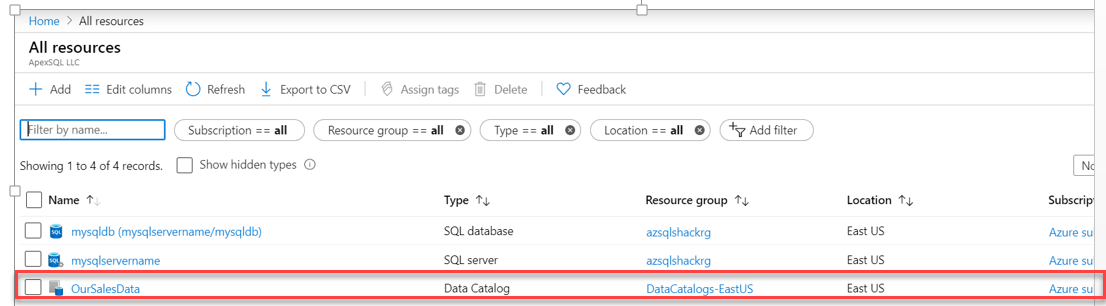
The Data Catalog is successfully created and you can view the same in the Azure portal as shown below. Resource group, DataCatalogs-EastUS is created automatically and the catalog resides in this. Also, if you notice, I already have SQL Server and SQL database resources created in my account.
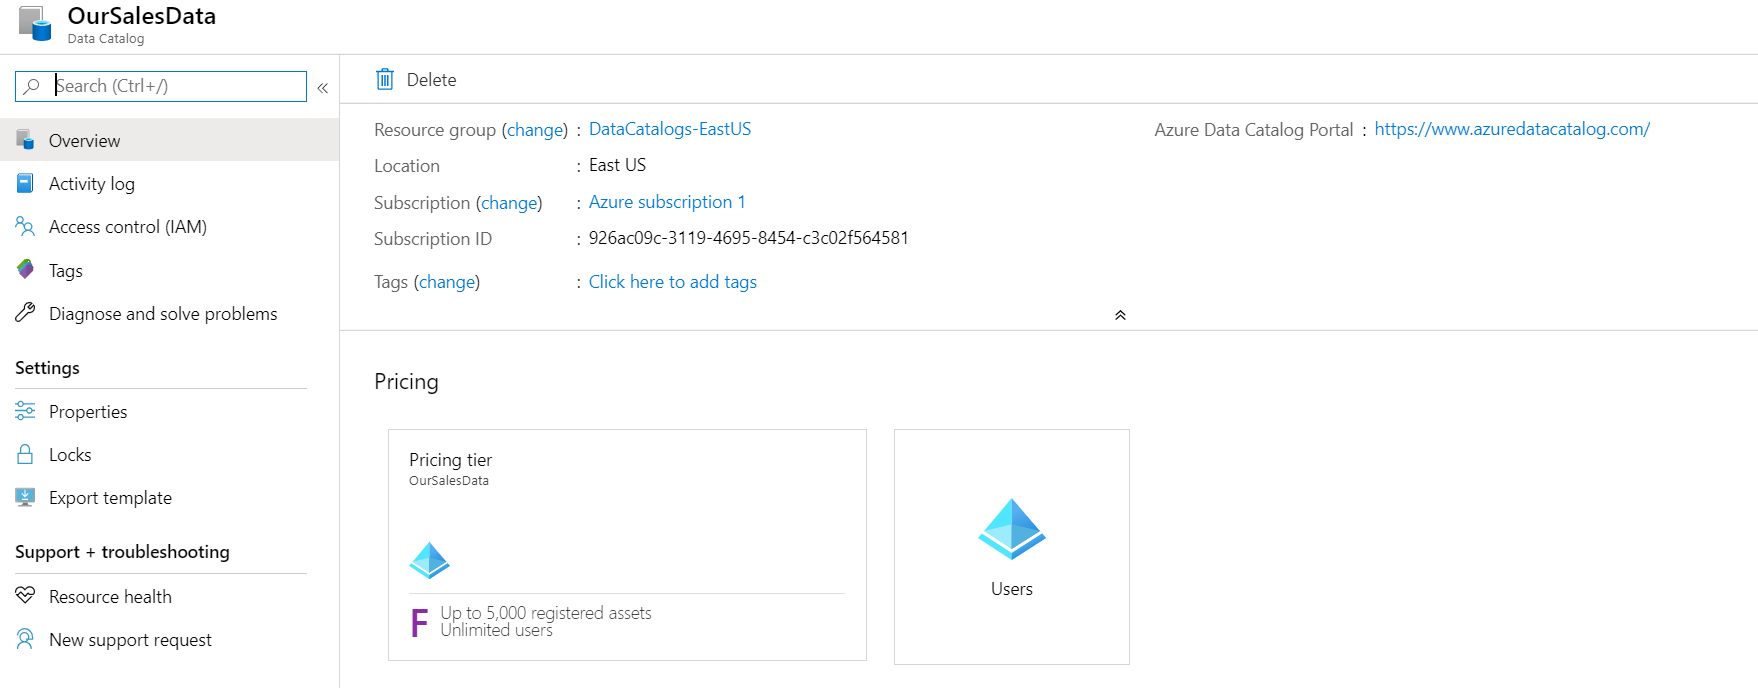
Click on the Data Catalog to view properties of the catalog and you can also edit them.
Launch the desktop application to register your data sources in Azure Data Catalog
Now coming back to the Data Catalog page, after clicking on Create Catalog button above, you will be taken to the below screen.
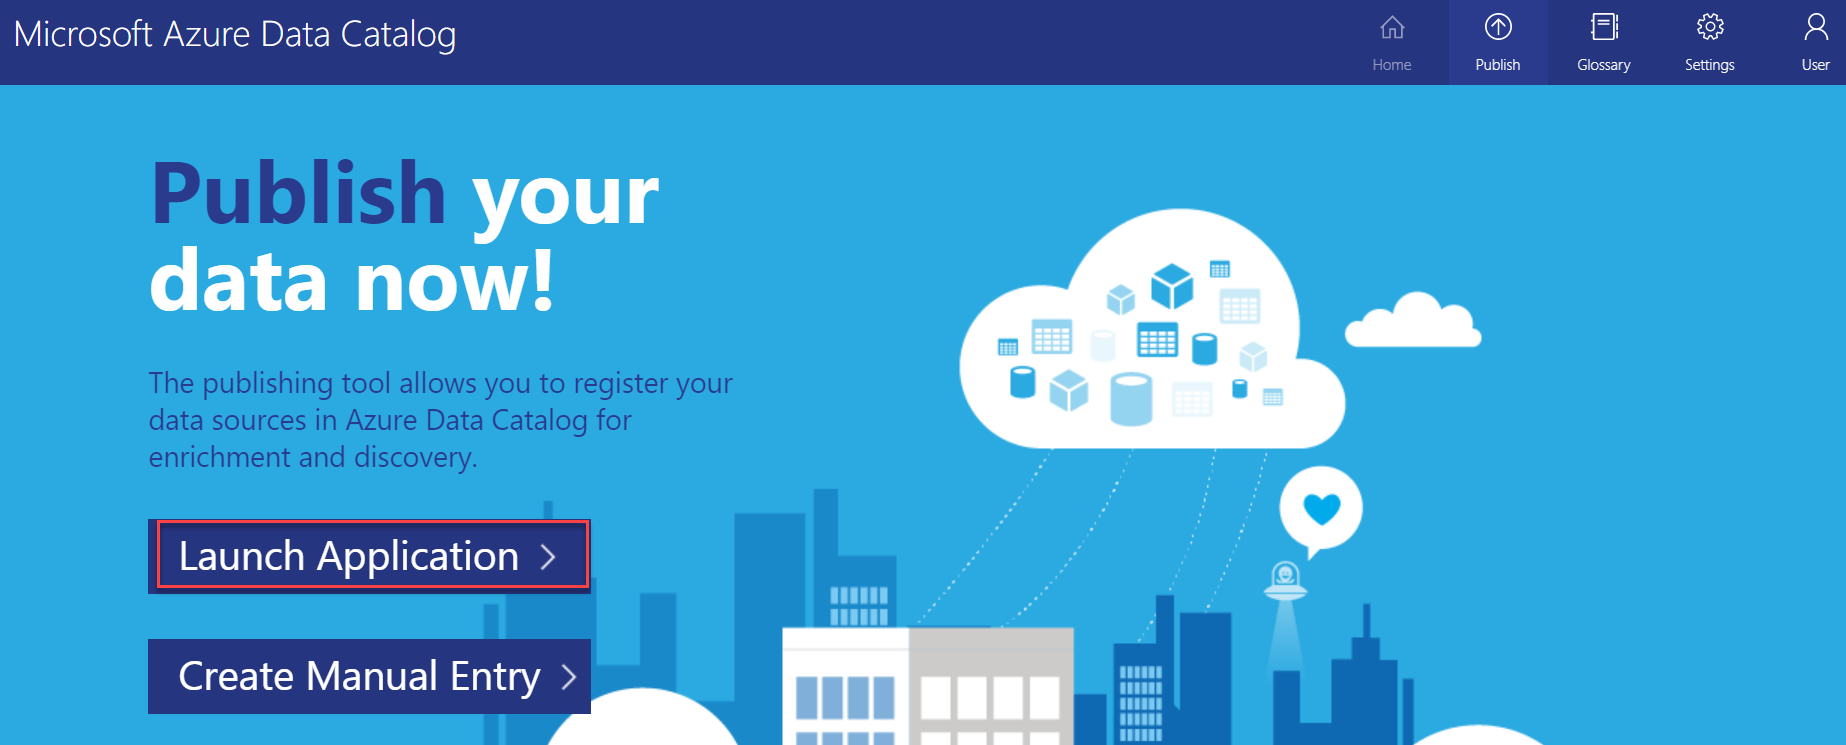
There are two options with which you can register or publish your data sources in the Data Catalog, – Launch Application and Create Manual Entry. I personally do not prefer the “Create Manual Entry” option, as it would be a challenging and time-consuming activity for larger data sources. It is better to go with the “Launch Application” option as it is just a click-once application.
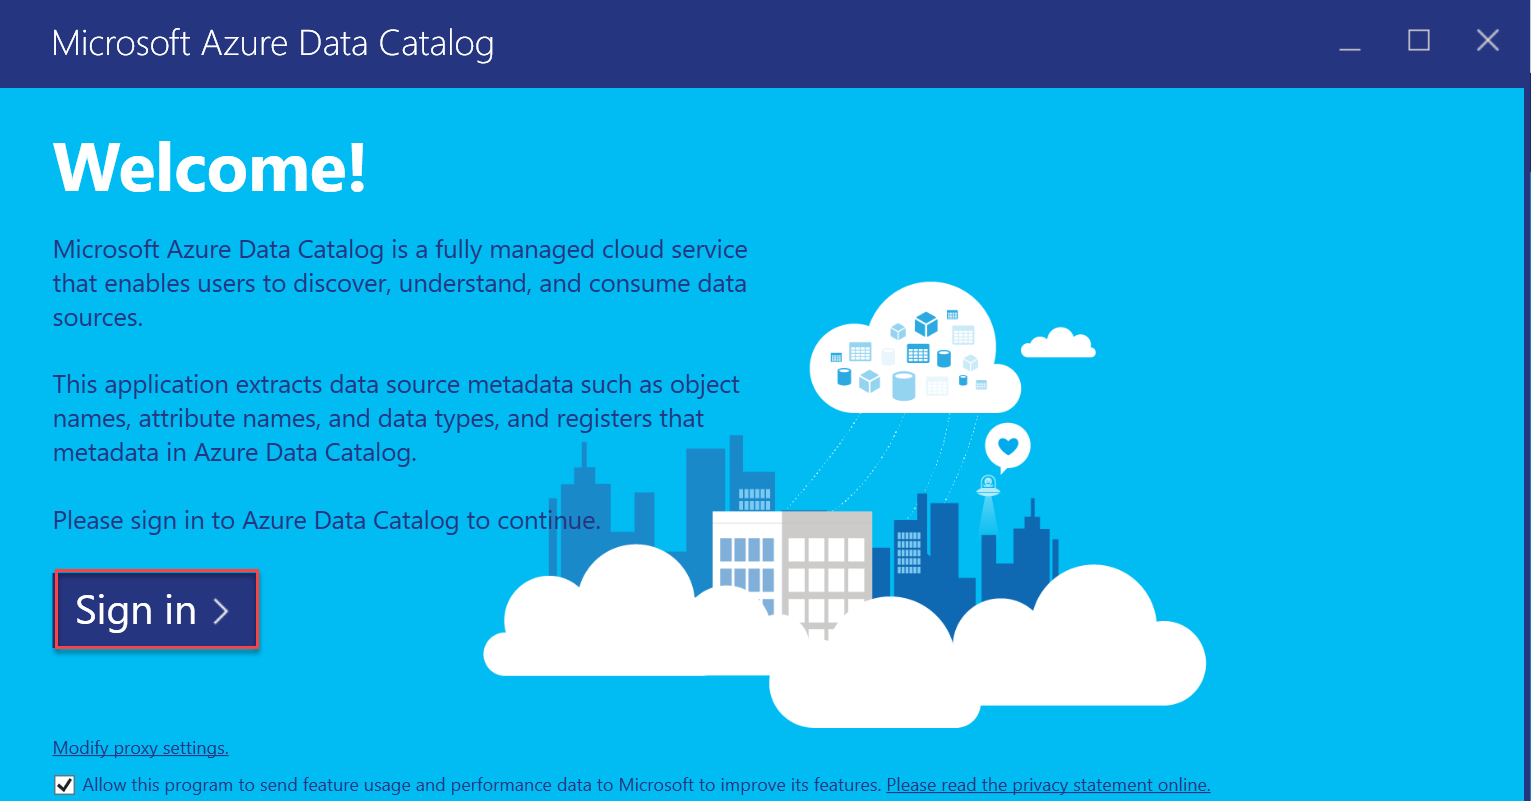
Install this application:

Once, this application is successfully installed, you are brought in to the Sign in page. Sign-in using the same credentials that you used to access the catalog in the portal.
Selecting a data source
Let’s head over to select a data source in order to register it in your Data Catalog.
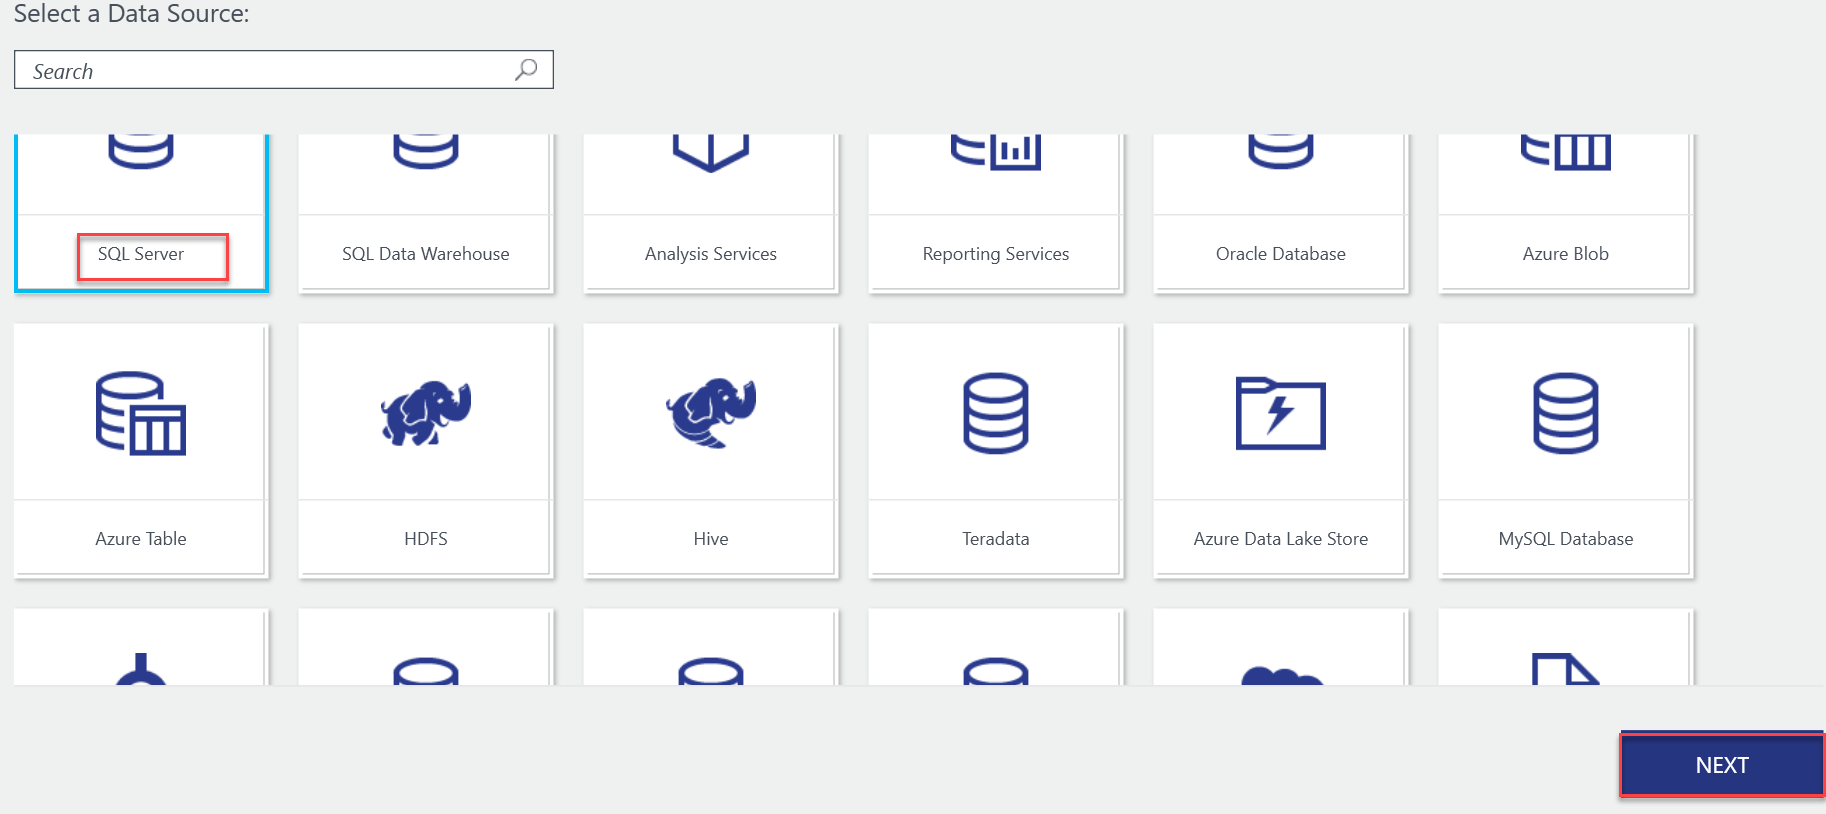
You can register tons of data sources like SQL Server, Reporting Services, HDFS, Hive, HANA database, Azure Data Lake Analytics etc. as shown below in the Data Catalog. Since I already have a SQL database in my account, I will go with SQL Server as the data source. Click on SQL Server and select NEXT.
Provide SQL Server Name, the authentication Type, and also the database (mysqldb, in this case) that you want to register and click CONNECT.

Register a data source in Azure Data Catalog
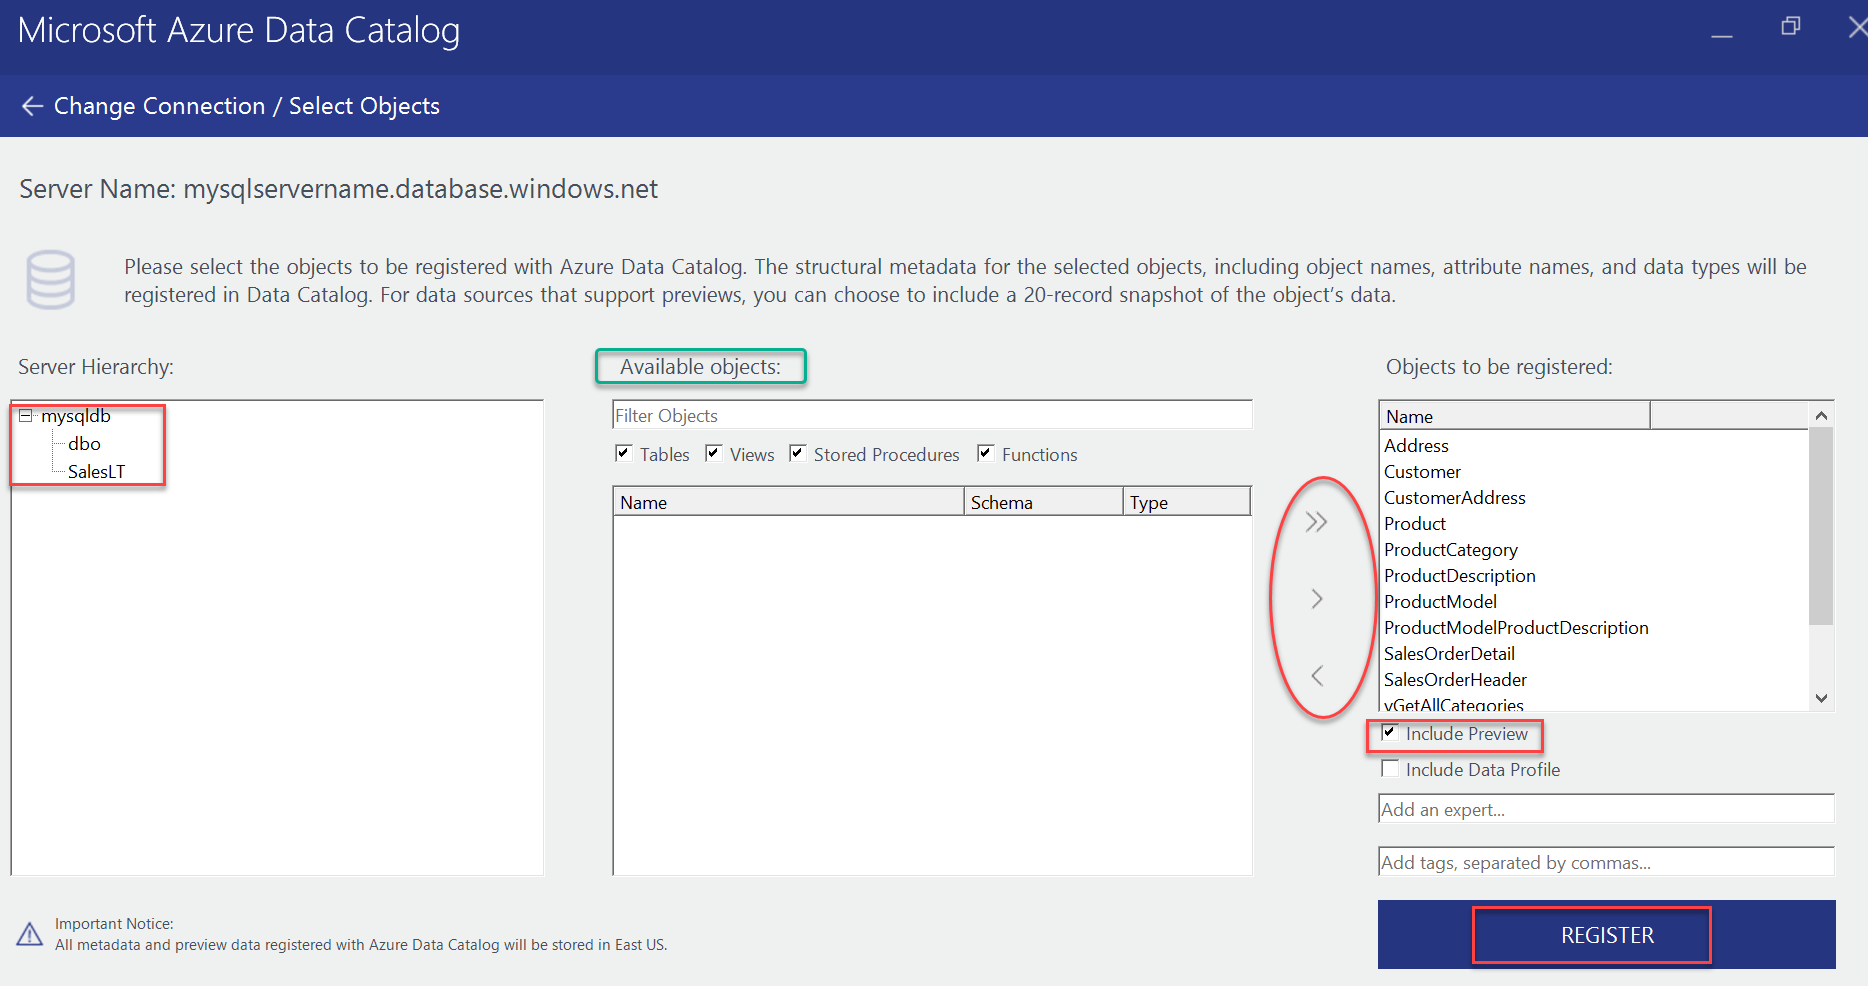
Expand your database and select SalesLT, you will be provided with all the objects under Available objects that you want to register in your data catalog. I have selected all of them using a double right arrow (>>). Also, click on Include Preview option to preview sample data later.
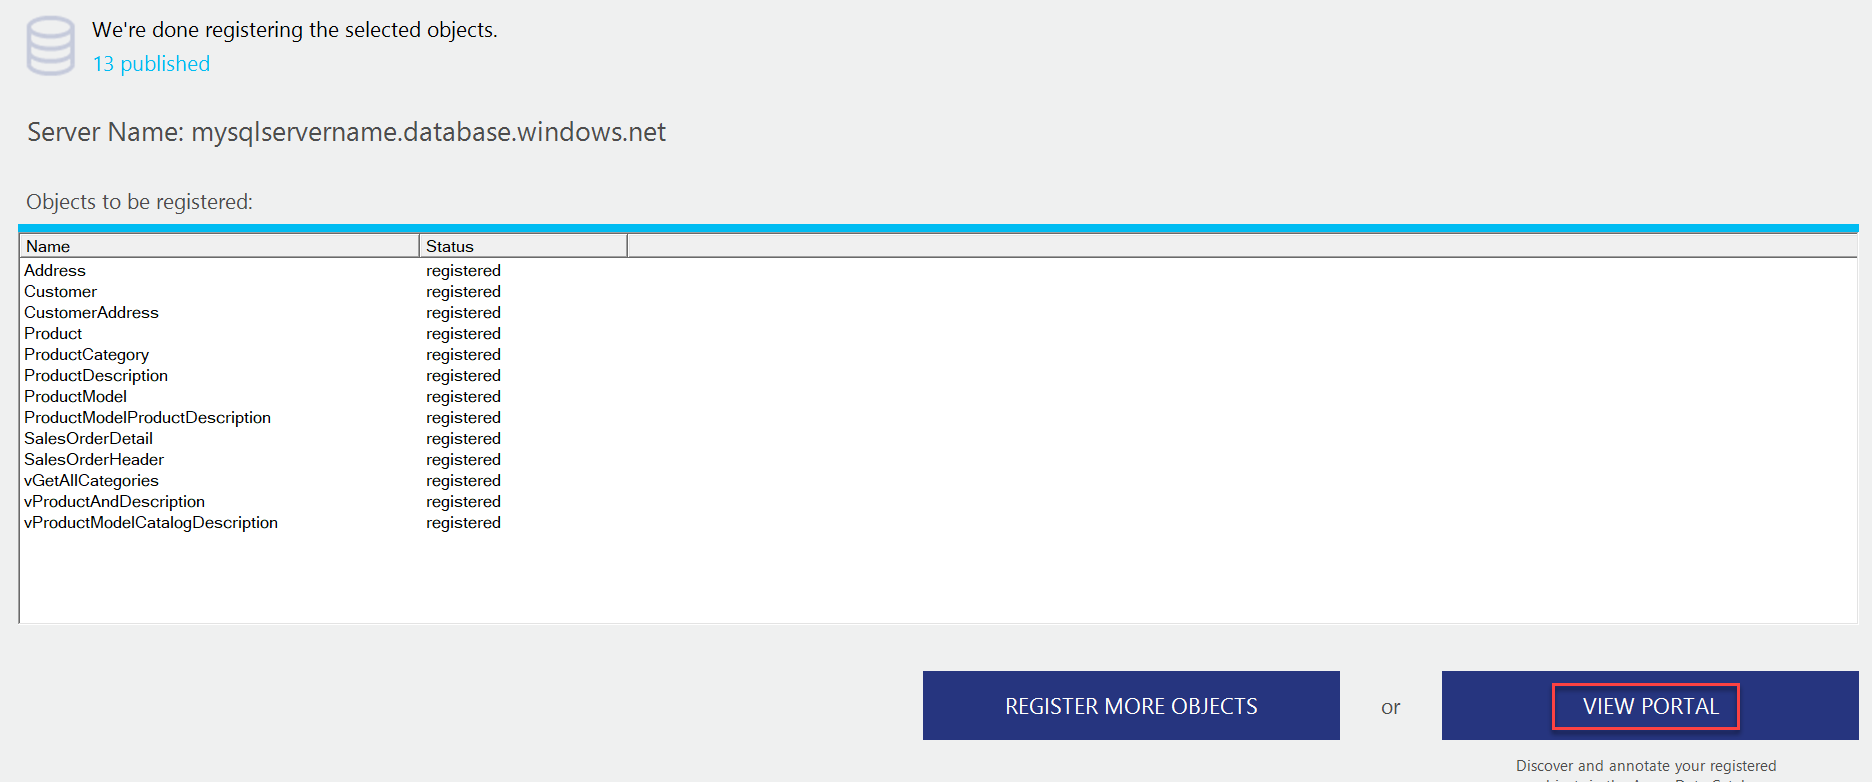
The registration of objects has been done and you can also register more objects using ‘register more objects’ option. For now, let’s click on VIEW PORTAL to discover our data.
How to discover and annotate data sources in an Azure Data Catalog
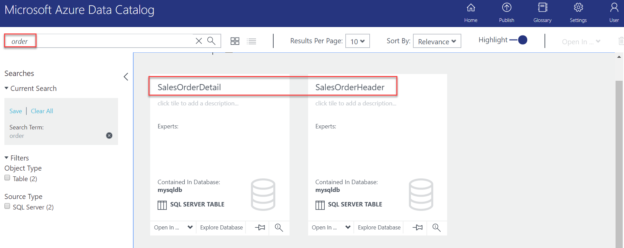
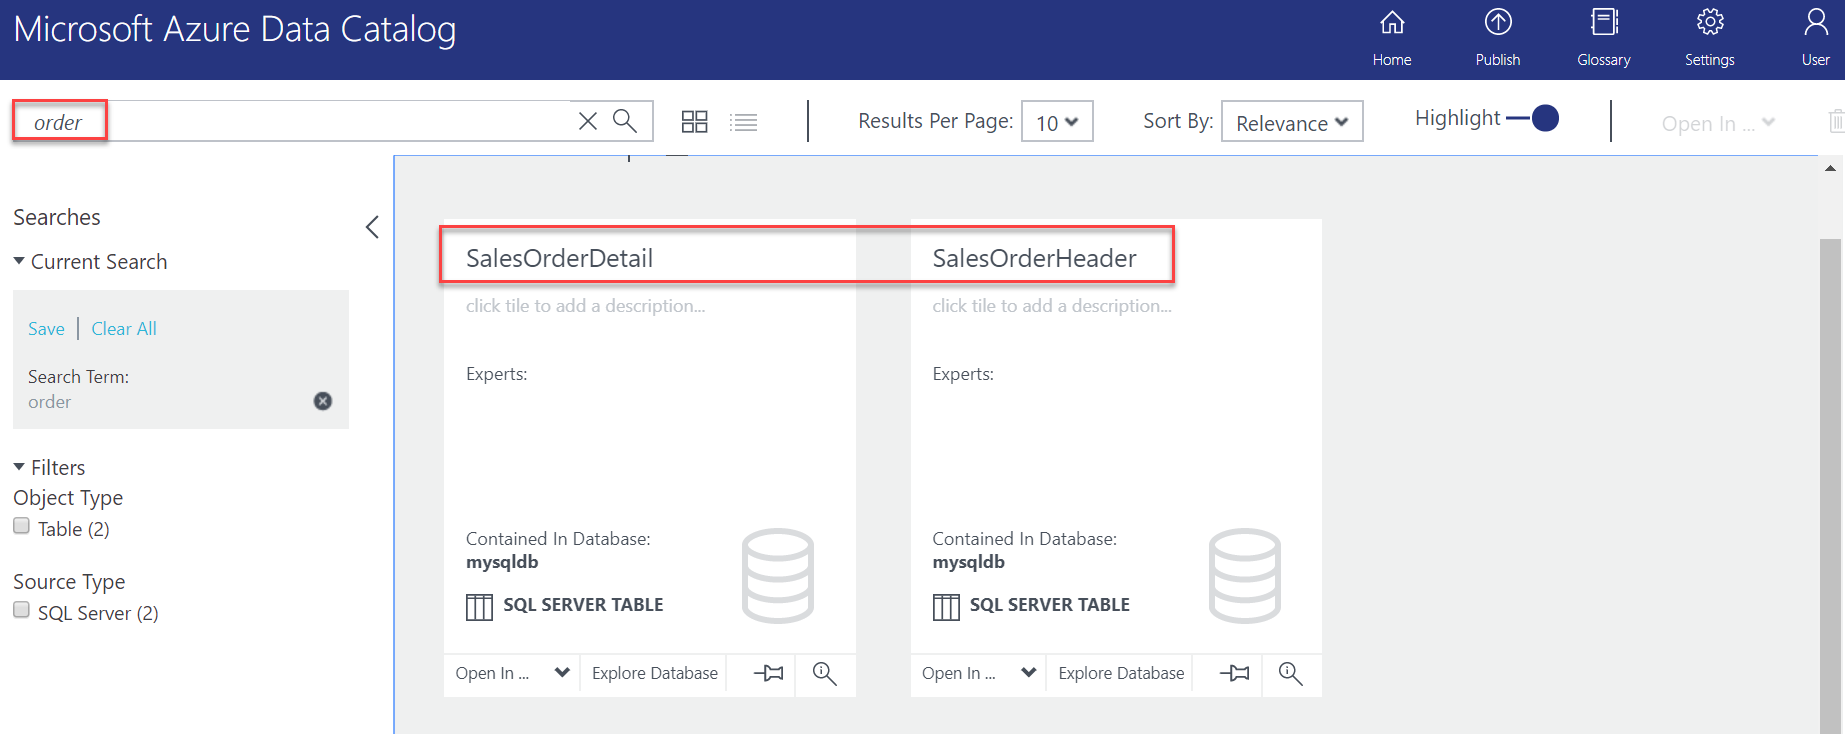
Suppose that we want to look for the information related to any order in the database, for this, you can type ‘order’ in the search bar and you will find two SQL Server tables related to orders.
You can further annotate this data asset by providing a friendly name (I have typed in OrdersIn2020 as a friendly name), some description, who is the expert, etc. in the Properties tab as shown below.
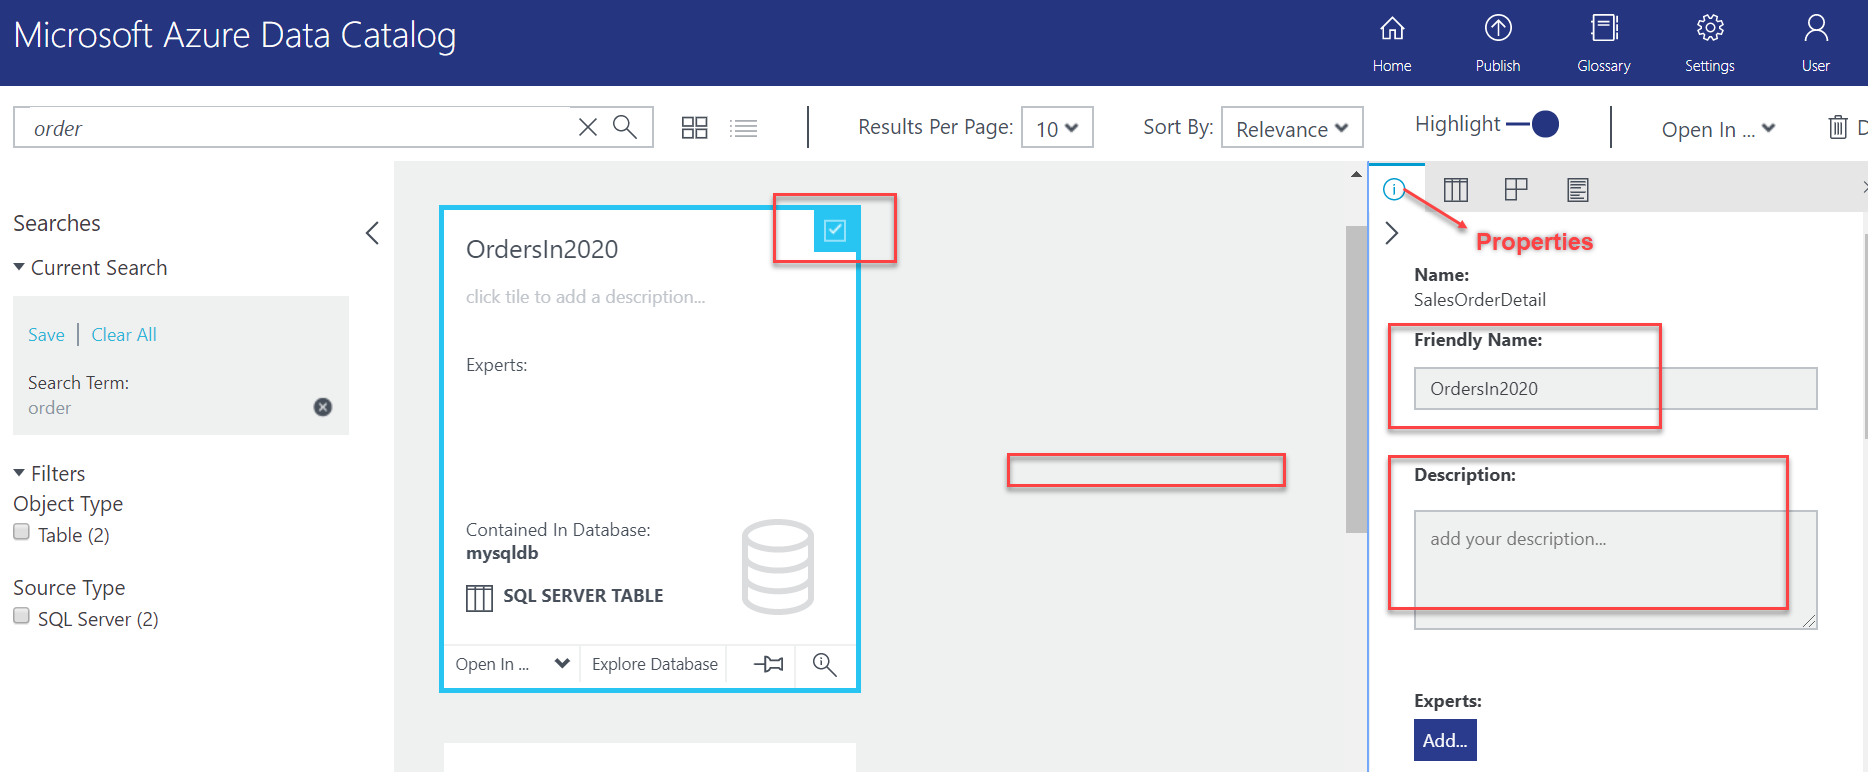
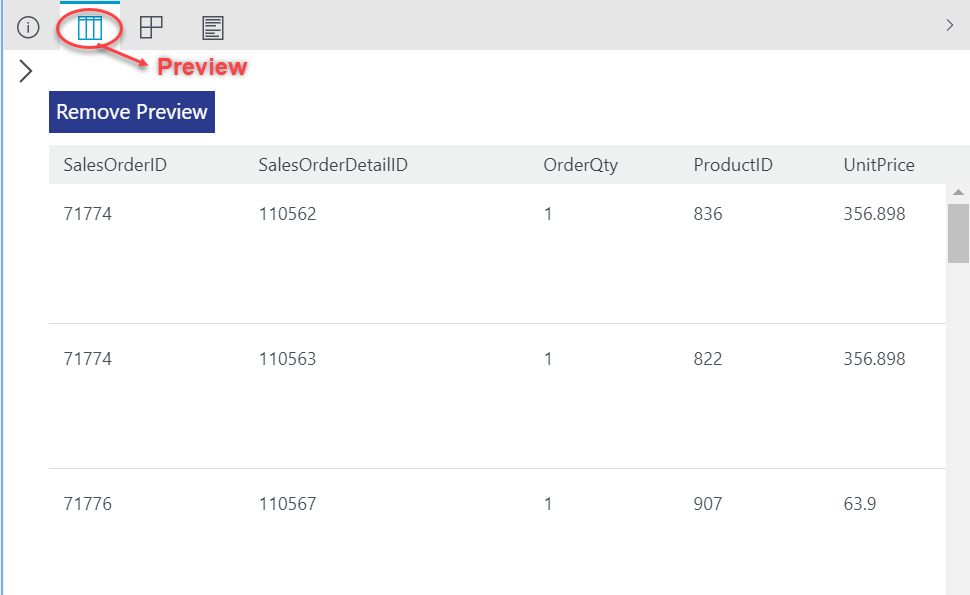
Click on the Preview icon to view a sample of the data it contains.
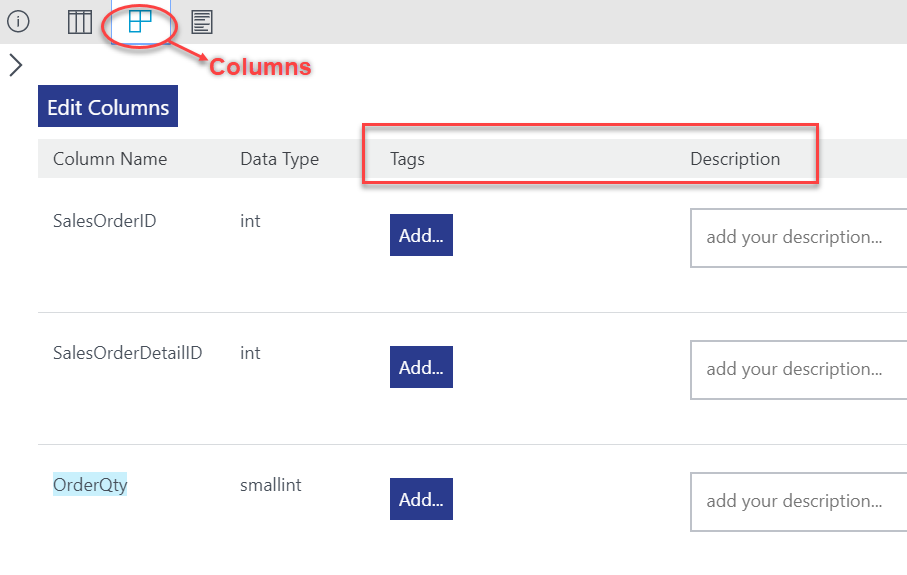
We can also add meaningful descriptions and tags to all the columns present in the table in the Columns tab. This will not only help us know where the attribute is located but also depicts what this data attribute is all about.
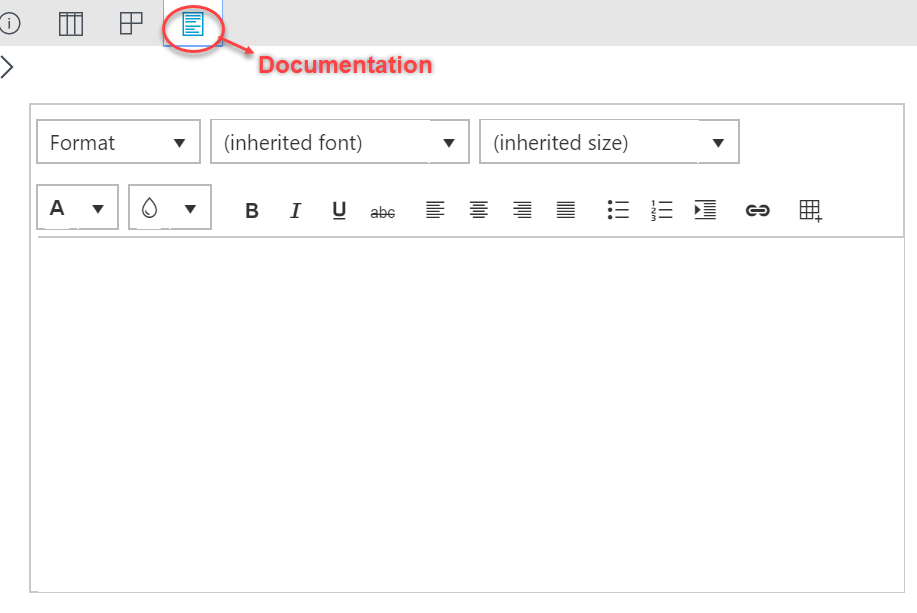
At times, tags and descriptions are not enough to provide a clear understanding of the data asset. To make it more understandable for data consumers, you can add documentation related to this data asset in the Documentation tab as shown below. This will help provide a complete and detailed explanation of data assets.
How to connect to data sources in an Azure Data Catalog
Once we are done registering, locating and annotating data, we can also connect to the data source using Data Catalog service. This service offers multiple options to connect to a data source. You can do so by clicking the ‘Open In …’ icon in the horizontal tile. You will find, we can connect our data source to Excel, SSDT and Power BI.
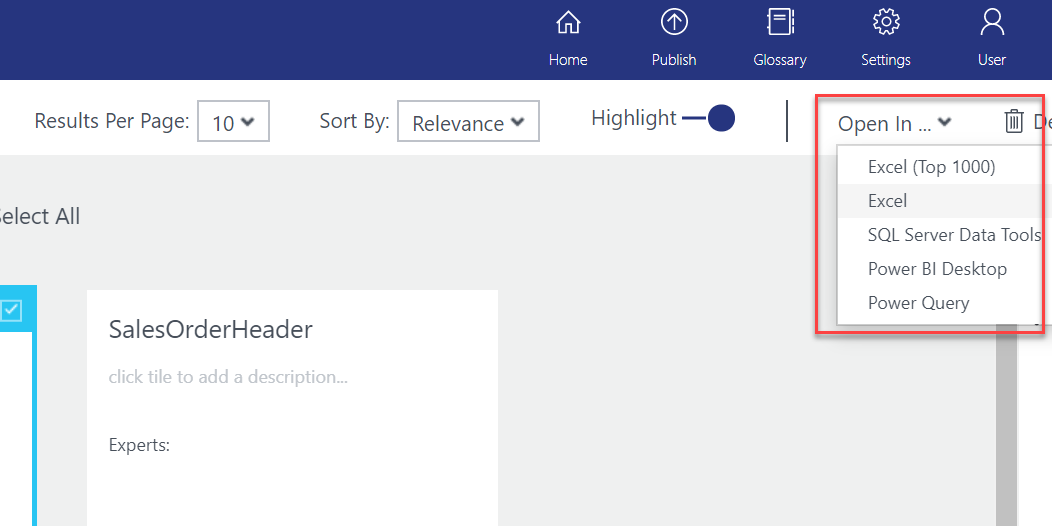
To connect this data source in Power BI Desktop (provided Power BI Desktop is installed on the client computer), click the Power BI Desktop option from the contextual menu.
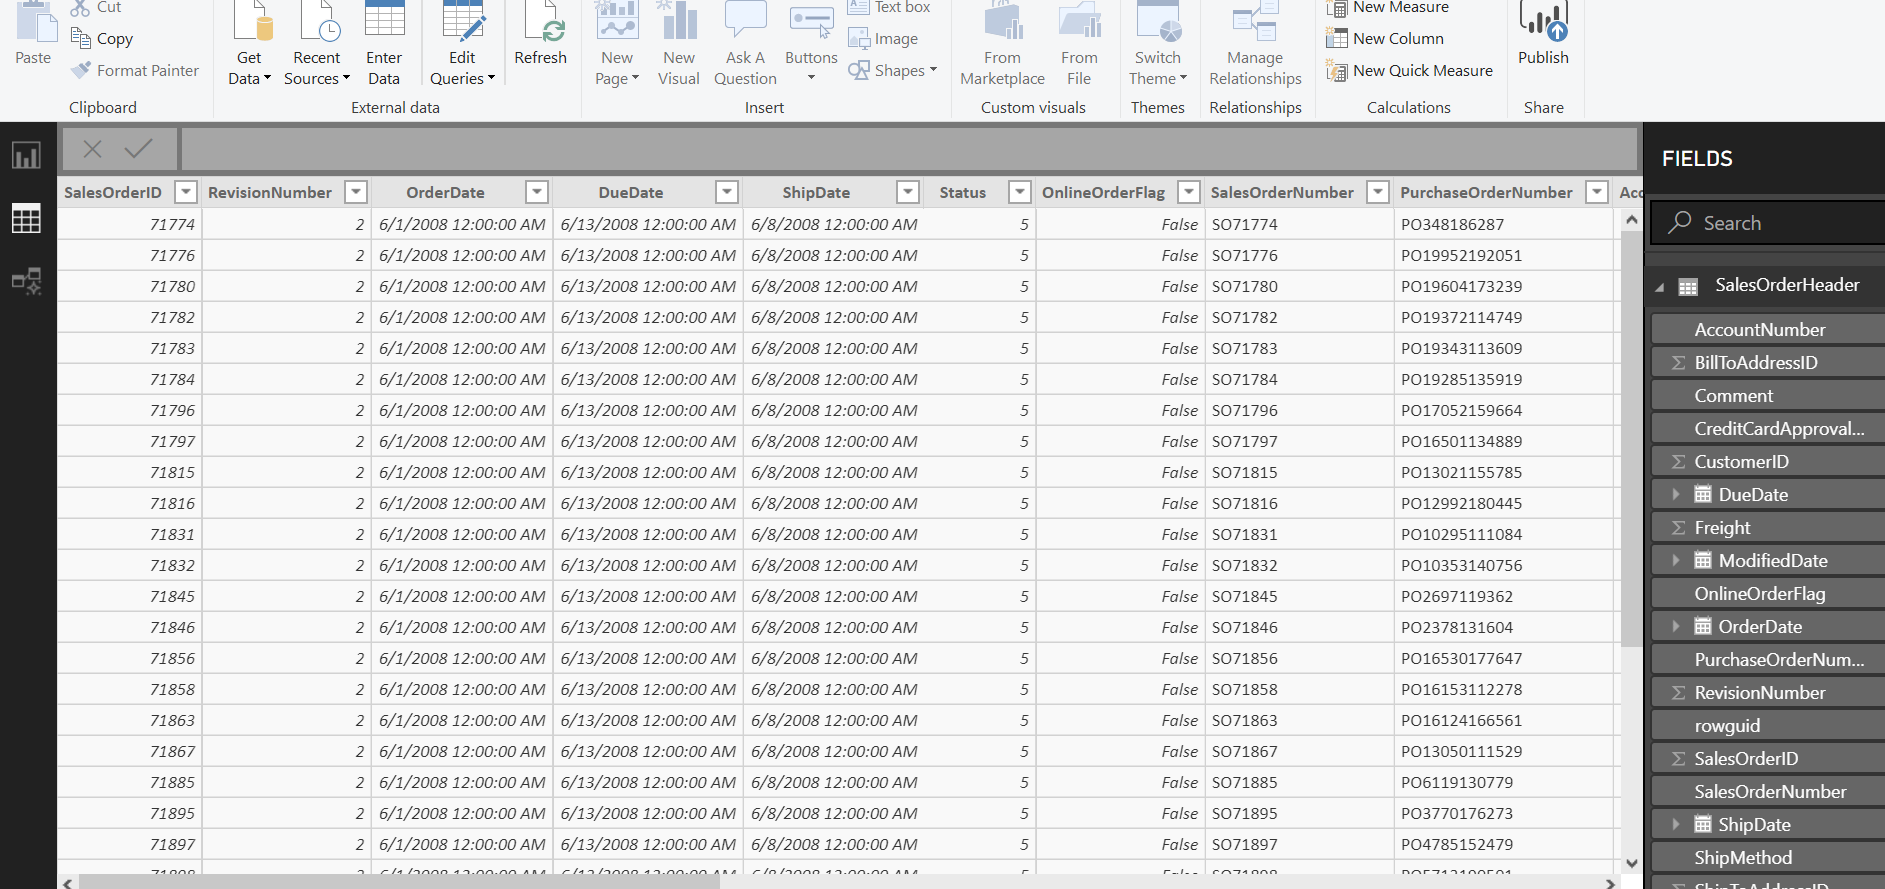
Data users can now view, analyze and visualize their data in the Power BI Desktop app as shown below.
You can also go over this Microsoft documentation, to know more about Data Catalog service in Azure.
Conclusion
We discussed important facts about Azure Data Catalog in this short article. Along the way, we also saw how this tool makes the lives of users easier by discovering, understanding and consuming data sources. If you have any questions, please feel free to ask in the comments section below.

She has a deep experience in designing data and analytics solutions and ensuring its stability, reliability, and performance. She is also certified in SQL Server and have passed certifications like 70-463: Implementing Data Warehouses with Microsoft SQL Server.
View all posts by Gauri Mahajan
- Oracle Substring function overview with examples - June 19, 2024
- Introduction to the SQL Standard Deviation function - April 21, 2023
- A quick overview of MySQL foreign key with examples - February 7, 2023