In the previous article of the series, we took an overview of PolyBase in SQL Server 2017. We also learned about the Azure Data Studio and SQL Server 2019 preview extension to explore SQL Server 2019 features.
In this article, we will use PolyBase to connect to the Oracle database and see how we can create external tables pointing to the Oracle database and access data without moving the data into the SQL Server 2019 database.
Therefore, in this article, we will explore below topics
- Install Oracle Express Edition database
- Insert Sample database into the DB
- Create an external table using Azure SQL Data Studio
- Access data table from an external table pointing to Oracle DB
Install Oracle Express Edition database
Firstly, we will install Oracle Express Edition 11g Release 2 and prepare a sample database and tables. Later we will use access to this table from the SQL Server 2019 using an external table.
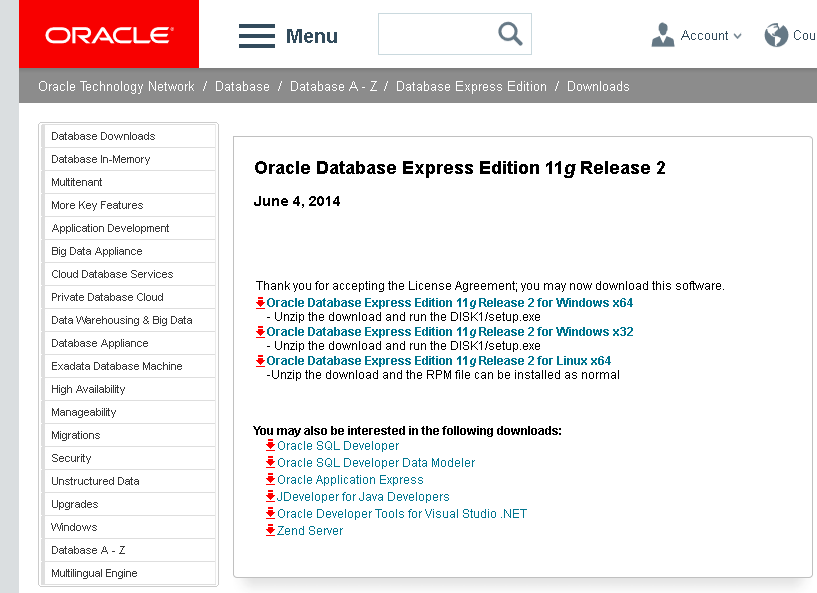
Download Oracle Express Edition 11g Release 2 from the link for windows x64 platform.
Once set up file download is completed, downloaded, double-click on it to launch the installation wizard.
We get the below welcome screen to install Oracle Database 11g Express Edition. Click on Next.
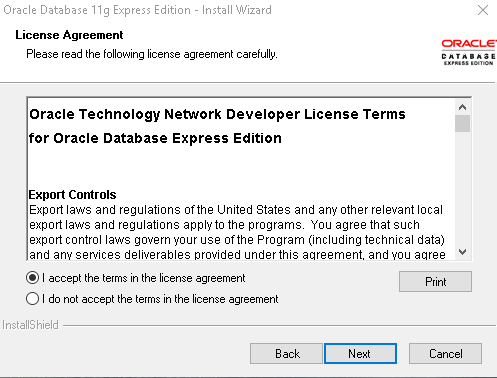
Accept the license agreement and click on Next.
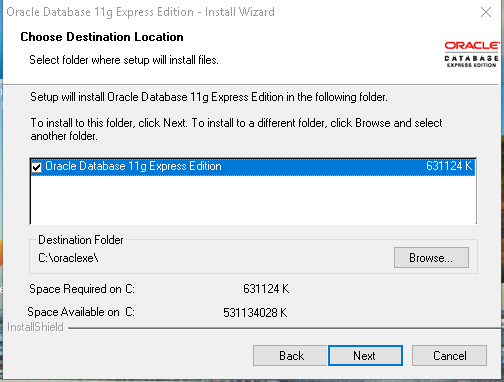
By default, Setup installs the Oracle Database 11g Express Edition into C:\oracleexe folder. If we want to change, click on Browse and give the new path.
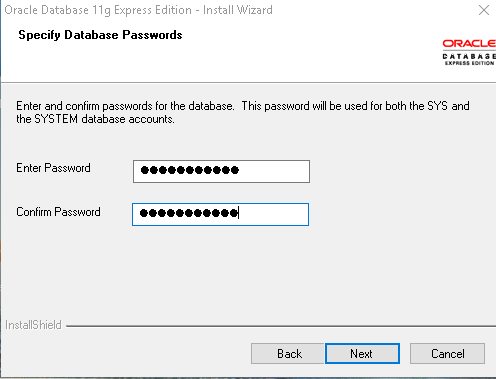
Enter the password for SYS and SYSTEM database admin accounts. Password will be the same for both accounts. Both accounts are created automatically during the installation.
Both SYS and SYSTEM accounts can perform all administration tasks in Oracle while SYSTEM account cannot do the backup, recovery and database upgrades. You can refer to SYS and SYSTEM Users for more details.
In this page, review the installation setting. We can see here that default locations are:
Oracle Home: C:\oraclexe\app\oracle\product\11.2.0\server
Oracle Base: C:\oraclexe
Port for Oracle Database listener: 1521
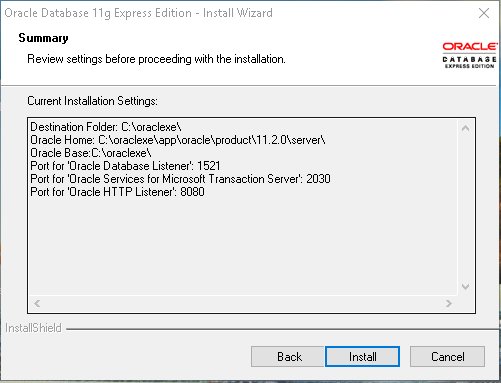
Click on Install to begin installing Oracle Database 11g Express Edition.
We get the progress of the status of installation as shown below:
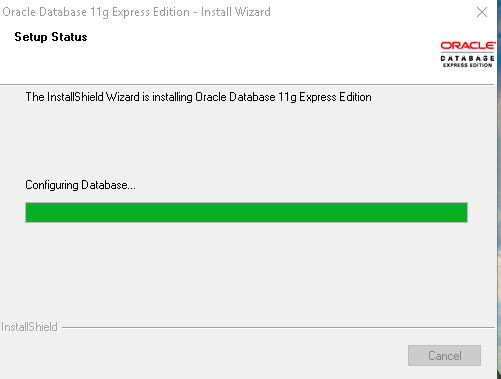
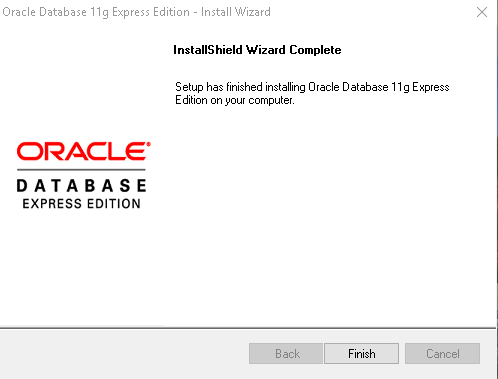
We get below message once the Oracle Database 11g Express Edition is installed successfully.
We can see a new folder in start menu “Oracle Database 11g Express Edition”.
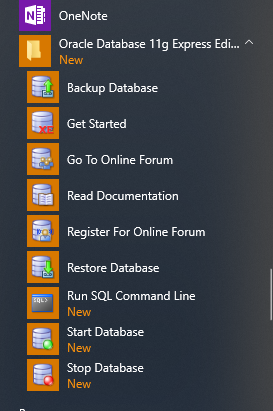
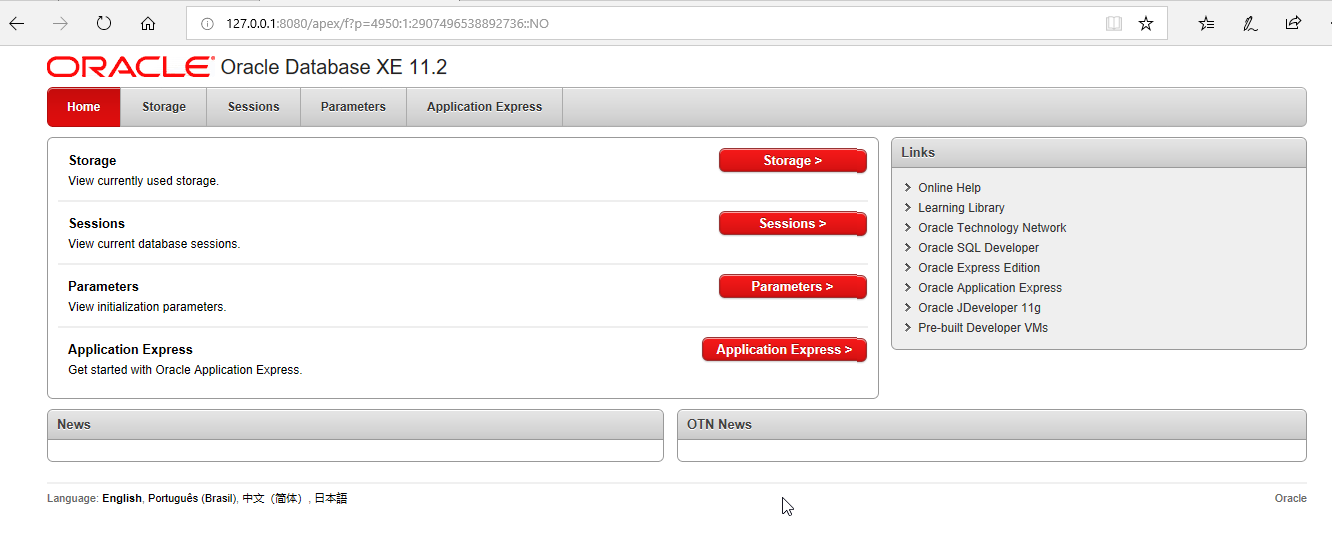
Click on Get Started and it opens a web page of Oracle Database XE 11.2 with all configuration options, session, parameters details, SQL editor etc.
Log in with a database user having DBA role. We can log in here with the SYSTEM account created while doing the installation.
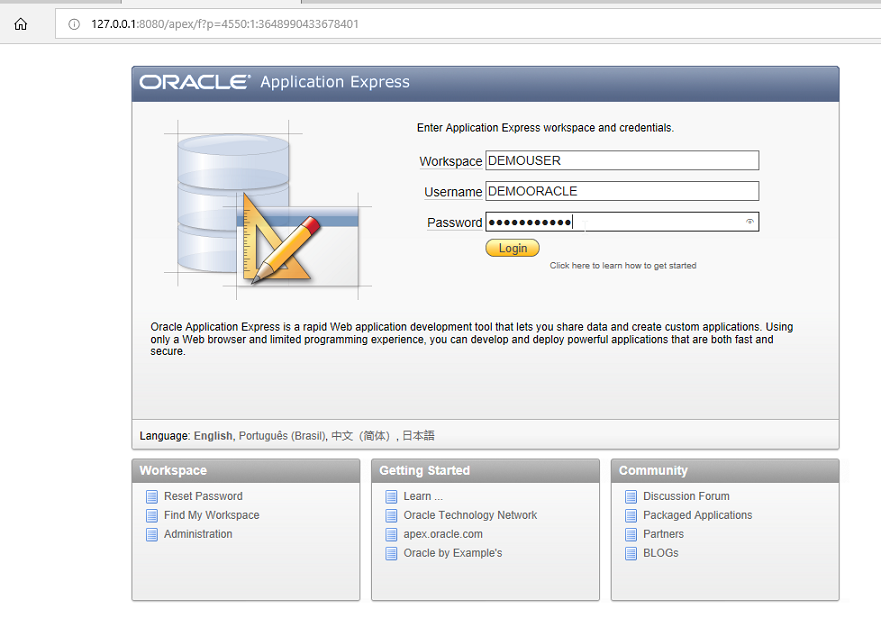
In the next step, we will create a shared work area (workspace) which works as a virtual private database. Enter the database username, application express username, and password.
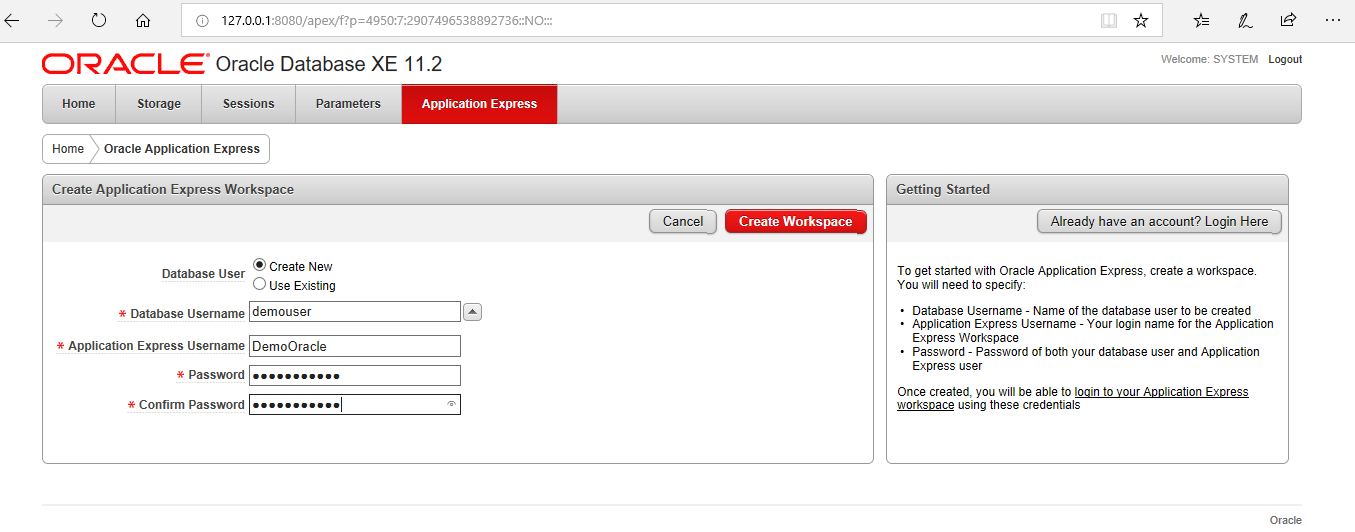
We can see in below image that the workspace is created successfully. Now we will log in to the workspace with the credentials created.
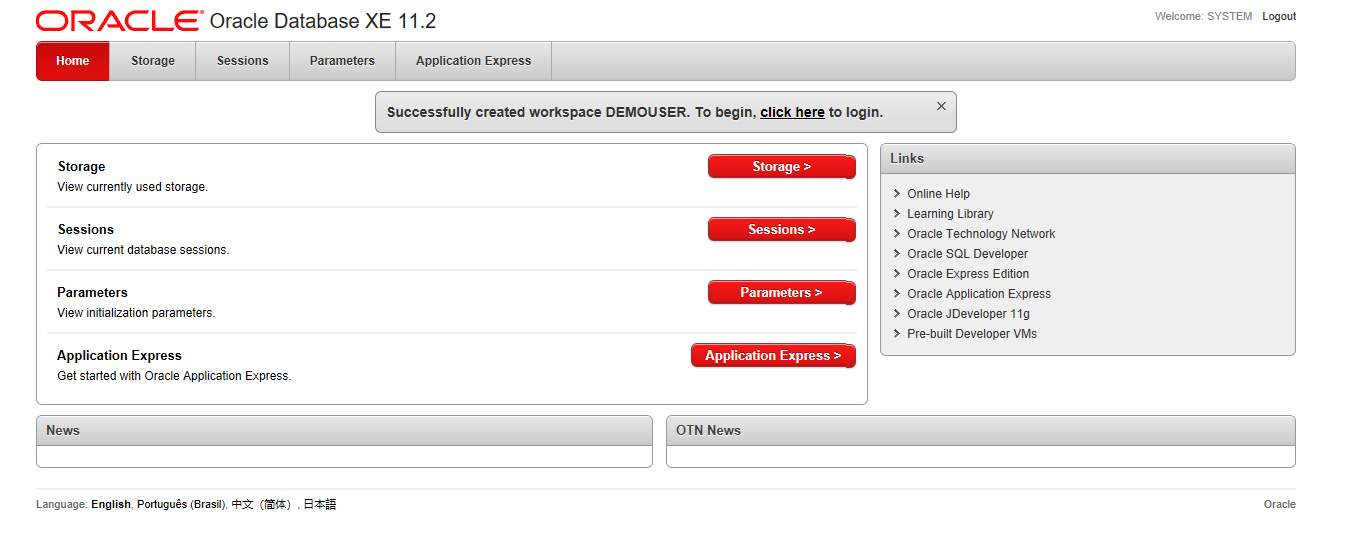
Enter the credentials.
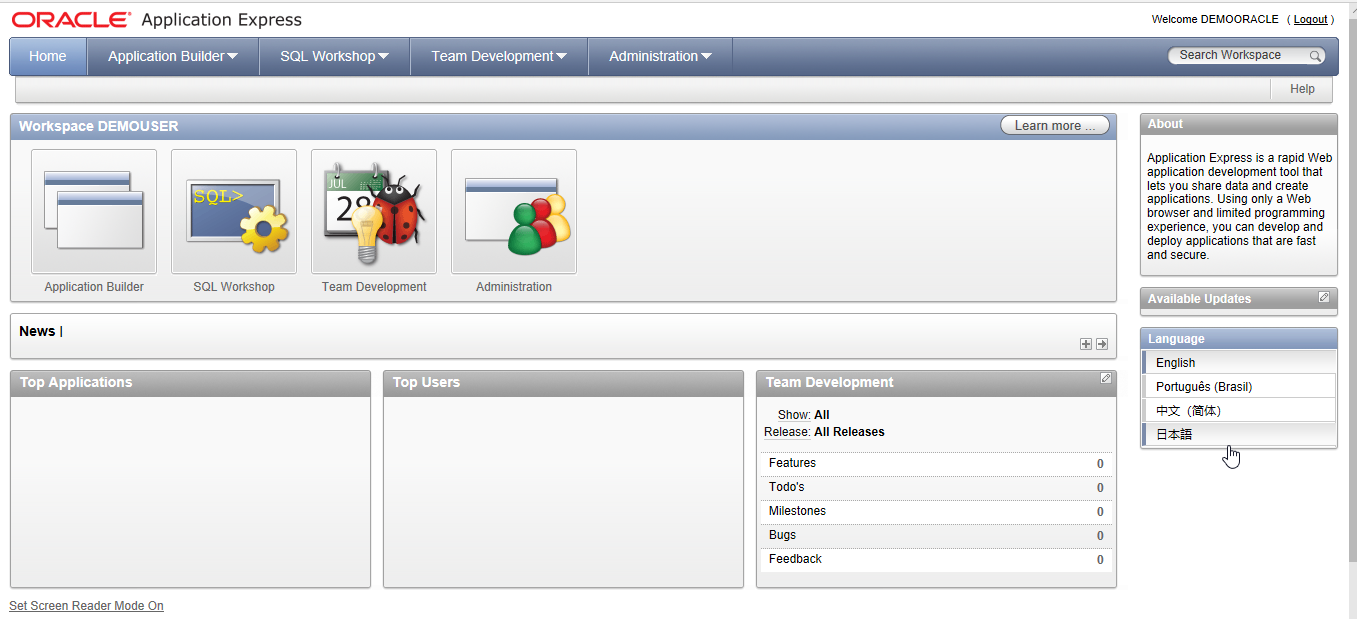
We can see the workspace where we can run the SQL query, create objects etc.
In the next step, we will run the script that will create the sample objects and insert data into the objects. Copy the script and provide a name to the script.
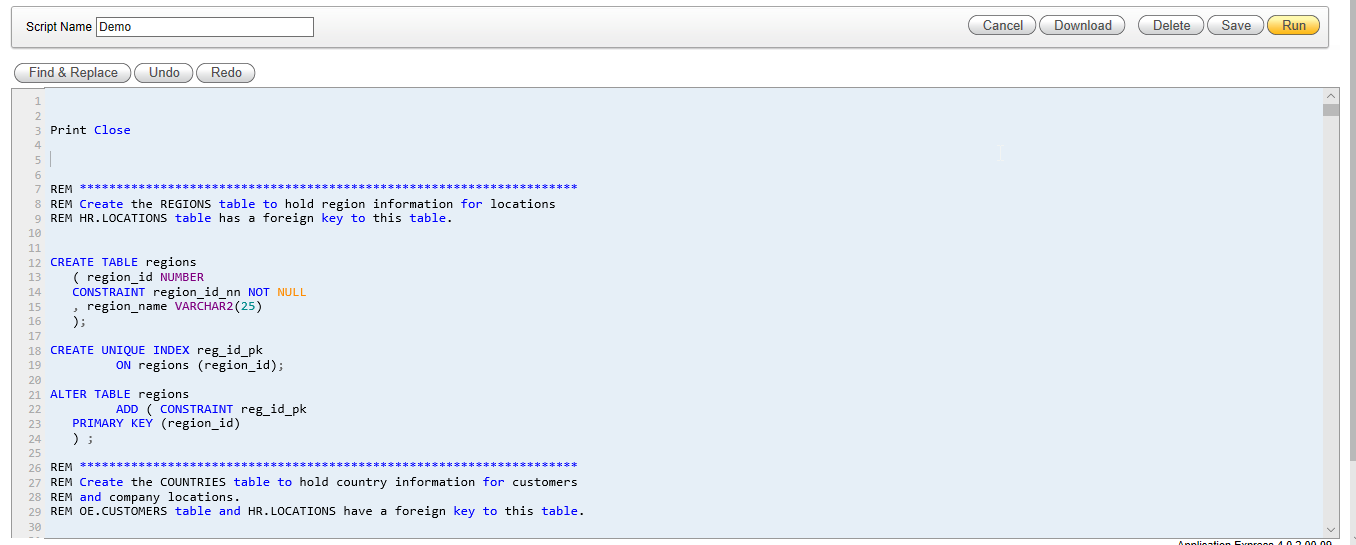
Click on Run Now to execute the script.
We can see that the script is executed successfully.
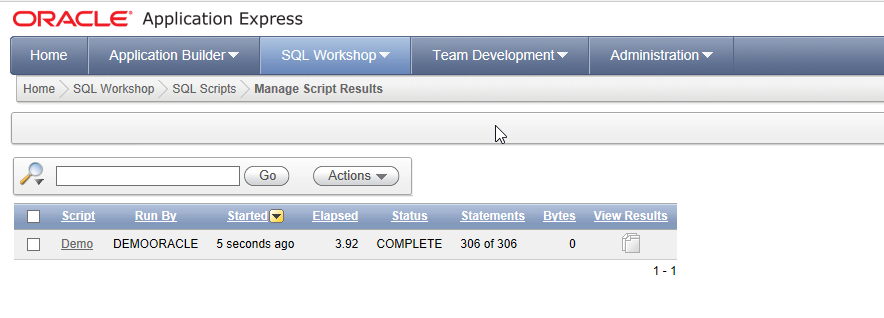
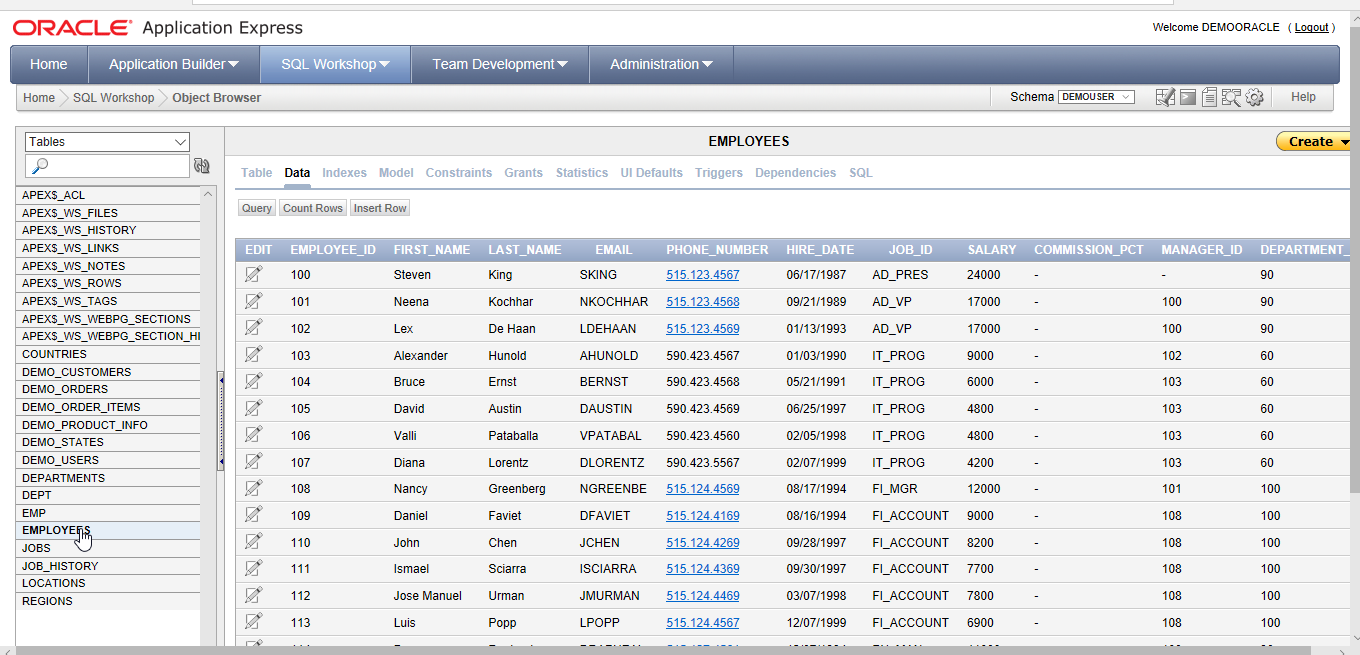
Now go to object browser and we can see that objects and the data into that. For example, in below screen, we can see the data in the Employees table.
Now we have the Oracle database and sample object ready. Therefore, in the next step, we will use the Azure Data Studio to create an external table for the Oracle data source.
Azure Data Studio to access external data in Oracle using PolyBase
As discussed, so far below are the requirements to access Oracle database using PolyBase with Azure Data Studio
- SQL Server 2019 preview 4
- Azure Data Studio with SQL Server 2019 extension
- Oracle Data Source
- Polybase services should be running with SQL Server database services.
If PolyBase is not installed, we will get the error “the Operation requires PolyBase to be enabled on the target server”.
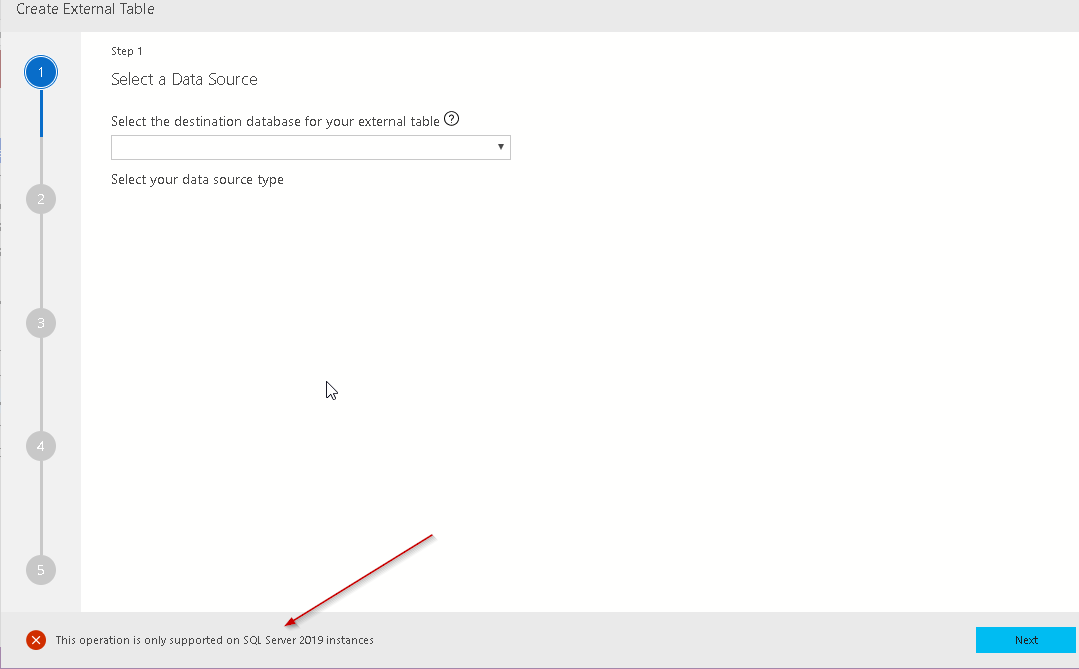
This feature is available for SQL Server 2019 only, we get the below error if we try to use external table wizard for instances other than SQL Server 2019.
Steps to Create External Tables in Azure Data Studio
In this step, we will configure the external table using PolyBase with the help of the External table wizard in Azure Data Studio.
Right click on the Database and Create External Table.

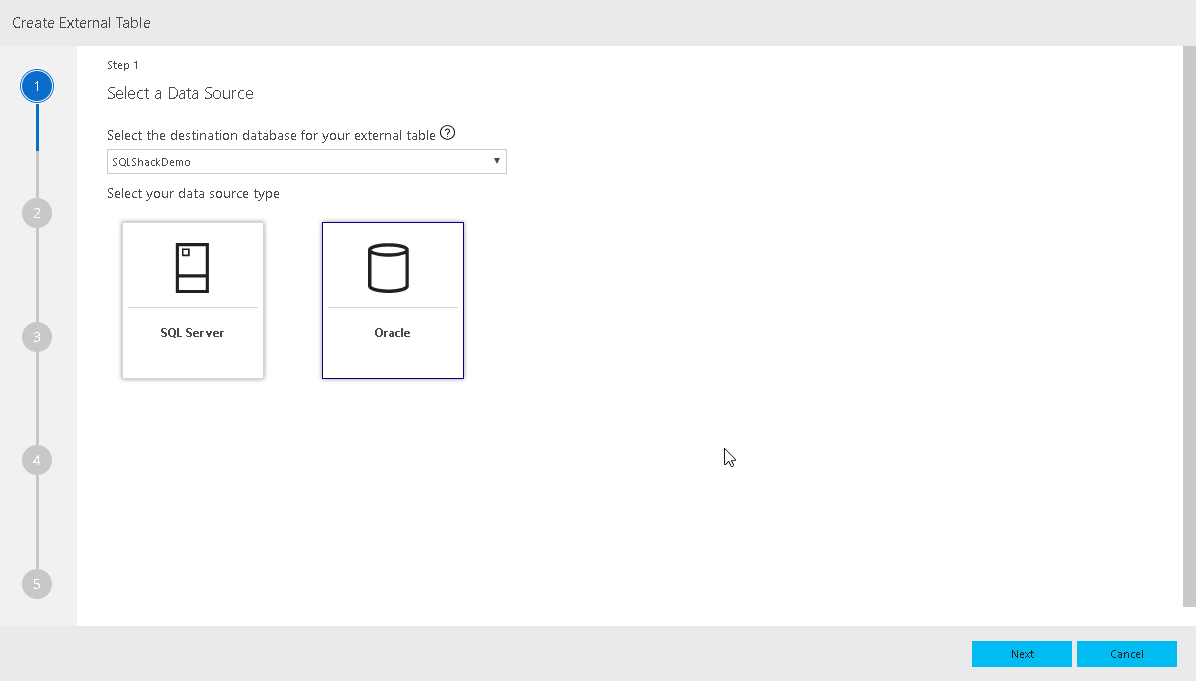
This launches the below external table wizard. This shows the two data sources: SQL Server and Oracle.
By default, SQL Server is highlighted. In this article, we want to create a data source for Oracle.
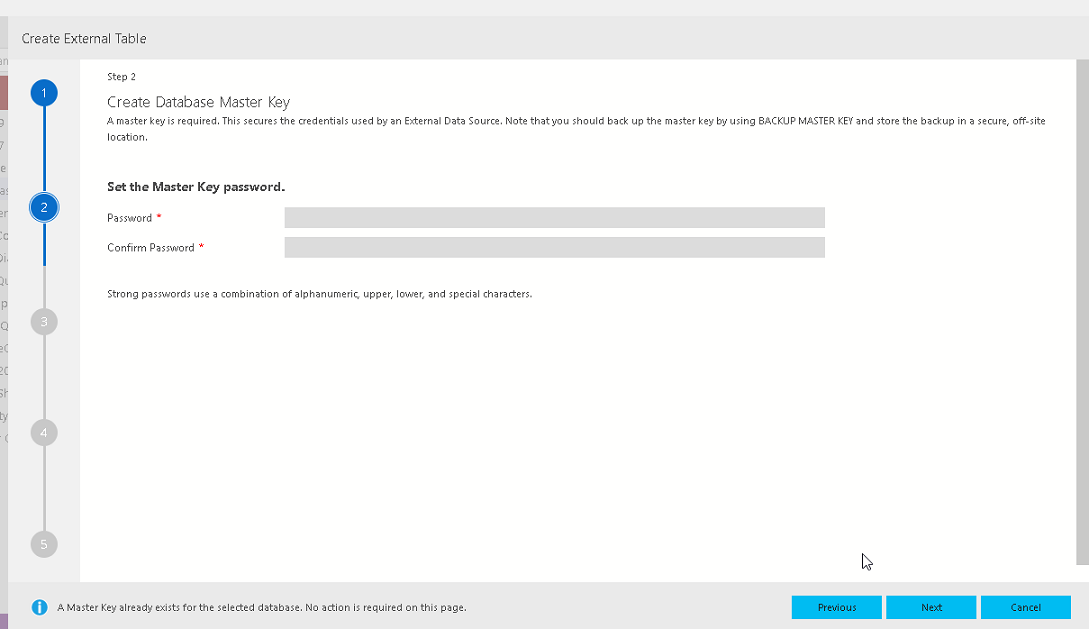
In this step, we will create the Database Master Key. We will provide the master key password.
If a master key already exists on the database, we get the message that the master key already exists on this database.
Alternatively, we can create Database master key using the below script
|
1 |
CREATE MASTER KEY ENCRYPTION BY PASSWORD = “Complex password”; |
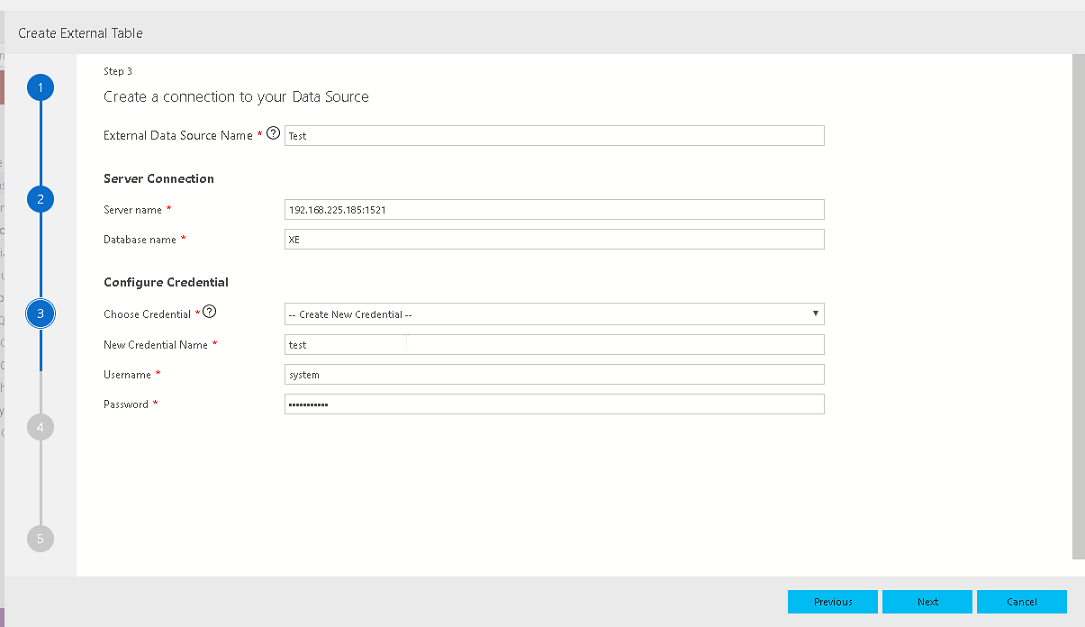
Click on Next to create a connection to Data source. Enter the below details:
Server name: Server name should be of format server: port
Database Name: Default service name for Oracle express edition is XE. We can give the service name as per our DB configurations.
Credentials: Enter the database-scoped credential or we can create new credentials here.
Click on Next to move forward.
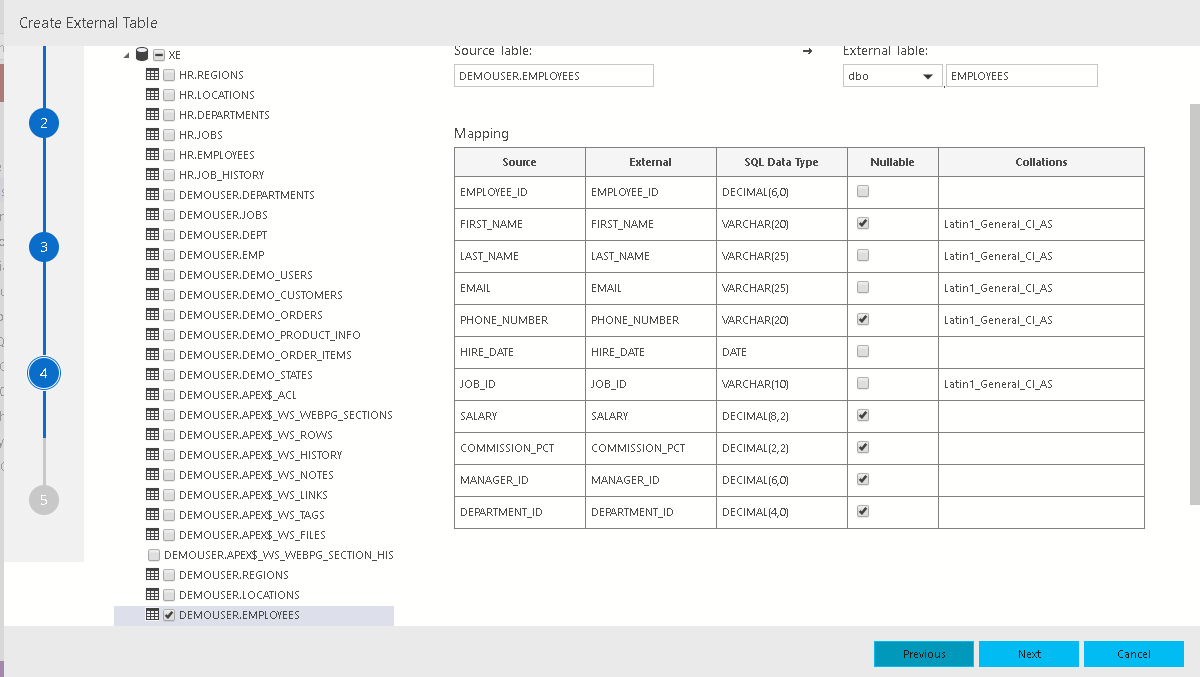
In the next step, we will choose the external table to access from the SQL Server. In this demo, we will select DEMOUSER.Employees table.
Once we select this table, we can see the source table and its corresponding external table name. We can also see the source and destination column mapping and properties.
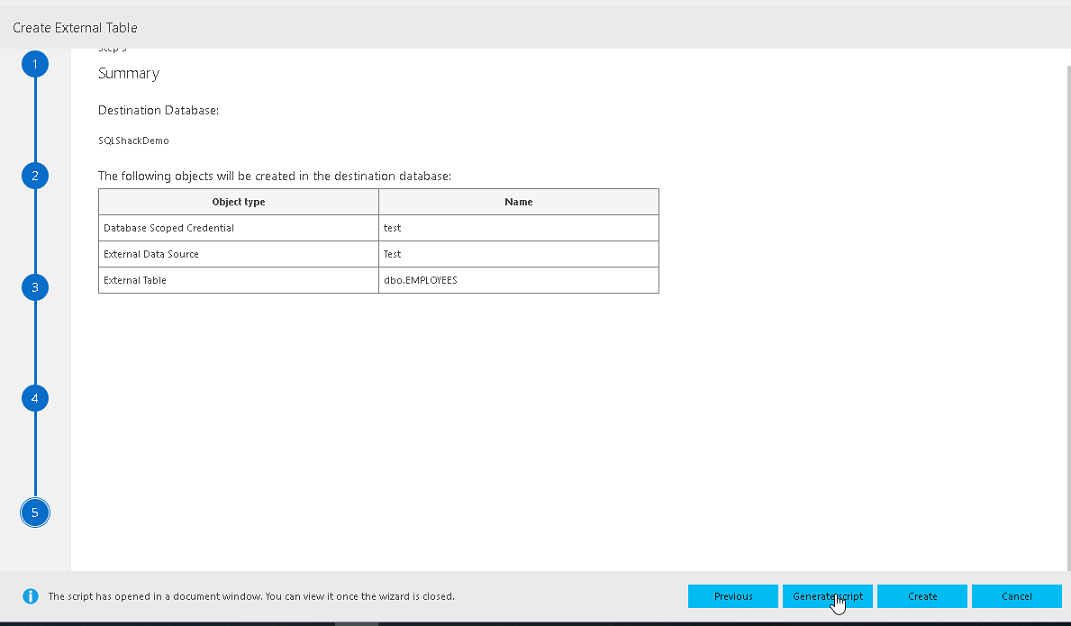
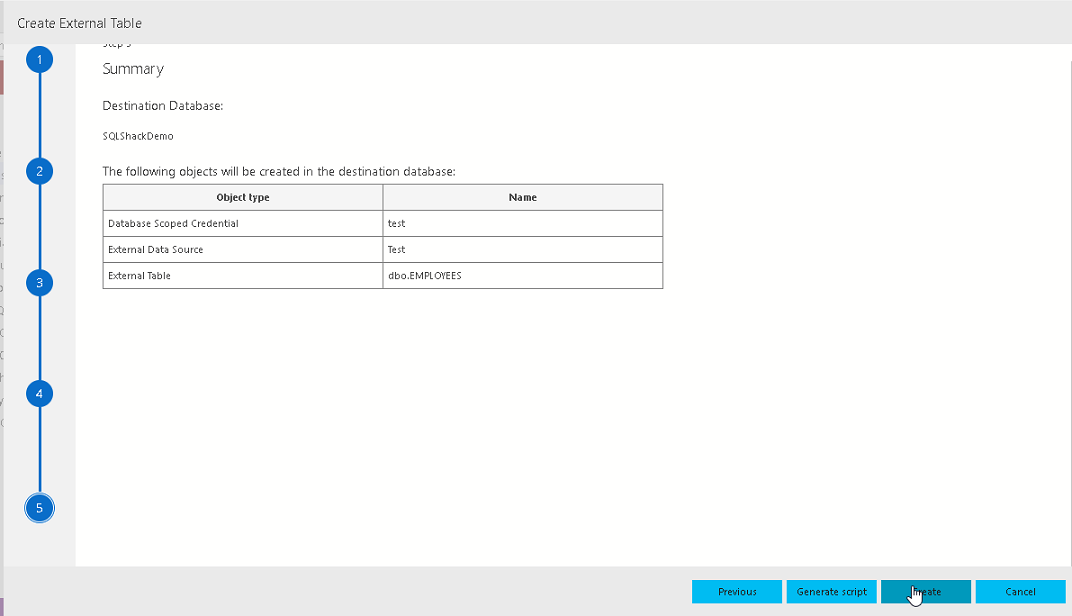
Next steps show a summary of the tasks such as destination database, database scoped credential name, external data source name, and external table name.
If we want to generate a script for this external table configuration, click on Generate Script. This will create a script in a new query window.
Click on Create to create an external table.
In the task history, we can see that the external table is created successfully.
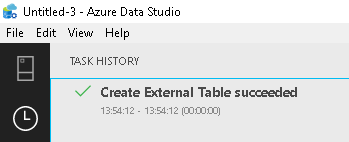
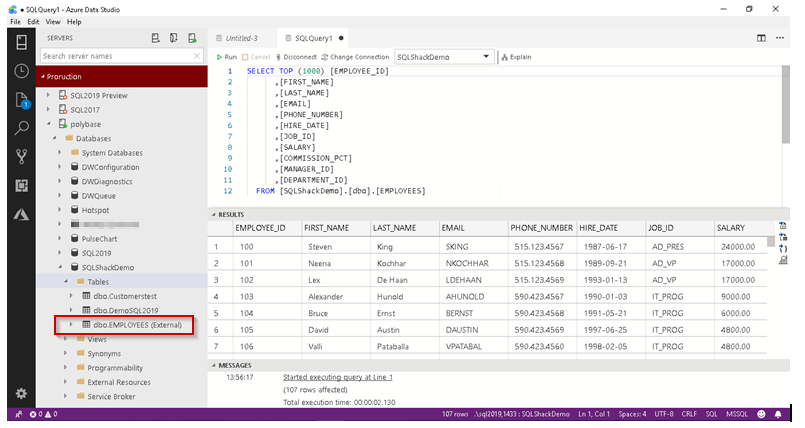
We can see in the database dbo. Employees table exists. We can easily identify external tables with EXTERNAL keywords as a suffix to the table name in Azure Data Studio.
As shown below, we can view the records in the table similar to a relational database table.
Below is the script generated by the external table creation wizard in Azure Data Studio. We will explain this script in further articles.
|
1 2 3 4 5 6 7 8 9 10 11 12 13 14 15 16 17 18 19 20 21 22 23 24 25 26 27 28 29 30 31 32 |
BEGIN TRY BEGIN TRANSACTION T35c299624c5449ae8a5e37d96282f89 USE [SQLShackDemo]; CREATE DATABASE SCOPED CREDENTIAL [test] WITH IDENTITY = system, SECRET = ABC@system1; CREATE EXTERNAL DATA SOURCE [Test] WITH (LOCATION = oracle://192.168.225.185:1521, CREDENTIAL = [test]); CREATE EXTERNAL TABLE [dbo].[EMPLOYEES] ( [EMPLOYEE_ID] DECIMAL(6,0) NOT NULL, [FIRST_NAME] VARCHAR(20) COLLATE Latin1_General_CI_AS, [LAST_NAME] VARCHAR(25) COLLATE Latin1_General_CI_AS NOT NULL, [EMAIL] VARCHAR(25) COLLATE Latin1_General_CI_AS NOT NULL, [PHONE_NUMBER] VARCHAR(20) COLLATE Latin1_General_CI_AS, [HIRE_DATE] DATE NOT NULL, [JOB_ID] VARCHAR(10) COLLATE Latin1_General_CI_AS NOT NULL, [SALARY] DECIMAL(8,2), [COMMISSION_PCT] DECIMAL(2,2), [MANAGER_ID] DECIMAL(6,0), [DEPARTMENT_ID] DECIMAL(4,0) ) WITH (LOCATION = [XE].[DEMOUSER].[EMPLOYEES], DATA_SOURCE = [Test]); COMMIT TRANSACTION T35c299624c5449ae8a5e37d96282f89 END TRY BEGIN CATCH IF @@TRANCOUNT > 0 ROLLBACK TRANSACTION T35c299624c5449ae8a5e37d96282f89 DECLARE @ErrorMessage NVARCHAR(4000) = ERROR_MESSAGE(); DECLARE @ErrorSeverity INT = ERROR_SEVERITY(); DECLARE @ErrorState INT = ERROR_STATE(); RAISERROR(@ErrorMessage, @ErrorSeverity, @ErrorState); END CATCH; |
In SQL Server Management Studio, the external table is present in tables -> external tables section.
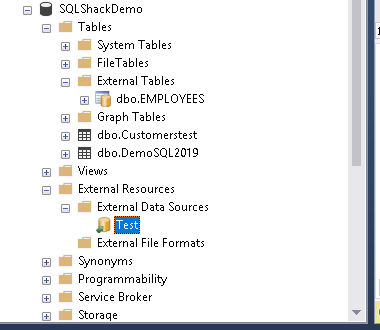
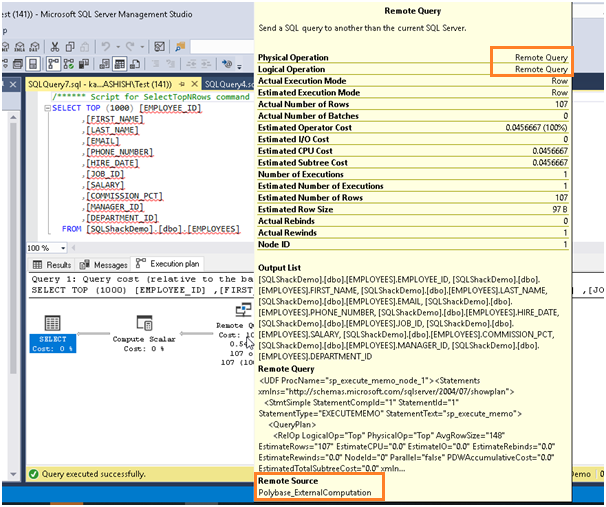
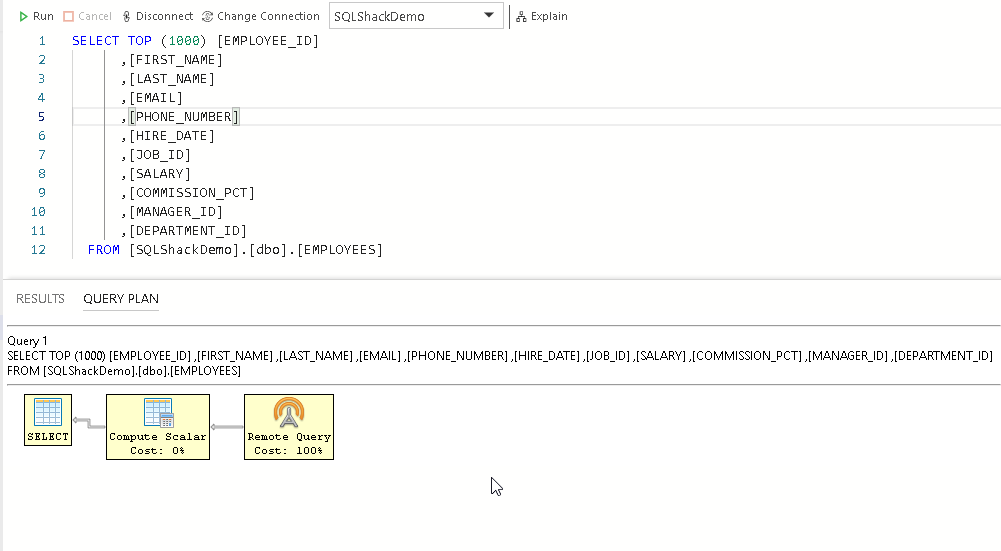
If we view the query execution plan for this external table in Azure Data Studio, we can see the operator Remote Query that shows data is extracted from the remote data source when we run the query and actually does not hold any data.
Similar to Azure Data Studio, we can get more details of the execution plan and operator as shown below. We can see that remote source is Polybase_ExternalConfiguration.
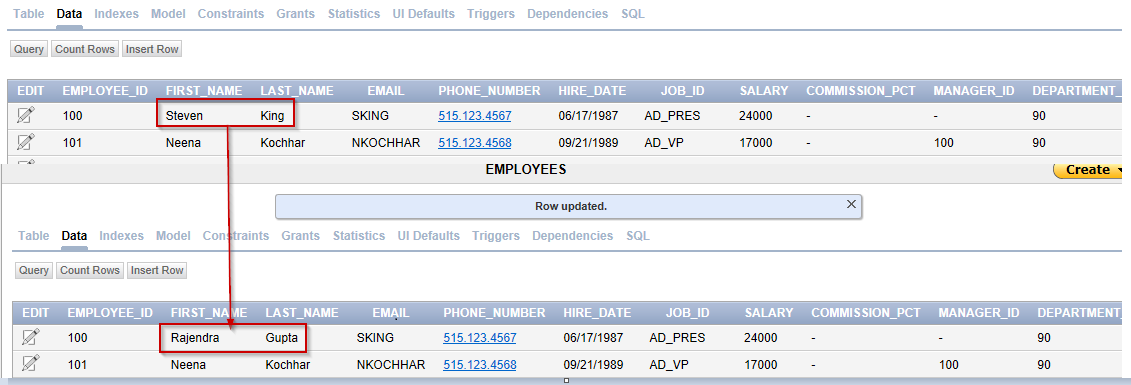
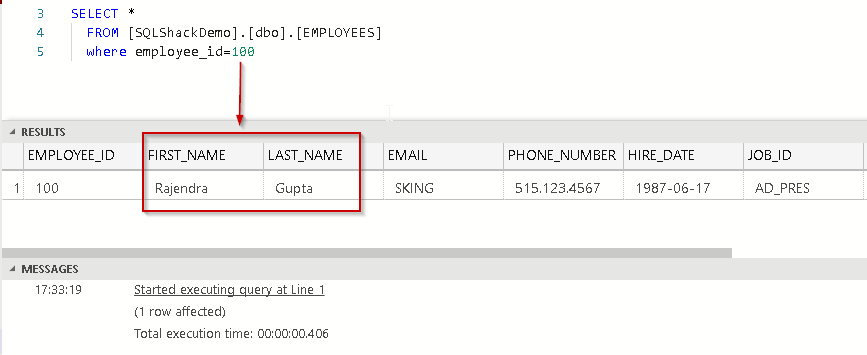
Let us update the records in Oracle database. In this below example, we can see that the employee name for employee id 100 is updated from Steven King to Rajendra Gupta.
Now let us verify the updated employee name using an external table. Therefore, we can view the live data using the external table. We do not need to bring the data again since it accesses live data from the data source. It does not store of the copy of the data.
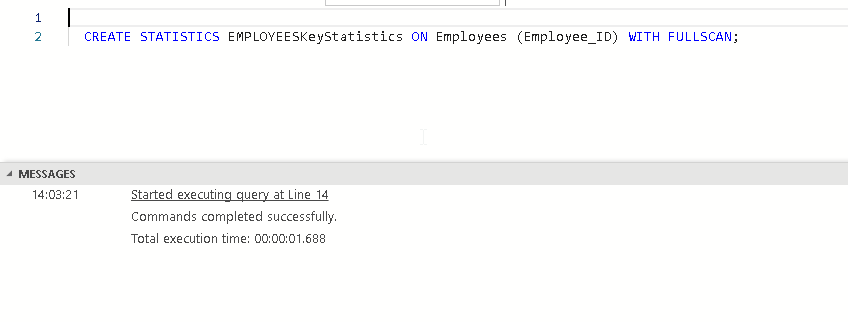
We can create statistics on an external table to get optimal performance.
|
1 |
CREATE STATISTICS EMPLOYEESKeyStatistics ON Employees (Employee_ID) WITH FULLSCAN; |
Conclusion
SQL Server 2019 preview (SQL Server vNext CTP 2.0) provides the ability to access relational and non-relational data using the data virtualization technique PolyBase. This is a very useful and nice enhancement to access all data in a single place only. We can access this data in a similar way to relational data. In the next article, we will create an external table using T-SQL for the same data source pointing to Oracle and explore more features of external tables.
Table of contents
- How to install PostgreSQL on Ubuntu - July 13, 2023
- How to use the CROSSTAB function in PostgreSQL - February 17, 2023
- Learn the PostgreSQL COALESCE command - January 19, 2023

