

In this article, we will review how to configure email notifications in the Azure SQL single database or elastic pool.
Azure SQL single database or elastic pool does not have database mail feature to send emails using sp_send_dbmail like in Azure SQL Server managed instance or on-premises SQL Server. We will walk through one of the alternatives to send emails in the Azure SQL database.
The following are the steps involved in sending the emails from an Azure SQL database.
- Creating a SendGrid account
- Creating a Logic App
- Creating a trigger and Actions in Logic App
Let’s go over these steps one by one.
Creating a SendGrid account
SendGrid is a cloud-based service which delivers emails in Azure. It offers 25000 free emails every month and they charge a minimal fee beyond that.
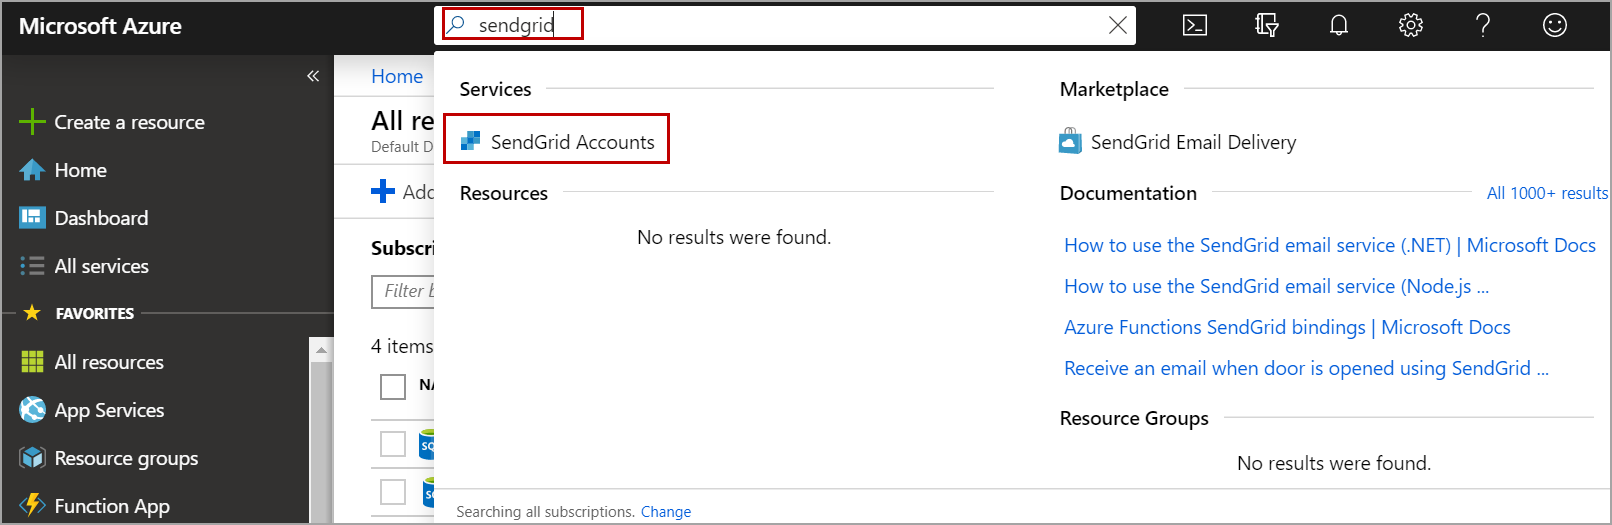
To create a SendGrid account, Login to the Azure portal. Search for SendGrid as shown in the below image.
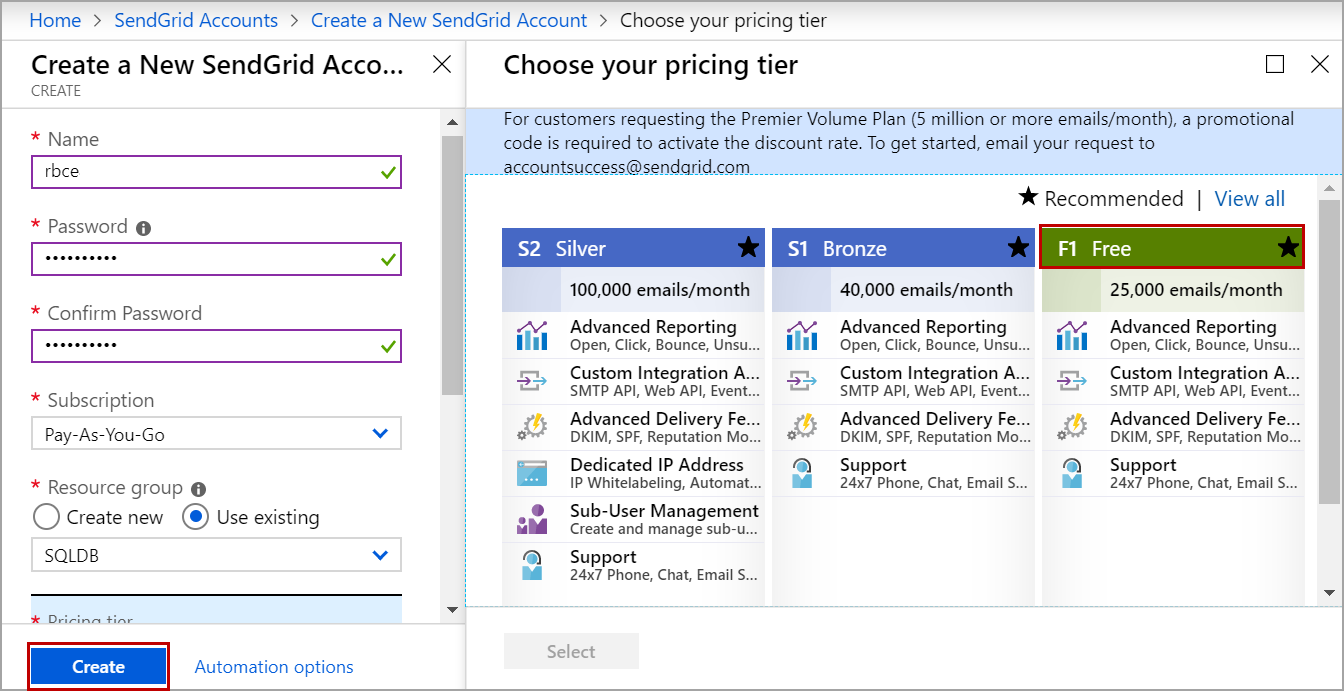
Click on the Add button to create a new account. Enter the name of the account, password, select free tier if you are testing SendGrid or if your Azure SQL database email notifications do not cross 25000 per month. Enter the contact information and accept terms. Click on the Create button. Please refer to the below image.
Once the account is created, click on the account you just created and then click on Manage which will navigate to the send grid dashboard.

Verify your email by clicking on “Confirm Email Address” in the email you received. Now we must create an API key that will be used in Logic App to send out emails.
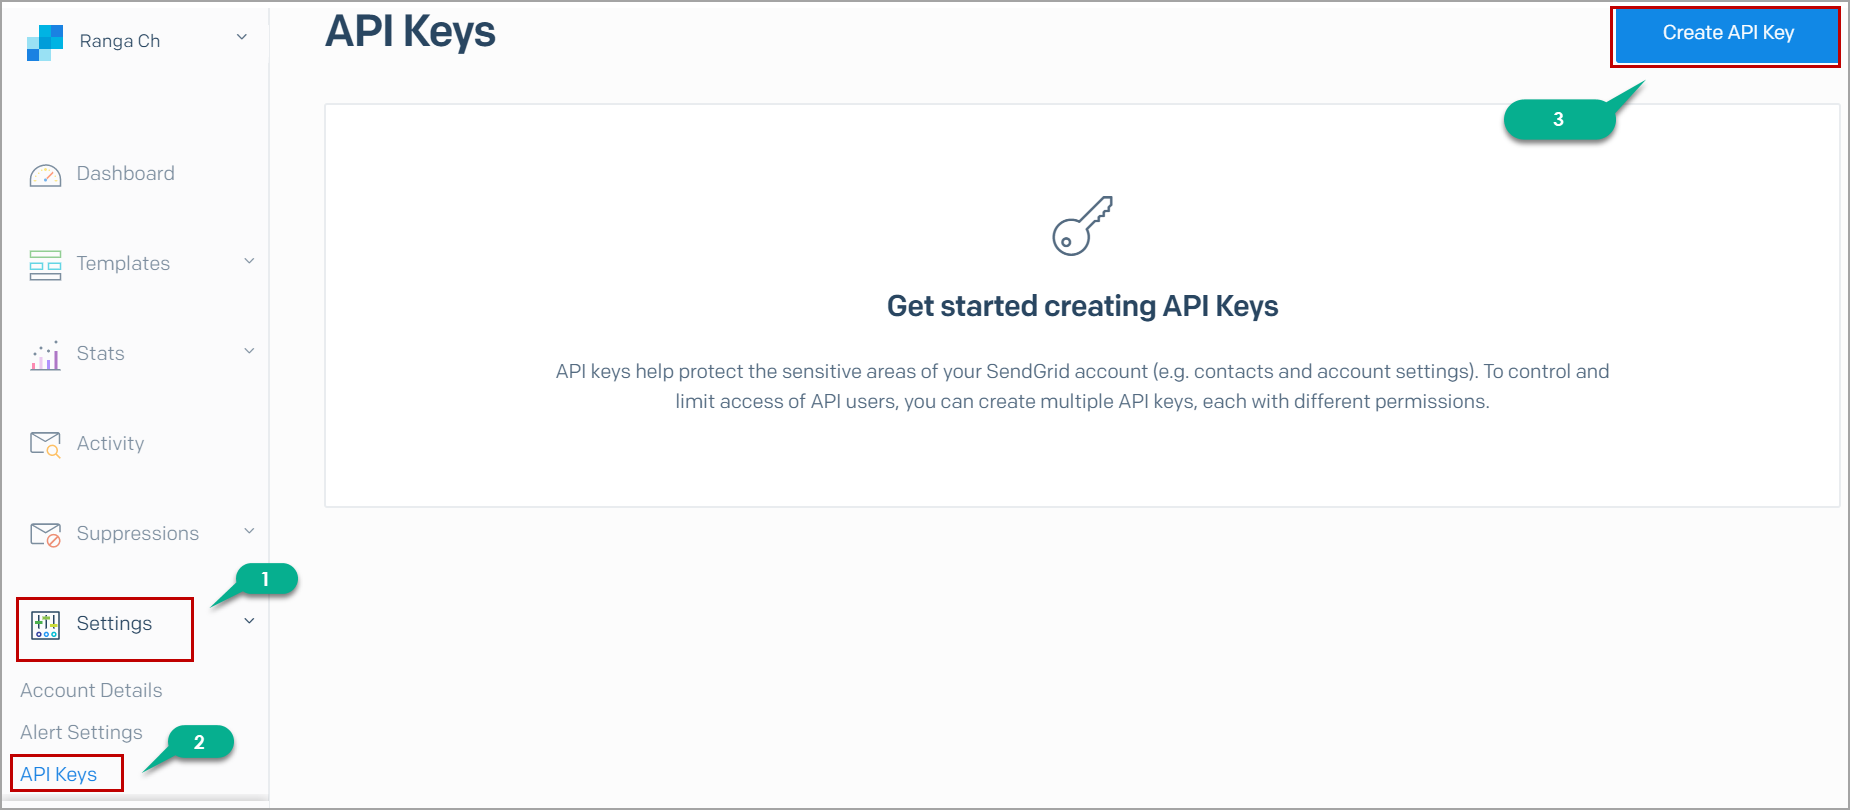
In SendGrid dashboard, Under Settings, Click on API Keys and then click on Create API Key.
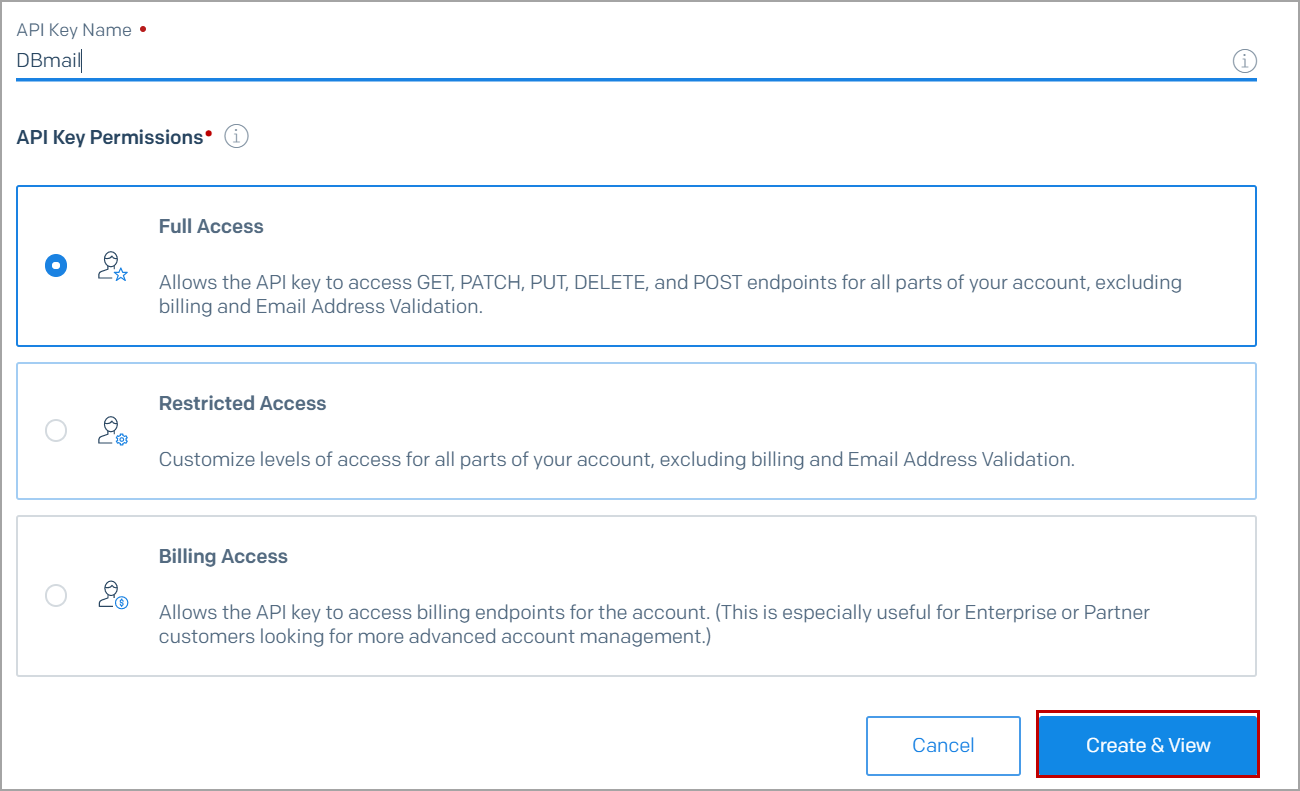
Enter the name of the API key and select the access level. In this case, I used Full Access. Click on Create and View.
Copy the key and save it to use later while configuring the Logic App.
Configuring a Logic App
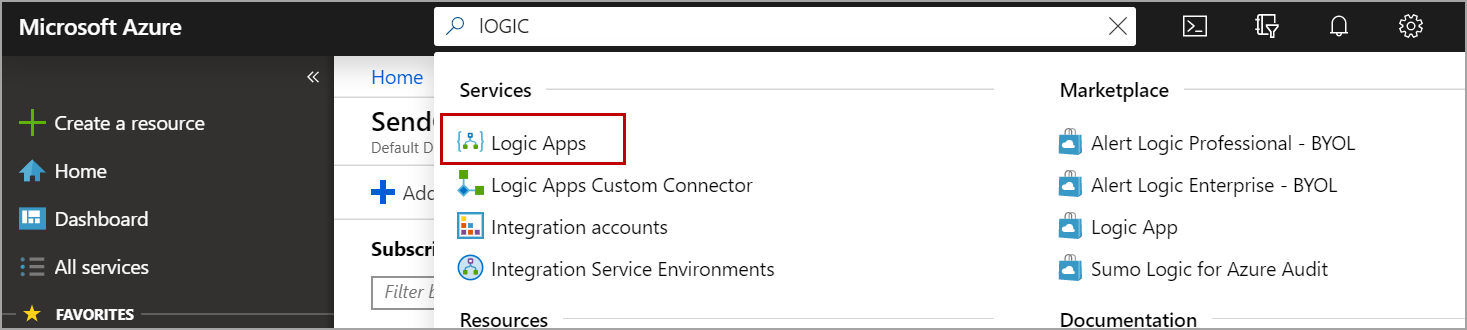
To configure a Logic App, Navigate to the Azure portal. Search for the logic app as shown in the below image. Click on Logic Apps from the services list.
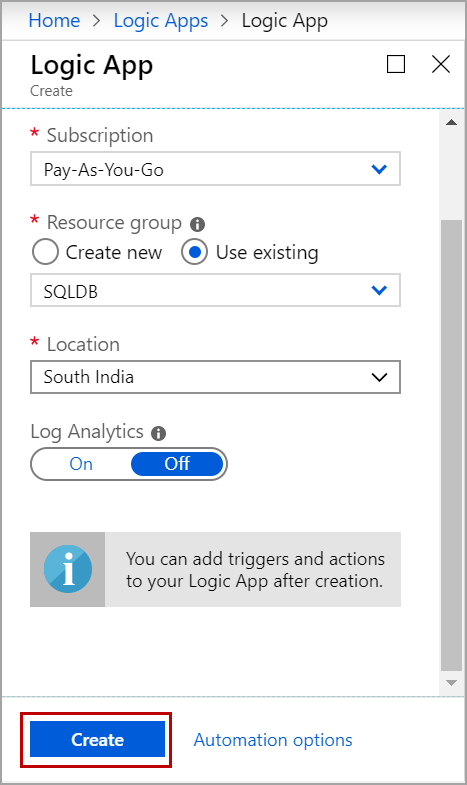
Click on Add. Enter the name of the app, choose resource group and location. Click on Create.
Creating trigger and Actions in Logic App
Before creating trigger and actions, we need to create a table in the Azure SQL database that holds the message data. In this demo, I am creating a sample table.
Following is the T-SQL script to create a sample table. Please note that the table must have an identity column that will be used by Logic App to identify new rows in the table.
|
1 |
Create TABLE EmailNotifications (MessageID int identity(1,1),MessageText nvarchar(max) ) |
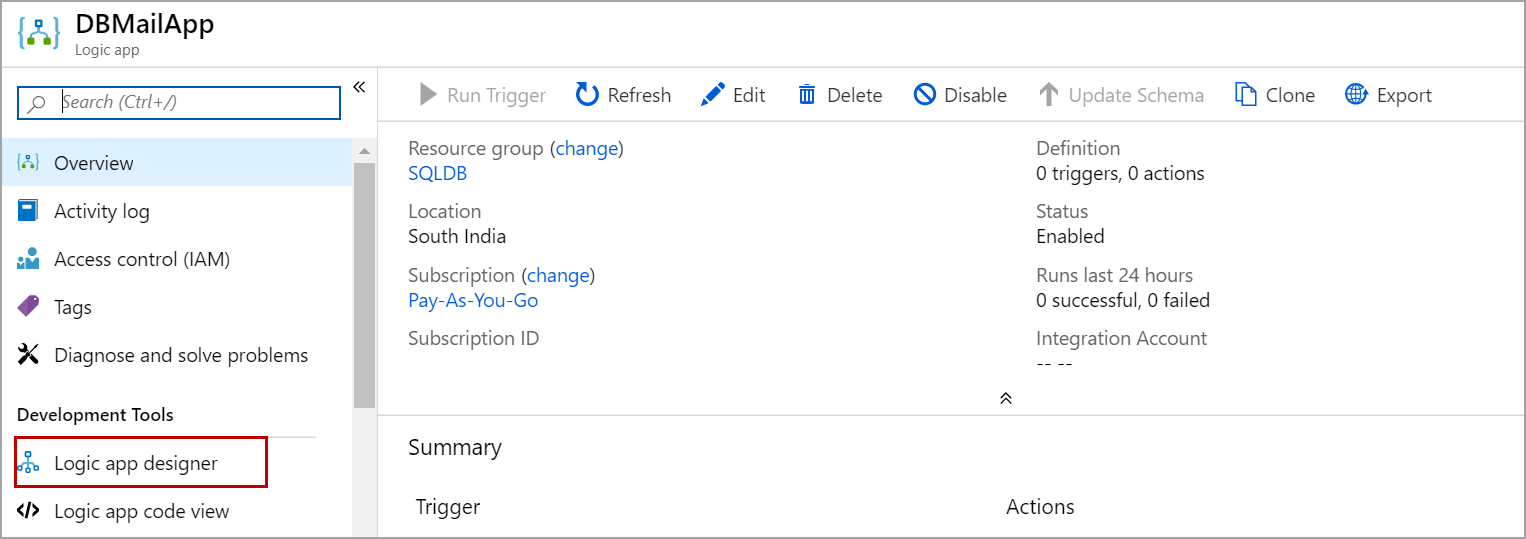
Navigate to All Resources page and click on the Logic App you created above. Click on Logic app designer as shown in the below image.
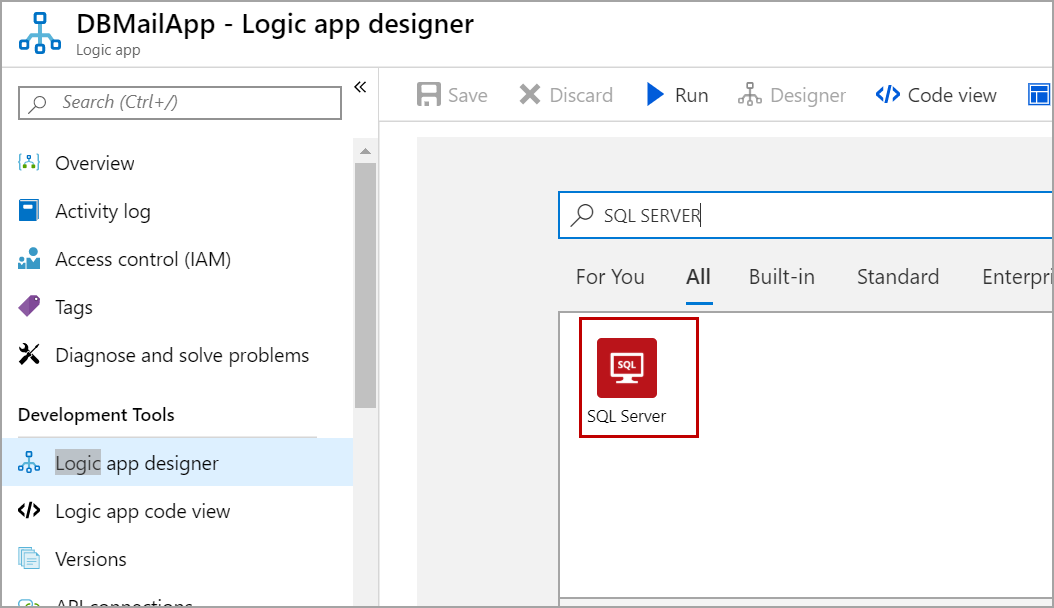
In the designer, Click on the Blank Logic App and search for SQL Server.
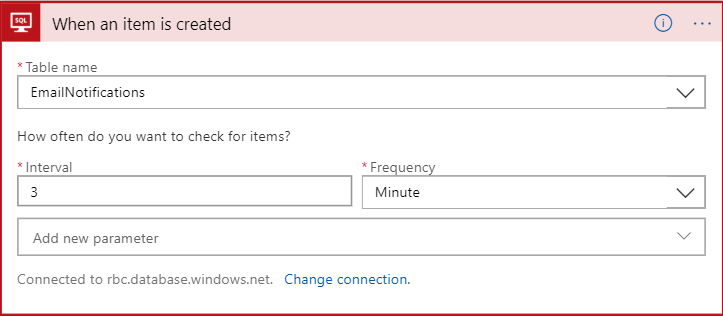
Under triggers, select when an item is created.

Select the server name and the Azure SQL database on which you created the table. Enter username, password and click on Create.

Select the table you created from the drop-down list and specify the interval.
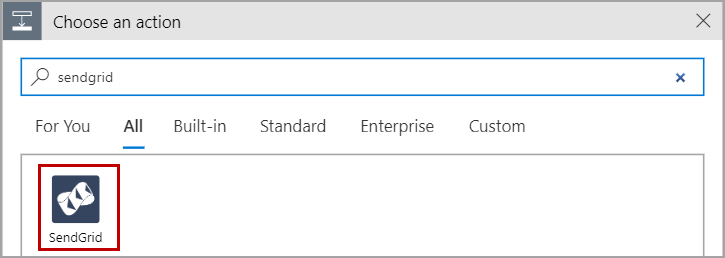
Now click on New Step and search for SendGrid as shown in the below image.
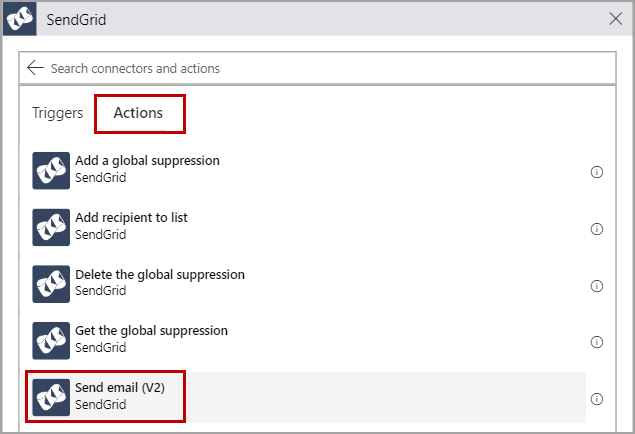
Select the Send Email action and enter the connection name and the API key you created earlier. Click on Create.
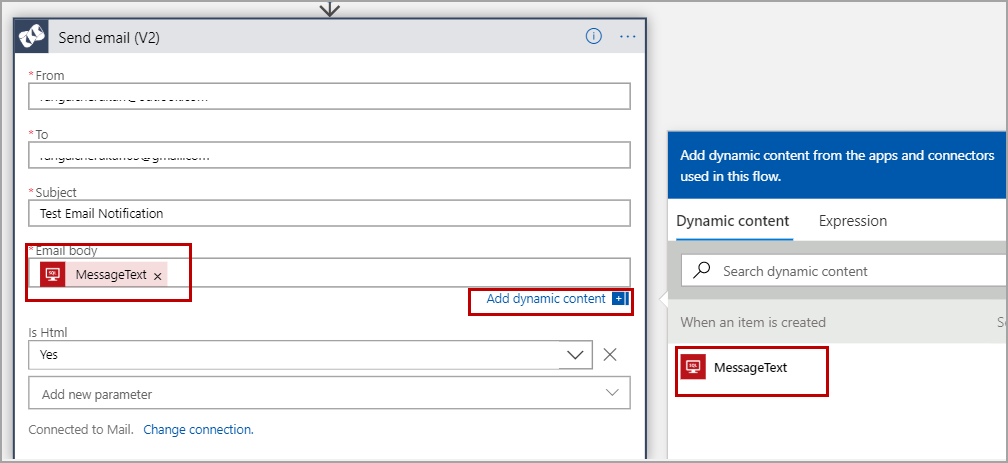
Enter the relevant address information in ‘From’ and ‘To’ fields and also enter the Subject of the email. In the Email body, click on Add dynamic content and select the MessageText column from the table. Please refer to the below image.
Finally, save the Logic App.
Now the trigger runs every three minutes and sees if any new records are inserted in the Azure SQL database table. If it finds any, it will send an email with MessageText as email body.
Now I will insert a row in the table “EmailNotifications” in HTML format.
|
1 2 3 4 5 6 7 8 9 10 11 12 13 14 15 16 17 18 19 20 21 22 23 24 25 26 27 28 |
INSERT INTO EmailNotifications (MessageText) VALUES ('<html> <body> <h2>Sample Table</h2> <table style="width:100%"> <tr> <th>FirstName</th> <th>Lastname</th> </tr> <tr> <td>Denis</td> <td>Steven</td> </tr> <tr> <td>Dane</td> <td>Ainsworth</td> </tr> <tr> <td>Seema</td> <td>Dam</td> </tr> </table> </body> </html> ') |
The identity column must be auto-generated. Do not set IDENTITY_INSERT on and manually insert the identity column value, the logic app does not recognize such inserts and does not fire email.
Please refer to the below image for the email notification which was fired from the above insert.
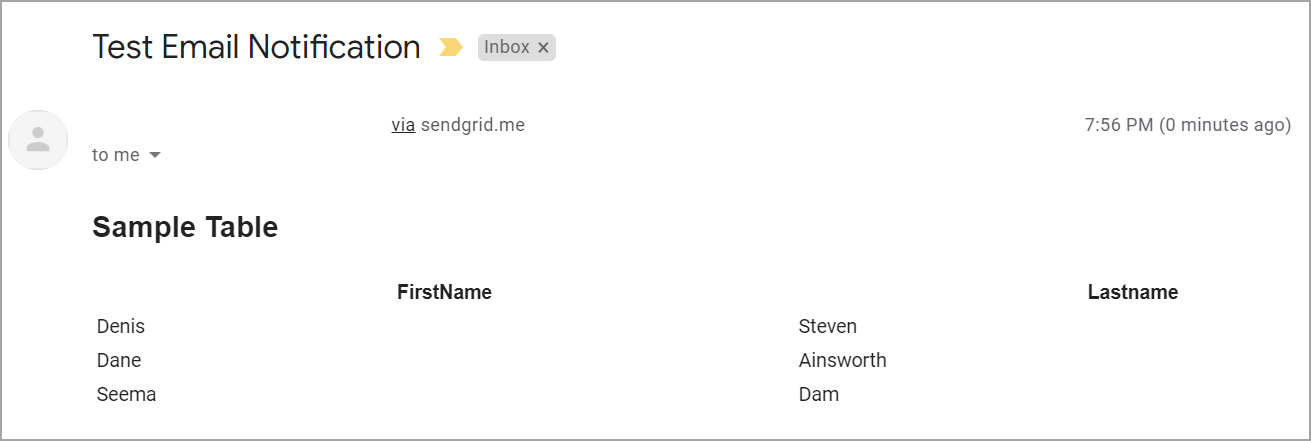
So, whenever I want to send an email notification, I will generate the message and insert into the EmailNotifications table on the Azure SQL database. we can also have other columns to store address and dynamically send out an email to different people or groups.
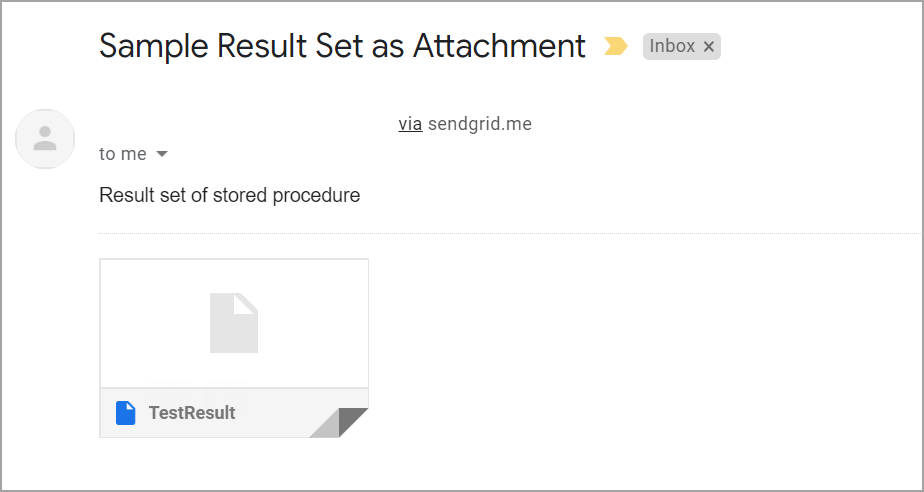
Send result set of a stored procedure as an attachment
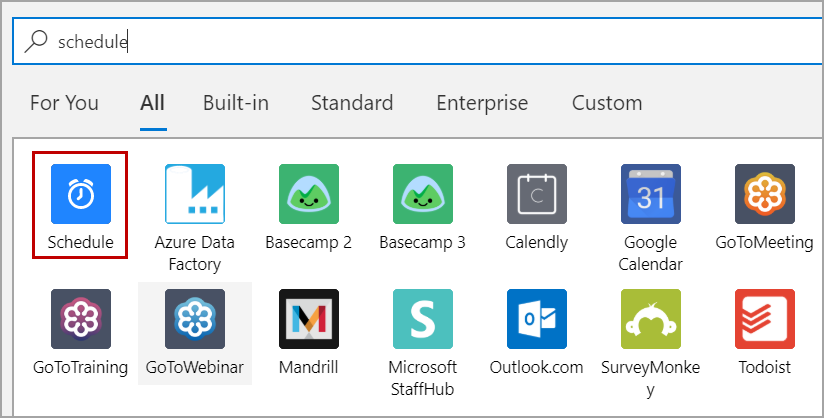
We can also send the result set of a T-SQL query or a stored procedure as a CSV attachment. In the designer search for Schedule.
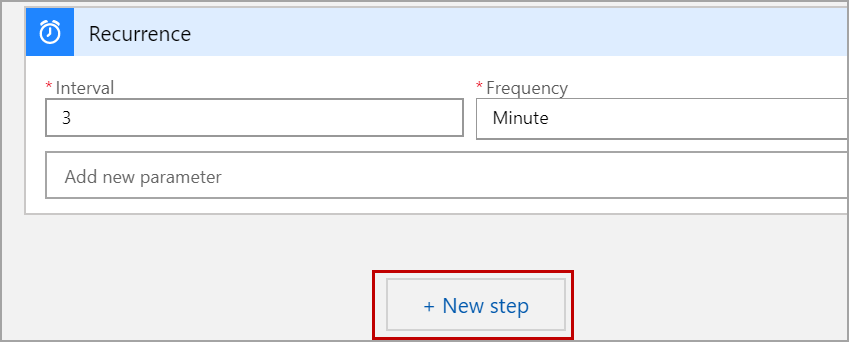
Select Recurrence, specify the interval and click on the New step as shown below.
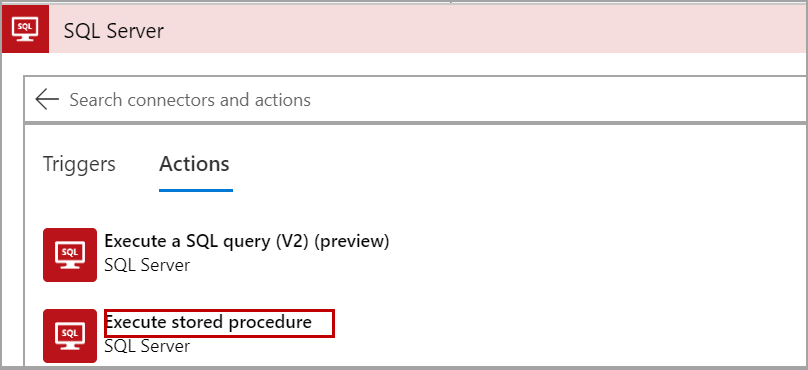
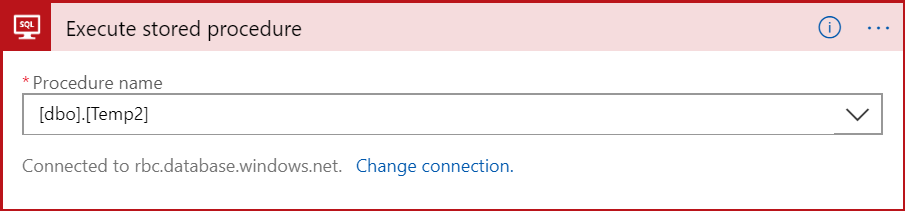
Search for SQL server and add Execute stored procedure action.
Select the procedure from the drop-down list.
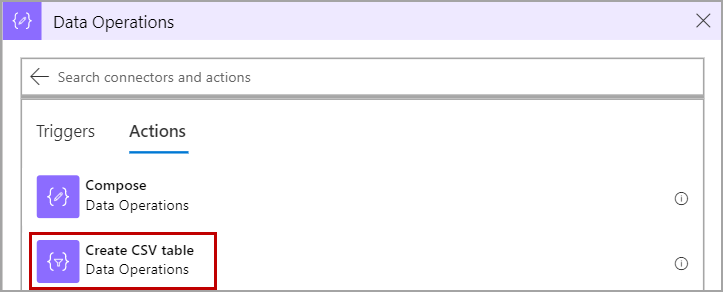
Add a new step and select the data operations. Select Create a CSV table in the actions.
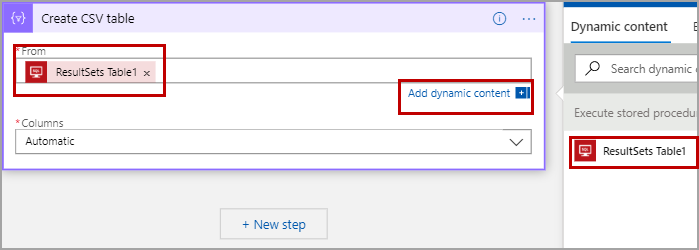
In the From field, add ResultSets Table1 which is the result set of the above procedure.
Add a new step and search for SendGrid.
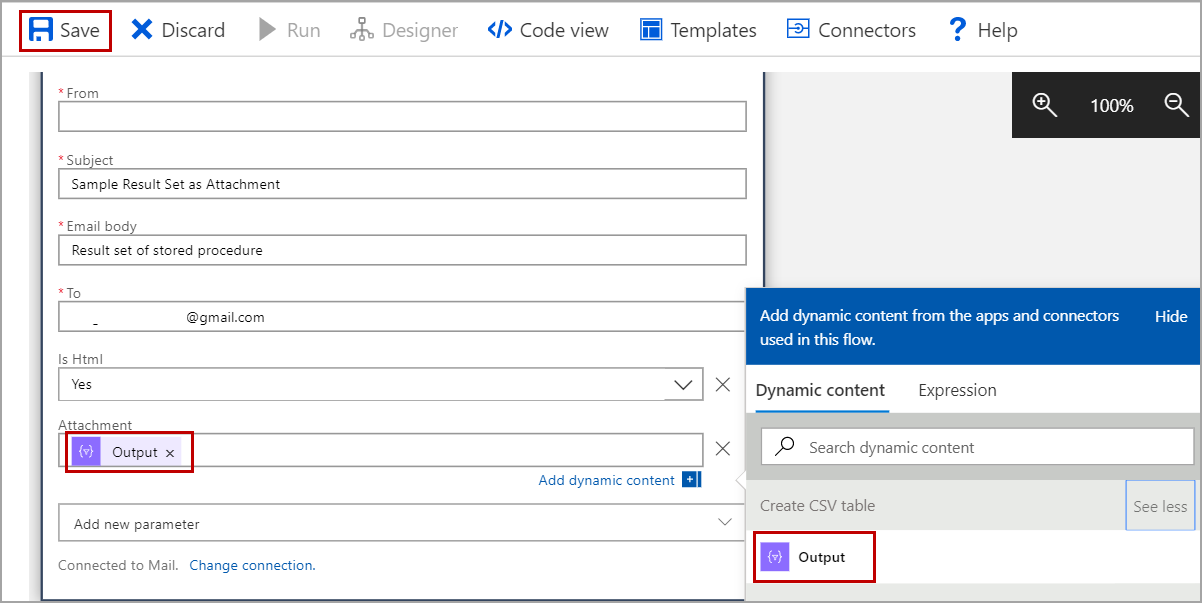
Select send email action and enter all the required fields. In the attachment field, choose the output of the CSV table and save the Logic App.
Now the schedule is invoked every three minutes, executes the procedure, export the result set to CSV table and attach the CSV table as an attachment in the SendGrid email.
Please refer to the below image for sample email with an attachment.
Conclusion
In this article, we explored how to configure email notification in the Azure SQL database using SendGrid and Logic App. In case you have any questions, please feel free to ask in the comment section below.

- Geo Replication on Transparent Data Encryption (TDE) enabled Azure SQL databases - October 24, 2019
- Overview of the Collate SQL command - October 22, 2019
- Recover a lost SA password - September 20, 2019