
Introduction
Sometimes we lose data by mistake and we want to compare the data with older backups and synchronize the data.
There are several ways to do this. For example, you can create T-SQL scripts with some outer joins. Another option is to use the tablediff command line.
The problem is that you need to create code or work for each single table. To solve this problem, there is a tool named ApexSQL Data Diff that allows you to quickly compare all tables from a database with the other database, report the differences and synchronize the data.
Requirements
- A SQL Server installed (check which editions are supported by ApexSQL Data Diff here)
- ApexSQL Data Diff
- SQL Server Data Tools
- SQL Server Reporting Services
Getting started
In this tutorial, we will show 2 topics:
- How to compare and synchronize simple data from 2 databases
- How to compare and synchronize and check a blog column (images)
How to compare and synchronize simple data from 2 databases
In the first example, we have a table named HumanResourses.Department2. We have 2 databases. Adventureworks2014 and Adventureworks2014backup. In the Adventureworks2014, there is an extra column inserted. We are going to compare all the tables from both databases and check the differences.
On the Desktop or in the start menu, open the ApexSQL Data Diff.

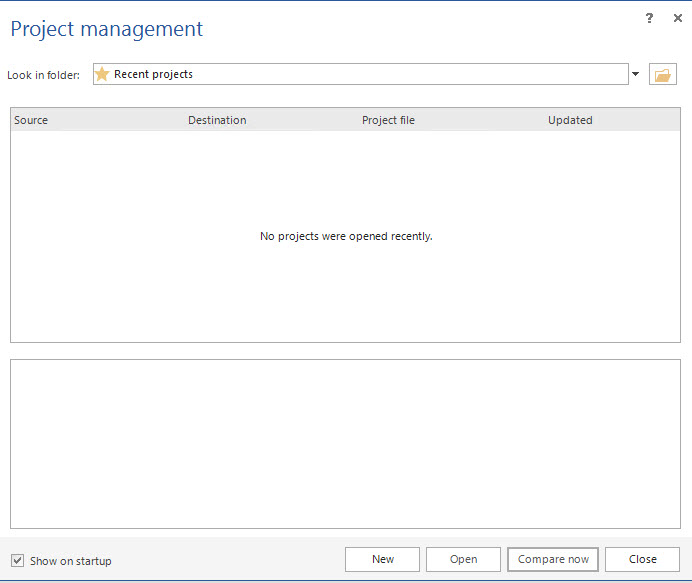
Figure 1. ApexSQL Data Diff direct access You can access Recent projects or you can create a new one, by pressing the New button:
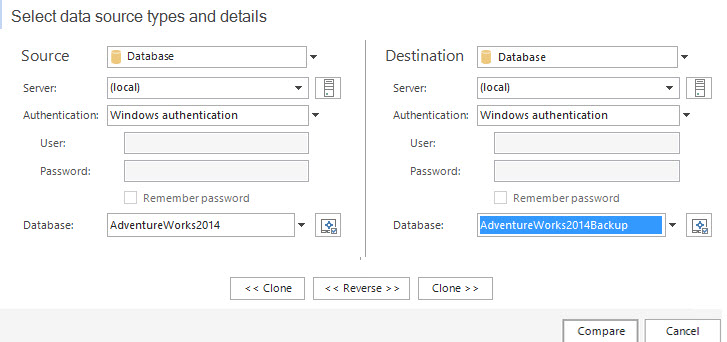
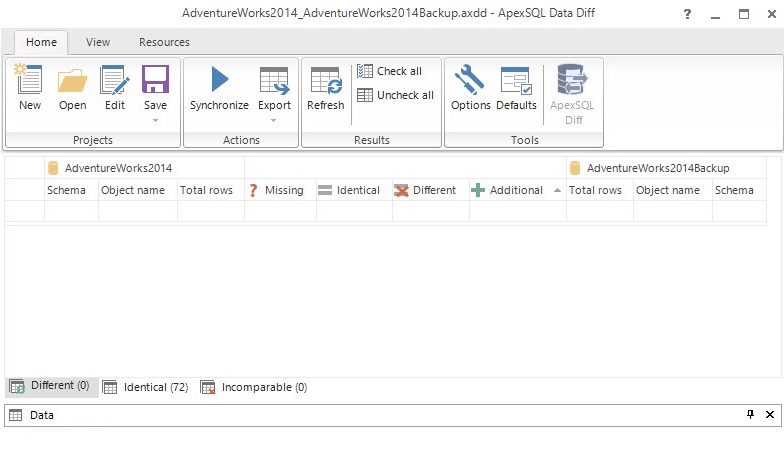
Figure 2. Project management Choose the connection properties and select the databases to compare. ApexSQL Data Diff compares all the tables in the database:
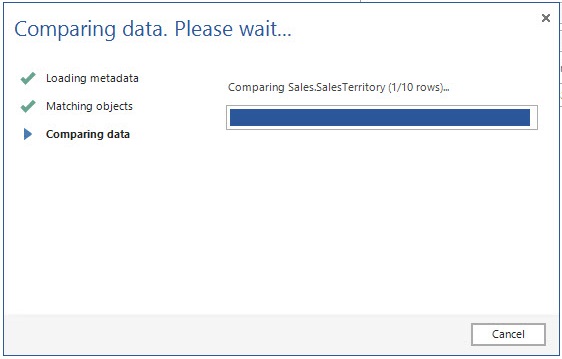
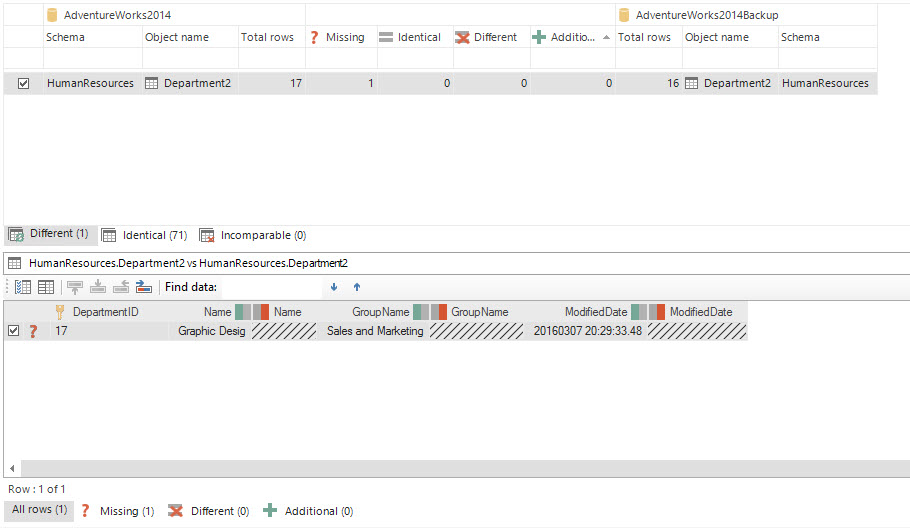
Figure 3. The connection information The software will load the metadata. It will check the names of the objects that match and finally the data will be compared:
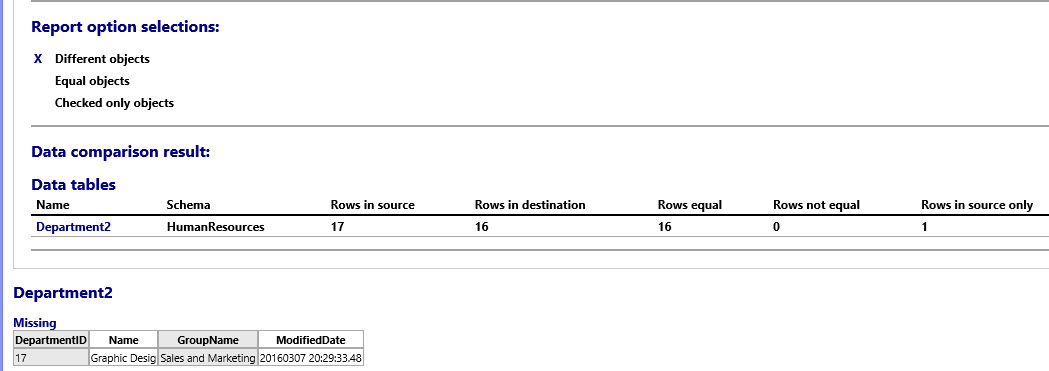
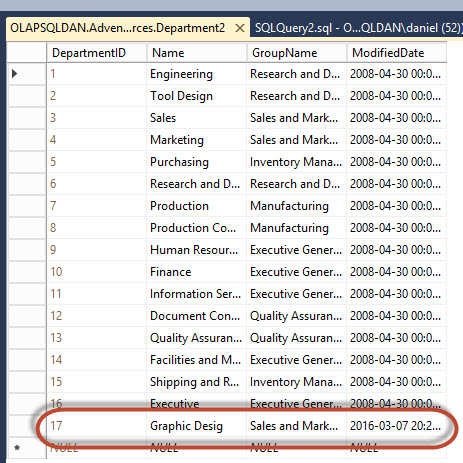
Figure 4. Comparing data In this example, the software detected a difference in the HumanResources.Department2 table. 1 row is missing in the Adventureworks2014backup database. That is why the number of rows is 17 in one database and 16 in another.
The report also says the data of the missing row:
17, graphic design, Sales and Marketing, modified date.
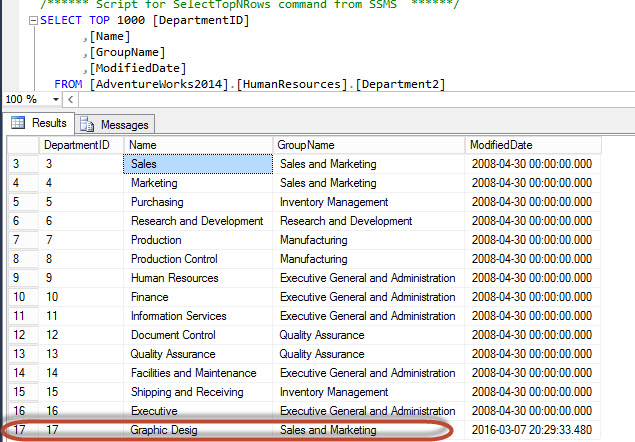
Figure 5. The Results grid If you check the Department2 table in the Adventureworks2014 database in SSMS, you will see the extra row:
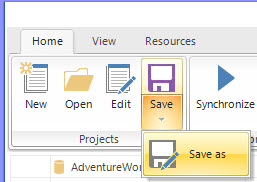
Figure 6. The extra row in one of the databases You can save the current project with the Save button:
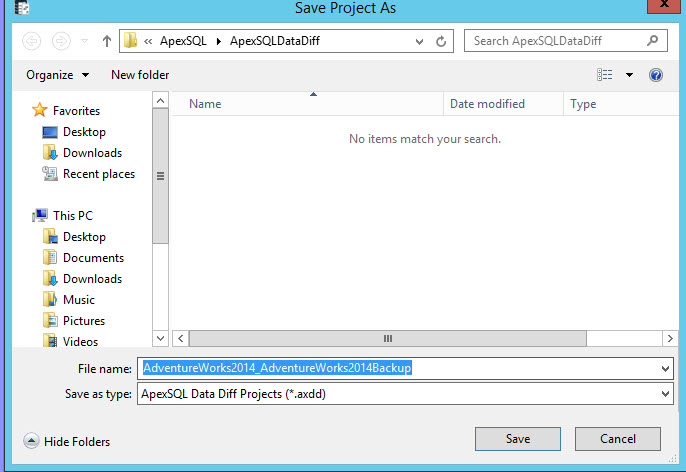
Figure 7. The Save button The current project, with its set options, can be saved and stored in a file with .axdd extension. Saving a project can come in handy if the same settings and data sources are used often, so it can be loaded anytime, rather than setting up everything each time its needed:
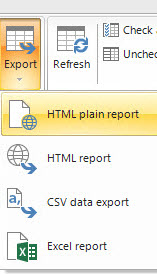
Figure 8. Exporting results You can export the results to HTML, CSV and Excel format:
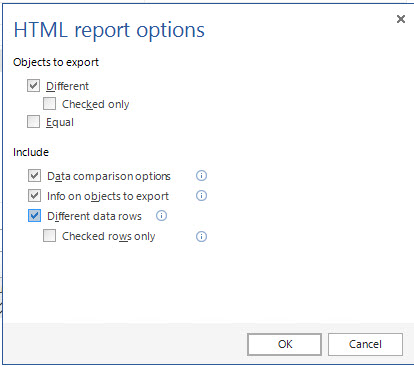
Figure 9. Exporting options When you export, you will have the options to select what you want to see. You can choose which objects you want to export (different or equal), include the data comparison options, information on objects to export and include the rows that are different:
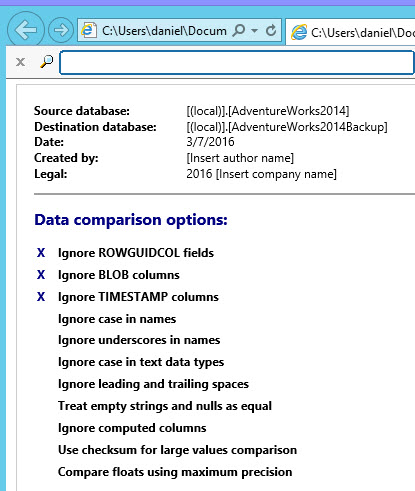
Figure 10. Report options In the HTML report, you can see the source database, the destination database, the creation date of the report and the options. By default, it does not compare BLOB, ROWGUIDCOL columns and timestamp columns:
Figure 11. The ApexSQL Data Diff options You will also be able to see a report similar to the one in the Figure 5:
Figure 12. The HTML report Once you read and analyze the differences, you can synchronize your data with the Synchronize button:
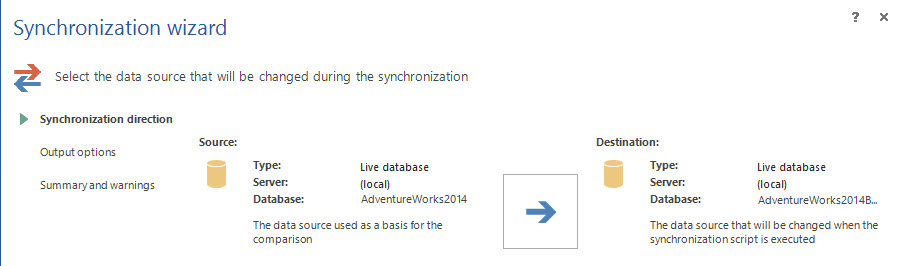
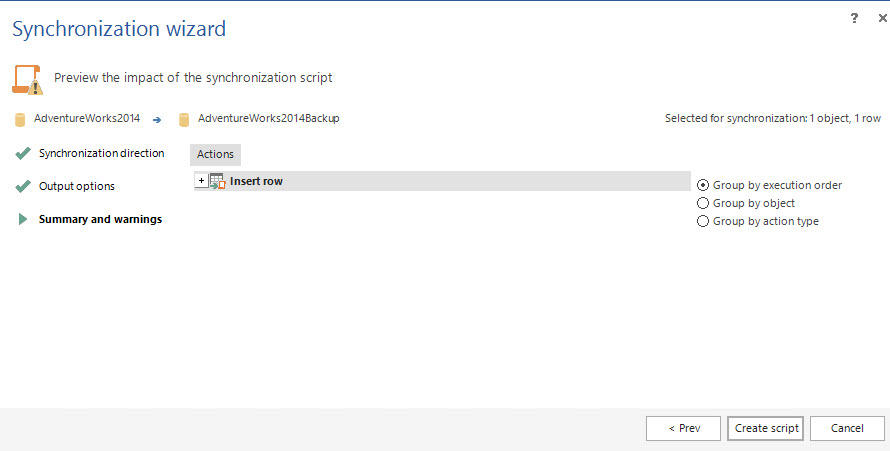
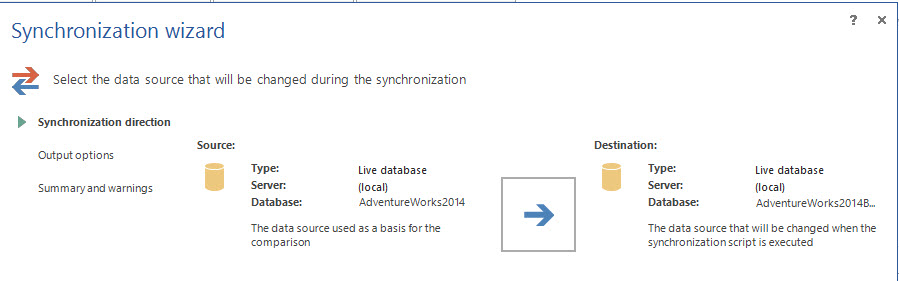
Figure 13. The Synchronization wizard You can change the synchronization direction in the first step of the Synchronization wizard. The destination database is the database that we want to update with the data of the source database:
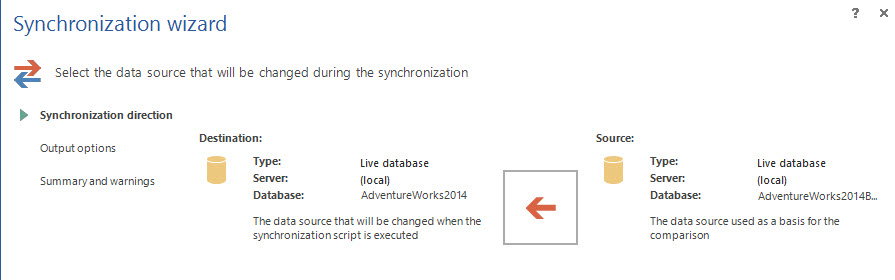
Figure 14. Synchronization direction By clicking on the arrow, you can switch the source and destination:
Figure 15. Switching source and destination direction In our example, we will use the Adventureworks2014 as the source and Adventureworks2014Backup as the destination.
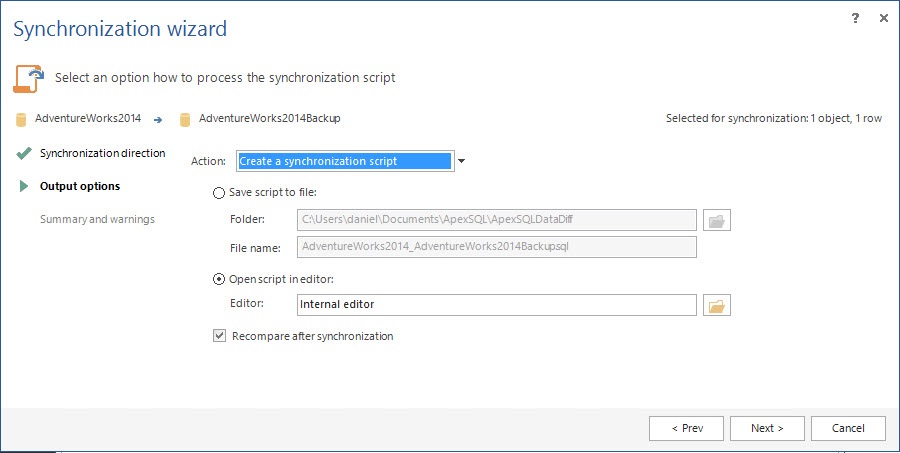
Once the synchronization direction is set, we can generate the script to synchronize the data in Internal editor or to perform direct synchronization:
Figure 16. The options to process the synchronization. The software will show the actions to be executed. In this example, a new row will be inserted in the destination database. Press the Create script button:
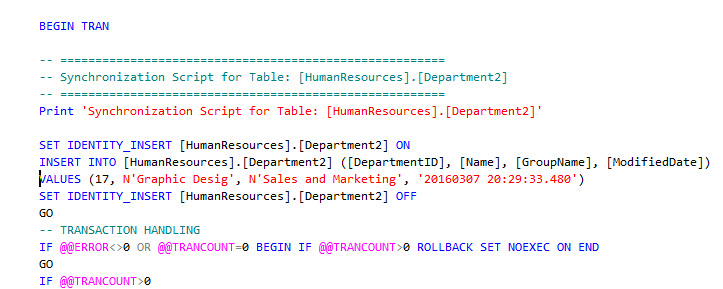
Figure 17. The Actions to synchronize The script contains the T-SQL code that will synchronize the destination database. You can manually modify if you believe it is necessary or you can just check the code:
Figure 18. The synchronization code To execute the code and apply it, run the Execute icon:
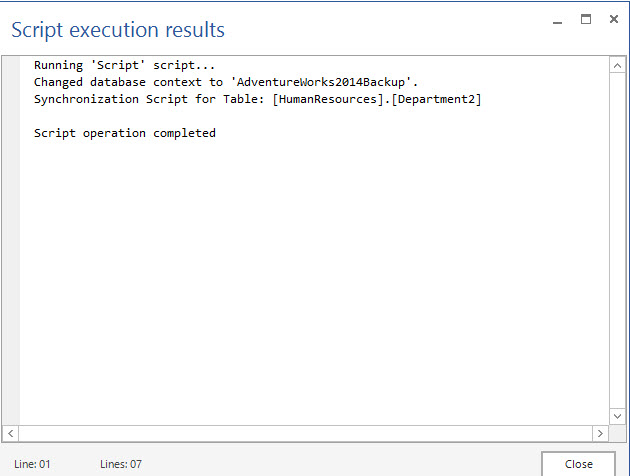
Figure 19. Executing the code The final Wizard window will show if the execution was successful or not:
Figure 20. Execution results The software can optionally check again if there are differences once the script is applied:
Figure 21. New comparison You can also check in the Adventureworks2014Backup database that the new row was added successfully.
Figure 22. The new row added

As you can see, synchronizing 2 databases is very easy. This tool synchronizes data, if you want to compare objects, you can use the ApexSQL Diff.
Many people ask if the software can compare BLOB columns like pictures. The following example will show how to synchronize images in SQL Server with ApexSQL Data Diff.
How to compare and synchronize and check BLOB columns (images).
The next example will show how to compare and synchronize images stored in a SQL table. We will also check the image updated using the Reporting Services.
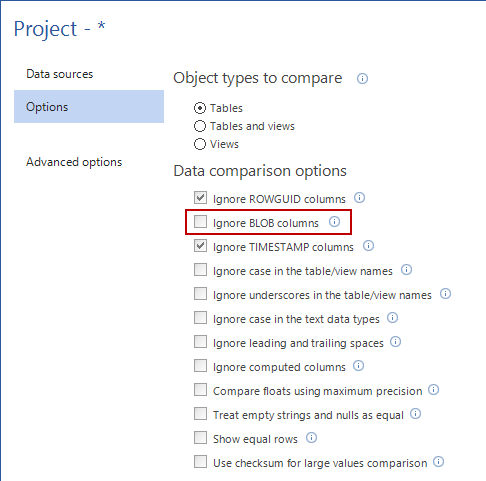
The first step is to go to the ApexSQL Data Diff application and uncheck the Ignore BLOB columns option under the Options tab in the New project window. This will allow the comparison of BLOB columns (which are ignored by default):
Figure 23. Options tab In this example, we are going to create 1 table in each database named myimage. This table will store images:
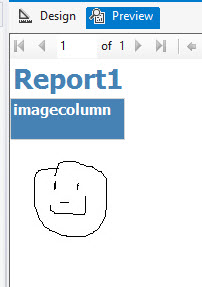
123CREATE TABLE myimage(imagecolumn varbinary(max))We will store two different images on the tables just create. The first image is smileyface.jpg which will be stored in the Adventureworks2014 database.
Figure 24. The smiley picture The second picture named sadface.jpg will be stored in the Adventureworks2014Backup database.
Figure 25. The sad face In the Adventureworks2014, insert the smileyface.jpg.
123INSERT INTO myimage(imagecolumn) SELECT * FROM OPENROWSET(BULK N'e:\smileyface.jpg', SINGLE_BLOB) as T1In the Adventureworks2014Backup, insert the sadface.jpg.
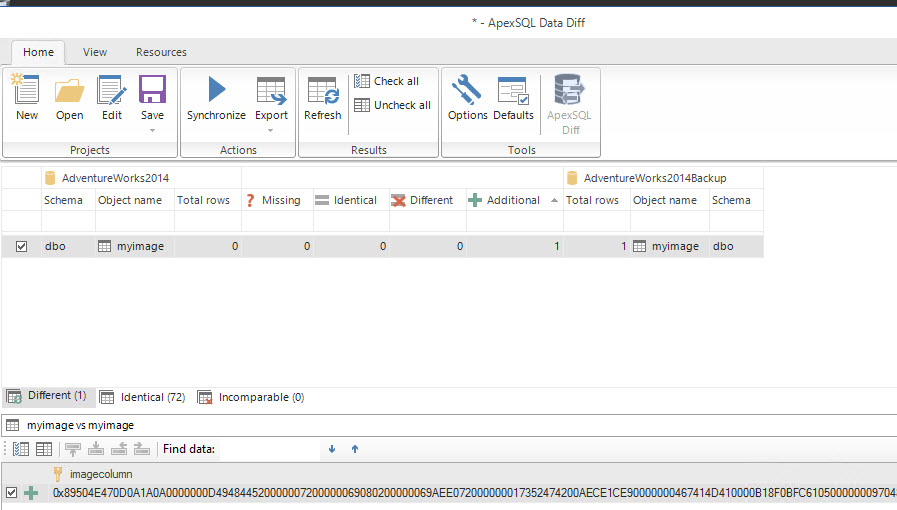
123INSERT INTO myimage(imagecolumn) SELECT * FROM OPENROWSET(BULK N'e:\sadface.jpg', SINGLE_BLOB) as T1The procedure to compare is the same as in the first example from step 1 until 5. As you can see, the software detects that the images are different:
Figure 26. The data comparison of BLOB columns (images) Select the synchronization direction so that the AdventureWorks2014 database is set as the source and the AdventureWorks2014Backup as the destination. This synchronization will change the sad face to a smiley face (the typical happy end):
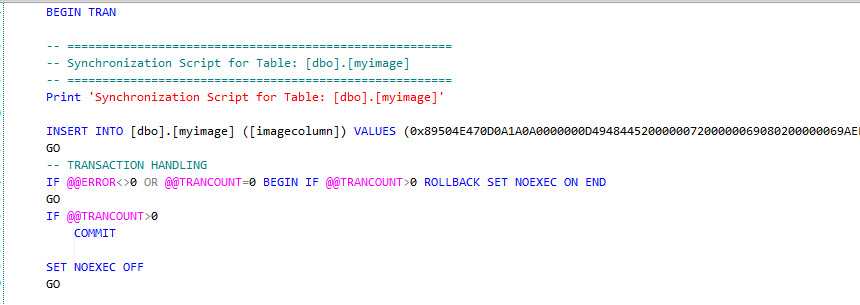
Figure 27. The Synchronization of source and destination If you synchronize and check the code as we did from steps 13 to 18 in the example one, we will be able to see the following code:
Figure 28. The synchronization code To visualize the image you can use SQL Server Reporting Services.
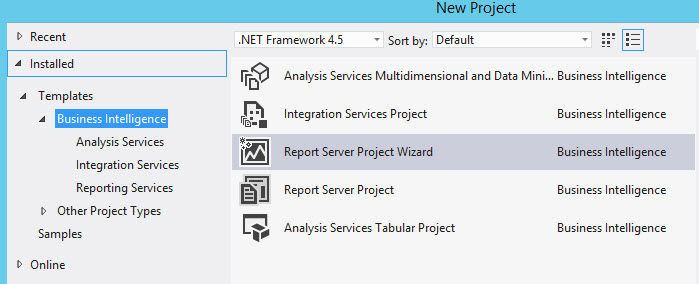
In the SQL Services Data Tools, go to File>New Project and select the Report Server Wizard:
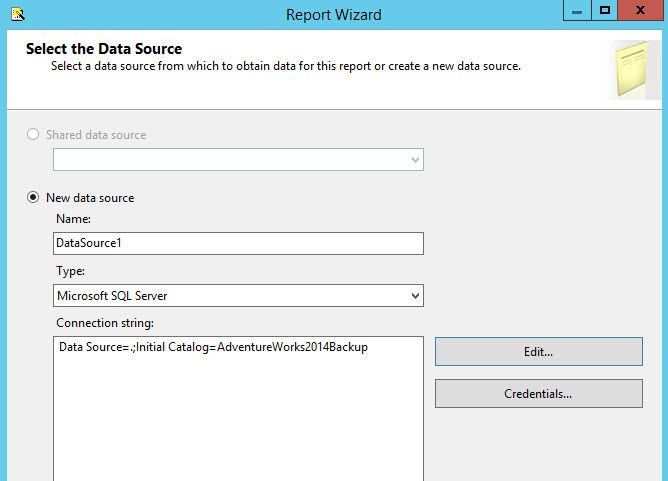
Figure 29. Creating a new project Press the edit button to select the SQL Server name, and the database. In this example, we want to see if the Adventureworks2014Backup database image stored was changed successfully using the ApexSQL Data Diff software:
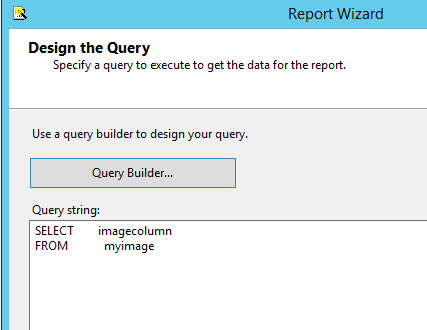
Figure 30. The SQL Server Credential Specify the query to the table with the image:
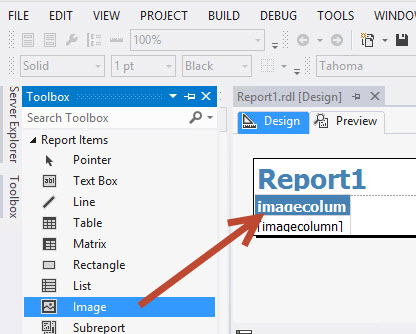
Figure 31. The Query used in the report I will not explain each window wizard. If you have problems to generate a report, you can read our article about reporting services. Once the report is done, drag and drop the image from the Toolbox to the report:
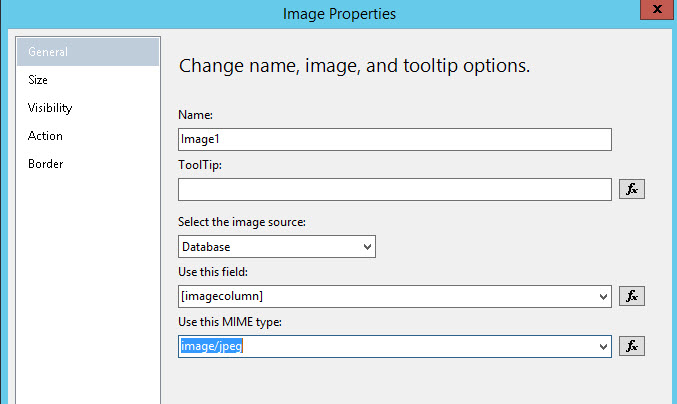
Figure 32. Adding images to the report In the image properties, in the select image source, select Database. In the use this field: select the column with the image. The MIME type will allow selecting the extension of the image
Figure 33. Image properties Select the image and go to properties. In the sizing, select AutoSize. This will help to show the image in an appropriate size:
Figure 34. Image properties Select the previous tab. As you can see, the sad face was changed to a smiley face using the ApexSQL Data Diff. As promised, we had a happy conclusion.


Conclusions
In this article, we learned how to compare the data between two databases. We also learned how to compare images stored in SQL Server. As you can see, the comparison and synchronization is a straightforward process even when we work with BLOB columns (images), ROWGUIDCOL, or other special columns. If you need to compare SQL objects, use ApexSQL Diff.

He has worked for the government, oil companies, web sites, magazines and universities around the world. Daniel also regularly speaks at SQL Servers conferences and blogs. He writes SQL Server training materials for certification exams.
He also helps with translating SQLShack articles to Spanish
View all posts by Daniel Calbimonte
- PostgreSQL tutorial to create a user - November 12, 2023
- PostgreSQL Tutorial for beginners - April 6, 2023
- PSQL stored procedures overview and examples - February 14, 2023