

This article will provide an overview covering programmatically moving databases on the Azure Portal while avoiding common problems with users and logins.
Introduction
Sometimes we need to create copies of a database when we migrate a database from our testing environment to Production or maybe when we want to create a new database based on a template database.
Or sometimes to test the database and make some experiments without affecting the production database or to have a replica to reduce the overhead or for security reasons.
In Azure, it is possible to create Azure SQL database copies between Azure SQL Servers. If you have an Azure AD authentication, it can be a straight forward process. However, if you use a SQL Authentication, you may require additional steps. In this article, we will show some tips to migrate Azure SQL logins and users between different Azure SQL Servers using the portal, Cloud Shell and T-SQL.
In this article, we will show how to do the following tasks using the Azure Portal:
- Copy a database using the Azure Portal
- How to migrate logins from one Azure SQL Server to another (common problems) using the Azure Portal
- Show how to avoid login migration problems using the Azure Portal
- How to copy an Azure SQL database using the Cloud Shell using the Azure Portal
- How to copy an Azure SQL database using T-SQL using the Azure Portal
Requirements
- A subscription to Azure Portal
- An Azure SQL Source Database
- An Azure SQL target database
- A local SQL Server Management Studio (SSMS)
Get started
How to copy a database using the Azure Portal
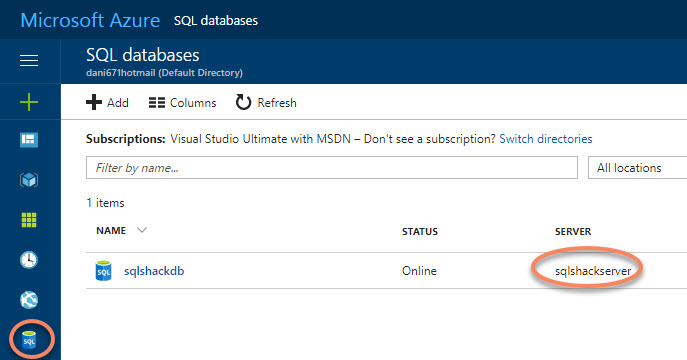
We will first copy a database with a login from a source Azure SQL Server to another.
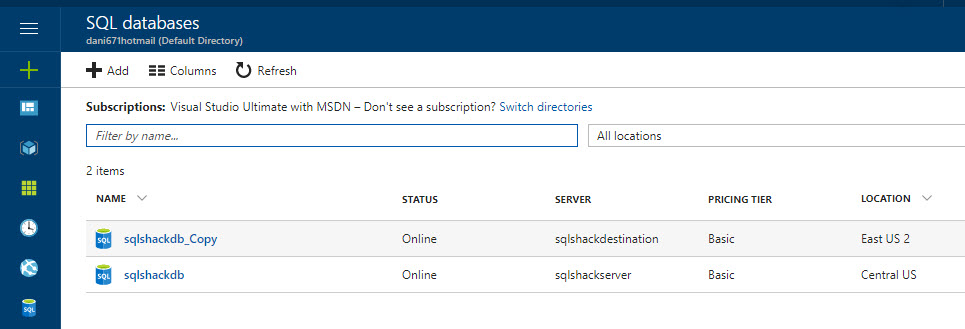
In this example, we have a source database named sqlshackdb stored in the server sqlshackserver:
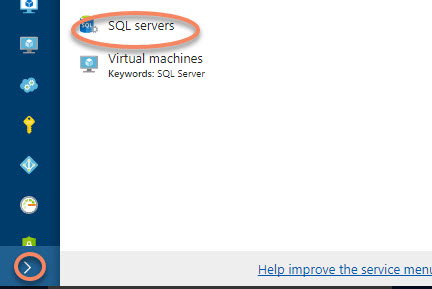
You can search the SQL Servers in Azure by clicking on the > icon and selecting SQL servers in the Azure Portal:
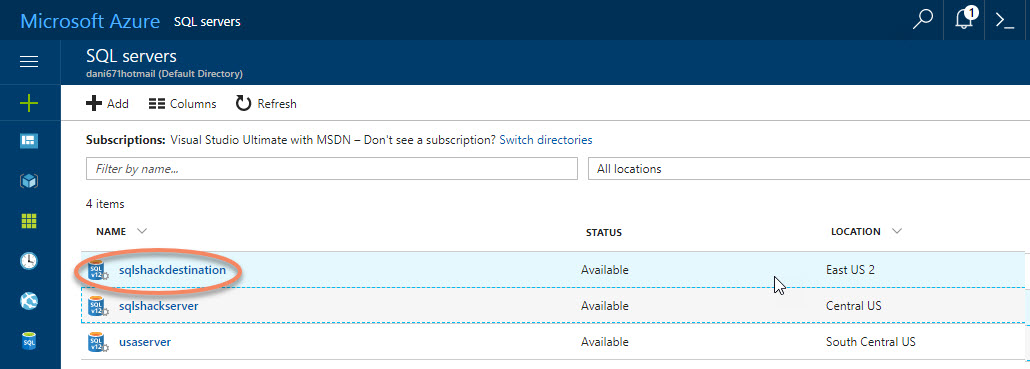
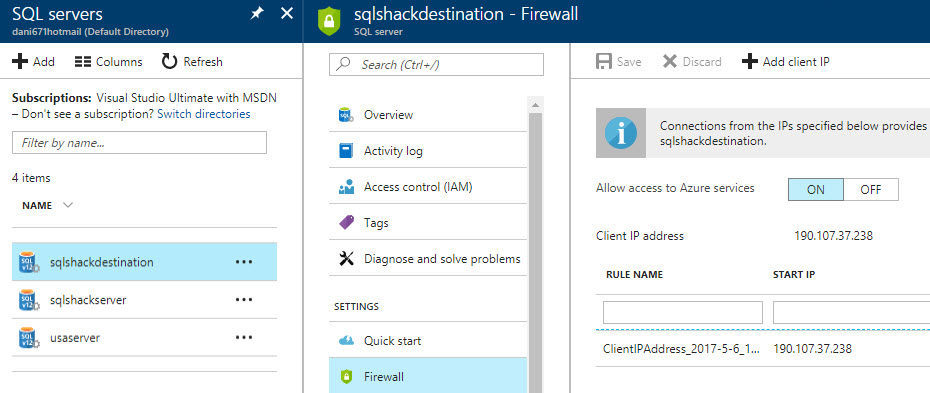
Our Azure SQL Server name is sqlshackdestination. This will be the destination Server where we will create a copy of the source database:
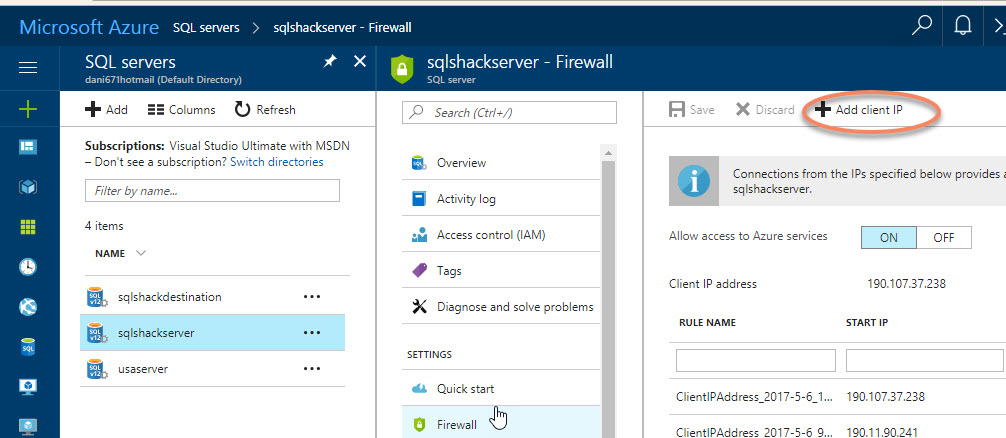
We will create a login to verify common problems when we copy an Azure SQL Database to another Azure SQL Server using the Azure Portal. To do this, we will enable the firewall rule to connect with a local SSMS:
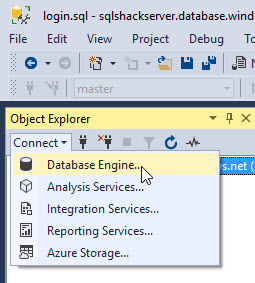
In SSMS, connect to a Database Engine:
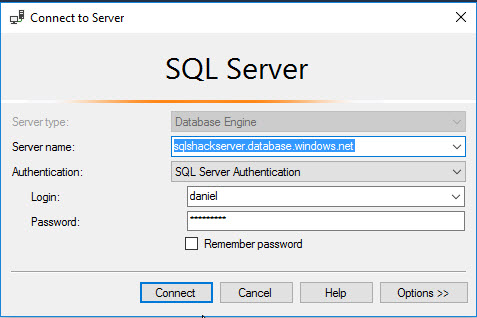
Specify your credentials to connect to the Azure SQL Source database:
The following code will create an Azure SQL Login named “psmith” and a database user associated to that login:
|
1 2 3 4 5 6 7 8 |
CREATE LOGIN psmith WITH PASSWORD = 'ThisIsmySupperstrongpwd!#' GO CREATE USER psmith FOR LOGIN psmith WITH DEFAULT_SCHEMA = dbo GO |
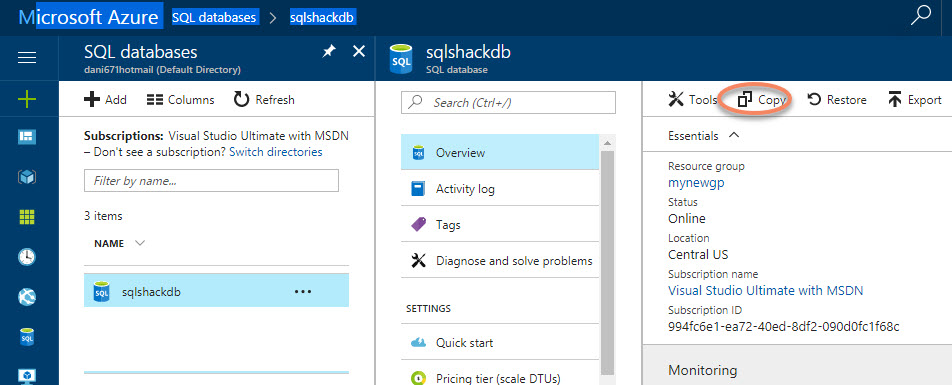
In the Azure Portal, select the database and press the copy icon:
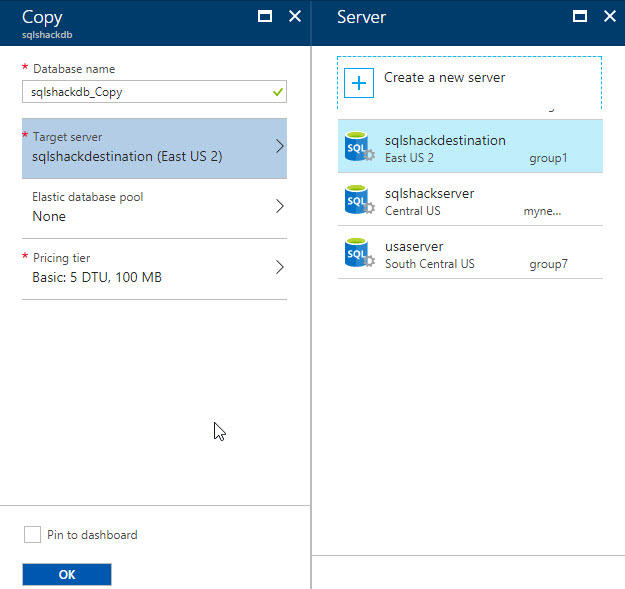
Specify the Target server. The name of the database copy. You can also choose the price tier for the new database and press OK:
If everything is OK, a copy of the database should be created:
How to migrate logins from one Azure SQL Server to another (common problems) using Azure Portal
To connect to the target server using SSMS, you will need to enable the firewall:
If we check the logins in the source and destination, we will notice that only the database owner was migrated, but not the login “jsmith”:
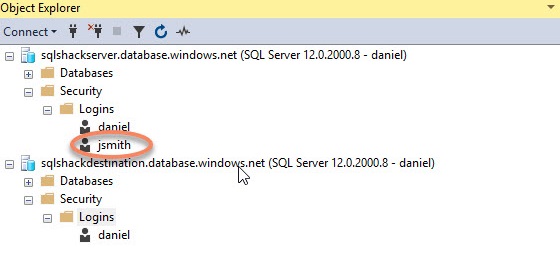
This is because the logins are stored in the master database. That is why, if you need to migrate the logins, you may need to migrate them separately.
The following query can generate scripts to create the logins manually in Source Server and in the master database:
|
1 2 3 |
SELECT 'create login '+name +' with password =''Mypws1234!!''' from sys.sql_logins where type='s' |
Basically, the T-SQL query will generate CREATE LOGIN sentences with the same password for each user. The query shows all the logins of type SQL Server (type=’s’).
You will need to copy the results of the query and execute the sentences in the target server to generate the logins.
To list the SQL Server logins, you can run the following query in the master database:
|
1 |
select * from sys.sql_logins |
Note that the option MUST_CHANGE used to change the password is not supported in Azure SQL.
To avoid this problem, you can create contained database users. In the next section, we will show how to do it.
How to create contained users and avoid login migration problems
In a contained database, the database users can login directly without a SQL login. You can have a database user with a password. If you create contained users, when you copy a database from a source to a destination, you do not need extra effort to copy the logins separately.
The following example will show how to create a database user without a traditional login in the master database:
|
1 |
CREATE USER containeduser WITH PASSWORD = 'ThisIsmySupperstrongpwd!#'; |
As you can see, the login is not required with this option. The database user includes a password. You can optionally add it to a database role if necessary. The disadvantage with a contained user is that if you cannot assign
If you create a copy of the database as we did in figure 7 and 8, you will have a new database, but now you will have a user named “containeduser” that can login directly:

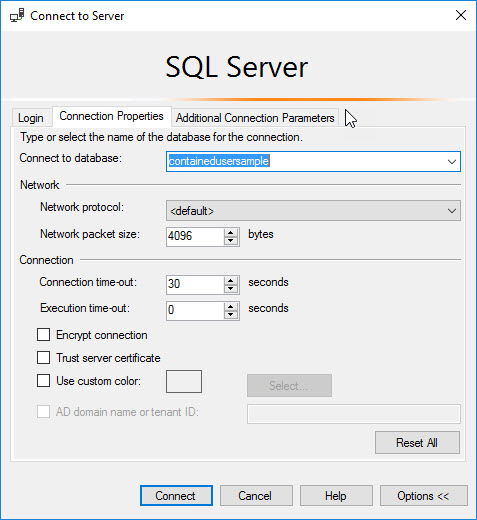
To login with a database contained user, go to SSMS and specify the Azure SQL Server name and login credentials:
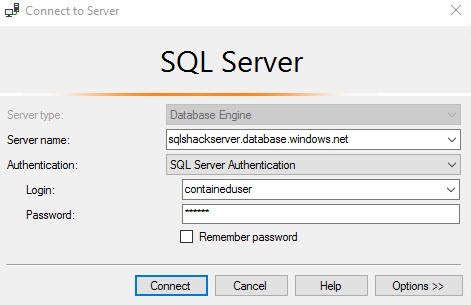
You will need to specify the database. Press the Options >> button and in the Connect to database combo box, specify the database name:
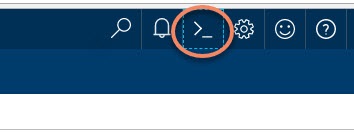
How to copy an Azure SQL database using the Cloud Shell in Azure Portal
If you want to automate administrative tasks, the Cloud Shell will help you a lot. Now, you can run bash to automate your tasks and this year you will also be able to run PowerShell using the console. With bash, you can automate tasks using the command line. As we explained in a previous chapter, you do not need to install the Azure Client in the local machine to run the Cloud Shell. Azure now allows you to run the Shell using the Azure Portal.
To test this feature, press the >_ icon:
You will connect to the Cloud Shell:
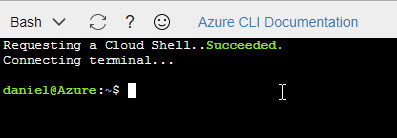
In the Cloud Shell, we will create a copy of the Azure SQL database using the following commands:
az sql db copy –dest-name azdbcopy -n sqlshackdb -g mynewgp -s sqlshackserver –dest-resource-group group1 –dest-server sqlshackdestination
az sql db copy is the command to copy an Azure SQL database.
Azdbcopy is the name of the copy in the destination database.
Sqlshackdb is the source database to be copied
Mynewgp is the name of the source resource group where the source Azure sql database was created.
Sqlshackserver is the name of the Azure SQL Server Source.
Group1 is the name of the target resource group.
Finally, sqlshackdestination is the name of the target Azure SQL Server where we will create the database copy.
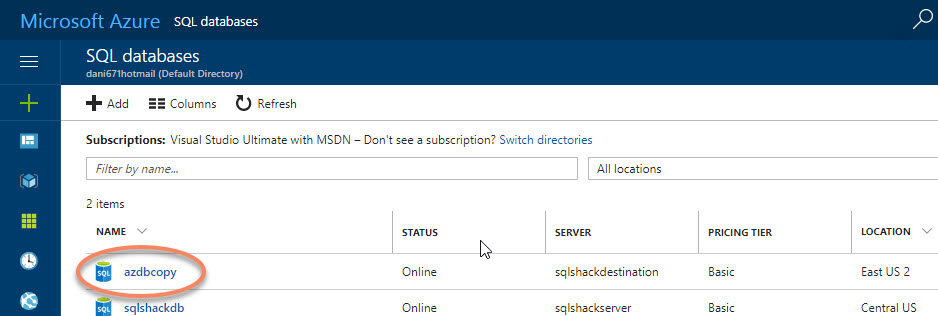
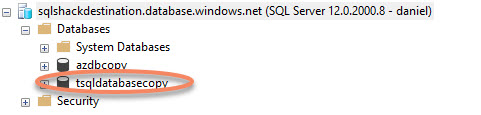
If everything is OK, a destination database named “sqlshackdestination” will be displayed:
How to copy an Azure SQL database using T-SQL
You can also create a database copy using T-SQL. The following example shows how to create the copy in SSMS. You can run this sentence in the master database:
|
1 |
CREATE DATABASE tsqldatabasecopy AS COPY OF sqlshackserver.sqlshackdb |
Where tsqldatabasecopy is the destination database and sqlshackserver.sqlshackdb is the name of the Azure SQL Server and the Azure SQL Database name separated by a “.”.
You can verify that the new database was created successfully in SSMS or the Azure Portal:
Conclusion
In this article, we learned how to create a copy of an Azure SQL database using the Azure Portal, the Cloud Shell and T-SQL.
We also learned how to create contained users to avoid the problems to migrate logins from one Azure SQL Server to another. We also create a query to generate code to create Azure SQL logins to manually create logins in the destination Server.
The Azure Portal is a powerful and effective medium to manage your SQL Azure databases. I hope this article helps you understand how to utilize it more effectively, for common tasks like moving databases.
Other articles in this series:
- How to migrate MySQL tables to Microsoft Azure SQL database
- How to create an Azure SQL Database using the Cloud Shell
- Working with Azure Active Directory and Azure SQL Database
- How to automate Azure Active Directory (AAD) tasks using the Cloud Shell

He has worked for the government, oil companies, web sites, magazines and universities around the world. Daniel also regularly speaks at SQL Servers conferences and blogs. He writes SQL Server training materials for certification exams.
He also helps with translating SQLShack articles to Spanish
View all posts by Daniel Calbimonte
- PostgreSQL tutorial to create a user - November 12, 2023
- PostgreSQL Tutorial for beginners - April 6, 2023
- PSQL stored procedures overview and examples - February 14, 2023