

Introduction
In the article How to create an Azure SQL Database using the Cloud Shell, we learned how to work with the Cloud Shell. In this new article, we will show how to automate Azure Active Directory tasks (AAD) using the Cloud Shell. We will work with loops, files and variables to automate tasks.
The following tasks will be included:
- Show the list of Azure Active Directory Users
- Show a specific Azure Active Directory user with a specific User principal name or Object ID
- Create an Azure Active Directory User
- Create an Azure Active Directory User using variables
- Create multiple Azure Active Directory users from a list
- Create an Azure Active Directory Group
- Show Active Directory Groups in different formats
- Filter results
- Add Azure Active Directory Users to an Azure Active Directory Group
- Check the Azure Active Directory User/Group Administrator in Azure SQL
- Remove the Azure Active Directory User/Group Administrator in Azure SQL
Requirements
- A subscription to Azure
- An Azure SQL Server installed
Get started
Start the Cloud Shell:

Show the list of Azure Active Directory Users
We will first list all the Azure AD Users using the following command:
az ad user list
This command will show all the users in JSON format by default:
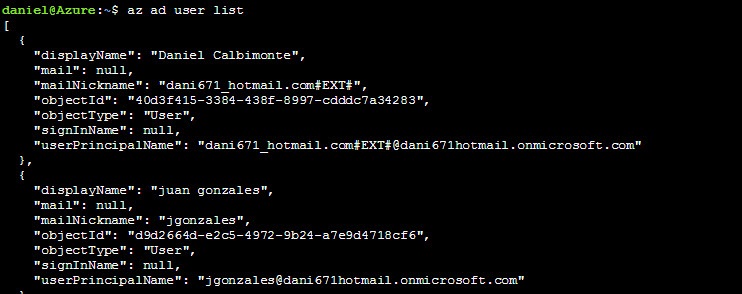
Some important components are the object id, which is a unique identifier and the user principal name.
Show a specific Azure Active Directory user with a specific User principal name or Object ID
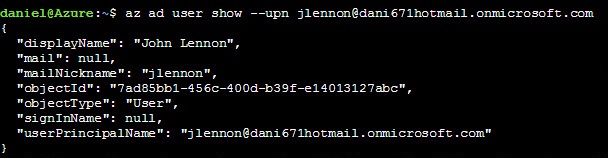
The following example will show the Azure Active Directory (AAD) User information of the AAD user whose user principal name is jlennon@dani671hotmail.onmicrosoft.com:
az ad user show –upn jlennon@dani671hotmail.onmicrosoft.com
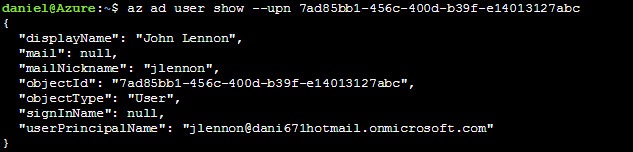
You can also show the information of a specific user using the object id:
az ad user show –upn 7ad85bb1-456c-400d-b39f-e14013127abc
Create an Azure Active Directory User
The following example shows how to create an Azure Active Directory user named “psmith” with a password and a user principal name:
az ad user create –display-name psmith –password Mypaermy2aa3434$$ –user-principal-name psmith@dani671hotmail.onmicrosoft.com
To verify in the Azure Portal, go to more Services and User and Groups:
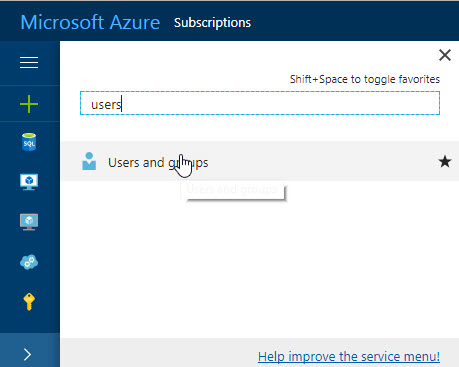
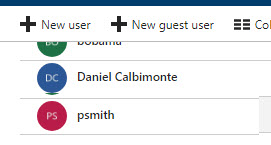
In the Users section, verify that the user “psmith” was created:
Create an Azure Active Directory User using variables
Now, we will now learn how to work with variables and how to read user input.
First, let’s assign a value to a variable:
displayname=pjackson
The variable displayname is storing the value “pjackson”. You can verify the value of the variable using the echo command like this:
Echo $displayname
We will now read user input and store in a variable named password. To do that, run the following command:
read password
After that, you can write the password, which will be stored in the password variable.
To concatenate values, you just need to write the string together:
userprincipalname=$displayname@dani671hotmail.onmicrosoft.com
In this example, we are concatenating the variable $dispalyname with the string “@dani671@hotmail.onmicrosoft.com”.
The following example, will use the variables to create a new user:
az ad user create –display-name $displayname –password $password –user-principal-name $userprincipalname

The command created a new Active Directory User in Azure named “pjackson” using the variables.
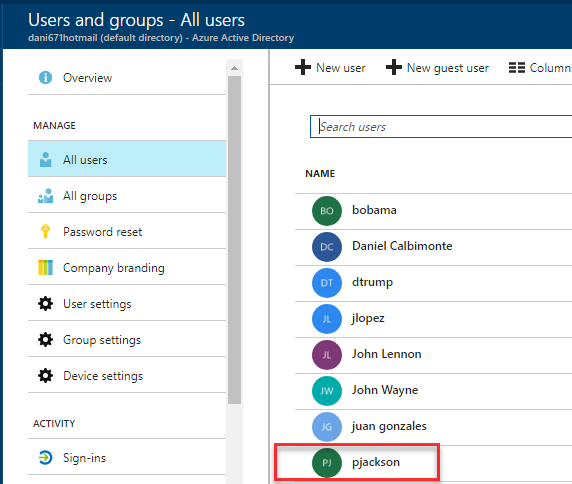
You can check in the Azure Portal in Users and Groups that the user “pjackson” was created:
Create multiple Azure Active Directory users from a test file
In the next example, we will create a list of users and we will create AAD users from that list automatically.
We will first create a file named “listuser”. The first line will be ”jlopez”, which is an AAD user that we want to create:
echo “jlopez” > listusers
We will append two more lines to the text file:
echo “dtrump” >> listusers
echo “bobama” >> listusers
You can also specify a password:
read password
The following lines of code will read the file listuser. It will create a user for each line of the file.:
cat listusers | while read line
do
az ad user create –display-name $line –password $password –user-principal-name $line@dani671hotmail.onmicrosoft.com
done
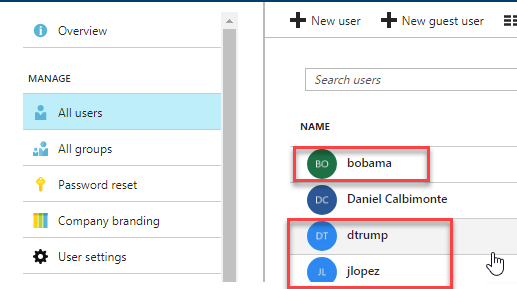
The code will create 3 AAD Users: ”jlopez”, ”dtrump” and ”bobama”:

In the Azure Portal, you will be able to see the AAD Users created:
Create an Azure Active Directory Group
The following example will show how to create an AAD Group. We will first create a variable with the display name of the group:
groupname=marketing
We will next create a group named marketing:
az ad group create –display-name $groupname –mail-nickname $groupname
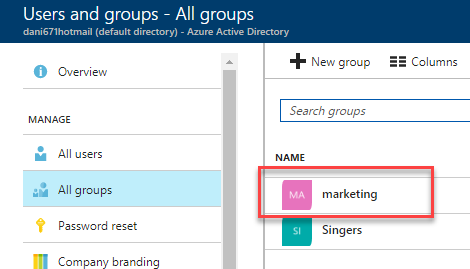
To verify, in the Portal go to User and Groups, All groups. You will be able to see the marketing group:
Show Active Directory Groups in different formats
A typical question is how can the output format of the Az CLI 2.0 commands be changed. By default, the results are displayed in JSON format but it is possible to change to a different format
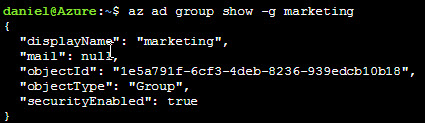
The following example shows how to show the Active Directory Group information of the marketing group:
az ad group show -g marketing
The results are displayed in JSON format:
With the -o (output) parameters, you can change the format to a table or a tab-separated value format (tsv). The following example shows how to show the results as a table:
az ad group show -g marketing -o table
The results are displayed in a table format. You can also display the results in tsv format (-o tsv):

Filtering results
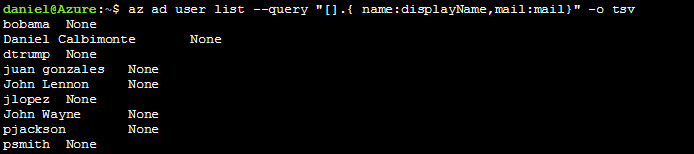
With the –query parameter, you can create filters. In the next example, we will show only the displayName and mail of the AAD Users in a tsv format:
az ad user list –query “[].{ name:displayName,mail:mail}” -o tsv
The results displayed are the following:

The following example shows all the AAD Users whose display name is bobama. The query shows the display name and mail in table format:
az ad user list –query “[?displayName == ‘bobama’].{ name:displayName,mail:mail}” -o table
The result displayed is the following:

Adding Azure Active Directory Users to an Azure Active Directory Group
To add a user to a group, you need the AAD Group name and the user Object Identifier. You can get the AAD User object identifier using the az ad user list command.
We will first store and Object ID in a variable named oid:
oid=40d3f415-3384-438f-8997-cdddc7a34283
We will also store the group name of an existing group:
groupname=marketing
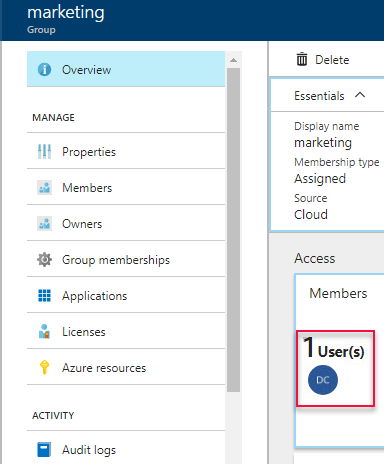
The following example will add the user with the Object identifier provided to the marketing AAD group:
az ad group member add –group $groupname –member-id $oid
In the Azure Portal, go to User and Groups go to the marketing group and you will be able to see one member:
Adding multiple Active Directory Users to a group
The following example will store the objects identifiers of all the AAD users in a file named Listobjects:
az ad user list –query “[].{ objectId:objectId}” -o tsv >listobjects
We will add all the AAD users to the marketing group. We will first set the groupname variable:
groupname=marketing
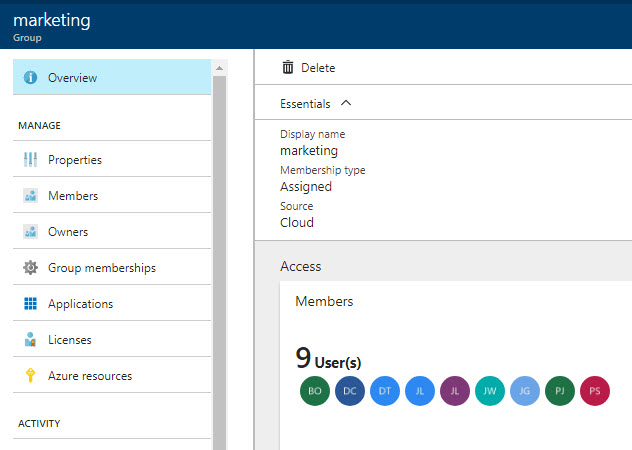
We will next add all the users to the marketing group using the list of object IDs:
cat listobjects | while read line
do
az ad group member add –group $groupname –member-id $line
done
In the Azure Portal, go to users and groups, and check the members. You will be able to see all the new members added in the marketing group:
Checking the Azure Active Directory User/Group Administrator in Azure SQL
In the next example, we will show the command to check the AAD User or Group a specific Azure SQL Server.
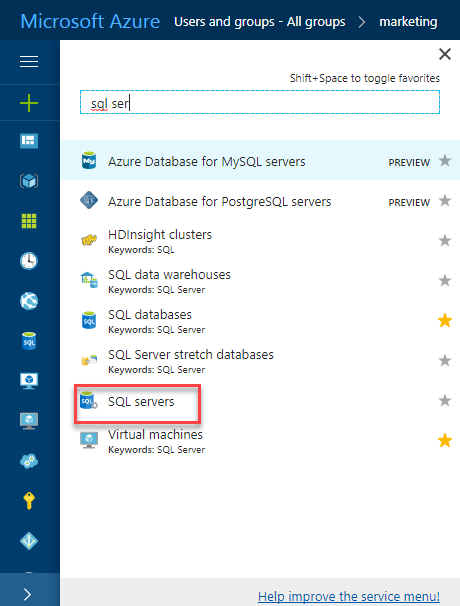
We will go to more services in the Azure Portal and look for SQL Servers:
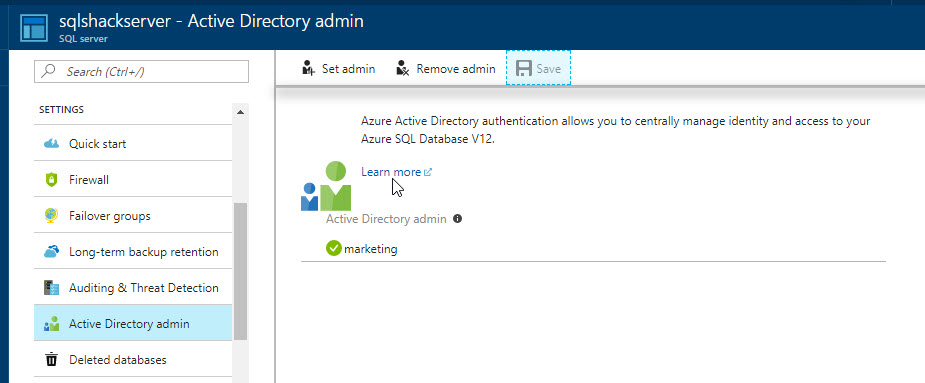
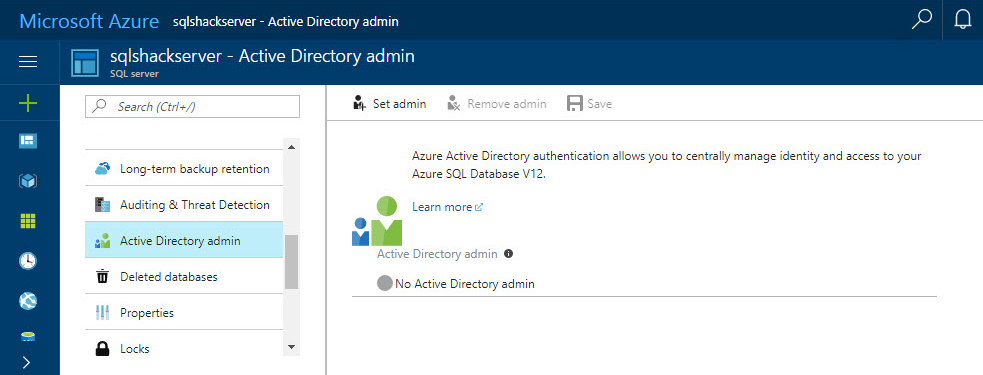
Select your Azure SQL server and go to Active Directory Admin:
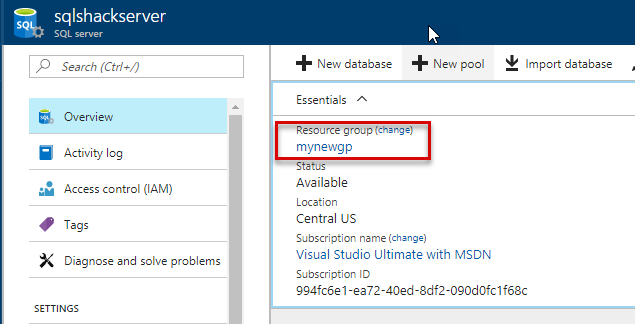
In the cloud shell, you can also view the AAD user or group who is the administrator of the Azure SQL Server. You need to check the servername and resource group:
You can see the server name and resource group in the Overview section of the Azure SQL Server:
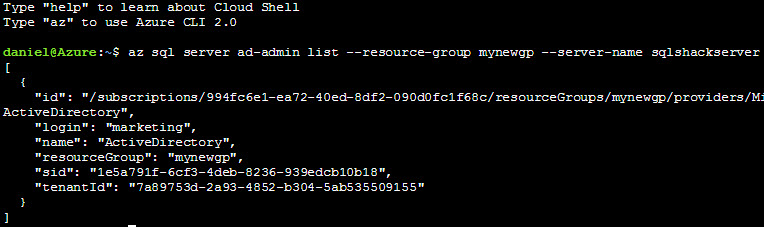
Once that you have the SQL Server name and resource group, you can run the command:
az sql server ad-admin list –resource-group mynewgp –server-name sqlshackserver
The result displayed is the following:
Removing the Azure Active Directory User/Group Administrator in Azure SQL
To remove the AAD User or Group administrator the following command is used:
az sql server ad-admin delete –resource-group mynewgp –server-name sqlshackserver
Where ”mynewgp” is the resource group name and ”sqlshackserver” is the Azure SQL Server.
If everything is OK, in the Azure Portal in the Active Directory admin properties of the Azure SQL Server:
Conclusion
The Cloud Shell is a very powerful Shell that can be used to automate administrative tasks. In this article, we learned how to:
- create multiple AAD users,
- add multiple users to a group,
- filter information,
- get AAD information using different formats.
We used loops, variables and code to automate our tasks.
If you have questions related, feel free to share them in the comments below.
Previous articles in this series:
- How to migrate MySQL tables to Microsoft Azure SQL database
- How to create an Azure SQL Database using the Cloud Shell
- How to copy an Azure SQL database using the Azure Portal, Cloud Shell and T-SQL
- Working with Azure Active Directory and Azure SQL Database

He has worked for the government, oil companies, web sites, magazines and universities around the world. Daniel also regularly speaks at SQL Servers conferences and blogs. He writes SQL Server training materials for certification exams.
He also helps with translating SQLShack articles to Spanish
View all posts by Daniel Calbimonte
- PostgreSQL tutorial to create a user - November 12, 2023
- PostgreSQL Tutorial for beginners - April 6, 2023
- PSQL stored procedures overview and examples - February 14, 2023