

In this article, we are going to understand what Azure CLI is and how to work with it. For the purpose of this article, we will take the version 2.0 to demonstrate the features and functionalities. The Azure CLI, as the name suggests is a cross- platform and open-source command-line tool that we can use to create or manage resources in the Azure Portal. This tool gives us the ability to issue commands right from the windows command prompt and deal with the Azure resources. Since this tool is a cross-platform, that means the users can easily install the utility on Windows, Linux or Mac OS and still work with the same set of commands without making any changes.
Using the Azure CLI, users can automate a great extent of tasks in the Azure portal like creating or deleting Azure resources like a Virtual Machine or backing up an SQL Database. The Azure CLI is also available to use within the web browser which is also known as the cloud shell. The cloud shell is available once the user has logged into the Azure portal from any browser. The set of commands for both the CLI and cloud shell is the same. Initially, the CLI version 1.0 was released, which was written in NodeJS. However, now it has become obsolete and version 2.0 has been completely rewritten using python.
What can we do with Azure CLI?
With the help of Azure CLI, you can easily perform the following tasks.
- Creating new resources – With the help of the CLI tool, you can spin up new resources like a virtual machine or an SQL database directly with commands issued from the windows command line or the cloud shell
- Querying existing resources – We can also query results for the existing resources in the Azure portal. For example, what is the value of the secret from the Azure Key Vault, etc.
- Updating existing resources – Maybe we need to update the configuration setting for a web application, we can leverage the CLI and perform the update operation
- Deleting existing resources – We can also delete resources from the Azure portal that we no longer need so that we could save some bucks all by using the CLI tool
Installing the Azure CLI
For the sake of this article, I’m going to install the CLI on my windows machine. However, if you would like to install the CLI on an OS of your choice other than windows, please refer to the official documentation from Microsoft regarding the installation of the tool.
In order to install the CLI on a Windows machine, navigate to this link and click on Download the MSI Installer. If there’s already an existing version of the CLI installed, it will automatically be updated. So, you do not need to uninstall the previous versions.

Figure 1 – Download the CLI
Once the MSI package is downloaded in your local, follow the necessary steps and install it.
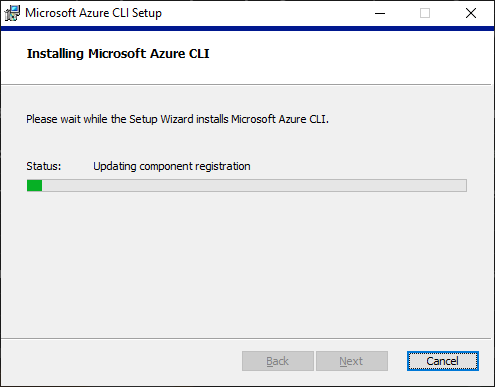
Figure 2 – Installing the CLI
Once the CLI is installed, you can check if the utility has been correctly installed by running the command “az –version“. This command will show the current version of the tool and the other modules that are available to be used by the CLI tool. Note that in the figure below, the installed version of the tool is 2.5.1 which is the latest version at the time of writing this article. The versions are updated quite frequently, so your version might differ from this. Also, notice that there are four sub-modules already available to be used with the CLI tool along with the versions of each of the sub-modules. These sub-modules actually allows us to monitor or play with the various resources in Azure.
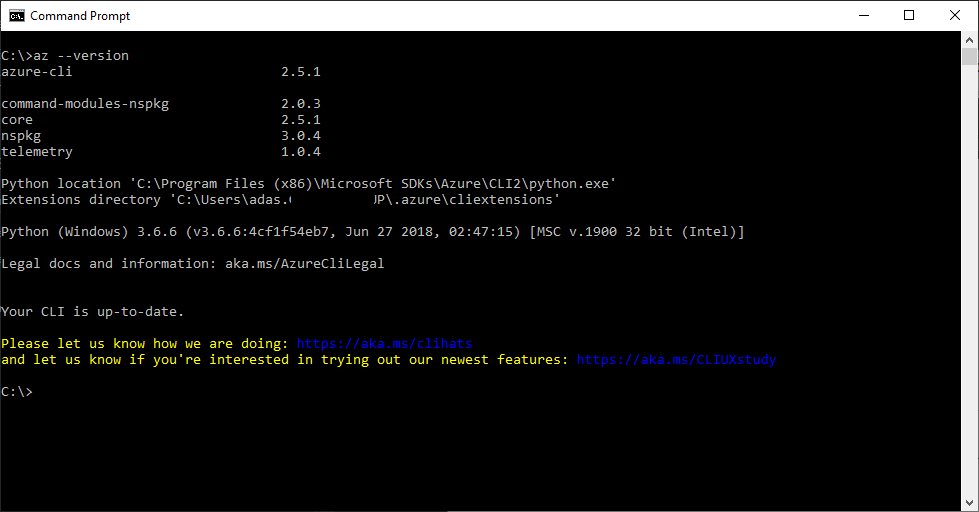
Figure 3 – Checking the CLI version
Login to Azure using the CLI
Once you have successfully installed the CLI, there’s not much to do until you have logged in and started issuing the commands to the resources. In order to login to your Azure portal, run the command “az login“. You will automatically be redirected to the login page for the Azure portal where you need to provide credentials and Sign In. Once logged in, the browser will notify with the message as shown below.

Figure 4 – Azure Login Successful
You can also verify your logic by returning to the CLI and the Azure login details will be displayed.
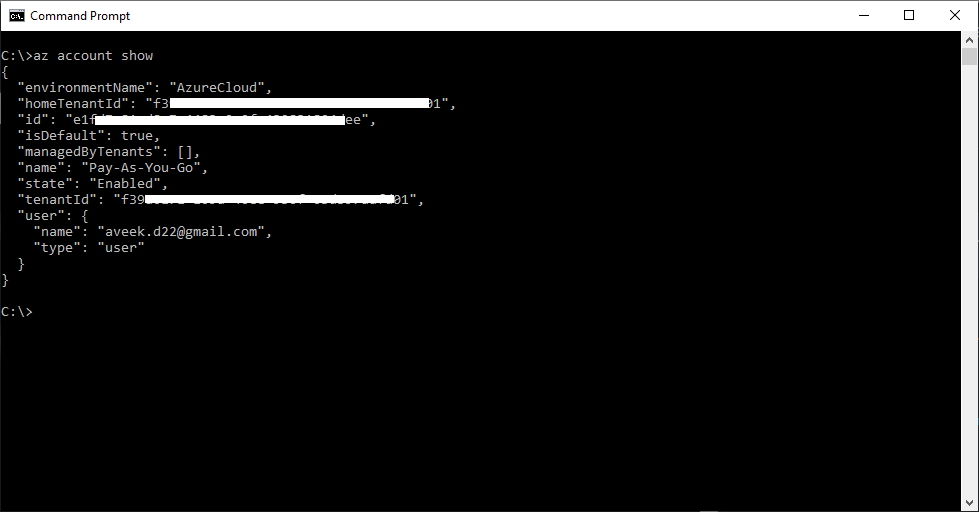
Figure 5 – Azure Login Details
As you can see in the figure above, the default subscription with the name “Pay-As-You-Go” is selected and we can access all the resources available within this subscription. Your login can be associated with multiple subscriptions or accounts in Azure. To get details about the selected subscription, run the command “az account show“. This will give you information about the subscription that you are currently logged in to.
In order to view other subscriptions linked to your login, simply run the command “az account list“. This will show you a list of all the subscriptions linked to your login.
And if you want to change the current subscription to another, run the command like this “az account set -s “<SUBSCRIPTION_NAME>““. This will change the selected subscription to the specified in the command. For example, in my case, I can use the command “az account set -s “Pay-As-You-Go”” to set my default subscription.
Fetch Resource Groups within the subscription
Now that we have set our subscription, we can issue commands to view the available resource groups within the subscription. In order to view all the available resource groups, you can run the command “az group list“. This will display a list of all the available resource groups as follows.
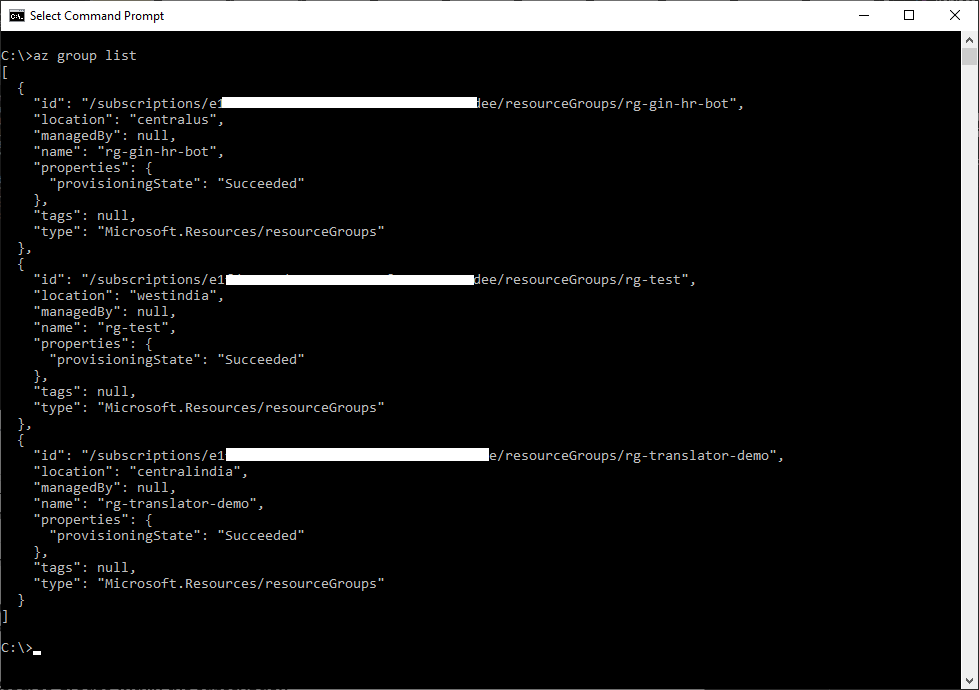
Figure 6 – Azure Resource Groups
As you can see in the figure above, all the resource groups are visible. By default, the result is always displayed in the JSON format. However, if you want you can also fetch the result in a tabular format by adding the parameters “-o table“. The complete command will be “az group list -o table“.
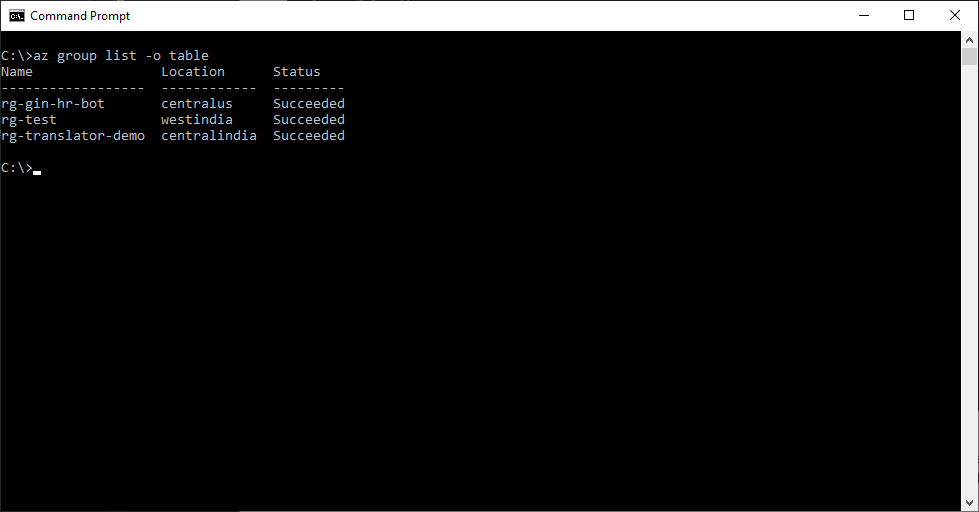
Figure 7 – Azure Resource Groups in Tabular Format
Using the Azure Cloud Shell
Another method of using the Azure CLI is by using the cloud shell component which can be accessed after logging in to the Azure portal. Once you are logged in to Azure, click on the command button available on the top of the portal.
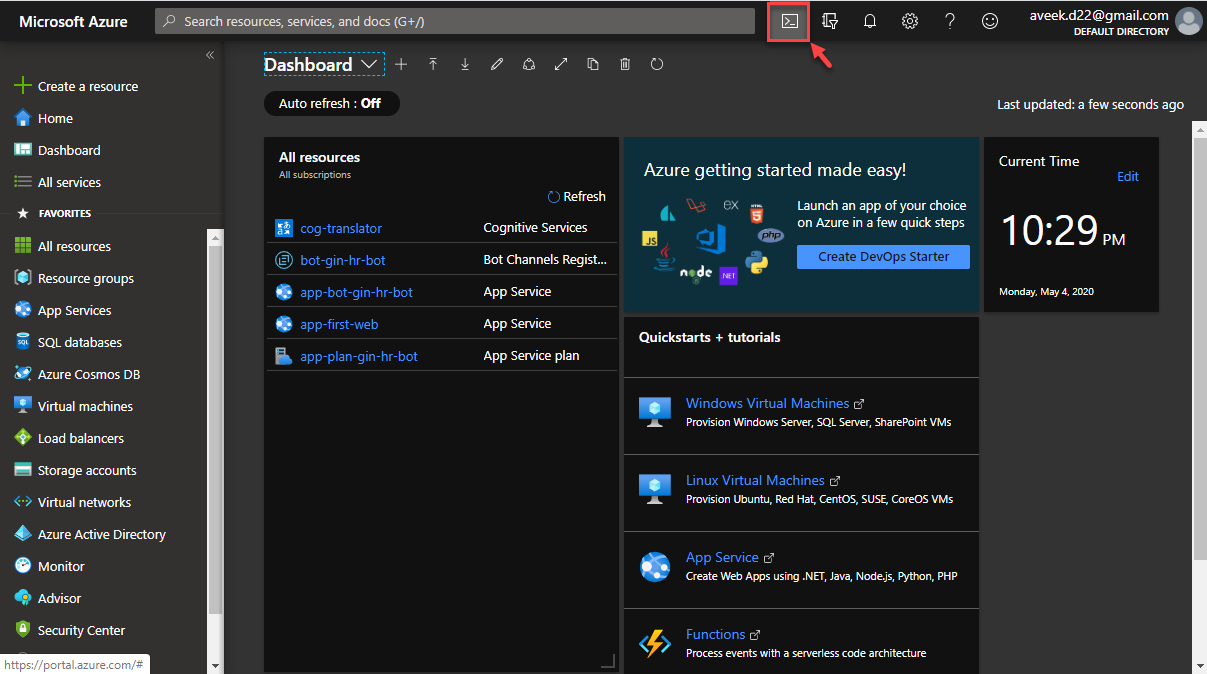
Figure 8 – Azure Cloud Shell
A new popup window appears at the bottom of the portal where you will be provided with two options to start with the cloud shell – Bash and PowerShell. For the sake of this article, I’m going ahead with the PowerShell. You can also choose to continue with the Bash option.
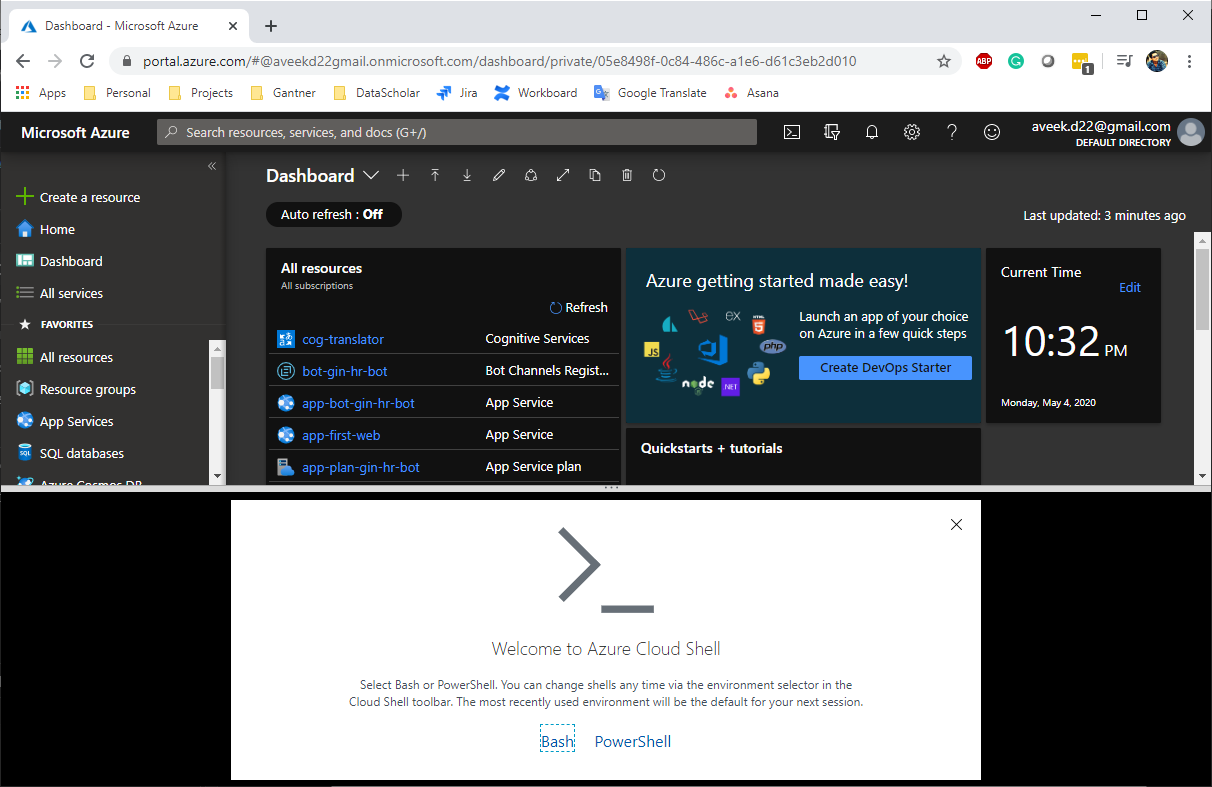
Figure 9 – Select PowerShell
Once you click on the PowerShell, the next step will be to select the Subscription to proceed ahead. We need to create a simple Storage Account here in order to store the cloud shell scripts to be stored and executed. Go ahead and click on Create Storage. It might take some time to create the necessary storage requirements.
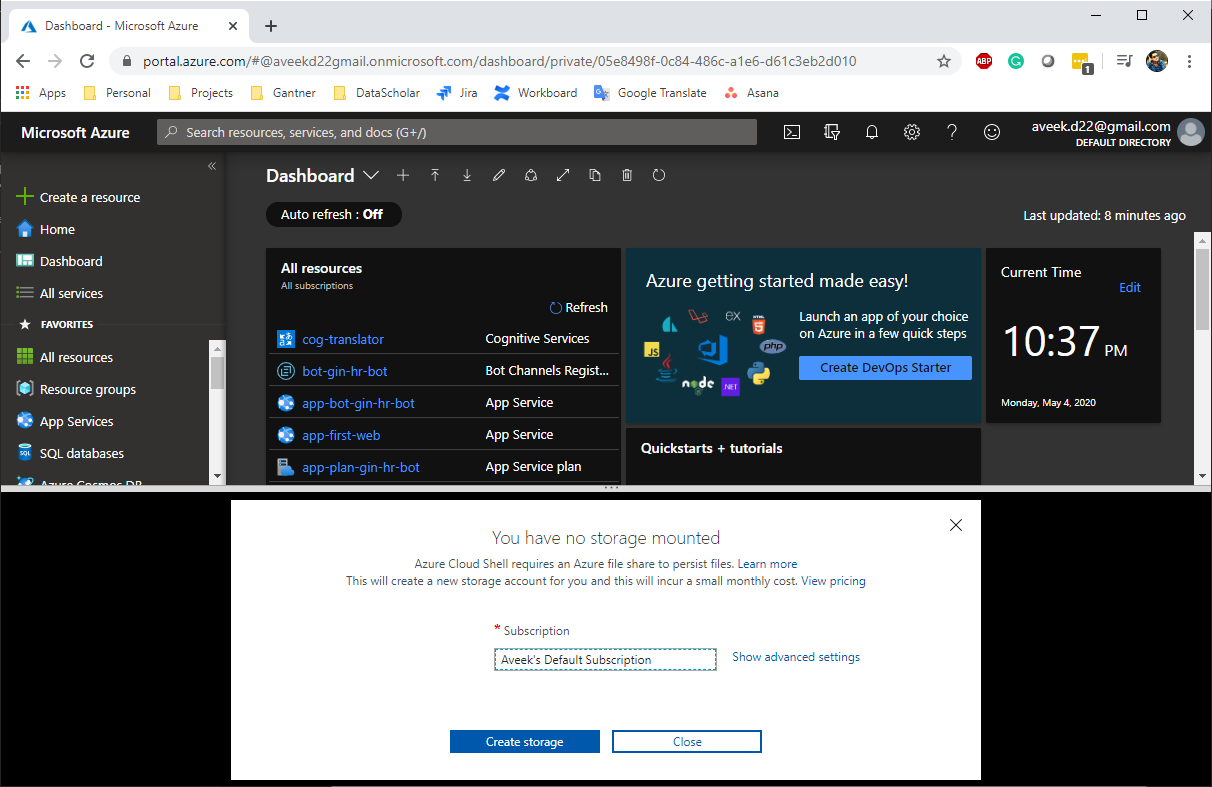
Figure 10 – Create Storage Account
Once the Storage Account is created, the shell will start automatically, and you can run the Azure CLI commands as usual.
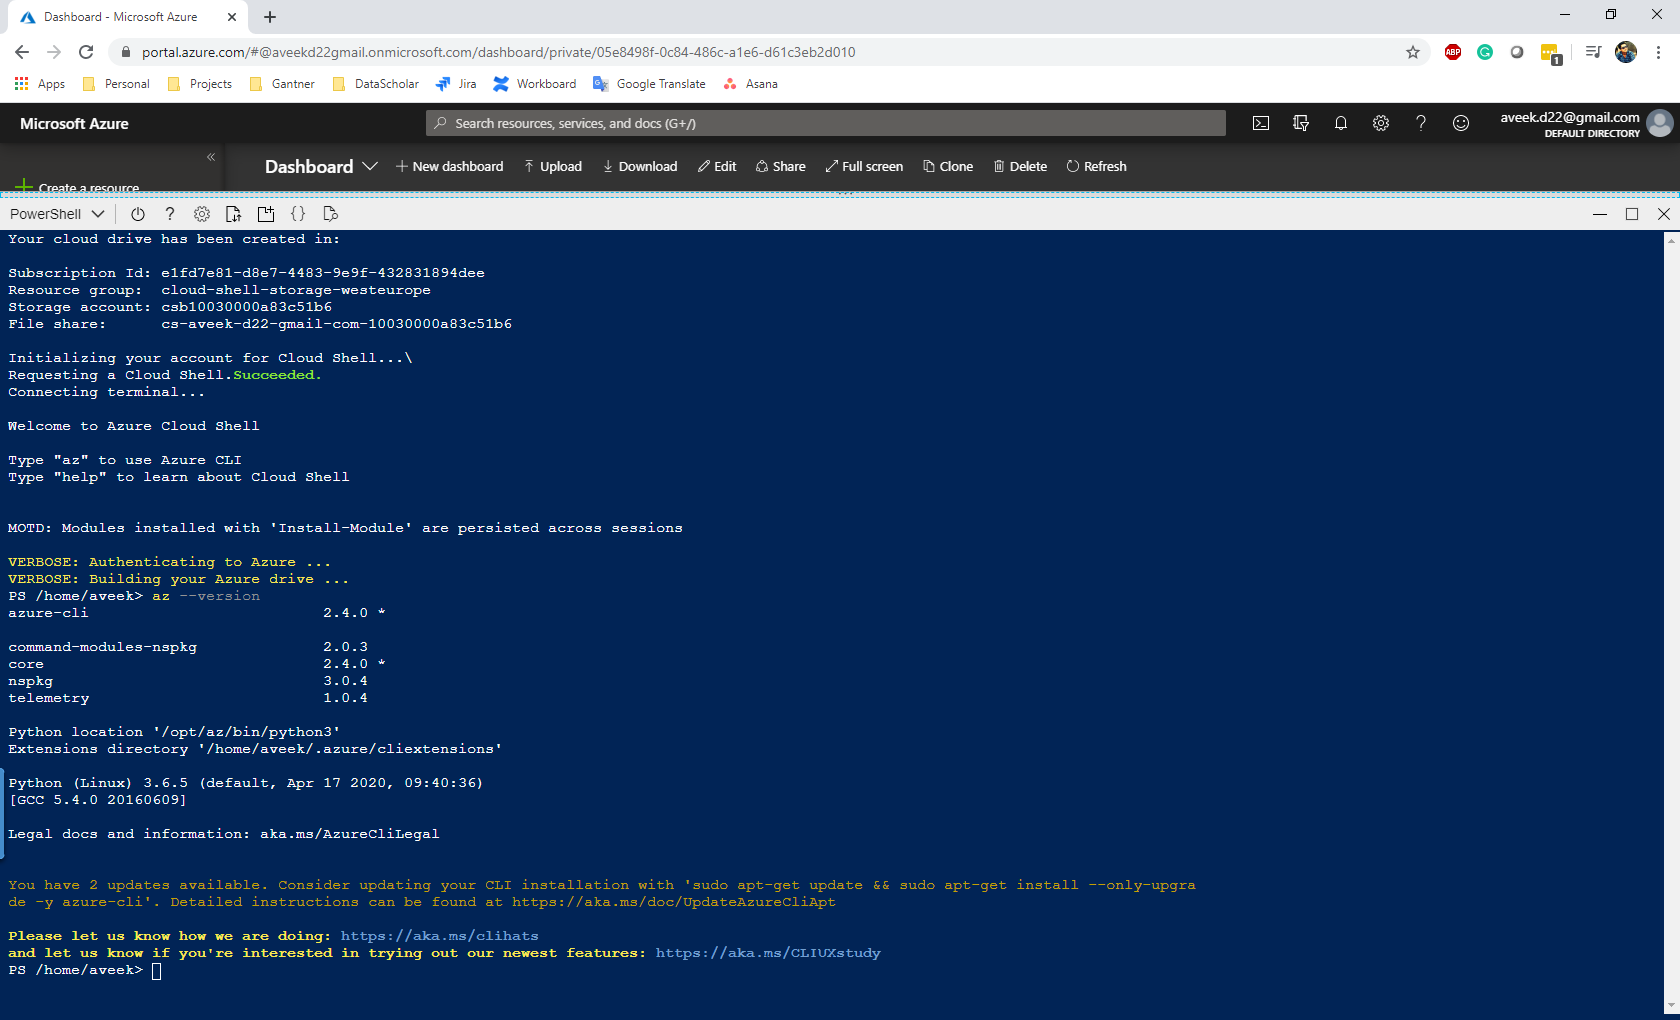
Figure 11 – Azure CLI in Cloud Shell
Conclusion
In this article, we have discussed in detail what Azure CLI is and how to install the CLI in the local environment. We can also use Azure CLI from the Azure web portal directly, but the former is helpful while communicating with the Azure portal via the windows command line while the latter can be used to experience the same in the browser. In my next articles, I am going to explain more on how to create and manage resources in the Azure portal using the CLI.

He is a prolific author, with over 100 articles published on various technical blogs, including his own blog, and a frequent contributor to different technical forums.
In his leisure time, he enjoys amateur photography mostly street imagery and still life. Some glimpses of his work can be found on Instagram. You can also find him on LinkedIn
View all posts by Aveek Das
- Getting started with PostgreSQL on Docker - August 12, 2022
- Getting started with Spatial Data in PostgreSQL - January 13, 2022
- An overview of Power BI Incremental Refresh - December 6, 2021