
Introduction
In the article Web URL configuration in a Power BI Desktop report, we explored a different method to use Web URL in a Power BI report. Images help to improve the visual appearance of a report. You can convey messages easily using these images in a report.
We might use images for different purposes in a report such as the following:
- We are adding a company or brand logo in a report
- Suppose you hold a dataset that contains URLs of the products. How can we display them in a Power BI report?
- Suppose you import data from a SQL database, and it contains the binary representation of an image. Can we use that data and display an actual image in a report?
Let’s open the Power BI Desktop app and dig into it for a beautiful visual.
I use March release version 2.79.5768.721 in this article. You should use the latest Power BI Desktop version to use all the latest features.

You can download the latest version from the link.
Adding a static image to showcase company branding in the report
Suppose you designed a report and want to display a company logo on the top of the page. It gives a nice visual improvement to showcase the brand logo in the reports.
To add a static image, Navigate to Insert-> Image from the menu bar.
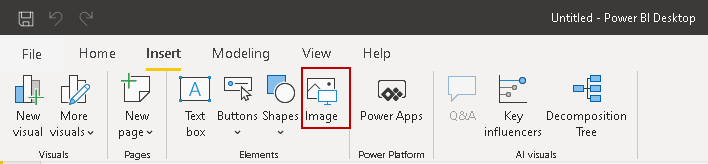
Browse to the directory and select the image file. It supports various image formats such as JPEG, PNG.
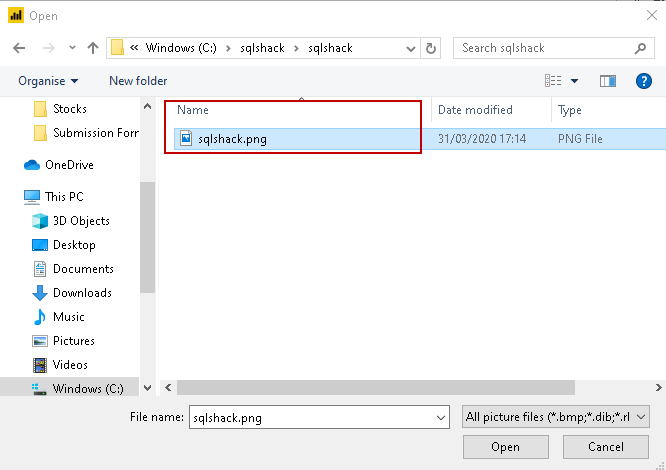
It imports the image, as shown below.

You can adjust the size and location of it as per your requirement. We can do the formatting of this image as well.
Border: By default, it does not use any border for the image. We can go in the format area, enable the border, set the border color.
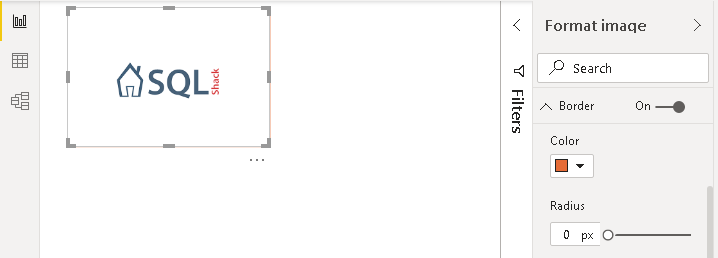
We can see an image border in the following image.
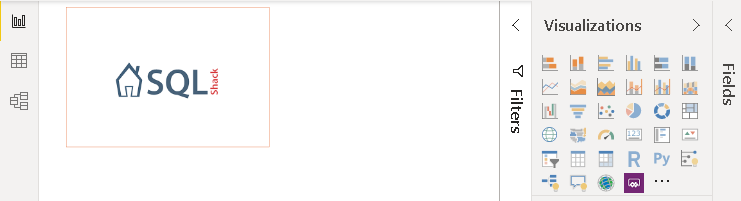
Image title: Sometimes, we want to use image title as well. Specify a title text, font color, background color, alignment and text color for it.
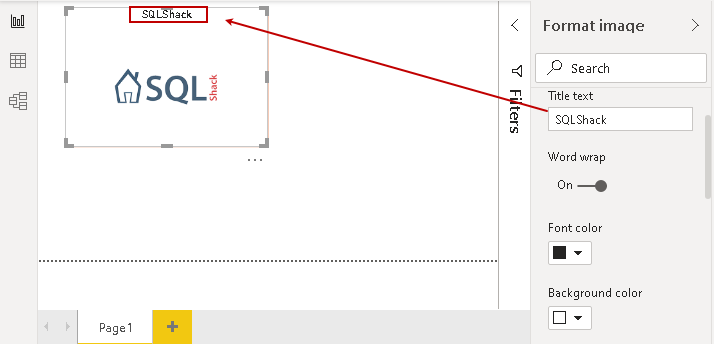
There are few other formatting options as well that you can easily
Image URL configuration in Power BI Desktop
We can store the images URL in a data table, and that can view as an image in the report. We can import data from various sources, as shown in the earlier articles on SQLShack. We also get an option to enter data manually in a data table.
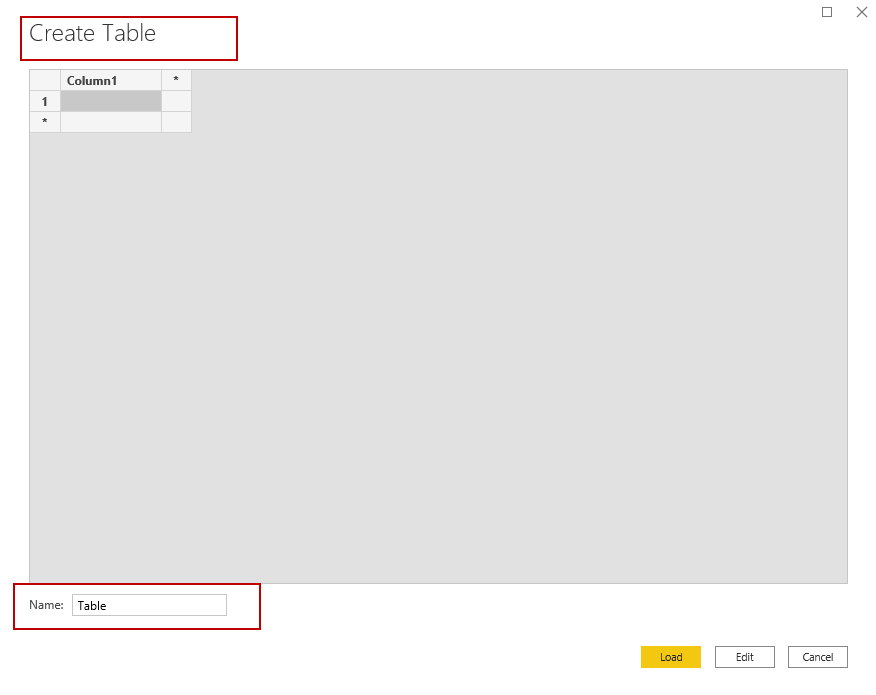
Click on Enter Data in the menu bar as shown below

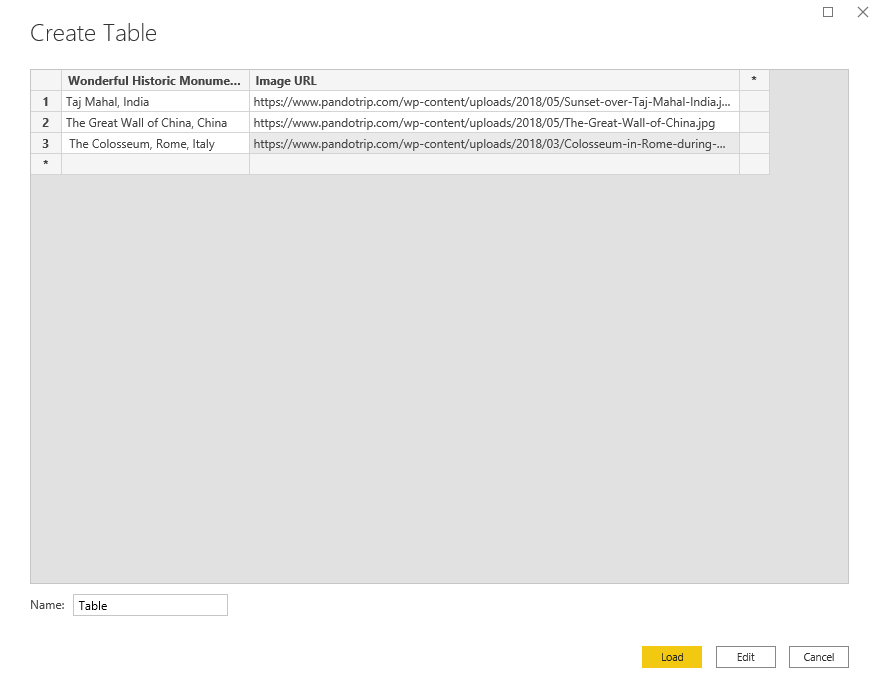
It opens a create table wizard. Currently, it shows a single blank column.
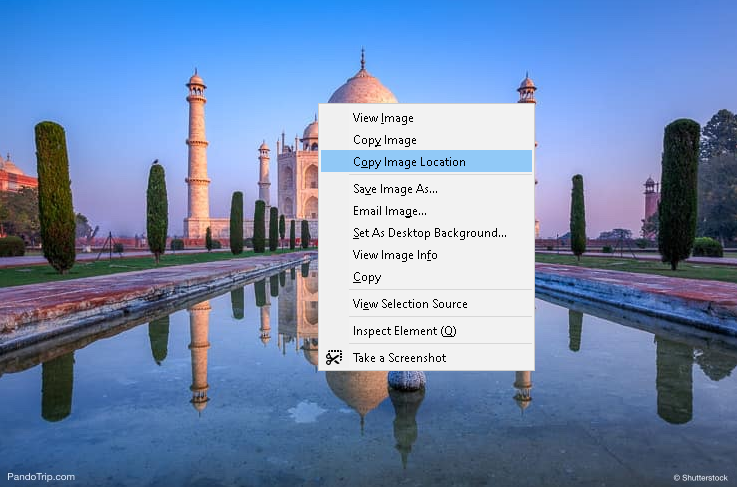
To fill this table, we will use the images in the URL. Open this URL and right-click on an image, it shows you a list of image option. Click on the Copy Image Location, and it copies the image URL in the clipboard.
Copy this image URL in a new column of a data table. In the following screenshot, we see three image URLs along with the image title. We also specified column names for the data table.
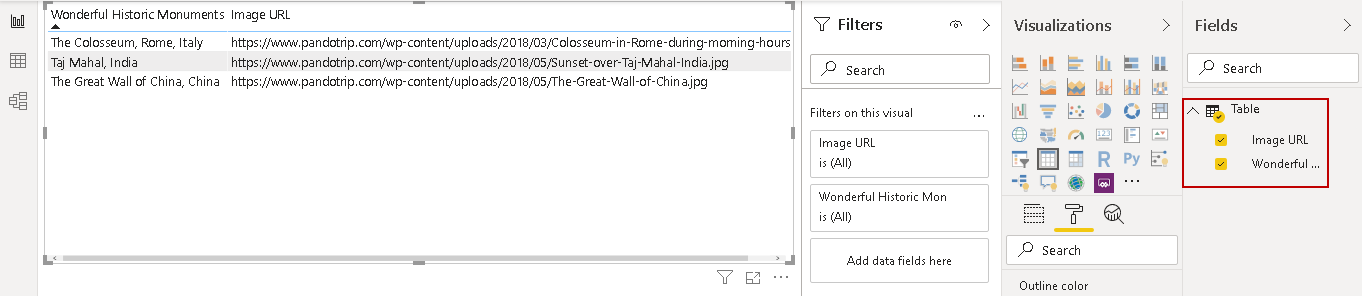
Click on Load, and it shows the columns in the data field section. Put a check on both columns, and it shows you both column data in the Power BI report.
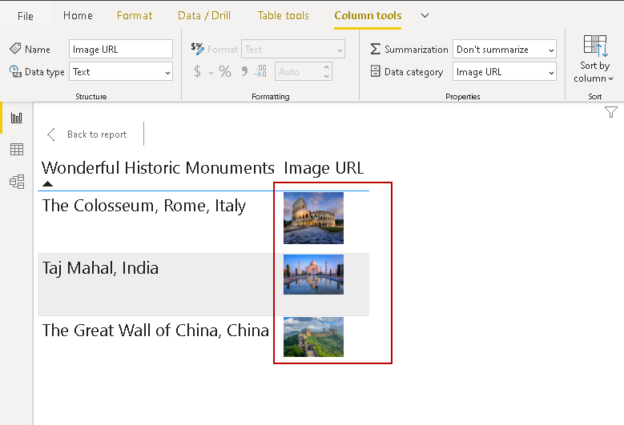
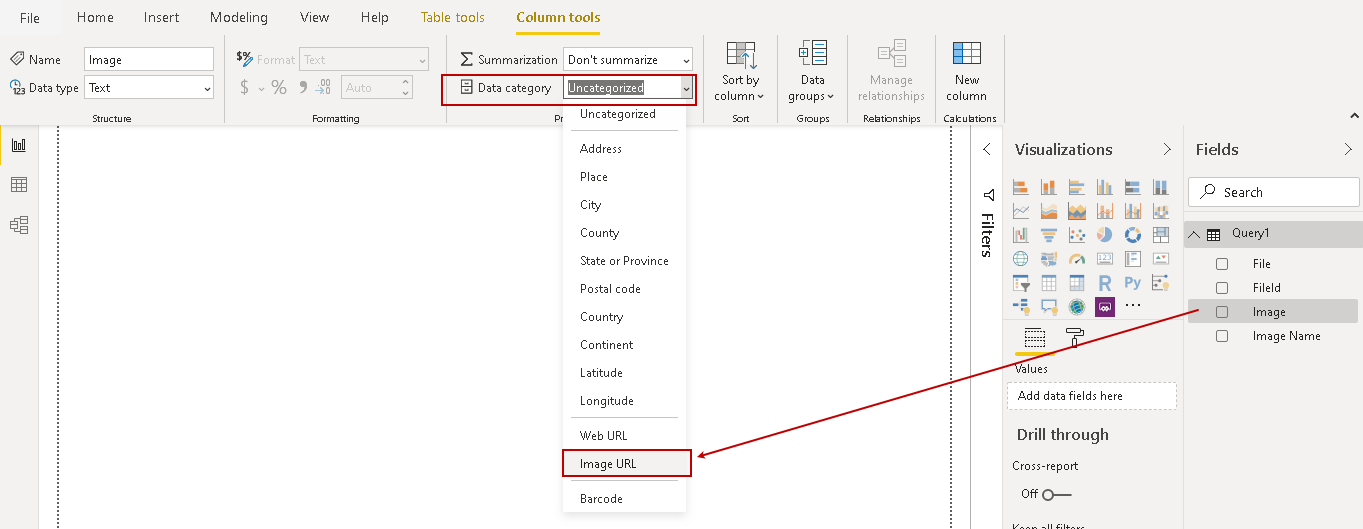
We do not require a URL; instead, it should show actual images referencing by the URL. Click on the column that contains the Image URL, and it opens the columns tools.
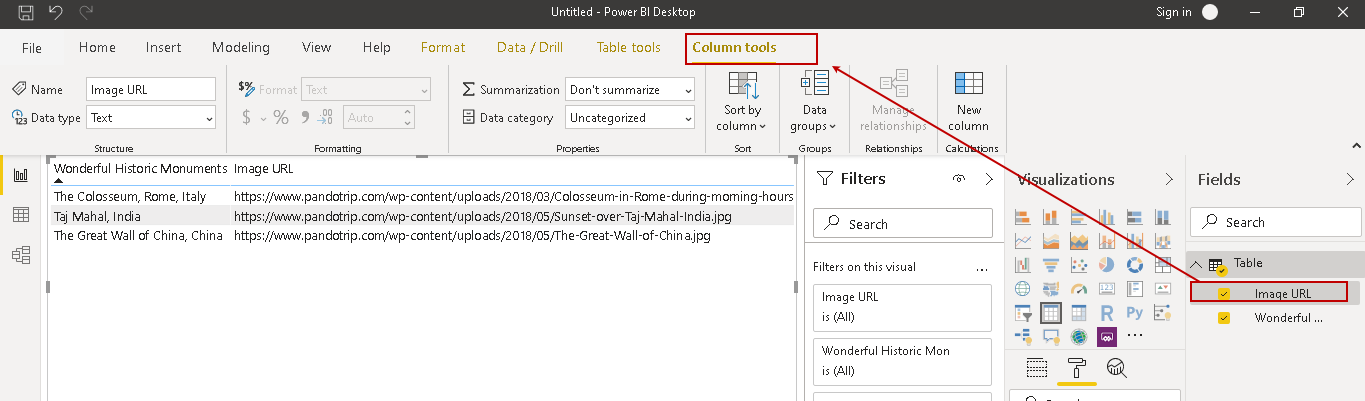
By default, it does not categorize the columns. Click on the Data Category, and it gives you a variety of categories such as Address, Place, Continent, Image URL, Web URL, and Barcode.
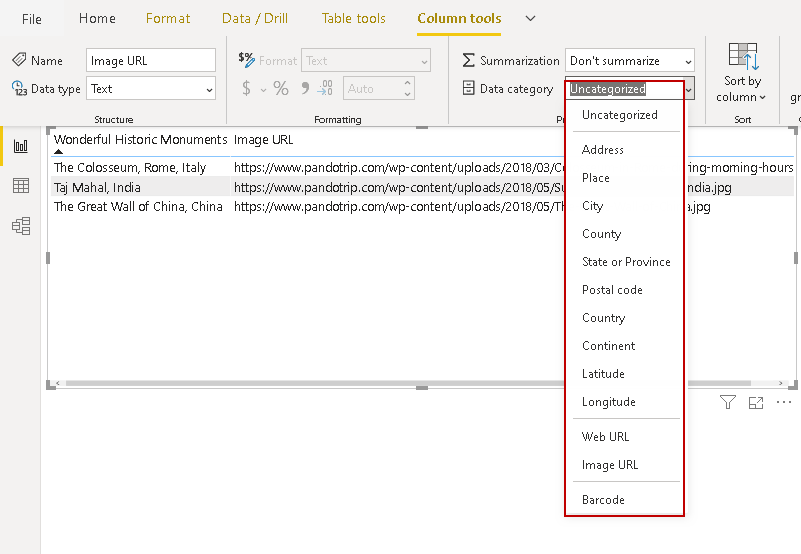
Select Image URL for the column that contains the URL of the images. Once you change the data category, it shows you the images instead of the URLs.

Load Image file from SQL Server database (SQL FILESTREAM) into Power BI Desktop
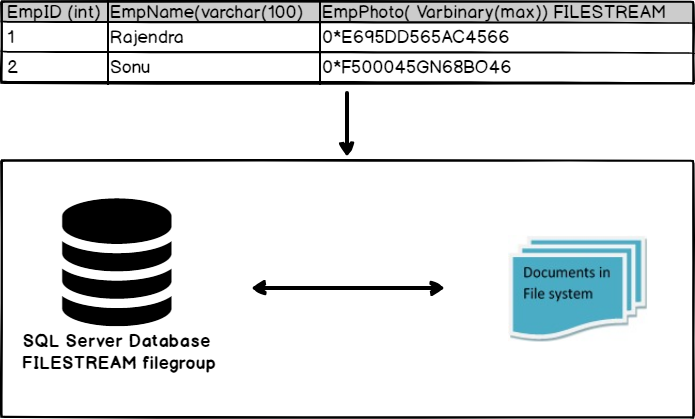
We can store images in database tables using the SQL FILESTREAM feature. It stores the metadata into SQL Server tables and images stored in the local disk. You can go through a series of articles on FILESTREAM on SQLShack. In the below image, we can refer to the SQL FILESTREAM feature of SQL Server.
Let me specify steps for FILESTREAM in a brief way here. You can refer to articles FILESTREAM in SQL Server and Managing data with SQL Server FILESTREAM tables for the below steps.
- Enable FILESTREAM feature from the SQL Server configuration manager
- Configure the FILESTREAM access level using the sp_configure command
- Create a SQL database with a FILESTREAM filegroup
- Create a table in a SQL Server FILESTREAM database
- Insert FILESTREAM data into this table
Once we have a SQL table, run a select statement to check its content.
|
1 2 3 4 |
SELECT [FileId], [FileName] AS [Image Name], [File] FROM [FileStreamDemoDB].[dbo].[DemoFileStreamTable]; |

We want to import this Power BI Desktop report.
Select SQL Server data source to import data from a database table.

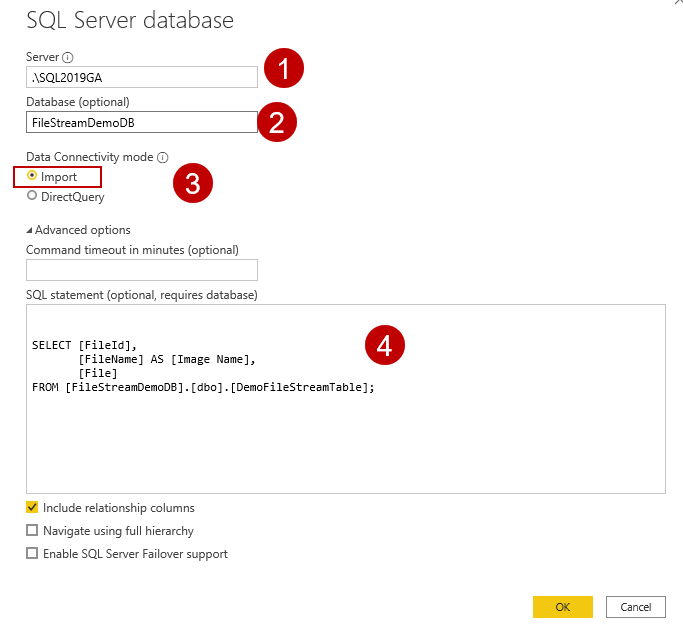
It opens a connection window for the SQL Server database. Here specify the following details.
- Specify SQL Server instance details
- Database name in which FILESTREAM table exists
- Select data connectivity mode – Import. We cannot use DirectQuery for the FILESTREAM database because it holds VARBINARY(MAX) column data type
- Specify the SQL statement to retrieve FILESTREAM records
Click Ok and view data in the preview window.
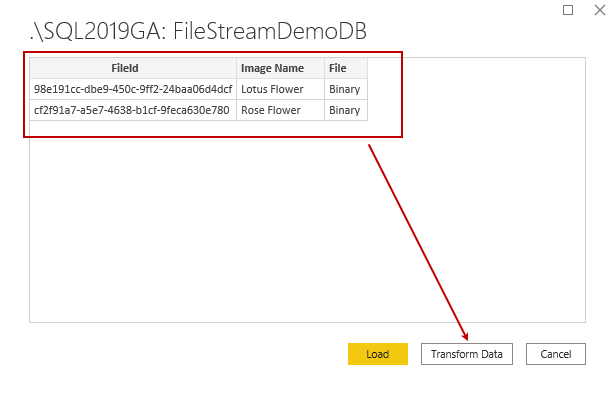
Before we import data, we need an essential transformation for the FILESTREAM image column. In the highlighted column, it shows Binary data. Its data type is also Binary in Power BI.
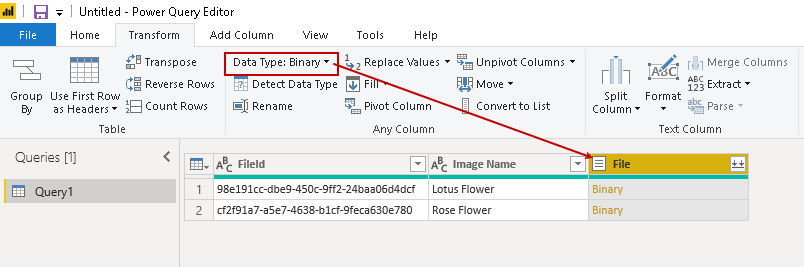
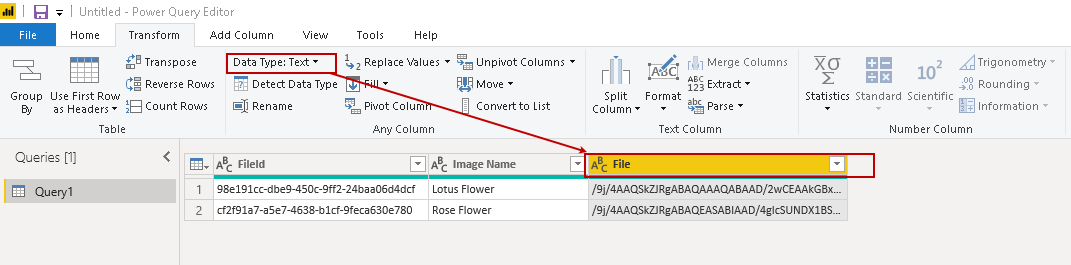
Change the data type for the [File] column to text. Once we change a data type, it shows values in the column, as shown below.
We need to add a column for our report. Click on Add Column-> Custom Column from the menu bar.
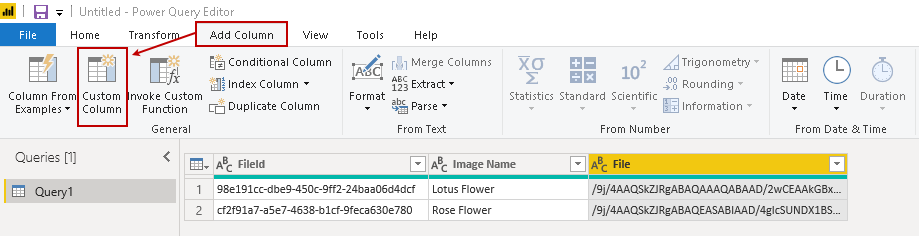
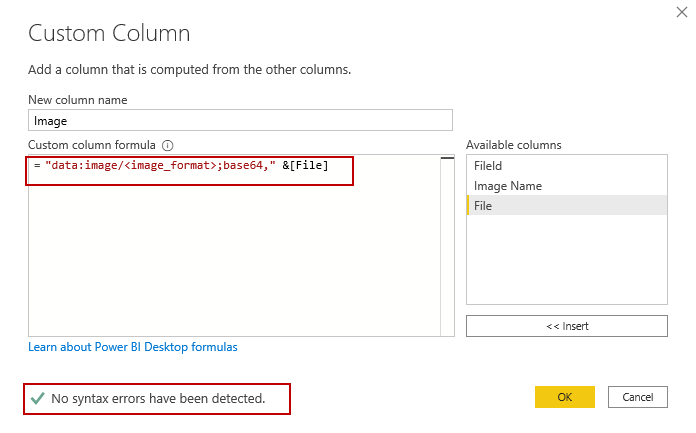
It opens a custom column window.
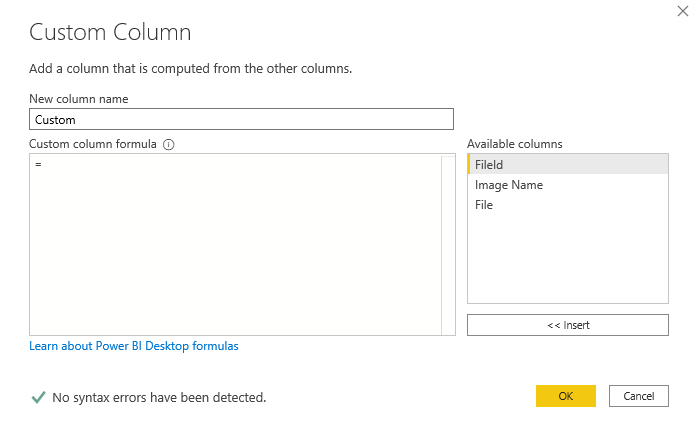
Enter a new column name and specify a formula in the custom column formula section.
“data:image/<image_format>;base64,”&[<Image_binary_column_name>]
Once you specify a formula for the custom column, it checks for the syntax as well. In case of any error, it highlights the error message.
Here, we specify the new column name Image derived from the custom formula.
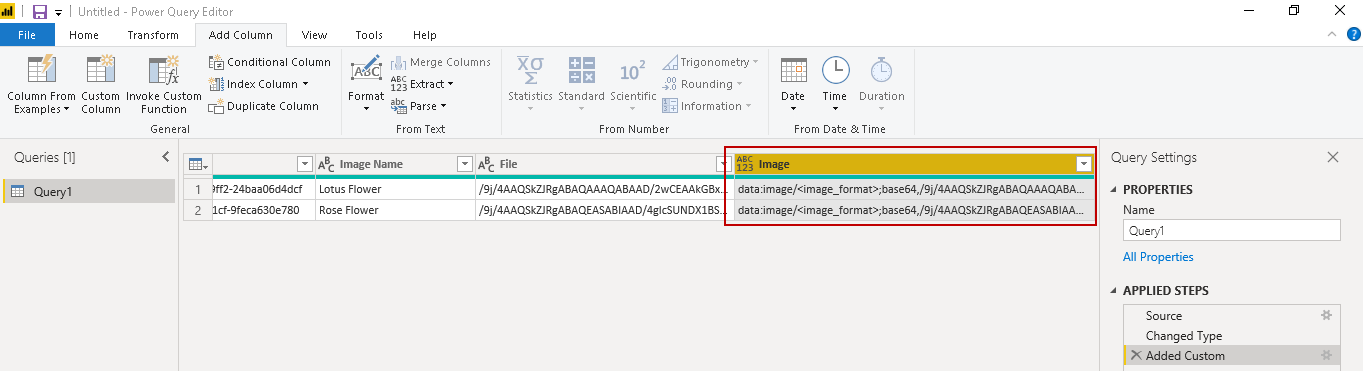
Click Ok, and you see additional column Image and its content.
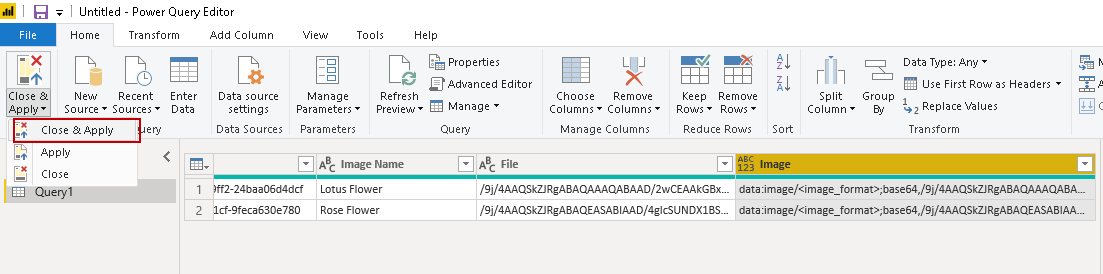
Click on Home > Close & Apply to save the changes.
It loads this data into Power BI, and you can see a new column as well in the fields section.
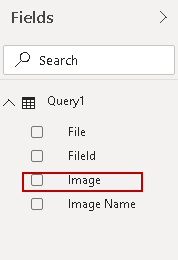
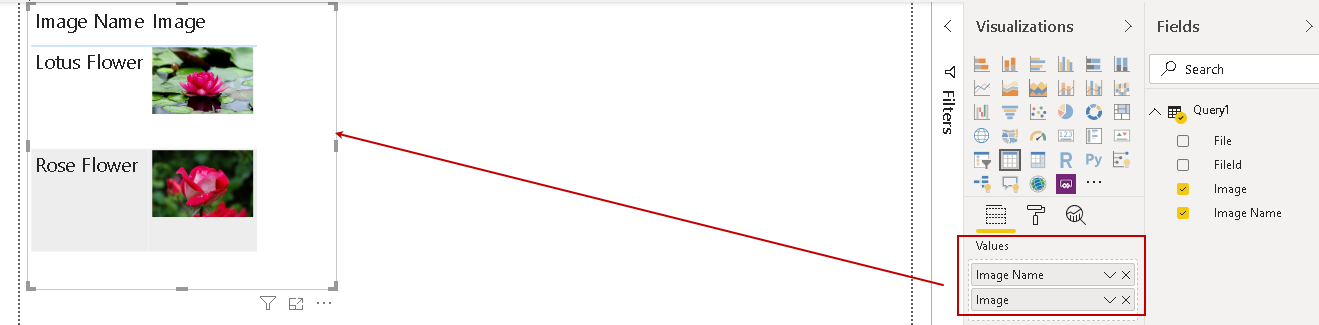
Select this column and change the data category to Image URL from a drop-down list. Once we change it to Image URL, Power BI recognizes it as an image rather than a URL.
Now, drag a table visual from the visualization and add the columns from the field section, as shown below. It shows the actual image in the report instead of the URL or binary content of an image.
Note: Power BI allows a maximum string length of 32,766 characters in a column. In the case of a large image, if the string contains more than 32,766 characters, it truncates the rest of the characters. You might get an inconsistent image due to this. You should always consider this limitation before using the image binary in the report.
Conclusion
In this article, we explored multiple ways to use images in a Power BI Desktop report. We can convey messages using images to a broad audience in an effective manner. You can follow this article and use images to make your report beautiful and informative.

I am the author of the book "DP-300 Administering Relational Database on Microsoft Azure". I published more than 650 technical articles on MSSQLTips, SQLShack, Quest, CodingSight, and SeveralNines.
I am the creator of one of the biggest free online collections of articles on a single topic, with his 50-part series on SQL Server Always On Availability Groups.
Based on my contribution to the SQL Server community, I have been recognized as the prestigious Best Author of the Year continuously in 2019, 2020, and 2021 (2nd Rank) at SQLShack and the MSSQLTIPS champions award in 2020.
Personal Blog: https://www.dbblogger.com
I am always interested in new challenges so if you need consulting help, reach me at rajendra.gupta16@gmail.com
View all posts by Rajendra Gupta
- Understanding PostgreSQL SUBSTRING function - September 21, 2024
- How to install PostgreSQL on Ubuntu - July 13, 2023
- How to use the CROSSTAB function in PostgreSQL - February 17, 2023