
Introduction
There are great Microsoft tools to access to SQL Server in Azure. However, as a Database Developers and Administrators we need to help the end user to access to the information using a familiar and intuitive interface.
Most of the end users have a good knowledge in MS Excel. That is why it is recommended to connect our SQL Azure database to Excel. That way, the end user will be able to easily create reports, charts and generate useful information.
In this chapter, we will show how to connect to SQL Azure using Microsoft Excel.
Requirements
I am assuming that you already have a VM in Azure installed.
- An Azure subscription.
- A VM Machine in Azure with SQL Server already installed (check my article about Azure VMs).
- A local machine with Windows installed.
- The Adventureworks or any other database with tables and views already created. In this article, we will use the Adventureworks.
- You will need to Add a SQL Server Endpoint, enable the default SQL Server Port, and enable rules for the EndPoint. See this article for details. A SQL Server authentication enabled and a SQL login and password.
- For this article, I am using Excel 2013, but the 2010 will work.
Getting started
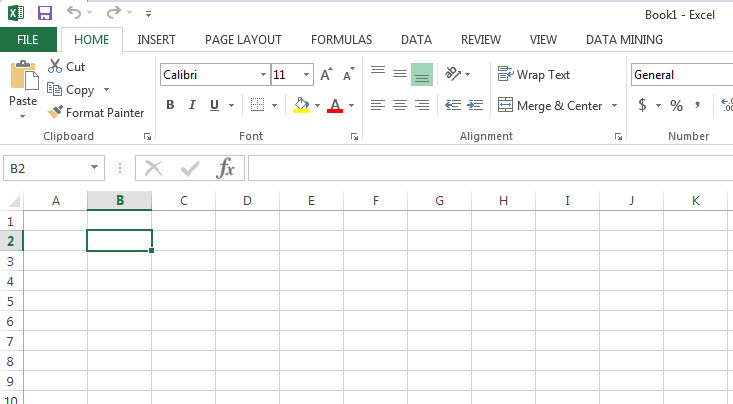
Open the Microsoft Excel 2013.

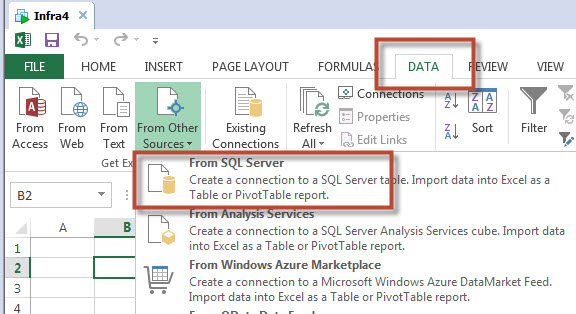
Figure 1. The Microsoft Excel Go to the Data Menu and click the From Other Sources icon>From SQL Server.
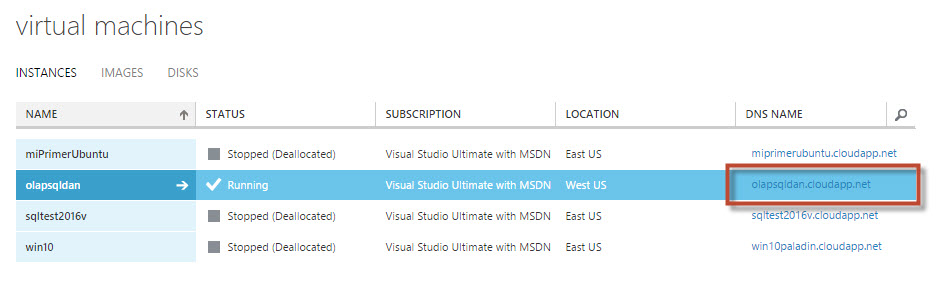
Figure 2. Connection to SQL Azure from Excel In the Azure Portal in the Virtual Machines section, verify the virtual machine name used. Copy and paste the virtual machine name to be used.
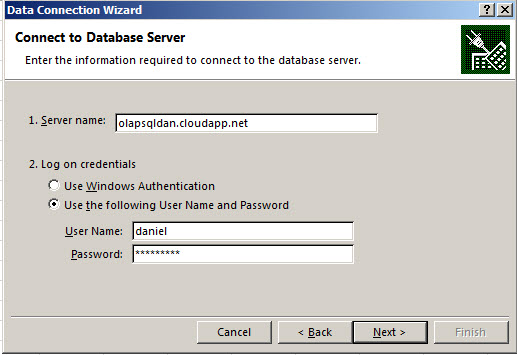
Figure 3. The Azure Portal, retrieving the Server name in Azure. Paste the Azure virtual machine name with SQL Server and specify the SQL Server User name and the SQL Server Password.
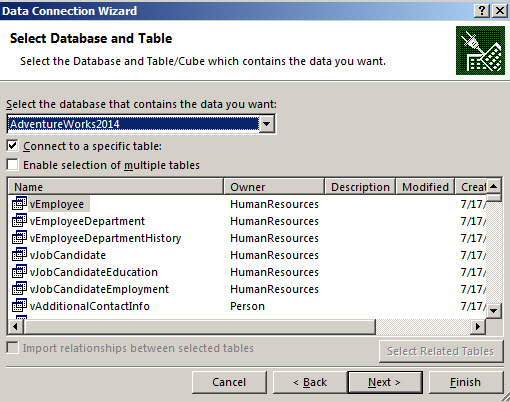
Figure 4. Login information to SQL Azure using the SQL Authentication Select a Database. In this example, we will use the AdventureWorks2014 database. There are two options here. You can connect to a specific table/view or you can select multiple tables. In this example, we will connect to a specific table.
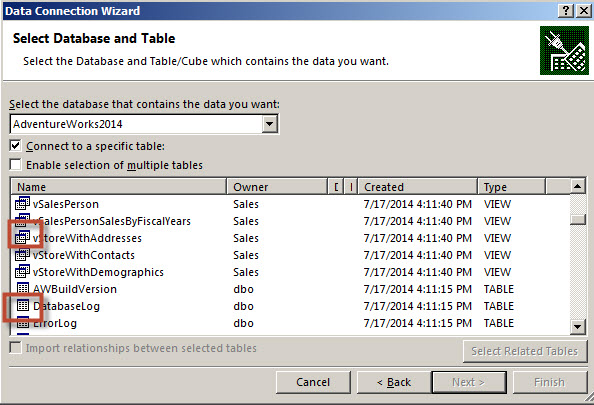
Figure 5. Selecting the SQL Azure Database Note that the icons for tables and views are different. You can also differenciate tables or views using the Type column.
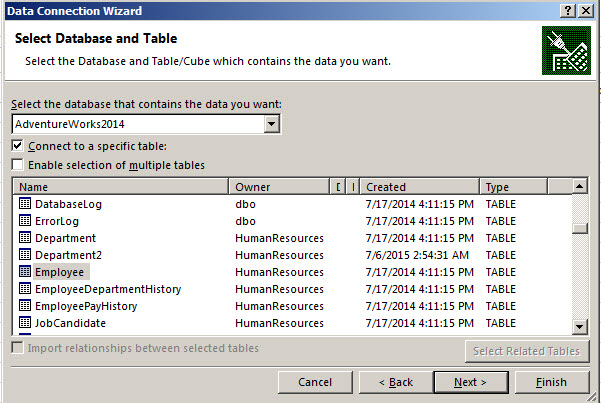
Figure 6. The tables and views For this example, we will use the Employee table of the AdventureWorks database, but any table with data can be used for this test.
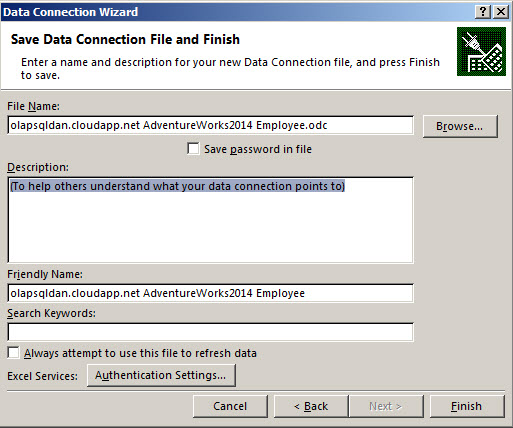
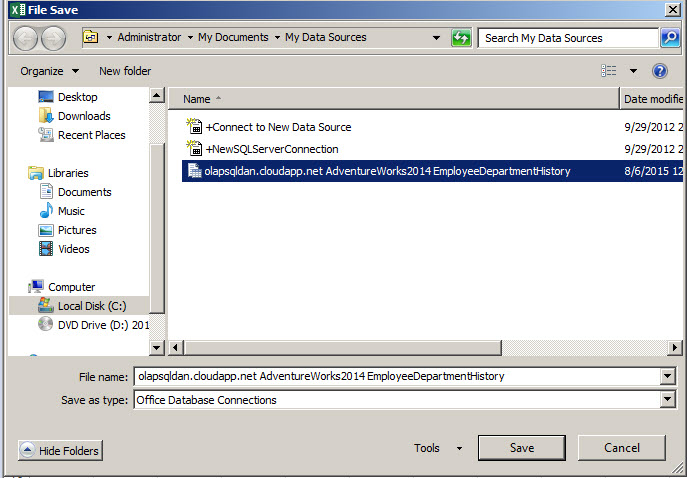
Figure 7. The Employee table In Excel, an odc file is created to store the connection information. The ODC are Office Data Connection. You can specify where to store the file and specify a description, a friendly name and search keywords to search the files easily. Press the Browse button.
Figure 8. The odc file with the connection By default, the ODC files are stored in my documents>my data sources folder, but you can specify the path of your preference.
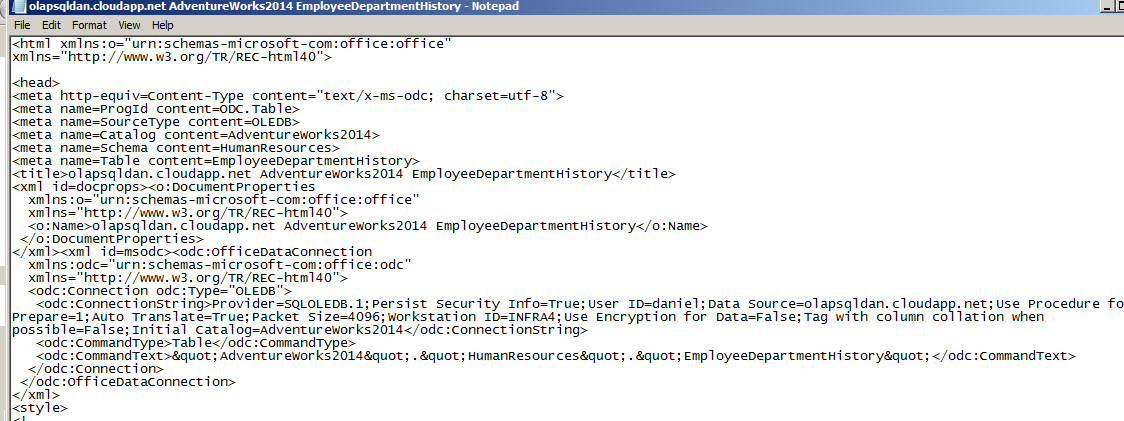
Figure 9. The odc file path If you open the file with a text editor, you will notice that it is a simple file with xml format and that it can be easily edited.
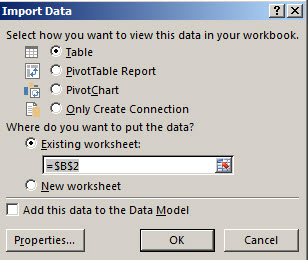
Figure 10. The file content of the odc file You can import the data in a table, PivotTable Report, PivotChart and only create the connection. You can create the data in the existing worksheet or in a new one.
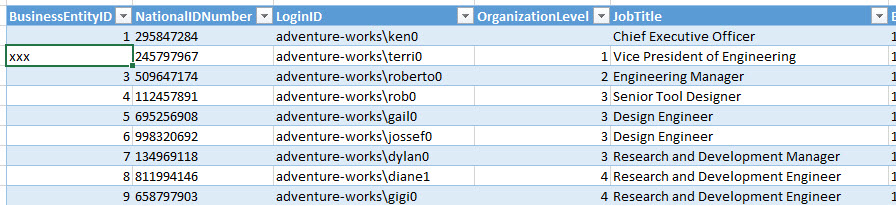
Figure 11. How the SQL Server data will be displayed Once you press OK, You will notice that the data from the employees table is now in Excel.
Figure 12. The SQL Azure data in Excel
If you try to edit the data you will edit it in Excel, but the changes are not reflected in the SQL Server Azure table. You mainly have access to the data to create special reports that can be easily done in MS Excel.
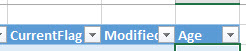
Figure 13. Trying to edit the SQL data You can also use filters as you do with normal data in MS Excel.
Figure 14. Using Excel filters with the SQL data Now, let’s play with some formulas. Add the Age Column to the current table in Excel.
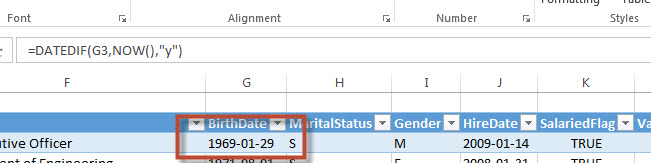
Figure 15. Adding a column to the table What we are going to do is to calculate the Age of a person using the birth date. We will do this using Excel. Add the following formula in the Age column:
=DATEDIF(G3,NOW(),”y”)
The formula shows the difference between the Birthdate column (G3) and the current date (NOW) in years (“y”).
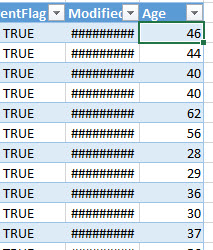
Figure 16. Adding a Formula in Excel As you can see, the Excel formulas can be easily used with the Azure data in SQL.
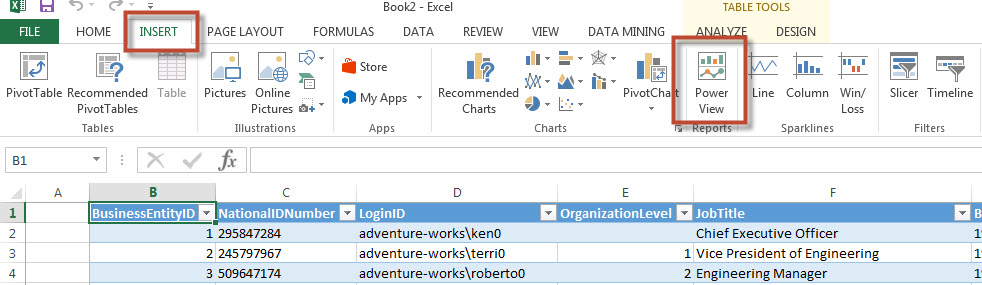
Figure 17. The results of the formula applied You can also create a nice dynamic reports using Power View. To access to Power View, select the data and go to the INSERT menu and select the Power View icon.
Figure 18. Enabling Power View - If it is your first time running Power View, it will ask you to enable it and install Silverlight (if it is not installed).
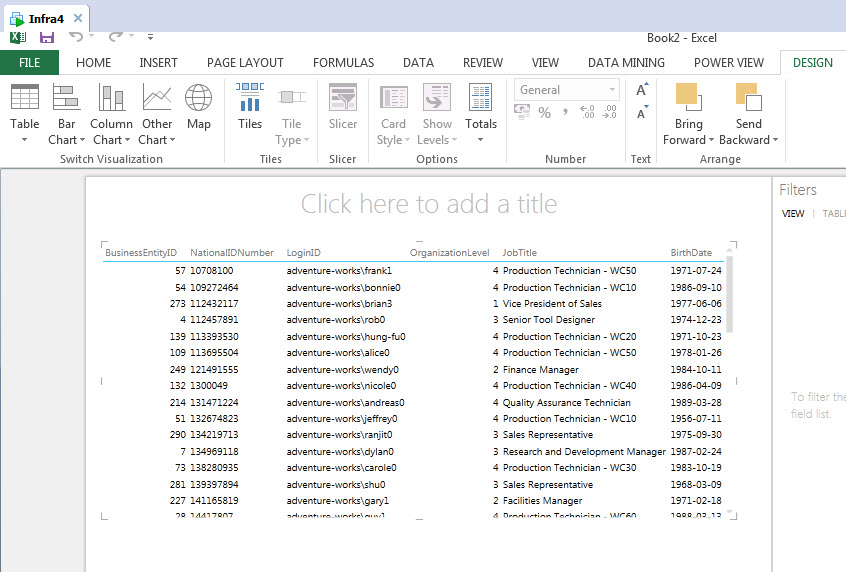
Once enabled and installed, you will have a new Sheet in Excel with dynamic data.
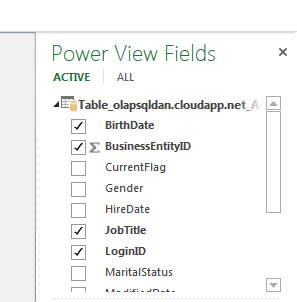
Figure 19. The Power View information You can create filters dynamically.
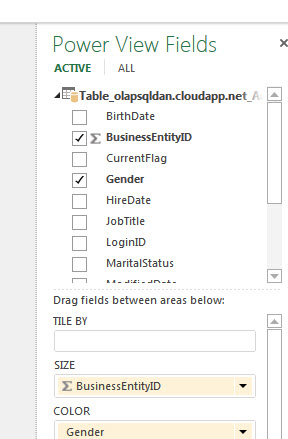
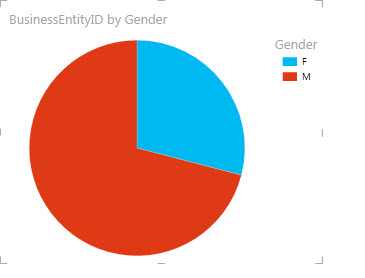
Figure 20. Power View Fields In this sample, we will create a simple report, in this sample; we will see the graphs of males and female employees based on the Business Entity ID.
Figure 21. Selecting columns to graph Select the Pie Chart option.


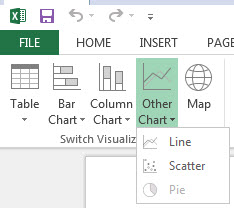
As you can see, the pie is created.
With Power View you can also create dynamic charts, working with geographical maps, etc. As you can see, working with SQL Server in an Azure VM using Excel is very easy.
Conclusion
As you can see, it is very easy to connect to SQL Server once the permissions are set. You can handle the SQL data to generate reports, graphs but not to edit the information. The connection is stored in odc files, which can be edited with any text editor. Excel 2013 with Power View enables you to create pretty nice dynamic reports.

He has worked for the government, oil companies, web sites, magazines and universities around the world. Daniel also regularly speaks at SQL Servers conferences and blogs. He writes SQL Server training materials for certification exams.
He also helps with translating SQLShack articles to Spanish
View all posts by Daniel Calbimonte
- PostgreSQL tutorial to create a user - November 12, 2023
- PostgreSQL Tutorial for beginners - April 6, 2023
- PSQL stored procedures overview and examples - February 14, 2023