
This article is divided in three parts, if you started here, check the first part to find the previous steps.
We already opened the “SQL Server Installation Center”, so we now need to go to the “Installation” option, in the menu on the left side, and click on “New SQL Server failover cluster installation” option (the second one).

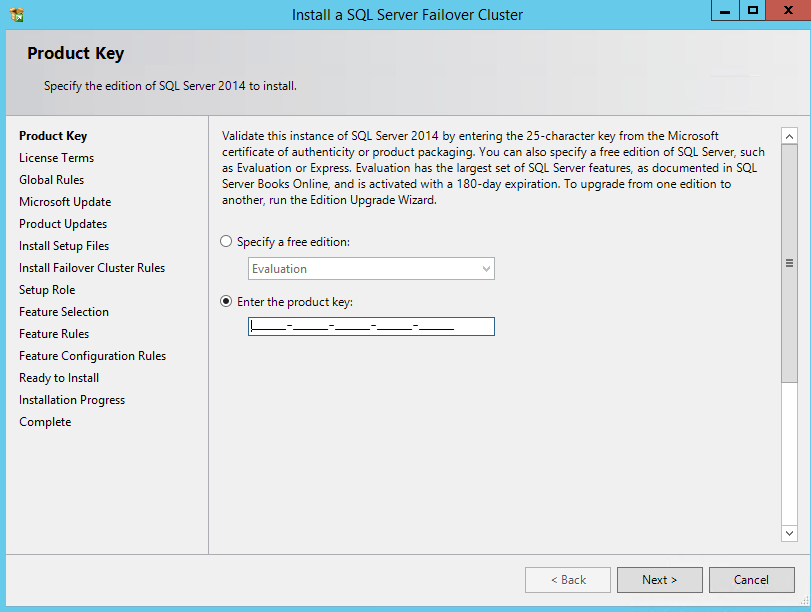
The installation wizard will start-up. The first step is insert the product key (normally it comes automatically) and click next.
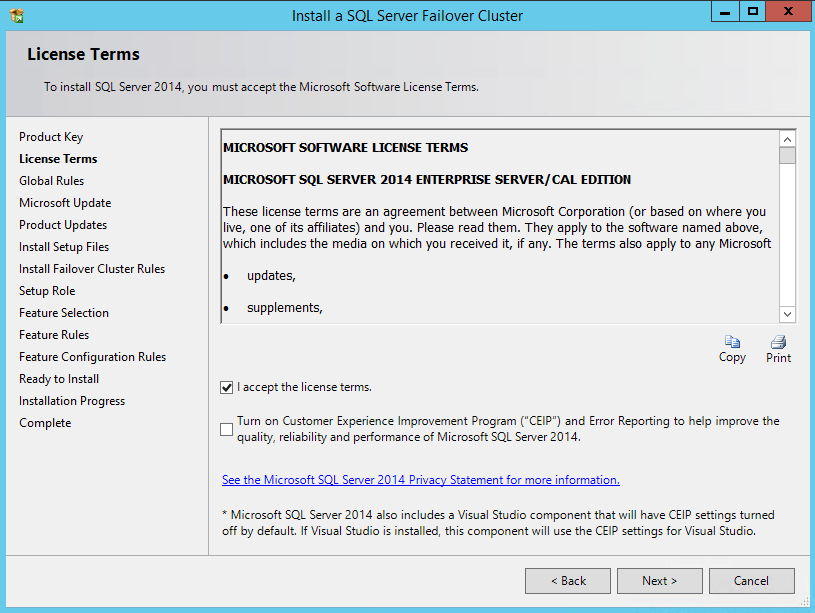
Now read the agreement 🙂 and check the box right to “I accept the license terms”, click “Next”.
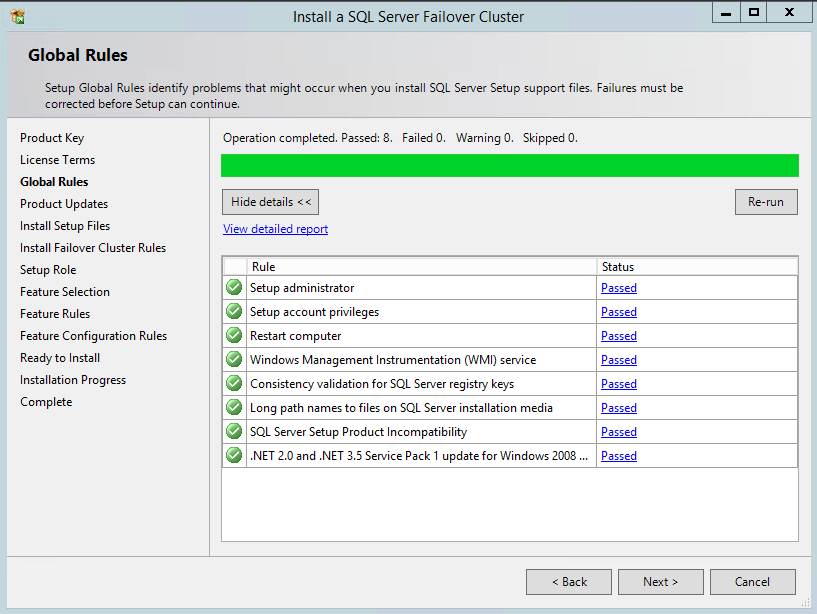
Now the wizard will check if the server where you are installing the instance has guaranties the Global Rules prerequisites. If you pass on all the tests, SQL Server will just proceed to the next step automatically.
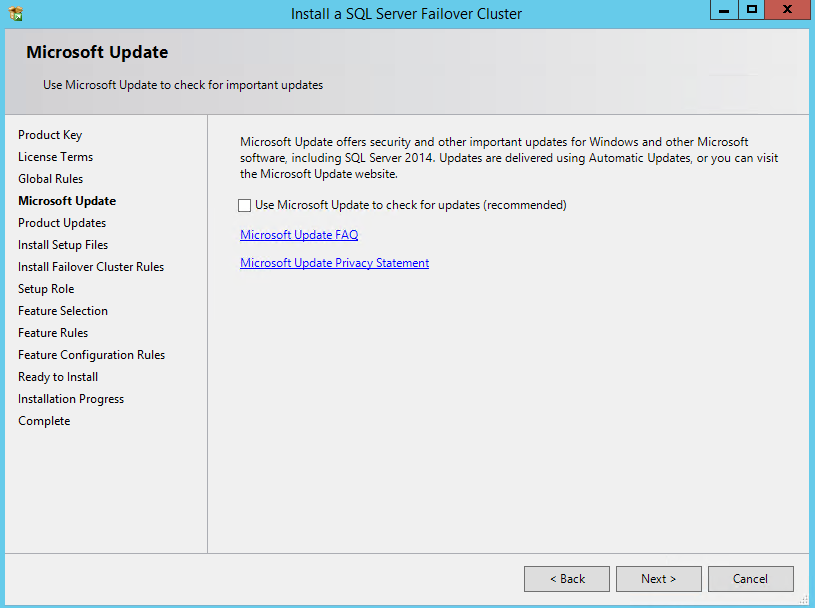
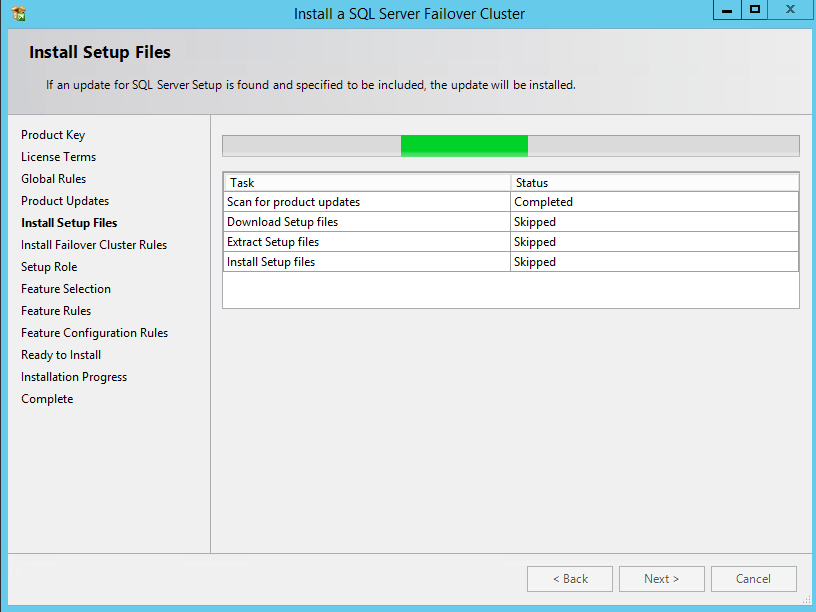
At this stage, you have the option to download the updates for a most updated installation. I prefer to not select this option and apply the patches manually after the successful installation. Just click Next.
If you opted to include the updates, at this step the existence of updates will be checked, the files will be downloaded, extracted and installed. Just click Next (if the wizard don’t do this automatically).
Now the setup wizard will check for the Setup Rules, in order to identify potential problems that might occur while running the setup. Try to resolve all the failed checks. The one with warning can be ignored at this stage and resolved after the instance installation, if you prefer.

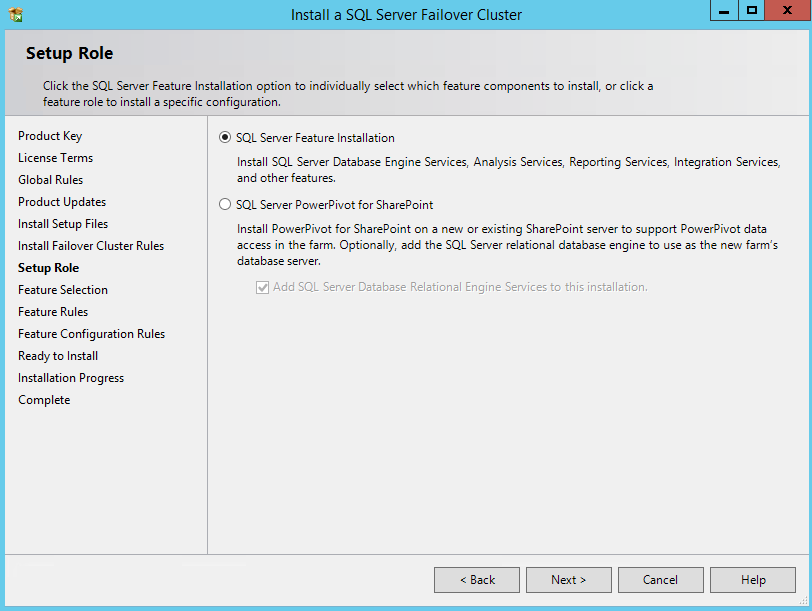
For this step, just keep the first option (SQL Server Feature Installation) selected and proceed to the next step.
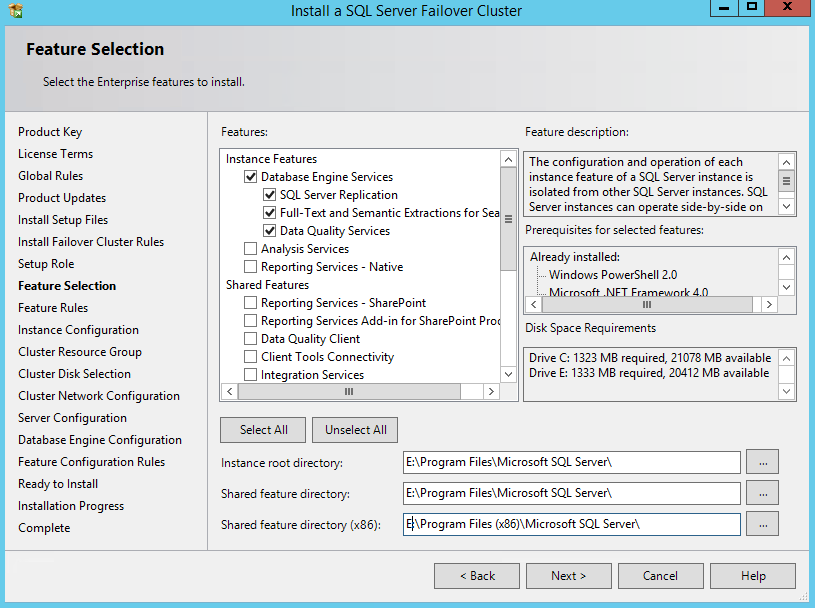
This step is the most important so far! Here we need to pick all the instance and/or shared features that we want to install. In my case, I just selected the “Database Engine Services” and the “Management Tools – Complete”. This will guaranty that I have the SQL Server Engine, Agent, SQL Server Management Studio, SQL Server Configuration manager… If you need services like the Integration Services or Analysis Services, you have to select the respective options. Just make sure to select only what you need! Please, do not select all if you will not use the feature, as this will use server resources that could be used by the SQL Server.
Another important step here is the instance directory, basically where the binaries will be placed. You can notice that I indicated the drive “E”, the one I reserved for binaries.
Click Next to proceed.
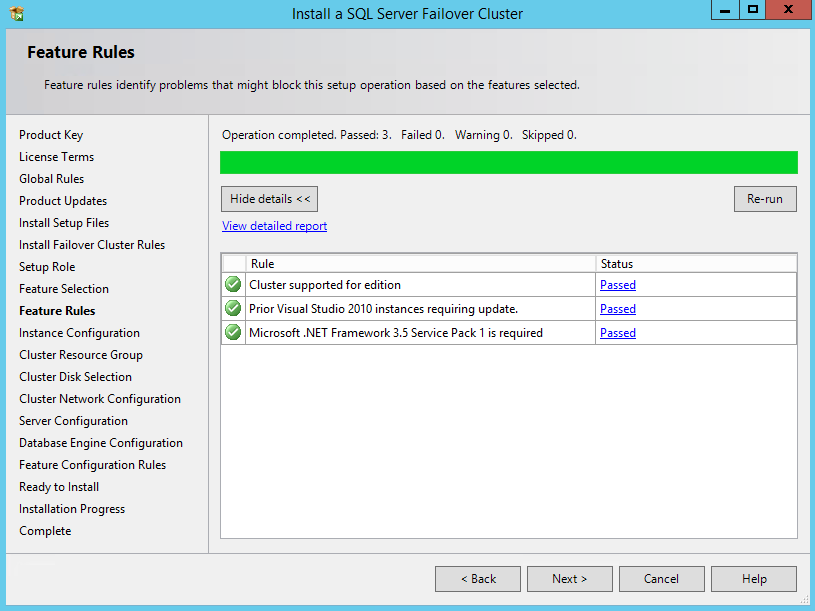
Once again, SQL Server will check for rules, this time for the features tha we selected. In my case you can notice that I was missing the “Microsoft .Net Framework 3.5 Service Pack 1”, as shown:
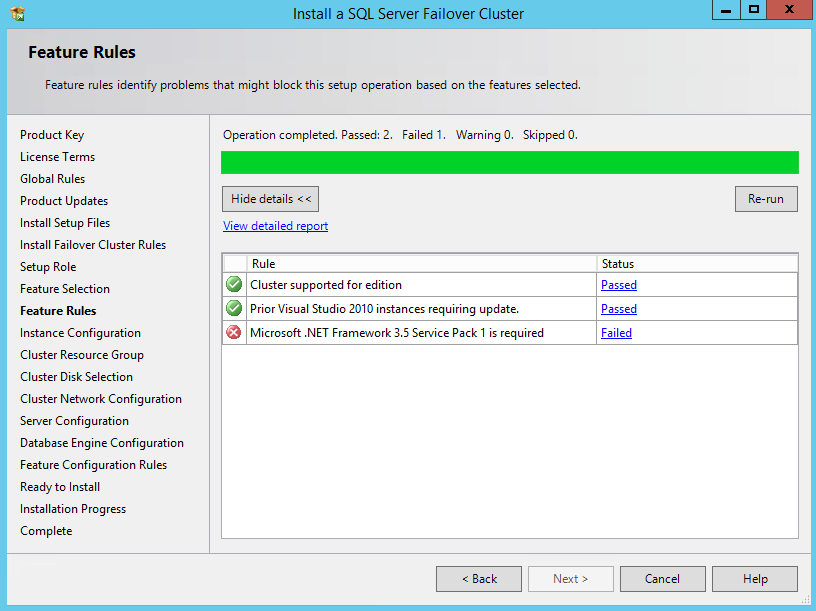
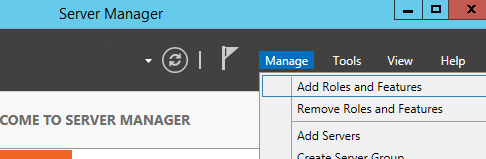
The .Net framework is required, so I need to install this in order to proceed with the installation. So, open the “Server Manager” and go to “Manage”, followed by “Add roles and features”:
Now select the server where you are going to install, and jump to the “Features” page (select the option in the left menu). Now Select the first option “.NET Framework 3.5 features” and proceed with the installation.

This feature should be installed on all the nodes of the cluster where you are going to install the clustered instance.
After the successful .Net Framework 3.5 installation we can go back to the SL Server Setup Wizard and click in the “Re-Run” button. This time no problems were found. Click Next (if SQL Server Setup don’t do this for you – that thing is becoming smarter 🙂
Now we need to fill the SQL Server Network Name. Do you remember that computer name that I referred in the beginning of this article? I’m talking about “SQLSRVCLT01”. It’s time to use it! Fill the network name and proceed to the next step.
Note: If you have other instances installed, you might need to change the “Instance ID” value.

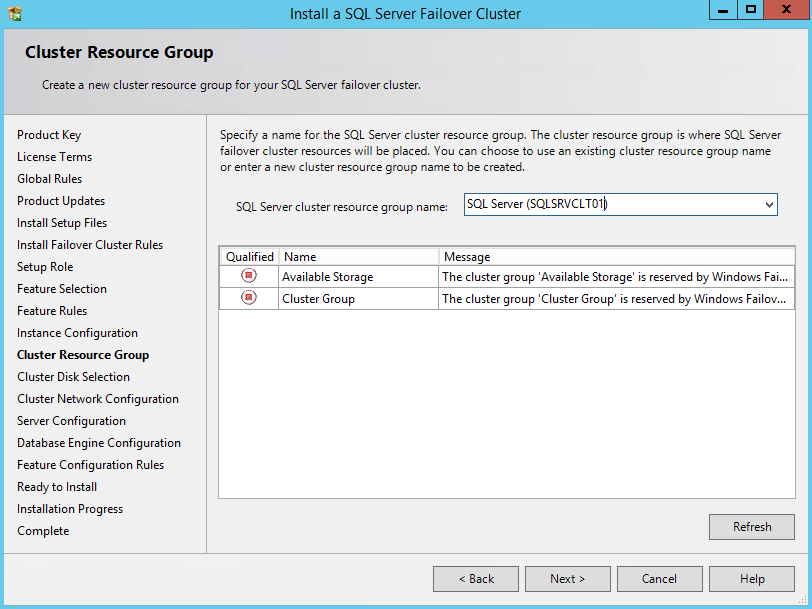
Now we need to set the cluster resource group name related to this instance. I usually change it by reflect the instance computer name, instead of the ID. Click Next.
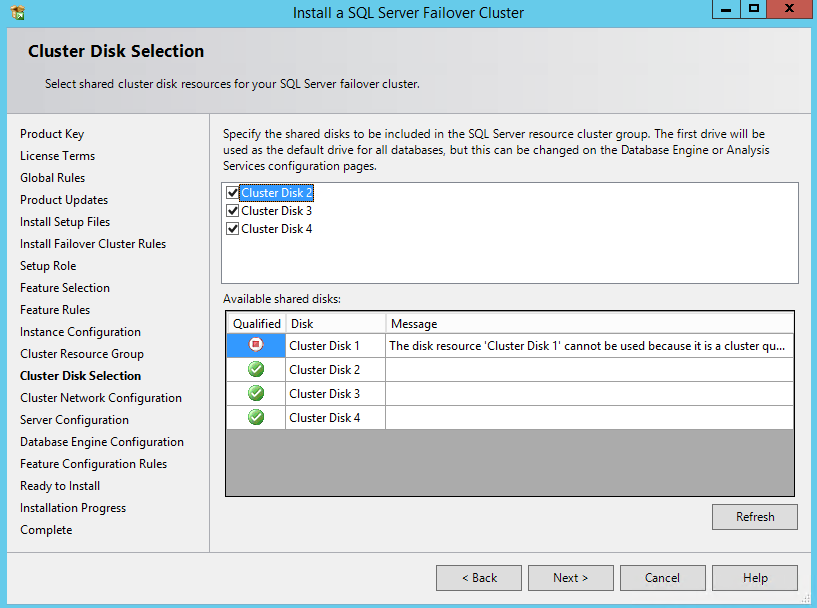
At this step, you have a list of all the available disks. If you compare this list with the Failover Cluster Manager, you will notice that this is the same. Only the available storage will be available here. Sometime you have more storage in the available storage list, so you won’t need to select everything, so pay attention here. In my case, I had only the storage that I need to install my clustered instance, so I’m good to select all and proceed.
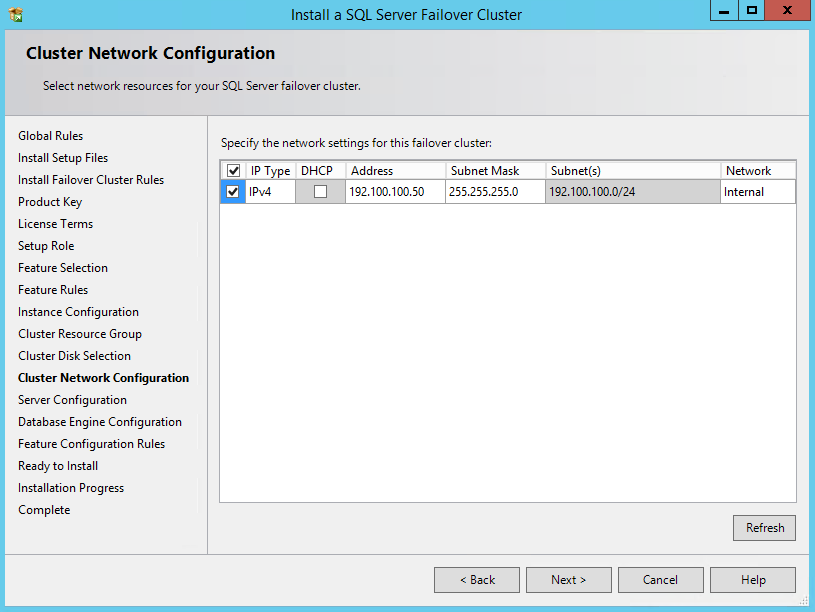
Here is another very important step. Do you remember the Virtual IP (VIP) that we defined in the beginning of this article? Now is the time to use it. Select the checkbox in the first column, make sure that the DHCP box is unchecked and insert the IP in the Address field. Notice that depending of the number of networks that you have available, you may need to have more than one IP!
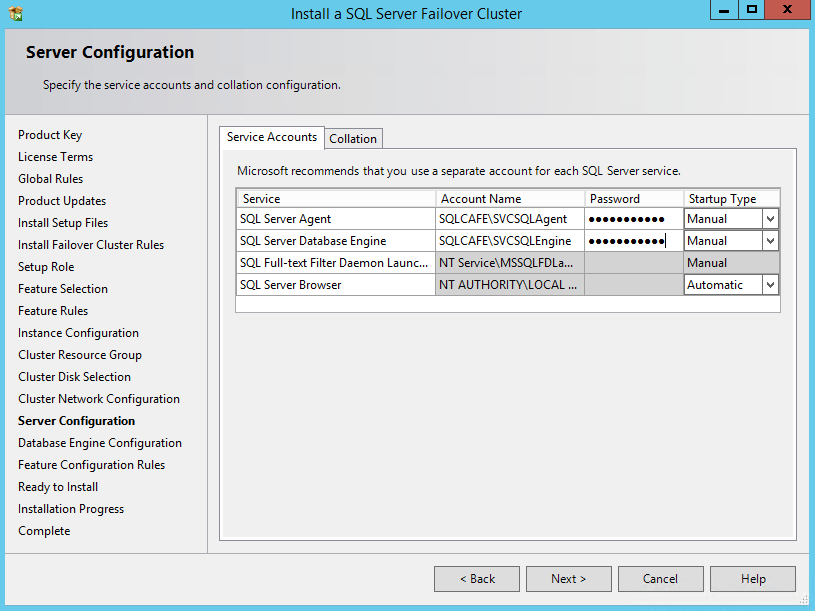
Another prerequisite will be used. Now the service accounts. On this page you need to insert the respective domain accounts and passwords for the SQL Server Engine and SQL Server agent. Make sure to type the correct password, is common to lock out accounts at this step, and not always easy to ask to the domain admin to unlock it 🙂 Another important point, do not change the “Startup Type” to automatic, as a clustered instance, the cluster manages where the instance will be active and all the operations need to be centralized to the Failover Cluster Manager.
It’s also important to choose the proper Collation, on most of the cases the preselected one is ok, but make sure about the requirements. Change the instance collation after the installation is not an easy task…
Check the third, and last, part to find the next steps.

With experience working in Portugal, Holland, Germany and United Kingdom, he's always available to learn and share his knowledge, in order to contribute to SQL Server community,
View all posts by Murilo Miranda
- Understanding backups on AlwaysOn Availability Groups – Part 2 - December 3, 2015
- Understanding backups on AlwaysOn Availability Groups – Part 1 - November 30, 2015
- AlwaysOn Availability Groups – Curiosities to make your job easier – Part 4 - October 13, 2015