
This article is divided in three parts, if you started here, check the first and second part to find the previous steps.
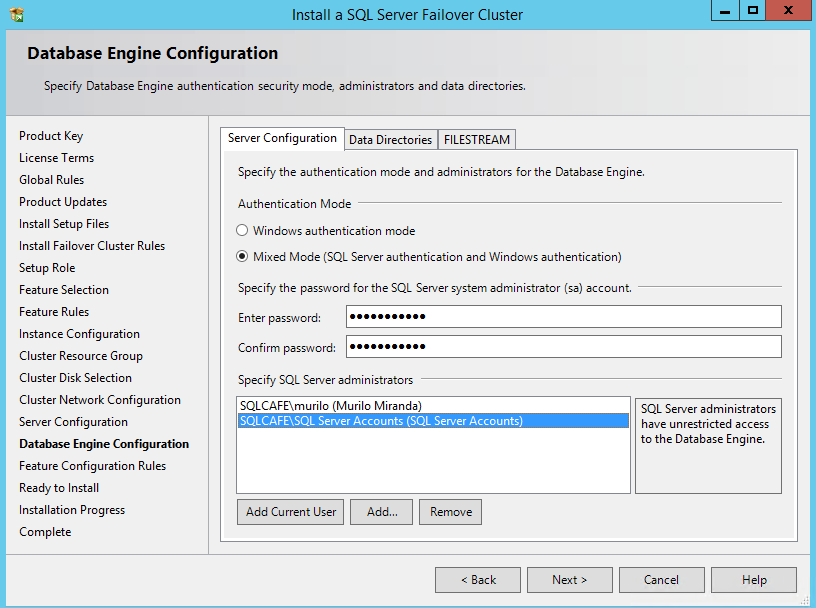
Now we need to define if the instance will work in “Windows Authentication Mode” or “Mixed Mode”. I usually choose “Mixed Mode” because there’s always an application that don’t work with domain accounts. By choosing this option you need to specify the password for the famous “sa” login. Notice that you can change the authentication mode anytime! You also need to add accounts to receive the Sysadmin privilege, this is very important… Even more if you choose the “Windows Authentication Mode”.
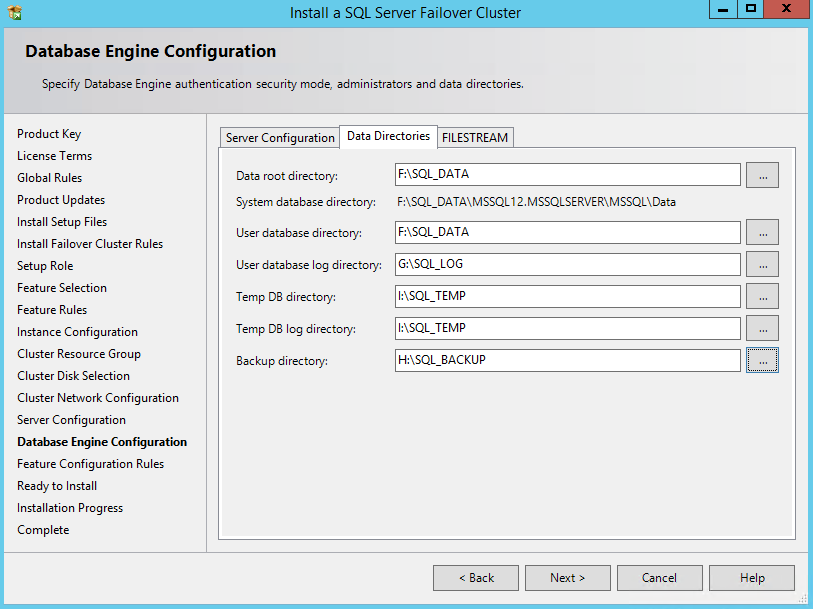
Let’s jump to the “Data Directories” tab. Here we need to define the disks/path of the root/system databases directory, user databases, log files, backup and TempDB. If you click in the “…” button, you will have all the available disks to pick. Attention that only the TempDB supports a local disk, the other items need to be placed in a shared disk.
If you want to configure the “filestream” feature, you can do in the respective tab.
After all the needed configuration, go ahead and click on “Next”.
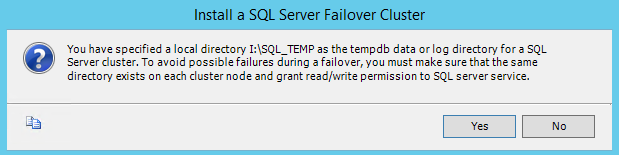
As we choose a local disk to place the TempDB, this confirmation message will appear. Basically we need to make sure that the path referred in the “Backup Directory” exists in all the other nodes, so in case of a failover the instance won’t fail to create the TempDB, which obviously can compromise the instance startup.
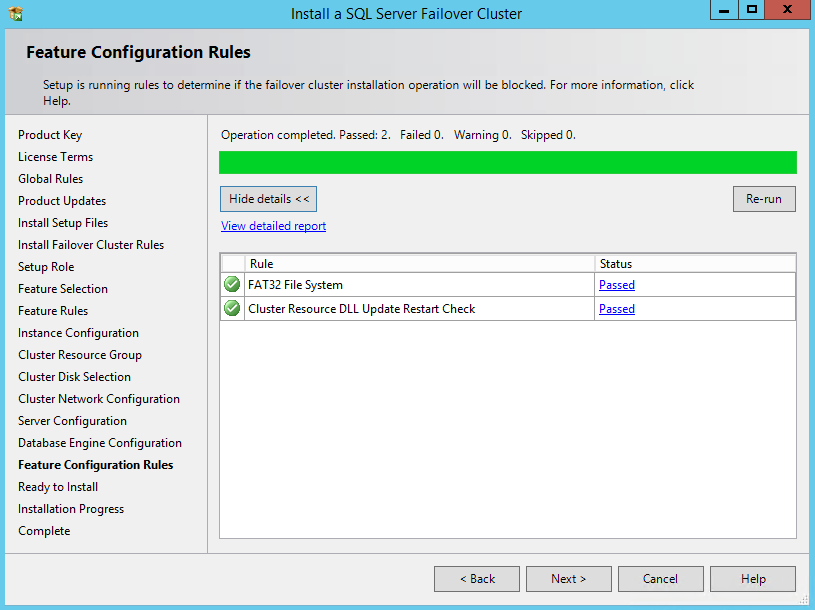
Now one more check will run, this time to check if the failover cluster installation will be blocked. Click “Next”, if this wasn’t done automatically.
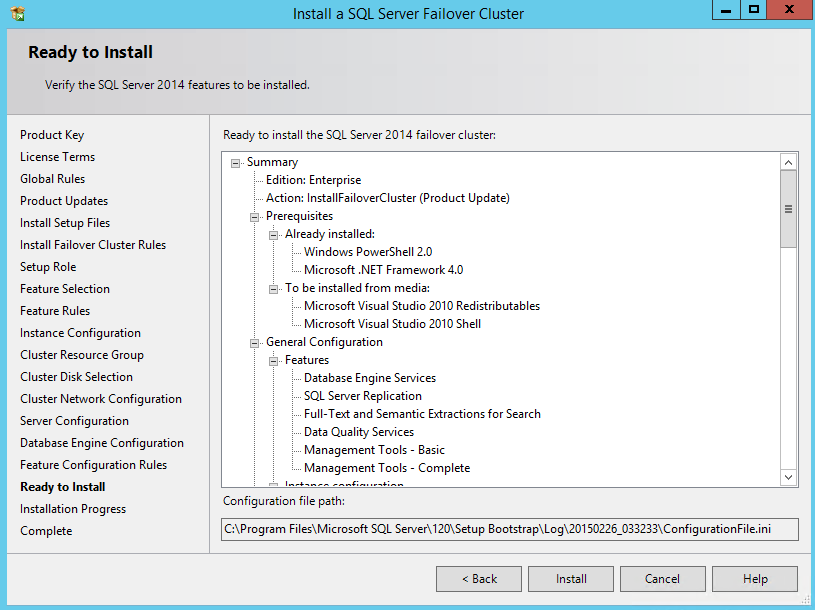
Now we are ready to rock! Just review all the configurations that you did during the process and click on “Install”!
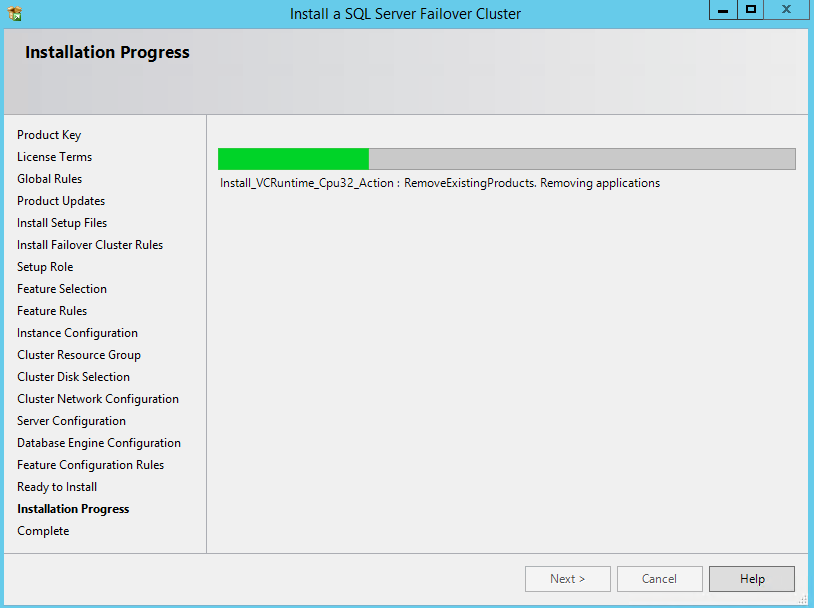
Now it’s time to get one more coffee and watch a nice progress bar for some minutes… The installation is running!
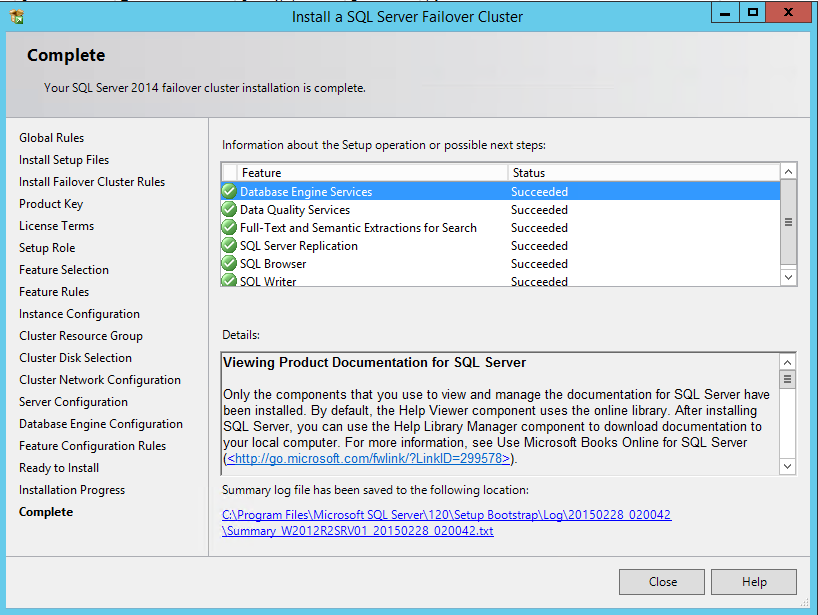
We are done with the main installation! Verify that all the items were successfully installed. And click close.
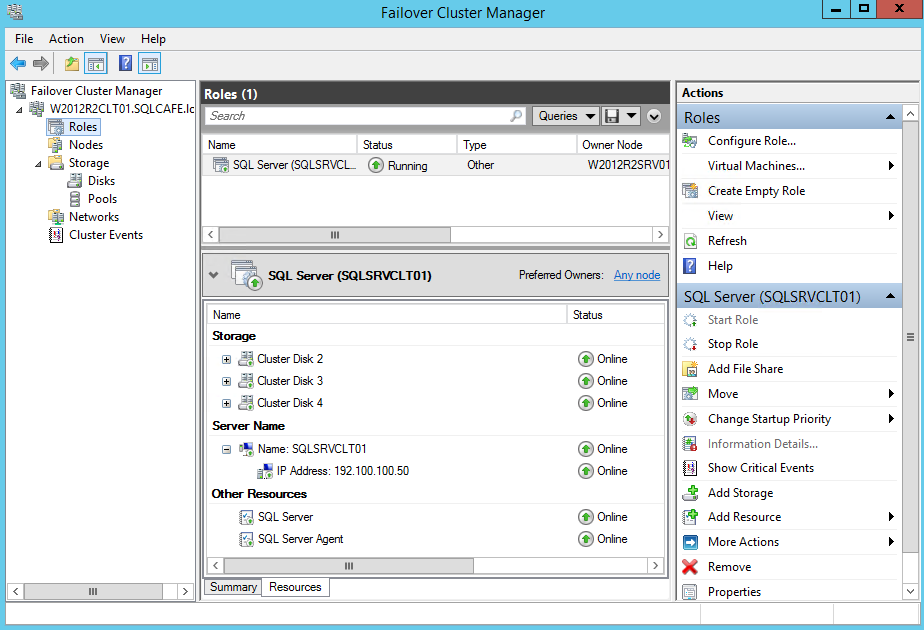
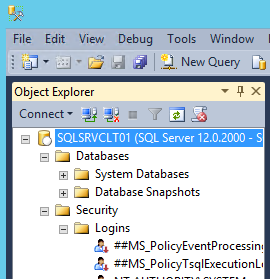
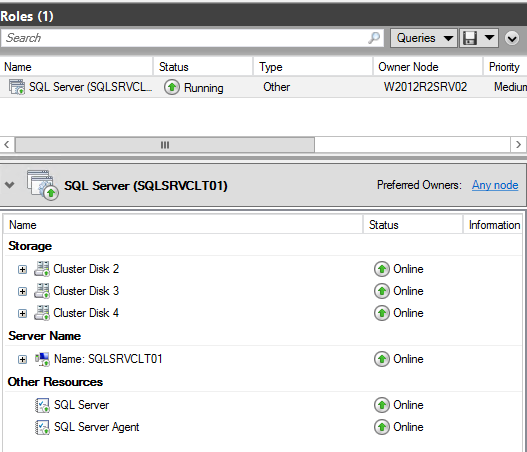
You can also look to the Failover Cluster Manager and check the SQL Server role, and its components, reflecting the options taken during the installation wizard, like the IP address, Computer Name and disks.
Even with SQL Server installed on only one node, we can use the instance. We can use the SQL Server Management Studio to perform that, as we just installed this tool.
Ok, we are done with the first node. Now we need to proceed to the all other nodes. In our case, we are installing the instance of SQL Server in a two nodes cluster. Sometimes I hear people naming this configuration an “active-active” cluster, but this is not right. To complete our clustered instance installation, we just need to add another node to the installation. The following steps are showing how to perform this. If you need to install a clustered instance with more nodes, just follow the same steps.
Adding a node to a SQL Server clustered instance
Now that we have the first node installed, we need to add the other node to our clustered instance, this way we will be able to successfully perform a failover to the other node.
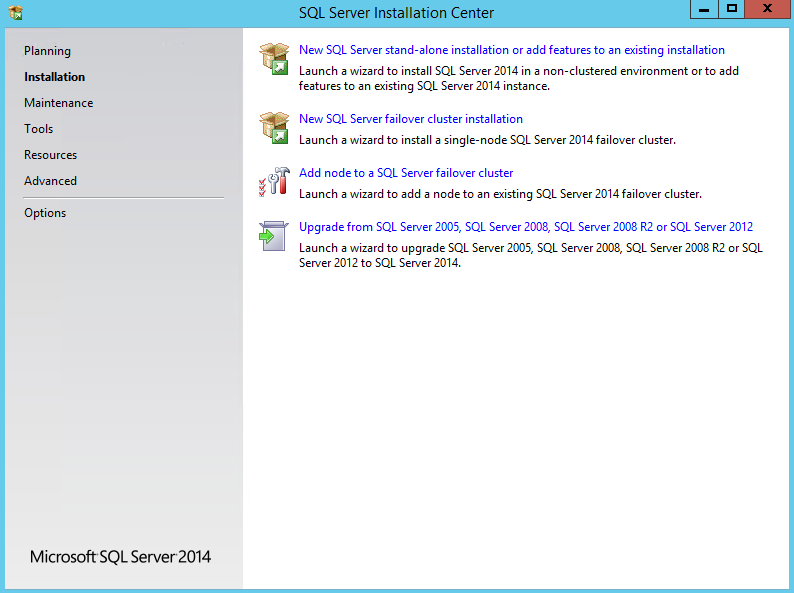
To start the installation, run the SQL Server setup as Administrator, as did in the first node installation.
Go to the “Installation” panel, by clicking in the respective menu and, this time, choose the option “Add node to a SQL Server failover cluster”, as shown in the image:
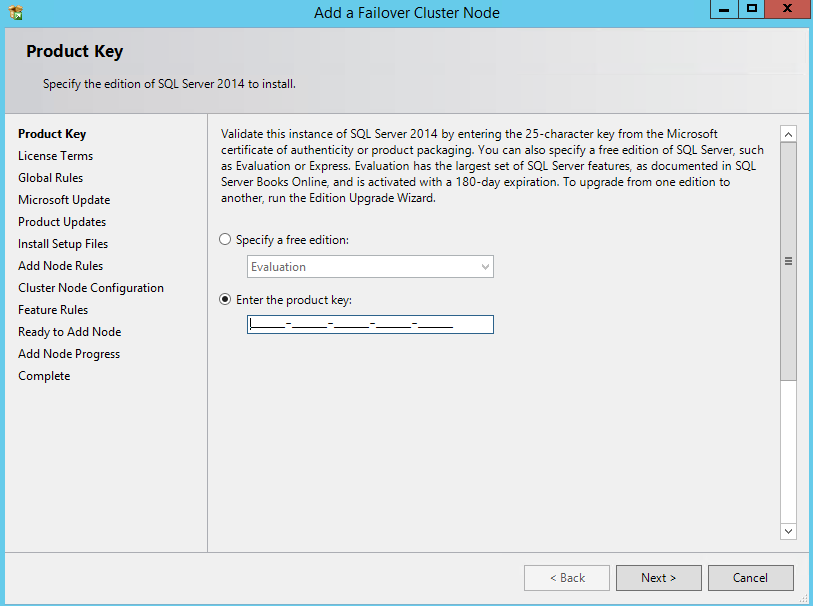
One more time, confirm your product key and click on “Next”.
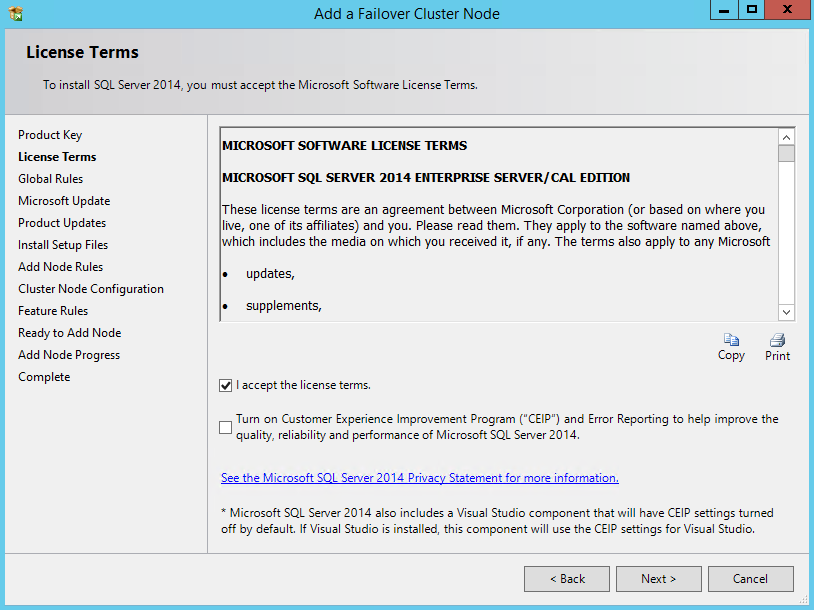
Now check the box to accept the license terms and procced.
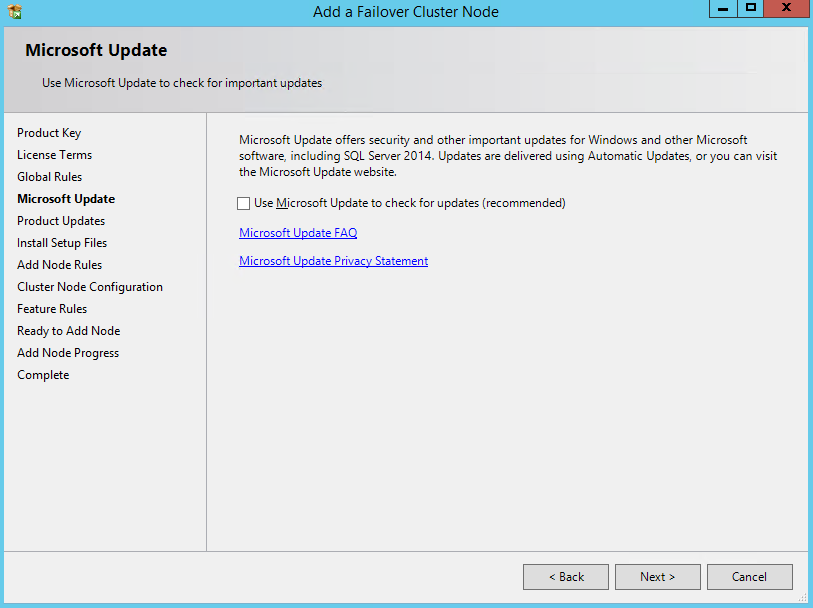
As done before, leave the “check for update” box unchecked and proceed.
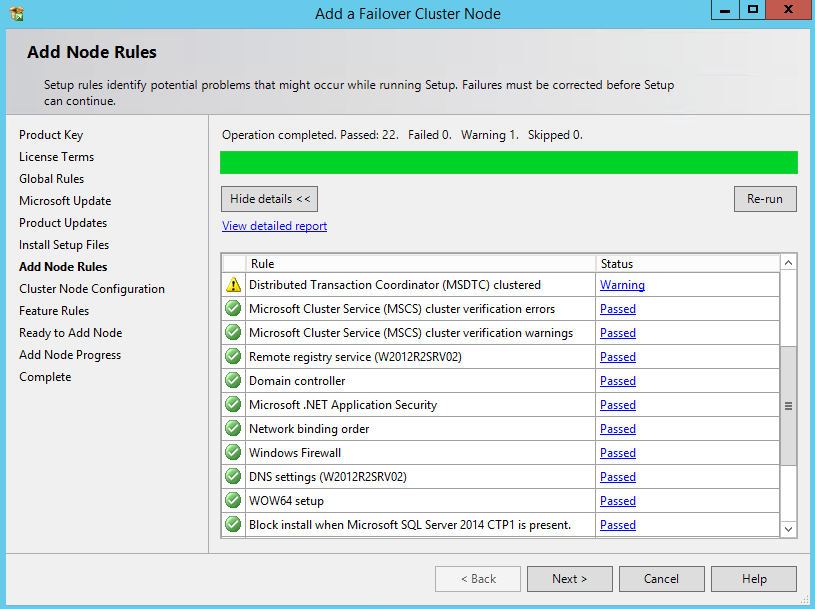
Check if all the rules passed the test and resolve if something wrong was found.
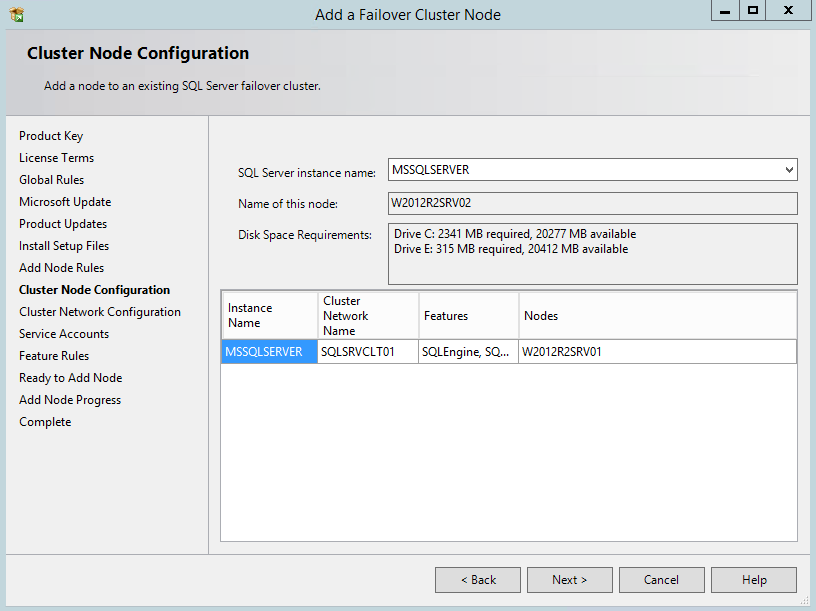
Now select the instance that you want to add the node. Notice that you have a “Nodes” column with all the current installed nodes for the instance. In this example, we have only one instance installed, so there’s no room to fail the right one. In case of have more than one clustered instance installed in the same cluster, pay attention in when choosing the instance.
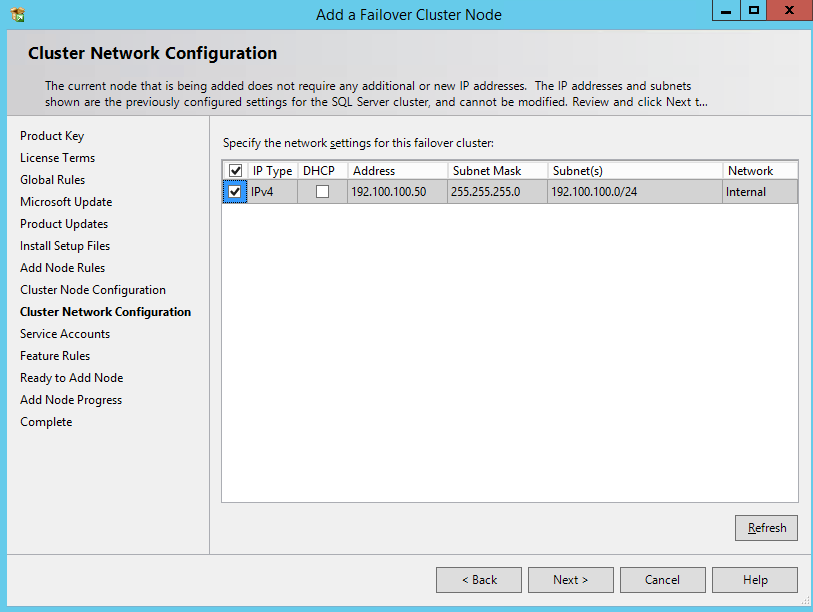
Select the expected networks.
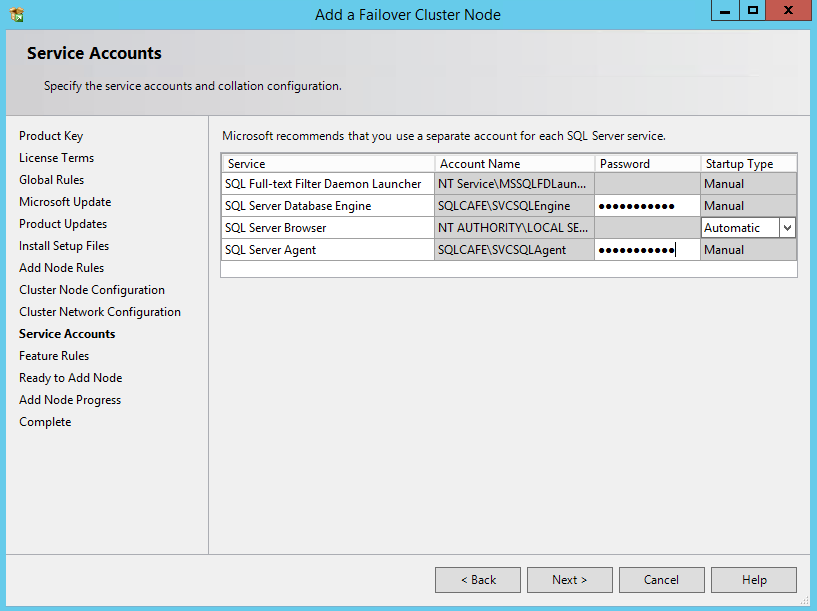
At this stage, you need to confirm the password for the Engine and Agent service account:
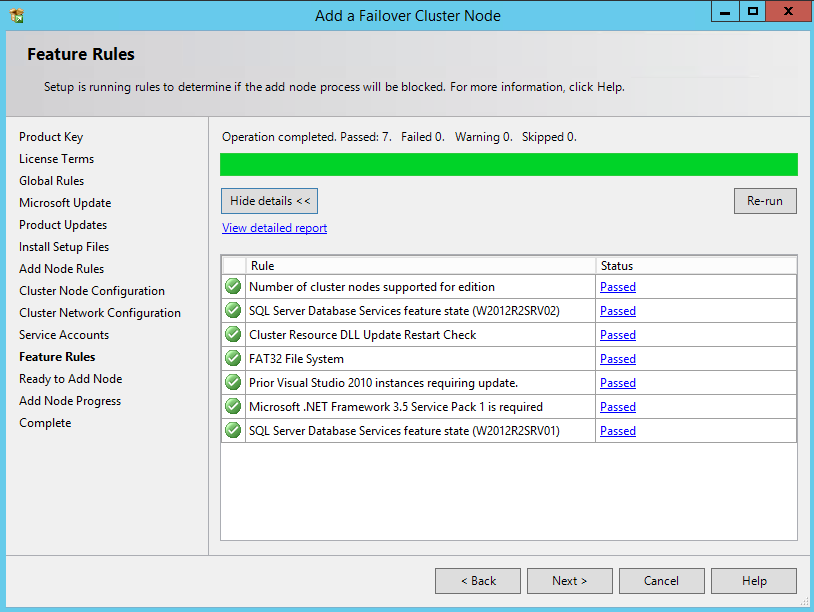
Once again, more rules verification will be checked. Just proceed.
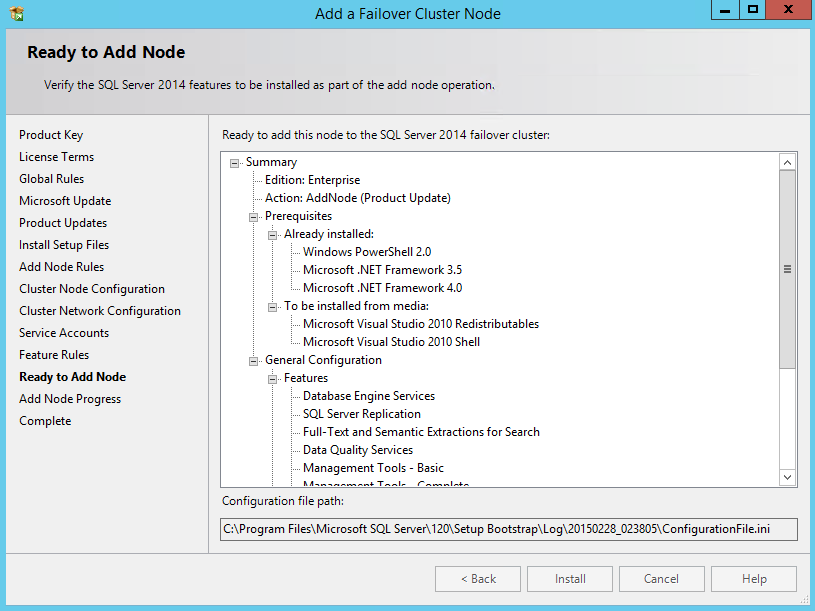
Finally, just confirm the settings and click on “Install”.
The SQL Server wizard will start the installation, just wait for some minutes…

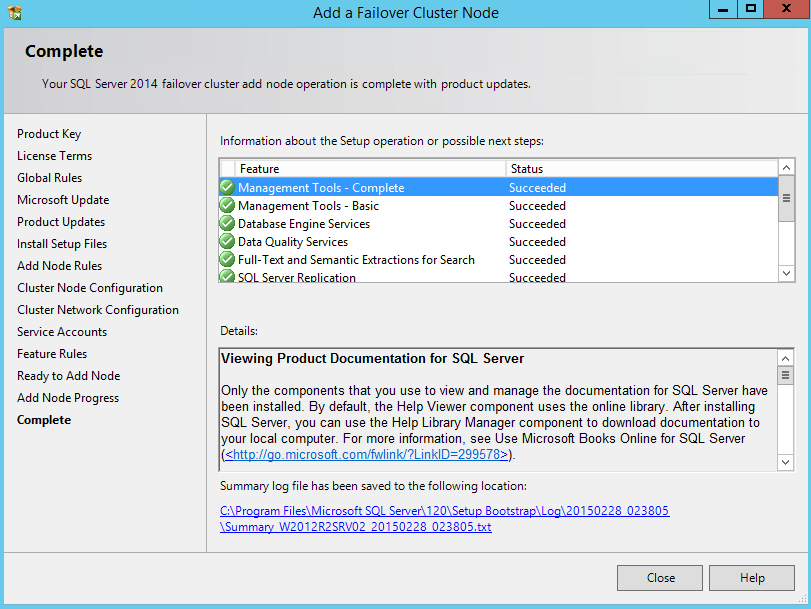
Now the installation is complete! The node was added and is ready to be used.
So, let’s test it by doing a failover…
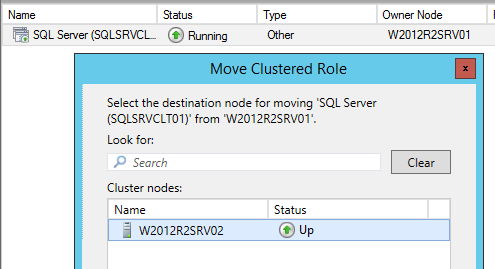
Success! Everything is online on node 02!
When adding this other node to the instance we didn’t select any features, anyway the shared tool were brought to this server, and SQL Server Management Studio is also available in this node.
About the updates
I’m writing this article in February 2015, and we still don’t have any Service Pack for SQL Server 2014. However, some fixes were released. So, let’s complete the clustered instance installation by updating it.
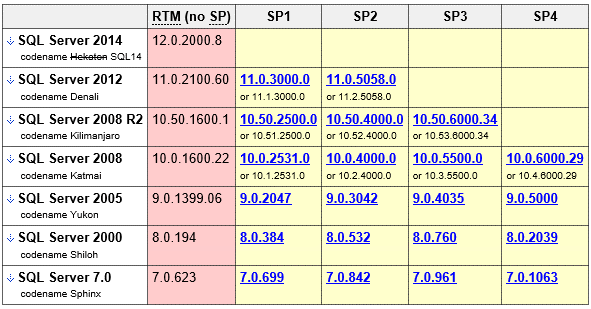
I use this blog as reference: http://sqlserverbuilds.blogspot.pt/. This is very useful and updated. You can find a nice hotfix/service pack history list here. Whoever maintains this, thank you!
Looking into the SQL Server Builds blog, we can find that the current SQL Server 2014 version is 12.0.2000.8.
So I clicked in the link and was redirected to the Microsoft download page. After downloading the file we need to apply it in all the nodes, in our case two.
Click in the executable file and extract it into some folder.
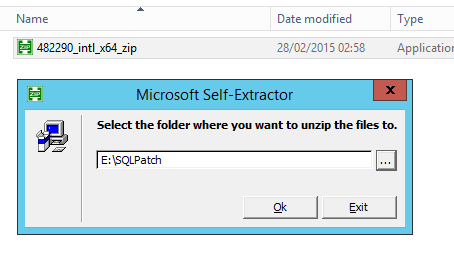
Now, run the extracted file as Administrator.

The setup will load and once opened, you some rules will be checked. Just proceed.

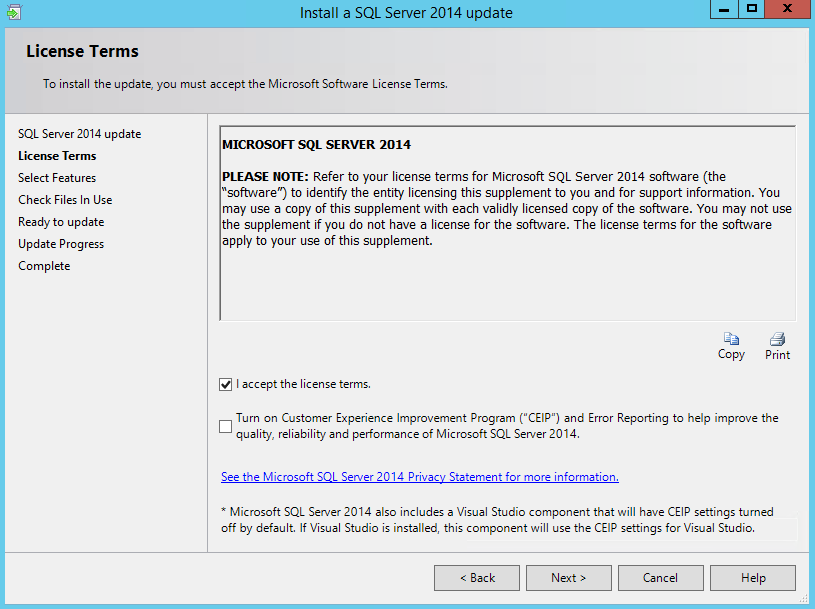
Now accept the license terms and proceed.
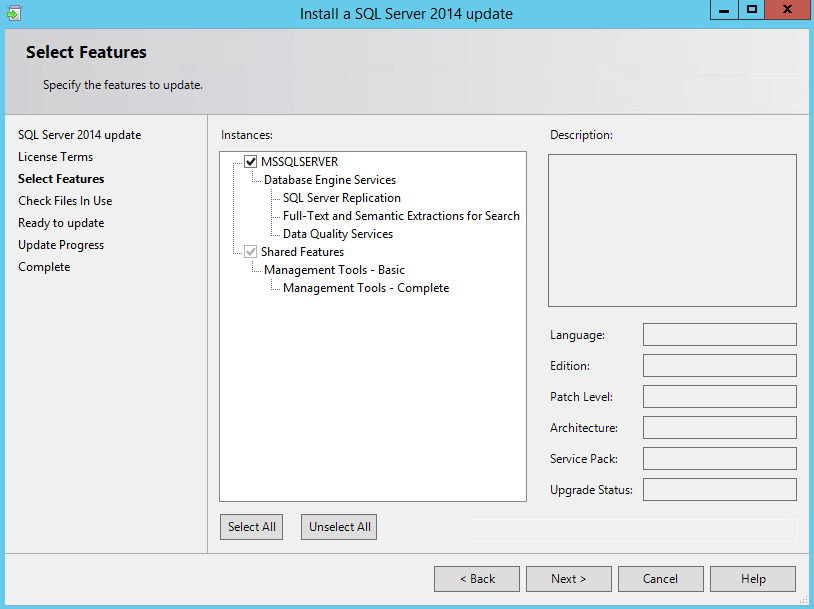
Select the desired features and click on “Next”.
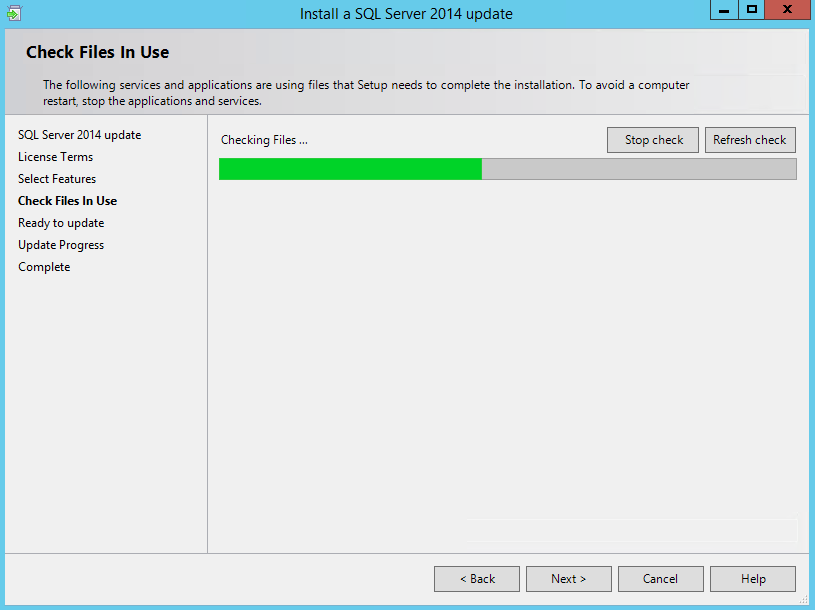
Now the installation will check if there’s some SQL Server file in use. Make sure to be running this setup in a passive node for the instance, also close de SQL Server management Studio. After the check, just proceed.
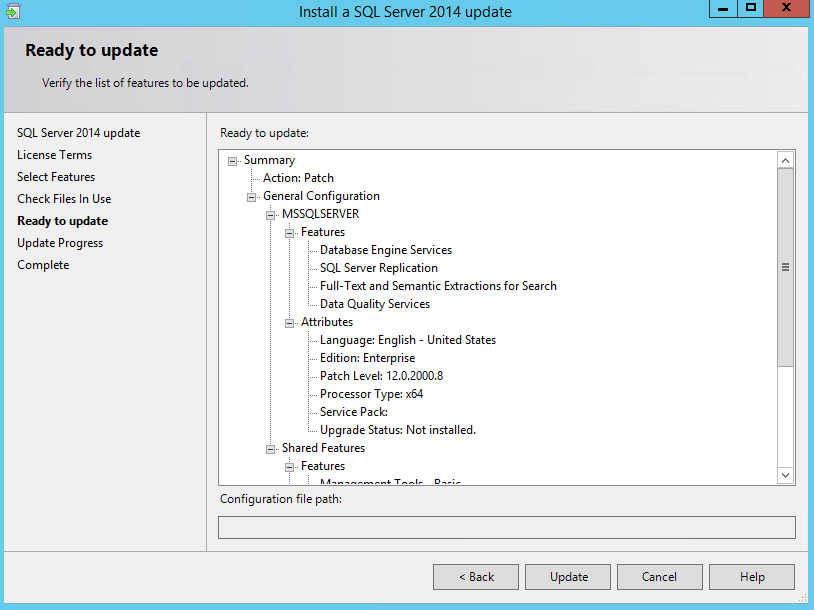
Verify the chosen setting and click on “Update”.
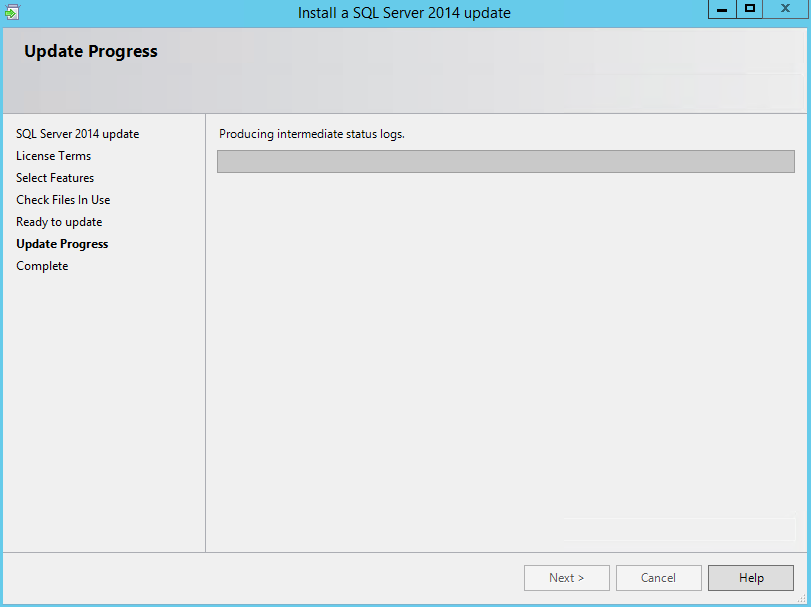
Now, just wait for the installation…
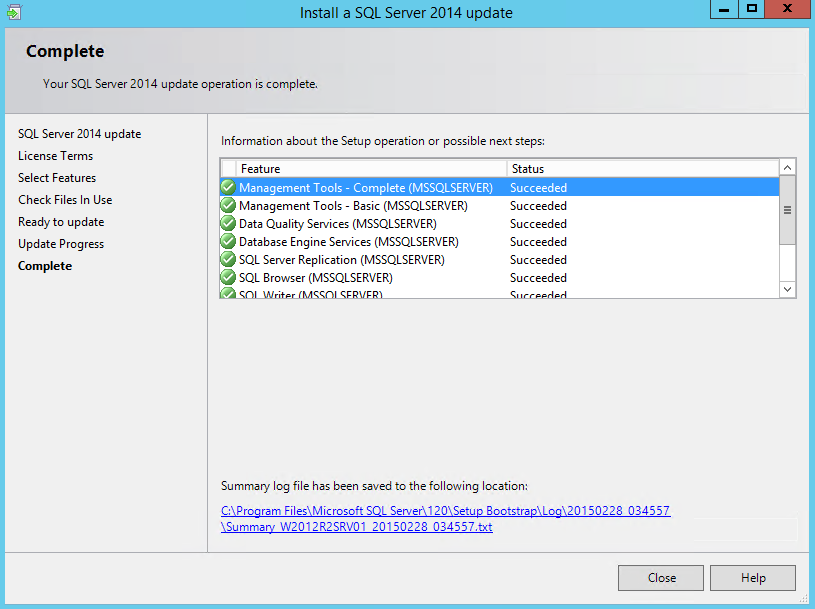
One more time, success! 🙂
The above procedures must be made on all the nodes that the instance is installed, like we did during the SQL Server installation, when adding a node to an existing installation.
So, that’s it! This article showed how to fully install a SQL Server clustered instance, and how to update it. Now all we need is configure the MSDTC, make some server tweaks (like instant file initialization, lock pages in memory, etc…), configure the instance settings (memory settings, adjust MaxDOP) and create the maintenance (backups, indexes and statistics maintenance…).
I hope the article was useful! And I need to let you know that this won’t stop here, based on this clustered instance we will have more things to show, so keep in touch 😉

With experience working in Portugal, Holland, Germany and United Kingdom, he's always available to learn and share his knowledge, in order to contribute to SQL Server community,
View all posts by Murilo Miranda
- Understanding backups on AlwaysOn Availability Groups – Part 2 - December 3, 2015
- Understanding backups on AlwaysOn Availability Groups – Part 1 - November 30, 2015
- AlwaysOn Availability Groups – Curiosities to make your job easier – Part 4 - October 13, 2015