

Azure Data Studio is a tool for both developers and database administrators with exciting features. You can install ADS on both Windows and Linux platforms. You can go through various Azure Data Studio articles on SQLShack to be comfortable with the tool and its features.
Source version control is a valuable part of IT developments. Suppose you are a developer and working on a database project. As part of your task, you might need to make specific changes in the database objects such as stored procedures, tables, functions. Your colleagues might be working on a separate project that affects the same objects. You should be aware of all these changes.
Similarly, recently someone deployed a stored procedure change in a critical production database. Your manager wants to know the history of changes to this procedure. You need information such as change date, what change was performed in the script, or make a comparison between the current stage and previous change.
Source control allows you to have a centralized location for all your database scripts, their versions, compare object versions, and commit or rollback the changes. You might have heard about the opensource and distributed version control system – GitHub. It is a useful tool for developers to store all modifications in a single place. They can download the current version, make changes, upload the new version for everyone’s visibility.
Azure Data Studio integrates Source control functionality for this purpose. In this article, we will explore the source control Git repository integration with ADS.
Pre-requisite:
You should always use the latest version for Azure Data Studio. I use ADS version 1.19.0 released on 15th June 2020. You can download it from the Microsoft Docs.
Git Repository in Azure Data Studio
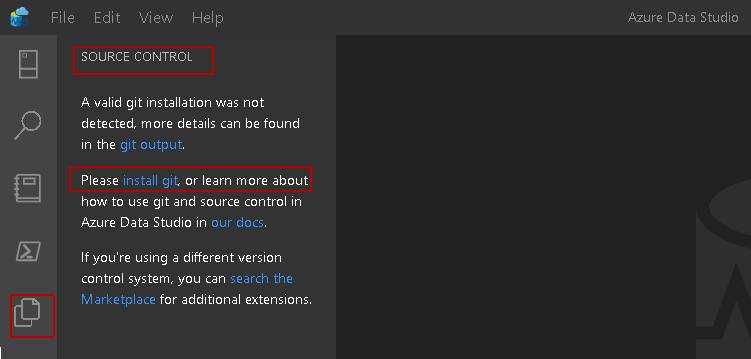
Launch ADS and navigate to the highlighted Source Control icon. You can also use shortcut key Ctrl+ Shift + G.
You can see it gives a message to me that a valid git installation is not found on my system. We need to install Git locally before start using source control:
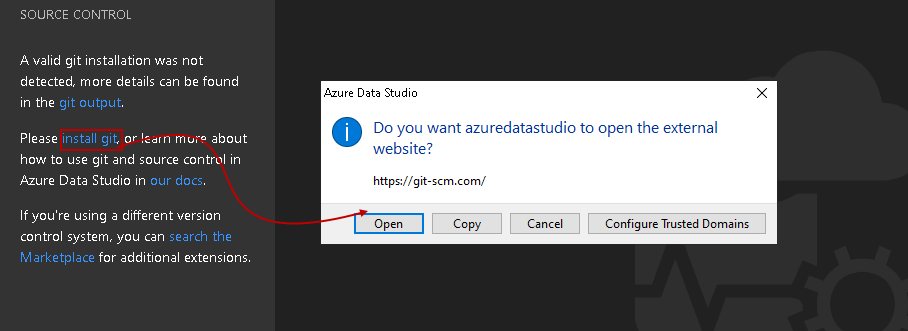
Click on the hyperlink install git. It opens an external website, so ADS requires your permission to open it. It requires an active internet connection:
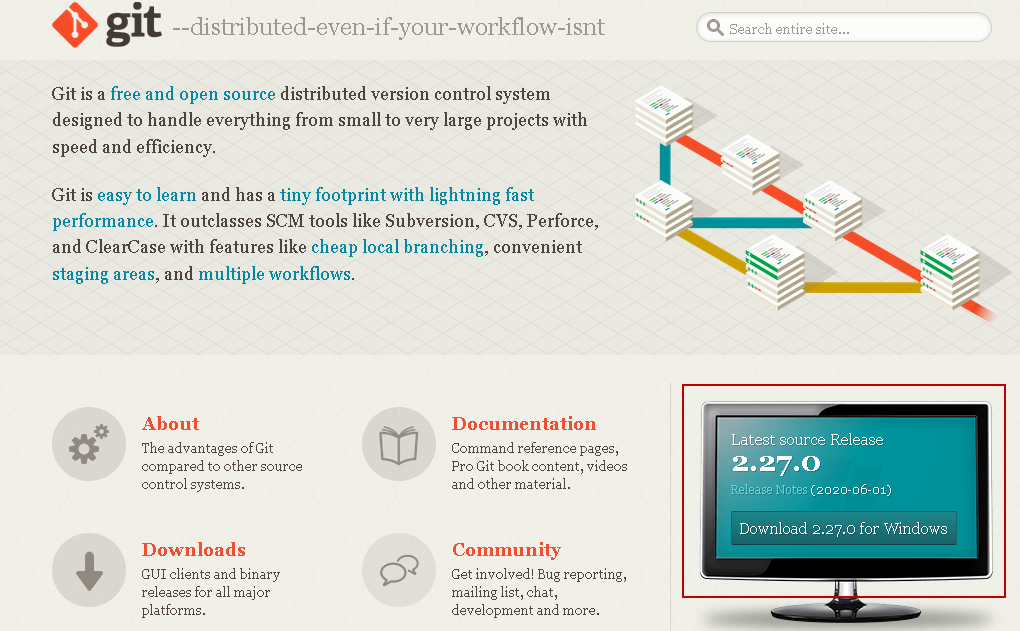
In the git web page, you can download the latest version for Windows from the link highlighted:
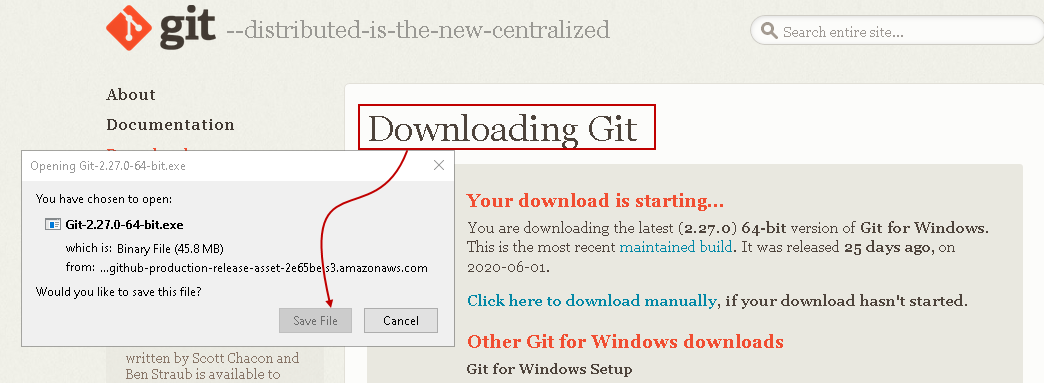
Click on the Download 2.27.0 for Windows, and it starts downloading the EXE file of Git.
Installation of Git source control
Once the Git installation file is downloaded, launch the setup. The first step is to accept the GNU general public license:

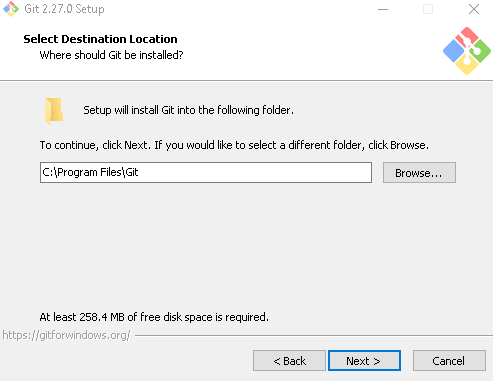
In the next step, specify the directory for the Git installation in your local system. By default, it installs Git in the program files of the root drive. You can modify the directory as per your requirement:
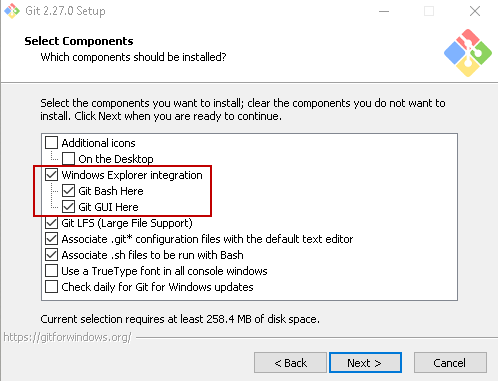
Now, select the components for the Git installation. It installs Git Bash and Git GUI for the Windows Explorer integration. We can use the default components and proceed with the next step:
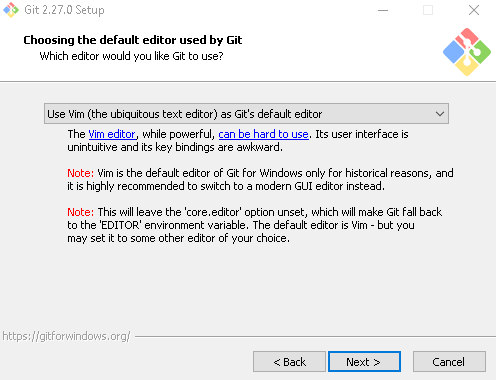
By default, Git uses Vim as the default editor. You can change it to Visual Studio Code, Notepad++, Atom from the drop-down. I use the default Vim editor for this article:
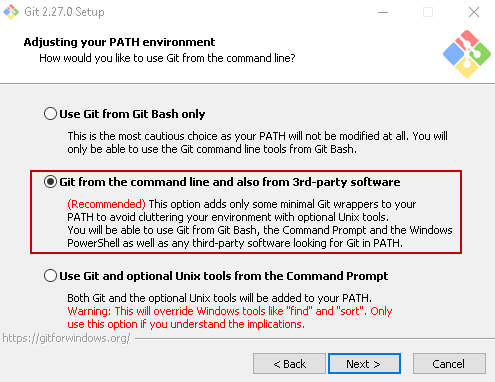
You can choose the Git usage from the Git bash only or also from the 3rd party software. In this article, we use Git in Azure Data Studio. You must select the option – Git from the command line and also from the 3rd party software:
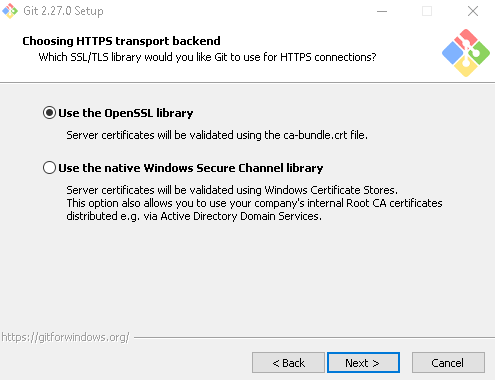
In the next step, choose the default option – Use the OpenSSL Library:
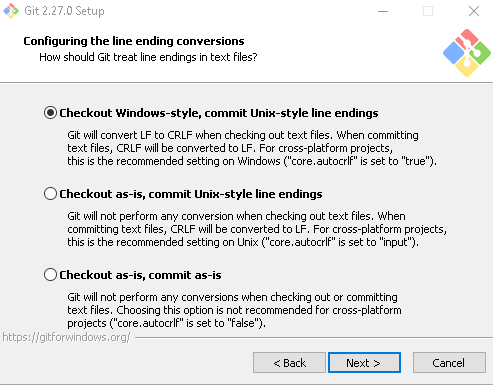
It also allows configuring the line ending styles. We can go ahead with the default option here:
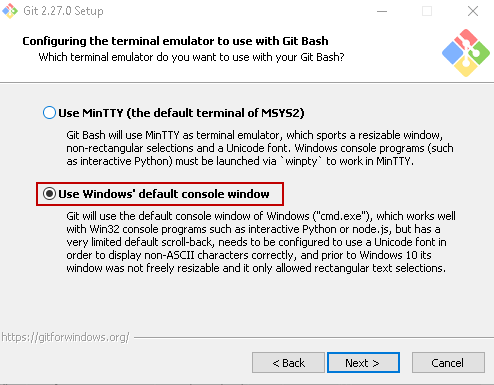
Now, configure the terminal emulator to use with the Git Bash. Choose the Windows default console – Command Prompt for this purpose:
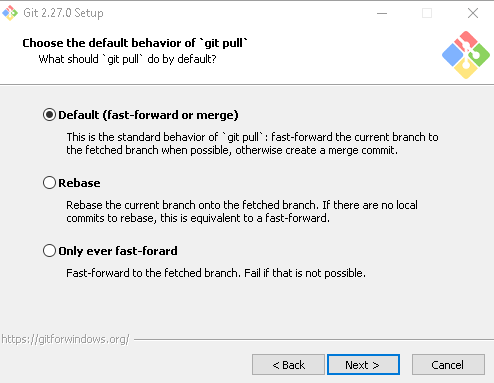
Next, choose the default behavior of the git pull. We should use the default behavior as fast-forward or merge the branch:
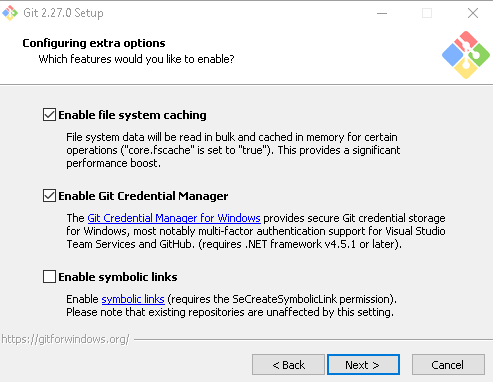
In the next step, Configure the extra options it enables by default. It enables the following features.
- Enable file system caching
- Enable Git credential manager
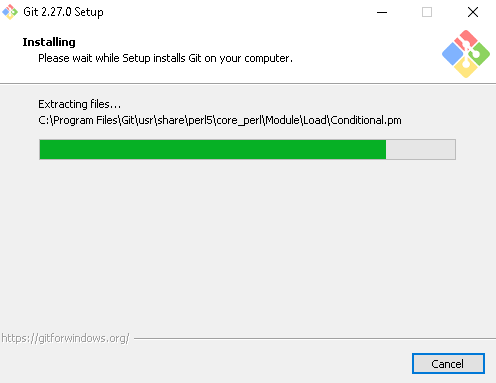
The configuration for the Git is complete, click on Install in the next page:
It starts installing the Git software on your system:
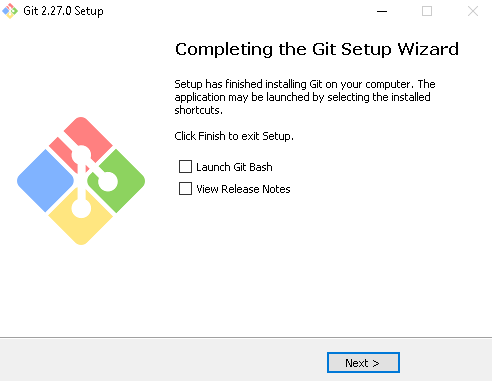
You get the following screen once the setup is complete. We can launch the Git Bash from this page in case we put a tick on the checkbox:
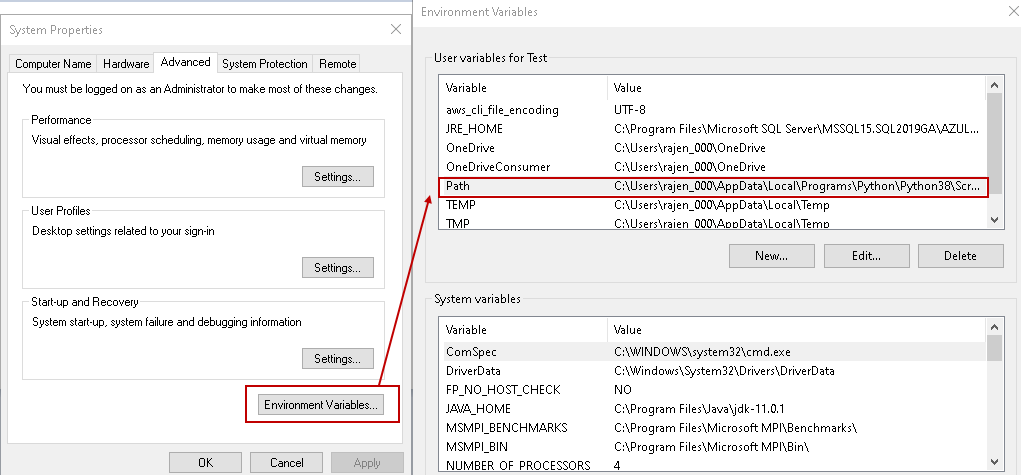
We need to add the Git directory in the Windows environment variables as well. Open the system properties -> Advanced -> Environment Variables -> Path:
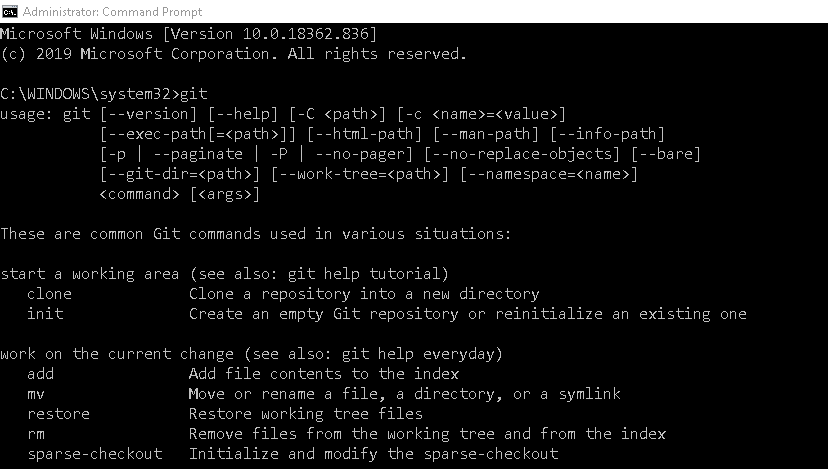
Now, we can verify the Git installation from the command prompt. Type git in the command prompt and you get output in terms of its syntax, usage:
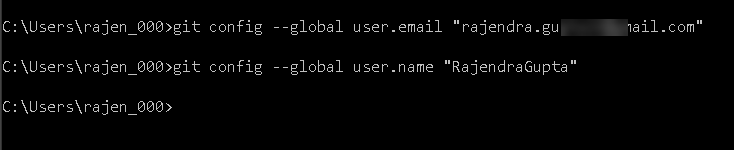
We require a profile with an email id and user name for the Git. For this, we use the git config command.
- >git config –global user.email “rajendra.gupta16@gmail.com”
- >git config –global user.name “RajendraGupta”
Connect Git in the Azure Data Studio
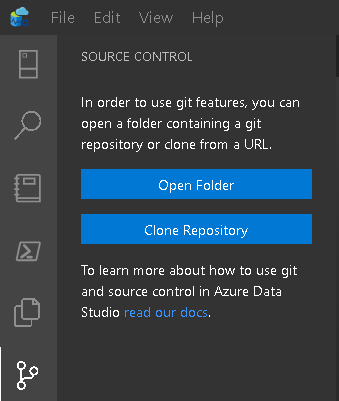
Once we installed the Git in the local system, relaunch the ADS and navigate to the Source Control. Here, you see it shows two options.
- Open Folder
- Clone Repository
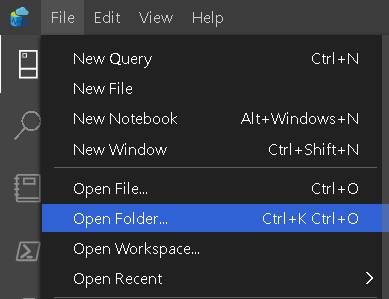
First, we need to create a folder that will contain the database scripts for source control. Create a folder in any directory, go to open the folder, and specify the folder path.
You can also open the folder from the Azure Data Studio menu as File -> Open Folder:
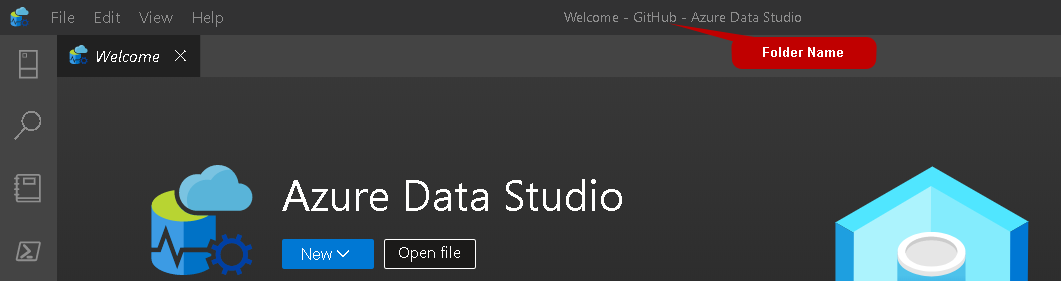
It opens the folder, and you can see the folder name in the title bar. I specified the folder name as “GitHub” so it shows it in the title bar as per the following screenshot:
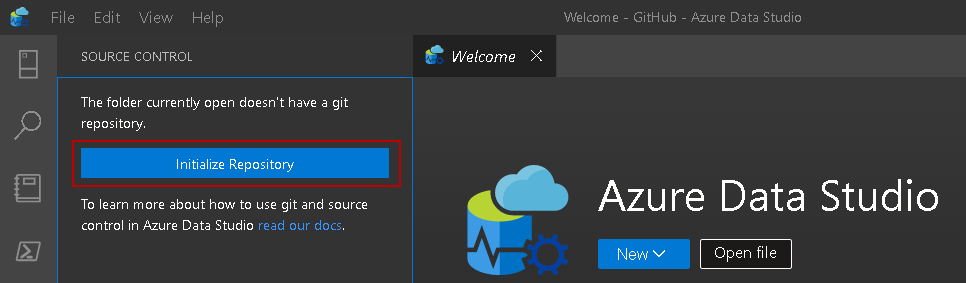
Now, go back to source control and click on Initialize Repository:
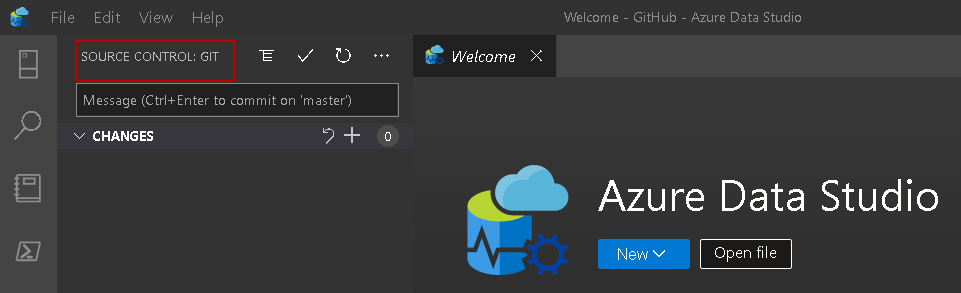
You can see the source control as Git in the following image:
Add a SQL Script in the Git Repository
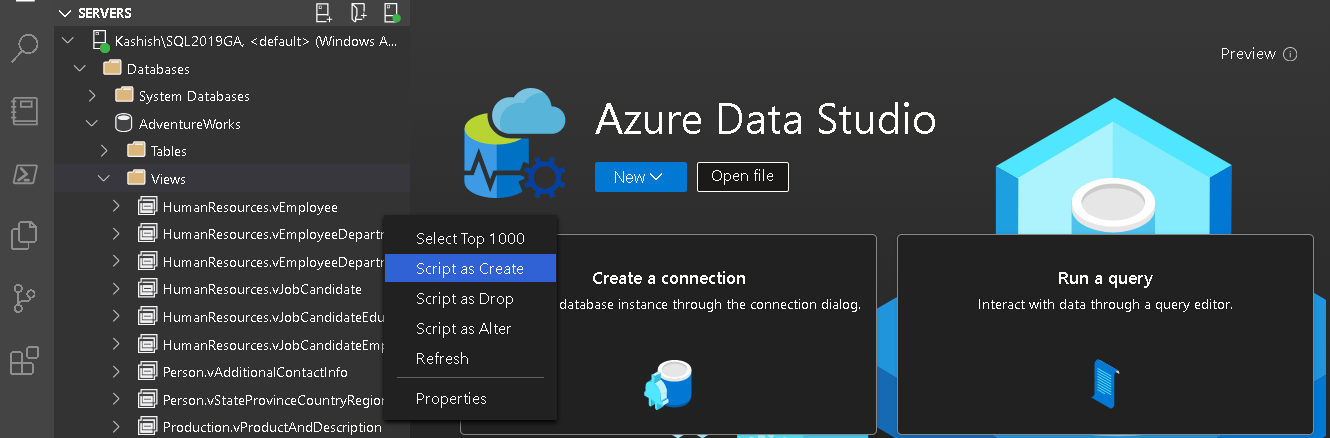
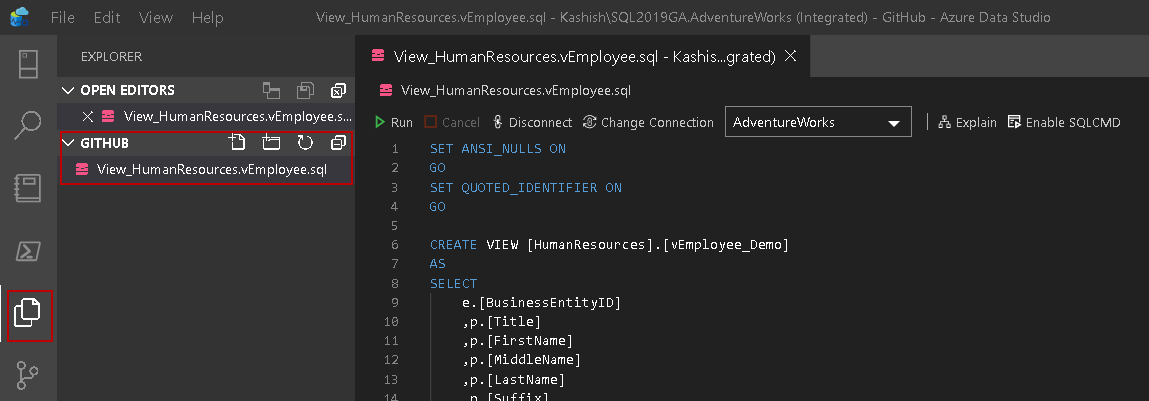
For the demonstration purpose, expand the AdventureWorks sample database and script the highlighted view using the option Script as Create:
It generates the script in a new query window of Azure Data Studio:
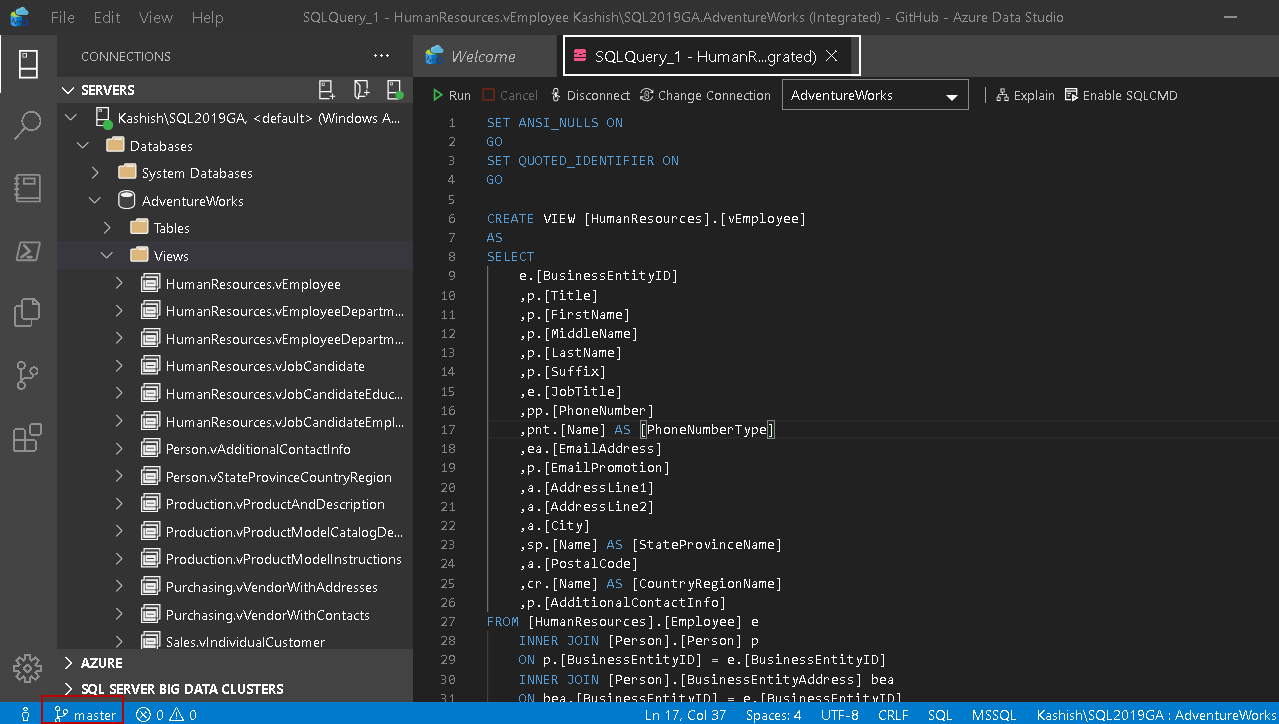
Save this script in the Git repository folder we created earlier. You can Press Ctrl+S to save this script or go to File -> Save As option:
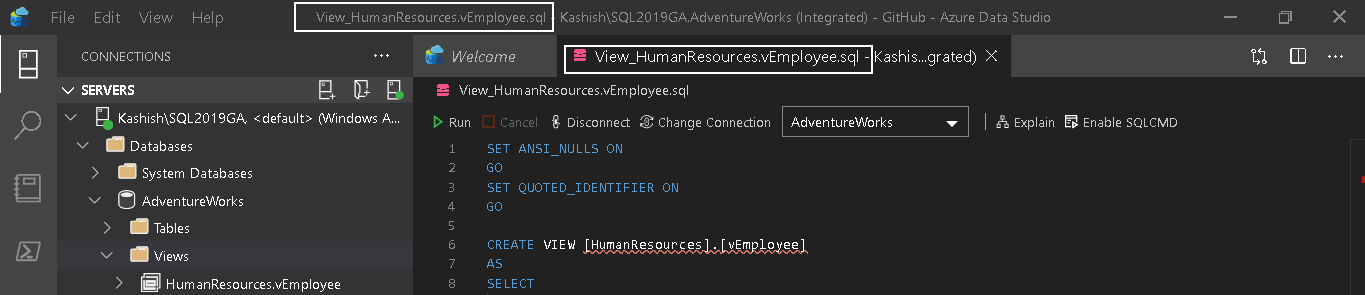
You can see the saved SQL script in the GitHub folder:

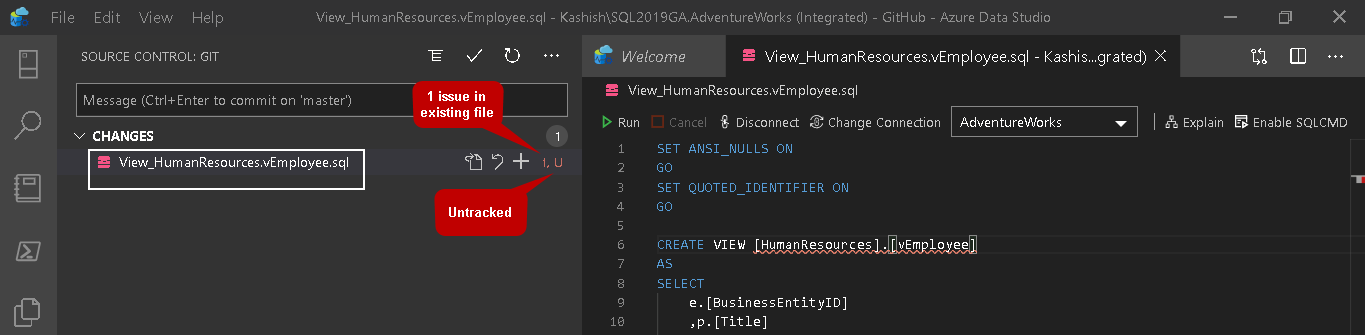
In the source control menu, you can see this SQL script. It currently shows 1 issue in the existing file along with the U mark that defines the Untracked object:
As we have scripted an existing object in the [AdventureWorks] database, it shows the error message. Let’s rename the view name in the generated script and save it.
You can see it removes the error message because it is not a duplicate object now:

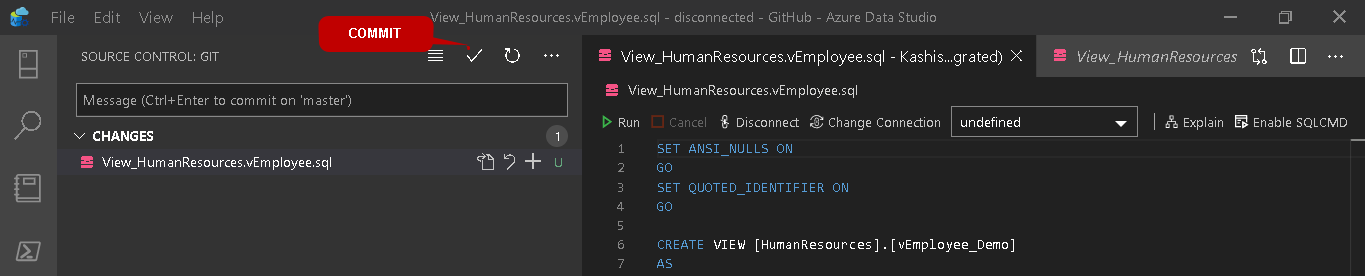
Now, click on the Commit(tick icon) to commit the changes in the source control:
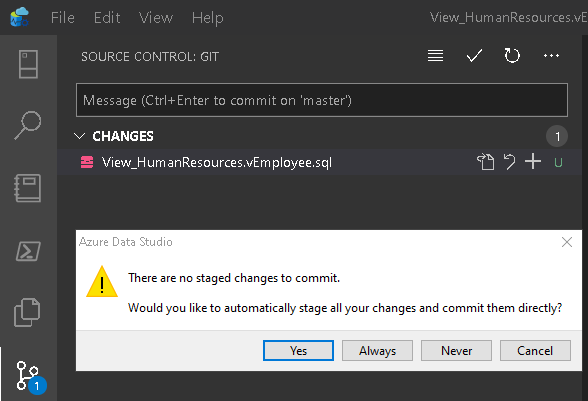
Click on Yes to automatically stage all changes and commit them directly into the source control:
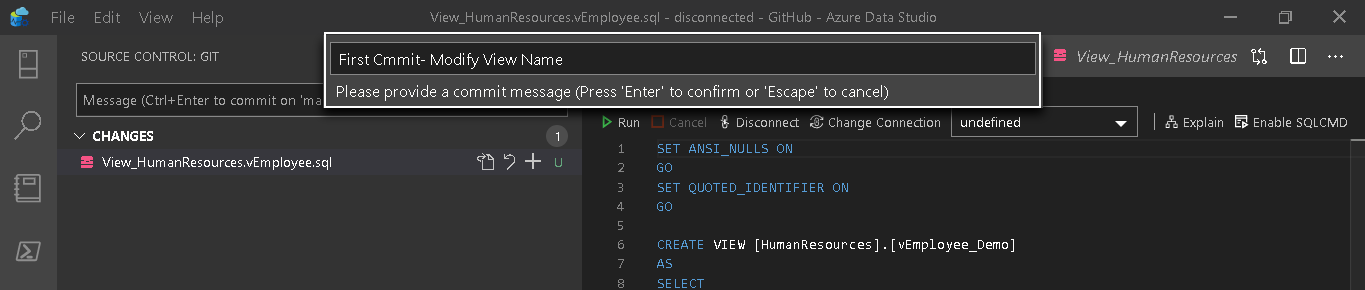
It asks for a commit message. It is a custom message that you can put for your reference purpose. By default, it commits on the master branch in the Git:

For my reference, I highlighted the message that it modifies the view name:
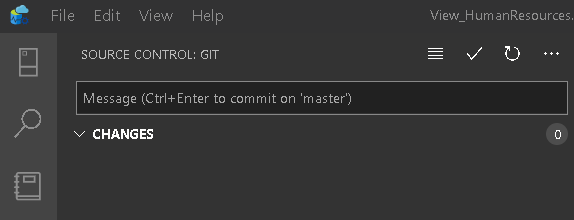
Once you commit changes, it removes the corresponding messages from the source control:
Edit an existing file from the source control in Azure Data Studio
In this section, we will modify an existing SQL script in the Git source control. Click on the script in the GitHub folder, and it opens the script in the new query window.
For the demo, we remove the highlighted columns from the view definition and save the script:
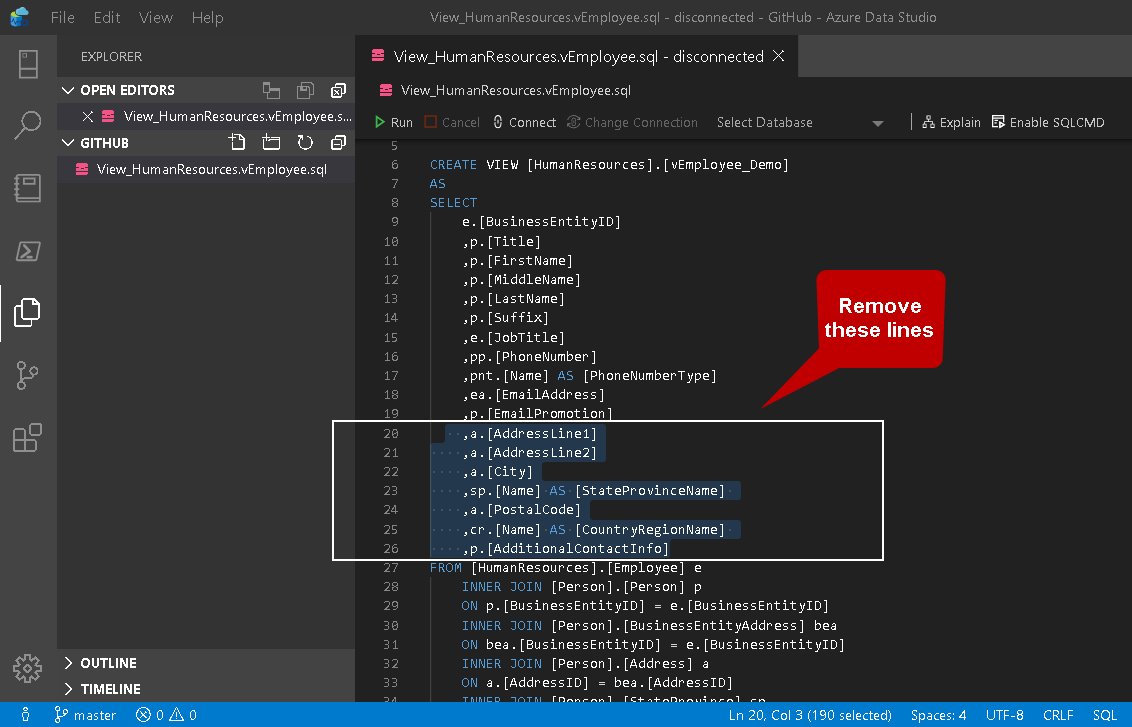
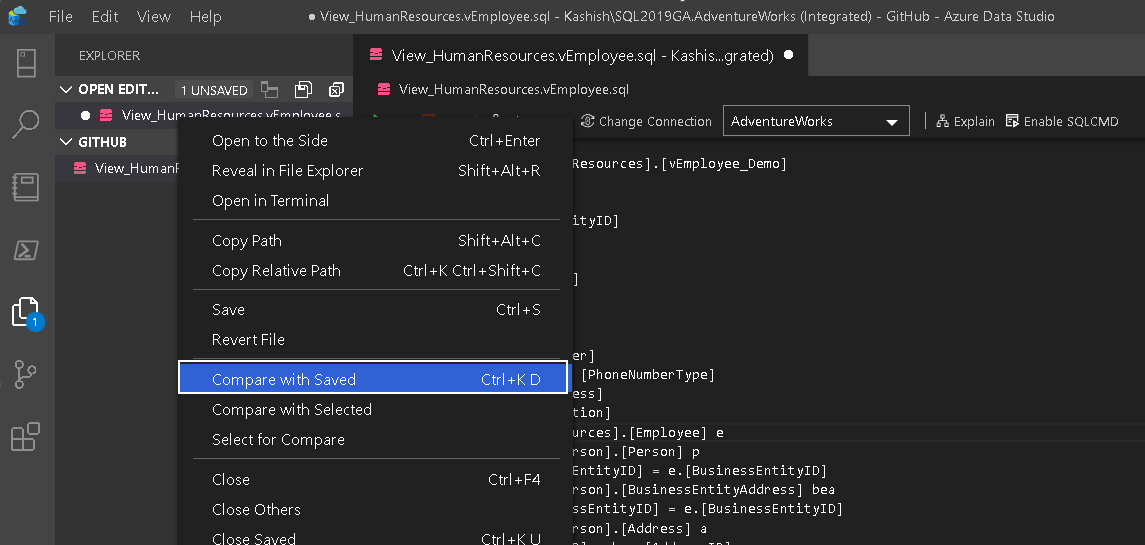
Right-click on the script in the open editor window and click on Compare with Saved:
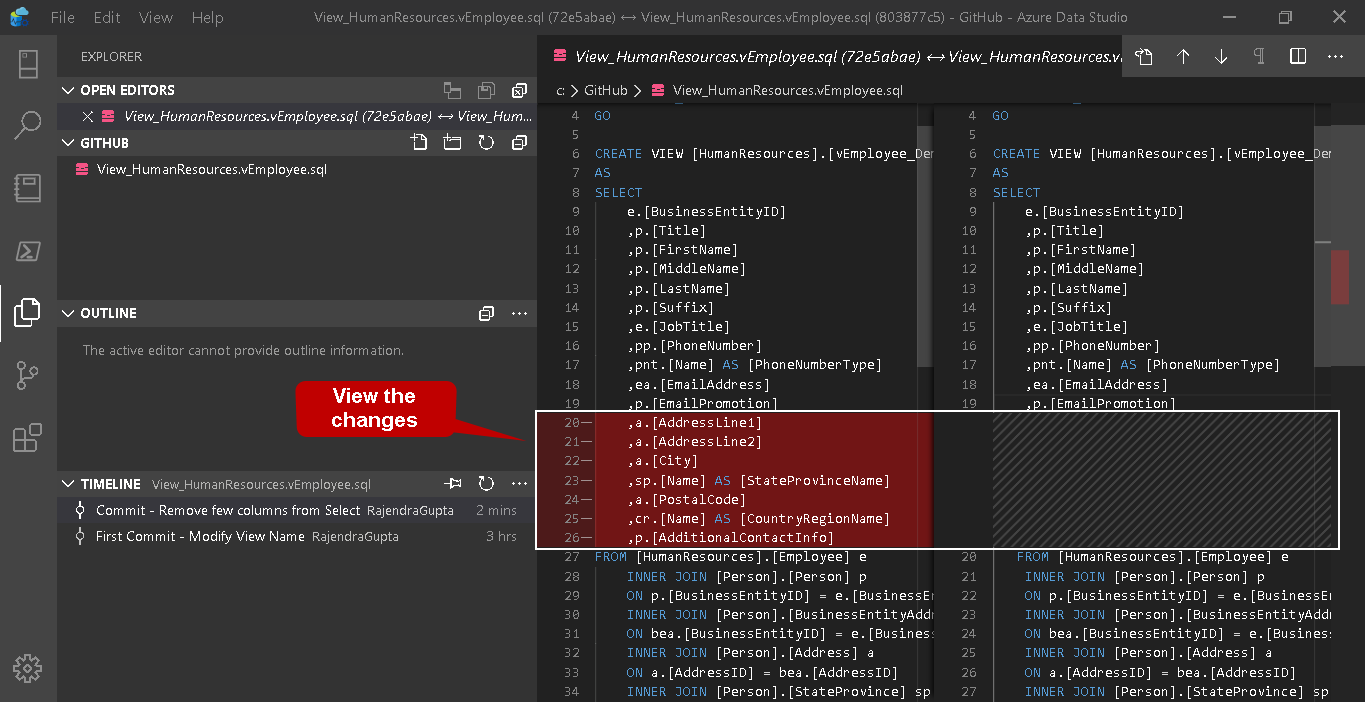
It compares the original script and the modified script. You can see the difference in the below screenshot. In the left hand, we have the original script with all columns and right-side, it shows a modified script that removes a few columns from the select statement:
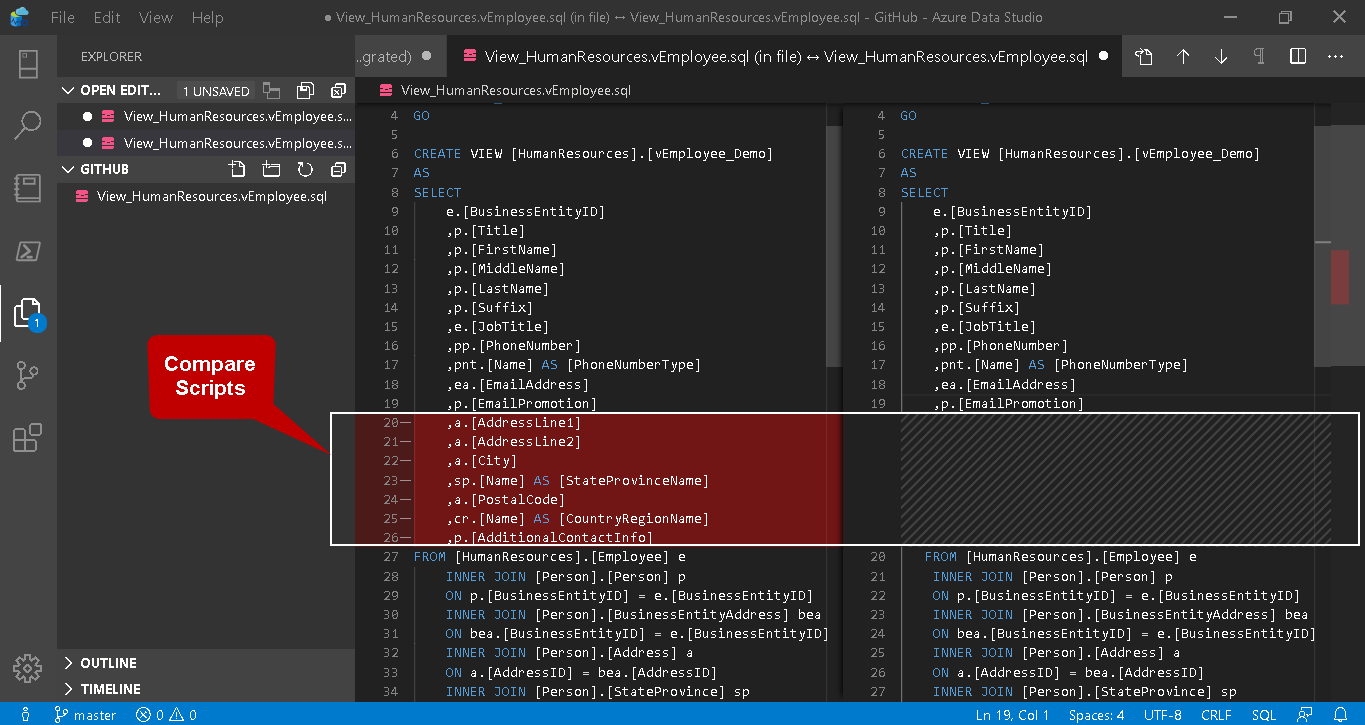
In the below screenshot, it shows that integrated view script is modified. You can also see the different color of the text highlighting it is a modified script:

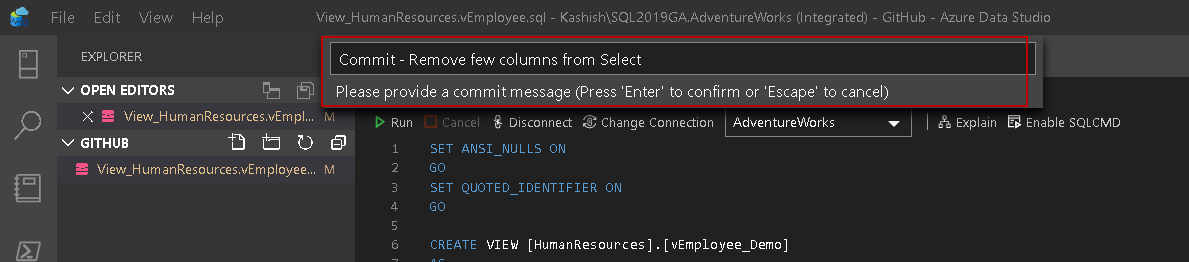
Commit the changes by specifying a commit message. I specified the message that the modified script removes a few columns from the select statement:
It saves the changes in source control:
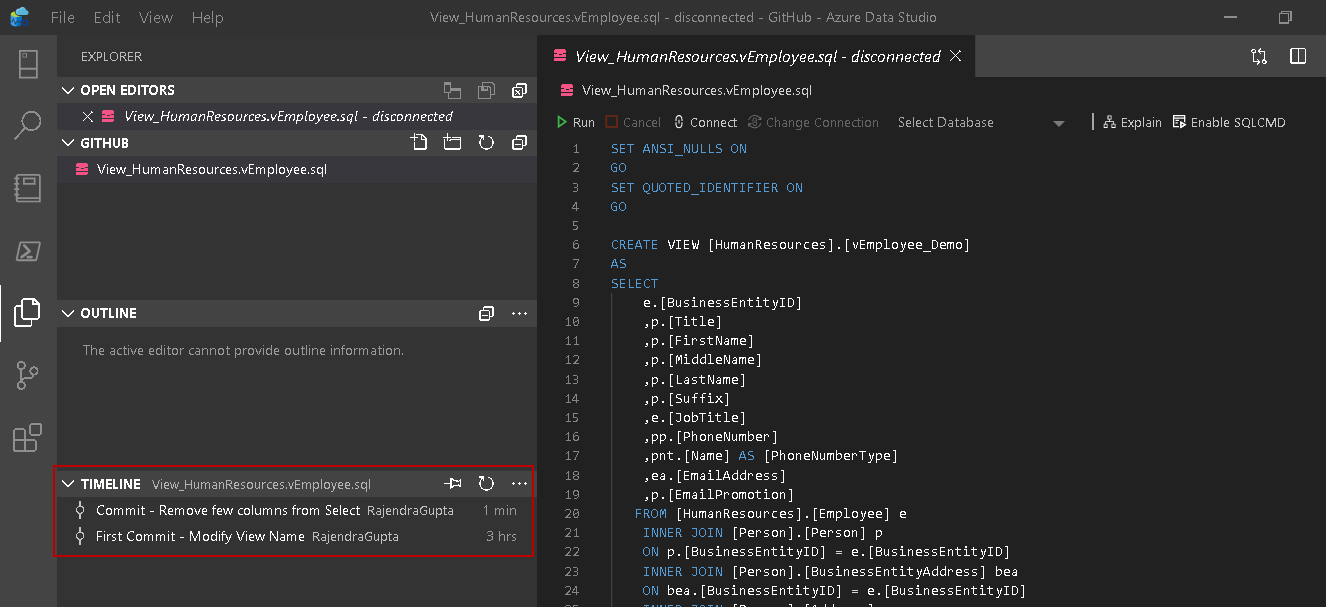
View the timelines of script modifications
In the source control, go down and expand the timeline folder. Here, you see two commits for my SQL script along with the last commit hr.
- First commit – Modify view name: We committed the SQL script after modified the view name
- Commit- Remove a few columns from select: We committed SQL script again after removing a few columns from the select
Click on the Commit- Remove few columns from select, and you can see the changes we did in the SQL script for this commit:
Similarly, you can make multiple changes to SQL script and commit the scripts for different versions. You can view previous changes anytime after the modifications as well.
Conclusion
In this article, we explored the useful Source control Git for SQL Scripts in the Azure Data Studio. You can put multiple versions for SQL script, compare the changes at a later date.
I will cover more topics on the Git Source control for ADS in the upcoming articles. We will also link the local repository with the GitHub to have centralized source control.
Table of contents
| Source Control using Git in Azure Data Studio (ADS) |
| Integrating Azure Data Studio with Git and GitHub |
| Working with Git components in Azure Data Studio |
| Visual Studio Code (VS Code) integration with Git Source Control |
| Explore branches in Git Source Control |

I am the author of the book "DP-300 Administering Relational Database on Microsoft Azure". I published more than 650 technical articles on MSSQLTips, SQLShack, Quest, CodingSight, and SeveralNines.
I am the creator of one of the biggest free online collections of articles on a single topic, with his 50-part series on SQL Server Always On Availability Groups.
Based on my contribution to the SQL Server community, I have been recognized as the prestigious Best Author of the Year continuously in 2019, 2020, and 2021 (2nd Rank) at SQLShack and the MSSQLTIPS champions award in 2020.
Personal Blog: https://www.dbblogger.com
I am always interested in new challenges so if you need consulting help, reach me at rajendra.gupta16@gmail.com
View all posts by Rajendra Gupta
- Understanding PostgreSQL SUBSTRING function - September 21, 2024
- How to install PostgreSQL on Ubuntu - July 13, 2023
- How to use the CROSSTAB function in PostgreSQL - February 17, 2023