
This article will explore Continuous backup and steps to configure it for a new Azure Cosmos DB account or an existing Cosmos DB account. Azure Cosmos DB is a fully managed and highly secure, NoSQL database service on the Azure cloud that is designed for modern-day application development. It automatically runs backup for its databases on separate Azure blob storage at regular intervals without affecting the performance, availability, and provisioned resource units (RUs) to ensure data protection from a data recovery standpoint which can be needed in case of data corruption, deletion, or wrongly data updates.
Azure Cosmos DB offers two backup policies.
- Periodic backup
- Continuous backup
I have already explained cosmos DB backups in my last article “Understanding backup options available in Azure Cosmos DB” and periodic backups in this attached article “How to configure periodic backup for an Azure cosmos DB account”. I would recommend you read both articles to understand these topics. Today, I will explain another backup policy Continuous backup, and the steps involved in enabling it for the new or existing cosmos DB account.
Continuous backup supports only MongoDB and Core (SQL) APIs. It runs for each replica which is distributed globally to other regions and stores their backup on local redundant storage. If any specific region has availability zones, then the backup will be stored on zone redundant storage accounts.
There are various limitations also there in continuous backup like you cannot configure it for all APIs except MongoDB and Core (SQL), you cannot enable it if you have multi-region writes features enabled, data cannot be restored outside the source account region, etc. This backup policy might put an additional burden on your cloud spend pricing because as I have described above that it runs a backup for each replica distributed in various regions so if you have more replicas then backups will be created in the same proportion and that will add additional cost to your cloud billing.
Let us go ahead and learn how to configure this backup for a new Cosmos DB account while provisioning it. I will demonstrate this step-by-step process while provisioning a cosmos DB account using Azure Cosmos DB API for MongoDB.
Configure Continuous backup for a new Azure Cosmos DB account
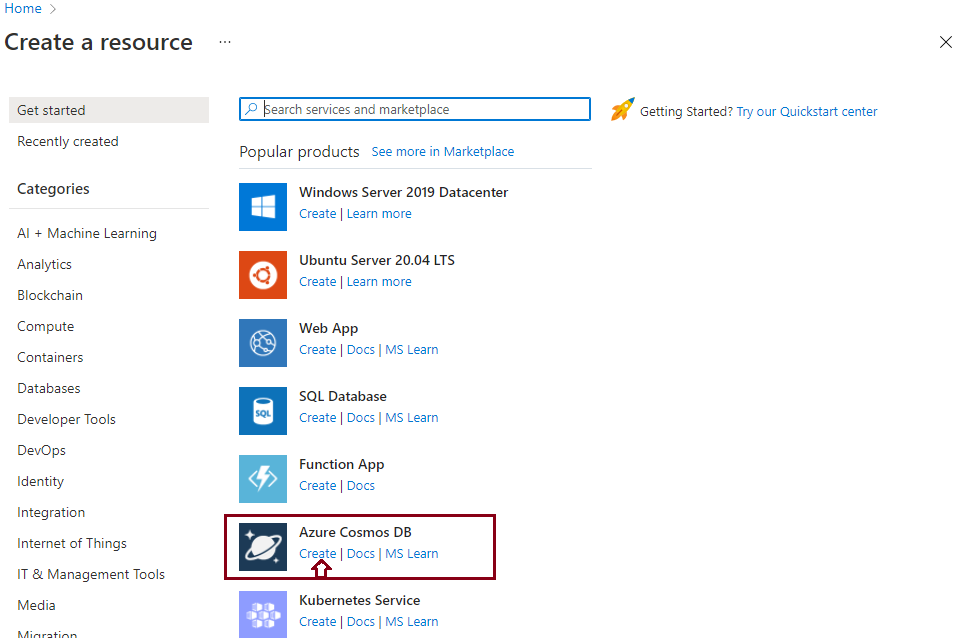
Log in to the Azure cloud portal and click on the option + Create a Resource. You will get the below screen from where you need to click on Create option given under Azure Cosmos DB.
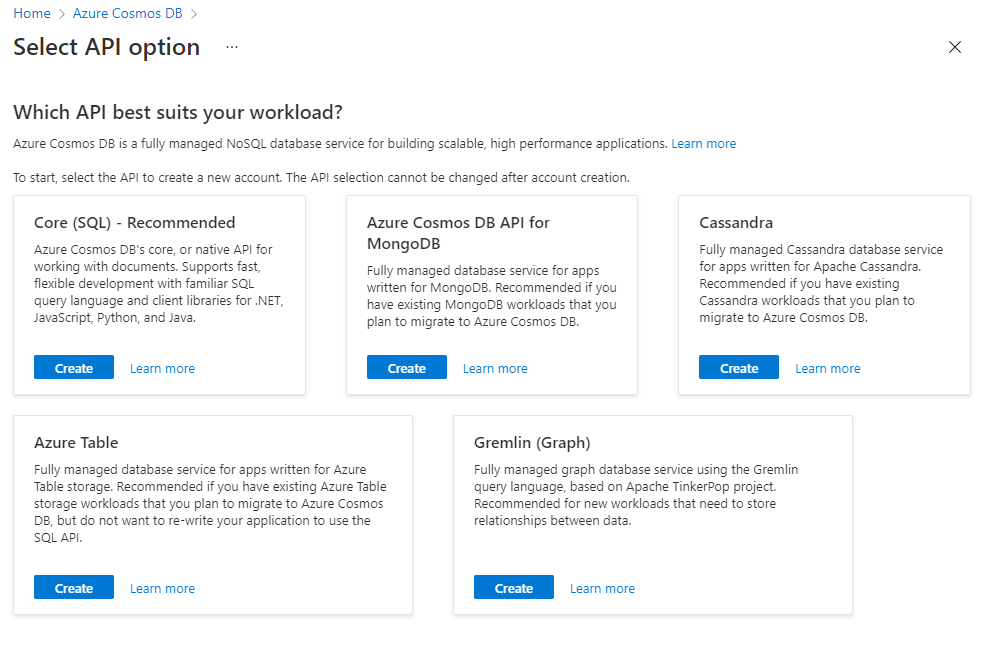
You can also directly type Azure Cosmos DB in the search menu to directly jump to the cosmos DB dashboard page. From there you can click on the + Create button which will ask you further to choose the correct API for the cosmos DB account and then an appropriate new account creation form will be displayed. Cosmos DB offers the below APIs from which you need to choose the right one as per your requirement but you must remember that Continuous backup supports only Core (SQL) and MongoDB API so I will choose anyone of them.
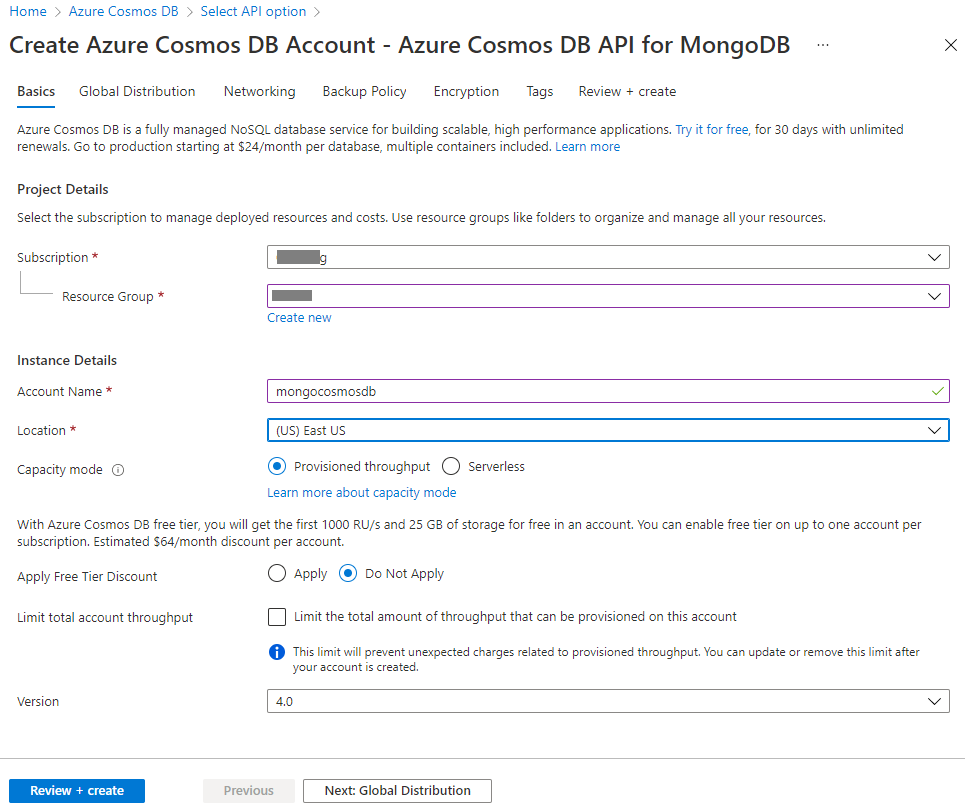
Once you click on the Create link for your respective API given above then a new account creation form will appear on your screen as shown in the below screen. I will go with Azure Cosmos DB API for MongoDB so I clicked on its Create link to display its new account creation form. Here you need to fill all tabs with the required details, continuous backup will be configured using the Backup Policy tab given in the below image.
I have filled in the subscription, resource group name, account name, and location where I want to provision it. I have left other options as it is as I am provisioning this account for this demonstration. You can choose the capacity mode and other options carefully if you are provisioning it for production workload.
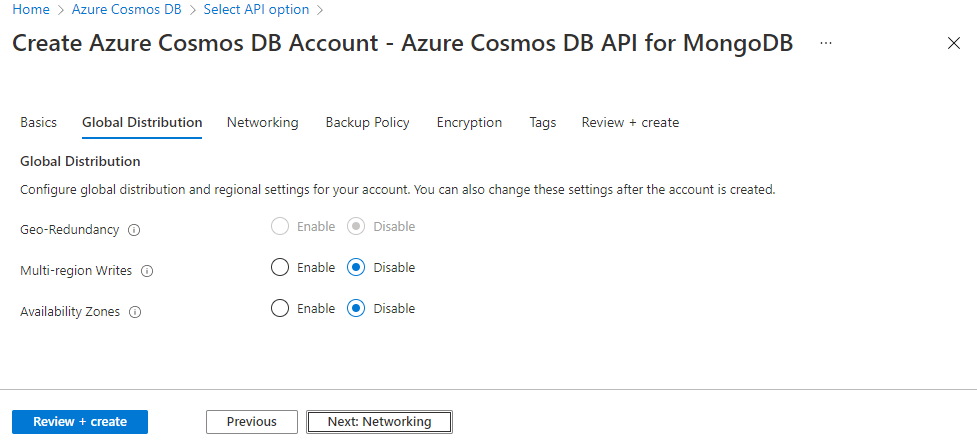
Once you have filled in all details, you need to click on the Next: Global Distribution tab given on the bottom side of the above image. You can also directly click on the Global Distribution tab given near the Basics tab. The below screen will appear to configure global distribution to replicate your data to other regions. You can also configure them later and leave them as it is with disabled options.
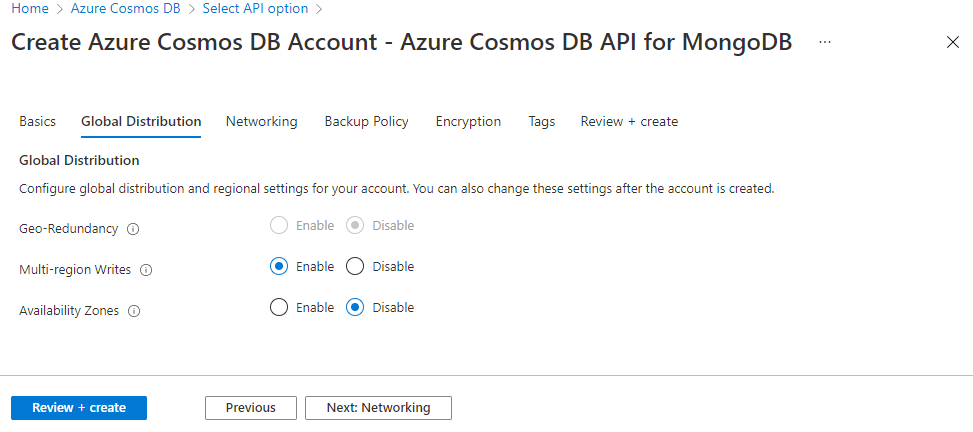
As I have described above continuous backup has many limitations and one of the limitations is multi-region writes if you will enable Multi-region Writes option then you would not be able to configure Continuous backup and you will be left out with the other backup policy i.e. Periodic backup. Have a look at the below image where I have clicked the Enabled radio button to configure multi-region writes.
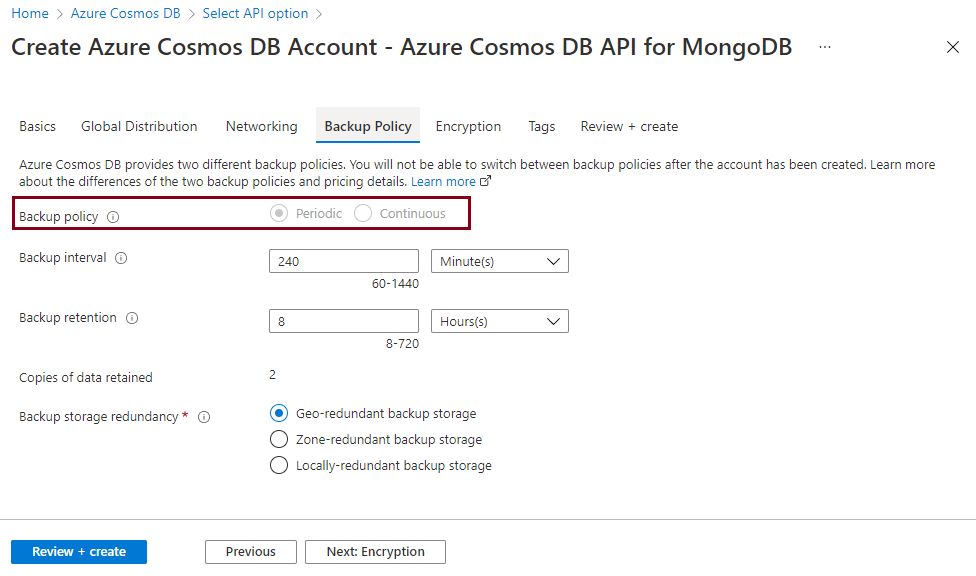
Post enabling it, I switched to the Backup Policy tab to see its impact, and here we can see the backup policy option is greyed out and does not allow us to choose a continuous backup policy option.
I have not enabled the Multi-region Writes option and again clicked on the disable radio button to turn off multi-region writes from the Global Distribution tab as we have to configure continuous backup in this article, and it is not supported in case of multi-region writes enabled.
Now, jump to the next tab which is Networking. Choose your settings as per your business need. Read and understand all options carefully before making a choice. I have left this as it is to go with default options.
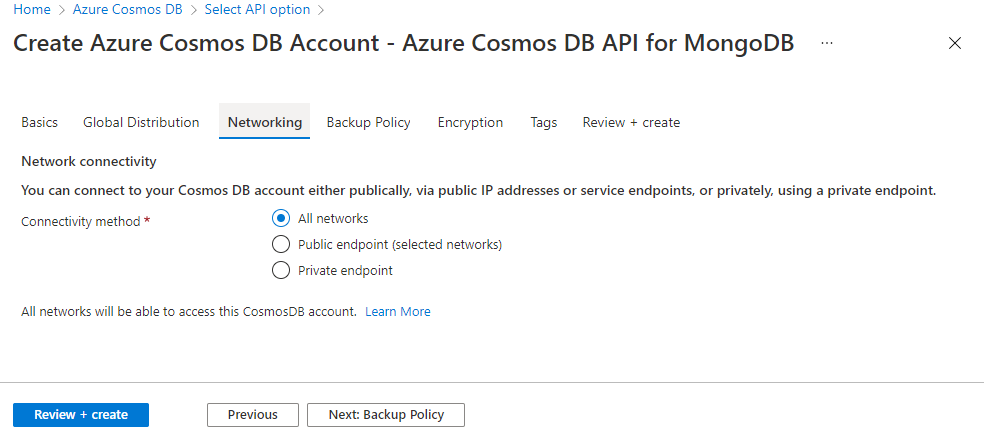
Click at the Next: Backup Policy tab given on the bottom side of the image or click on its tab directly.
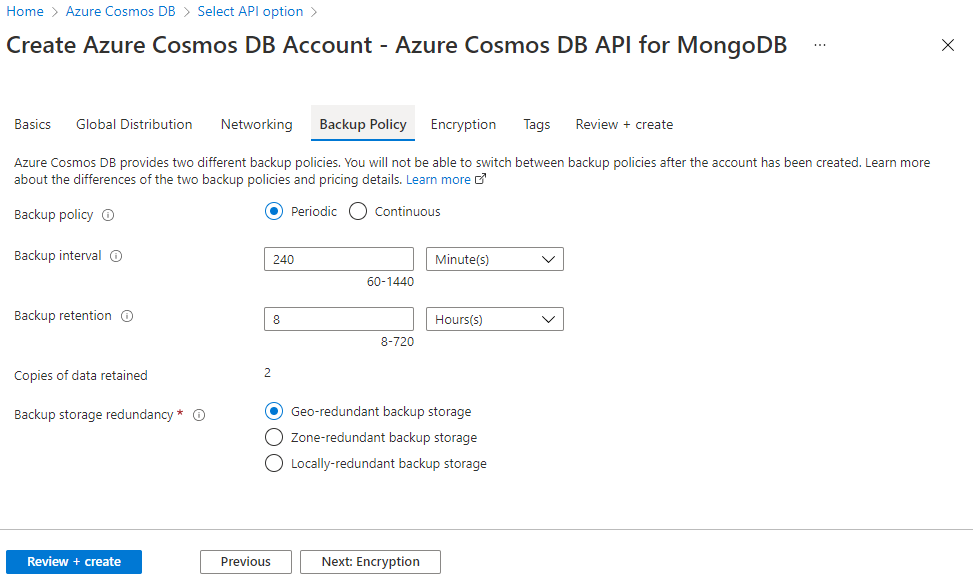
The next tab is Backup Policy where we will choose continuous backup as the backup mode for this Azure Cosmos DB account. You can see these tab details in the below image. The backup Policy option is not greyed out and showing in the editable mode which means all prerequisites are met to configure this backup.
As we know periodic backup is the default backup policy for a cosmos DB account so when you click on the Backup Policy tab, you will see it selected with its default values.
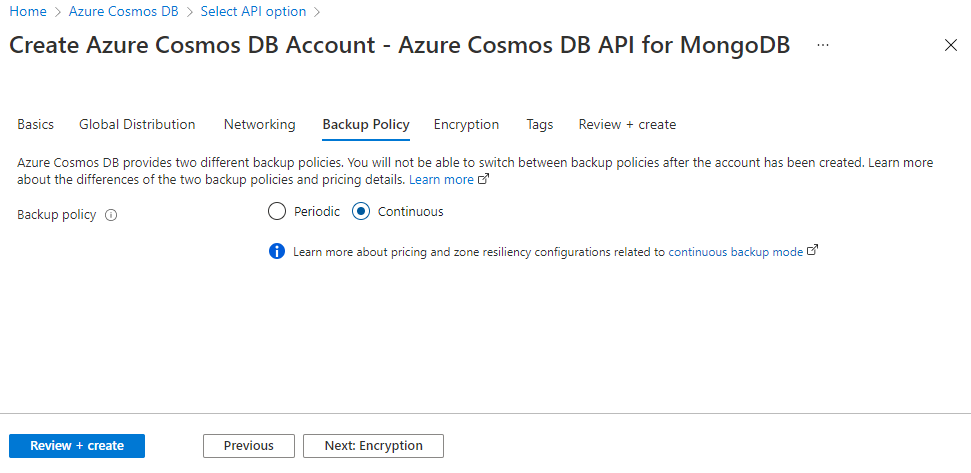
Here we will choose our desired backup policy i.e., a Continuous backup policy. Click on the radio button given for the Continuous backup policy to select this option. You will see other backup configurations will be disappeared as it is showing in the below image.
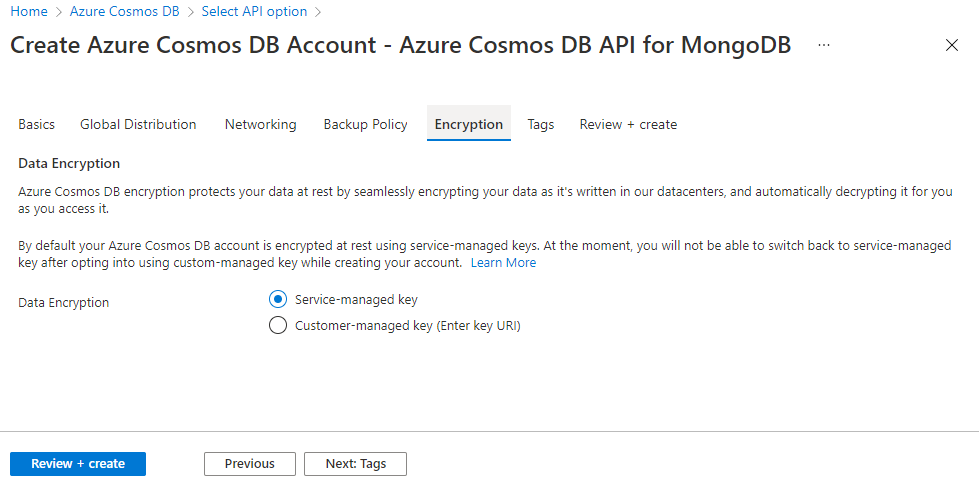
Now, jump to the next tab Encryption, and select the appropriate value as per your defined encryption policy. I left it as it is with the default option.
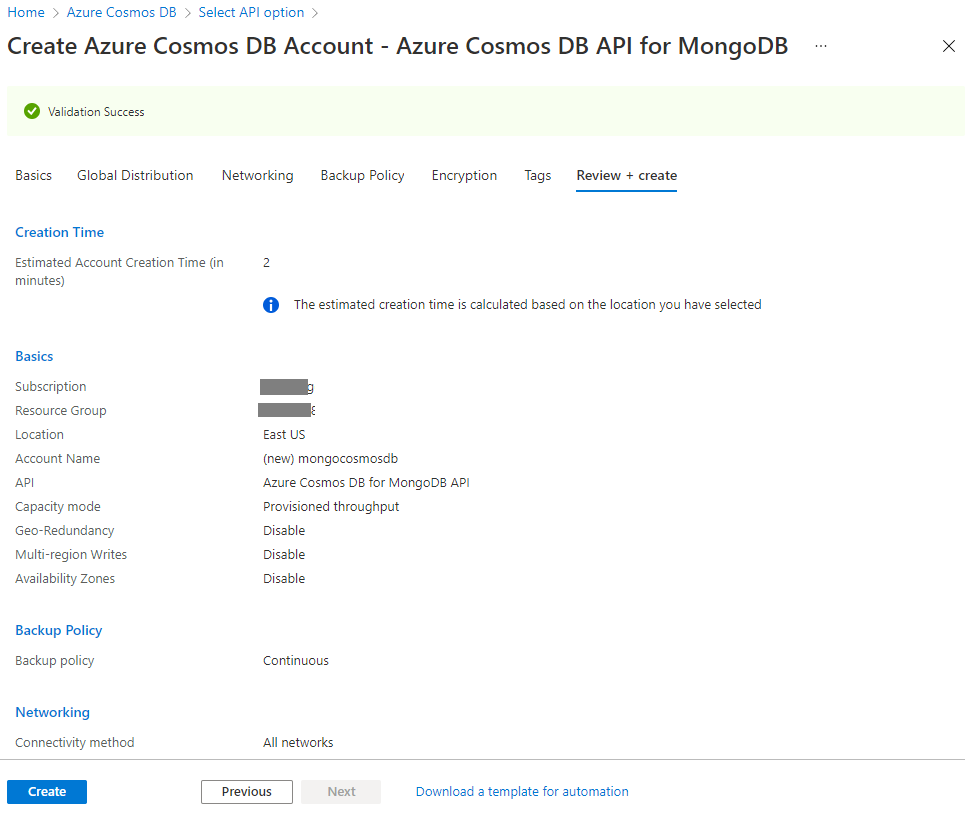
Similarly, define tags for this cosmos DB account in the next tab Tags. Once you are done with tags then click on the Review + create button to validate all details before creating the cosmos DB account. Once validation will be successful then you will get notified on the next screen as given in the below image.
Now, you are ready to deploy it to create this cosmos DB account. Hit the Create button shown in the above image to initiate the deployment. Processing will be initiated, and you should wait till the time you will not get the below screen configuring whether the account has been created successfully or is facing any issue.
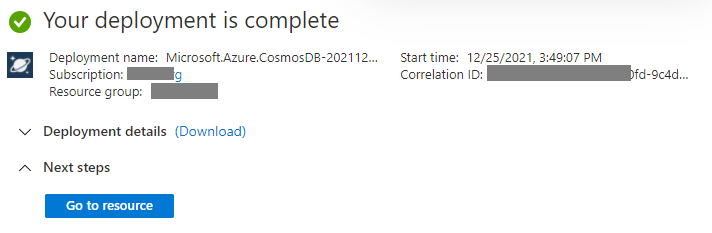
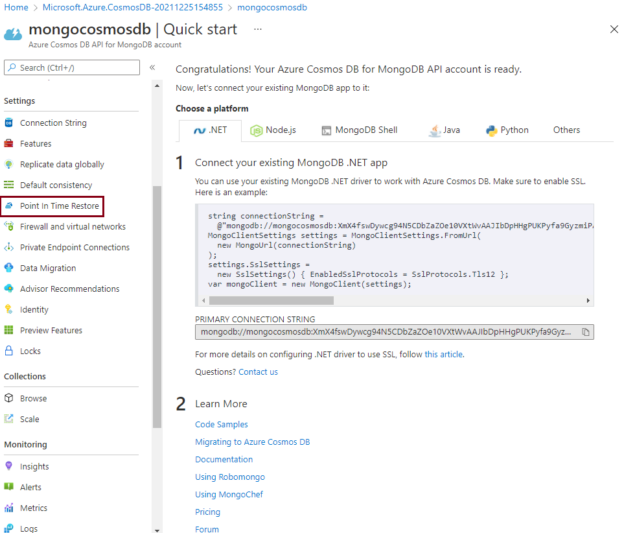
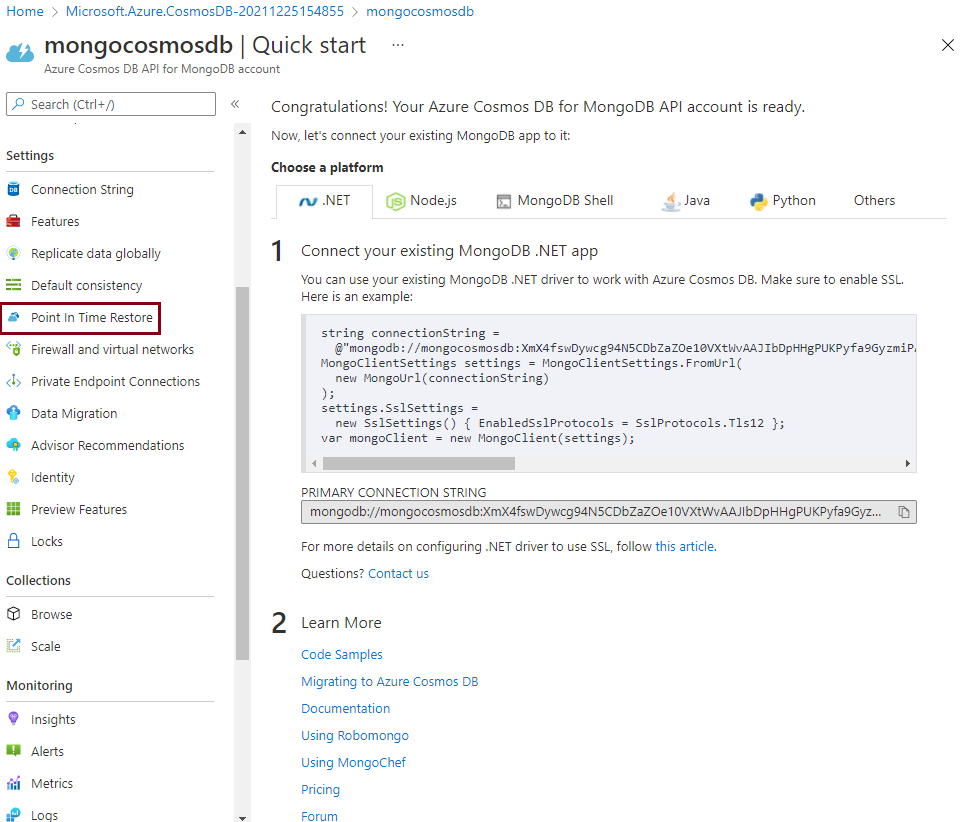
Now, you can click on the Go to resource tab shown above to directly jump to the dashboard page of this newly created Azure Cosmos DB account for MongoDB API as shown in the below image. One thing you will notice here is that there is no Backup & Restore tab given under the Settings tab as it was showing for periodic backup policy. Rather you will notice another tab named Point in Time Restore in place of Backup & Restore under Settings.
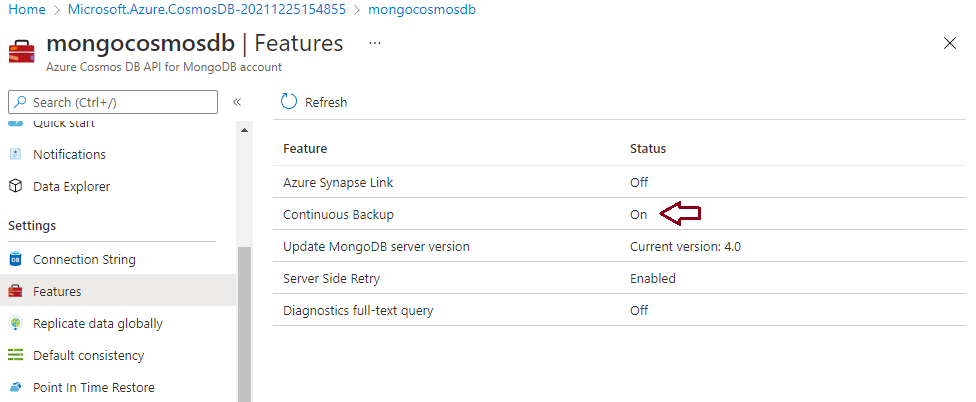
We can validate whether the continuous backup is enabled or not by accessing the Features tab shown under Settings of the above image. You will get the below window stating this backup is set ON. If this backup is not enabled, then its value will be set as Off. You must also note that once you configure any cosmos DB account using continuous backup then you cannot move back t periodic backup so I would say plan it carefully before deciding on the backup policy of a cosmos DB account.
Configure Continuous backup using PowerShell
We can also configure continuous backup while provisioning a cosmos DB account using PowerShell or Azure CLI commands. Let’s discuss first using the PowerShell method.
Make sure you are running PowerShell version 6.2.0 and above. Connect to your Azure portal using PowerShell and select the desired subscription where you want to provision a Cosmos DB account. Below PowerShell cmdlet will let you create a cosmos DB account named mdscosmosdb1 with a continuous backup policy using MongoDB API.
|
1 2 3 4 5 6 7 8 9 10 11 12 13 14 15 16 |
--Connect to Azure Connect-AzAccount --Select subscription, replace your desired subscription name with MySubscription Select-AzSubscription -Subscription MySubscription --Provision a cosmos db account named mdscosmosdb1 with a continuous backup policy New-AzCosmosDBAccount ` -ResourceGroupName "mds" ` -Location "East US" ` -BackupPolicyType Continuous ` -Name "mdscosmosdb1" ` -ApiKind "MongoDB" ` -ServerVersion "4" |
If you want to provision an Azure cosmos DB account using Core (SQL) API then you should change -ApiKind argument value from “MongoDB” to “SQL” and remove -ServerVersion argument from the above command.
Conclusion
I have explored the basics of continuous backup policy along with the steps which are used in configuring this backup policy for a MongoDB API-based Azure Cosmos DB account. You can also configure this backup policy for SQL API while provisioning a new account. Always plan carefully before opting continuous backup policy because it has multiple limitations, and it does not support all APIs. Additionally, this backup policy will also cost you more in case you have distributed your data in several regions.

He loves to talk and write about database technologies. He has lead and delivered many projects from designing to deployments on Migrations to the cloud, heterogeneous migrations, Database consolidations, upgrades, heterogeneous replication, HA / DR solutions, automation, and major performance tuning projects.
You can also find him on LinkedIn
View all posts by Manvendra Singh
- Configure backup storage redundancy for Azure Cosmos DB account - May 15, 2024
- Difference between SQL SELECT UNIQUE and SELECT DISTINCT - January 16, 2024
- How to do a group by clause - April 12, 2023