
This article explores the Azure SQL Database Collation configuration and how to change it while importing the database from a BACPAC file.
Introduction
The collation refers to a configuration that determines database engine behavior for character data set at a server, database, or, column level. SQL Server has a wide range of collations for handling language differences in different parts of the world. It provides sorting rules, case sensitivity for Unicode data types (nchar, nvarchar, or ntext) and non-Unicode (char, varchar, nvarchar).
SQL Server supports the following collations.
- Windows
- Binary: The binary collation always ends with either _BIN or _BIN2
- SQL Server: These collation names always start with SQL_
For a traditional (on-premises) SQL Server, the operating system locale determines the default collation. However, you can modify the server-level collation during SQL Server installation or modifying the OS locale. The default SQL Server collation is SQL_Latin1_General_CP1_CI_AS. You can understand these collations in detail by referring to Collation and Unicode support.
Requirements
This article presumes that you have a basic understanding of Azure SQL Databases. If you are a beginner, you can refer to existing articles SQL Azure on SQLShack. You can utilize Microsoft Azure free credit by sign up at URL https://azure.microsoft.com/en-us/free/
Azure SQL Database Collation
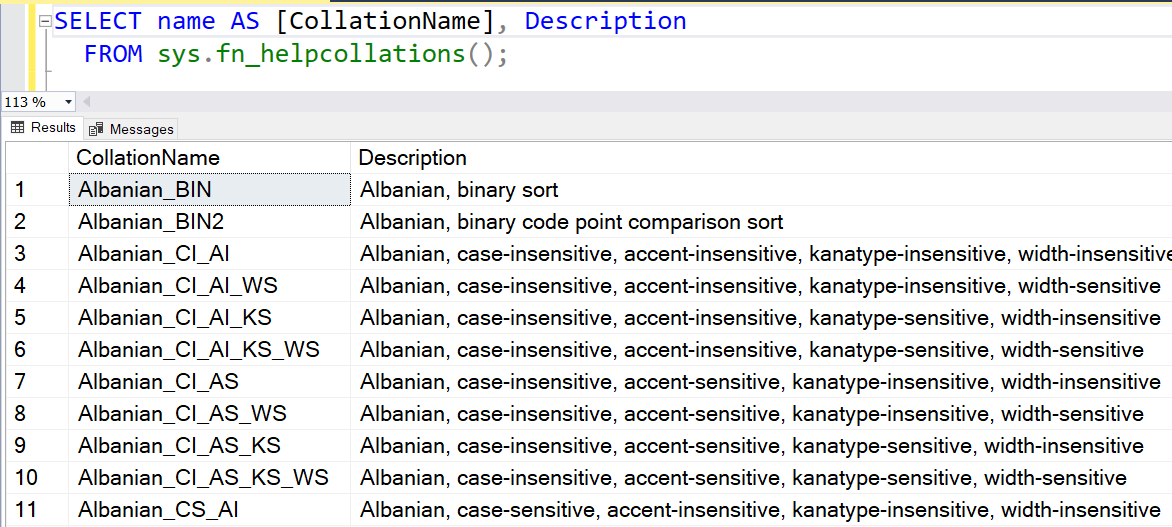
Azure SQL DB is a managed PaaS offering for SQL Server with certain restrictions and limitations for performing specific tasks. Like on-premises SQL Server, Azure DB also supports various collations. To get a list of supported collations for Azure SQL DB, we can query the sys.fn_helpcollations() function. It returns a list of 5,508 collations. The below figure gives you a glimpse of the collation and descriptions.
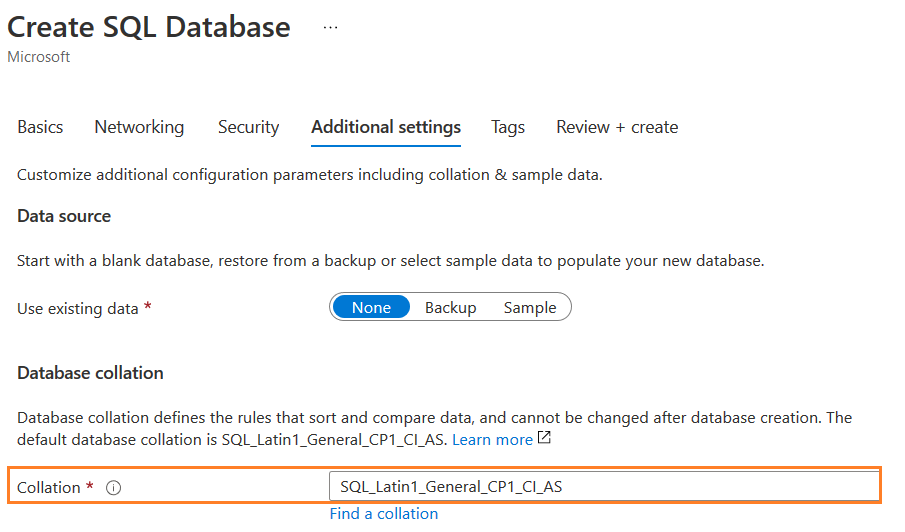
For Azure SQL DB, you can choose database collation in the additional settings tab of creating SQL Database. As shown below, the default collation appears as SQL_Latin1_General_CP1_CI_AS.
We can break down this collation for understanding it.
- SQL – It refers that it is a SQL Server collation
- Latin1_General – This part defines the character sort rule
- CI – It refers to case insensitive
- AS – It defines accent sensitivity
You can click on find a collation and look for the specific collation you wish to configure for Azure DB.
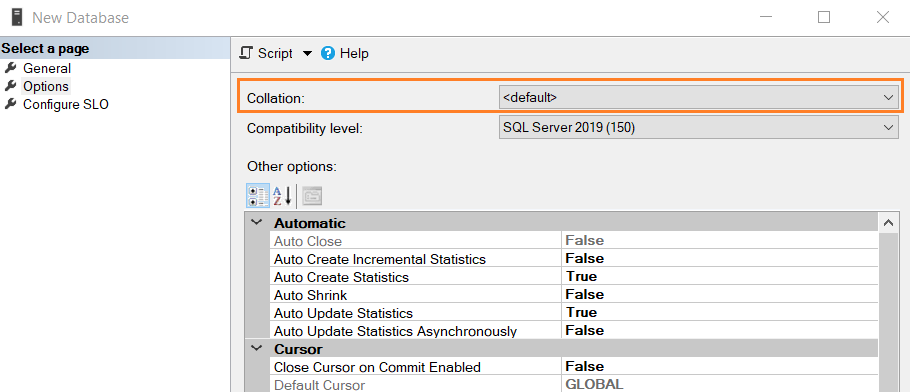
You can deploy an Azure database on an existing Azure logical server. Therefore, if you create a new Azure database using SSMS, you can define a specific collation using the options page.
If you create an Azure SQL DB using T-SQL, you can use the COLLATE keyword and specify the required DB collation.
|
1 2 3 |
CREATE DATABASE MyDemoSQLDB COLLATE Latin1_General_100_CS_AS_SC; GO |
You must create the database in the correct collation. Your SQL queries might not work correctly due to collation mismatch. However, if you need to modify after creating the Azure SQL Database, it is not straightforward. Azure SQL DB does not support changing collation using the ALTER DATABASE COLLATE. You get the following error message if you try to change it.
|
1 2 3 4 |
Use master go ALTER DATABASE Azuredemodatabase COLLATE SQL_Latin1_General_CP1250_CI_AS |

- Note: Do not modify or set a specific collation until you have specific requirements. Never do it directly on a production database. Test it thoroughly on a lower DB environment and then plan to proceed for production collation
Suppose you are deploying an Azure SQL Database from the on-premises BACPAC file. You want a different collation in the target database.
- Note: I assume that you have an active Azure SQL DB. If not, you can use a free tier account for deploying your test database
- Export the Azure SQL database in BACPAC format
- Install Microsoft SQL Server Data-Tier Application Framework (18.1)
- Modify model.xml file configuration
- Use sqlpackage.exe to deploy the Azure database with updated collation
- Verify the database collation
- /tsn: Specify the Azure SQL Server FQDN in which we want to import this BACPAC file. In my case, it is azuredemosqldemo.database.windows.net
- /tdn: It is the new Azure SQL Database name. You cannot import BACPAC on an existing database
- /tu: Specify the admin username to connect with Azure SQL Server and deploy the database
- /tp: Enter the password for the admin user
- /sf: Specify the BACPAC file location
- /ModelFilePath: Enter the updated model.XML file path
- Note: You should not modify DB collation without any specific requirements. It might cause trouble if you change it arbitrarily
- Understanding PostgreSQL SUBSTRING function - September 21, 2024
- How to install PostgreSQL on Ubuntu - July 13, 2023
- How to use the CROSSTAB function in PostgreSQL - February 17, 2023
For this article demo, we will do the following tasks:
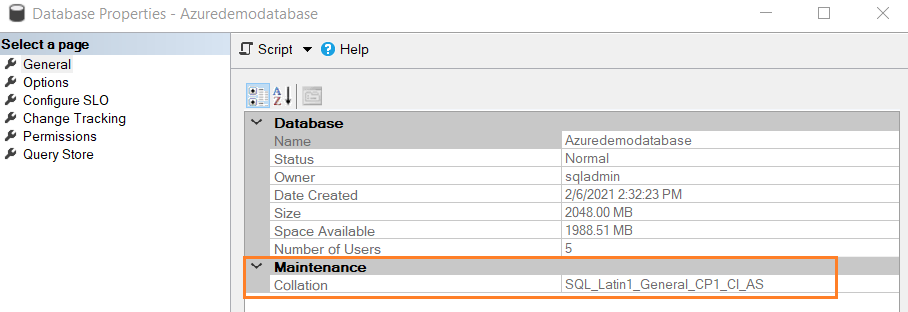
Step 1: Export the Azure SQL database in BACPAC format
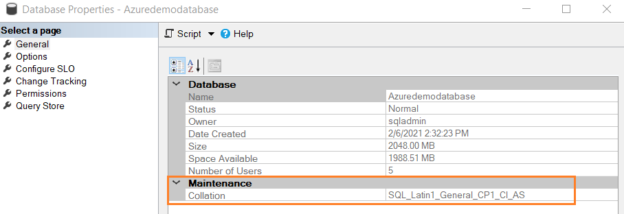
In this step, we export Azure SQL DB in the BACPAC format. We can verify that the existing collation is SQL_Latin1_General_CP1_CI_AS.
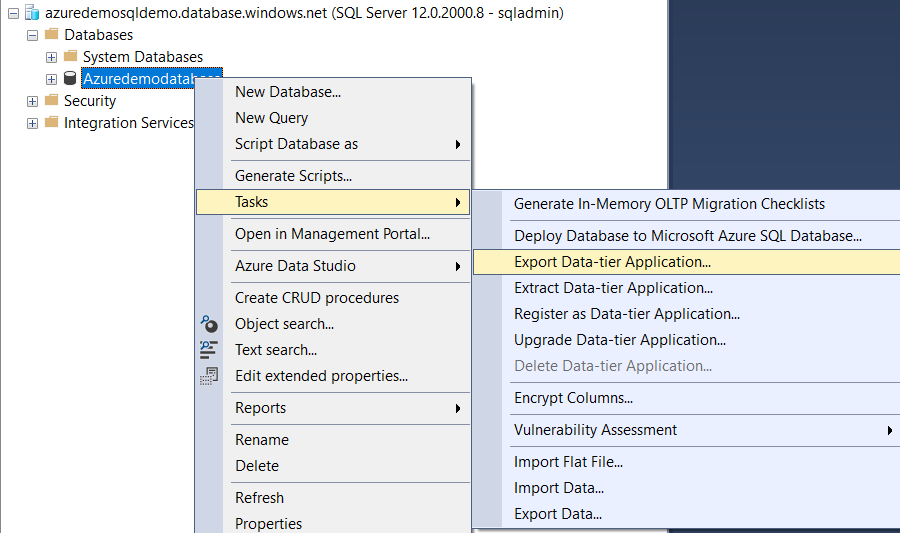
For export, right-click on the Azure database and choose Export Data-tier Application…
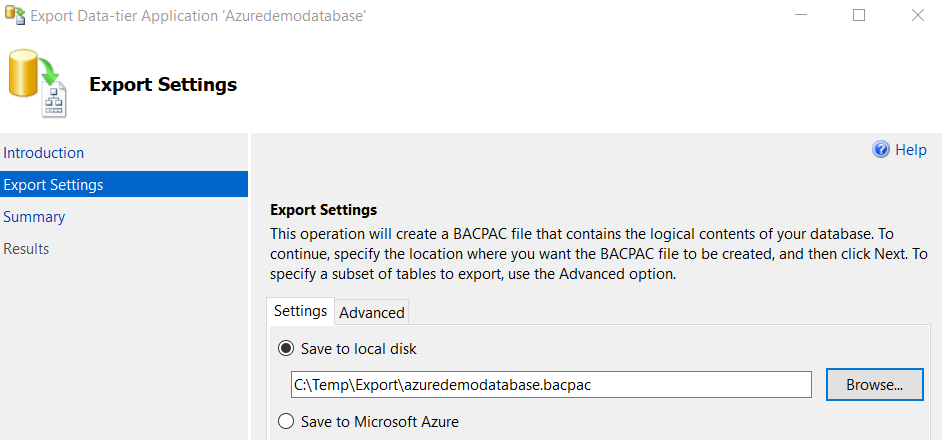
Specify the directory in the save to the local disk.
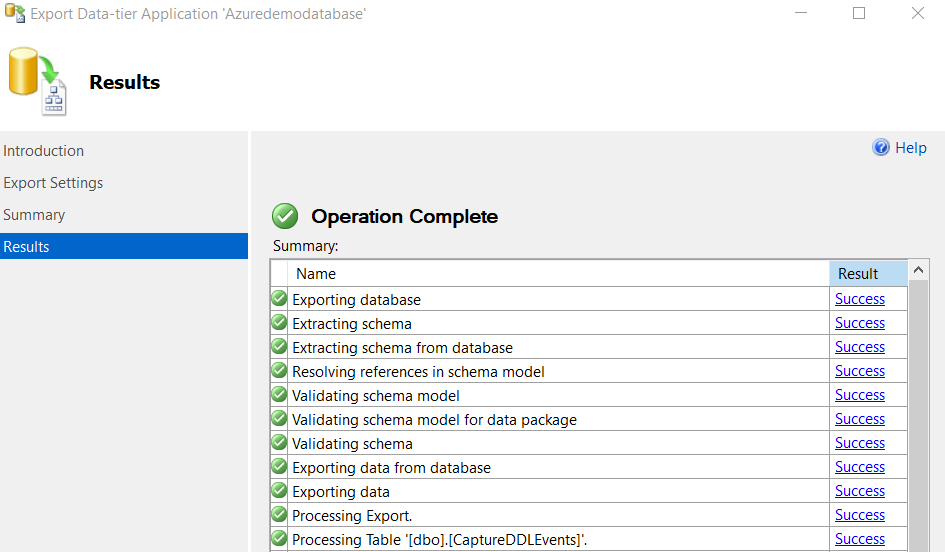
Verify, export and monitor progress for data-tier application in BACPAC format.
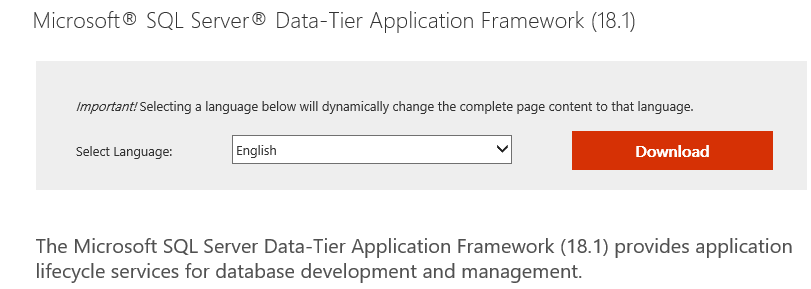
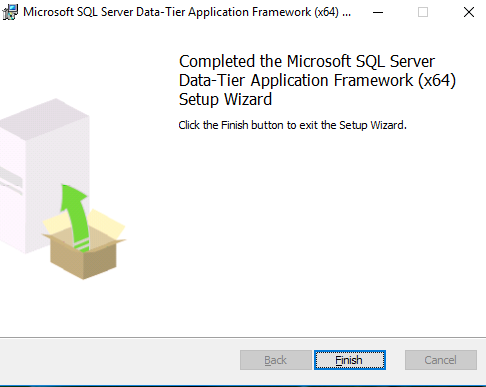
Step 2: Download Microsoft SQL Server Data-Tier Application Framework (18.1)
You need to download and install the latest version of SSDT. Navigate to URL https://www.microsoft.com/en-us/download/details.aspx?id=57784 and click on Download.
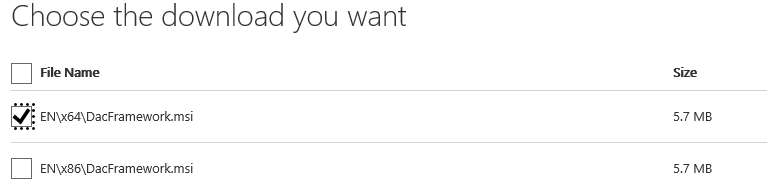
Select the required MSI file version and download it. It is a lightweight package file.
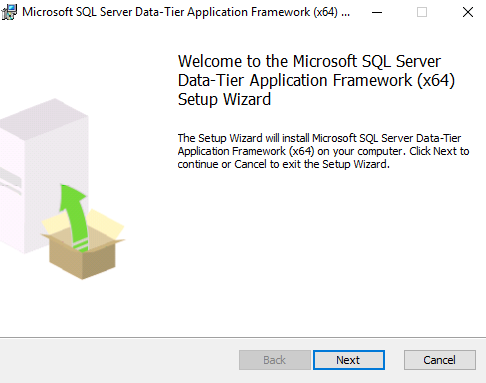
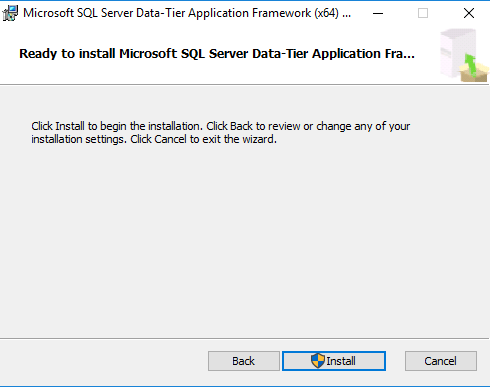
Follow the installation wizard for setting up the Microsoft SQL Server Data-tier application framework.
Step 3: Rename the. BACPAC file to .ZIP
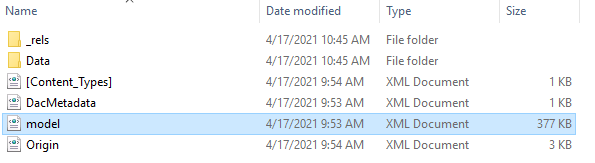
In this step, we rename the exported BACPAC package file into a ZIP format. To do so, right-click on the imported BACPAC and change the extension to ZIP. The file type is compressed (zipped) after changing the extension, as shown in the below figure.

Please right-click on the compressed file and extract it. In the extracted folder, you find a model.xml, copy the model.xml to another directory such as the C:\Temp folder.
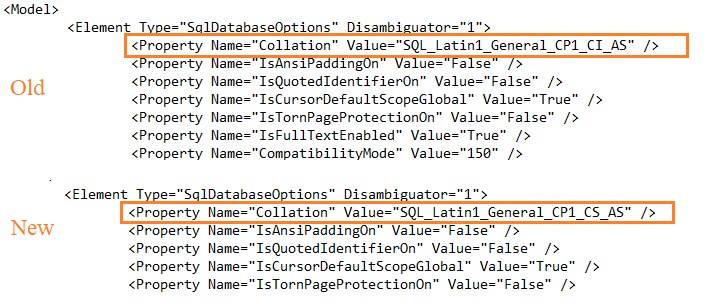
Open the model.xml from C:\Temp\Model.xml and modify the DB collation. The following figure shows old and new collations for Azure SQL Database. Here we use SQL collation with case sensitivity.
Step 4: Deploy Azure Database using sqlpackage.exe
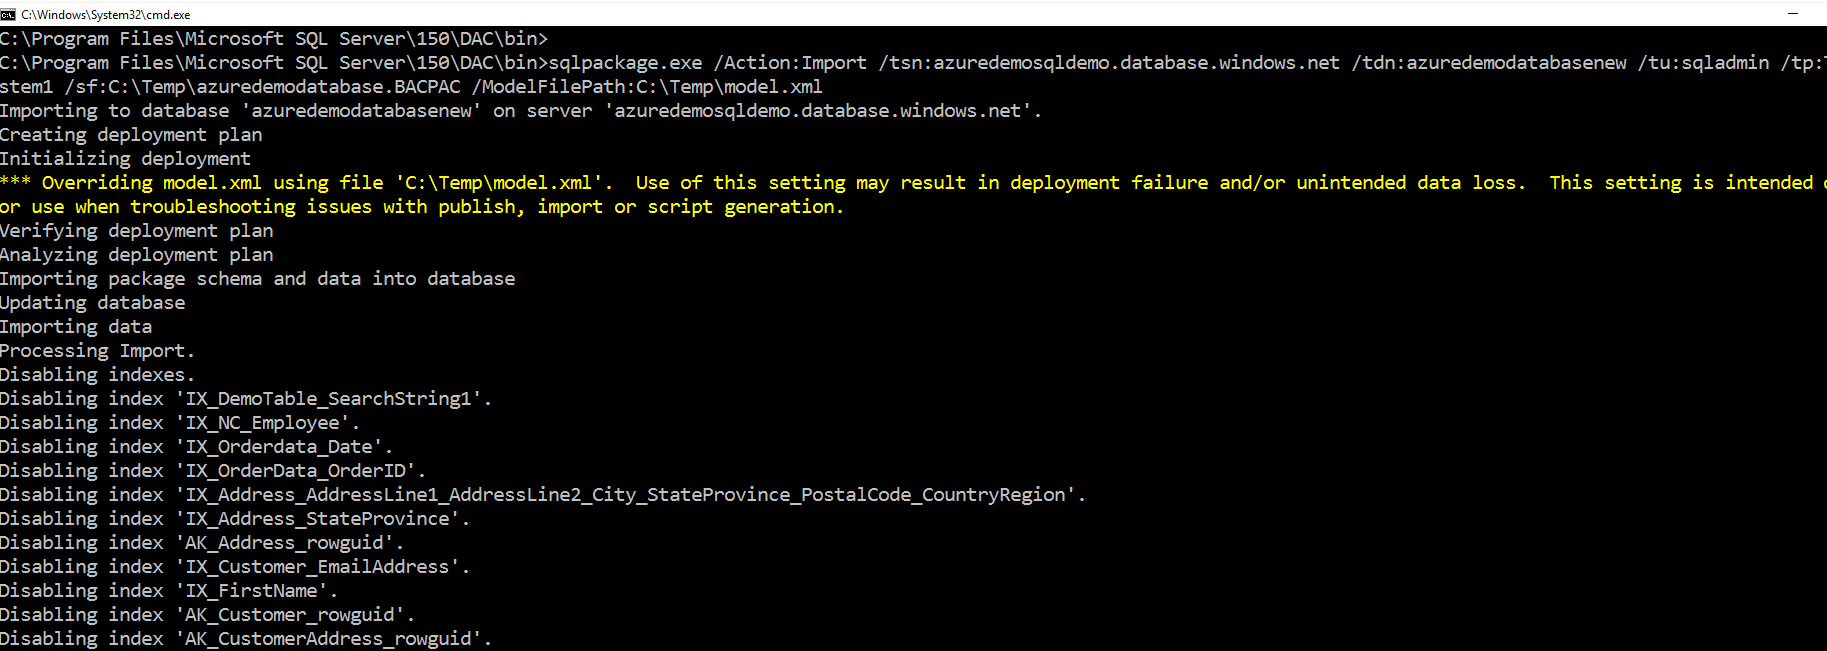
Here, navigate to directory C:\Program Files\Microsoft SQL Server\150\DAC\bin in command prompt. We use sqlpackage.exe to import the BACPAC with the /ModelFilePath parameter. It overrides the BACPAC model file configuration with the specific file in this parameter.
Required parameters:
Earlier, we changed the extension of the BACPAC file to ZIP. We need to change it back to BACPAC for running the sqlpackage.exe command.
To modify the collation in the BACPAC, execute the following command in a command prompt.
sqlpackage.exe /Action:Import /tsn:azuredemosqldemo.database.windows.net /tdn:azuredemodatabasenew /tu:sqladmin /tp:******* /sf:C:\Temp\azuredemodatabase.BACPAC /ModelFilePath:C:\Temp\model.xml
You get a warning message:
“Overriding model.xml using file ‘C:\Temp\model.xml’. Use of this setting may result in deployment failure and/or unintended data loss. This setting intends to use only when troubleshooting issues with publish, import or script generation”
It starts data import, process tables and deploys database on it. The database deployment time depends on the number of tables, data size, indexes.
In the end, you get the message – Successfully Imported database.

Step 5: Verification
Now, connect to Azure Database using SSMS and verify the database collation using the following script.
|
1 |
SELECT CONVERT (varchar(256), DATABASEPROPERTYEX('azuredemodatabasenew','collation')); |
As shown below, the newly deployed database uses collation SQL_Latin1_General_CP1_CS_AS.

Now, login to the Azure portal and view the database properties. This database has a general-purpose Gen5, 2vcores pricing tier. We did not specify any pricing tier while deploying the database. Therefore, the Azure SQL database takes the default pricing tier.

Step 6: Deploy Azure database in a specific pricing tier
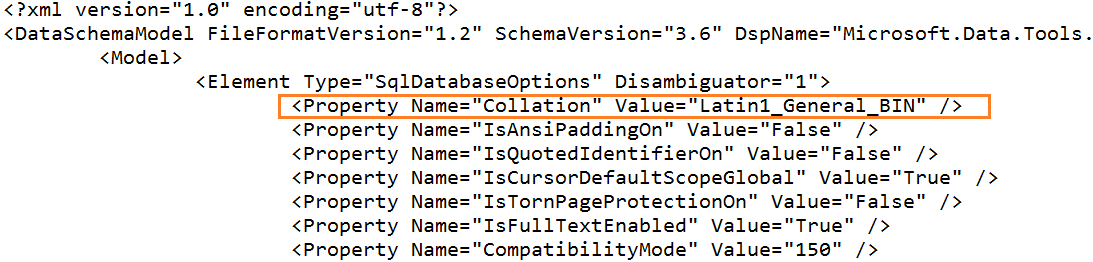
Suppose we want to deploy a database with modified collation and a basic pricing tier. For this demo, we change the DB collation to Latin1_General_BIN. Therefore, open the model.xml and change the collation as highlighted before.
This time we specify a new parameter(/p) for setting the database edition. It instructs Azure to deploy the database under the specific pricing tier.
sqlpackage.exe /Action:Import /tsn:azuredemosqldemo.database.windows.net /tdn:azuredemodatabasenew /tu:sqladmin /tp:******* /p:DatabaseEdition=Basic /sf:C:\Temp\azuredemodatabase.BACPAC /ModelFilePath:C:\Temp\model.xml

Once the DB is deployed, verify the database collation. As shown below, it uses Latin1_General_BIN collation.

You can connect to the Azure portal and verify the pricing tier as Basic.

Conclusion
This article explored default Azure SQL Database collation and the process to change it while importing DB from a BACPAC file. You can specify your desired collation and deploy the database. However, never change the collation unless you have a specific requirement. You can try the steps on your own test Azure SQL database.

I am the author of the book "DP-300 Administering Relational Database on Microsoft Azure". I published more than 650 technical articles on MSSQLTips, SQLShack, Quest, CodingSight, and SeveralNines.
I am the creator of one of the biggest free online collections of articles on a single topic, with his 50-part series on SQL Server Always On Availability Groups.
Based on my contribution to the SQL Server community, I have been recognized as the prestigious Best Author of the Year continuously in 2019, 2020, and 2021 (2nd Rank) at SQLShack and the MSSQLTIPS champions award in 2020.
Personal Blog: https://www.dbblogger.com
I am always interested in new challenges so if you need consulting help, reach me at rajendra.gupta16@gmail.com
View all posts by Rajendra Gupta