

In this article, I am going to explain how to use the Power BI REST API to programmatically access the Power BI Service features. I’ll also discuss the basis of REST API and how to use the APIs using Postman. Using the Power BI REST API, you can programmatically manage the administrative services like getting a list of dashboards and workspaces, refreshing a dataset, copying a dashboard from one workspace to another, and so on.
In order to securely access the Power BI REST API, we first need to request an embed token using which we can call the APIs and execute our functions. Although several operations can be performed using the REST APIs, in this article, we will specifically investigate how to authorize an application and call the APIs using Postman.
What is a REST API?
The abbreviation of REST stands for Representational State Transfer, and API stands for Application Programming Interface. Let us assume that you are trying to find the football scores for your favorite team. You open the browser, search for your team, and then hit enter, and the results are displayed on your screen as expected. A REST API also works in a similar fashion. Using the REST API, you can search for some items, and then the results will be returned from the service you initiated the request.
The REST API consists of simple anatomy as follows:
- The Endpoint: This is the URL of the resource to which we are going to place the requests. For example, https://api.powerbi.com/v1.0/myorg/
- The Method: Although there are multiple methods to call a REST API, the most common ones are GET and POST. The GET is used to retrieve information while the POST is used to send information to the resource on the web
- The Headers: The authentication mode and the content types
- The Data (Body): Textual data in the form of JSON, which needs to be sent to the resource
In this article, we will be using a tool known as Postman for making the API calls. A postman is a free tool using which you can make GET or POST calls to various URLs and save the results in a collection. You can download the tool from the official website of Postman.
Register an application for Power BI
In order to use the Power BI REST API, we need to create an application in the Power BI Developer’s portal. This app will provide us with a reusable Client ID and a Client Secret key, using which we can generate the embed token required for the REST API.
Navigate to https://dev.powerbi.com/apps and login with your account credentials.
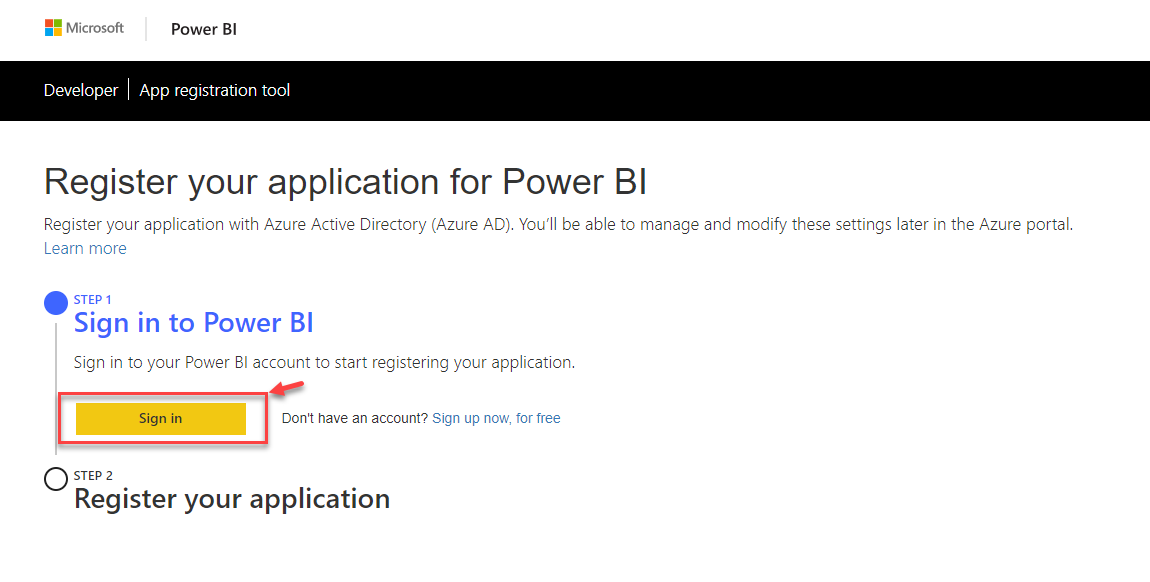
Figure 1 – Login with your Account Credentials
Once you sign in with your credentials, you will see your name appear in Step 1. Click on Next to continue.
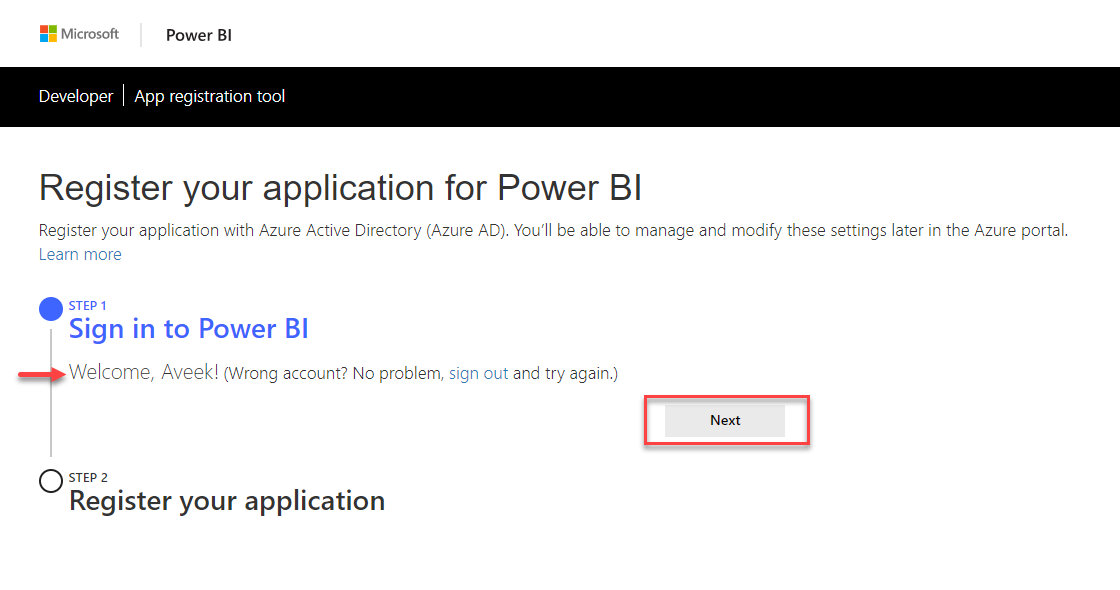
Figure 2 – Signed In with Power BI Credentials
In the next step, we need to register the application. Provide an Application Name for the app and choose an application type. There are two types of applications – native and server-side. For the purpose of this tutorial, I’m going to use the Server-side web application. Provide a Home Page URL and a Redirect URL, as shown in the figure below.
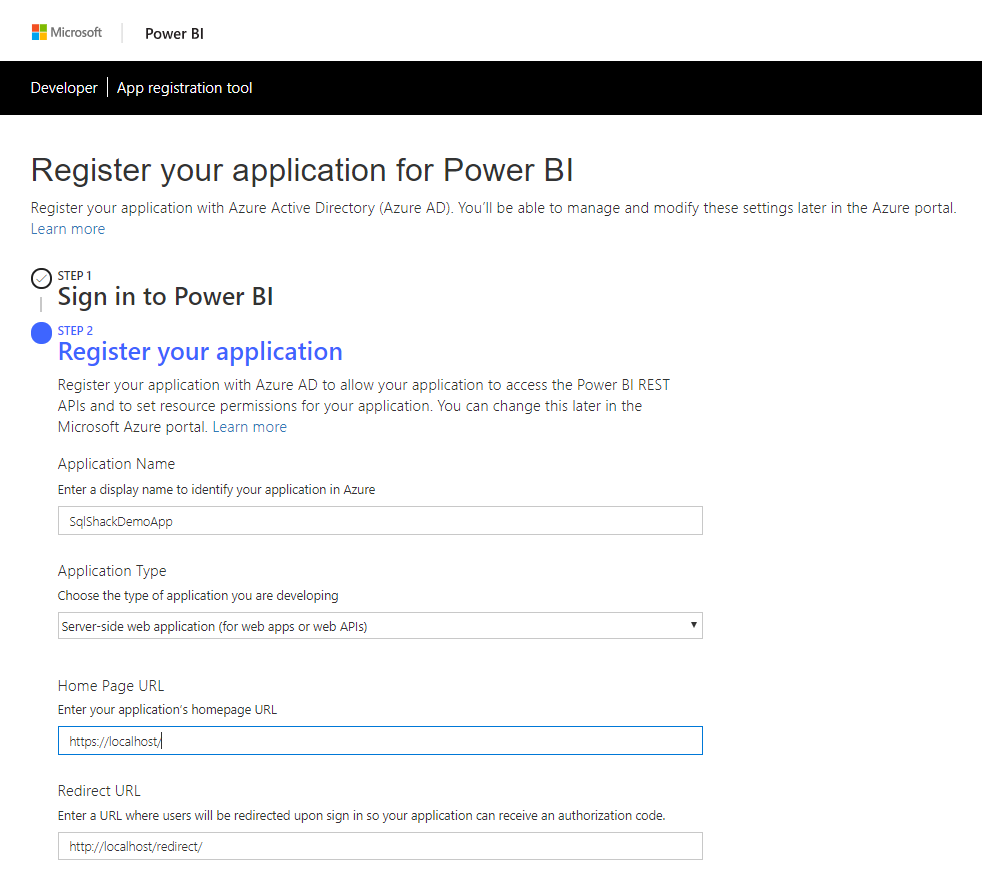
Figure 3 – Register Application
If you scroll below, you can see that there are several API Access permissions that we need to define our app with. Since we are going to read the resources, for now, let’s just provide the basic read access required for reading the datasets, dashboards, reports, and the workspaces in the account. Click on Register once done.
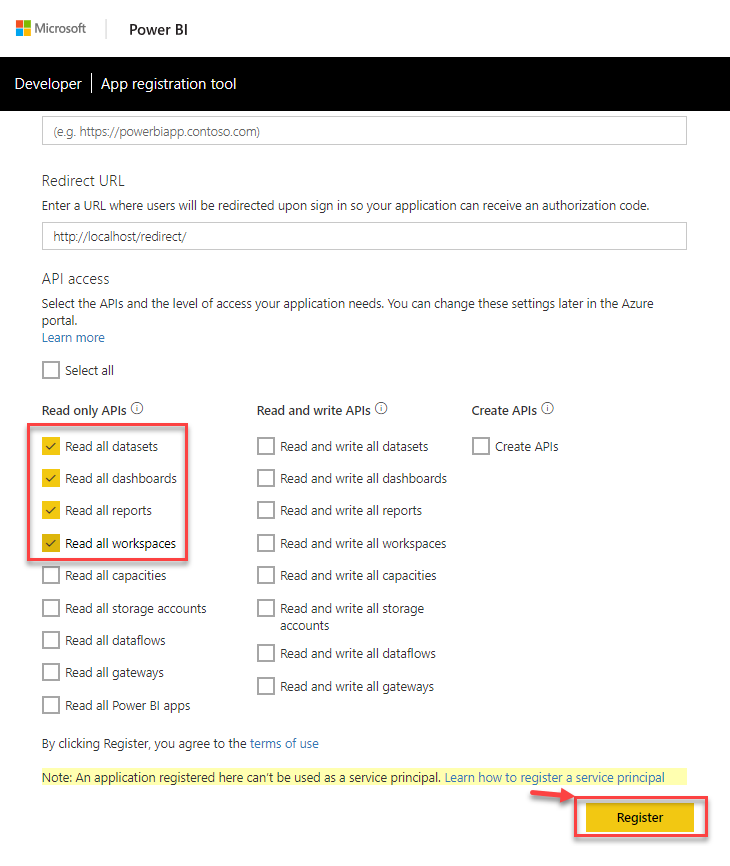
Figure 4 – API Access Permissions
Once you click on Register, the app will be created, and you will receive an application key and an application secret as well. Copy both the credentials to a secure location as we will be using it in our next steps while calling the Power BI REST API.
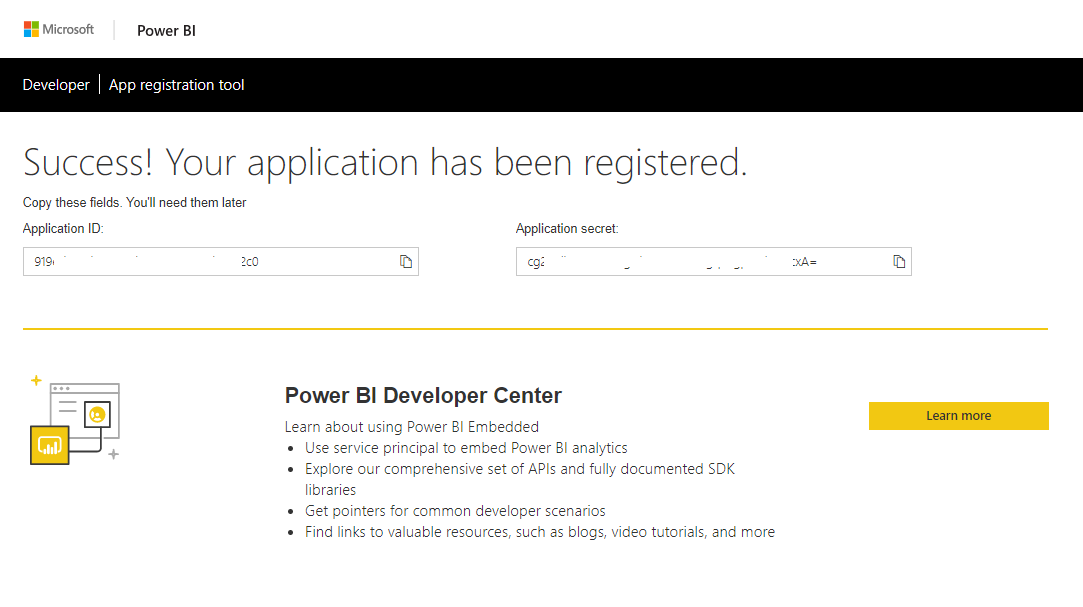
Figure 5 – App Registered Successful
Authorize User
Once the app has been created, the next step is to authorize the user to the application using the Application ID and retrieve the Access Token. This Access Token will be used in the next step to call the other APIs.
In order to authorize the user, we need to allow the user to sign in to the app and retrieve the access token. Let us prepare the sign-in URL first. The URL is https://login.microsoftonline.com/common/oauth2/authorize, and it accepts the following parameters.
- ClientID
- ResponseType
- RedirectURI
- ResponseMode
- Scope
- State
A sample for the entire URL would be something like below.
https://login.microsoftonline.com/common/oauth2/authorize?client_id=<<CLIENT_ID>>&response_type=code&redirect_uri=http://localhost/redirect/&response_mode=query&scope=openid&state=12345
Paste the URL in the browser and hit enter. A dialog box appears that displays the user consent required by the application to allow the necessary permissions. Click on Accept.
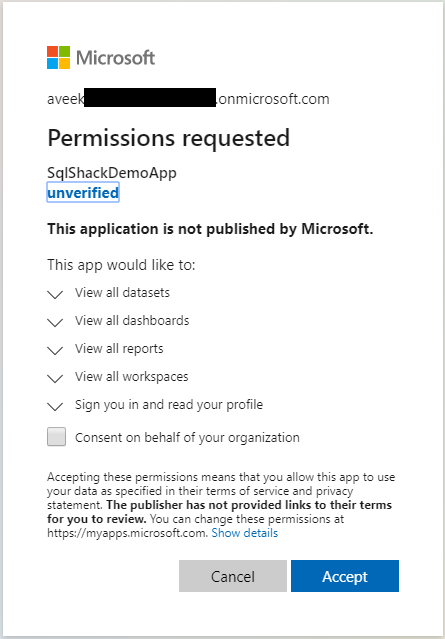
Figure 6 – Application Permissions
Once the user is authorized, the page will be redirected to the Redirect URI mentioned in the API request. Ideally, this request has a code in it that can be used as the authorization method for securely calling the APIs. Since we do not have any web application running on our localhost, we will receive an error page like below. If you see the Requested URL section, there is some text after the word code. Copy the entire text and store it securely.
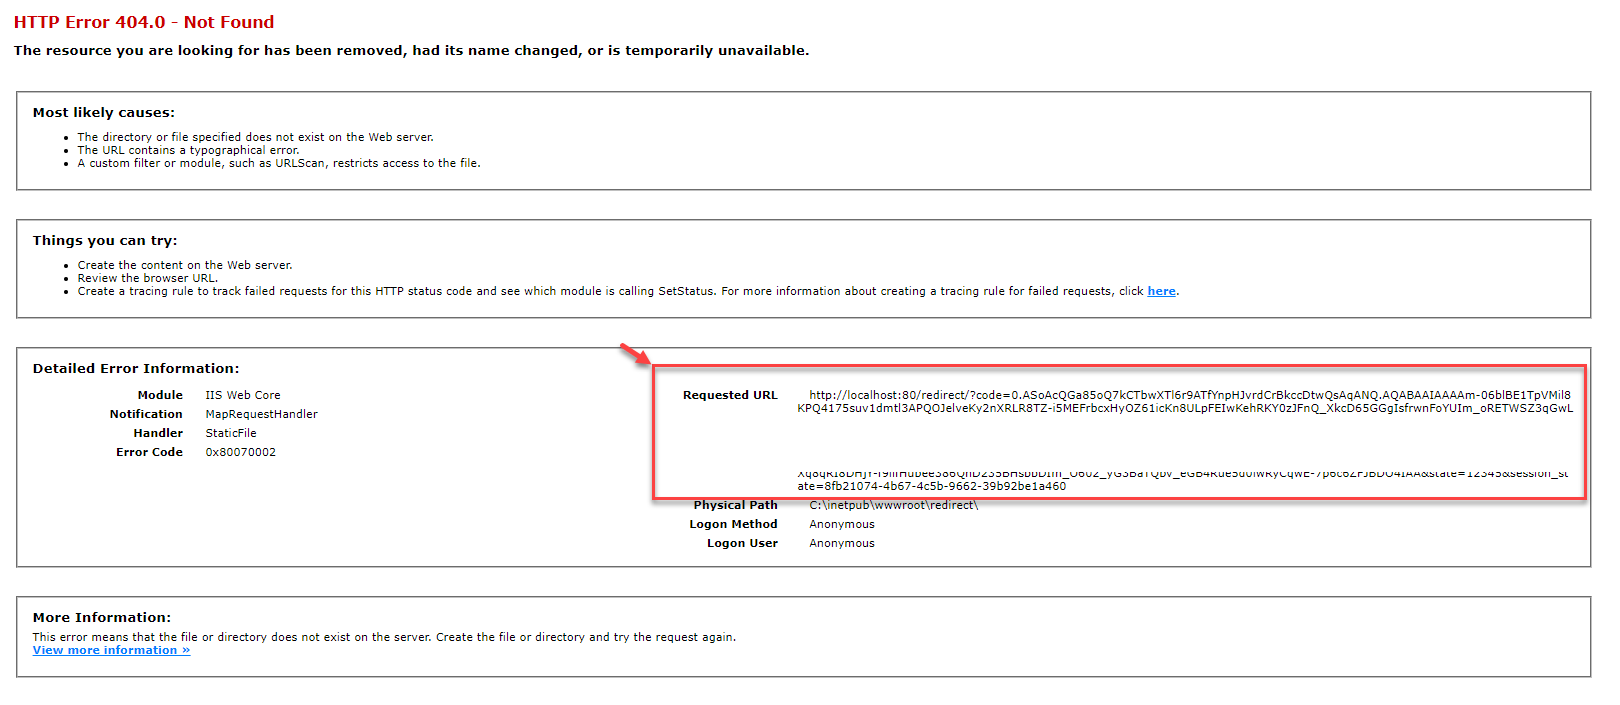
Figure 7 – Redirect URL With Code
Generate Access Token
Now that we have obtained the code, let us go ahead and generate the access token. In order to generate the Access Token, we need to call an endpoint using the Post method with specific information that will return the access token. The resource URL is https://login.microsoftonline.com/common/oauth2/v2.0/token. The following fields need to be passed in the body of the request. We will be using Postman to call the endpoint.
- ClientID
- ClientSecret
- Scope
- Code
- RedirectURL
- GrantScope
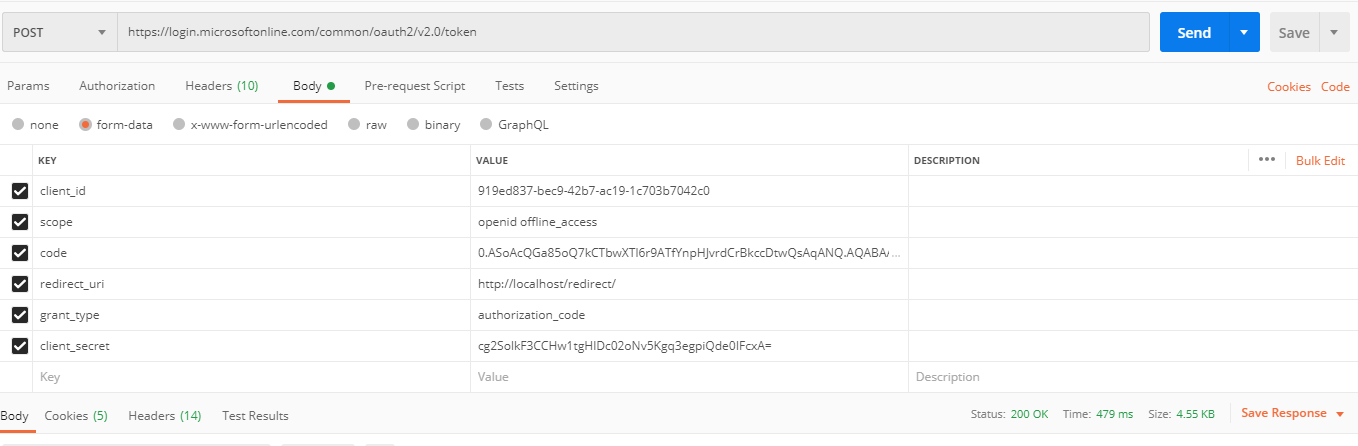
Figure 8 – Post Request to Get Access Token
When you call the above endpoint, the results are returned as follows. The access_token is the value that we need to use while calling the Power BI REST API. Copy and store the value of the access token to a secure location.
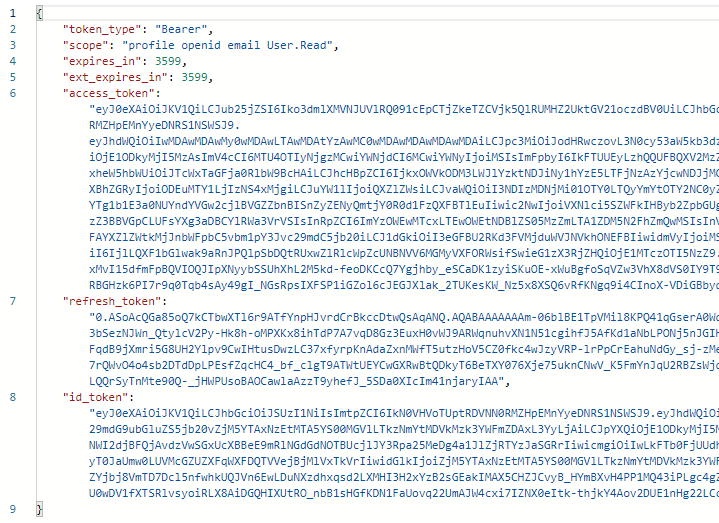
Figure 9 – Get Access Token Result
Get List of Reports
Now that we have obtained the access token, we can call the Power BI REST API and fetch the details as required. Let us try to get a list of all the reports in my personal workspace. The endpoint to fetch the list of reports is “https://api.powerbi.com/v1.0/myorg/reports”. You can refer to the official documentation from Microsoft regarding the available endpoints.
In order to call this endpoint, we need to pass the access token as an authorization method in the header of the GET request. You can refer to the figure below and generate your GET request.
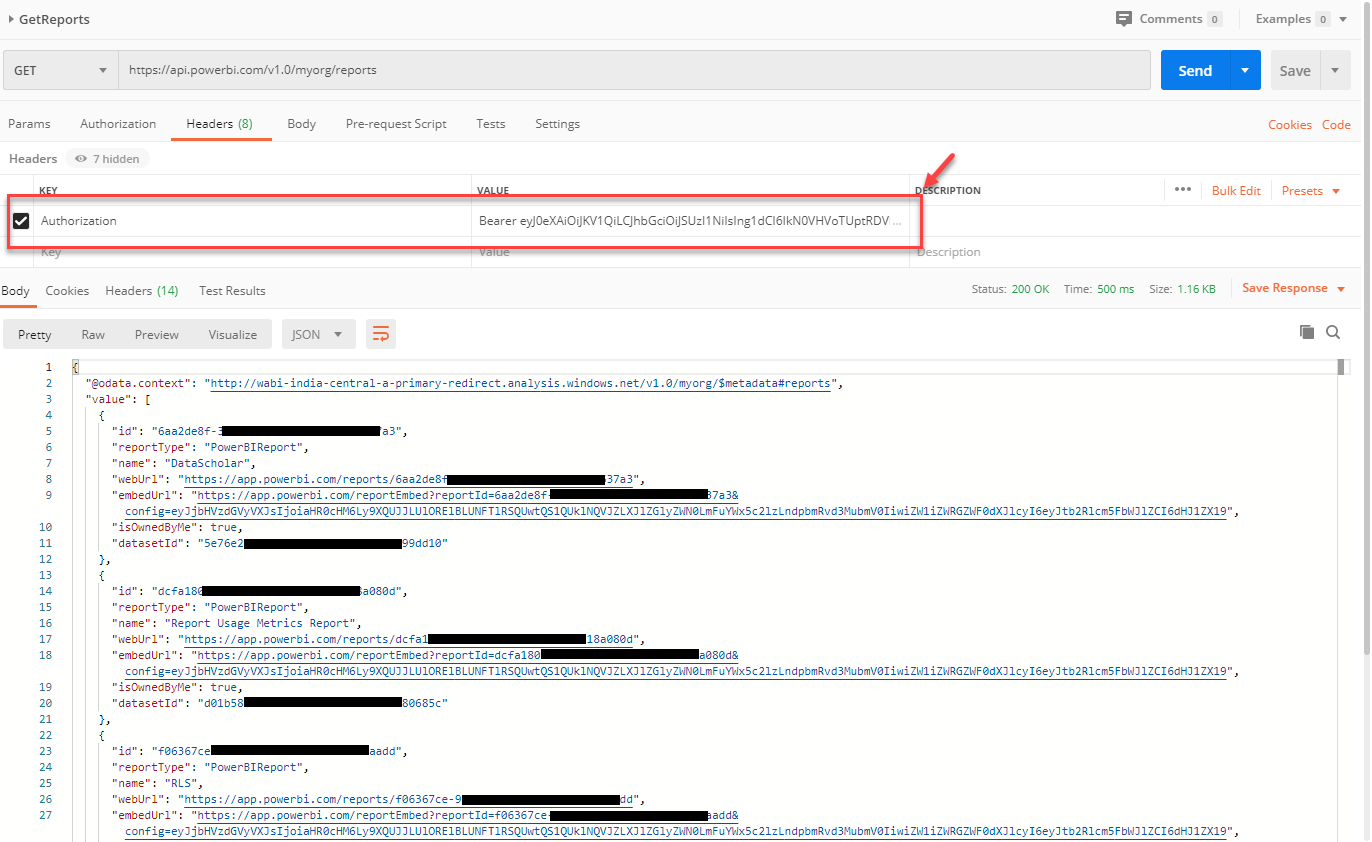
Figure 10 – Get Reports in My Workspace
As you can see in the figure above, we have fetched a list of all the available reports in the workspace in a JSON format.
Get List of Datasets
Let us now try to fetch a list of all the datasets available in my workspace using the same method. The URL for fetching the list of datasets is “https://api.powerbi.com/v1.0/myorg/datasets”.
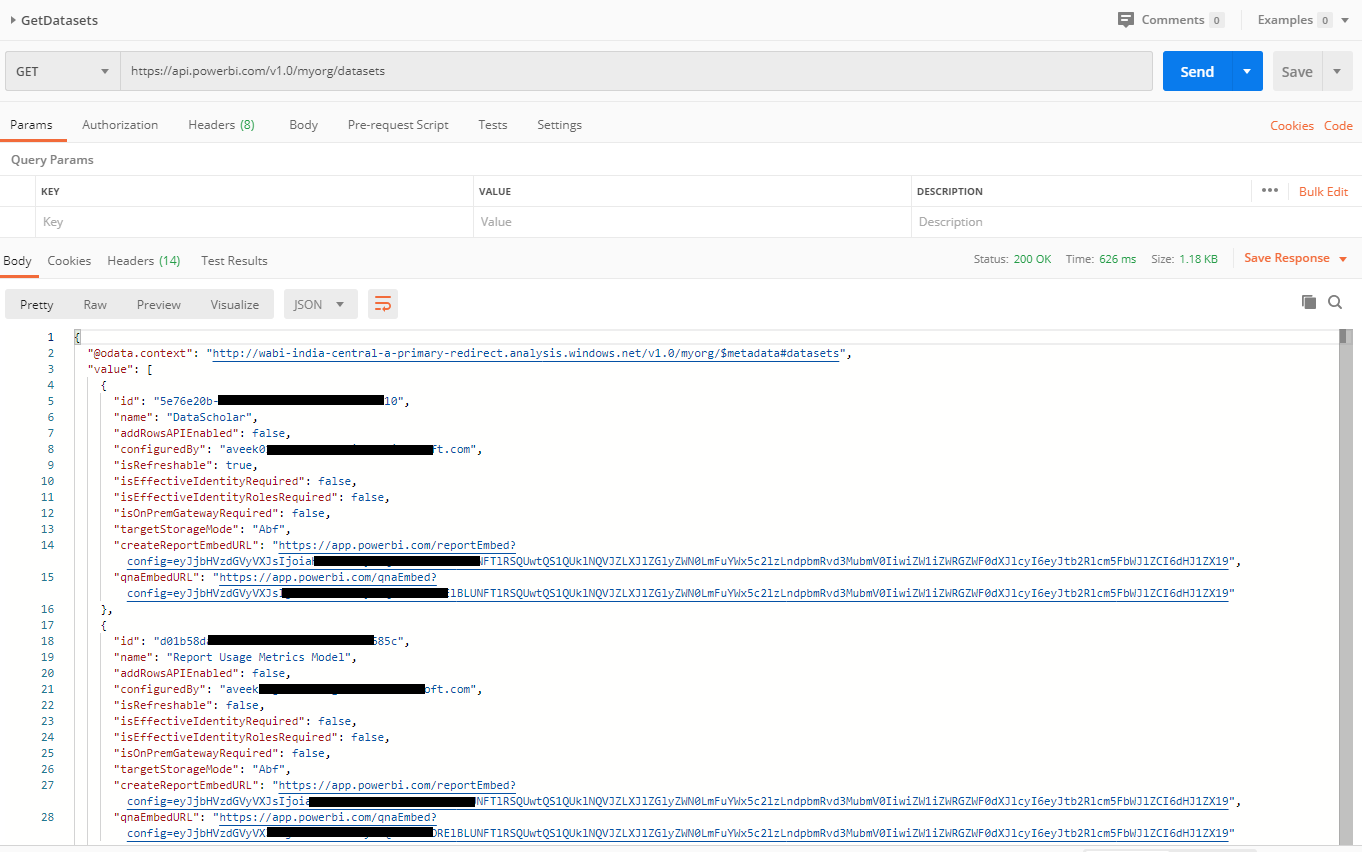
Figure 11 – Get Datasets in Workspace
Conclusion
In this article, I have explained the basics of how to use the Power BI REST API to manage the Power BI resources programmatically. Over the next few articles, I’ll discuss in more depth about the other methods that can be used by the Power BI REST API to manage various other resources in the Power BI workspaces.

He is a prolific author, with over 100 articles published on various technical blogs, including his own blog, and a frequent contributor to different technical forums.
In his leisure time, he enjoys amateur photography mostly street imagery and still life. Some glimpses of his work can be found on Instagram. You can also find him on LinkedIn
View all posts by Aveek Das
- Getting started with PostgreSQL on Docker - August 12, 2022
- Getting started with Spatial Data in PostgreSQL - January 13, 2022
- An overview of Power BI Incremental Refresh - December 6, 2021