
When storing data in the cloud the main concern companies generally have is whether or not their data is safe. And what can be done to ensure that the following 4 scenarios are addressed:
- My database files must be protected in case the server is breached.
- My data in the database must be stored in such a manner that no unauthorised user can view any data they do not explicitly have access to.
- Certain sensitive data should never be displayed entirely.
- My data should be protected while being transferred from my application to my database.
In this article, I will discuss 5 features of the SQL Azure Database which will help you achieve the abovementioned criteria.
Protecting your server with a firewall
The first step in protecting your data is to ensure that only authorized clients are in fact able to connect to your server and database. A firewall is used to allow only certain IP addresses or IP address ranges access to your database.
In my previous article Configuring the Azure SQL Database Firewall I explained how to configure this firewall and as such I will not go into much depth here.
Transparent Data Encryption
Transparent data encryption or TDE, as it is affectionately known, is not new to SQL Server. This was first introduced in SQL Server 2008 and is also included in SQL Database.
TDE encrypts the database files, such as the data, log files and backup files using a database encryption key. Basically, data gets encrypted when it is saved to disk, and it is automatically decrypted when the data is accessed.
TDE can be enabled without any changes to your application.
For SQL Server on premise, the first step involved is to create a master key, which is stored in the master database, using the following command:
|
1 2 3 4 5 |
USE master; GO CREATE MASTER KEY ENCRYPTION BY PASSWORD = '<Your Password>'; |
In Azure SQL Database, however, you do not have to create your own master key. SQL Database will automatically do this for you when you enable TDE.
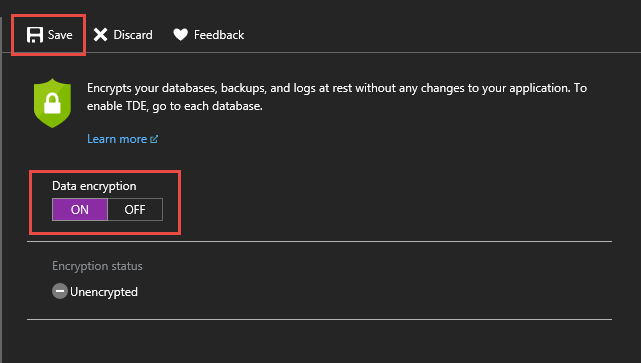
Enabling TDE for a SQL Database
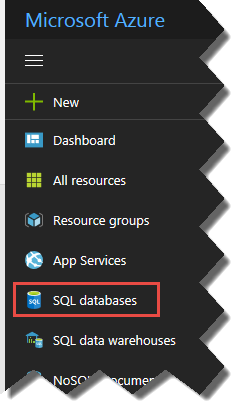
In the Azure portal select SQL Databases.
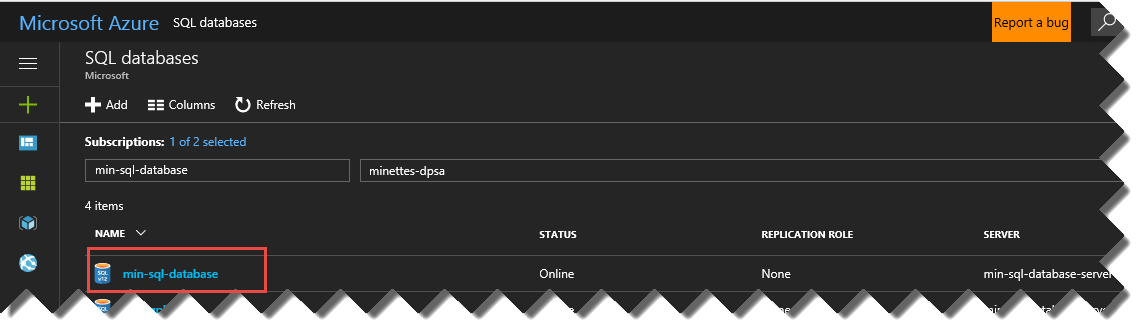
Next select the relevant SQL Database
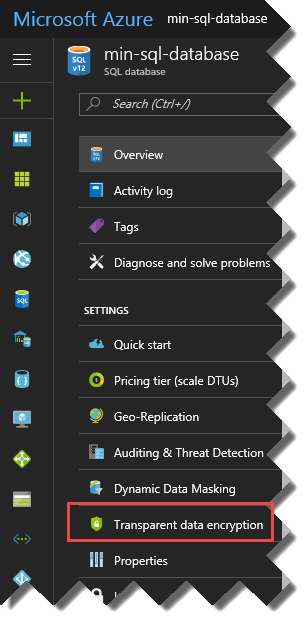
Click on the Transparent data encryption option
Set Data encryption on, and save.
The following will be displayed while the files are being encrypted
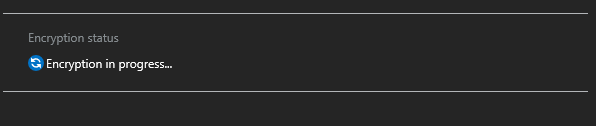
And once completed, this will be displayed:

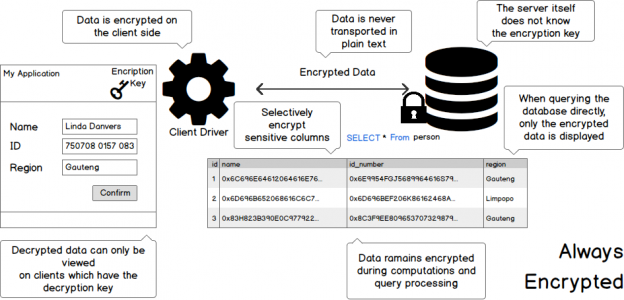
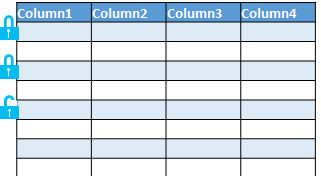
Always Encrypted
Always Encrypted ensures that data is well, always encrypted, which means that the data is also encrypted while it is being transferred from the application to the database.
This ensures that the data cannot be stolen en-route using sniffers etc.
See the below infographic on how it works:

The data is stored encrypted, which means that not even the database administrator will be able to view the data if he does not have the Encryption Key.
The only change required to the application itself is to the connection string. Of course, the encryption key need to be available to the application.
| Driver | Required Version | Example |
| Ado.NET | 4.6 or higher | “Data Source=min-sql-server; Initial Catalog=min-sql-database; Integrated Security=true; Column Encryption Setting=enabled”; |
| Microsoft JDBC | 6.0 or higher | “jdbc:sqlserver://min-sql-server;user=minette;password=mypassword;databaseName=min-sql-database;columnEncryptionSetting=Enabled;”; |
| Windows ODBC | 13.1 or higher | L”Driver={ODBC Driver 13 for SQL Server};Server=min-sql-server;Database=min-sql-database;Trusted_Connection=yes;ColumnEncryption=Enabled;”; |
On the database side a couple more changes will be required which include:
- Generating the Encryption keys
- Generating the meta data for the keys in the database
- Recreate the tables with the encrypted columns
- Encrypt the data which already exists for the newly encrypted columns
Row-level security
The purpose of row-level security (RLS) is to restrict user access to individual rows. For example, in a hospital a nurse only requires access to the patient in his/her care. Since all patients are stored in the same table RLS is the answer. No application changes are required, and the security is enforced at the database tier, which means that it will always be enforced regardless of which client is being used.
RLS can be implemented in 2 basic steps:
- Create a filter predicate, by creating an inline table valued function which applies the filter.
- Create a security policy with the in-line function as the predicate WITH (STATE = ON)
Dynamic Data Masking
Dynamic data masking is used to obfuscate parts of certain sensitive fields, such as social security numbers, credit cards etc.
DDM has very little impact on the application since it is applied to the column in the database and access is controlled either a central masking policy
SQL Server 2016 has 4 predefined masks which can be applied.
| Mask | Description | Example |
| Default | A default mask will be applied depending on the datatype of the column. | “Hello World” will become “XXX” 07.26.1984 will become 01.01.1900 88.99 will become 0 01001 will become 0 |
| This mask is specifically created to obfuscate email addresses. Only the first letter and the domain will be displayed | myname@mycompany.com will become mXXX@XXXX.com | |
| Random | This mask substitutes a random number for any numeric value. A range can be specified. | 200 will become 388 or 023 or 777 or any other random value within the specified range. |
| Custom | This mask allows you to substitute the middle of a string with another string. Allowing you to choose how many characters of the original string should remain as the prefix and suffix. | 2334-4566-6778-4444 will become XXXX-XXXX-XXXX-4444 depending on the setting for prefix and suffix. In this case the function would look like this: (FUNCTION = ‘partial(0, “XXXX-XXXX-XXXX-“,4)’) |
Here are some examples:
On my person table I have opted to apply a default mask to the [secret_answer] column, an email mask to the [email] column, and a random mask to the [salary] column, using the script below:
|
1 2 3 4 5 |
ALTER TABLE person ALTER COLUMN secret_answer ADD MASKED WITH (FUNCTION = 'default()') ALTER TABLE person ALTER COLUMN Email ADD MASKED WITH (FUNCTION = 'email()') ALTER TABLE person ALTER COLUMN salary ADD MASKED WITH (FUNCTION = 'random(1000, 120000)') |
I user without the UNMASK permission will see the following:

Whereas a user with the UNMASK permission, will see the real values:

Conclusion
Microsoft continues to invest greatly in SQL Database security to ensure that your data is protected against internal and external threats. Although some of these features require some changes to your application or database, designing with security in mind has become a lot easier than what it used to be.

Minette currently works as a Data Platform Solution Architect at Microsoft South Africa.
View all posts by Minette Steynberg
- The end is nigh! (For SQL Server 2008 and SQL Server 2008 R2) - April 4, 2018
- 8 things to know about Azure Cosmos DB (formerly DocumentDB) - September 4, 2017
- Introduction to Azure SQL Data Warehouse - August 29, 2017